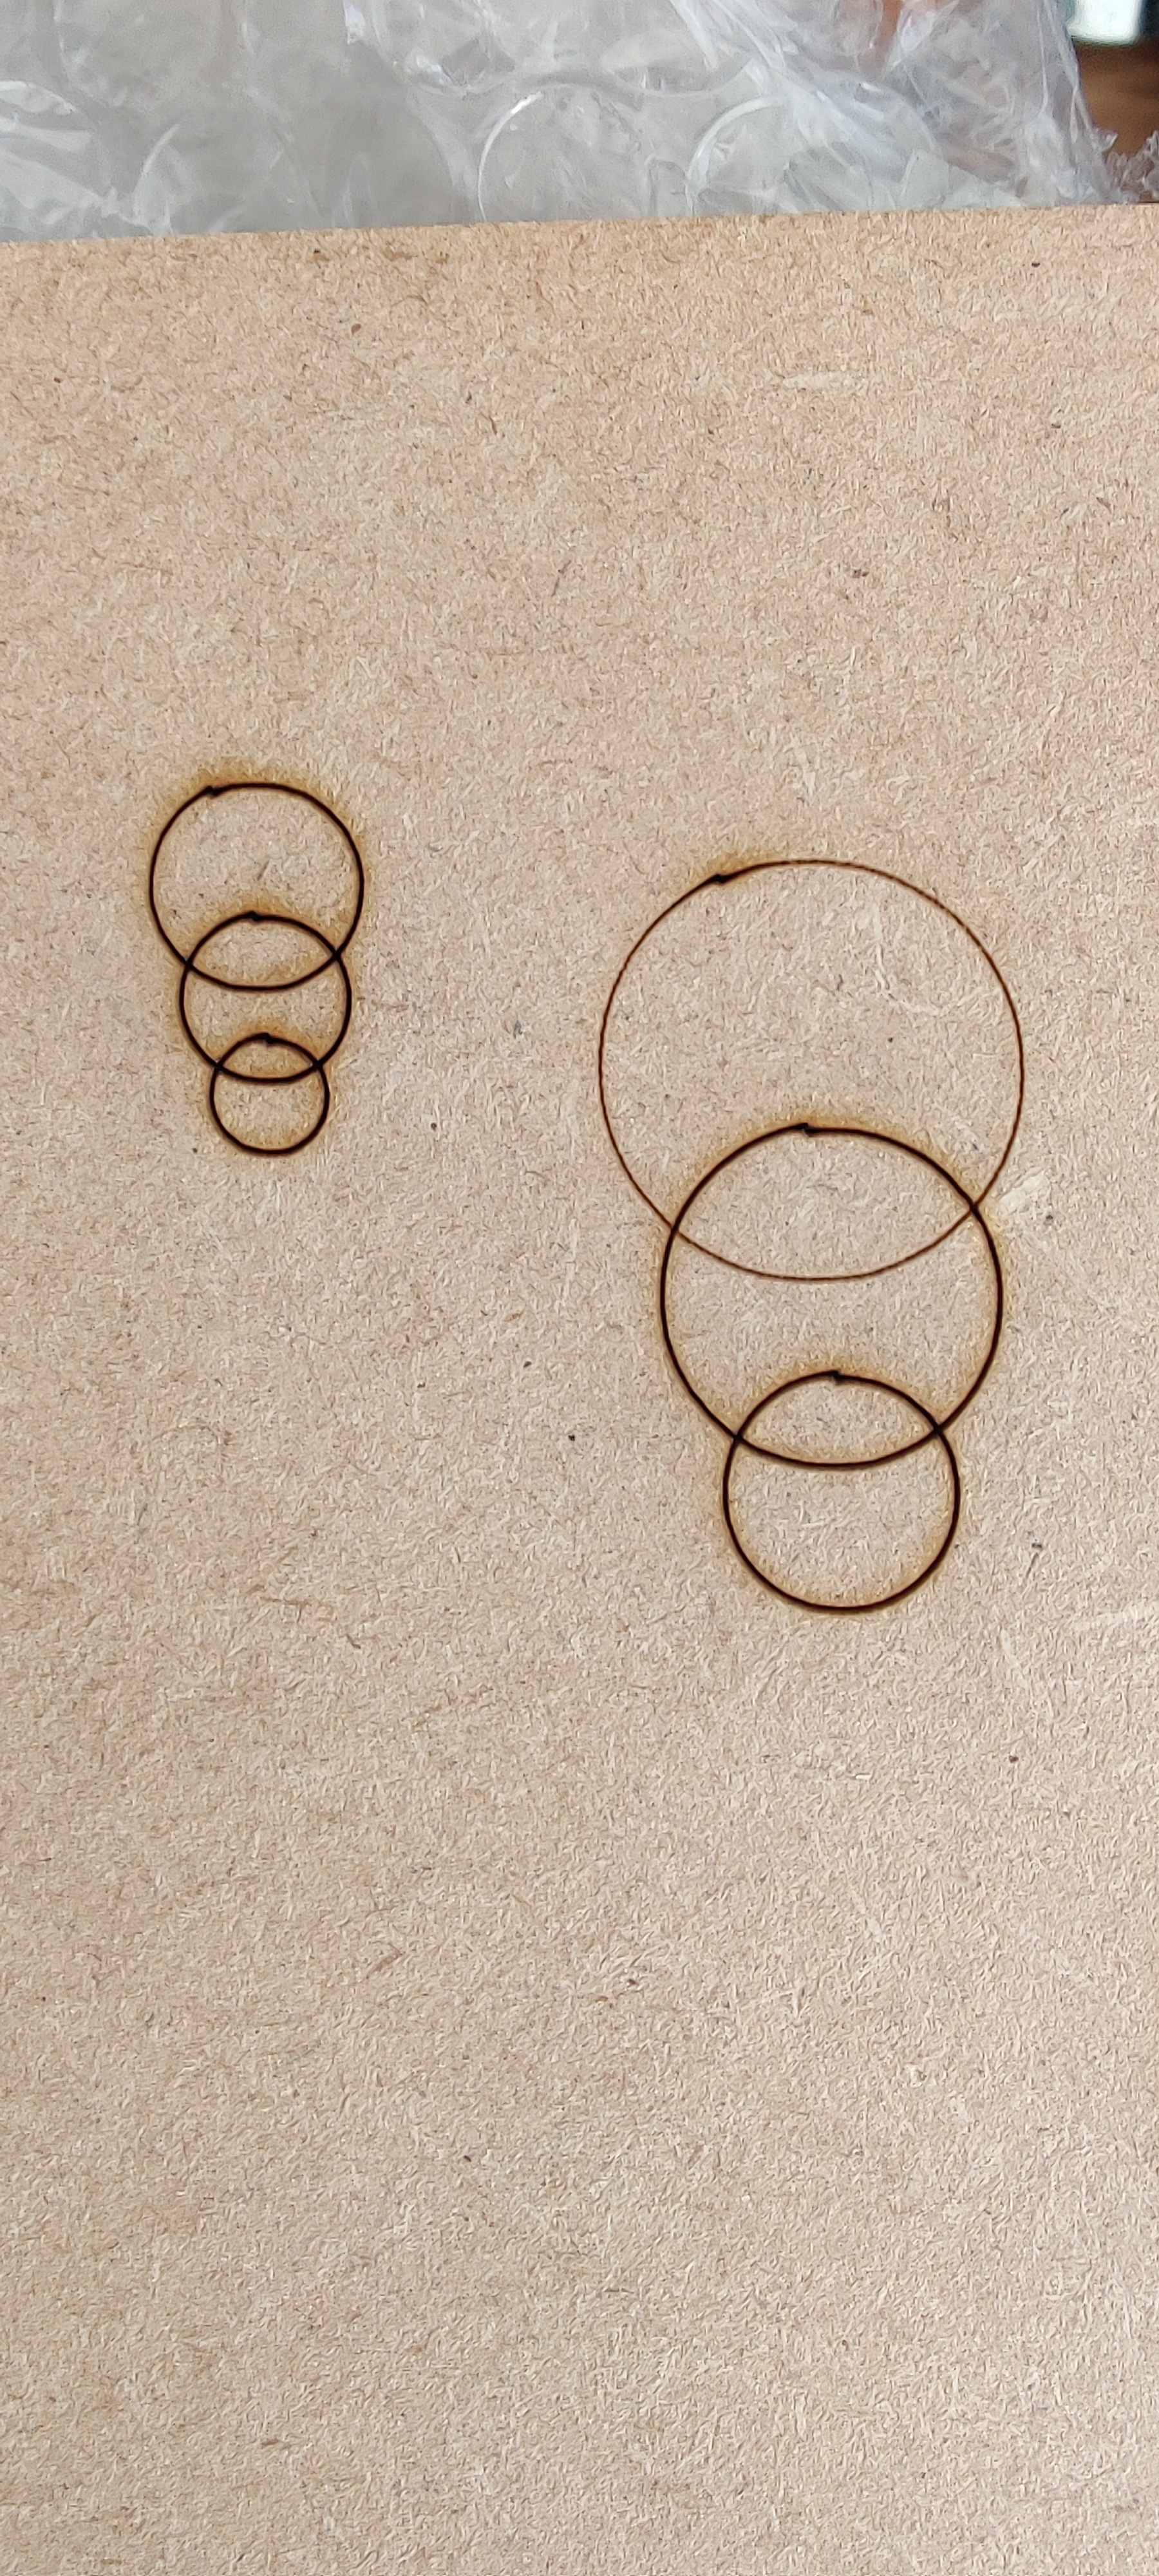
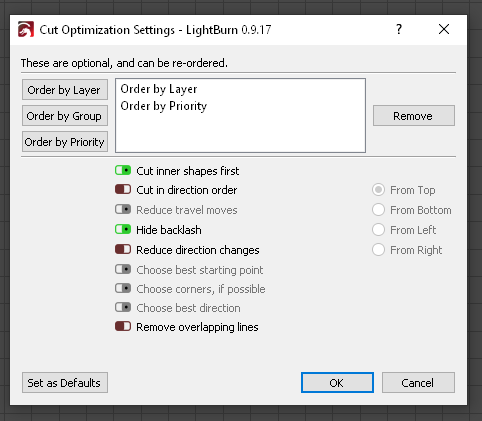
this is a mechanical issue. I’ve fought it on several machines. you can hide it, but ultimately, the main issue is probably a combination of the gantry not being 100% square, your step lengths being slightly off, or if it’s belt driven, all belts are not equal in tension.
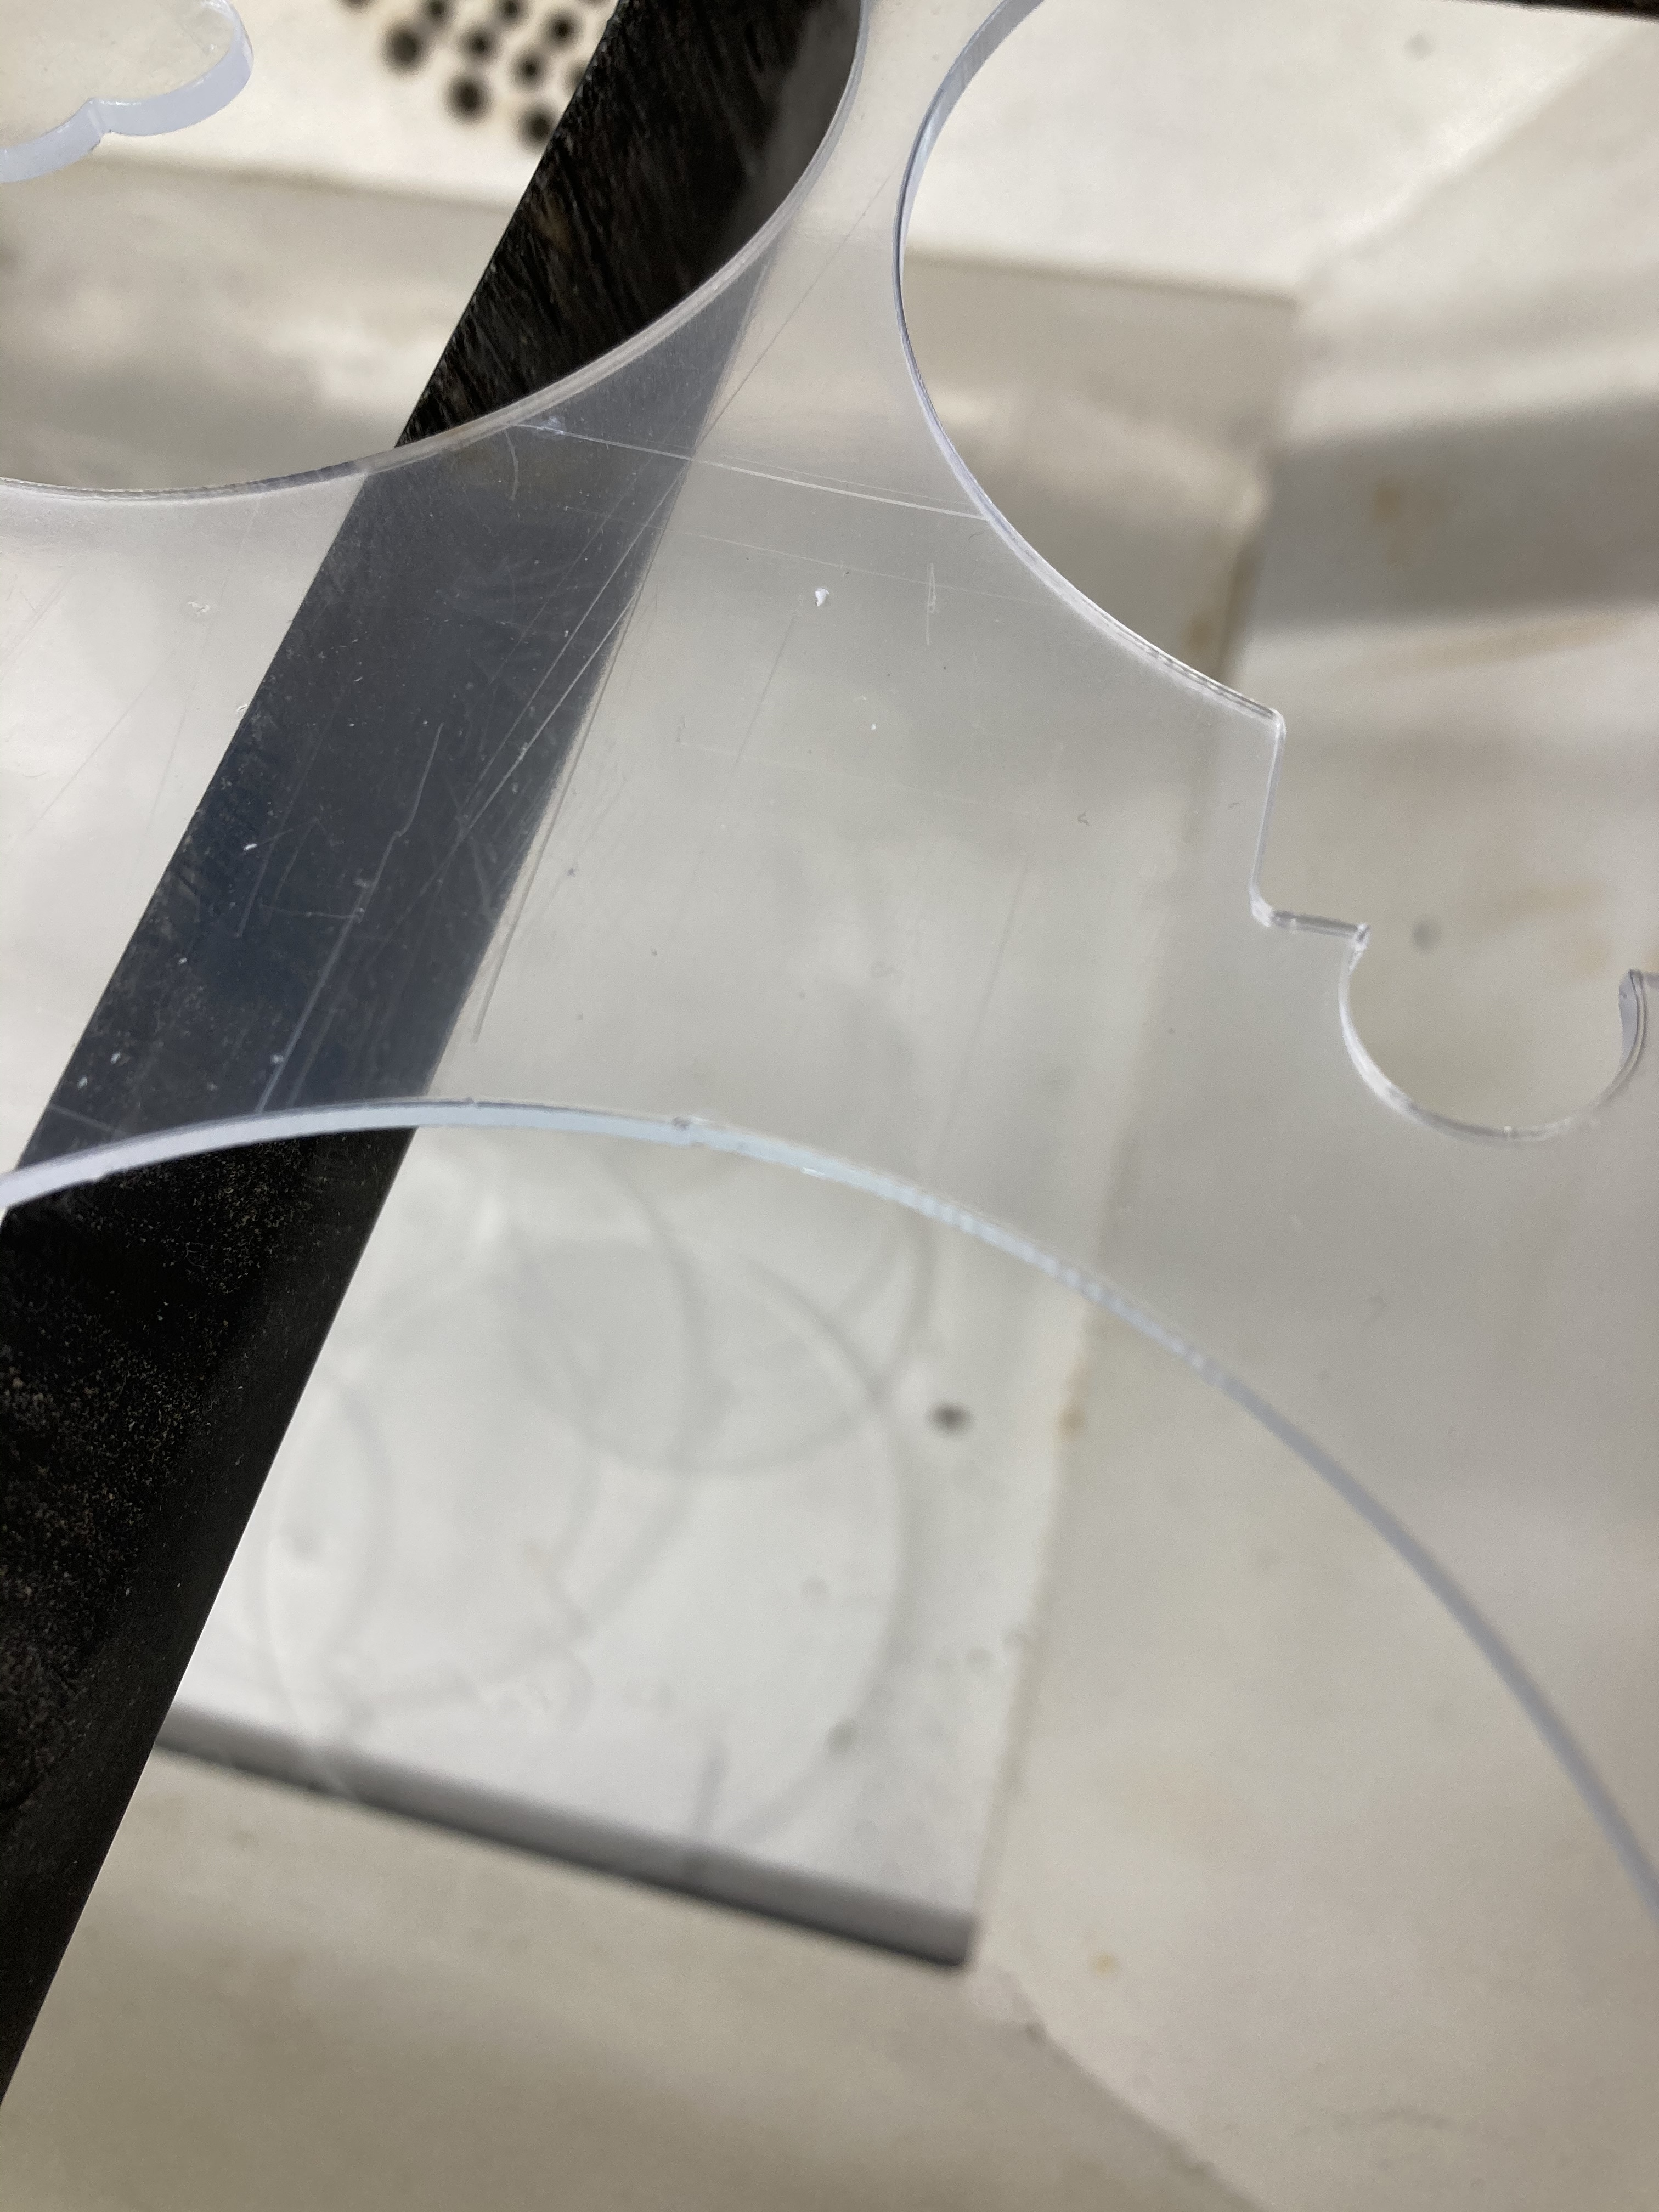
Here’s how to test for Each of these scenarios: First, are your steps correct? This is easy to check, and fix! Draw two squares. one 100 MM, 1 200 MM out of thin material. The thinner, the better, because it will be easier to measure. with thicker material, your measurement may vary due to bevel of cut, or other mis-alignment issues, which you will fix later. Then cut them & mark them, so you know their orientation when they were cut, and then measure them. The can, and should, be equal on all sides. If they’re not, you need to go into machine settings, and do a calibration.
Tell it the size you intended to cut, and the actual size. The larger, the better, and the more accurate, the better. You may end up doing this 10 times until you’re maybe .001 out on any measurement.
This is acceptable. Not to make you neurotic, but anything less, and you can live your days knowing that your machine is “off”. I can’t live with that, because I’m a tad obsessive. That’s not always convenient. lol
So, let’s say you have your lengths correct…
For squareness, you can use known right angle tools, like a framing square, feeler gauges, and such, or you can take the “close enough” approach, and cut 2 squares. One as big as your bed will allow, and a smaller one inside of it… let’s say 2" square… once you cut them, rotate and place them back in their cuts. do they fit? If they don’t drop right back in, you’re out of square. You should be able to place the square back in it’s cut, no matter which way you turn or flip it. If you can, Great! If you can’t, you need to work on squaring your gantry. depending on your machine, this may be as simple as grabbing the gantry, and torqueing it a tad until it’s square, or it may require equalizing the tension , and synchronizing the teeth on your pulleys on both sides of the gantry. the way to check tension, is to download either the Gates Timing belt app, or using a guitar tuner app. you want one which displays the frequency. When you "pluck the belt Mid-section, you want both belts to resonate at as close to the same frequency as possible.
So let’s say you’re now square…
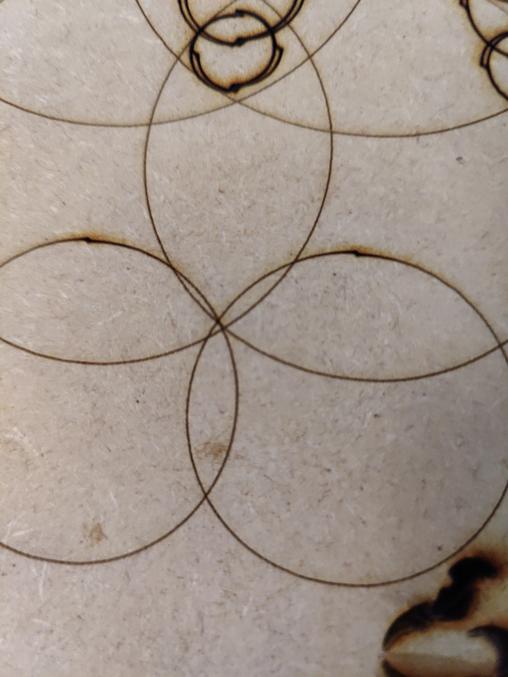
set an origin point, and run a file that has a lot of movement across the table. up, down, and takes up as much of the table as possible… You do not have to actually cut, so you can disable your laser, or cut at a very low power. Run this file very quickly. like 4 times the speed you normally run. Before you start the cut, simply pulse the laser, to create a dot. that’s your home. Now run the file a couple times, and return to home. When you fire the laser again, does it hit the exact same spot? if it does, Great! You probably do not have a mechanical issue. If the dot is off at all, something is wrong!
The culprit could be a pulley that feels tight to the touch, but is actually slipping while in motion. This is a real booger, because you may swear everything is 100% tight, only to eventually find that it was in fact a slippy pulley after all. I find the best course of action, is to loosen, and re-tighten each and every set screw, making sure that one of the set screws is contacting the flat spot on the shaft of the stepper.
If your shaft does not have a flat spot, as in the case of many K40 lasers, make one! Use a file, sandpaper, whatever… just enough of a divot, so that if you screw a set screw down onto it, it cannot slide off. The shafts are hardened, and set screws do not exactly offer the opportunity for massive torque, so even a tight set screw can spin on a completely round shaft.
Check your pulleys for either a set screw that sticks up too much and hits the belt, the housing, or even a cable tie!
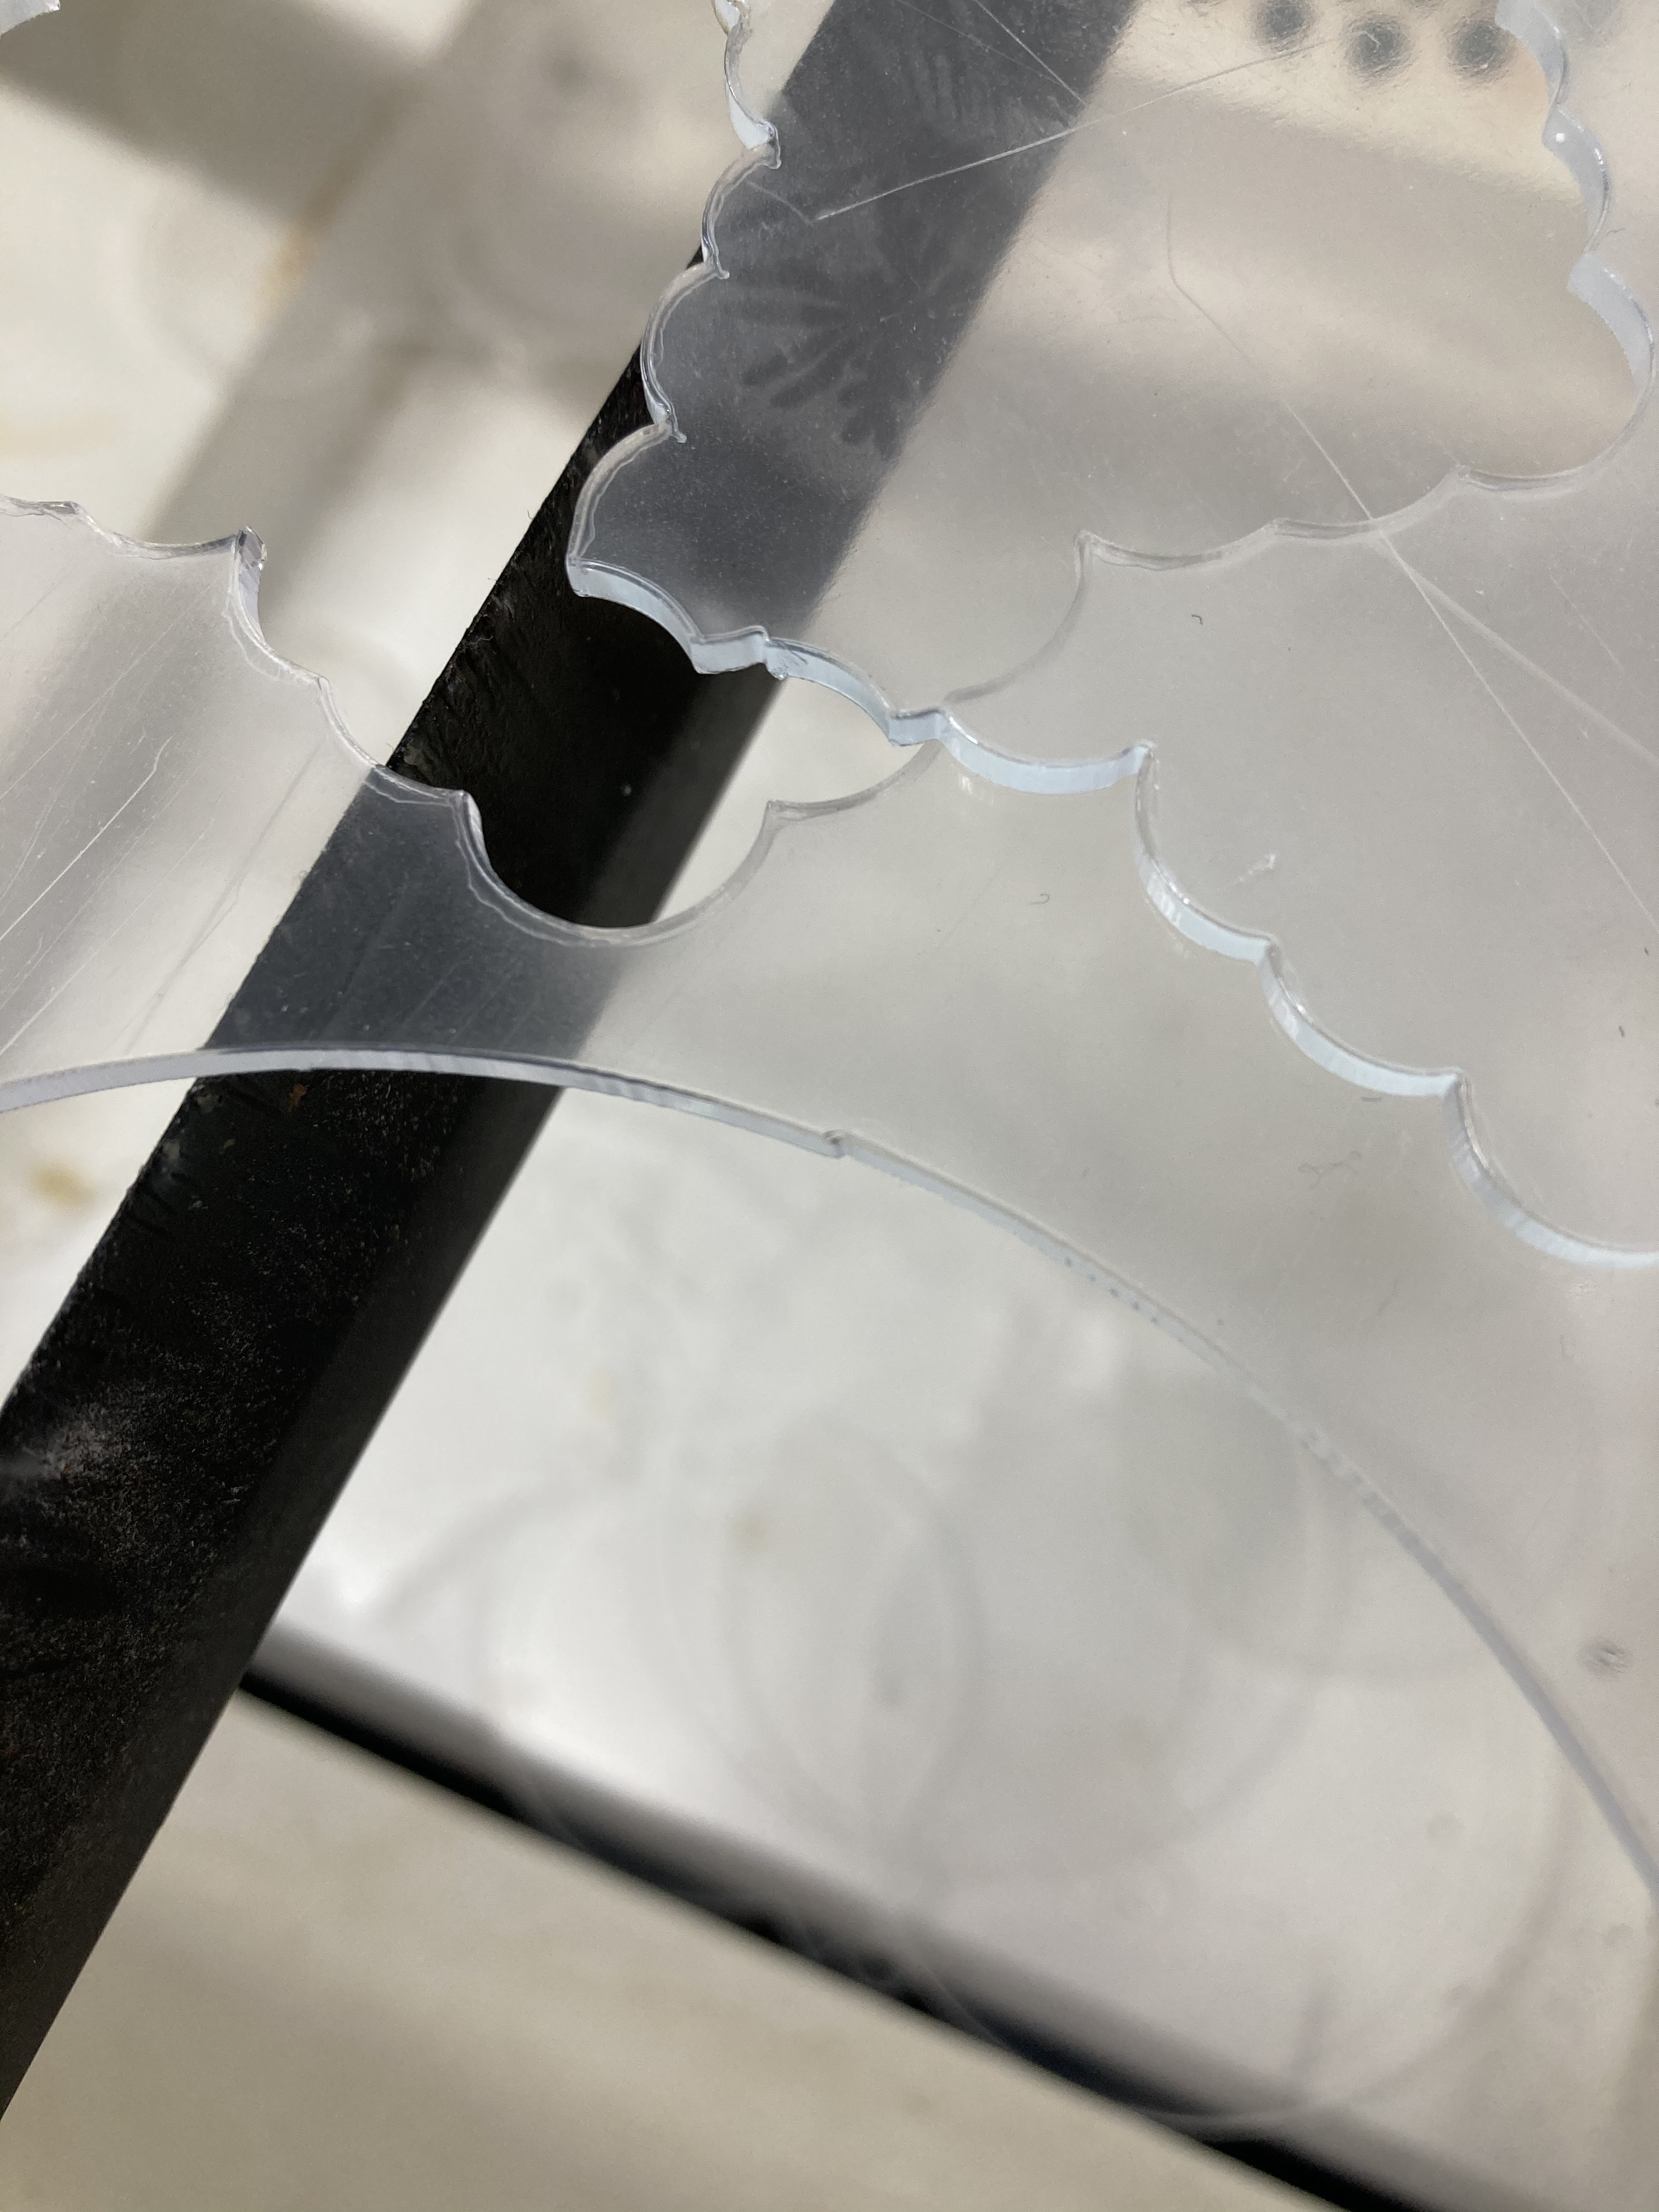
If you get all of these sorted, you should not have any more circle problems.
One more possibility, is your entire head being cocked slightly in one direction. it can be hard to tell. getting it completely perpendicular to the bed, is vital though!
When your machine is completely adjusted, backlash compensation should not need to be used. Laser heads, unless they are motorized, or just have a massive carriage, Don’t really weigh anything. If you’re getting backlash, your driver voltage may be too low, or your machine may be horribly under powered. if it’s a commercially produced machine, even the cheapest ones seem to use steppers that can handle the task. Some home built models, attempt to use small steppers on a larger gantry. that can sometimes work, other times, it’s nothing but problems.
I fought this on my large 5 x 10 table for almost a year. it ended up being a combination of almost all of the above.
Follow up with a good mirror alignment. This tutorial, is like one of those old “choose Your Own Adventure” story books. You choose the link that describes your result to proceed to the next step. .
I cannot praise HP Persson enough for the time and effort put into this site. HP, if you ever even consider taking it down for any reason, contact me, and I will host it in Perpetuity!
This little device is also amazing for making mirror alignment simple, without the need to use a million tape squares… it works like a Bore sight for a handgun or rifle: https://www.ebay.com/itm/233523324057?ul_noapp=true