I’m brand new to CO2 lasers but have been using a diode for a few years. I just bought a second-hand blue & white 50 watt CO2. I’m having a problem… I can engrave but can’t cut through materials, like 1/8” basswood.
I’ve aligned and cleaned the mirrors & lens.
I’ve set the focal distance (currently using a 2” lens)
Afterwards, I created a test in Lightburn (circle and a square). Set max power to 80% and speed to 5mm/s. Neither cut through. They engraved but when I flip the piece over, no marks at all. I’m using 1/8” basswood.
So here’s the funny thing, I ran the same test in RDWorks with the same settings and had in cut nearly through the board (cut piece was hung up on a few wood fibers).
Anyone have any ideas of where to start looking. I’ve been all over Google and watched literally dozens of YouTube videos but can’t seem to find a solution.
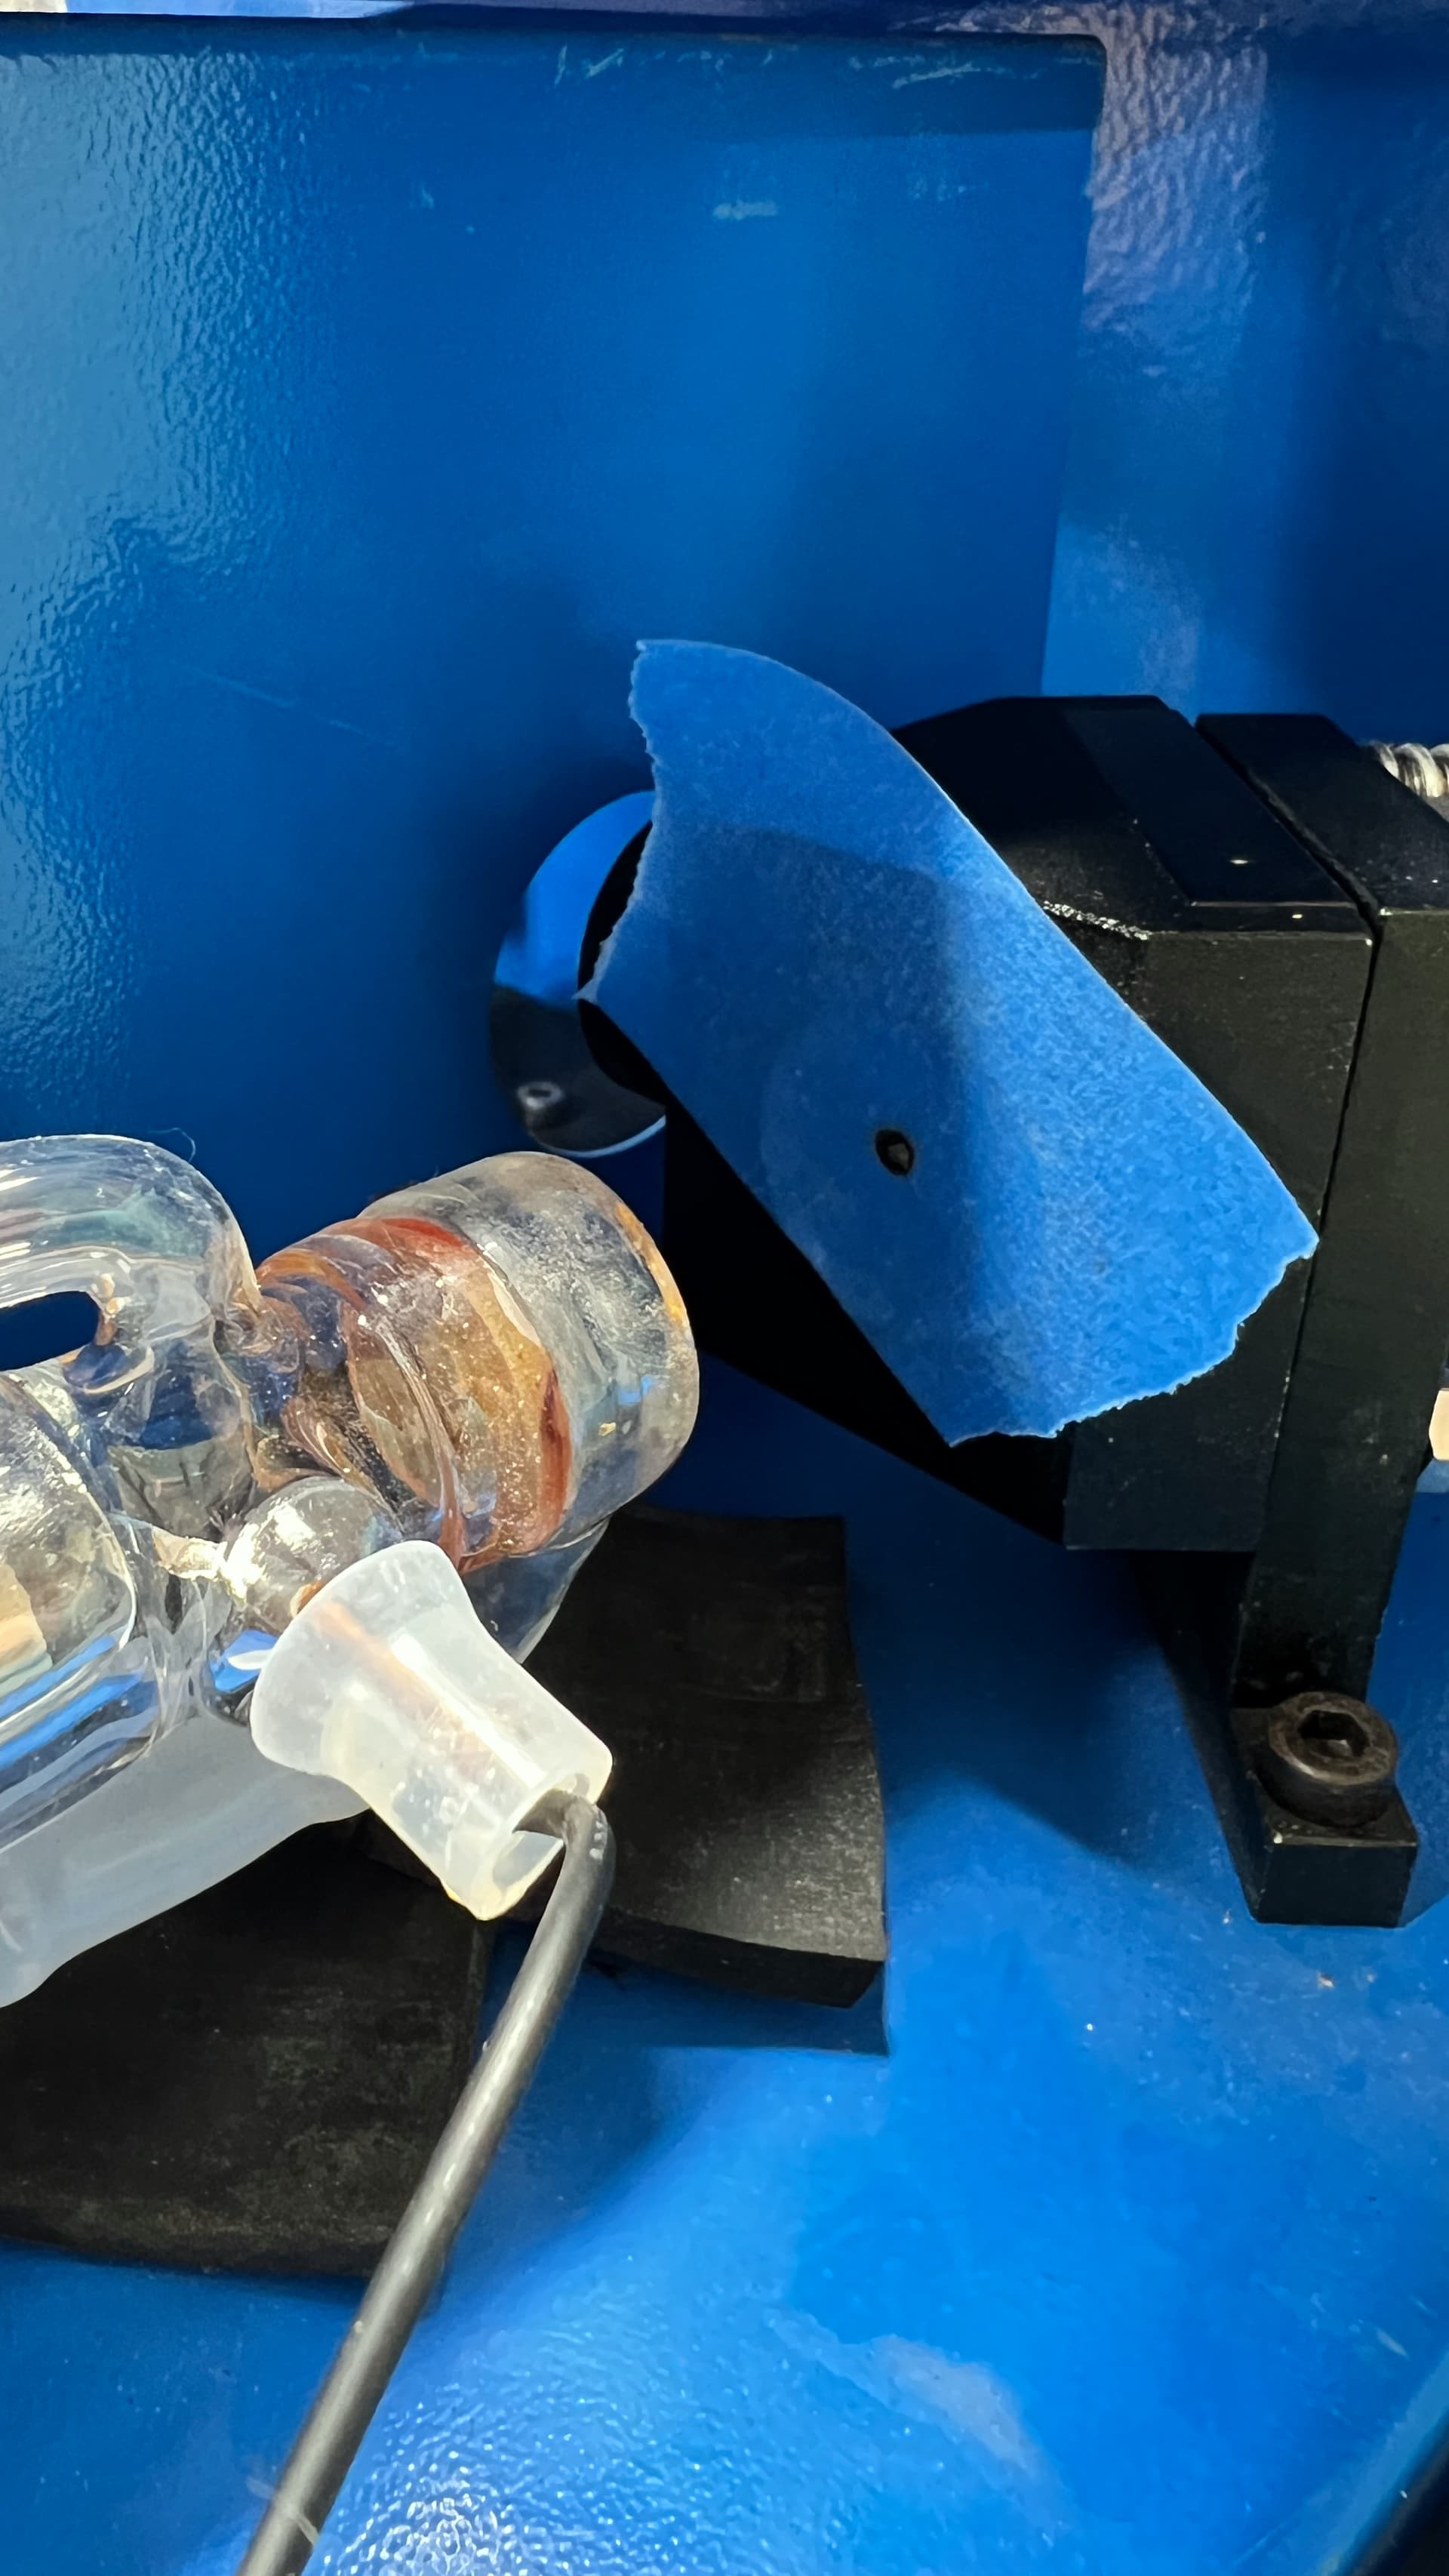
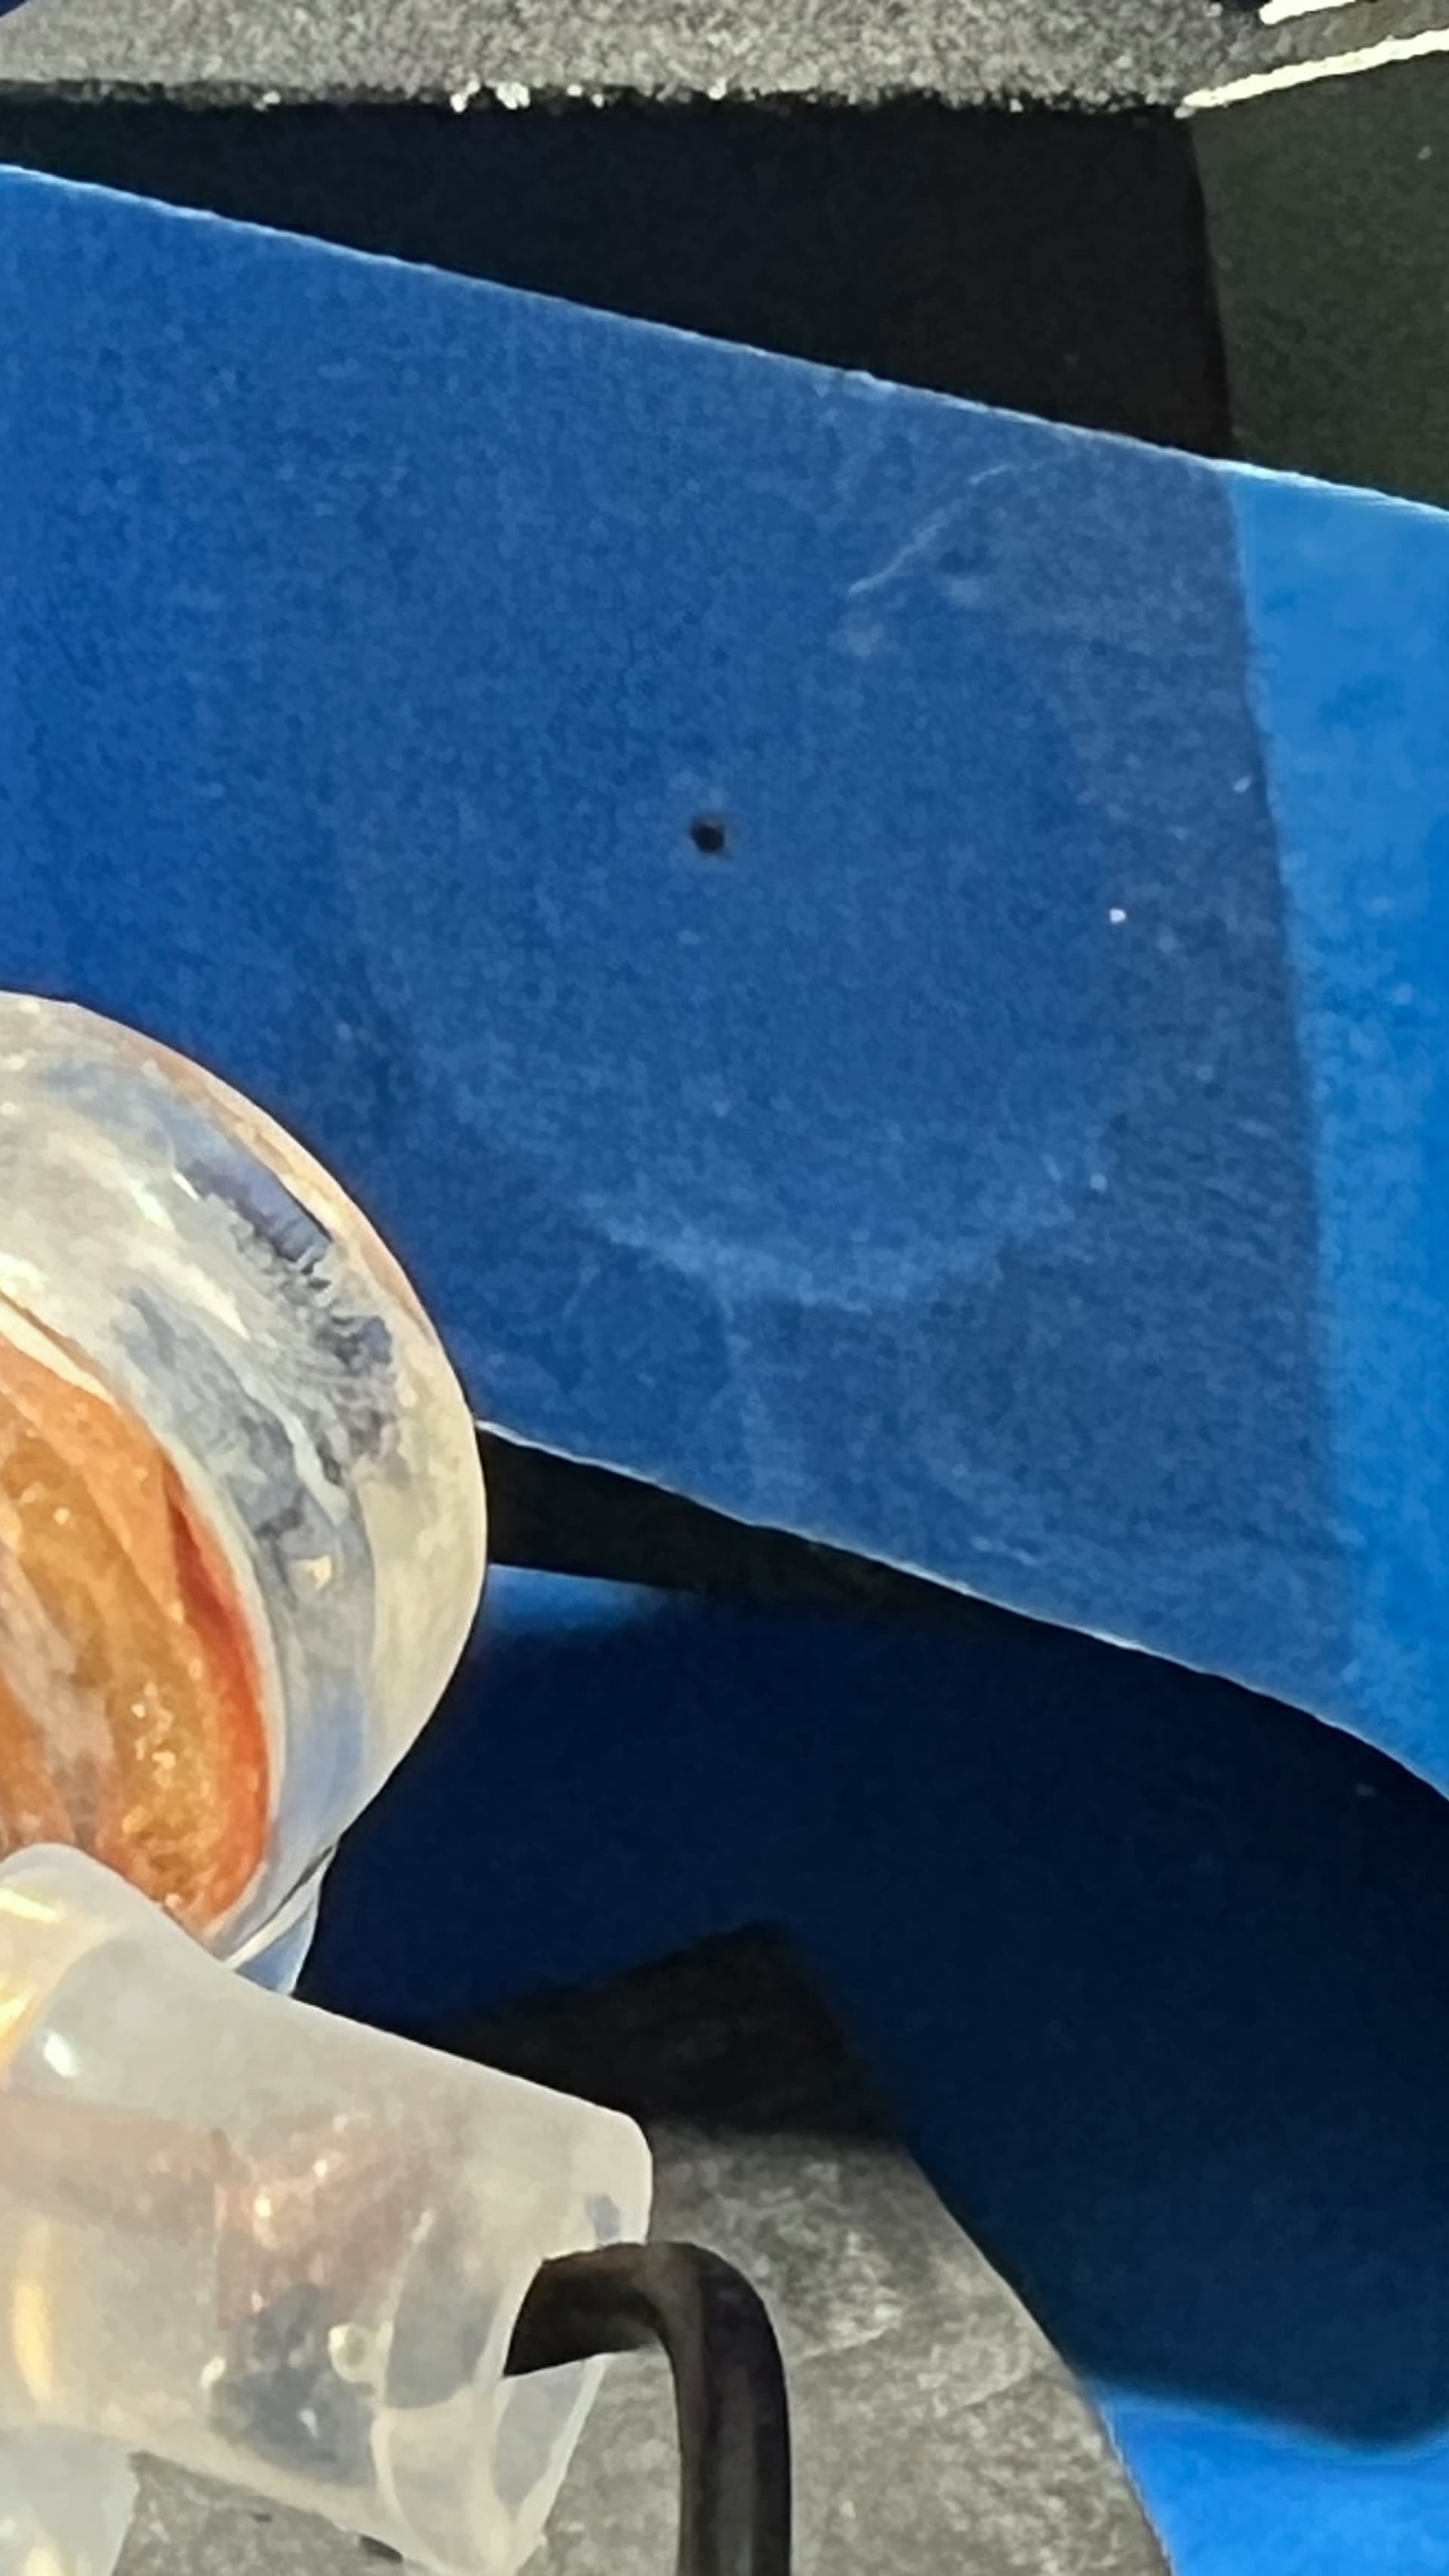
You need to find out if your CO2 tube is ok. Set speed in the controller to 100 ms and power to 20% and make a test shot on tap in front of M1.
Show it here, is it ok, the alignment of the mirrors and the lens must be tested. Have you done a ramp test to find the correct focus point?
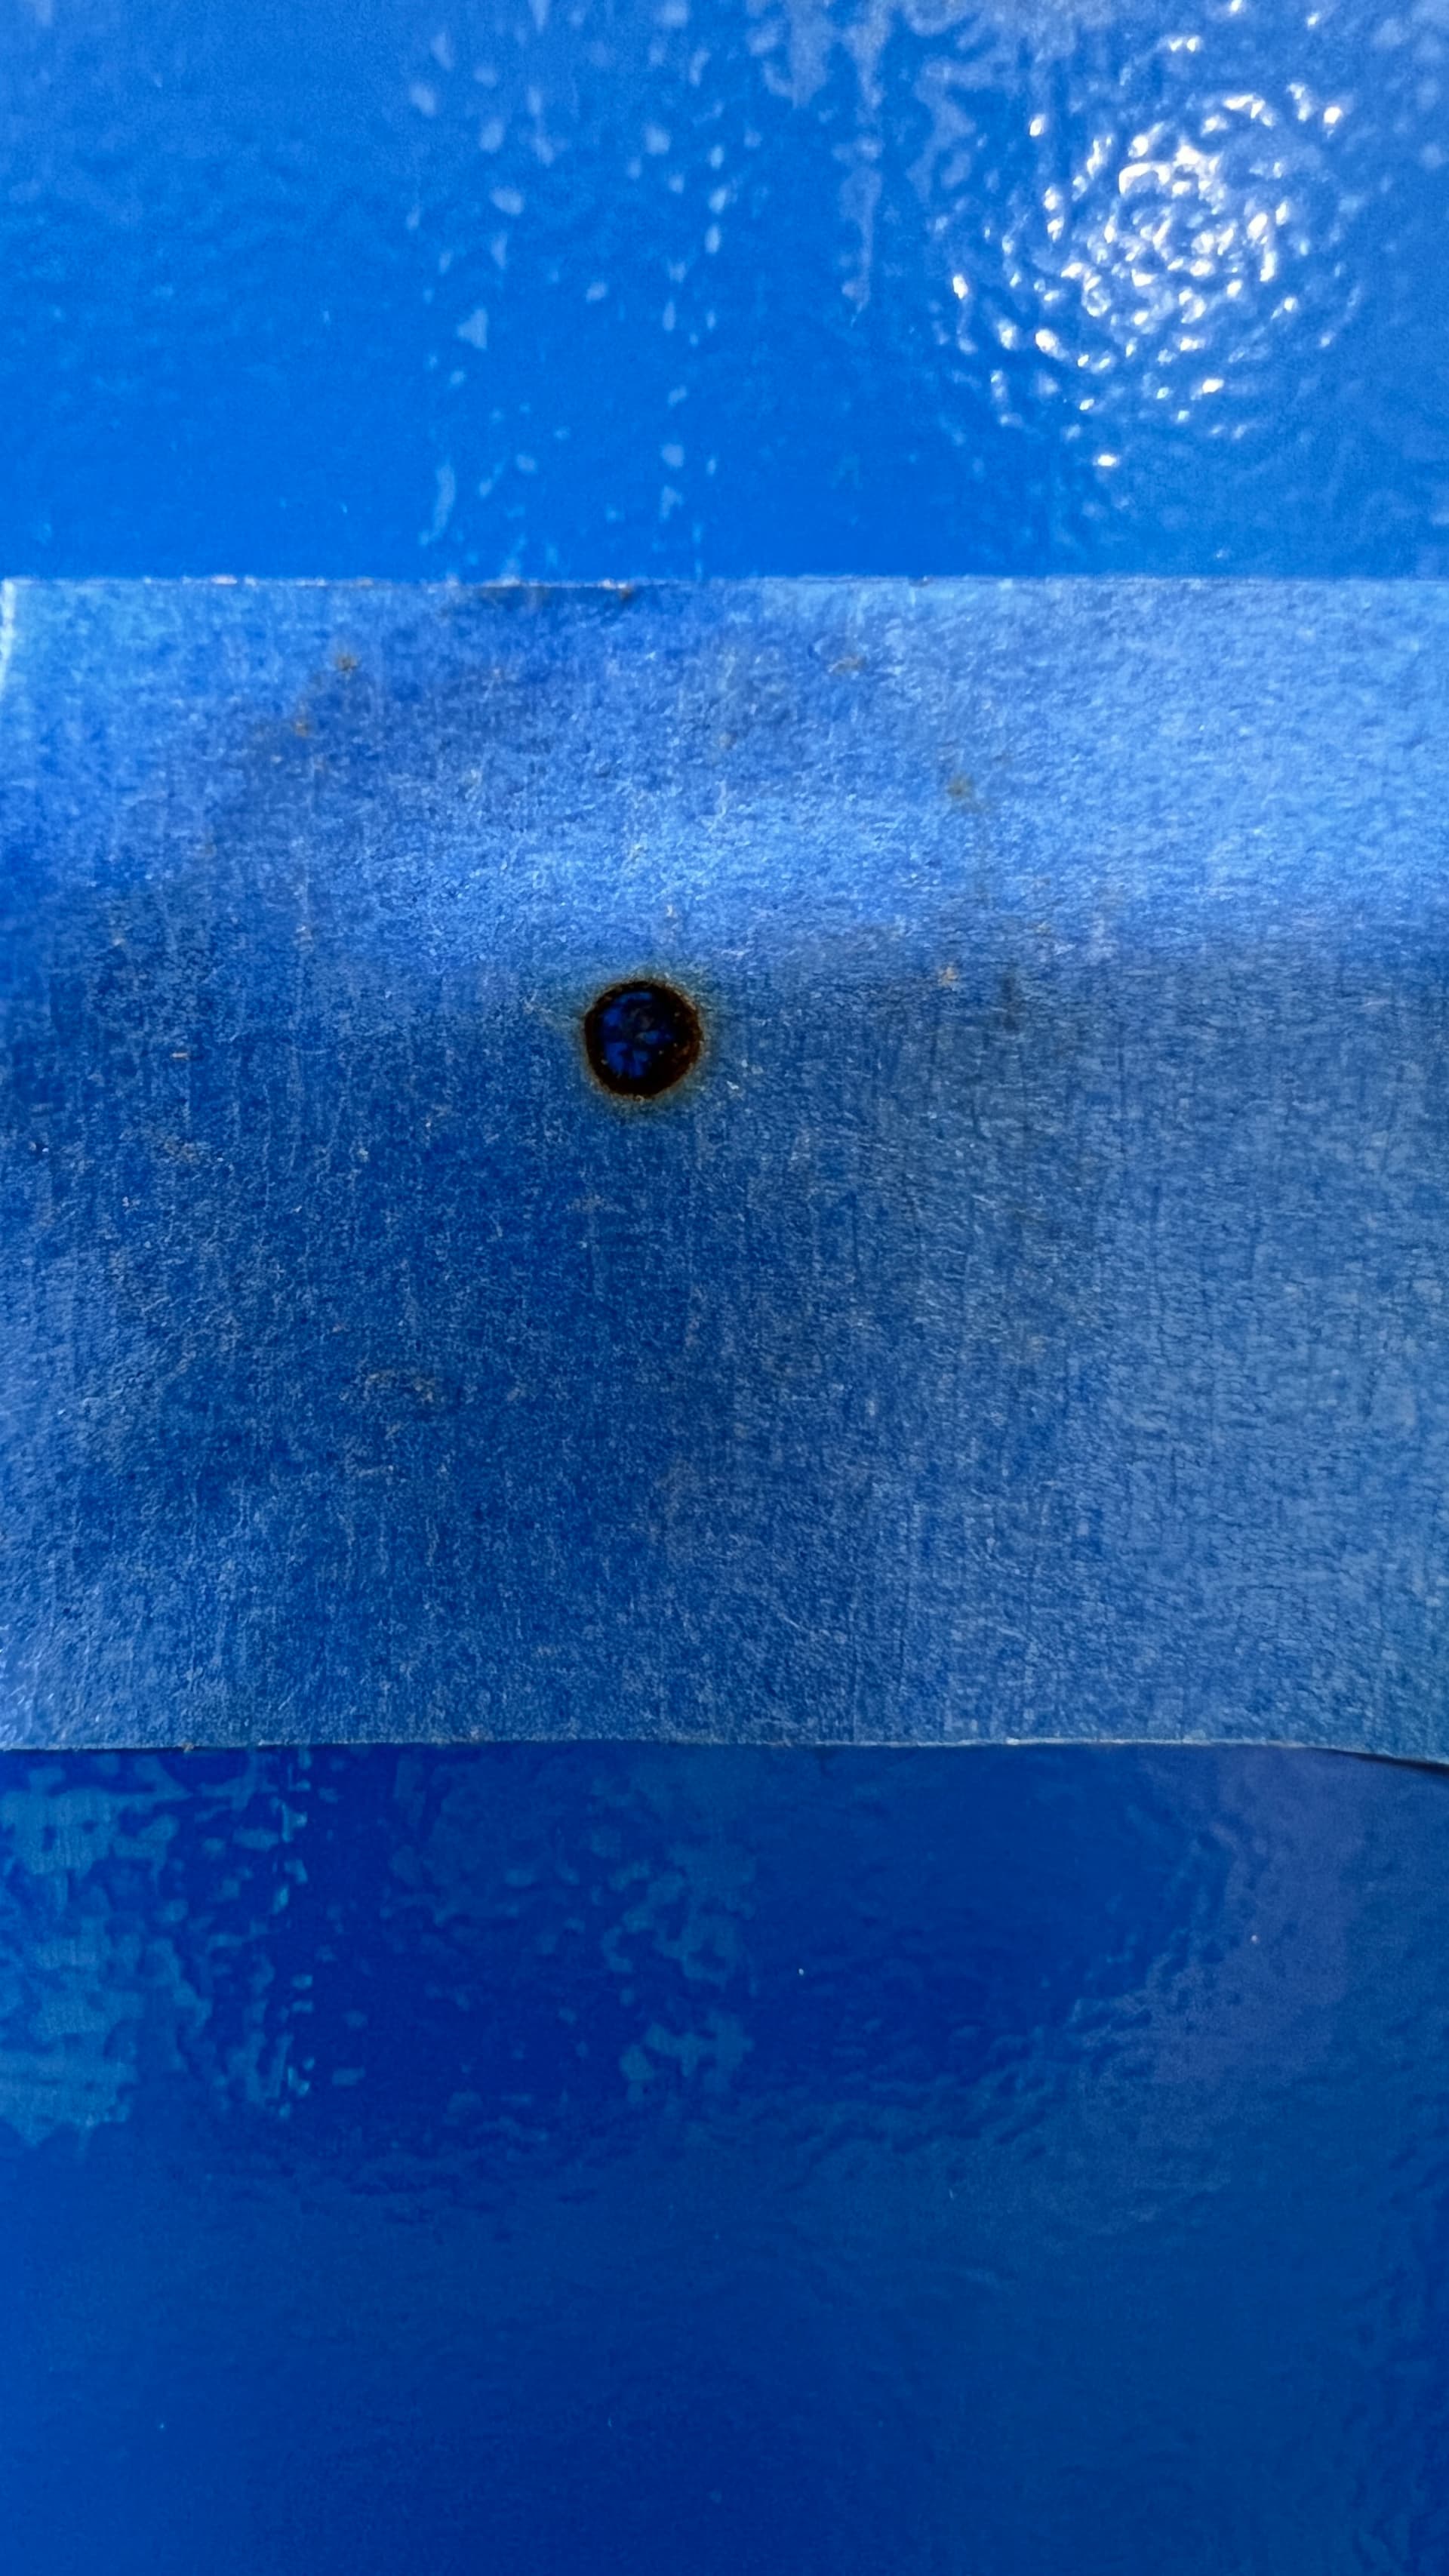
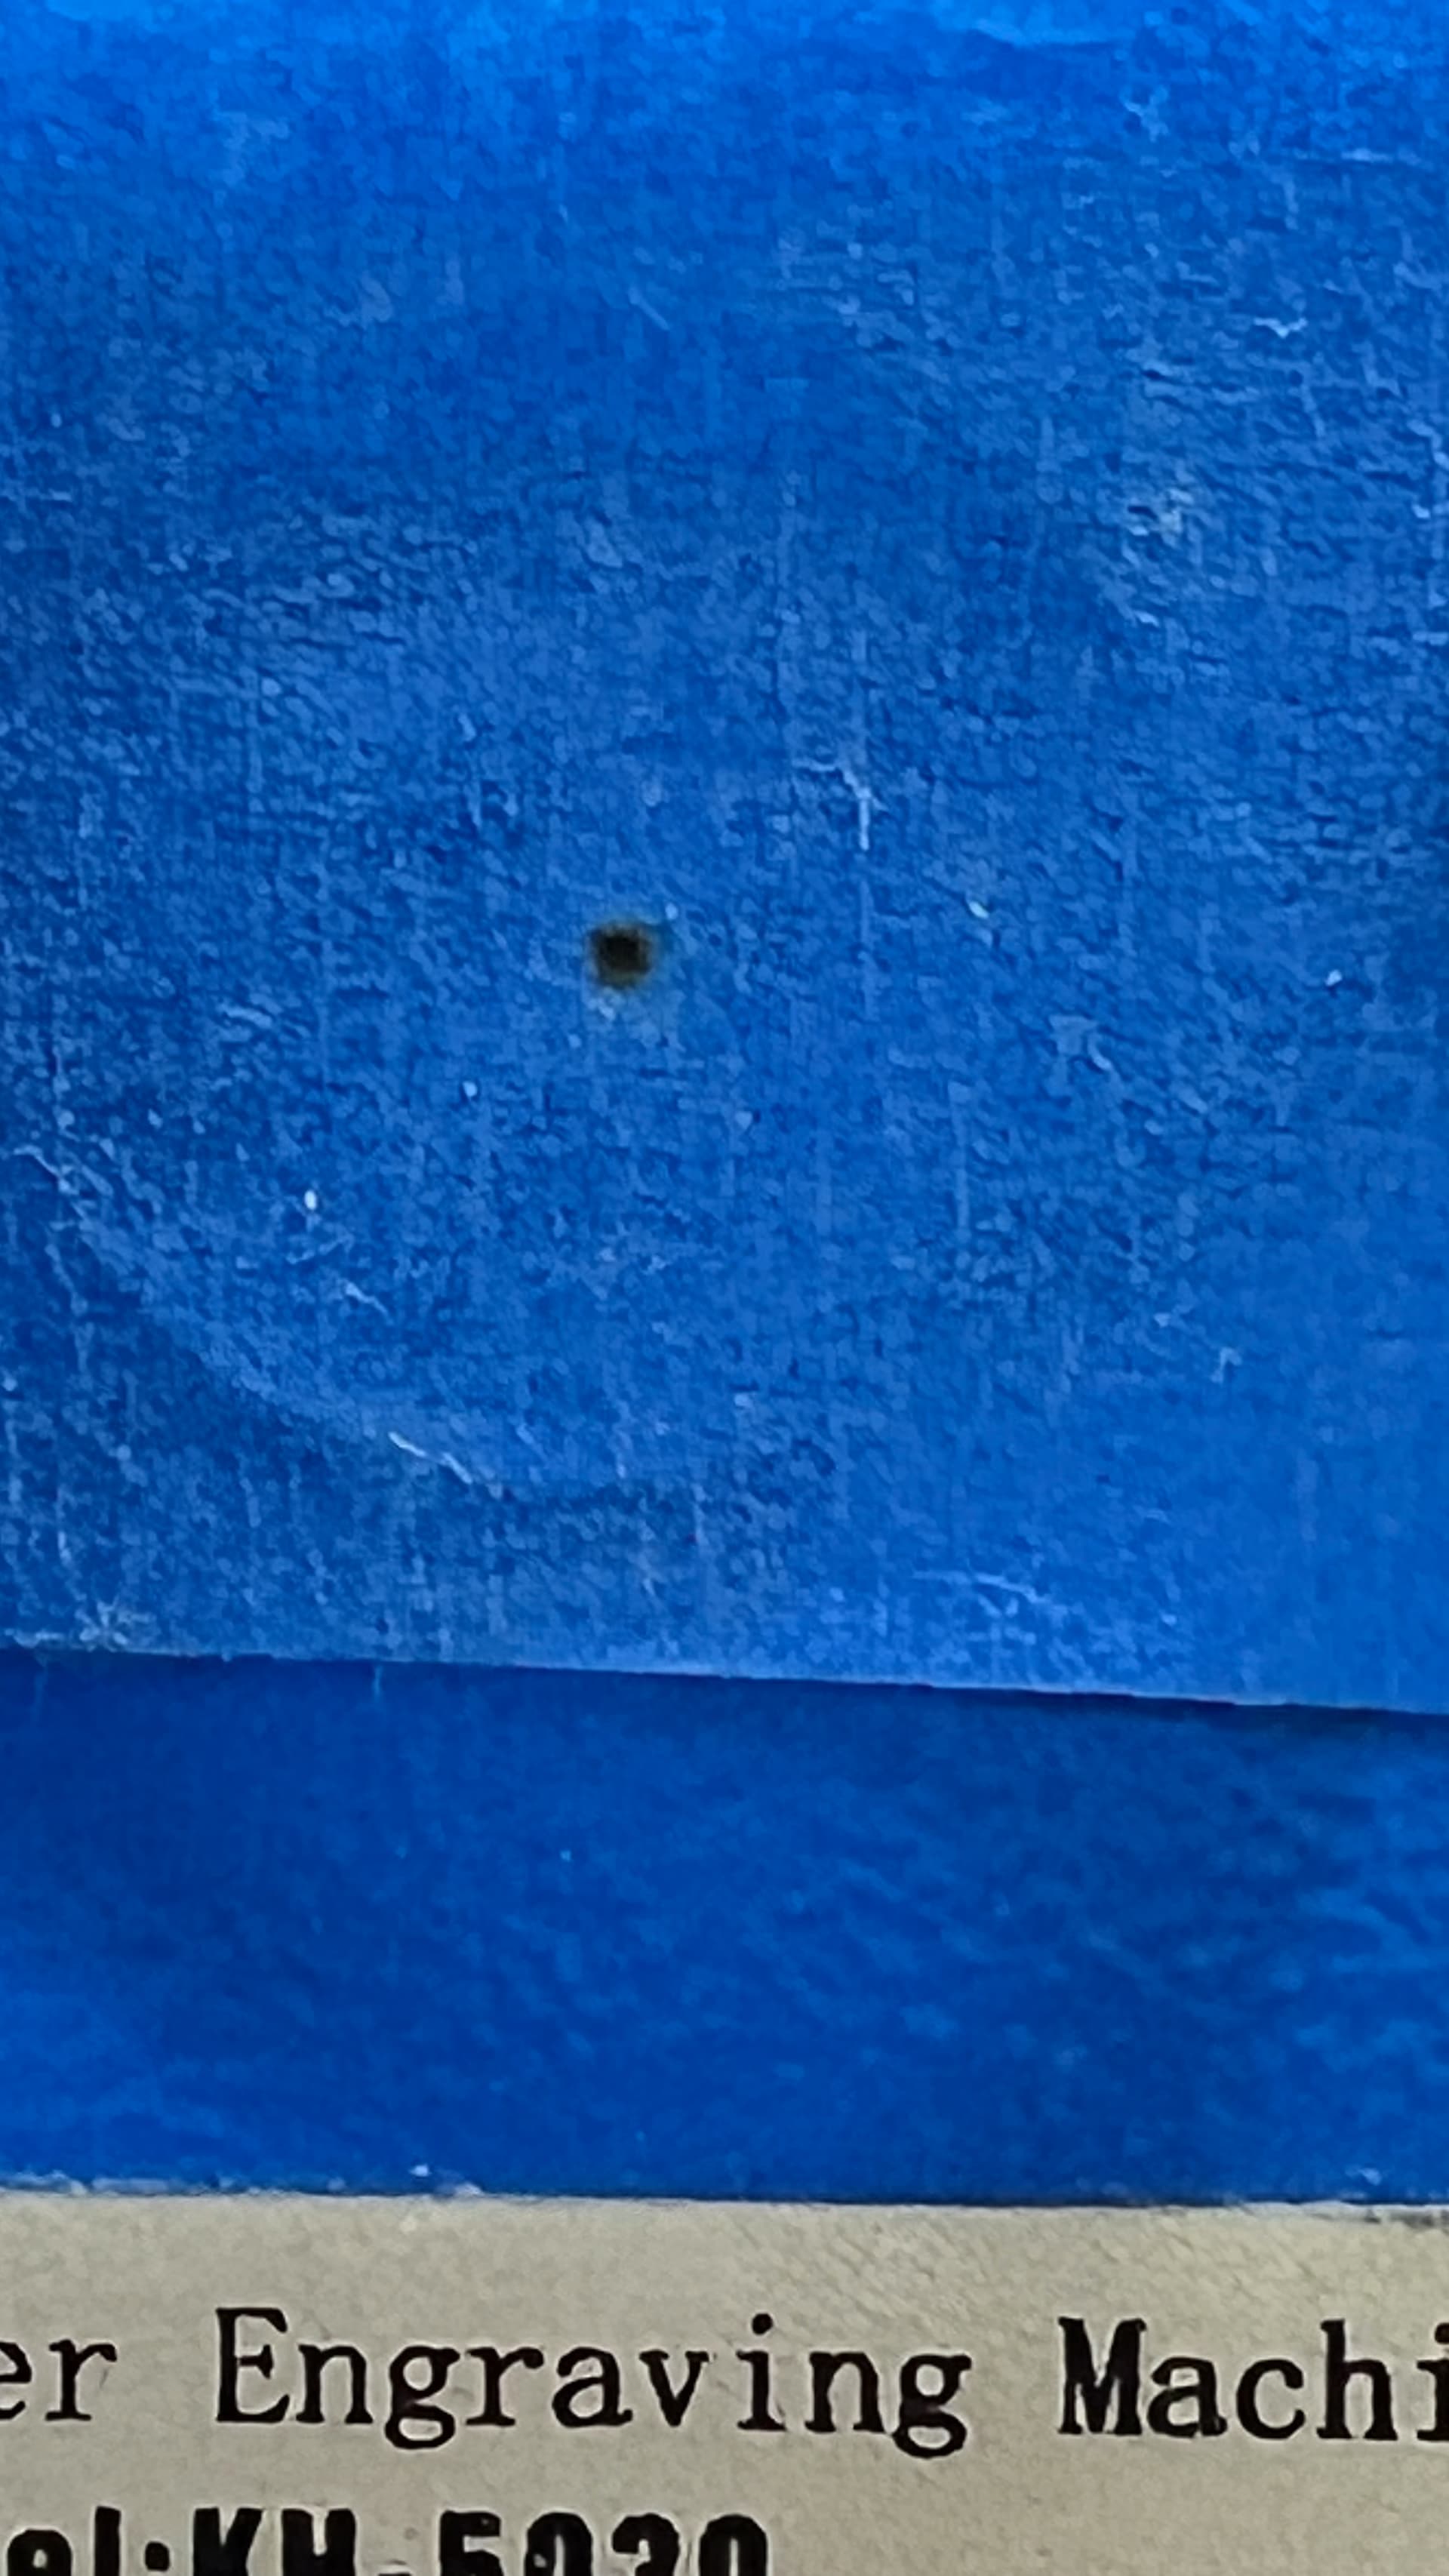
A quick test is also to put tape on the nozzle and make a pulse shot, this can sometimes give an idea of whether the laser beam comes out of the nozzle correctly/centred.
What amazes me is that you need so much power for basswood. In the last entry, your power is even at 100%, unless you have reduced the output of your power supply to the tube, then it is not a good idea.
It is also possible that your tube has served its life or has been run too hot.
What do test shots on the M1 look like?
I only upped the power because I wasn’t cutting through. My understanding is I should not go over 80% power. When I first started these attempts, I was running at 75%.
I’m a noob when it comes to CO2’s… I don’t know how to reduce the output to the power supply.
As for the tube, the person I purchased the unit from had just replaced the tube. He showed me the receipt and I don’t believe he was trying to pull a fast one since he gave me other items he didn’t have to (wood, rachet tie-down, advice, etc). They weren’t part of the purchase - he just offered them up. I’m not a trusting soul but I would feel confident he was telling the truth.
Max and min power at the same value and try to use the milliseconds settings from the machine. There is still a hole through.
But apart from the fact that it is not in the centre, I think it does not look bad.
Now that you’re at it, you can also show us M2 and M3 in both positions (farthest and closest to the tube).
P.S. have you tried setting your min. power to the same as max power when cutting wood?
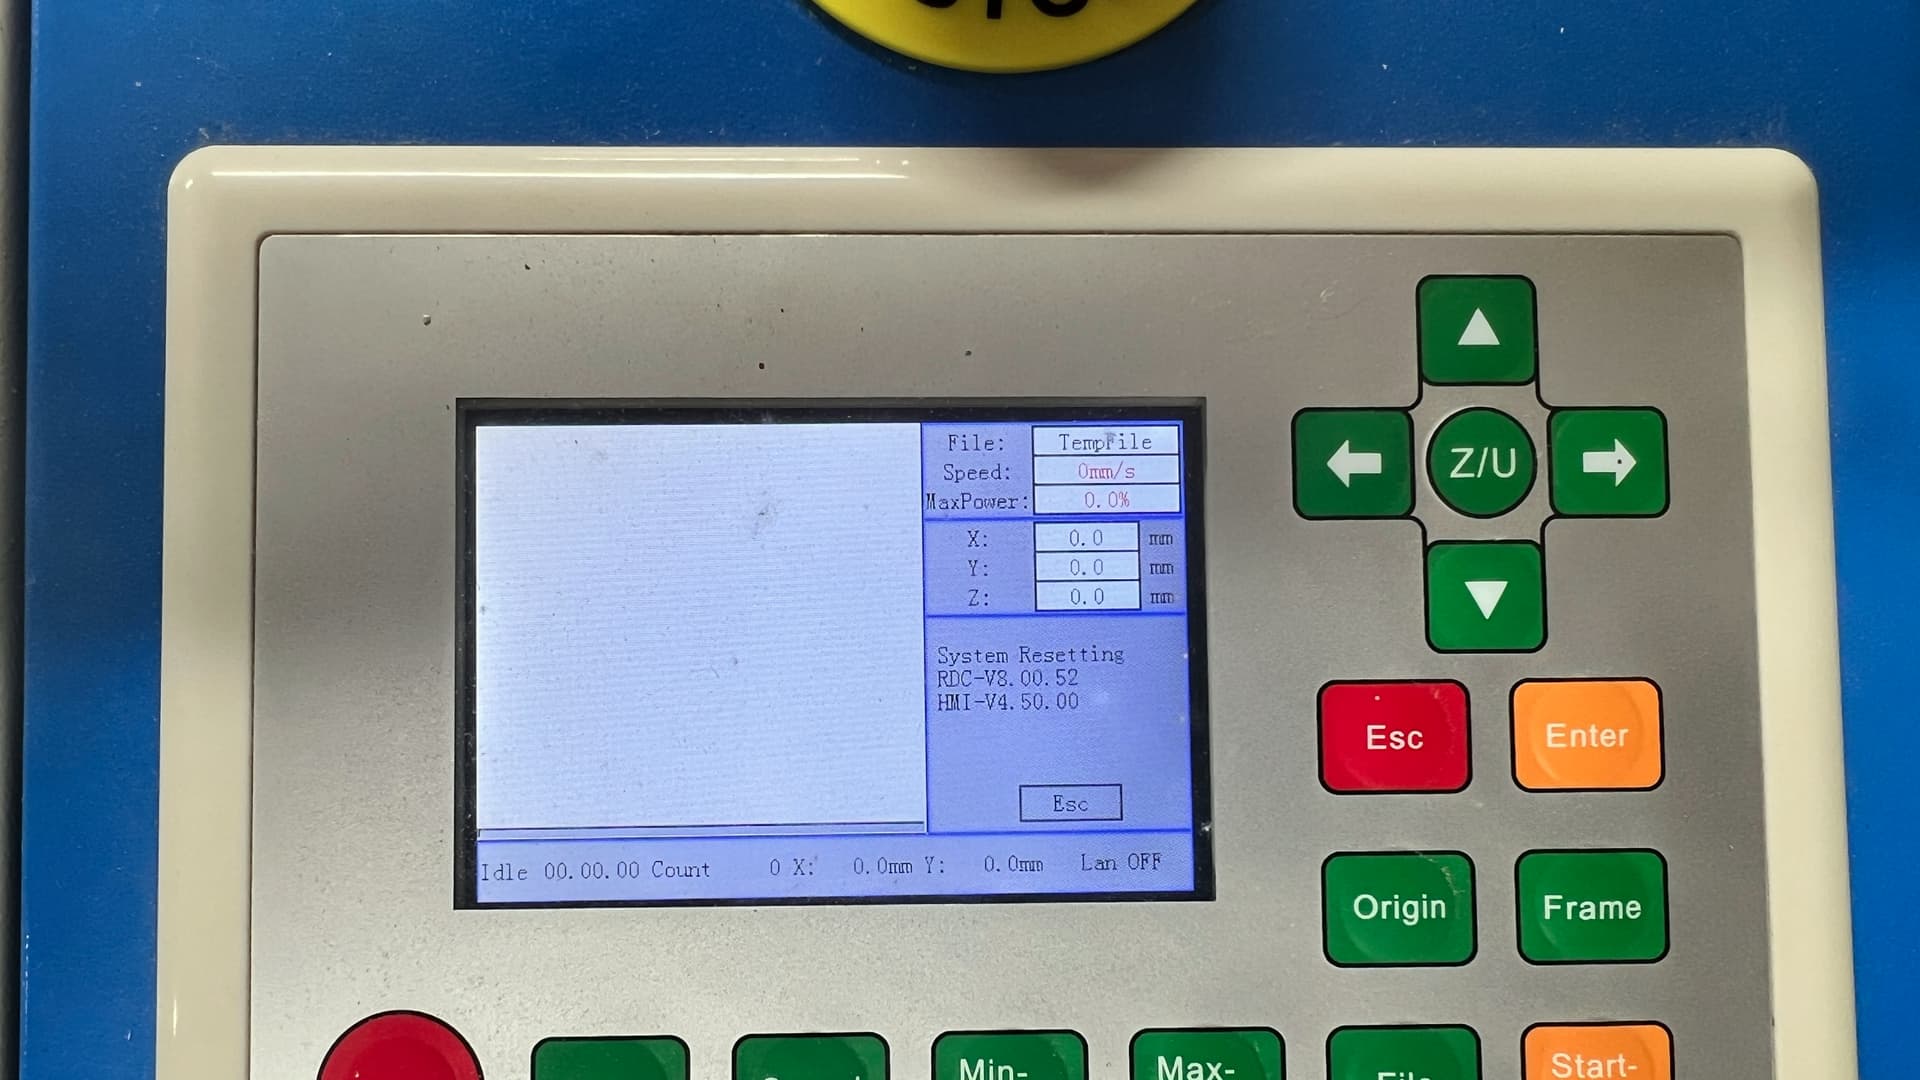
I think @jkwilborn has the same machine/controller, it might be him or someone else with Ruida answering it, to be precise. My controller is a clone and slightly different. In my KT332N it is “Enter” in the main menu, then it switches with the arrows to the speed and power parameters.
Seems I may have other issues. When I powered the machine on to do the mirror test, I couldn’t get the X or Y-axis to move. Weird. I notice that in the electronics bay, these two modules were blinking red. After rebooting, one came back (X-axis) and stopped blinking
The control buttons can be strange sometimes, you can try to run through LightBurn with X and Y and see if it works normally.
You may find a manual online if you didn’t get it with the purchase, it’s nice enough to have read it.
I’m done for today, it’s past midnight here.
However, I am quite sure that there are others who would also like to help you get started with your new machine.
With my ruida controller the min power settng will be used whenever your speed is set below 10mm/sec. Your screen shows 5mm/sec and a min power of 11%. Increase your speed above 10 or set your min power the same as max power-- normally have my min/max power set to the same value.