I haven’t figured out what to click on to update my profile. I am using Rochester Makerspace CO2, 80 watt Laser. I have my settings for the following at 6/80 for the following. I have tried different settings, some require me to make 2 passes, some do not cut through the wood (3/8" plywood). Actually have no idea what I am doing.
https://forum.lightburnsoftware.com/u/Lucie/preferences/profile to update your profile and machine.
I’d start here:
I suggest using a small grid of simple shapes like squares for testing the best speed and power for that material. Trial and error testing takes a little investment, yet really helps you “see” how different settings affect the result you get. Testing is worth the time.
Once you find a setting that works for a given material, you can save it in a ‘Materials Library’ for easy recall the next time you are ready.
Does this system have air assist, blowing when you are cutting a job? If so, include trying with it On and Off in your testing. It matters, and really helps with cleaner results, depending on what you are cutting.
I hope that helps. ![]()
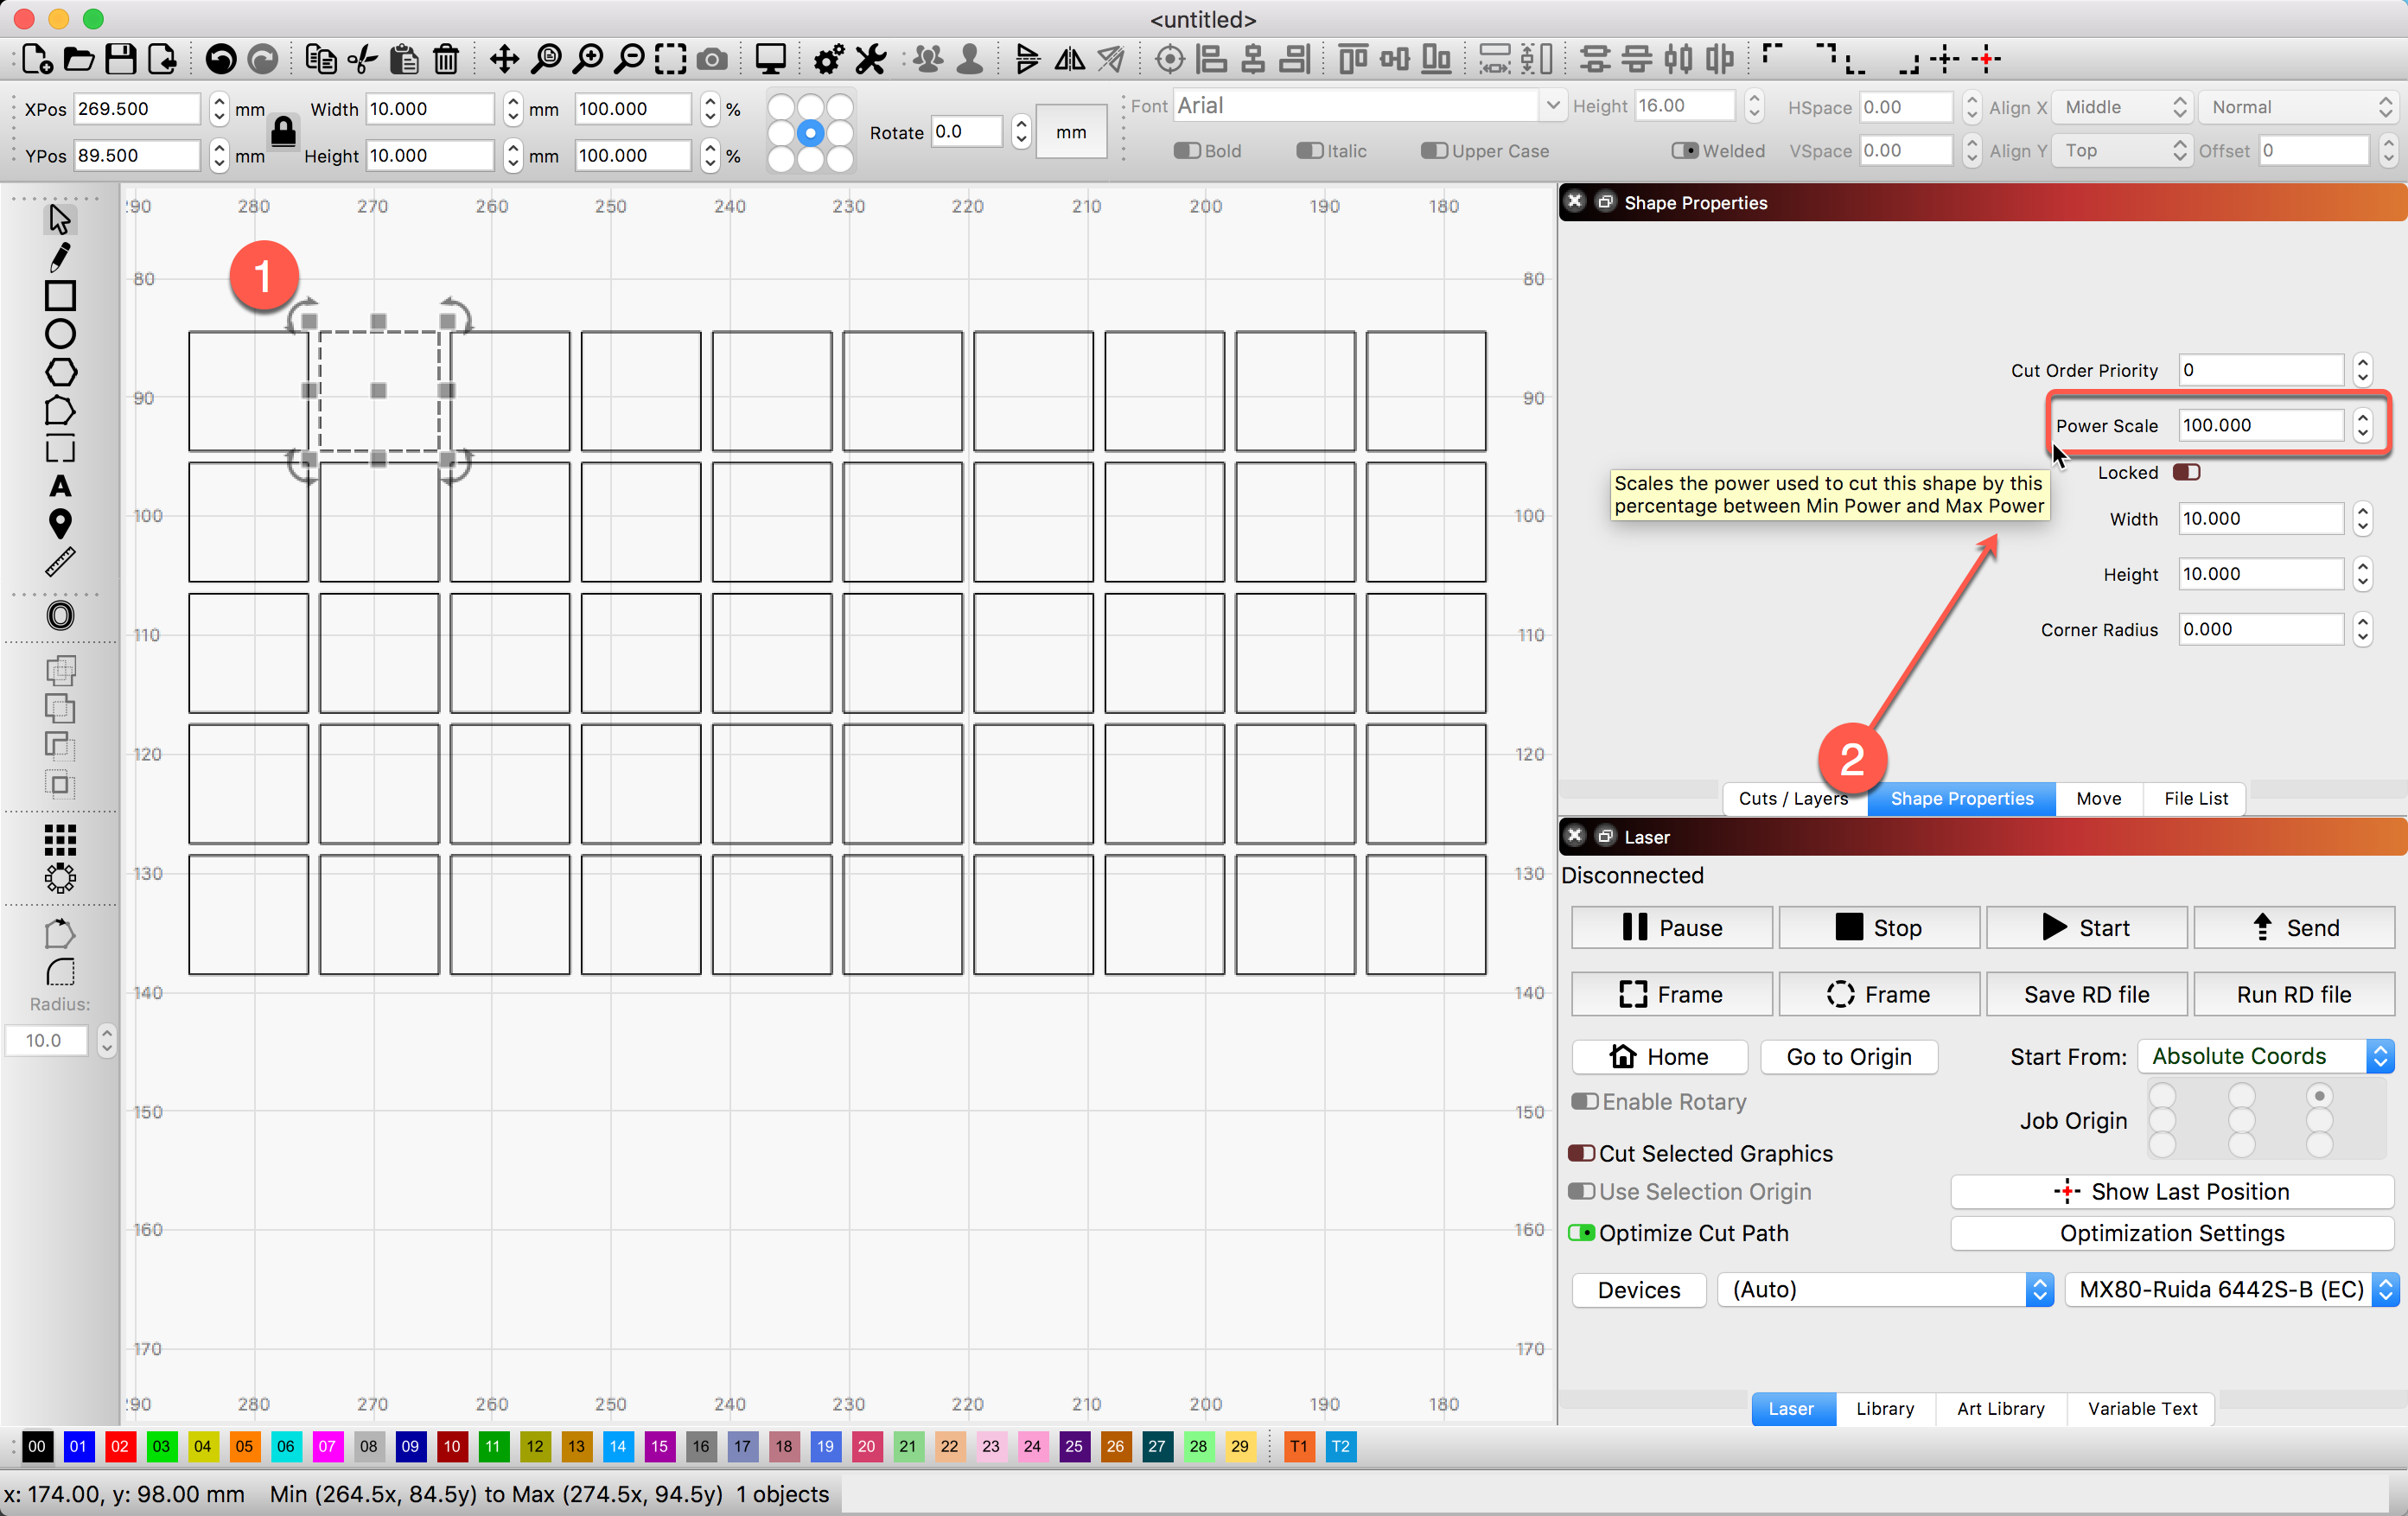
Select one of the squares, then adjust the ‘Power Scale’ from the ‘Shape Properties’ tab. Redirecting...
1 Like
Yes, this system does have air assist, thanks for the tip–another thing to try. What I am having difficulty understanding is what you select to create the two “line” settings? Not really understanding mm in lieu of in?
Lucie, I think you assign a different color to each line setting and that will allow independent settings for each one.
Charlie
1 Like
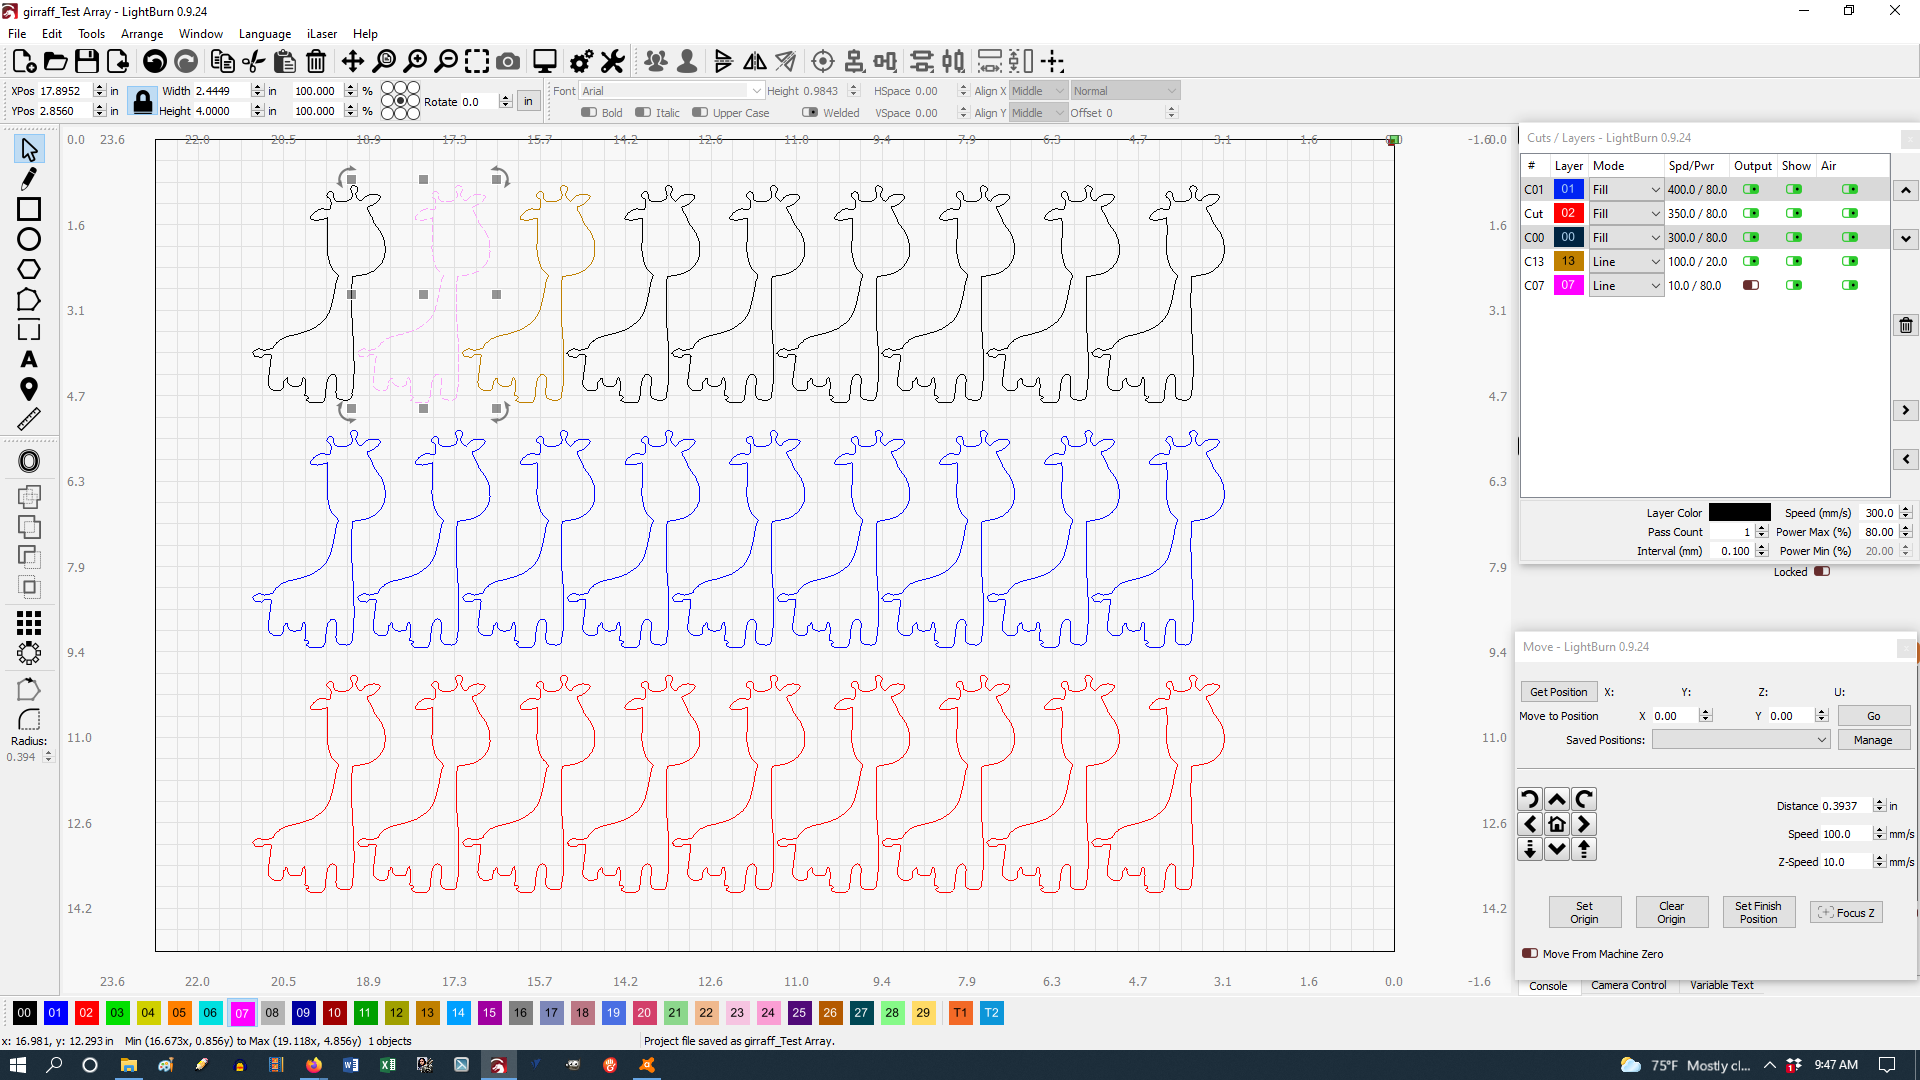
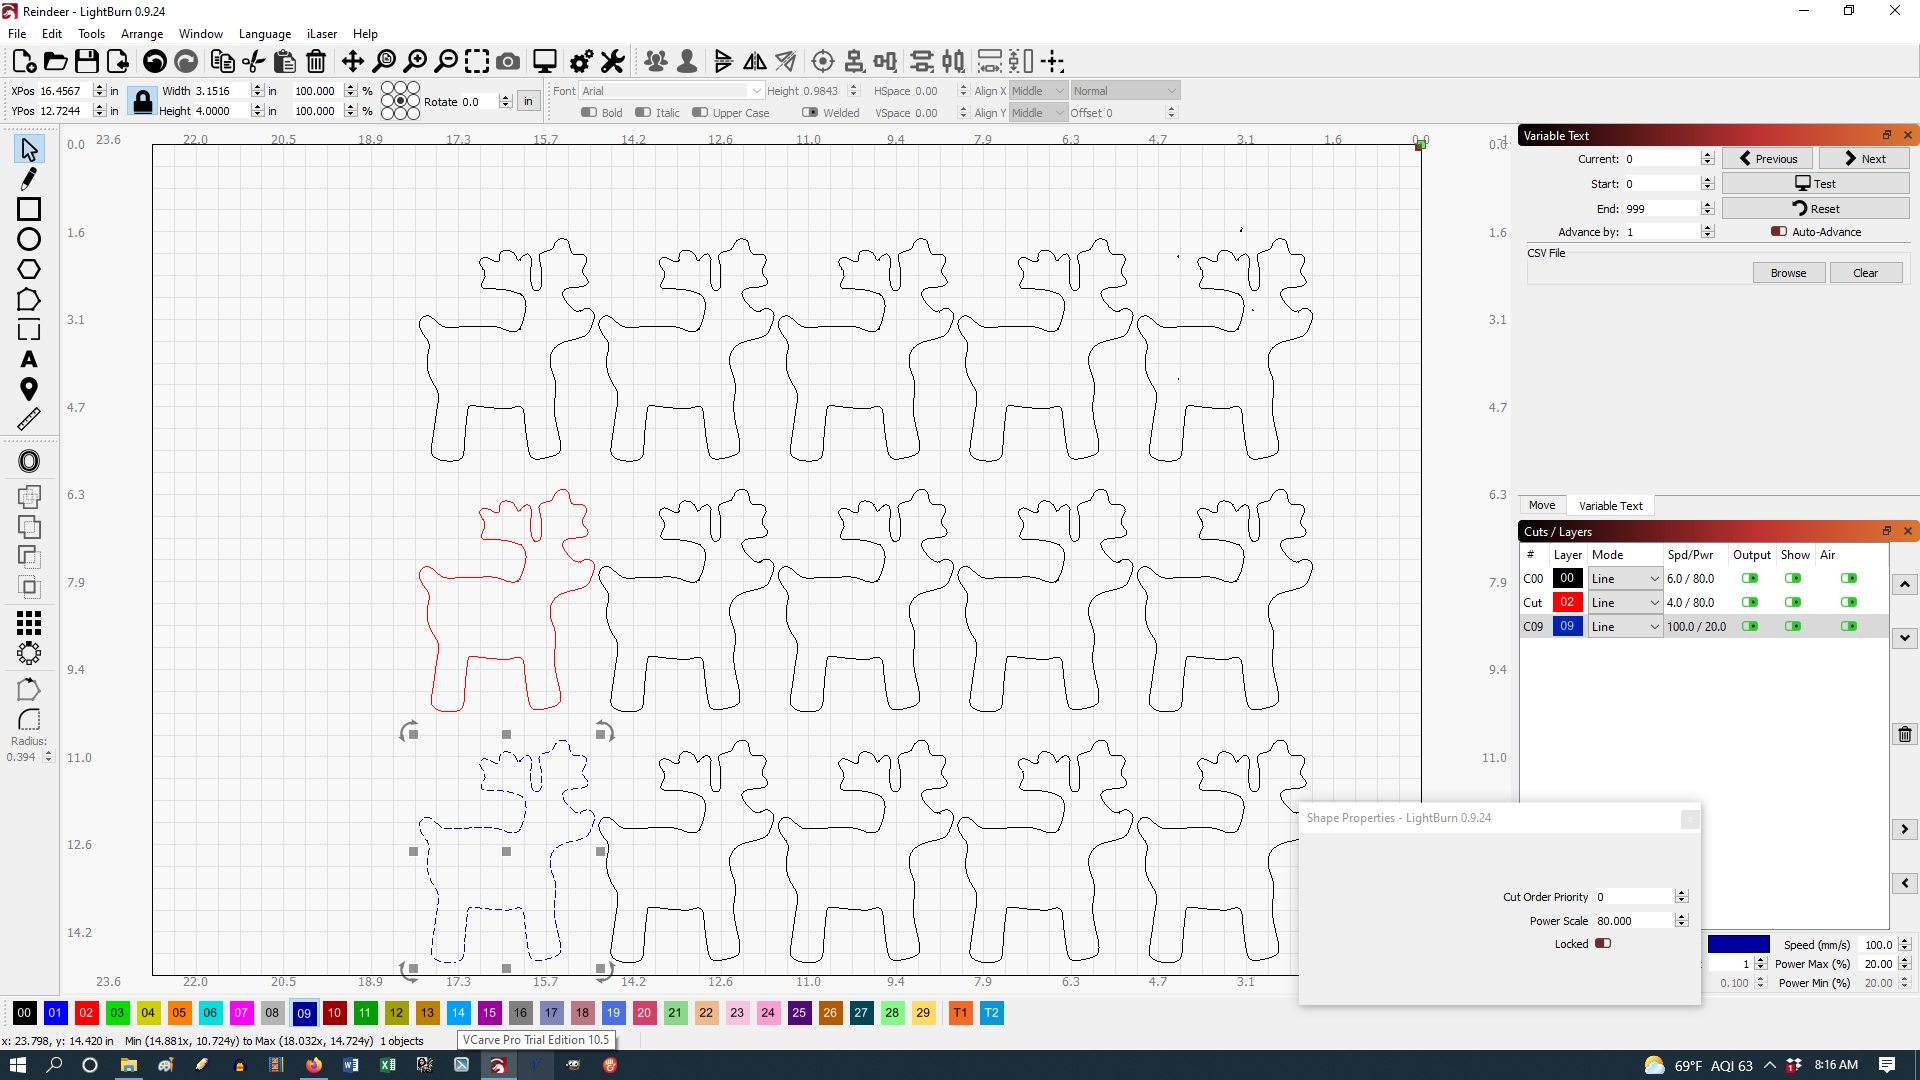
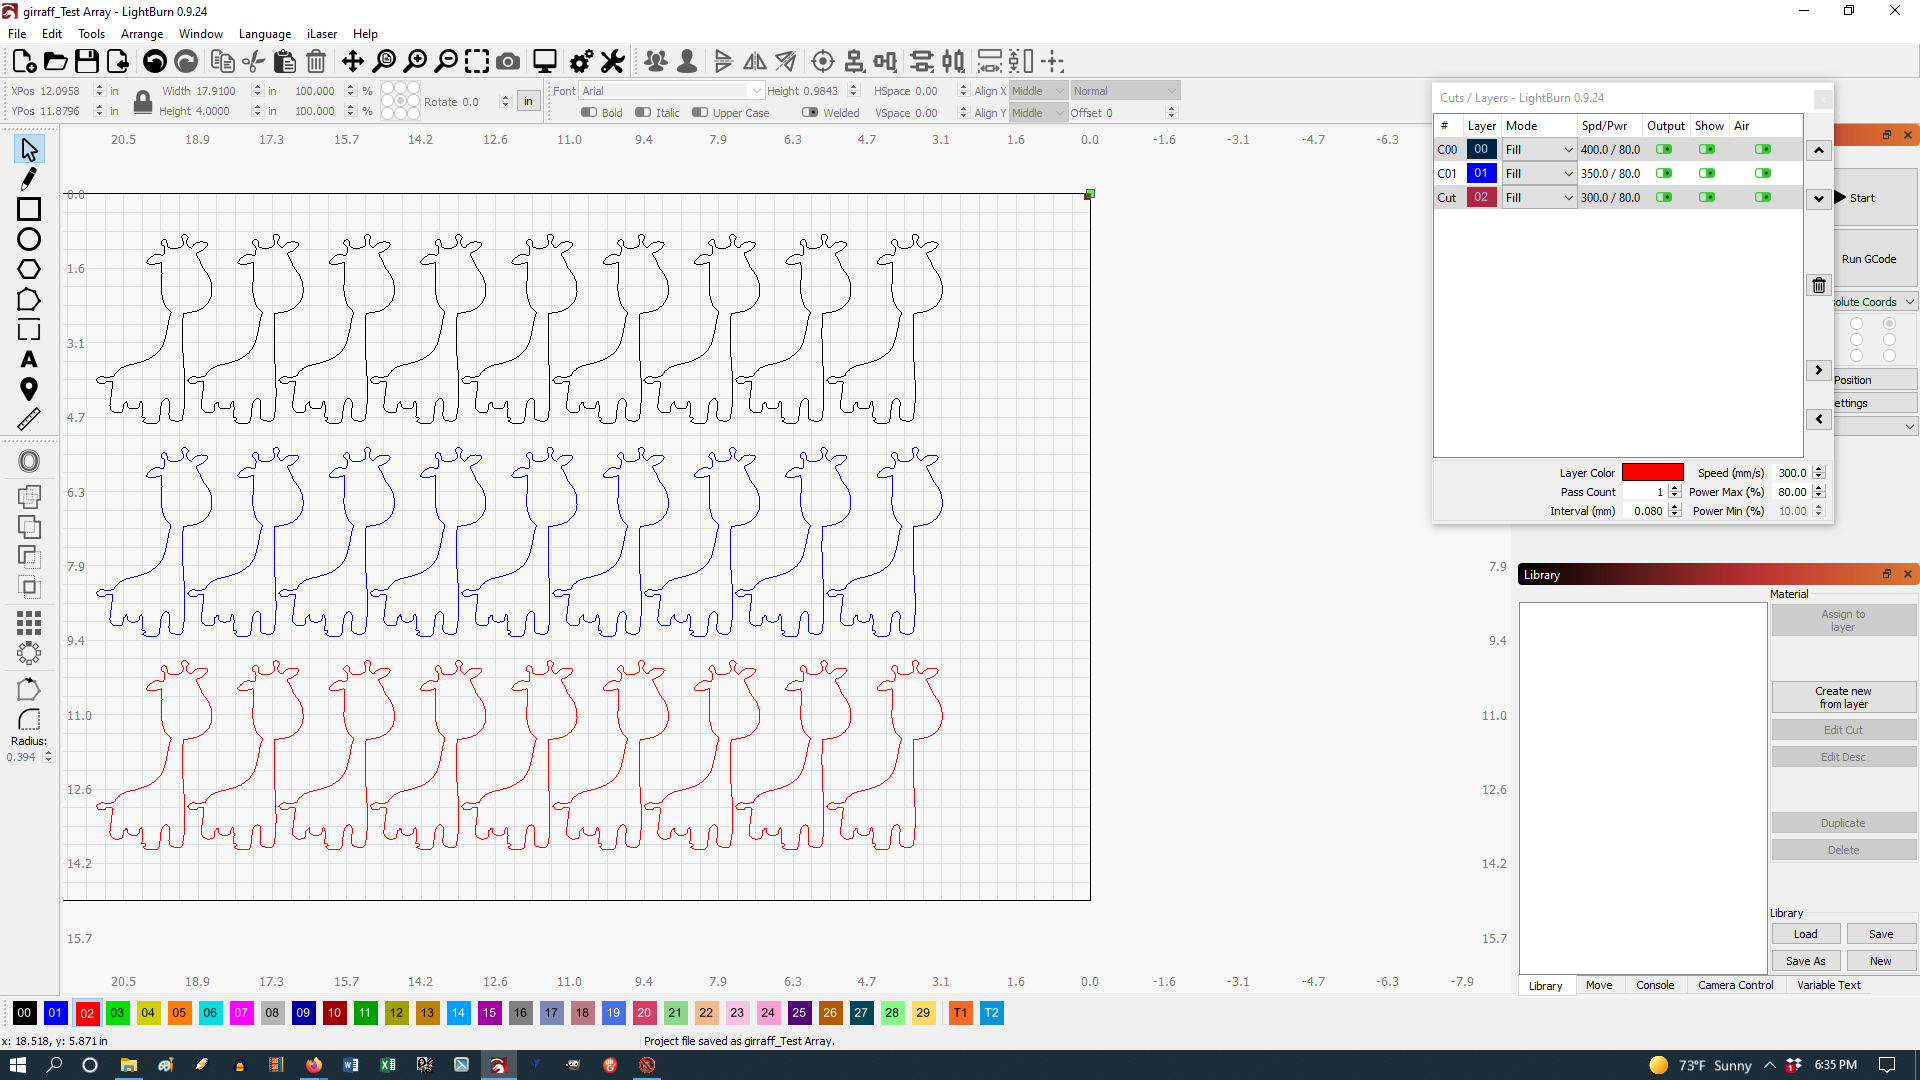
Another question…should line 100.0/20 read 20/80?
Power is set for all objects on a layer. You can then adjust one or more of the shapes on a layer to also have a Power Scale applied. The main UI you are showing will show the power set for the entire layer. You need to look to the ‘Shape Properties’ window for ‘Power Scale’ settings, if any are applied.
1 Like
You have not shown us the setting on the Shape Properties page. Did you change the Power Scale for one of these shapes?
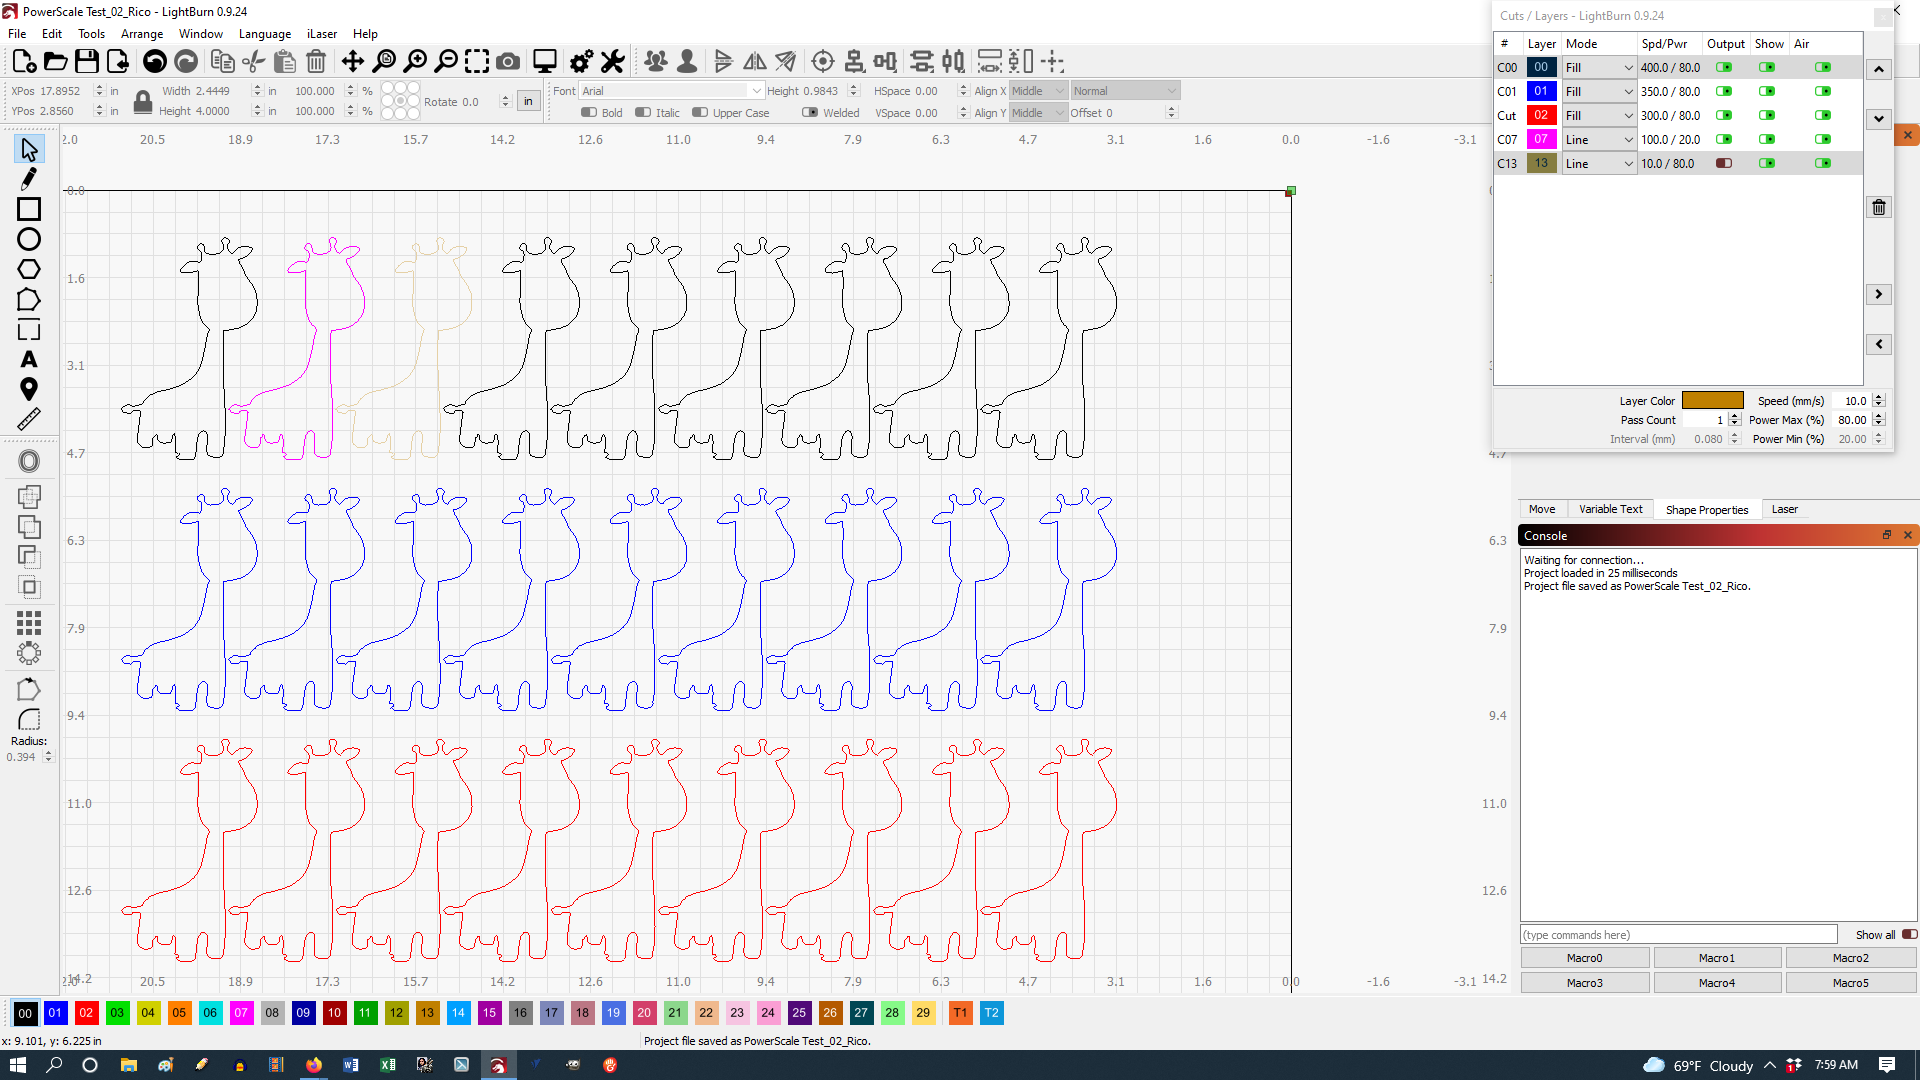
The 'Material Cut/Scan Test Files - Power Scale’ post and file are good to download and review to see how I set it up. This should help with understanding.
In this example, I have set the red layer to cut as Line with the Power set to max 50%, min 20%. I then selected the red square and set a Power Scale of 50%. The expected output for that shape will be in the middle of that of max 50%, min 20% power range - or 35%.


1 Like
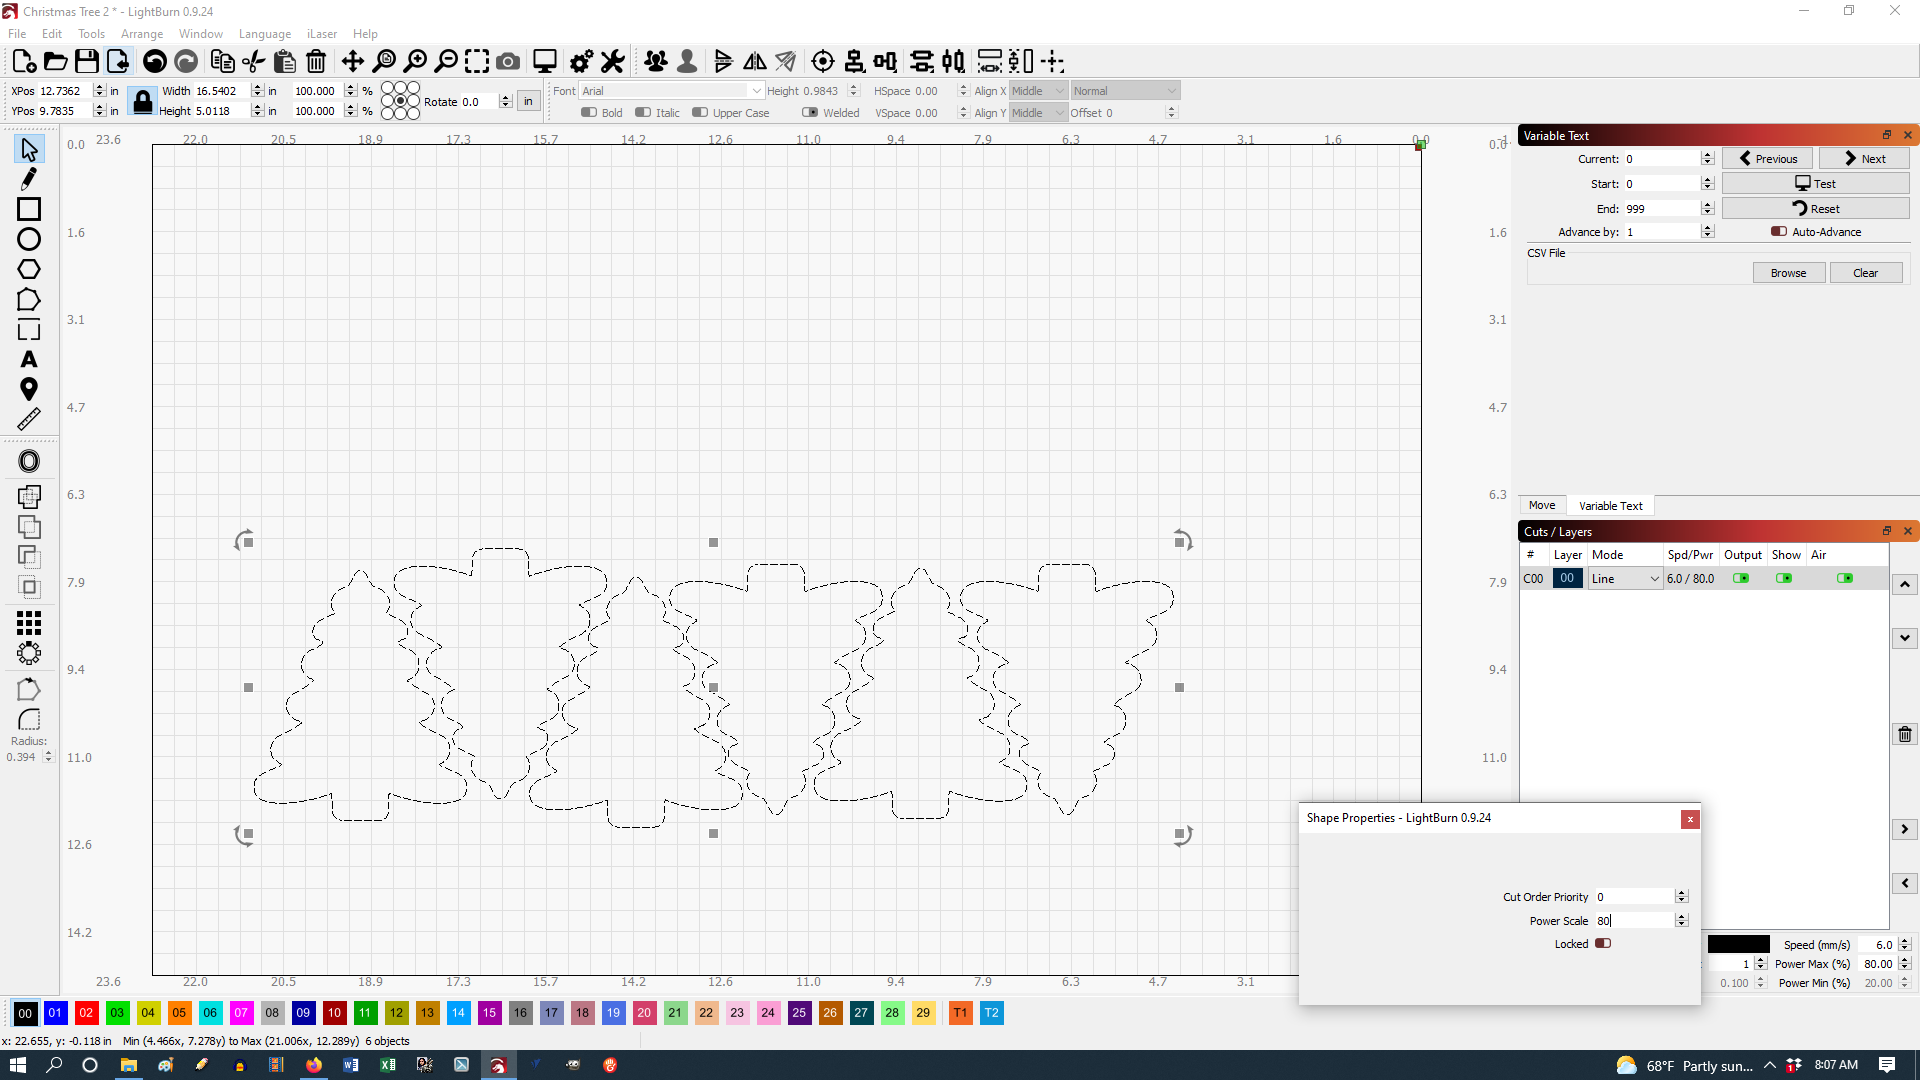
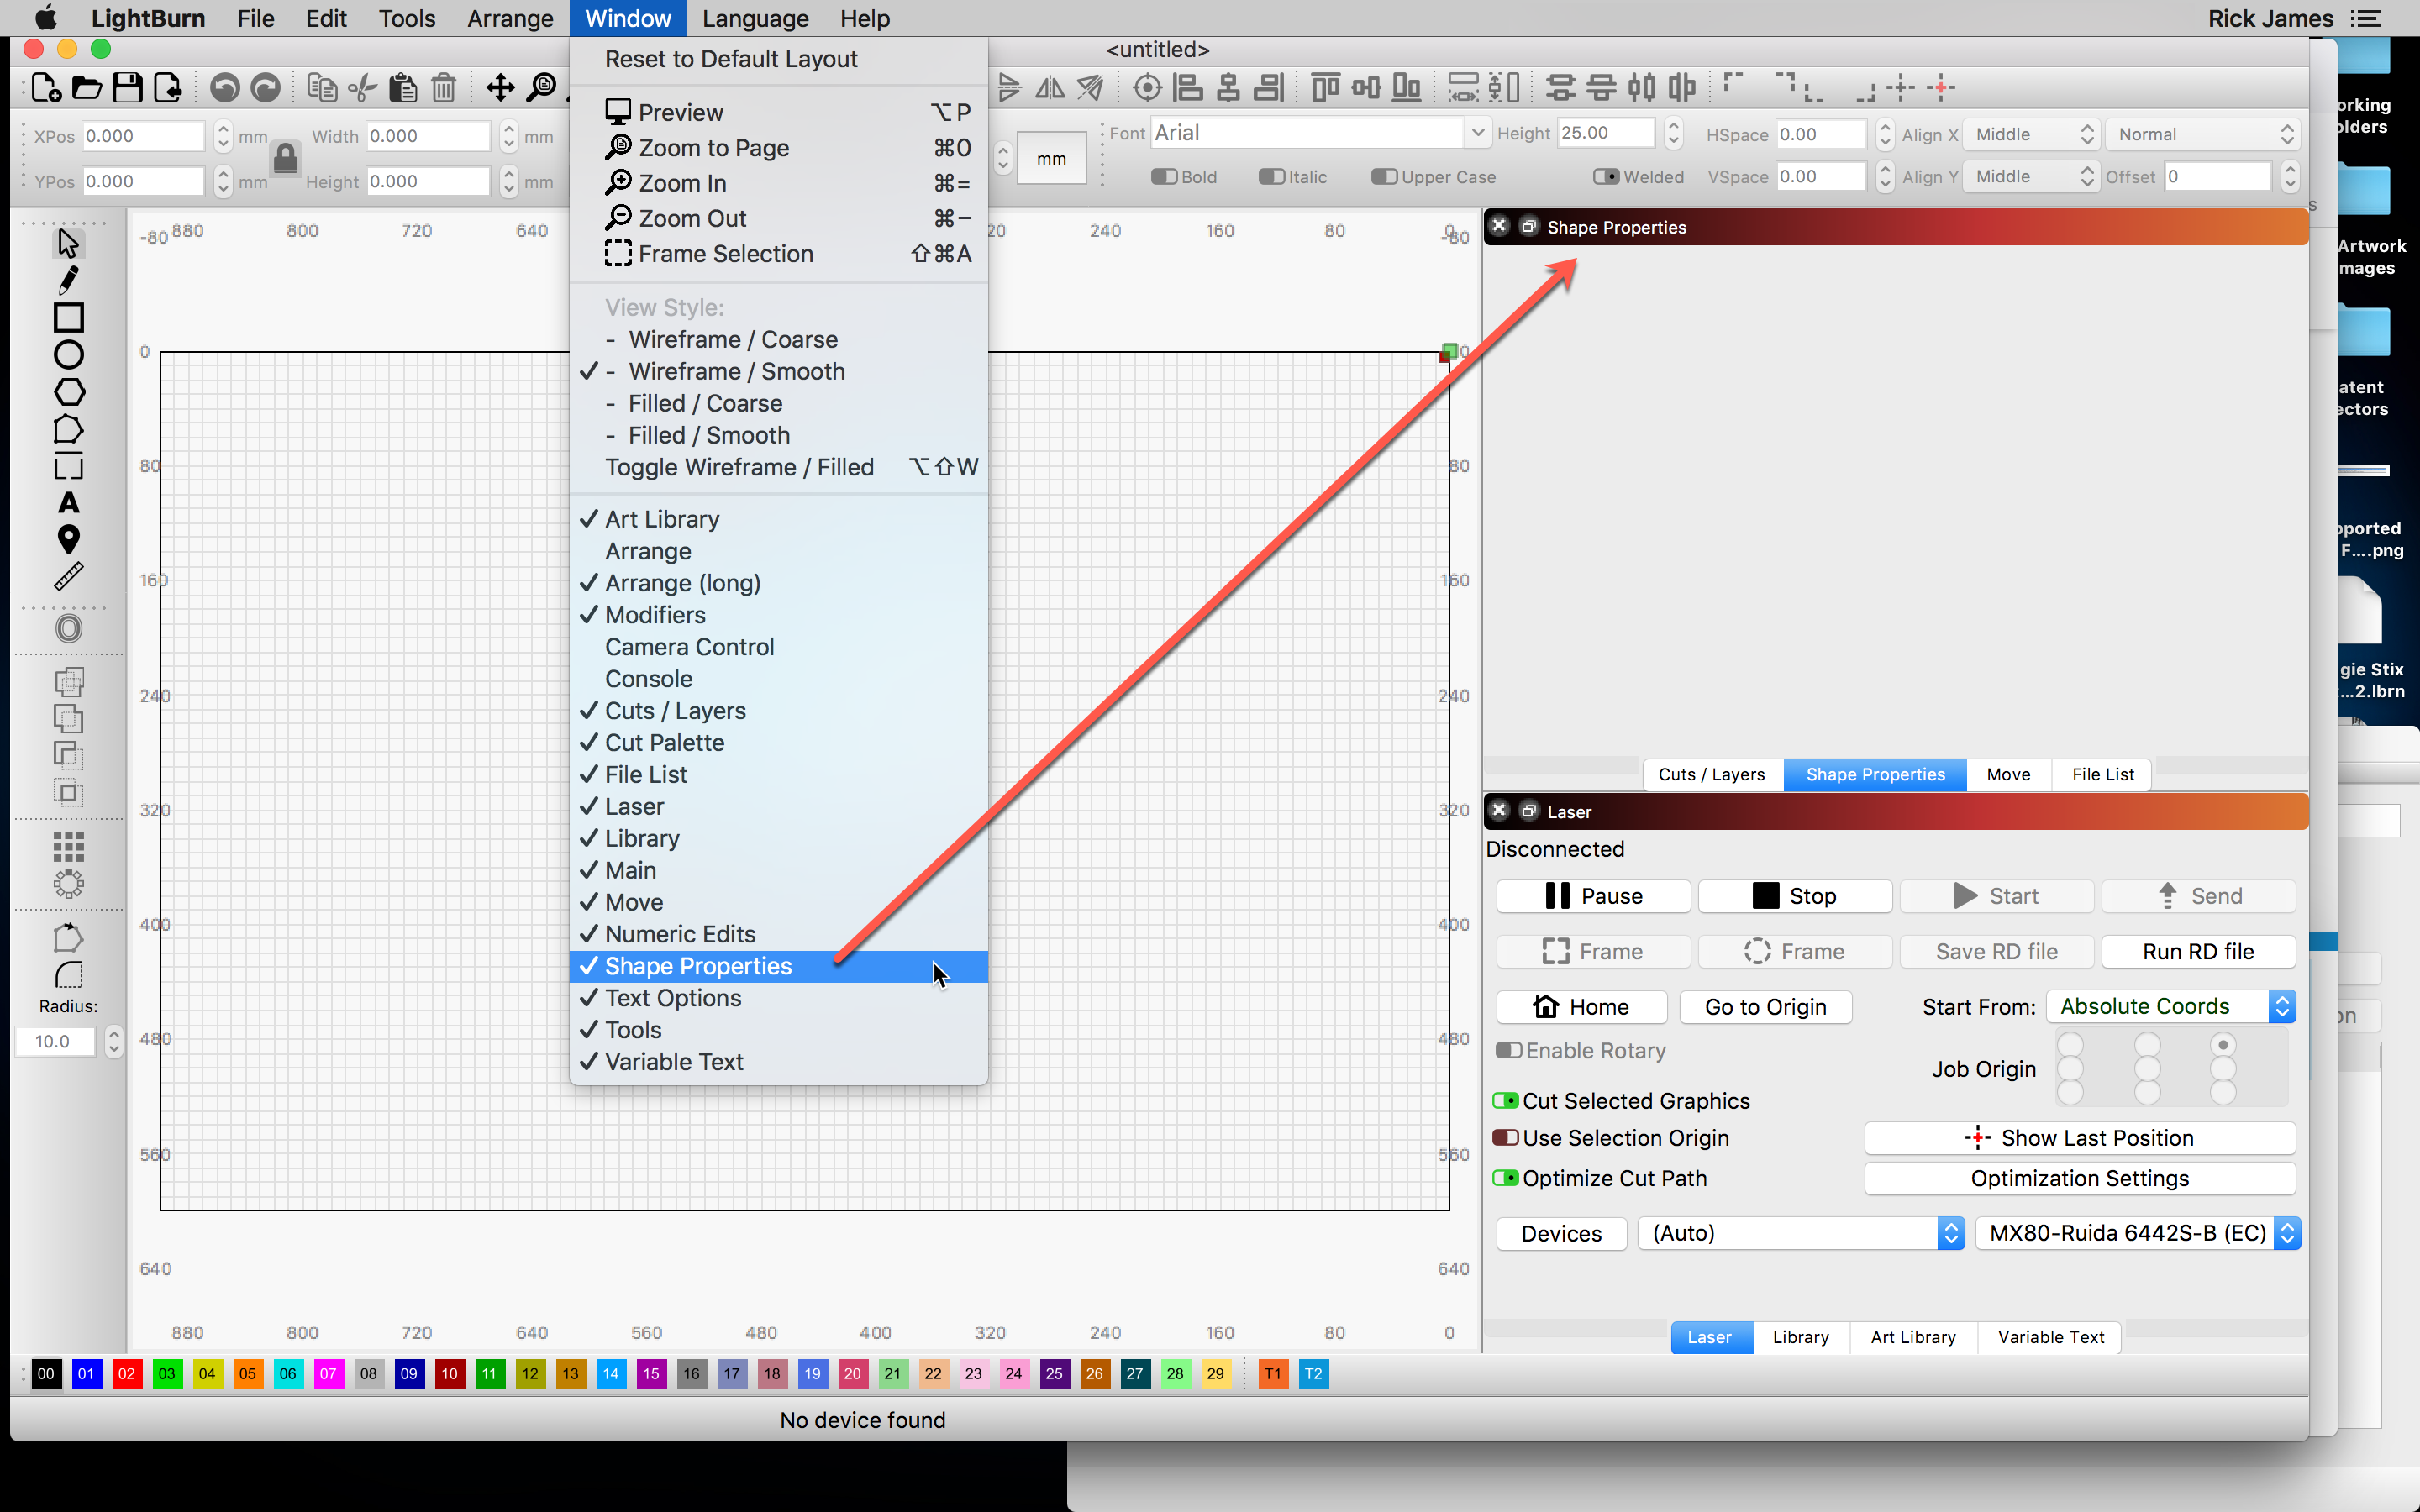
Oh golly, this has got to be a really dumb question! I am at home, not at Makerspace’s lazer machine. This is what I see when I click on Windows, Shape Properties–do I have to be connected to the lazer to have access to these settings?
Close the Console window, you will not need that if the laser is using a Ruida or other DSP controller. Open the ‘Shape Properties’ window from the ‘Window’ menu. You can then grab the title-bar, drag that window to where you want it, then drop.

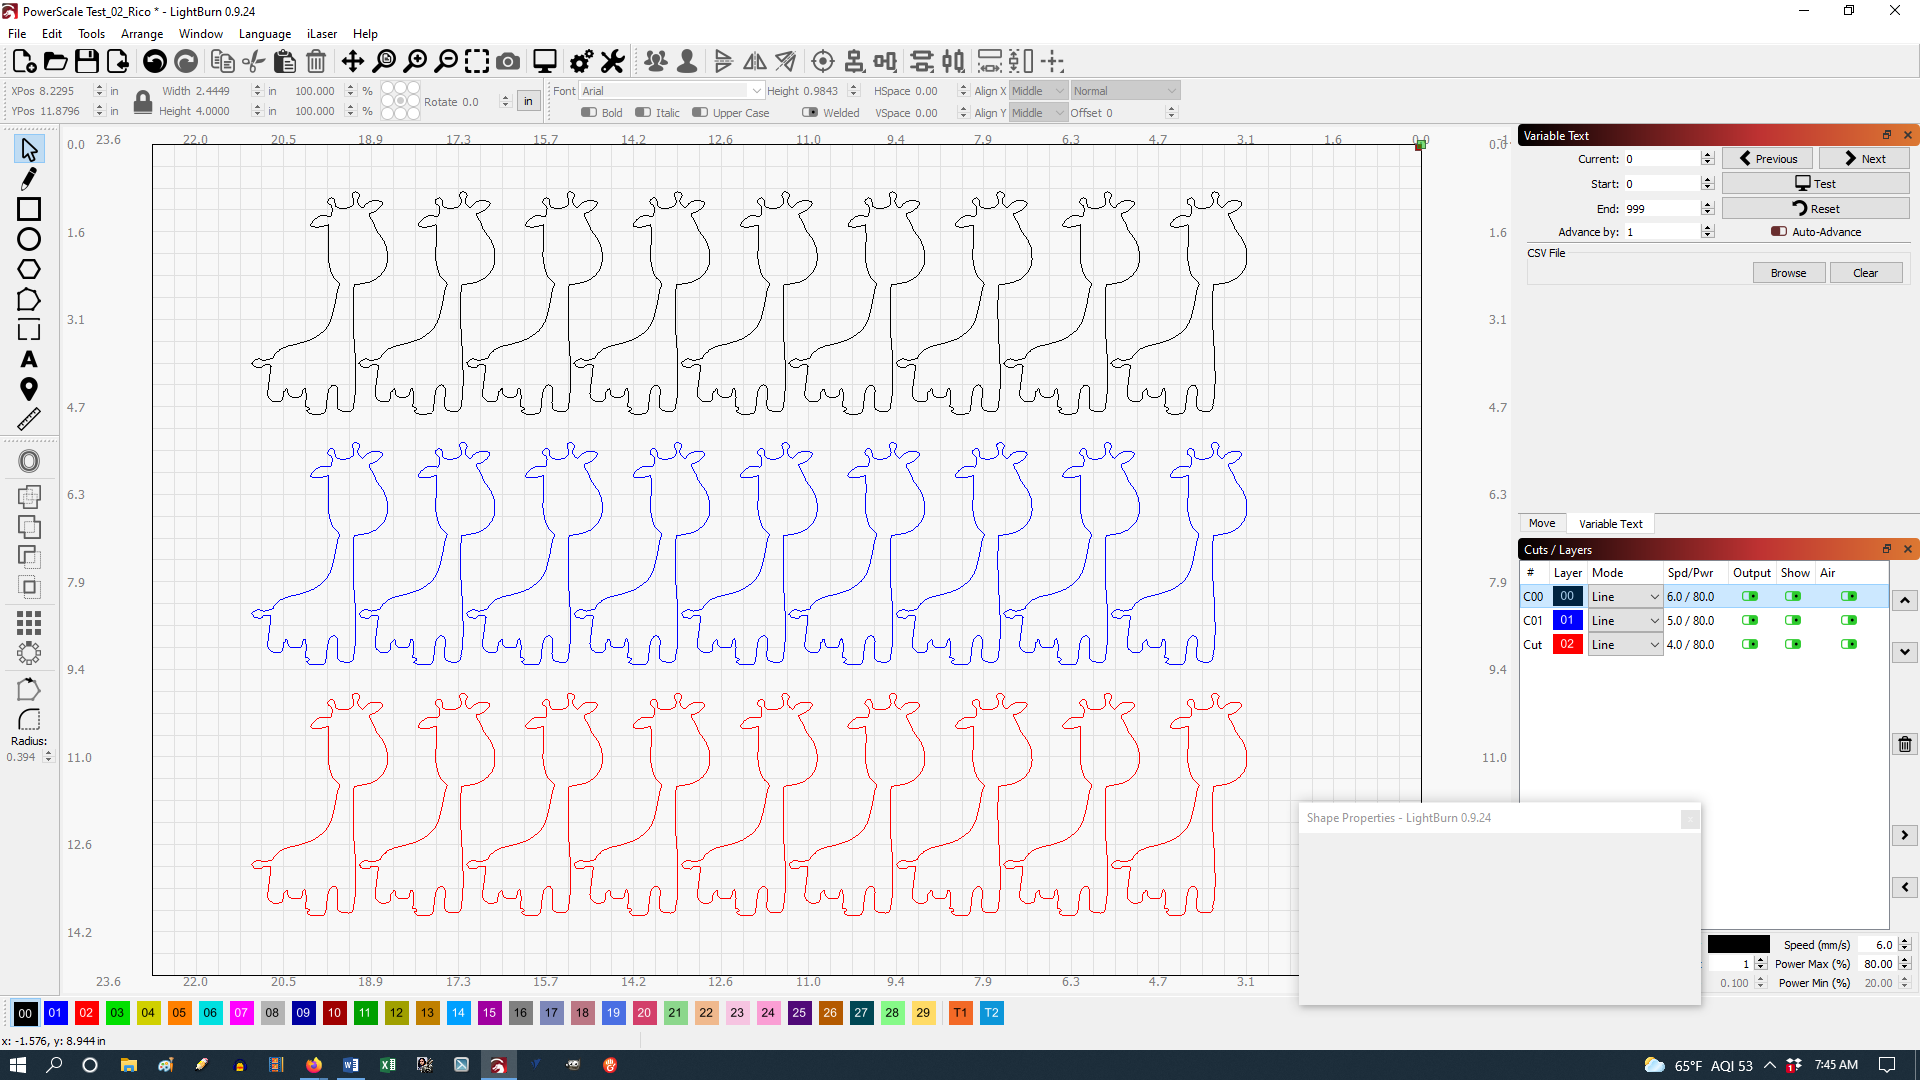
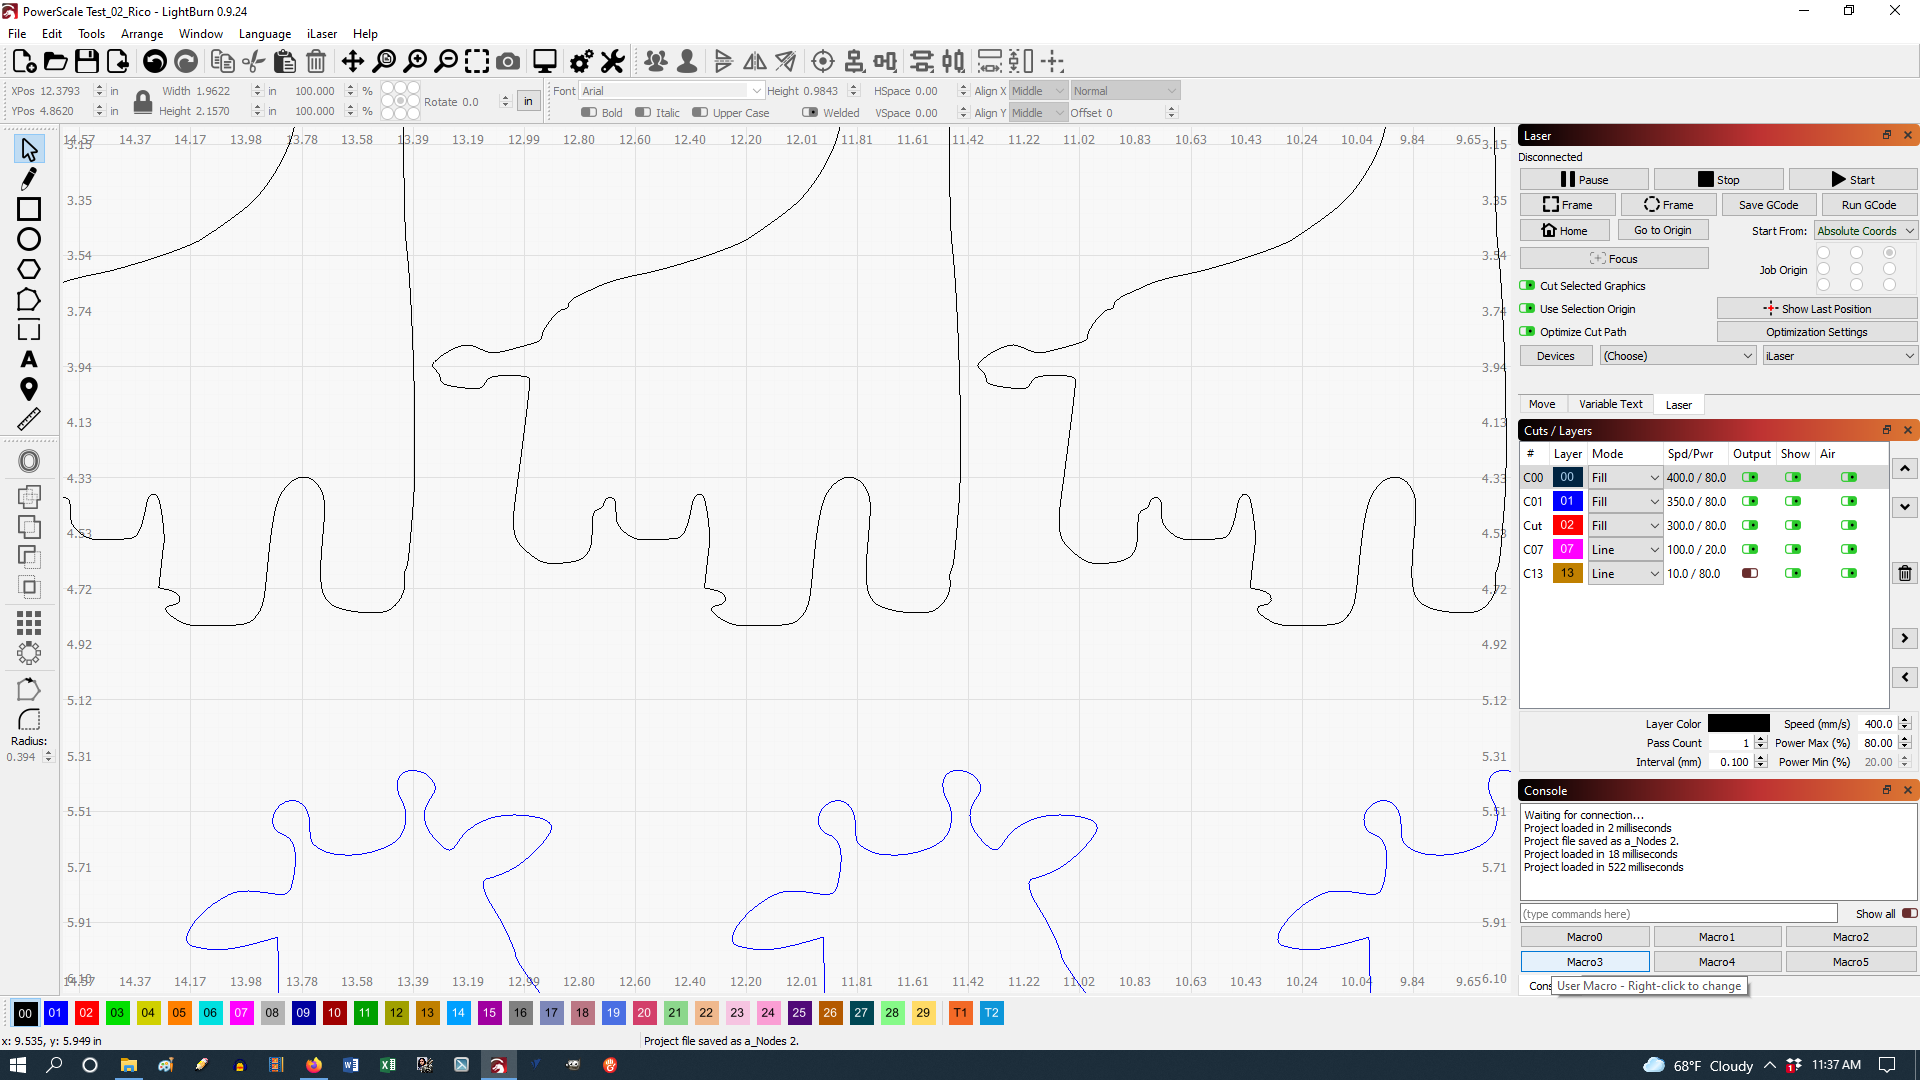
I just realized where to locate the Shape Properties window and that I had to scroll down to see the settings. I use inches in lieu of mm. When I do an array of image Speed 6 Power 80 it cuts well at start and doesn’t cut well towards end of board. Here is latest attempt?