Peter, try to disassemble the nozzle and pulse (as short as possible) on a piece of cardboard and show a picture of it here.
Can I also suggest that when you do the disassembled pulse shot as suggested, that you mark the card with a circle showing the lens tube , which will in turn show the beam location in relationships to it.
Is the head and lens tube assembly perpendicular to the bed from x and y sides ?
Forgive me asking, but, when you do your mirrors and lenses do you check them in all the corners ?
Also do you have any 6mm or thicker clear acrylic. I use it to visualize my beam and indicate the power, beam form, alignment etc… A pulse is ok or better a cut that goes in and out of the acrylic is best, not to have the whole cut in the material.
1 Like
The size of the beam at the first mirror says there is a problem with the tube.
No adjustments or cleaning outside of the tube is going to fix that.
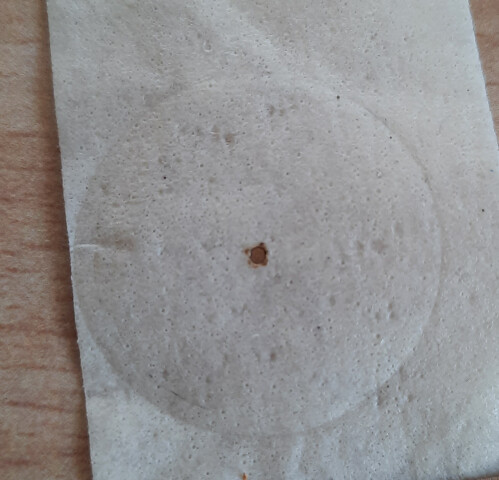
I used a tape directly on the tube with the lense (not touching the lense) with a short 20% pulse:
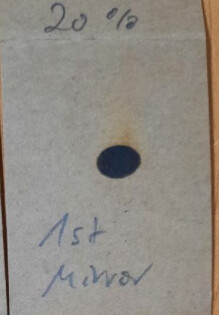
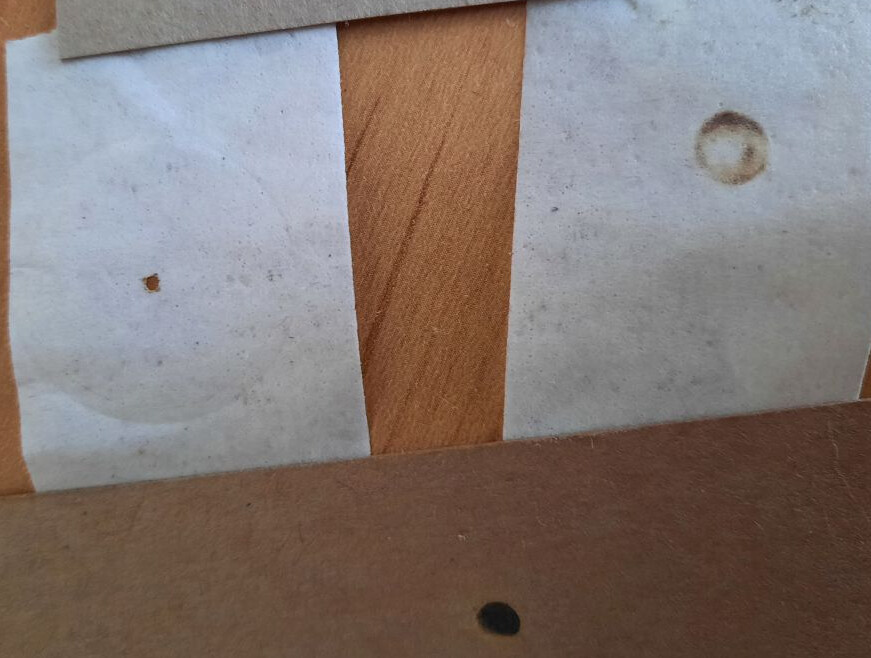
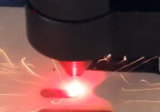
I made another 15% Pulse with tape on the first mirror and another 20% Pulse on hardpaper with the Nozzle, for comparison
I haven’t even touched the tube, what kind of issue would you expect here ?
From your latest picture, the beam appears to be smaller than what you posted earlier at the 1st mirror. I would say it is ok now at that point, but only 15% power. How does beam look at 1st mirror on higher power: 50%, 80%?
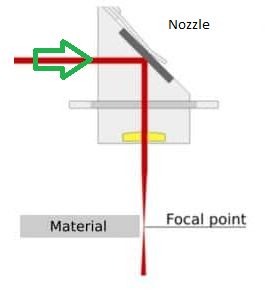
What does the burn look like if you put tape over nozzle at green arrow?
Hi,I can cut 6mm plywood with laser 20w Easily . good air compressor very important. Speed 200mm/min , Speed 100% 4 or 5 Passes.
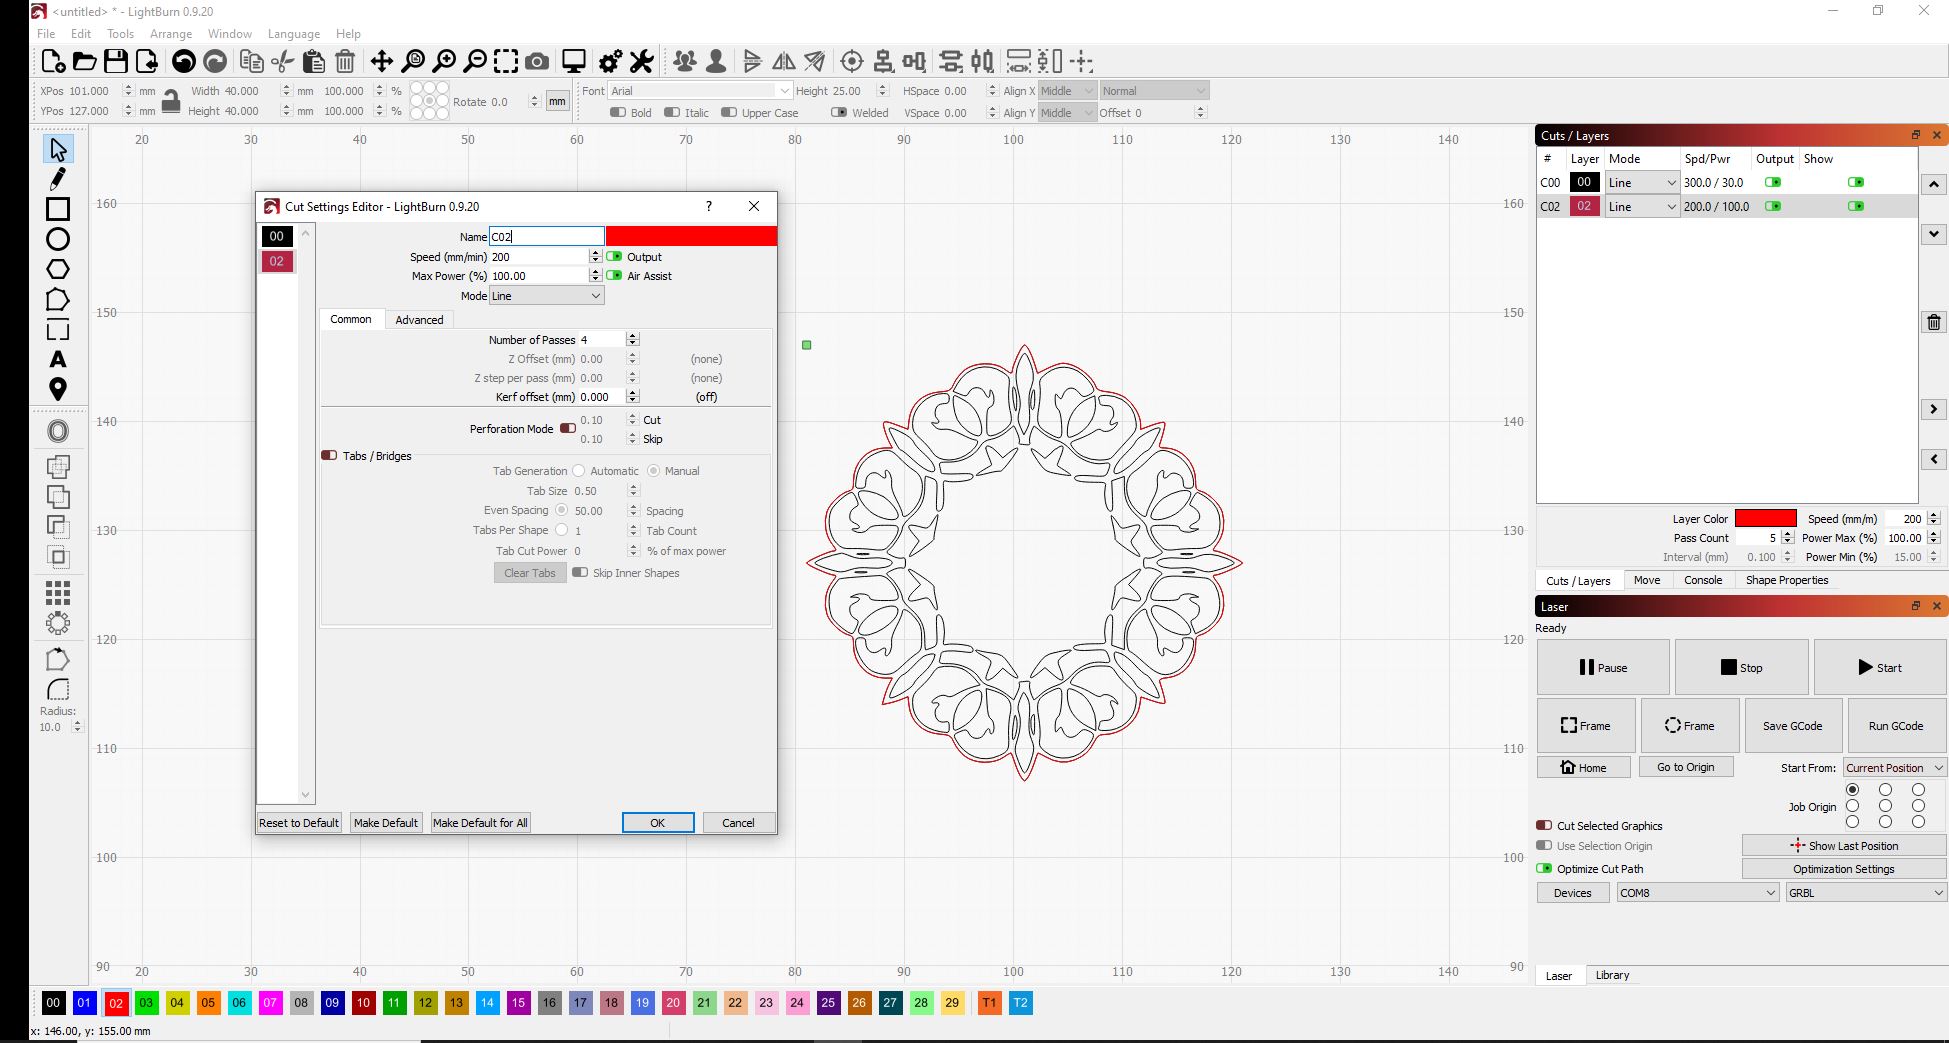
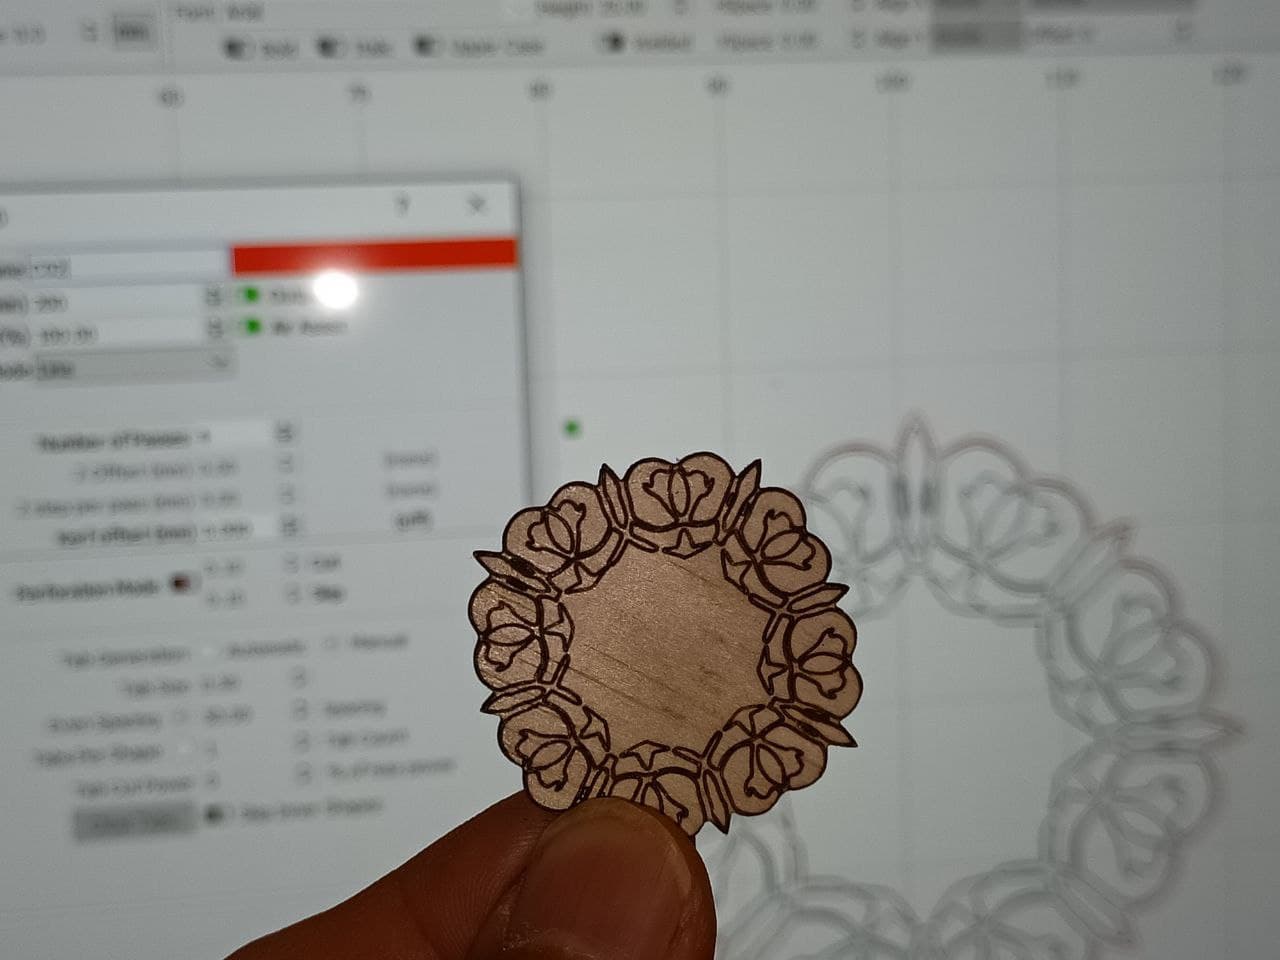
This would be 200mm/s at 20% Power for my laser on 6mm. Which is only in my dreams…
People, do NOT put tape in front of any mirror and burn through it for alignment tests! The glue on the back side of the tape gets splattered onto your mirror and is VERY difficult to clean without damaging the mirror coatings.
Stick a diime/small coin to the back of the tape or use uncoated paper for these tests.
4 Likes
ooo a dime is a neat thought. I just layer tape into a huge layer haha.
1 Like
Watch this video, at 4:11 you see the size of the laser beam at mirror 1 and it looks to be about 5mm in diameter at most since the center target circle is only 3mm in diameter. Not 10mm/1cm. Boss Laser Mirrors Alignment Instructions - YouTube
1 Like
Good video!
Do you know if that diameter at mirror 1 will change much with power?
I have a K40, and 5mm seems a little bigger than what I saw when tuning it at relatively low power.
I’m curious now, so I will have to check to see what happens…
Picture at the top and bottom left that looks very normal / good, in my opinion but I can not quite see where you took the picture at the bottom left, the one with the big dot / circle. Is it mirror no.3? or out of the nozzle without a lens? sorry for my confusion.
If you have a fine circular “bullet hole” at mirror no.2 and there is enough power, then the problem must be in the nozzle itself, that is why I would like to see you make a shot without a nozzle.
I hope I have not misunderstood you.
It is very nice that you can cut in 6mm plywood with a diode laser, but your statement it does not help at all to find a solution to this problem on a 100Watt CO2 laser. All lasers, if they are strong enough and not defective can cut into wood, this is what they are purchased for.
1 Like
The beam on the upper right was taken from the 1st mirror using 15% power, the bottom one on the hard paper was taken with nozzle from the worktable, focused as usual.
The left one with the fine(r) dot was taken with 20% from the tube with lens, i.e. this part:

I thought nozzle is just the part below the lens:
Did you mean to take one pulse without the lens at all ?
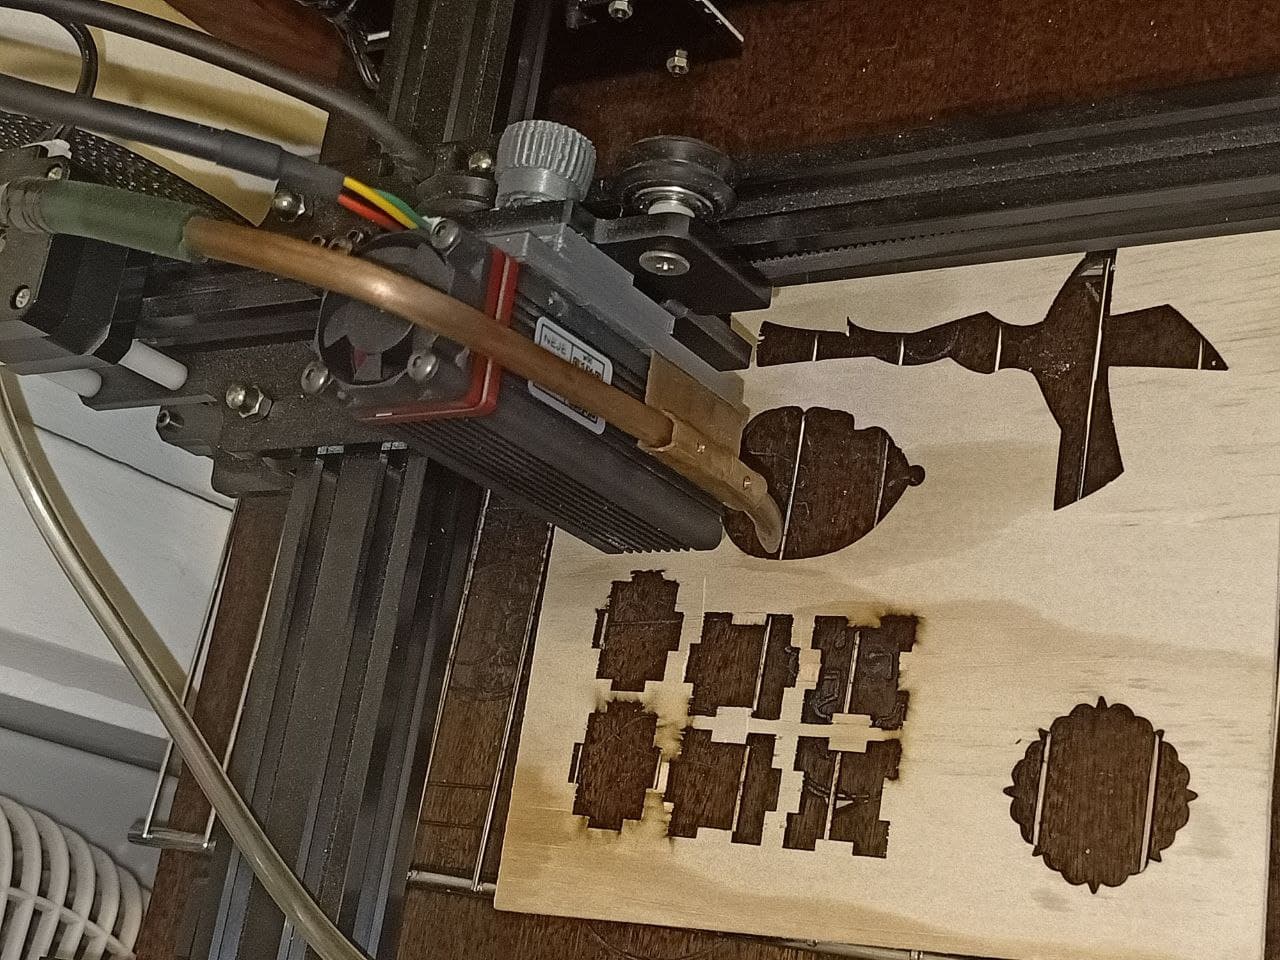
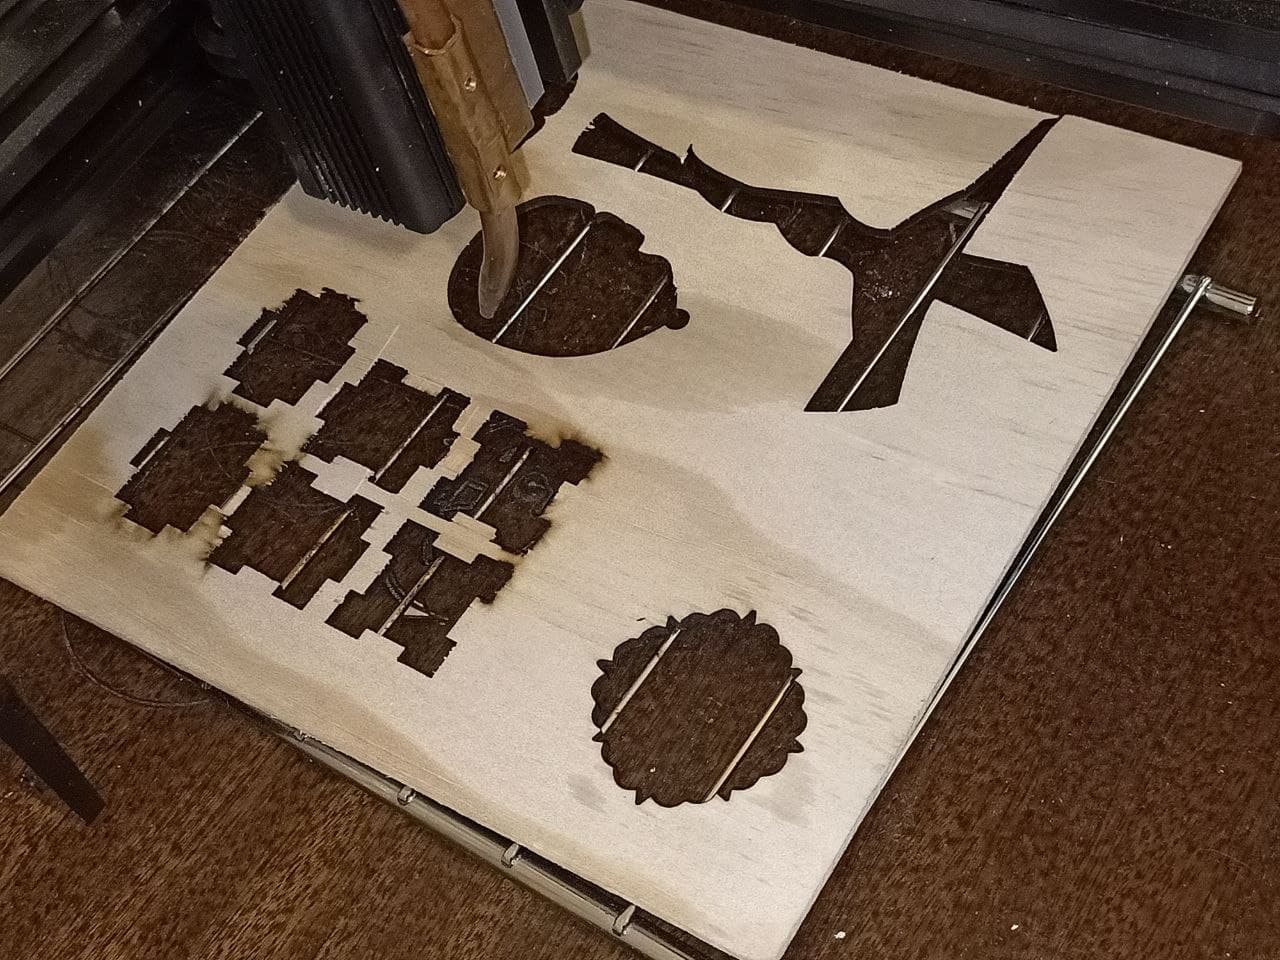
There’s one positive between all the mess (and it’s not my corona test  ). I tried again to move the nozzle down around 5cm and fixed it there and even the autofocus works again. This fixes one problem I had in the past, where a) the blade table could not get high enough to focus on material lying on that and b) the honeycomb was much higher than the table itself and I had no way to align the material with a right angle or just to put it at the same place again and again. This was a big headache for me when I want to cut the same multiple times. So, when I get all the problems solved, this is a big step forward for me.
Just wanted to share this positive and not just sharing problems 
1 Like
Very good video indeed and I watched it some time ago ![]() There are two differences to what I did:
There are two differences to what I did:
- Instead of moving the laser tube (didn’t dare to), I moved the first mirror (screws on the machine) to get the first beam in the middle.
- I used tape, not on the mirrors directly but on those frames in front of them:
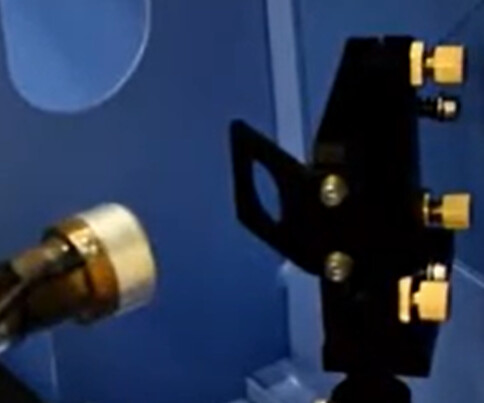
So I guess I’m safe with the mirrors, but definitely thinking about printing those card holders with target cards for the future.
do you burn a hole through the tape you put infront of the mirror?
Normally no, as you can see in the picturee(s) above. But I must admit, sometimes it may happen, if you push the pulse too long, it just burns (a bit). The first try I had in winter when the machine came, and I was new to lasercutter, I didn’t consider the power and it was too much and it even flamed up.
That is good news!
Peter, sometimes it is necessary to test one’s laser without a nozzle, one unscrews the whole cylinder with the lens off and shoots through the last mirror down on the work surface. It will be e.g. used to measure how much power is lost from the tube to the work surface, with and without a lens.
I would highly recommend that you do a proper ramp test to find your correct focus point. If you have found it, you measure the distance from a fix point on your nozzle and to the material surface and make a distance block or something similar which refers to this exact measurement.
For the sake of good order, you should also check if your laser beam is at a 90 degree angle to the bed (the nozzle itself with the lens). Assuming it is not at an angle then the laser beam will hit the inner wall and you will lose lots of energy.
Remember, while it may be irritating, the troubleshooting process has at least provided some important experiences for you and truthfully for others as well.