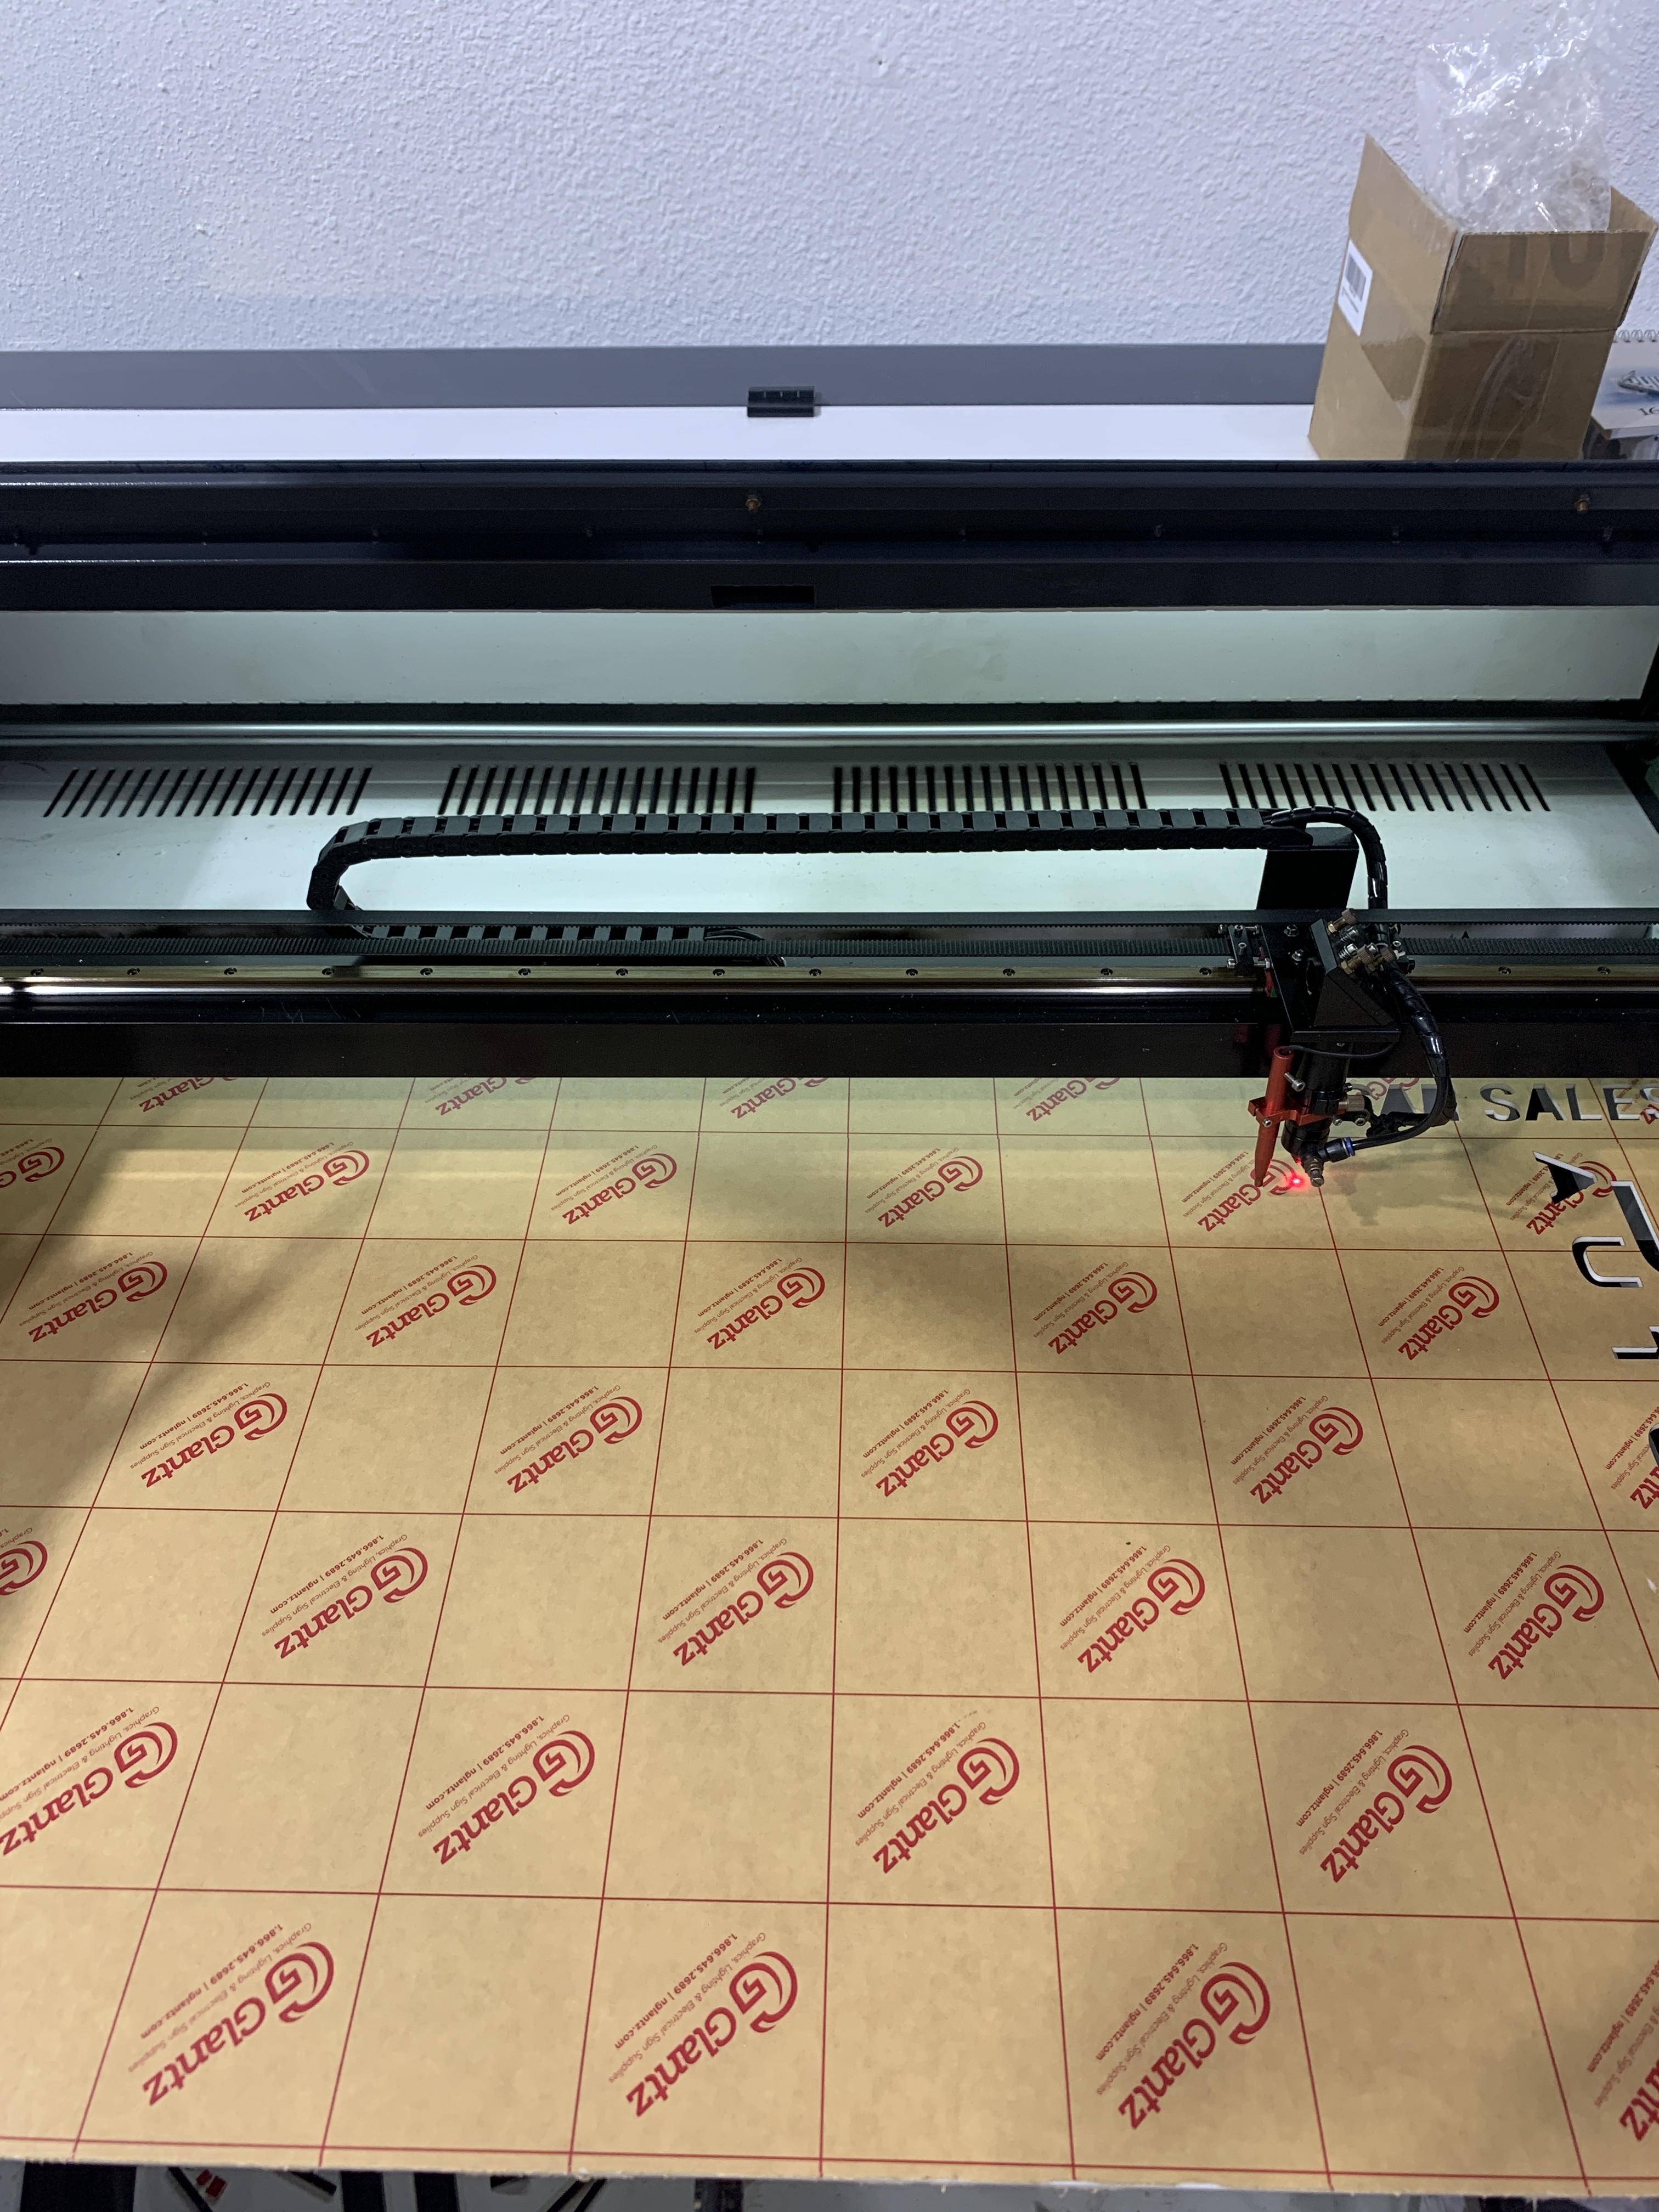
I cut all thickness of acrylic on my Ruida 130W laser, but always have lots of flame under the cuts, that makes me having to hold a fan or even blow the flames out during the cutting process.
Already tried air assist on, off, honeycomb, blade bed etc… just bought the ultimate assist but didnt install it yet.
I already replaced the aquarium air pup for this one (https://www.harborfreight.com/1-6-hp-40-psi-oilless-airbrush-compressor-93657.html)
Any suggestions to reduce this whole flame issue?
You need air pressure roughly about 30 psi In a nice tight jet into the kerf to reduce / eliminate the flaming up.
1 Like
Through the nozzle air assist, 5 psi, NO paper backing. You can cut thinner acrylic with lower air pressure air assist, but beware of going too high. You wind up cooling what you are trying to melt and blow away.
Ok, so I have 30psi or 5psi 
Mine is somewhere in the 10-13??
I’ll try both options, with another compressor I have thx!
About the paperback, I’ll try that too, but all spots where the acrylic is touching the bed (on blades or honeycomb) it gets marked. If I’m cutting a black or tinted acrylic it’s ok, as you won’t see trough, but on clear it doesn’t looks nice.
Personally, I’ve never had good luck cutting paper back acrylic on my laser. But most of my stuff is other peoples scrap so I can’t say anything more.
My air set up. I have a feed coming from the big shop tank at 120 psi that is regulated down to 60 psi at the buffer tank. At the laser I have two switch selectable sources. 5 psi for acrylic, and 15 psi for my Premium MDF. In case I don’t select either, there is a minimal flow bypass to keep my lens’ clear.
Remember, for acrylic you are not cutting, you are melting. Too much air cools the cut. Now if you are using an add on out side the nozzle air assist, you may need higher pressure / air flow to accomplish what you get with through the nozzle air assist.
will an extra air nozzle under the bet blow the flames away?
I have no idea. Air flow under the work wold be the ‘responsibility’ of the exhaust system.
You want laminar flow if at all possible. In across the top of the work, then continue across and out the exhaust for engraving, or down through the cut wit the help of air assist and then out in the case of cutting.
I consider acrylic to be a combination of vaporization and “melt & blow” depending on its thickness. The thinner acrylic (less than ¼" / 6½mm) being vaporization with a lot of blow while the thicker material that I cut (¼", ⅜", ½", and ⅝") being a lot more melt and vaporization with much less blow (because of what you mention in a way). I find the challenge with thicker material and blowing to be loss of heat gain if blowing too much (not particularly re-weld).
Flames are no surprise for me and do not cause alarm as long as they are controlled. I actually use a certain amount of flame presence to indicate if I have the air pressure set properly. I find the best mirrored edges and cuts when there is a slight tendency to have sporadic yet controlled flames (not a constant flame though). They may pop up every so often with reflection. I also have a very aggressive fume extraction setup that channels the flames downward and away from the material.
@Milliotti, have you tired using a honeycomb bed to reduce the flares?
1 Like
Yes, but i get melted marks on the acrylic, as I mentioned, if I’m cutting tinted acrylic its ok, but on clear acrylic, it looks terrible…
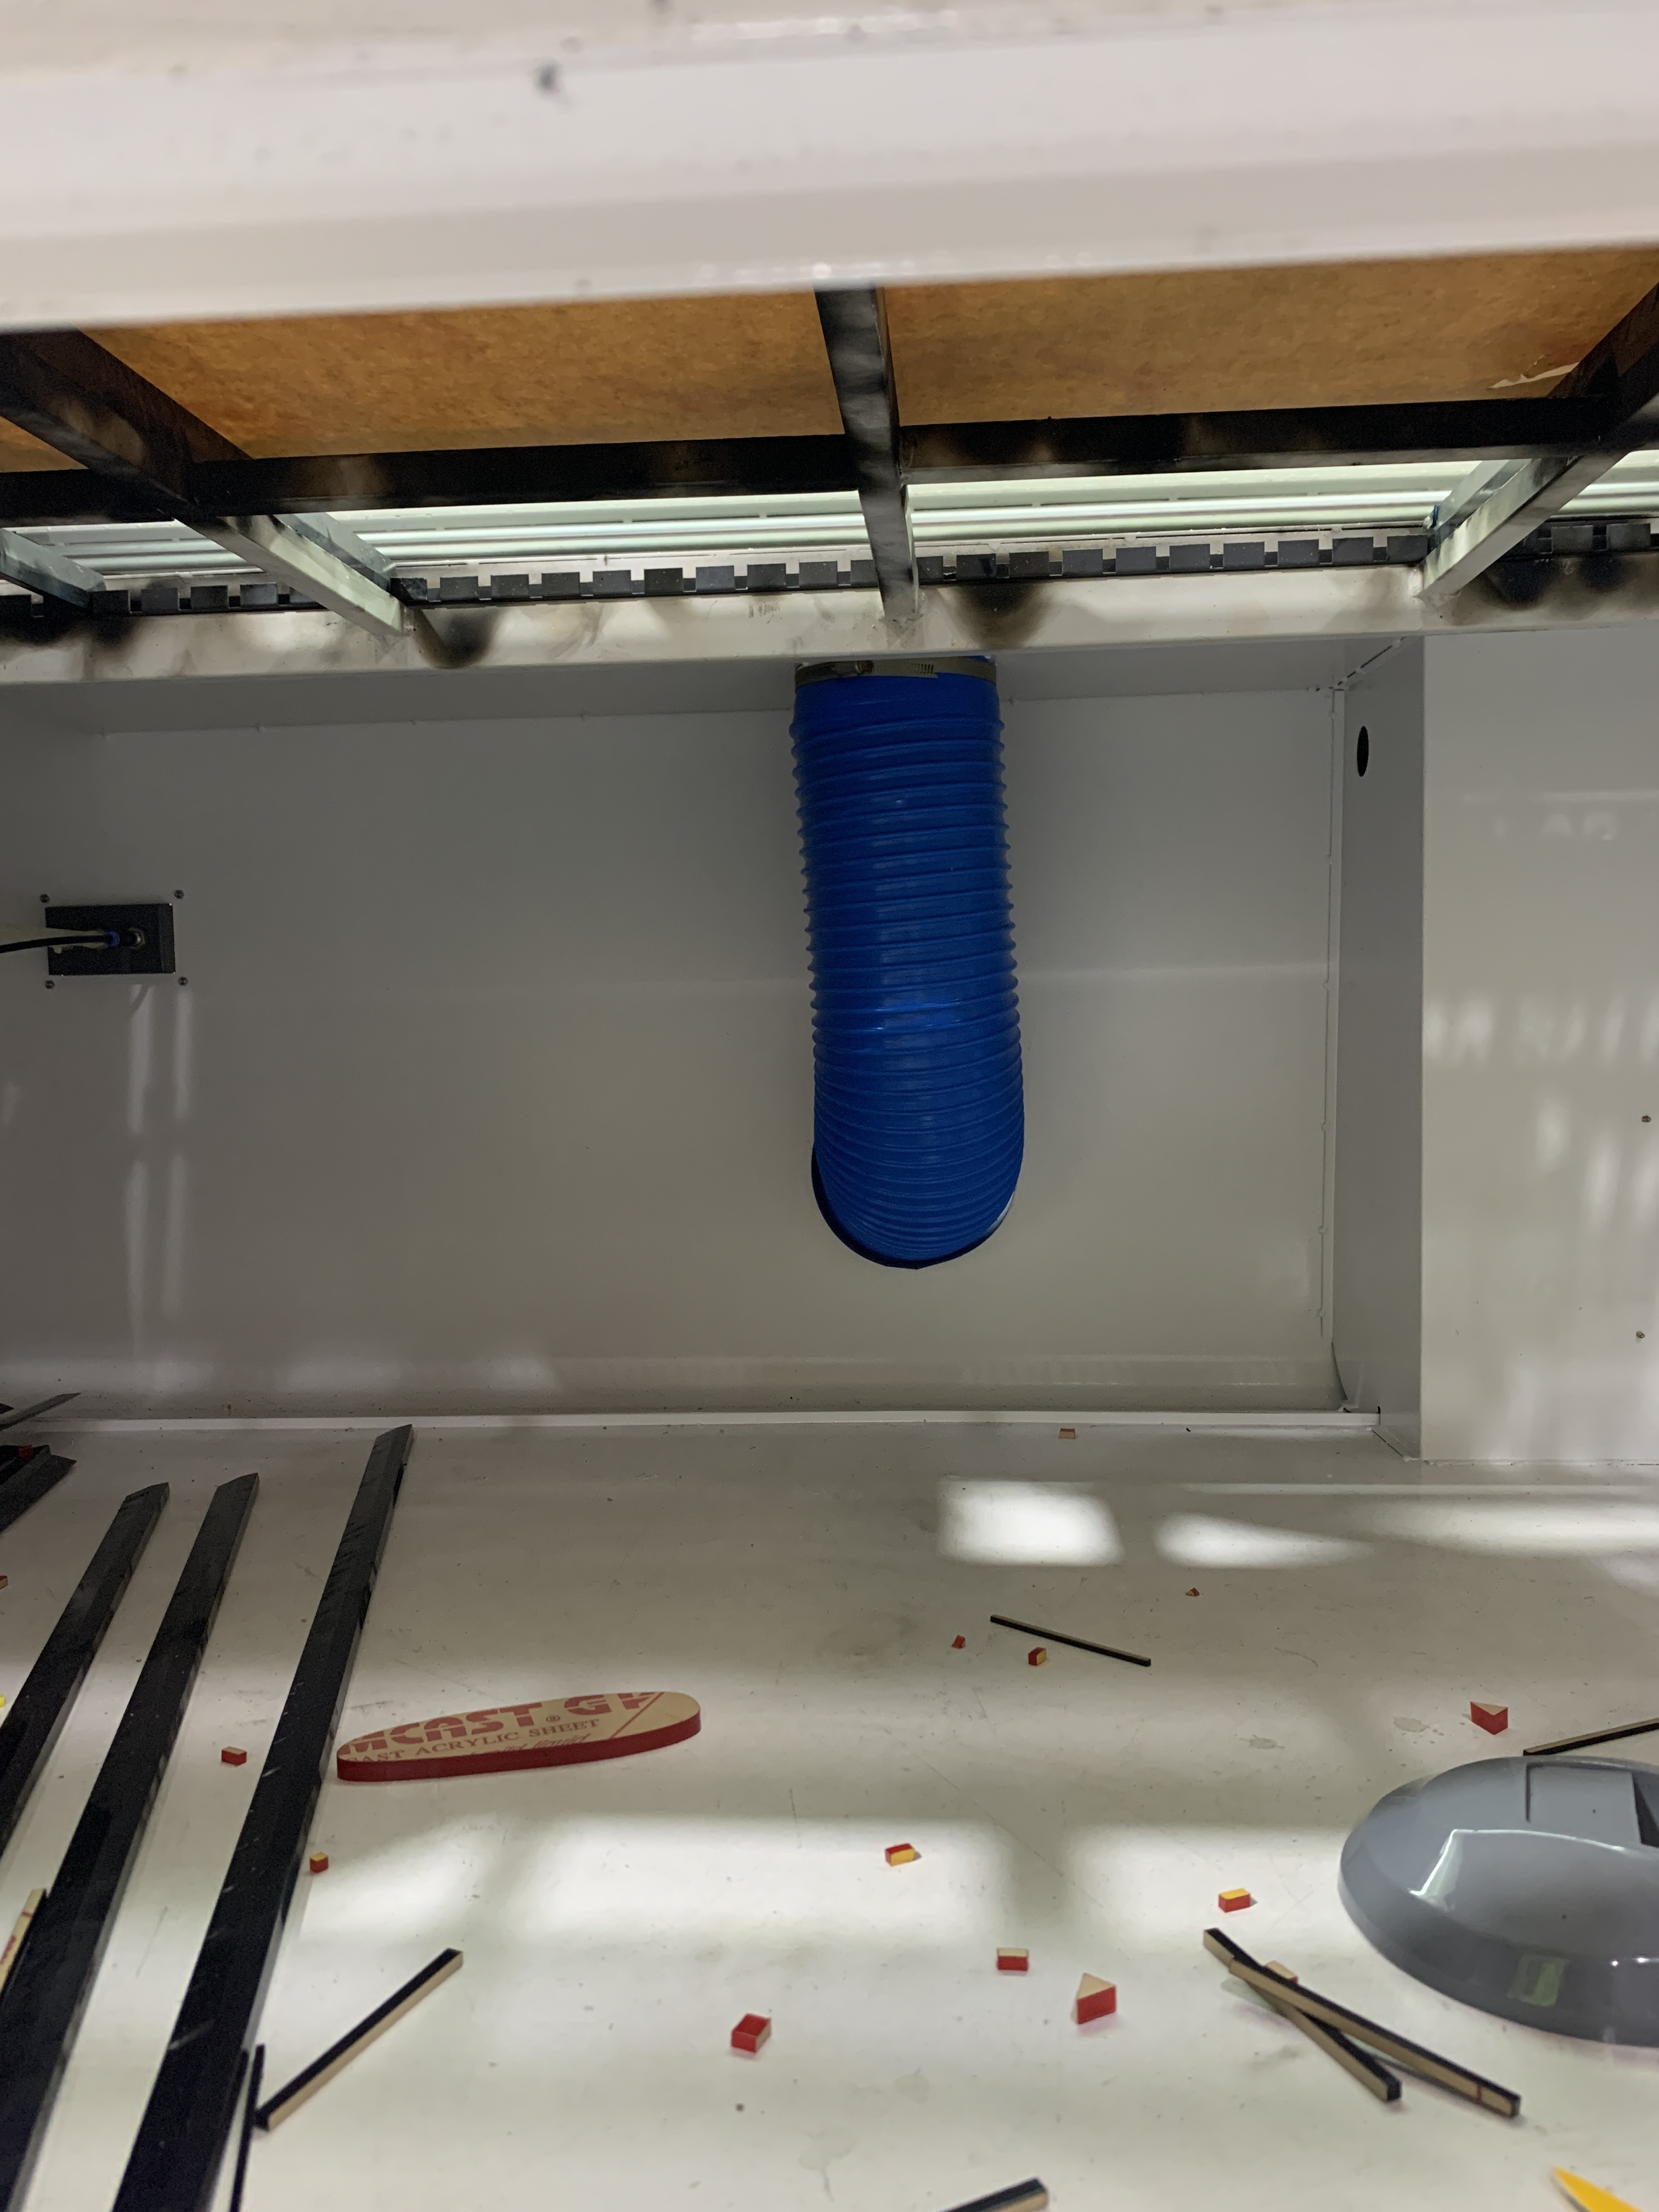
Can’t hurt to try it. From what you show / describe it almost sounds like the exhaust is pulling the flame / air back up. The looks like a great engraving set up, but flow across the top is wrong for cutting. I would take the tube loose from the upper intake, and look at ways to keep the incoming air across the top, even some cardboard on top against the front.
I cut .25 Acrylic raised on the edges by .25 plywood scraps. It allows the gases underneath to escape, and not reflect burn the bottom of the Acrylic.
Cutting acrylic under 15mm thick is dead easy.
Cutting 25mm or 30mm acrylic gets touchy, and flaming underneath is a constant potential issue.
Yes, remove the paper underneath.
I keep an air-compressor horse and a duster gun permanently ready to blow out the flames. Be diligent. It’s a boring job, but better than redoing it.
Air assist helps also, topside, but the 40 psi duster gun is a great help underneath.
It’s been a couple of years since I used my 45 watt laser however I cut a ‘lot’ of smaller pieces for customers that used them for jewelry. I was cutting the pieces out of 1/8" thick, acrylic in various colored sheets cut to 1 foot square. I peeled the backing paper and I used 5mm thick magnets to raise the sheet above the honey comb. Hope this gives you some more ideas to stop the flash back. The reason I am following the forum besides using Lightburn software is… for fun… I have been playing around with the 20 watt Ortur which comes with the G2 lens that allows 0.1mm thick cuts.
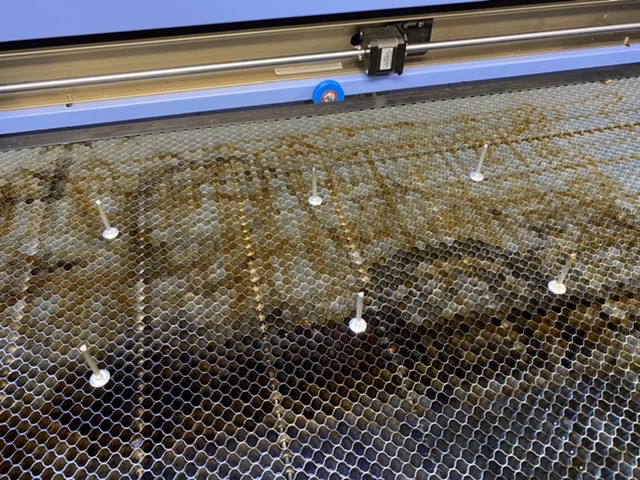
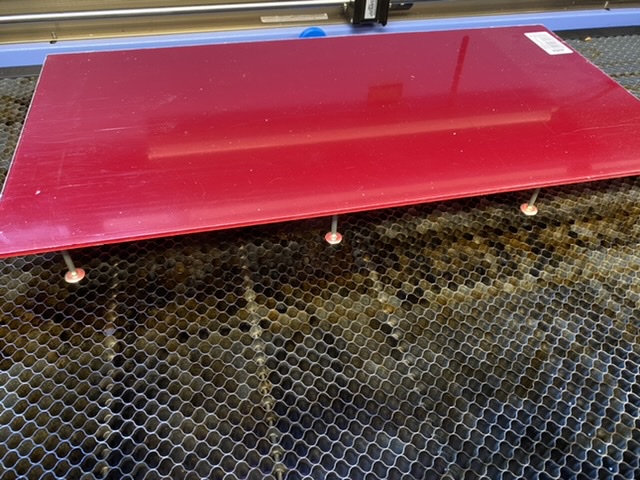
Lift the Acrylic off the bad with some pins or magnets, open the door slightly to allow air in as you need airflow top AND bottom.
My exhaust is at the left side of my laser so I open the right side cover to get air flow and it makes a huge difference to the removal of fumes but the main one is having the material raised off the bed to allow air flow along the bottom.
This is on 3-6mm Acrylic, I’ve not cut thicker but I’d think it’d have the same effect.
Steve
It sounds very interesting to have a double switch, to have two different pressures.
You could indicate the installation mode, with a photo or purchase link. I think it can be interesting, like keeping a small airflow so as not to get the lens dirty.
I don’t have it but I would like to be able to install it.
Thank you.
Hi,
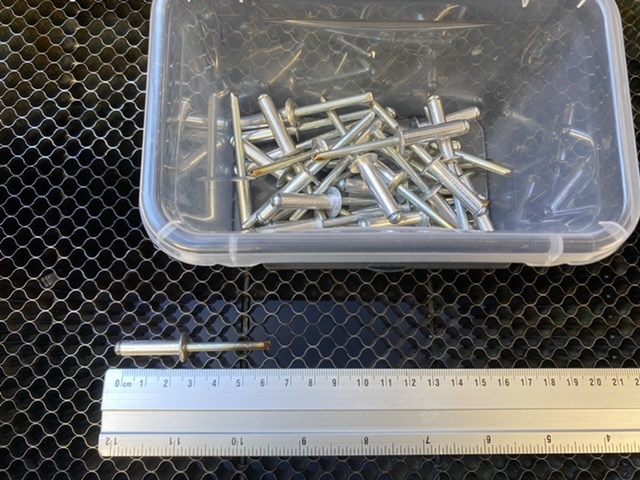
To avoid melt marks in the acrylic plaques, I put the acrylic plaque on pop rivets. These fit nice in the honeycomb of my laser.
As can be seen on the photos
3 Likes
I have a pic of the MK2 version on my Google Mod Page.
I have tweaked it a bit from that picture, but not a lot. I’ll do my best to describe it.
In the Russ’ ‘normal’ Ultimate Air Assist sold through Cloudray, You have a relay to control the compressor on the STATUS terminal, and the air solenoid on the WIND terminal with a little bypass for engraving. Add in an over ride switch for manual comntrol.
My need for the MK2 version came when I hooked to my big shop compressor in the next building for an air source, and kept having to change the regulator between materials… and forgetting to do so before the job started. I had to put an in line shut off to keep from making my big compressor cycle needlessly during the night.
As pictured from bottom to top. Master solenoid wired to the STATUS terminal instead of the power relay. High pressure solenoid, low pressure solenoid, and my engraving minimal air flow bypass ( An ice maker water line valve ). The feed from the WIND terminal goes up to a SPDT switch in the control console to select high or low pressure, and sits next to the over ride switch. I have diodes on all three solenoids, as well as one between the STATUS and WIND to get the over ride to function properly. I added an LED indicator as well… then promptly broke the wire working on something else. Something to work on next time I open up the control console.
I put the low pressure solenoid at the top for easy access. Even with the knock down regulator and 2 gallon buffer tank, I can get a bit of variance in my low pressure flow.
Where it’s mounted, the pressure gauges aren’t that visible, so I swung by the farm store and picked up a large number 30 psi pressure gauge and tee’d it in and put it up where I can see it.
Hope that helps.
BTW Henk, love the large diameter pop rivet pin bed. Russ did something similar with acrylic and small pins, but that is a very elegant and simple solution.
To all, if you are cutting wood and have a resin mess to clean up, water and Zep Purple 5:1 is a great cleaner. I use a piece of old gutter for my rails and a pet cage tray for my honeycomb.
1 Like