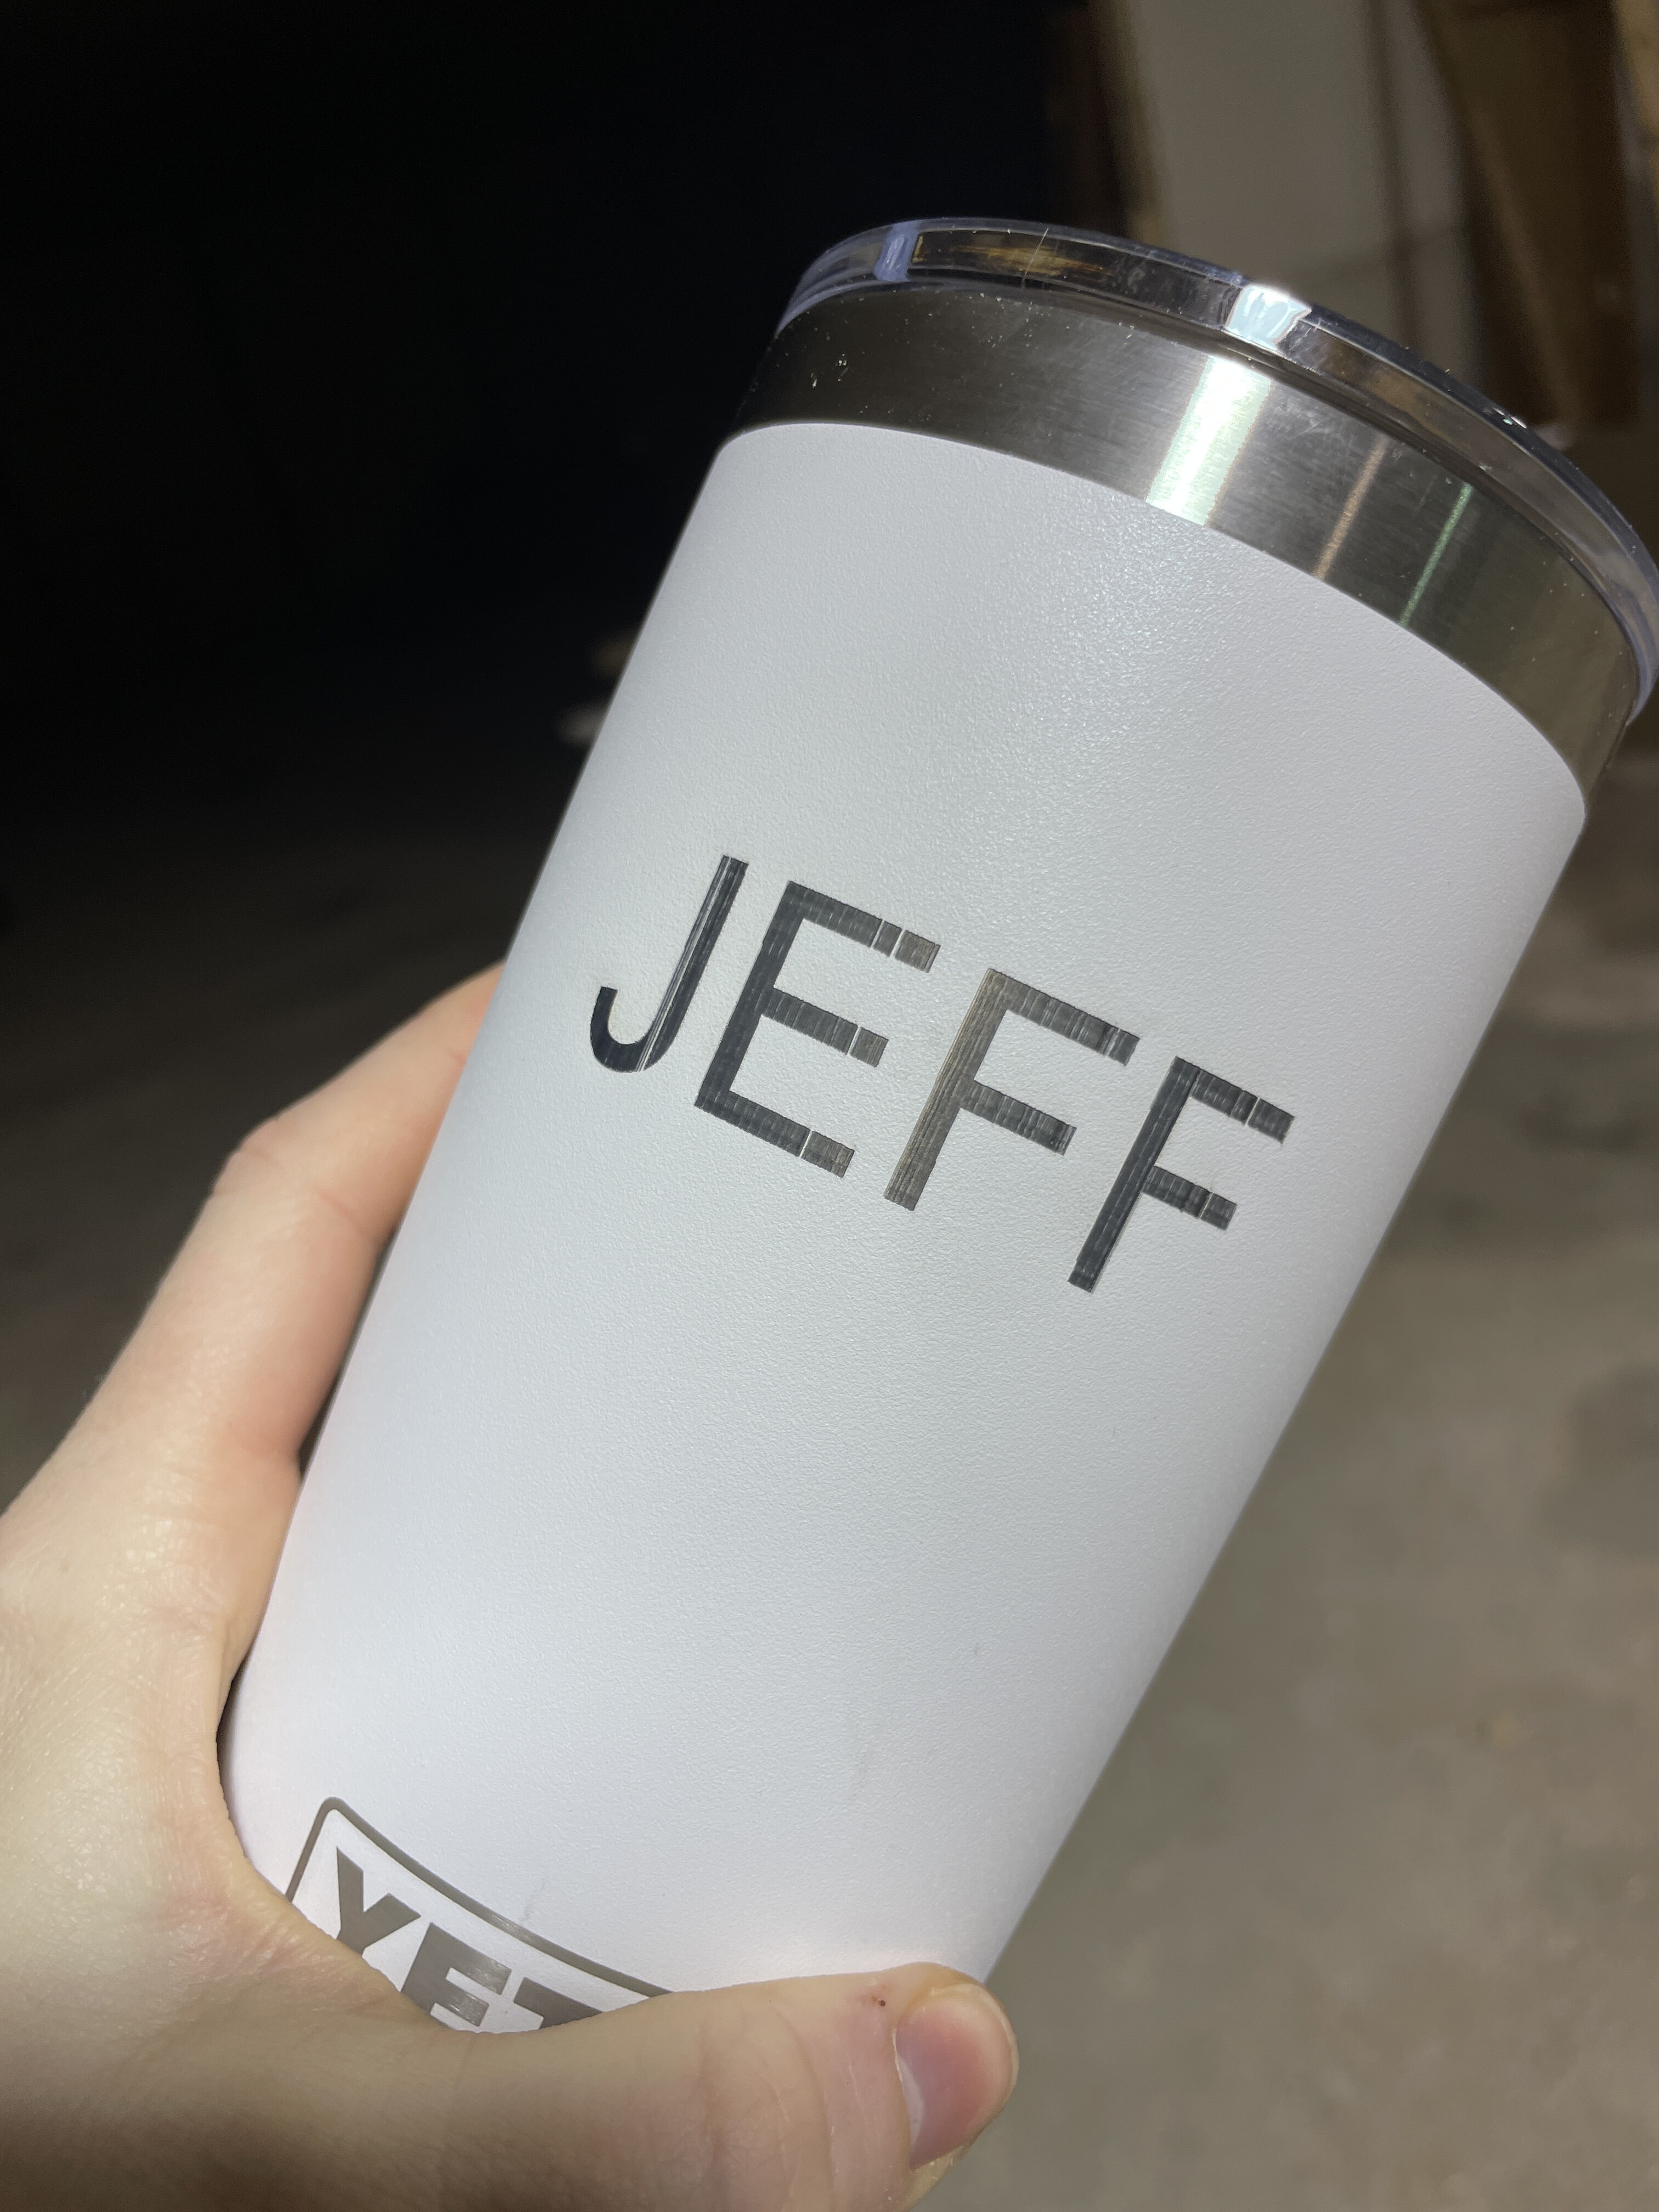
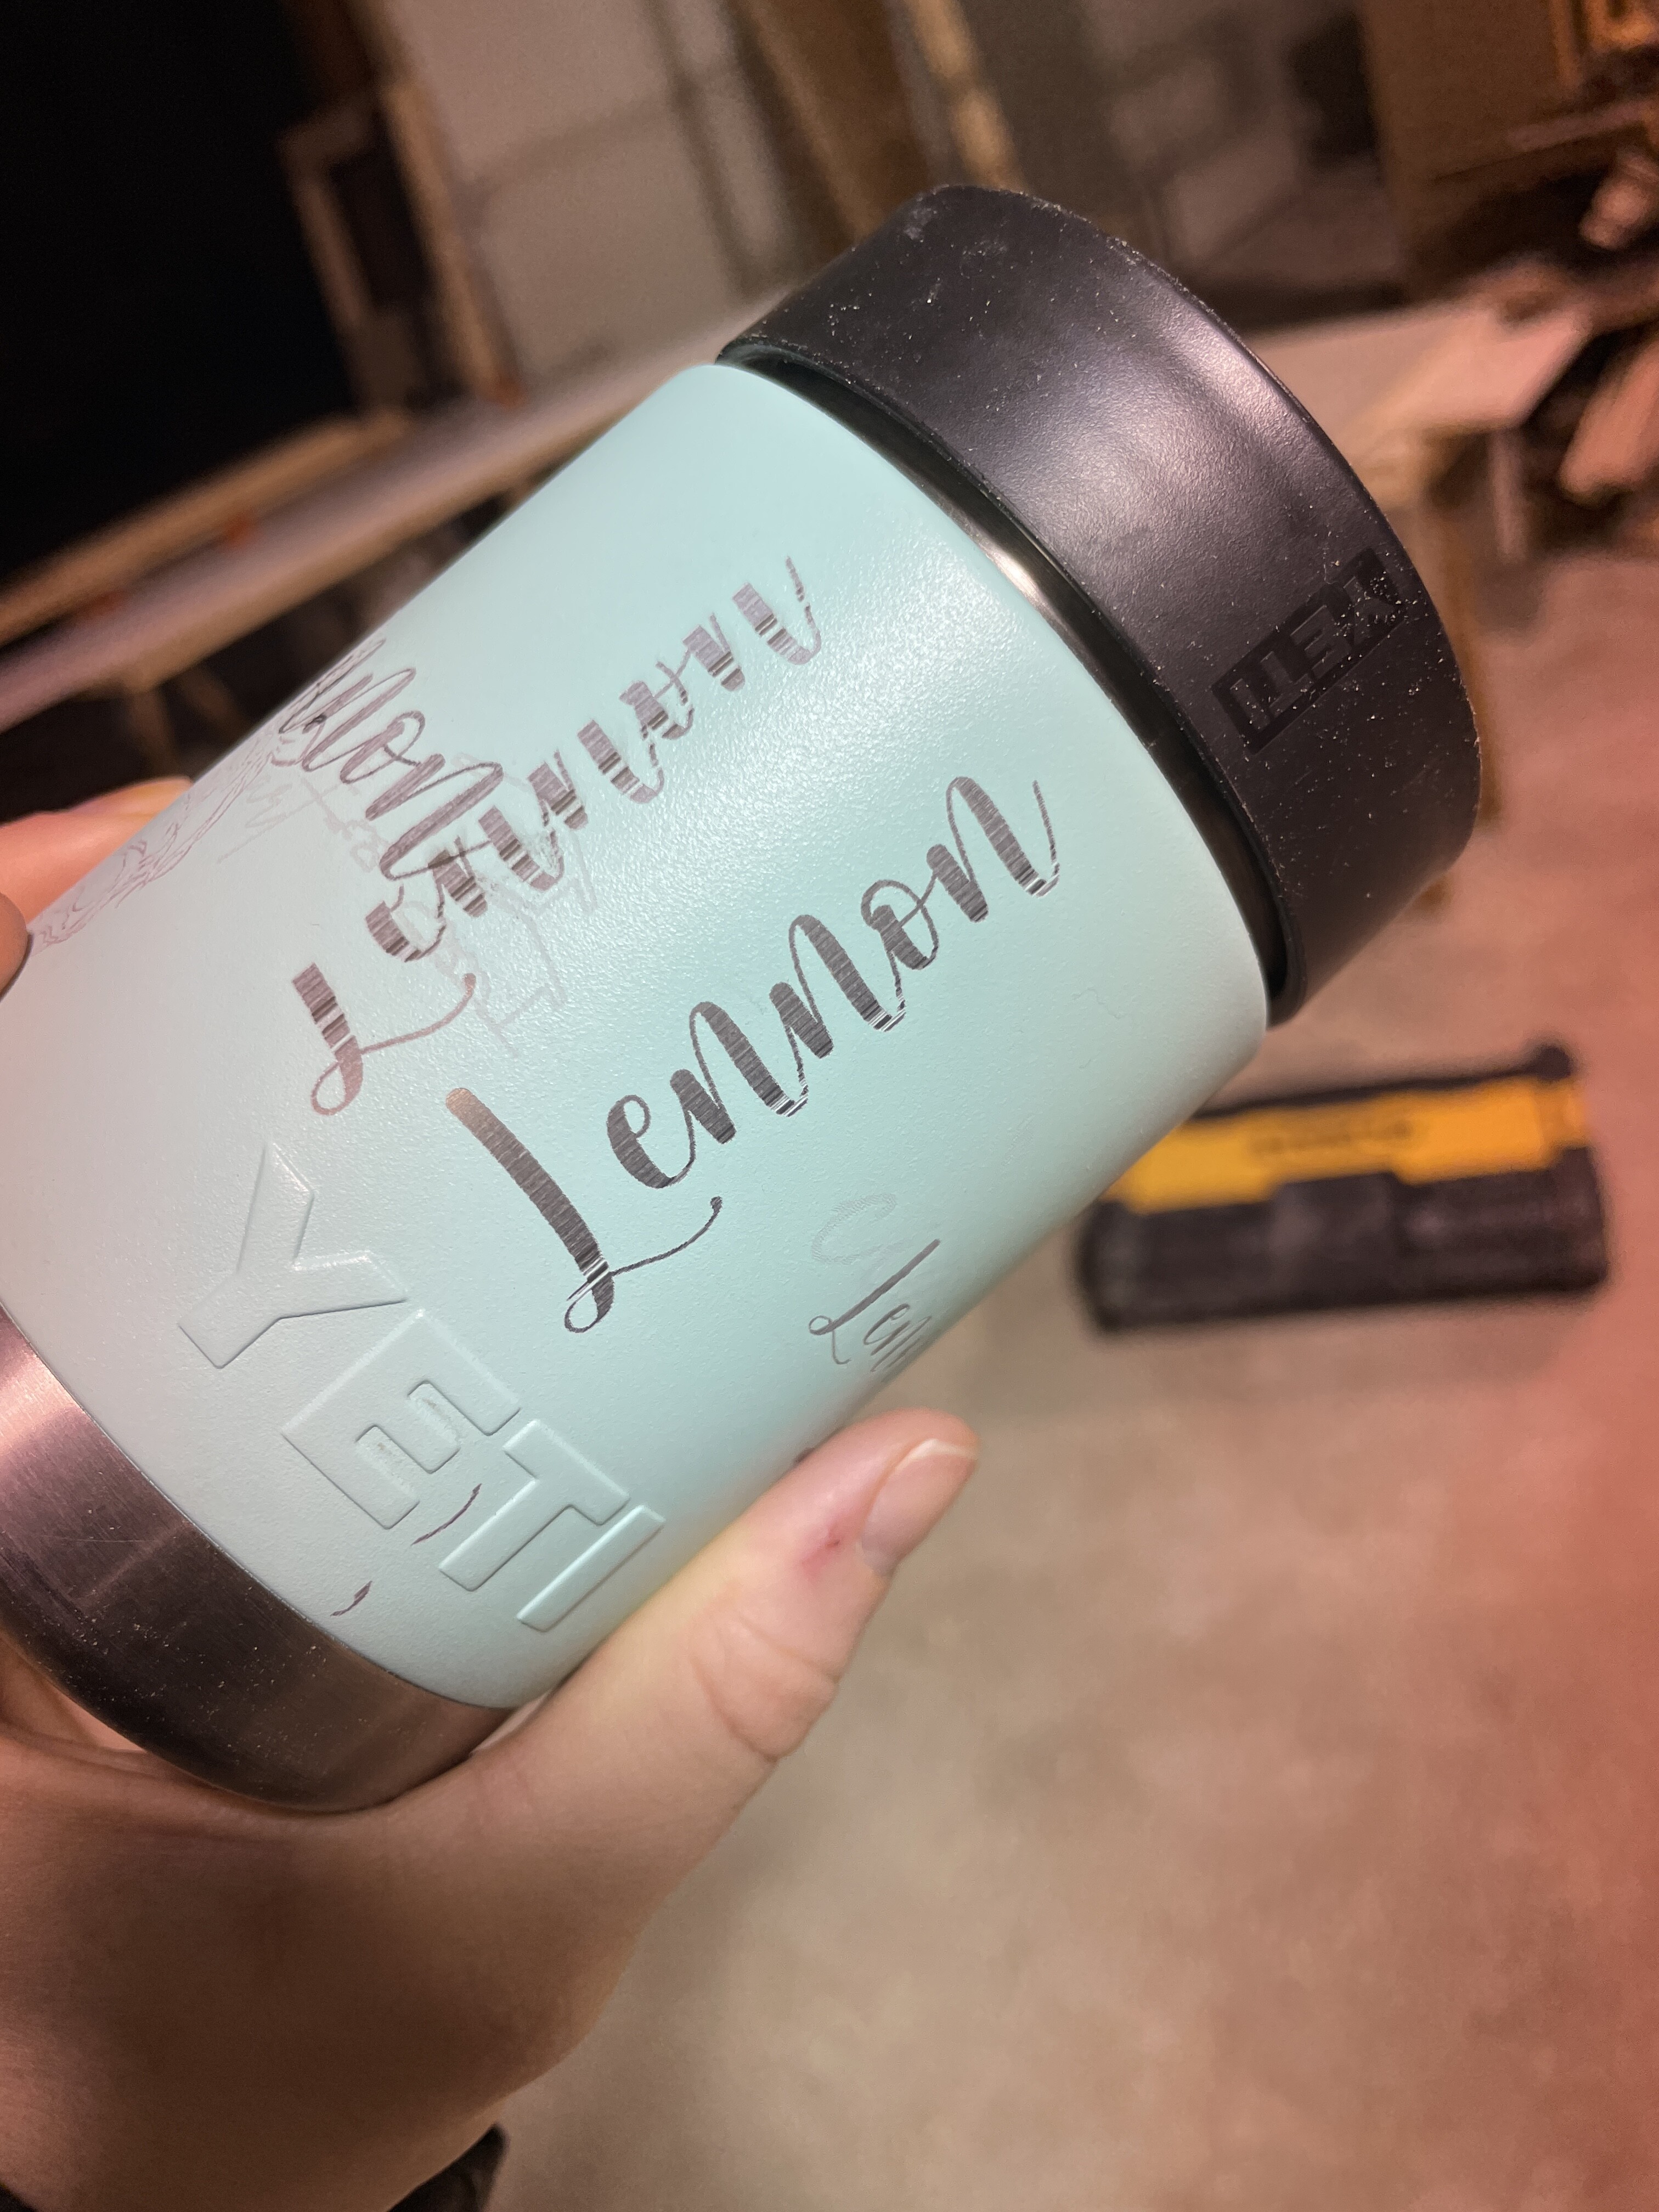
Please post some pictures and the community can help diagnose the problems to better advise.
I’ve had good success with Yeti etching, aka ablating the powder coat. There are similar processes to etch onto naked stainless steel. I have a diode laser similar to yours, mine is Neje E80 Quad Diode (and before that A40640 Dual Diode).
In the former case, see this post for some process setup and info: Yeti tumbler etching - #6 by bLouChip
As @Preece211 implies, less laser power hitting the stainless = better results. The stainless will react to the laser light.
In the latter case, I use a spray on pre-laser coating by EnduraMark; what doesn’t fuse into the stainless gets washed off post laser process.
I hope you saw that there was a follow up post I made 2 months later in the #6 post I reference above. I adjusted some of the original parameters and process.
The LB Scanning Offset Adj table in the device settings is a key to getting crisp edges on images and text during scanning. See the online documentation for instructions to dial it in for your machine. Be sure to do it on flat XY scanning and on rotary, they can be different.
To add to those instructions, when setting the layer overscan field it’s important to use a % value that will get the laser head accelerated to full speed (feedrate) as programmed in the layer. See this Feature Suggestion post for a formula on how to calc the % to use. Acceleration as Overscan input field · LightBurn , and please vote on it, perhaps LB will implement. I wrote a stored function on my calculator to give me the values.
As a result of dialing in the LB Scanning Offset Adj table, I usually just make one pass now when scanning Yeti tumblers, without the crosshatch pattern, and I no longer find it necessary to run a sublayer outline of the text and shapes, the edges are crisp enough.
One last thought, I ran into a minimum motion distance limit with my rotary when doing some Yeti’s recently. My rotary stepper is configured for 13.33 steps/deg or 0.075 deg/step, which is rather course but its due to the gearing between the motor and the spindle. Anyway, as a result, large circumference cylinders can easily exceed the X mm/step in my machine which is 0.018mm/step, which itself is not all that fine. Consider a 114mm dia cylinder is 360mm in circumference, so the minimum step distance is 0.075mm/step with my rotary configuration, which is 339 LPI if my machine incremented the rotation by just 1 step for each scan line. It would be ideal to have at least 3 steps/increment of motion; to get that I’d have to limit LPI to 110 or so for that diameter, which is an interval of 0.23mm which is 2x the size of my laser dot at fine focus. Just some things to consider on rotary projects.
I have found that I get best results from a 90 degree scan angle (goes against common recommendations) -
I use the Ortur 10w - about 3mm above focal length.
3000 mm/m
I run a little more on the overscan @ 4-5%
35-50% power depending on tumbler color and thickness of powder coated paint.
After the cut, I polish the bare metal with a solvent and a paper towel - then clean thoroughly.
FWIW blue colors are harder to get a clean cut through - your laser is blue, too. Flavor your settings to taste. It may take a few tries, but you are getting closer
EDIT - I forgot to say that I have also turned the FAST WHITE SPACE scan down to my engrave speed. That way the rotary is turning at a constant speed over the no-engrave area and the engrave area, too.