Anybody know how to make make the text not get distorted when using rotary with a fiber laser.
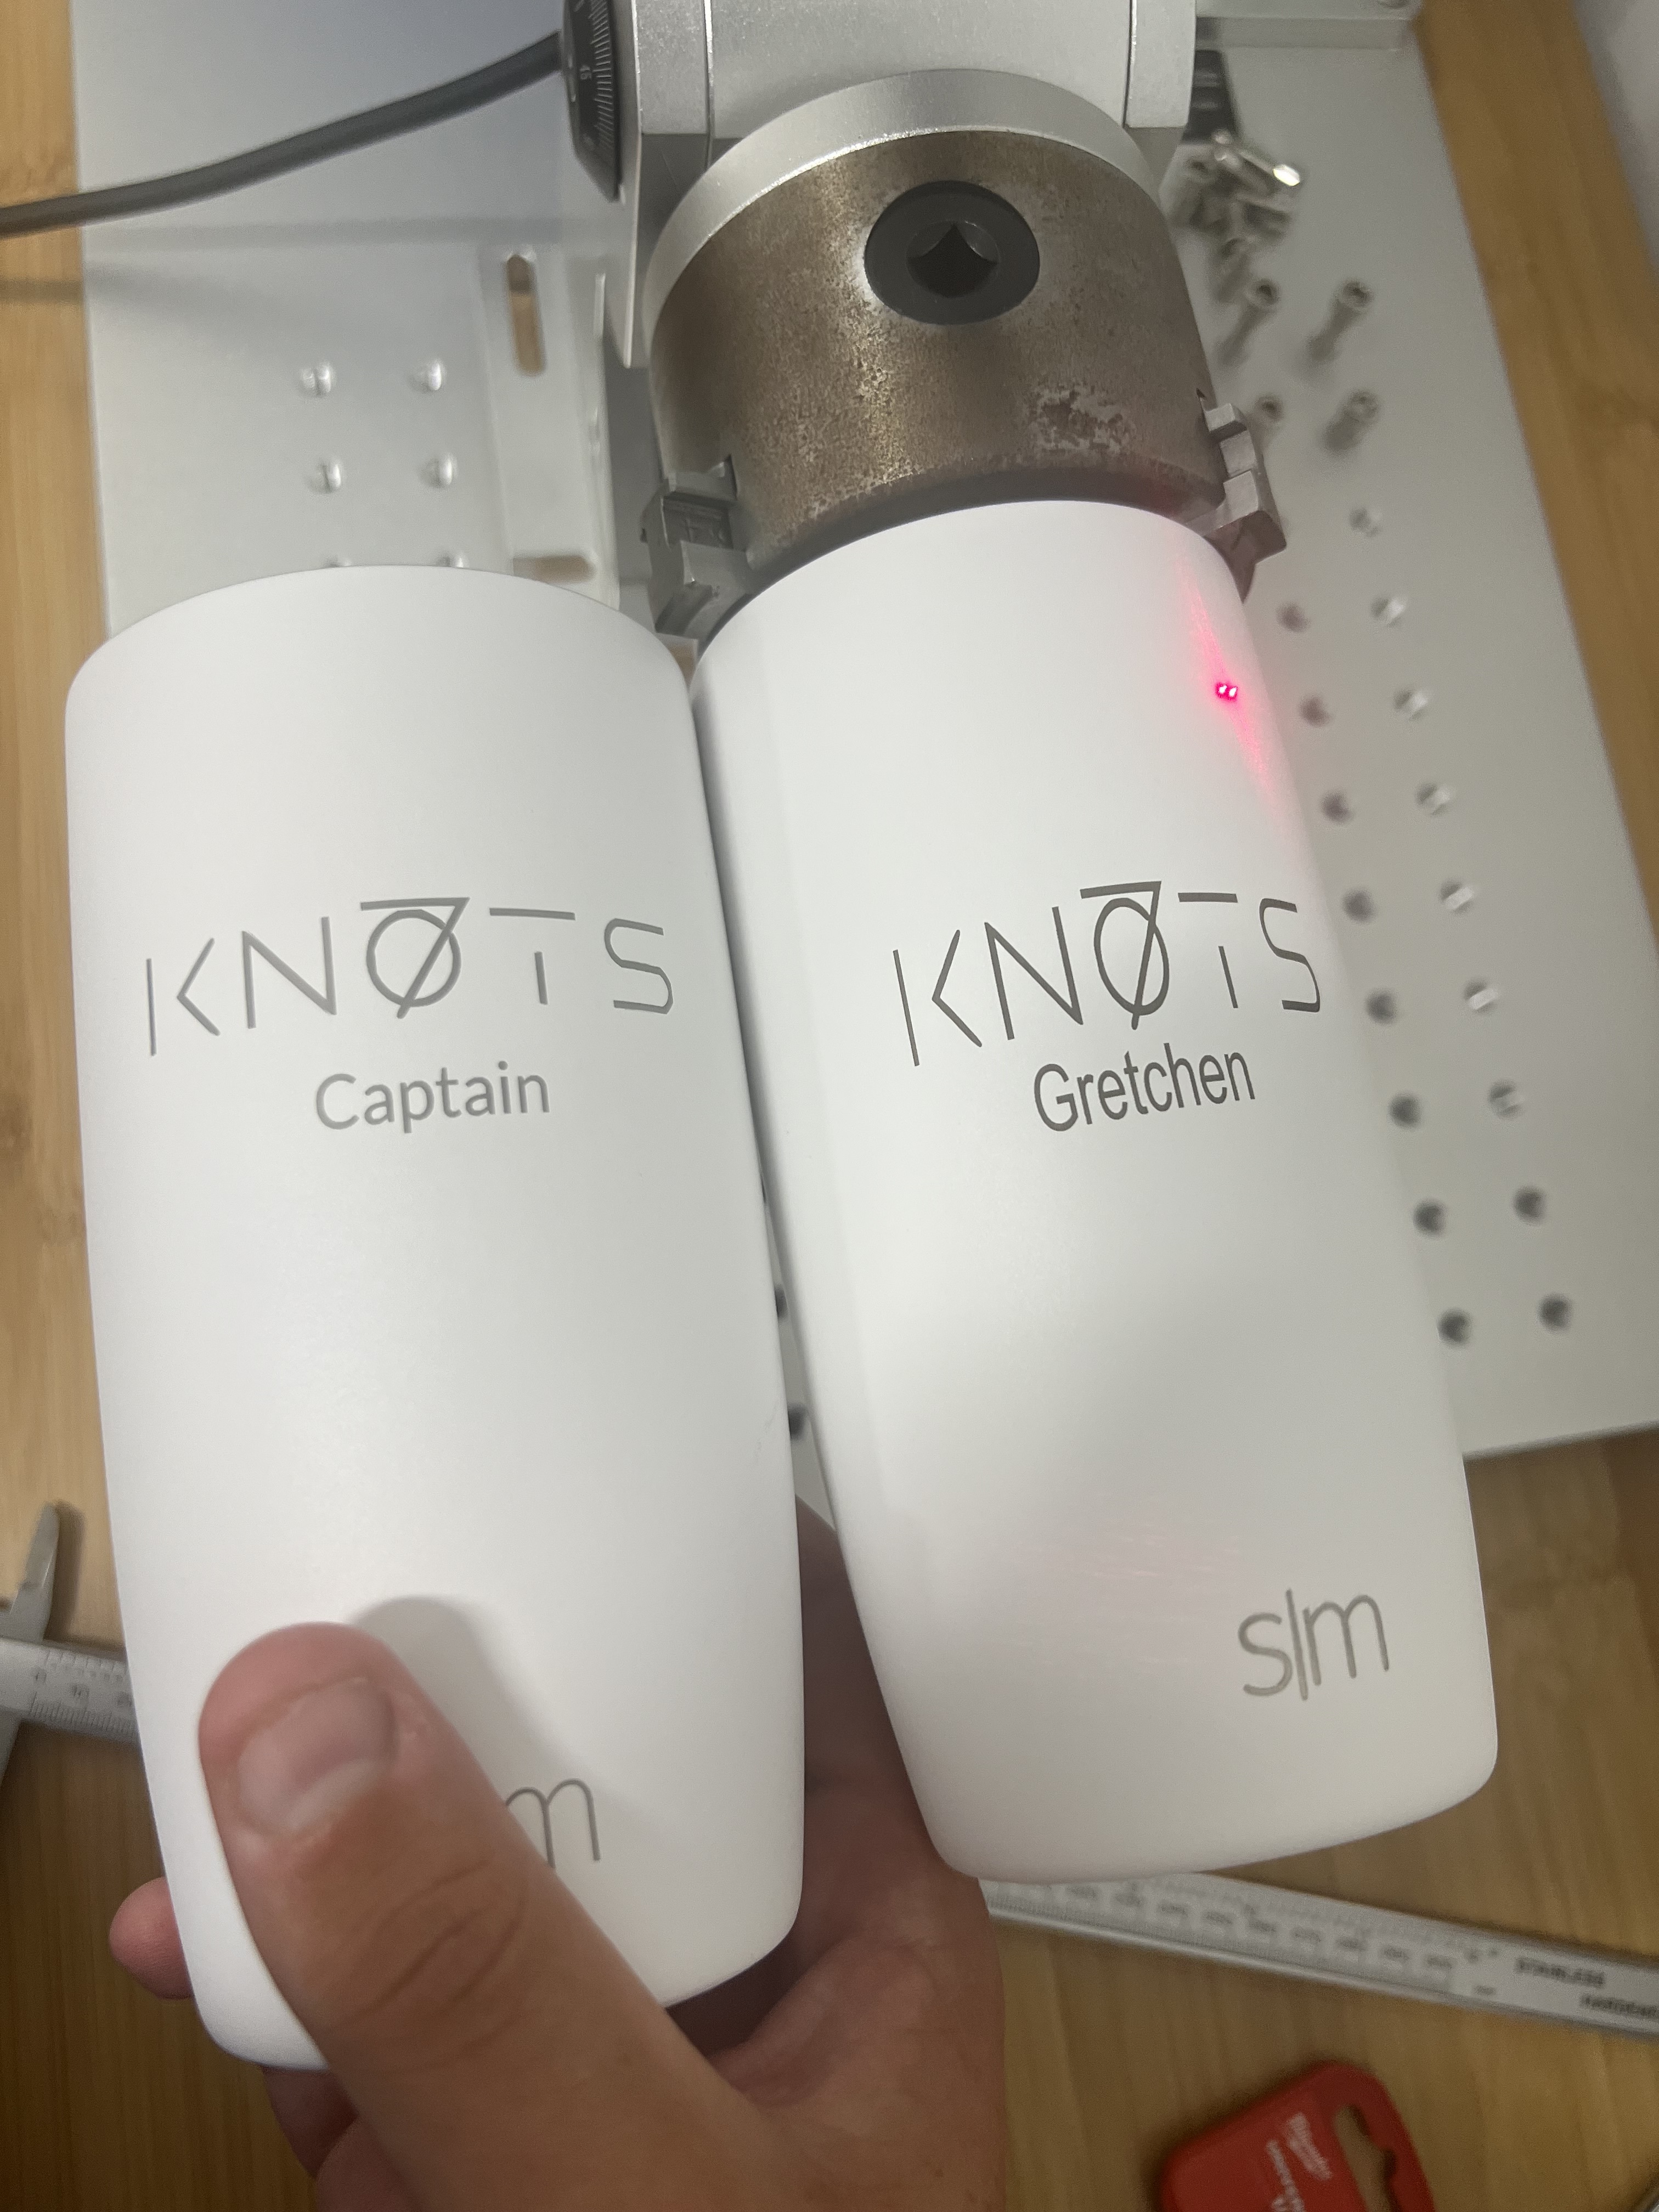
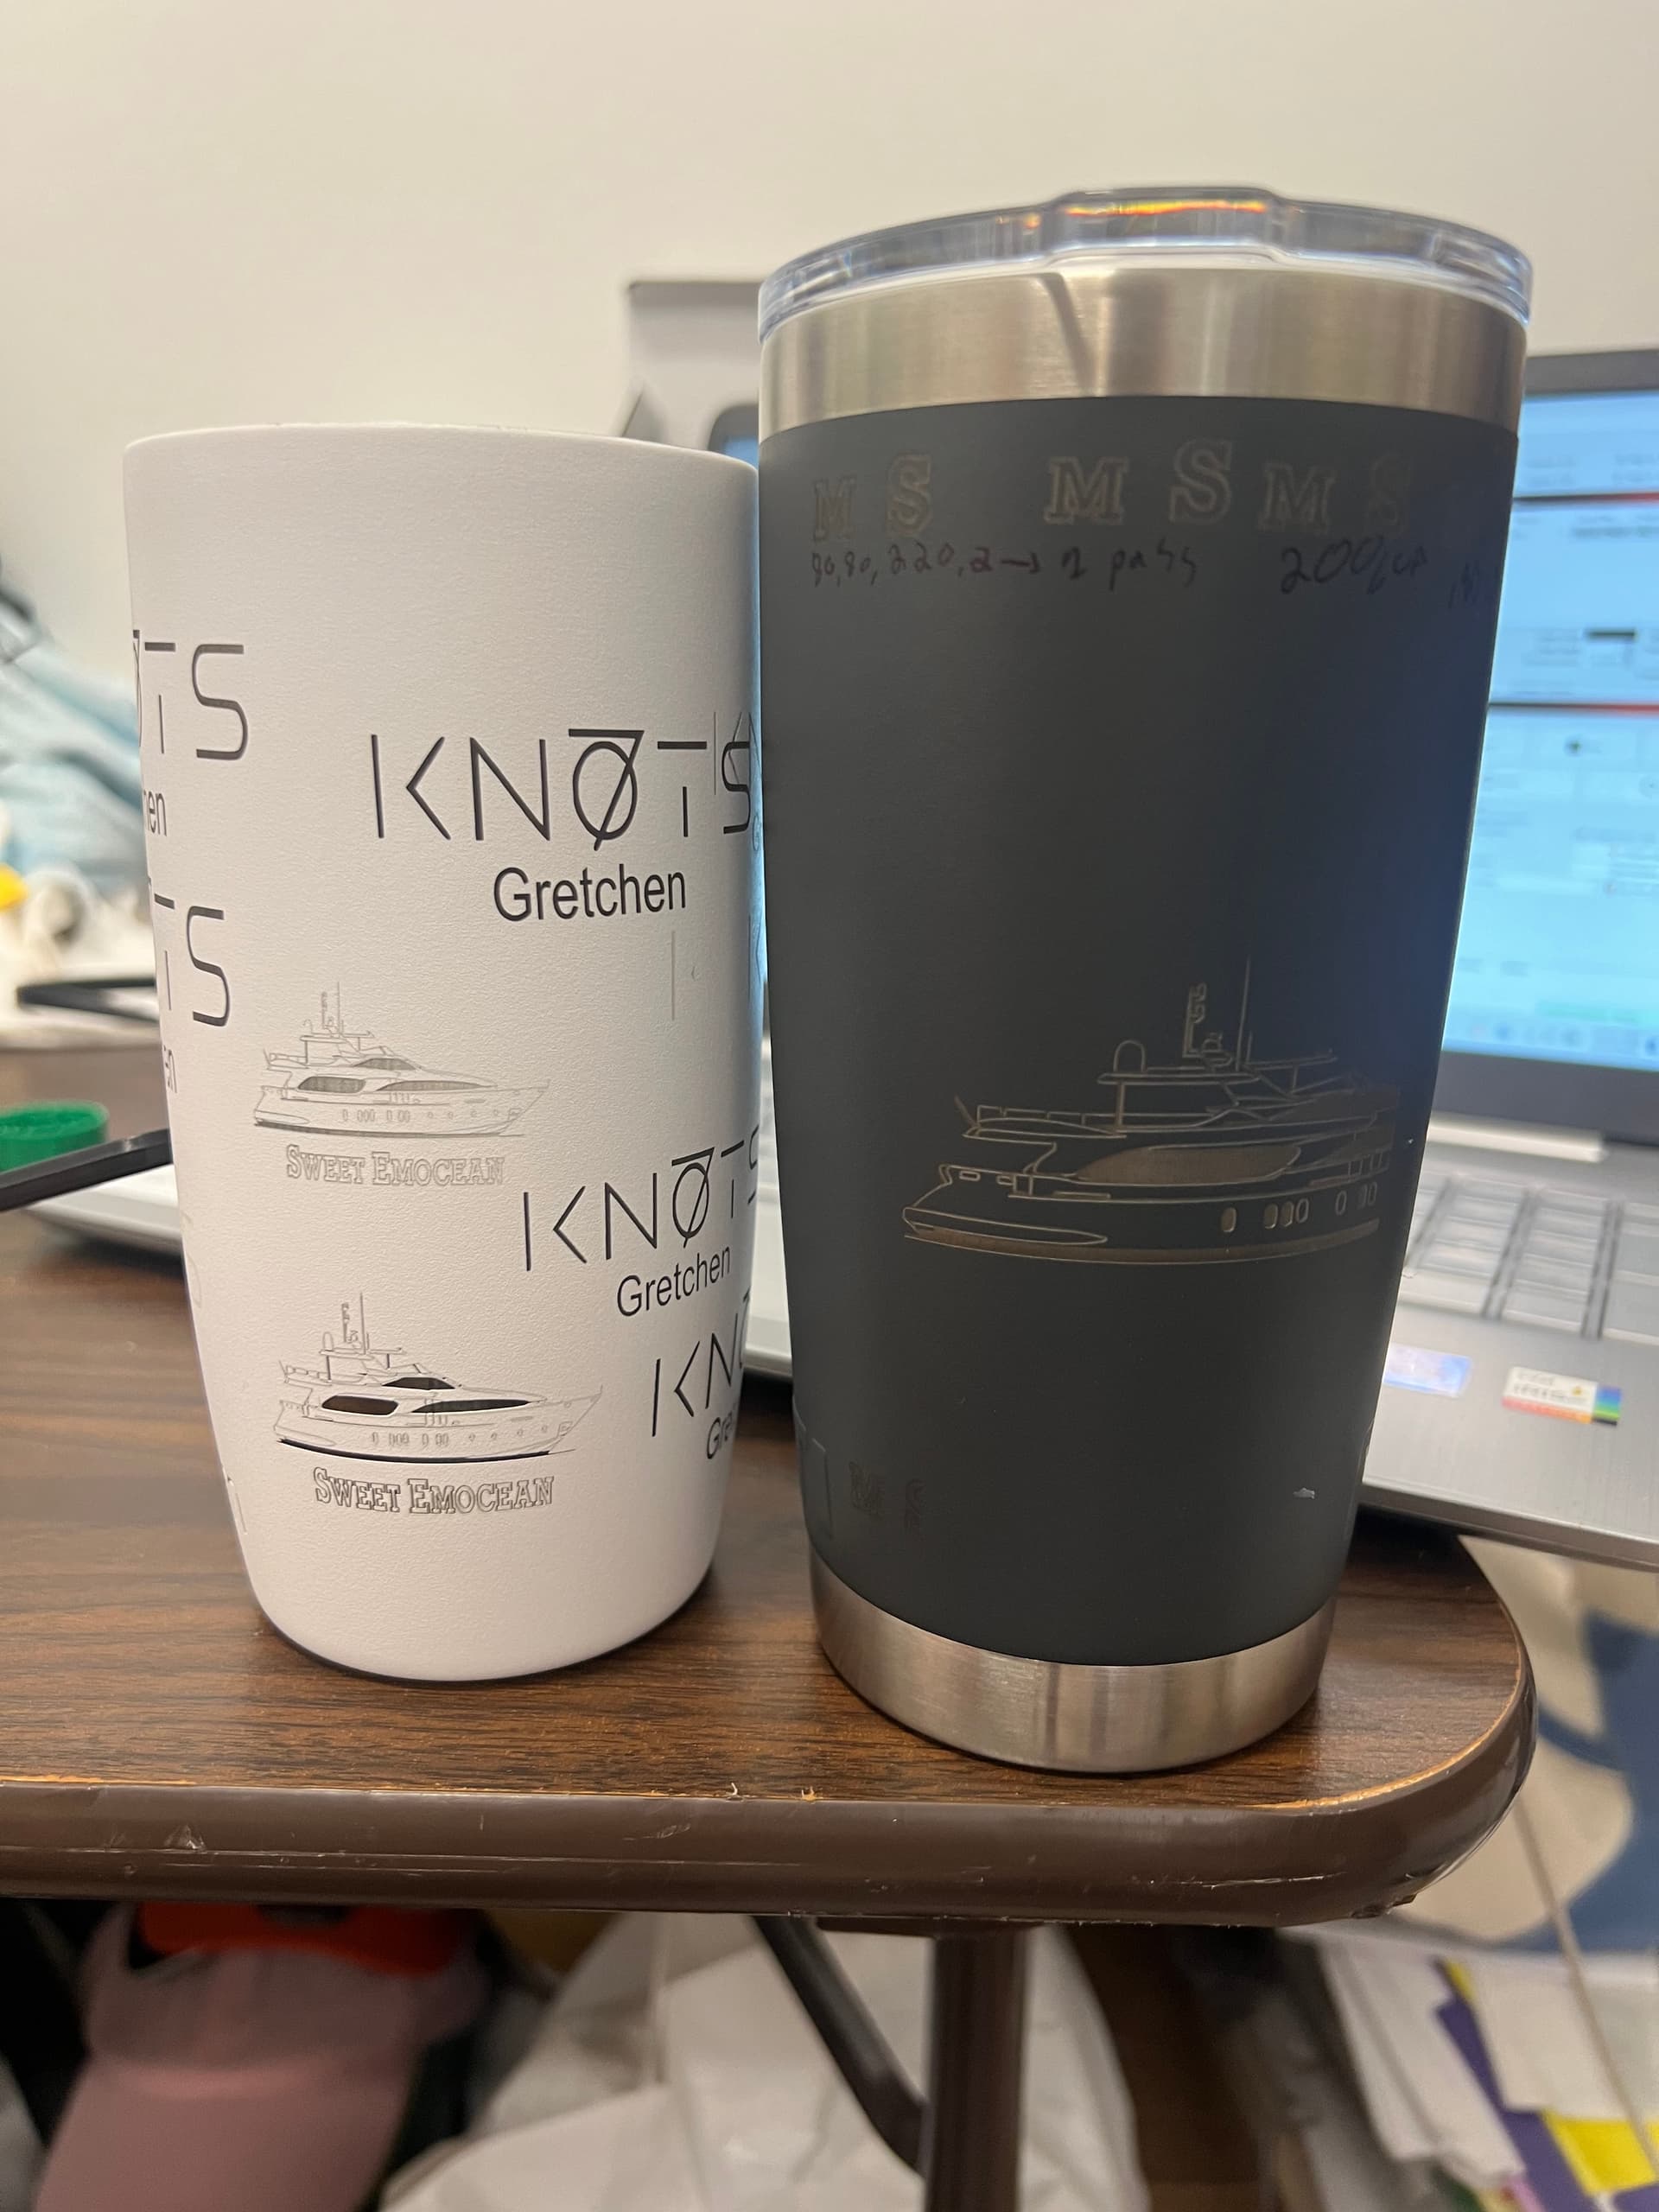
The cup on the left is how I want the right one to look
Anybody know how to make make the text not get distorted when using rotary with a fiber laser.
The cup on the left is how I want the right one to look
Hi Alex, welcome to the site.
You profile says it’s an OMTech with a Ruida… it appears to be a fiber?
How did you make the one you like?
Do you have the correct axes selected in the rotary setup gui?
![]()
Yes I do but it seems like the logo scrunches up and doesn’t go past a certain point. I tried to increase the diameter of the cup to trick the machine into allowing for a bigger logo that is more stretched out but it didn’t work. Any suggestions?
We are talking about it being elongated along the cups axes?
I can’t think of what would cause an issue in that direction… Maybe @Albroswift has a suggestion while I think about it…
Steps/rotation only changes the rotaries rotational axes, not the cup or vertical axes.
![]()
Your settings look great when I zoomed in, wouldnt touch a thing. if all you want to do is reduce the height and leave the length you can do that in LB easily before you burn it with a resizing box or text settings.
Thanks for the reply, I apologize for the late response. I scaled down the size of the logo by 25 percent and set the speed to 300 mm/s and power at 60% and ran it, but the logo just came out as 3 dots, idk if it’s because the logo has to many parts to it and requires so much detail, but i also need to find a way to make it bigger because that is what my client is requesting. The logo is coming out in light dots and i have no idea how and have not experienced this issue yet.
the logo seems to work fine on a flat surface but when Rotary gets turned on it does not work.
Double check the layer settings the boat is on that it is scanning parallel to the rotation axis and no cross hatch.
Looks like your original text was “fill” and settings look great, just needed some vertical size reduction.
The boat logo looks like “line” , so you will need to develop some parameters for that and put on a separate layer from the text. Line may take more power, and is also more sensitive to timing issues. Turn off Bi Directional for starters, and when you have time watch the LMA video on jump and timing.
Good luck!
Also double check focus.
Thank you! this is the first time the logo has appeared on the cup. All i had to do was ungroup and fill everything for the logo to appear. Now the issue lies in that the logo needs to be 3.5 inches horizontally on the cup and roughly two inches vertically when looking at it on the cup, which in LB is 89.9 mm high and 45.6 mm in width with the logo oriented to the right. IDK if the reason the logo is coming out scrunched up because of the diameter of the cup the size that it is, or because I have something messed up.
Also the darker cup on the right was done using the xtool app on the xtool D1 10W laser while i am currently marking the white cup on the left with a Omtech 50W fiber laser.
@jkwilborn the same problem i am having right now is also relvent in the question of: if i wanted to have a design wrap all the way around a cup, and finish next the starting point, then how would I do that?
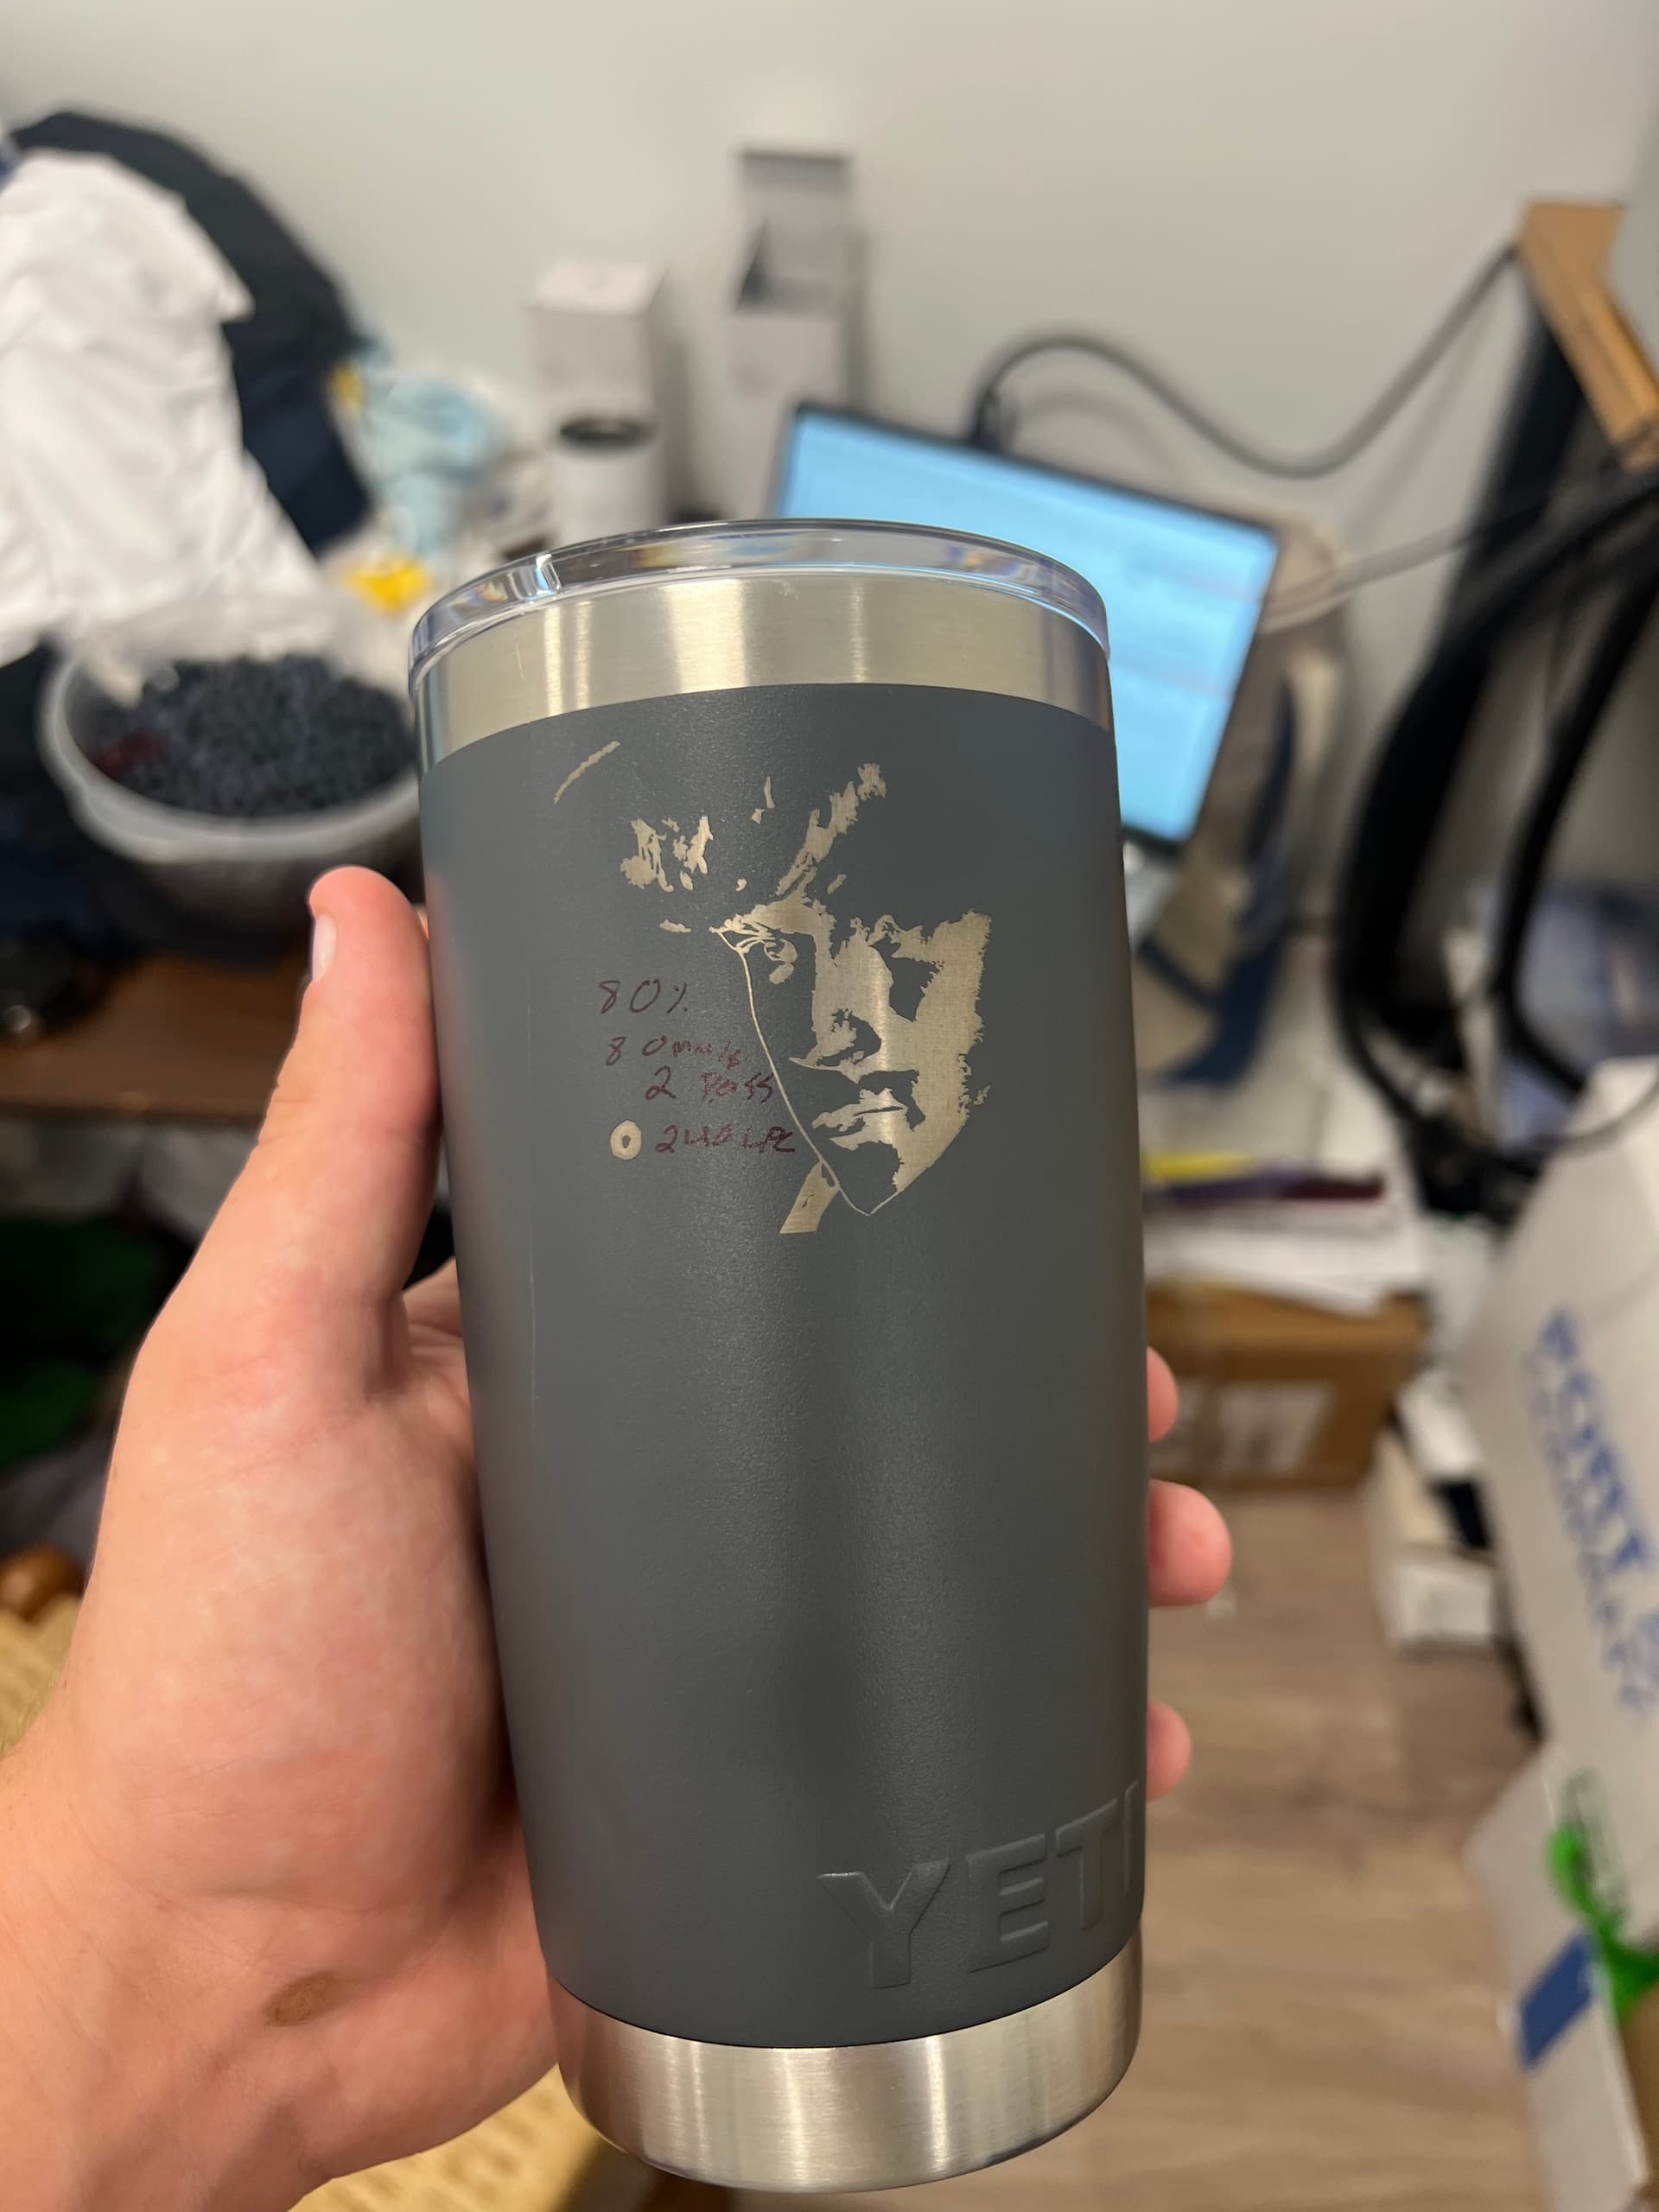
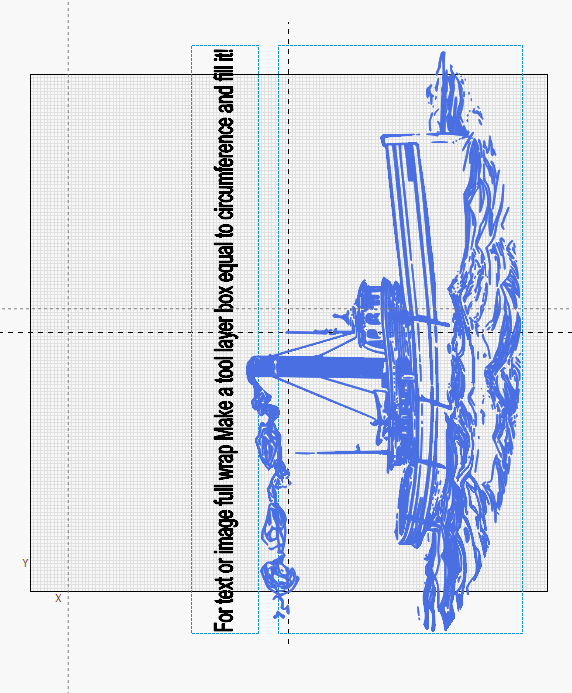
I figured out the shiny setting i wanted too, but the logo still seems as though no matter how big i make it, will only change height rather than the length of the logo on the cup. I seems the only size parameter that is changing is the height anytime i run it after making its bigger which come out as a fat logo like this:
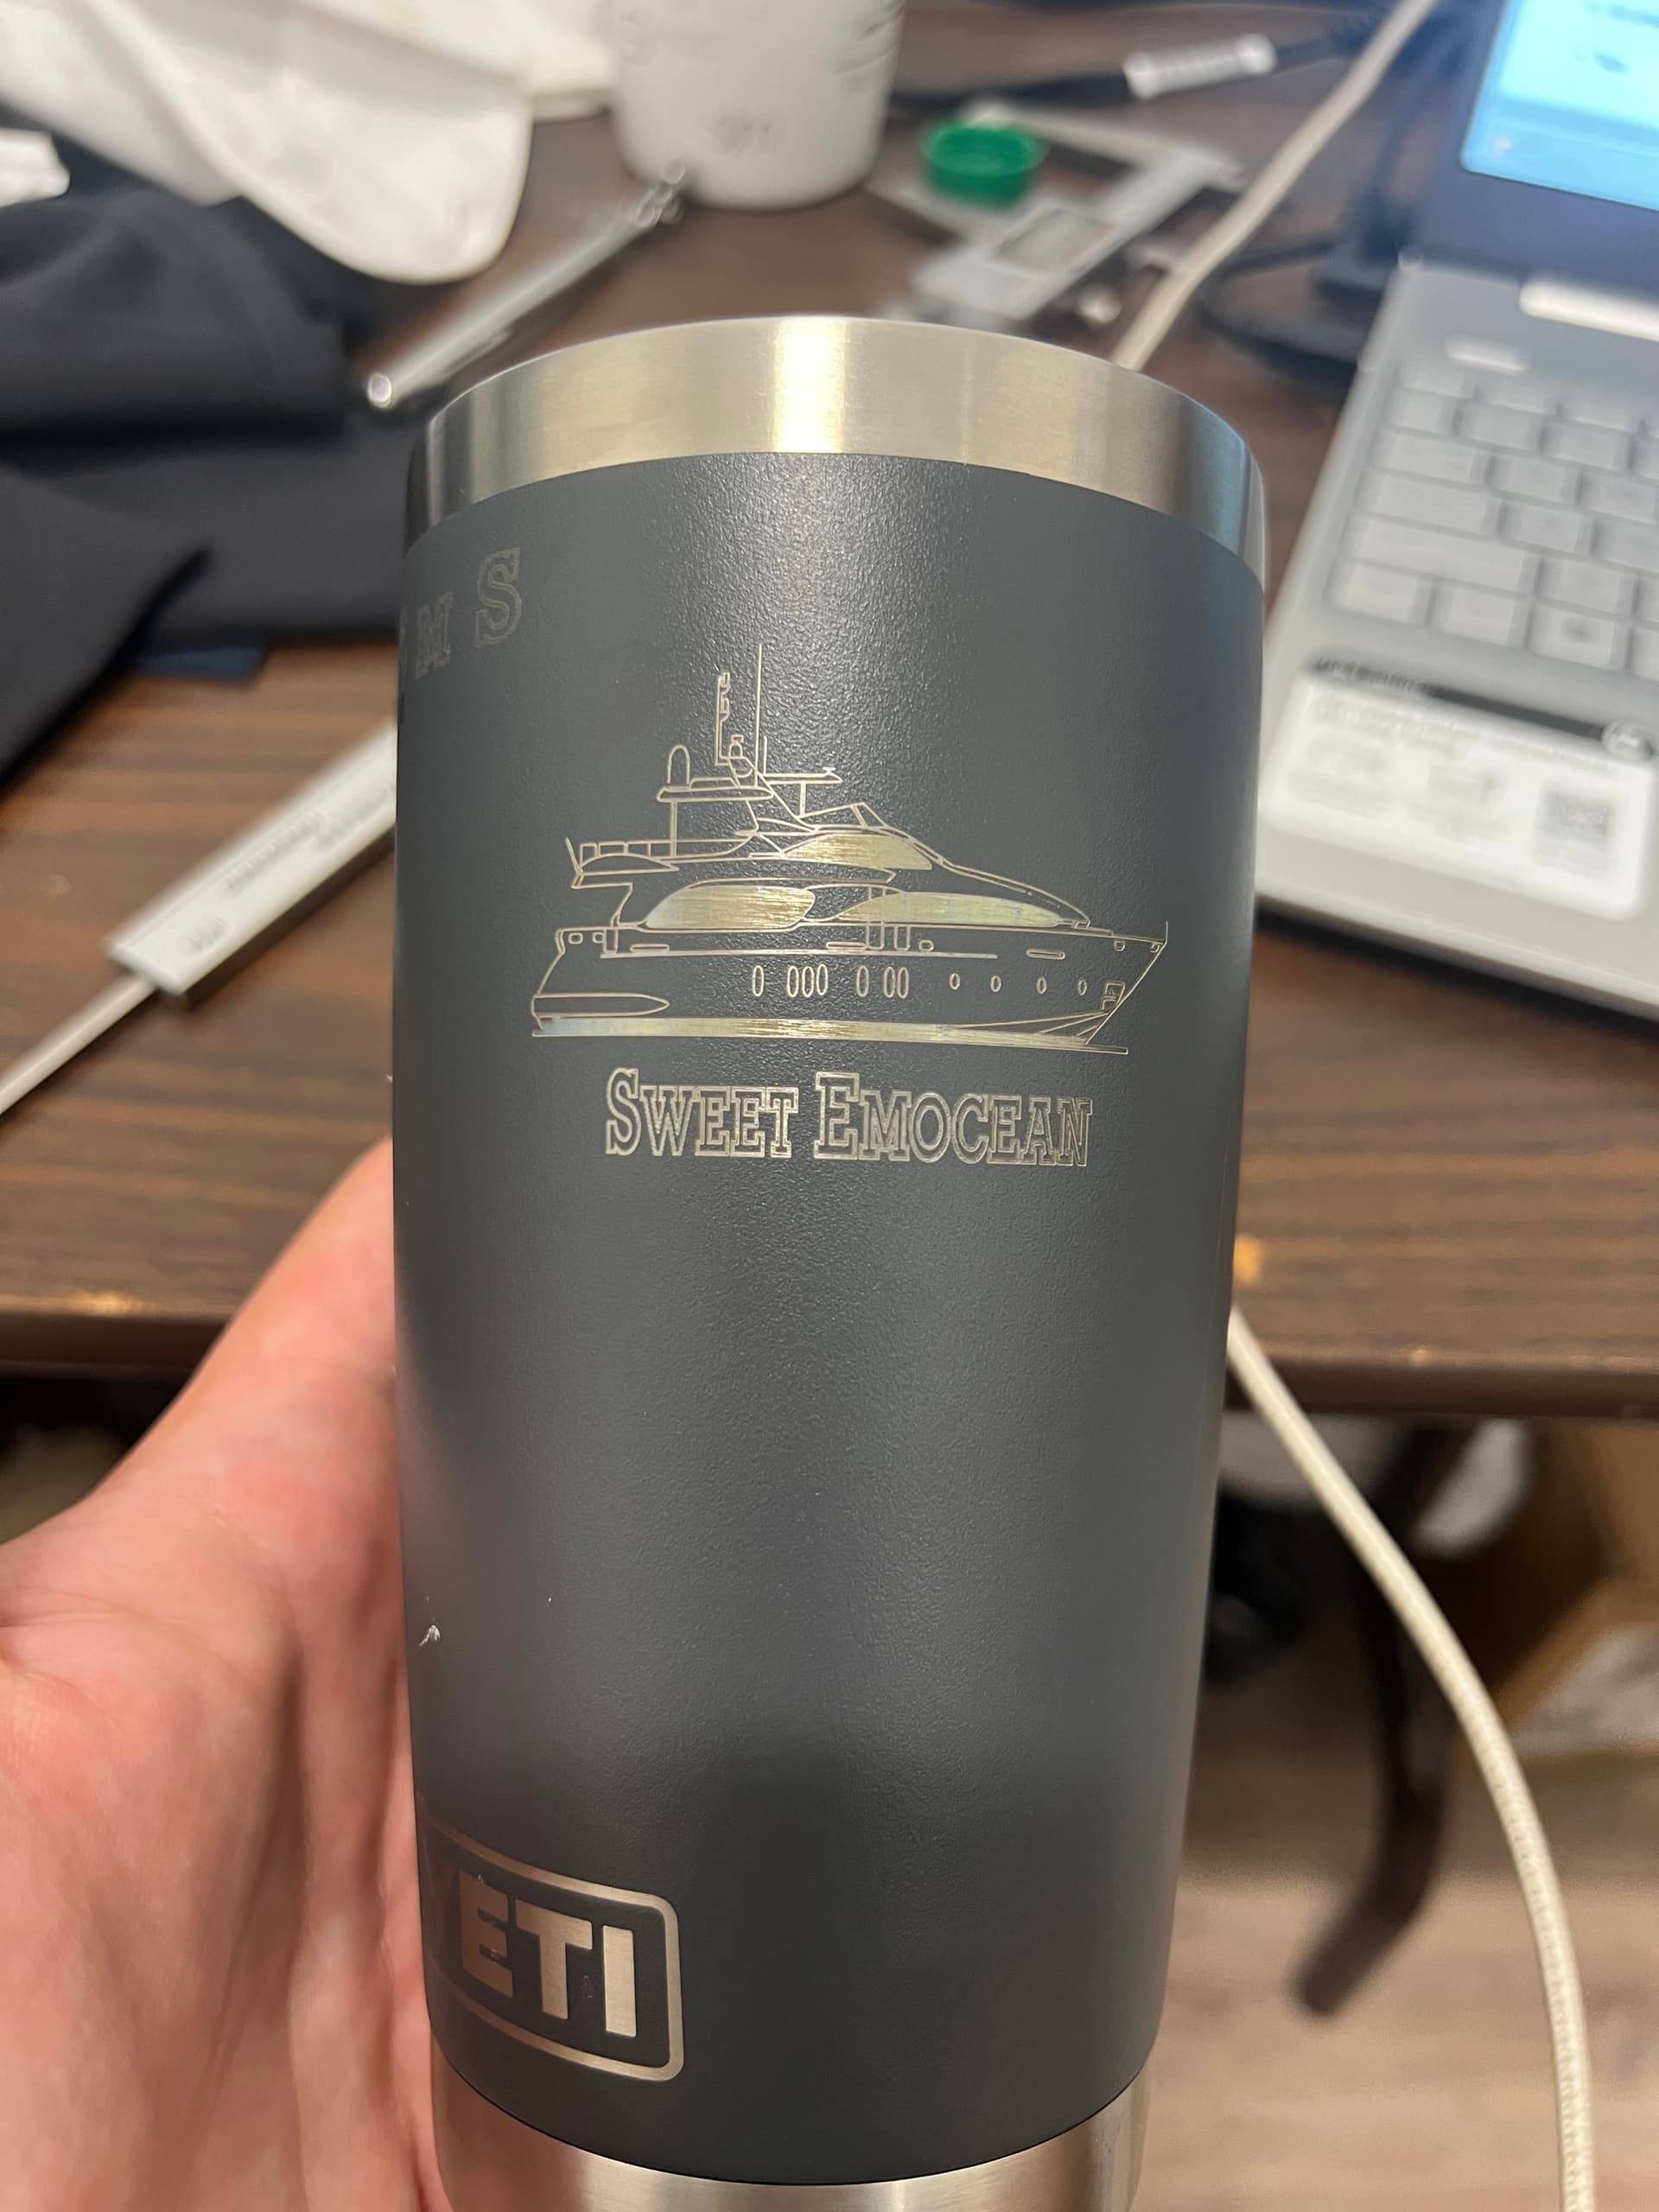
When I actually need the logo to come out like this, even though its not finished and was done using the xtool D1 10W on xtool.
If it’s making it longer or shorter to the image along the rotational axes, it’s not setup correctly… That’s about all it can be…
Maybe a step by step flow of how you enlarged it and ran it.
![]()
to do a full wrap, make a rectangle on a tool layer equal in length to your circumference and fill it.
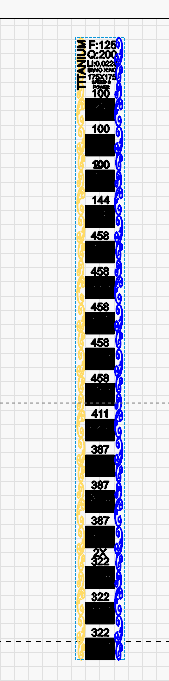
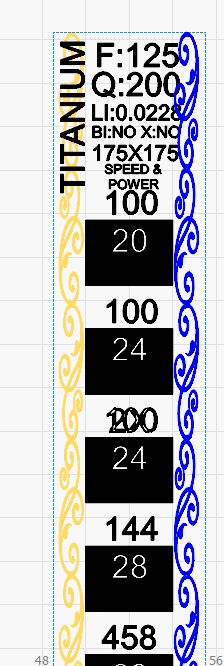
Post screen shots of all your settings if still coming out fat. Something fishy going on. I do full wraps on rings and cylinders and it should be just that easy. Just did some parameter testing on a titanium ring last night.
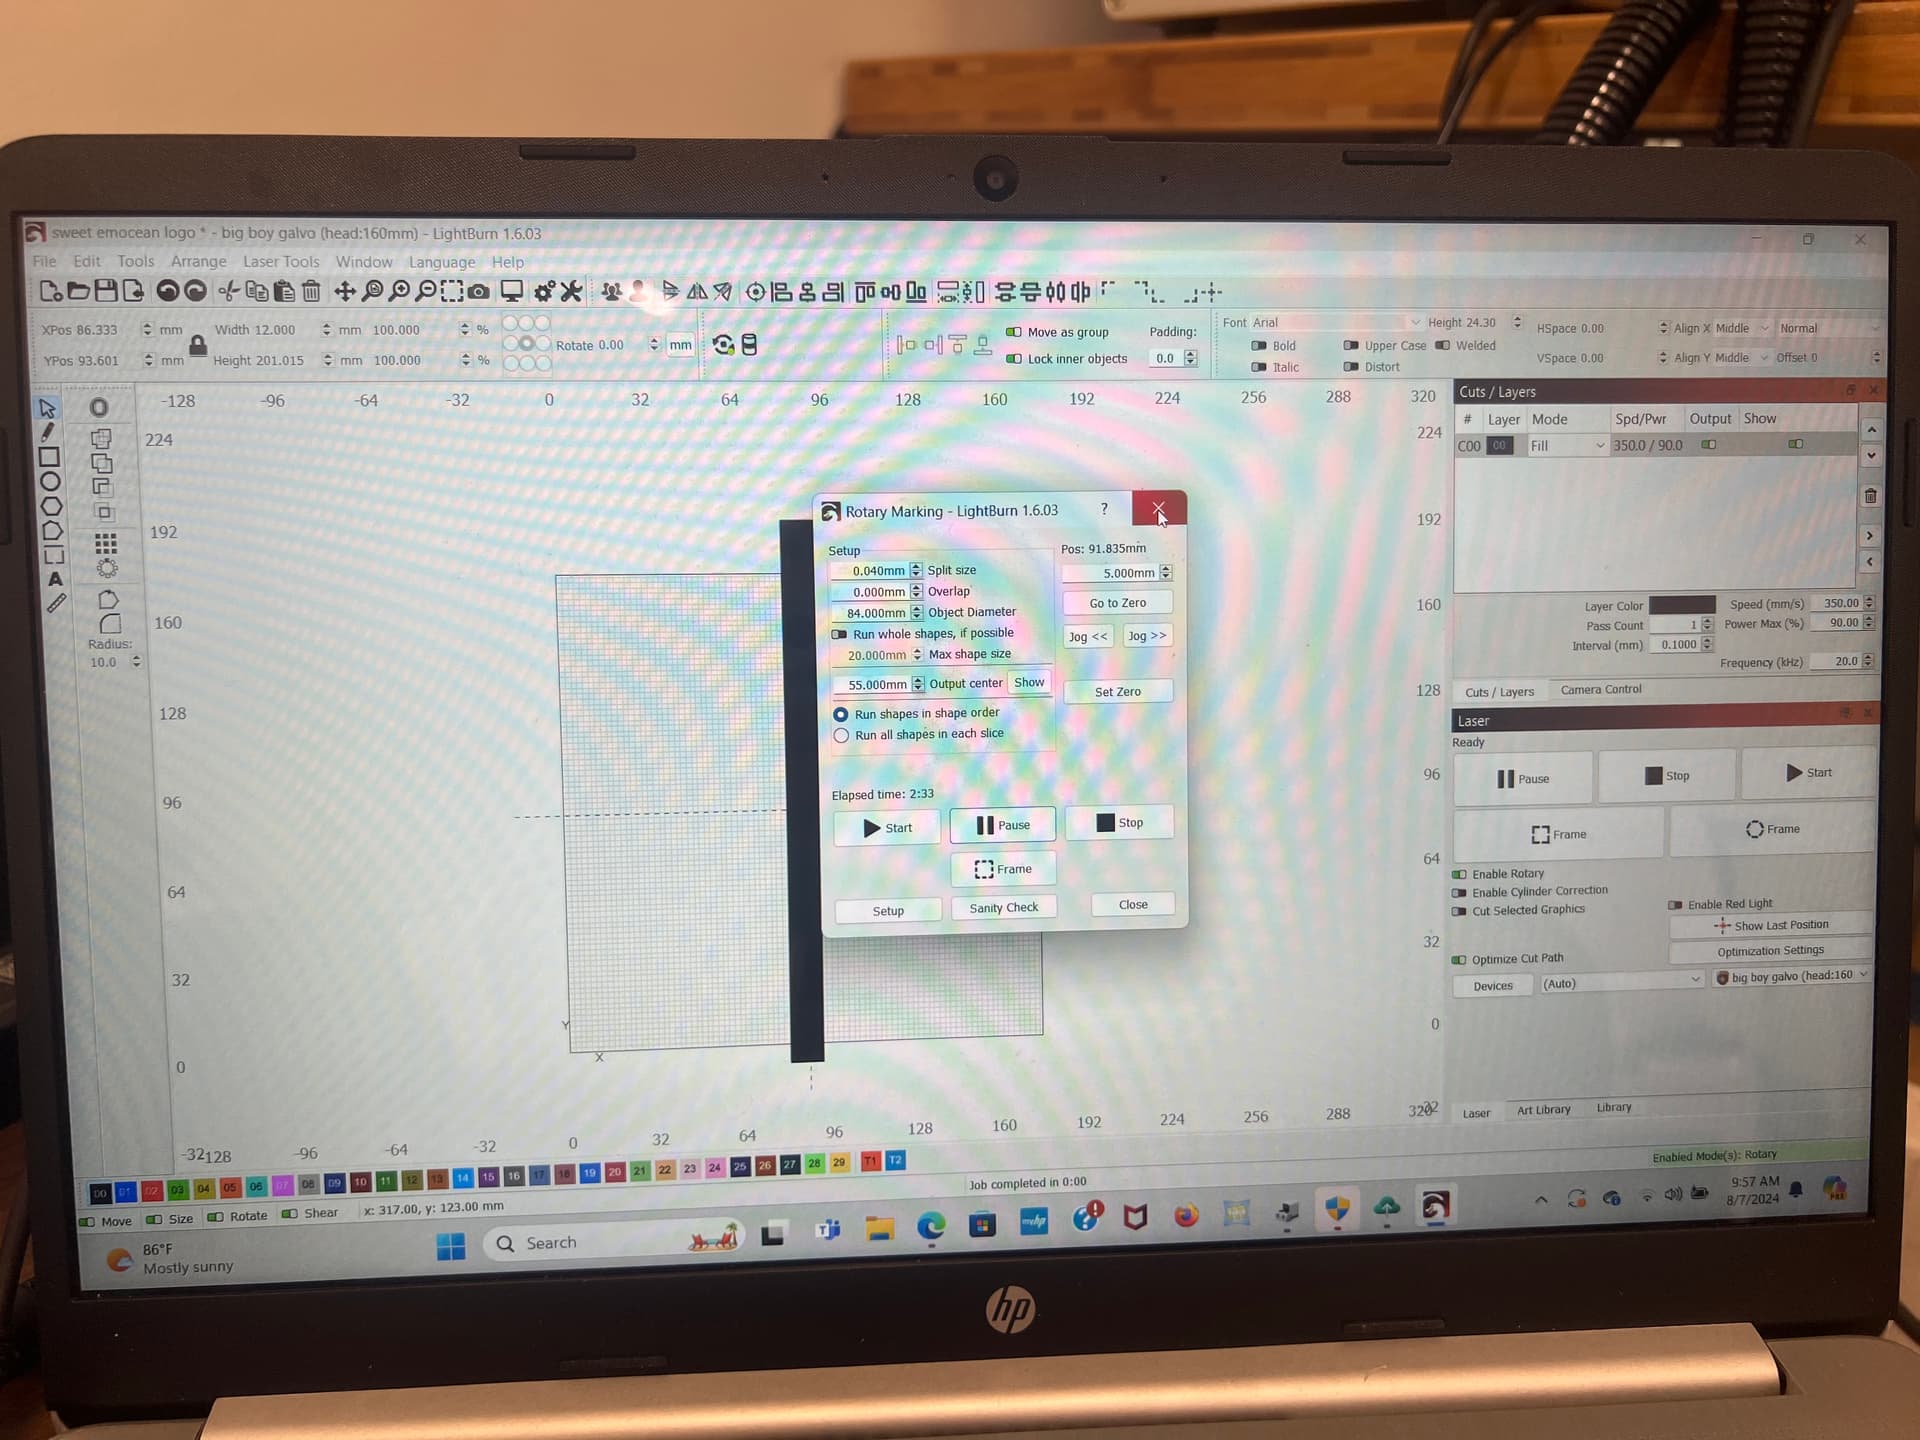
I did the square test, I made is 201mm high and that is plenty to go around the cup but it still only engraved to 66mm.
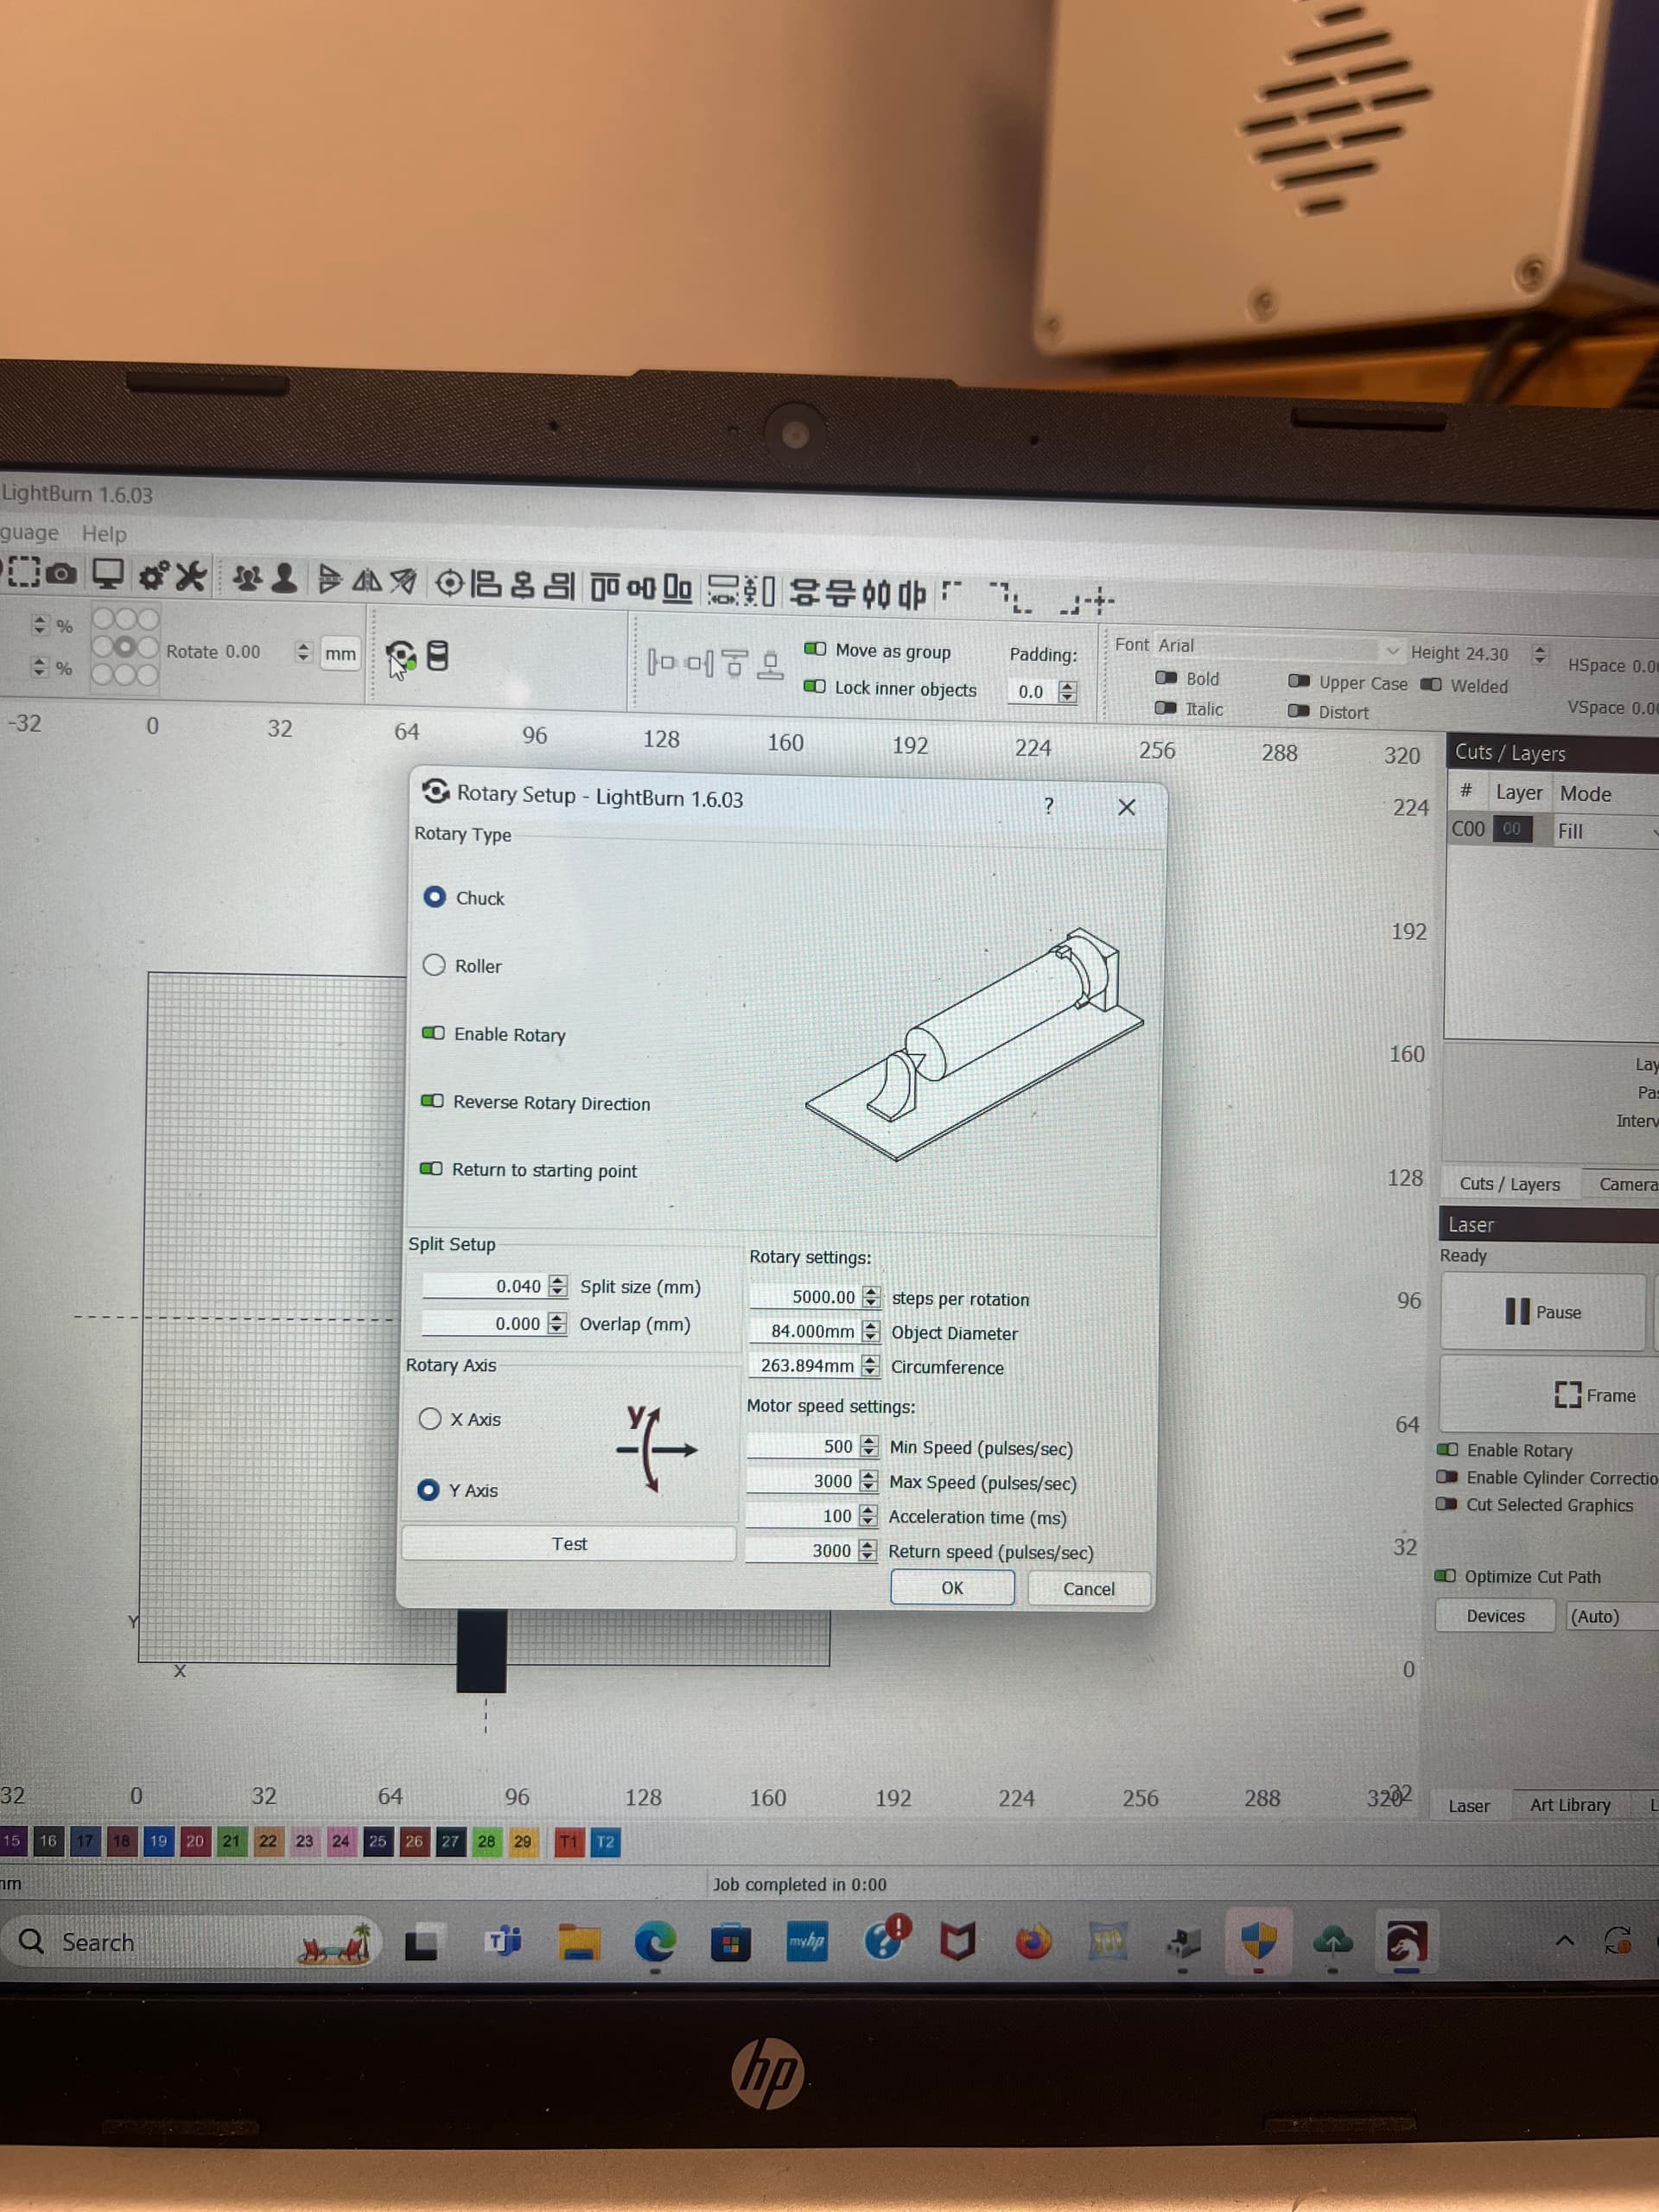
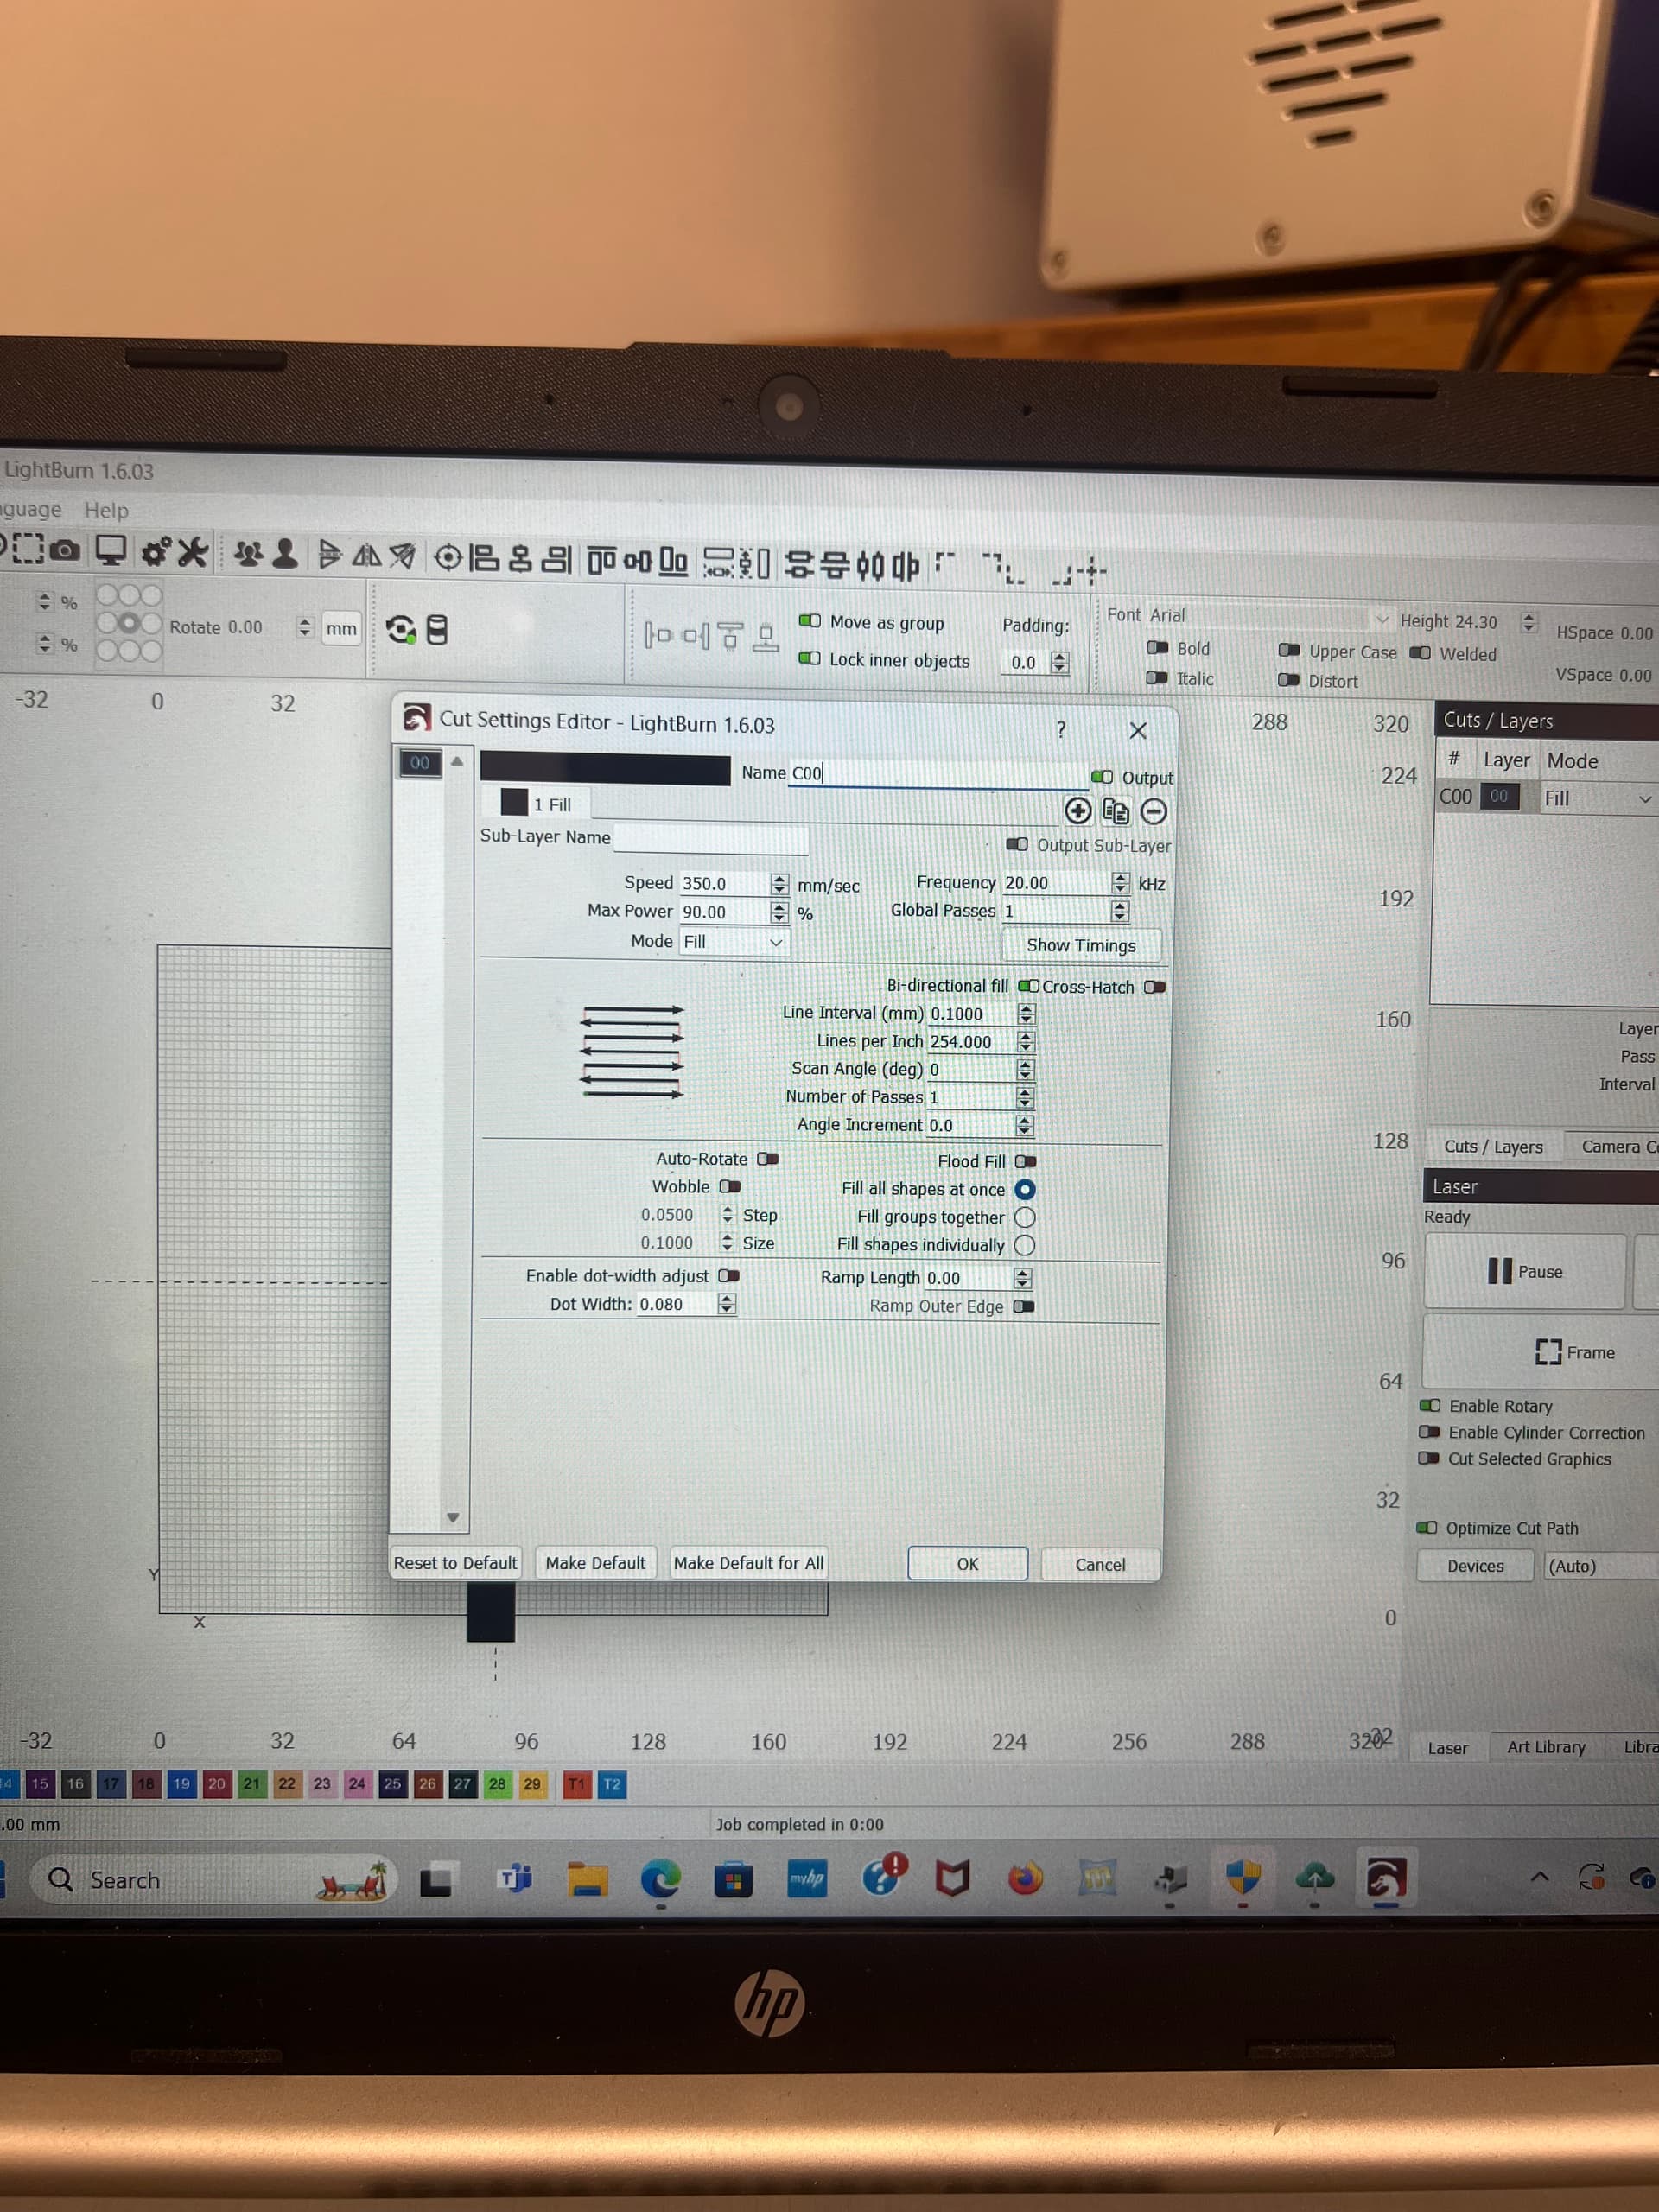
Here are my settings:
Although the engrave looks incorrect, to correctly measure the arc/circumference you have to bend a measure tape around the cup.
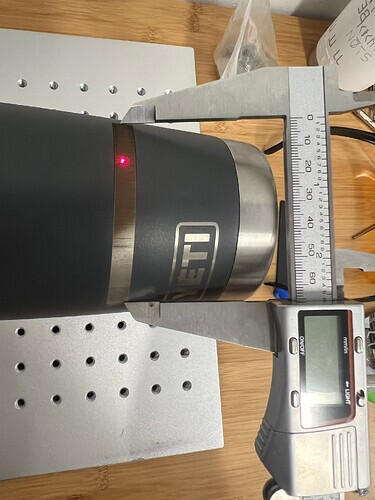
I understand that but the difference between what I have the size set to in Lightburn, which is 201.0 mm is noticeable by the eye, the circumference of the cup is 263.0 mm, so it should be almost a full circle. When I do measure it with tape its 76.2mm. The difference of 124.0 mm is big enough to notice by eye.
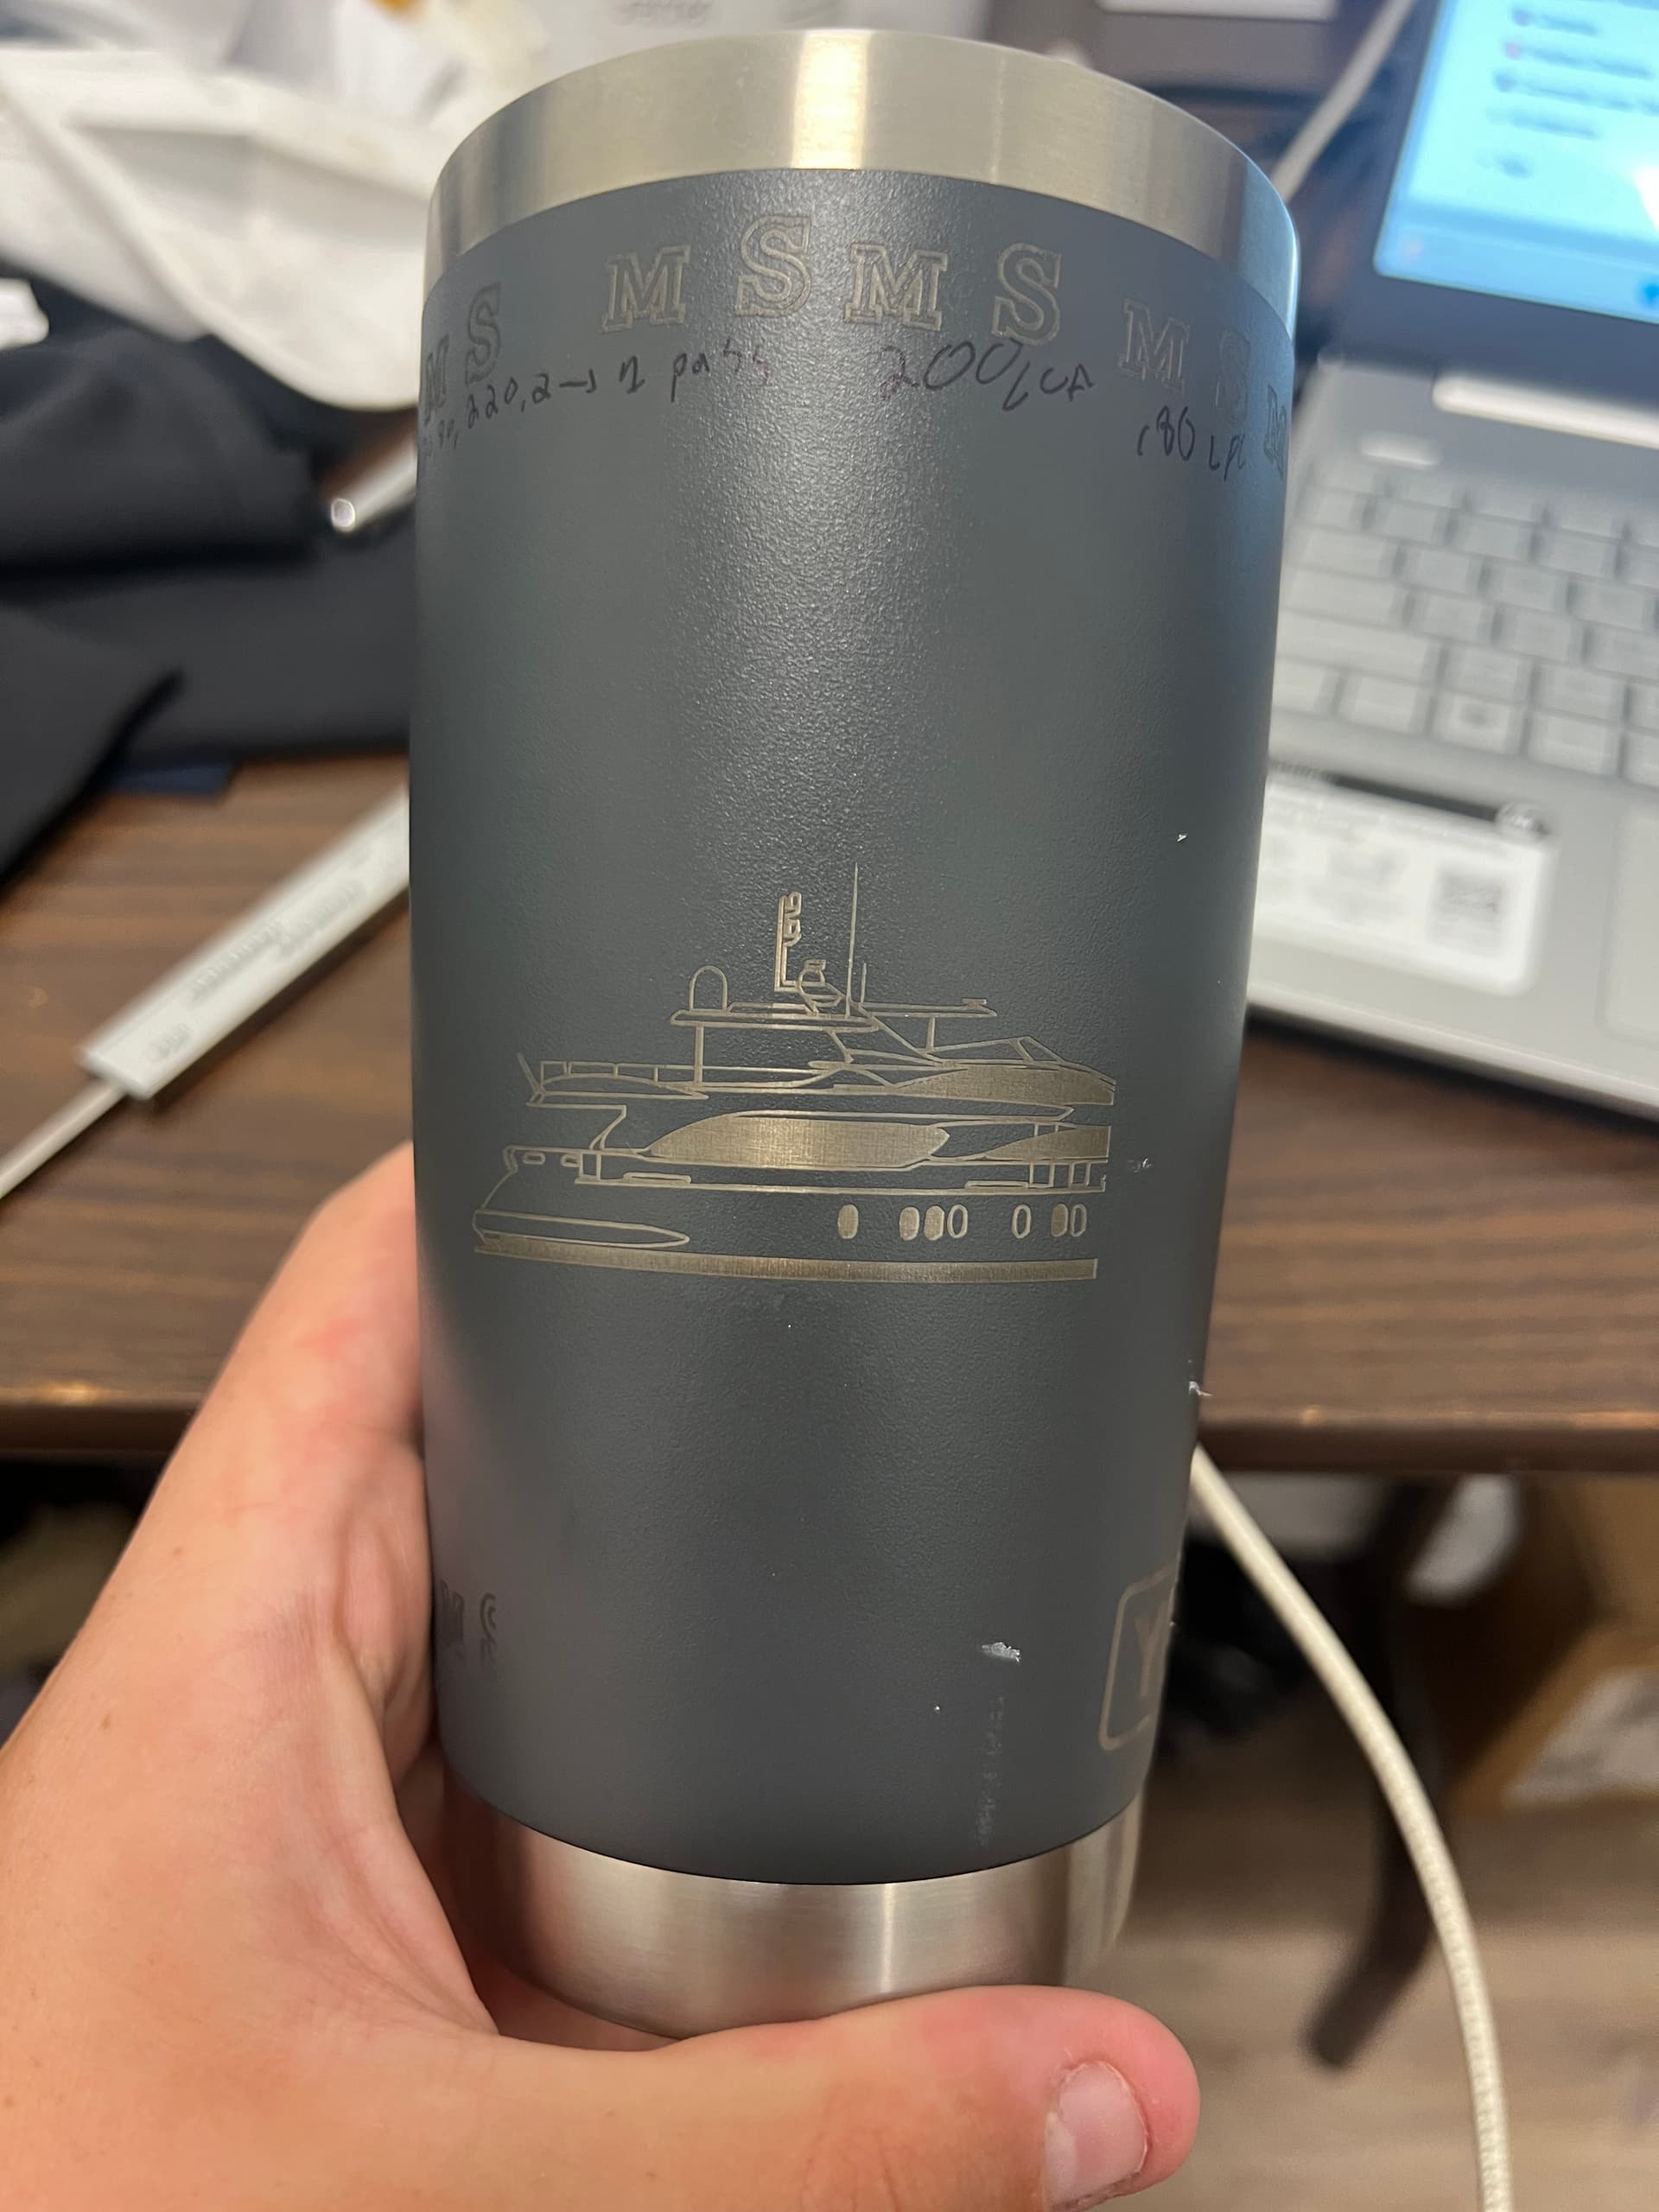
look in the top left at my measurements:
I figured it out!!! after moving some things around my step per rotation was set at 5000 and after setting it to 16 thousand i can go all the way around the cup! thanks to all who helped!
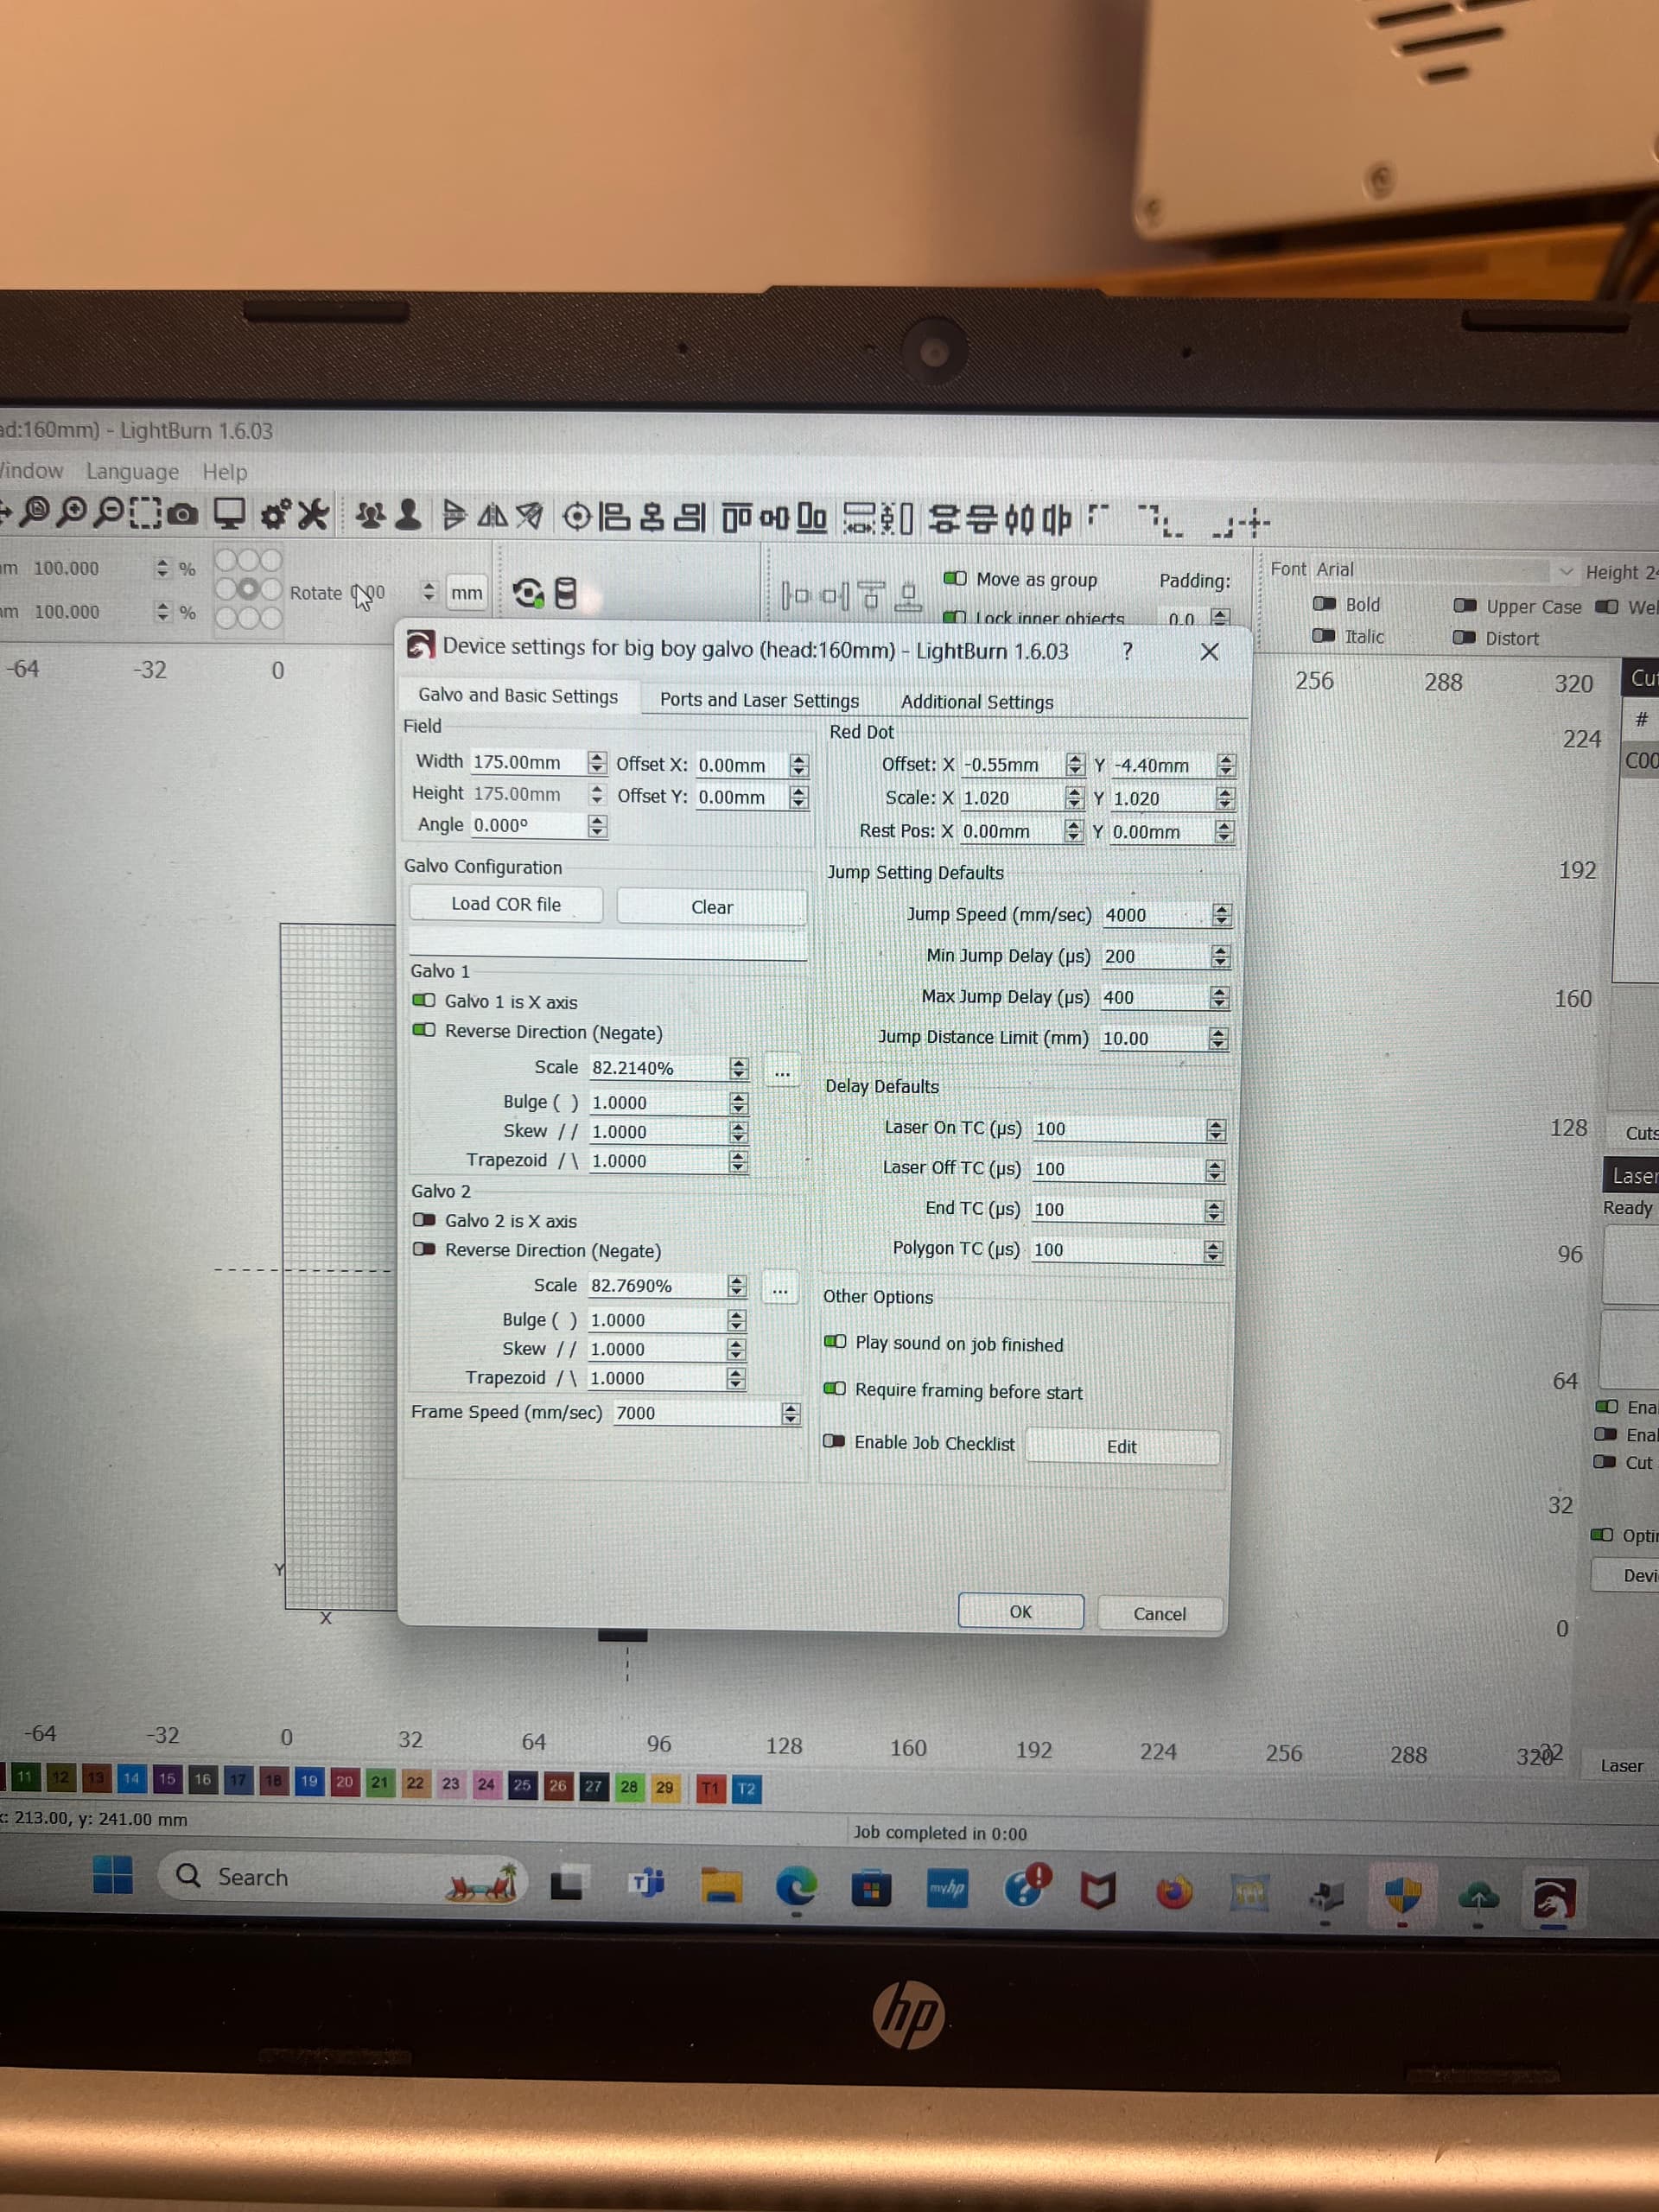
These shots indicate to me that you do not have any corrections for your lens…
Did you import the correct lens file from the manufacturer?
It makes me wonder if the machine is actually setup properly.
![]()
Good to hear.
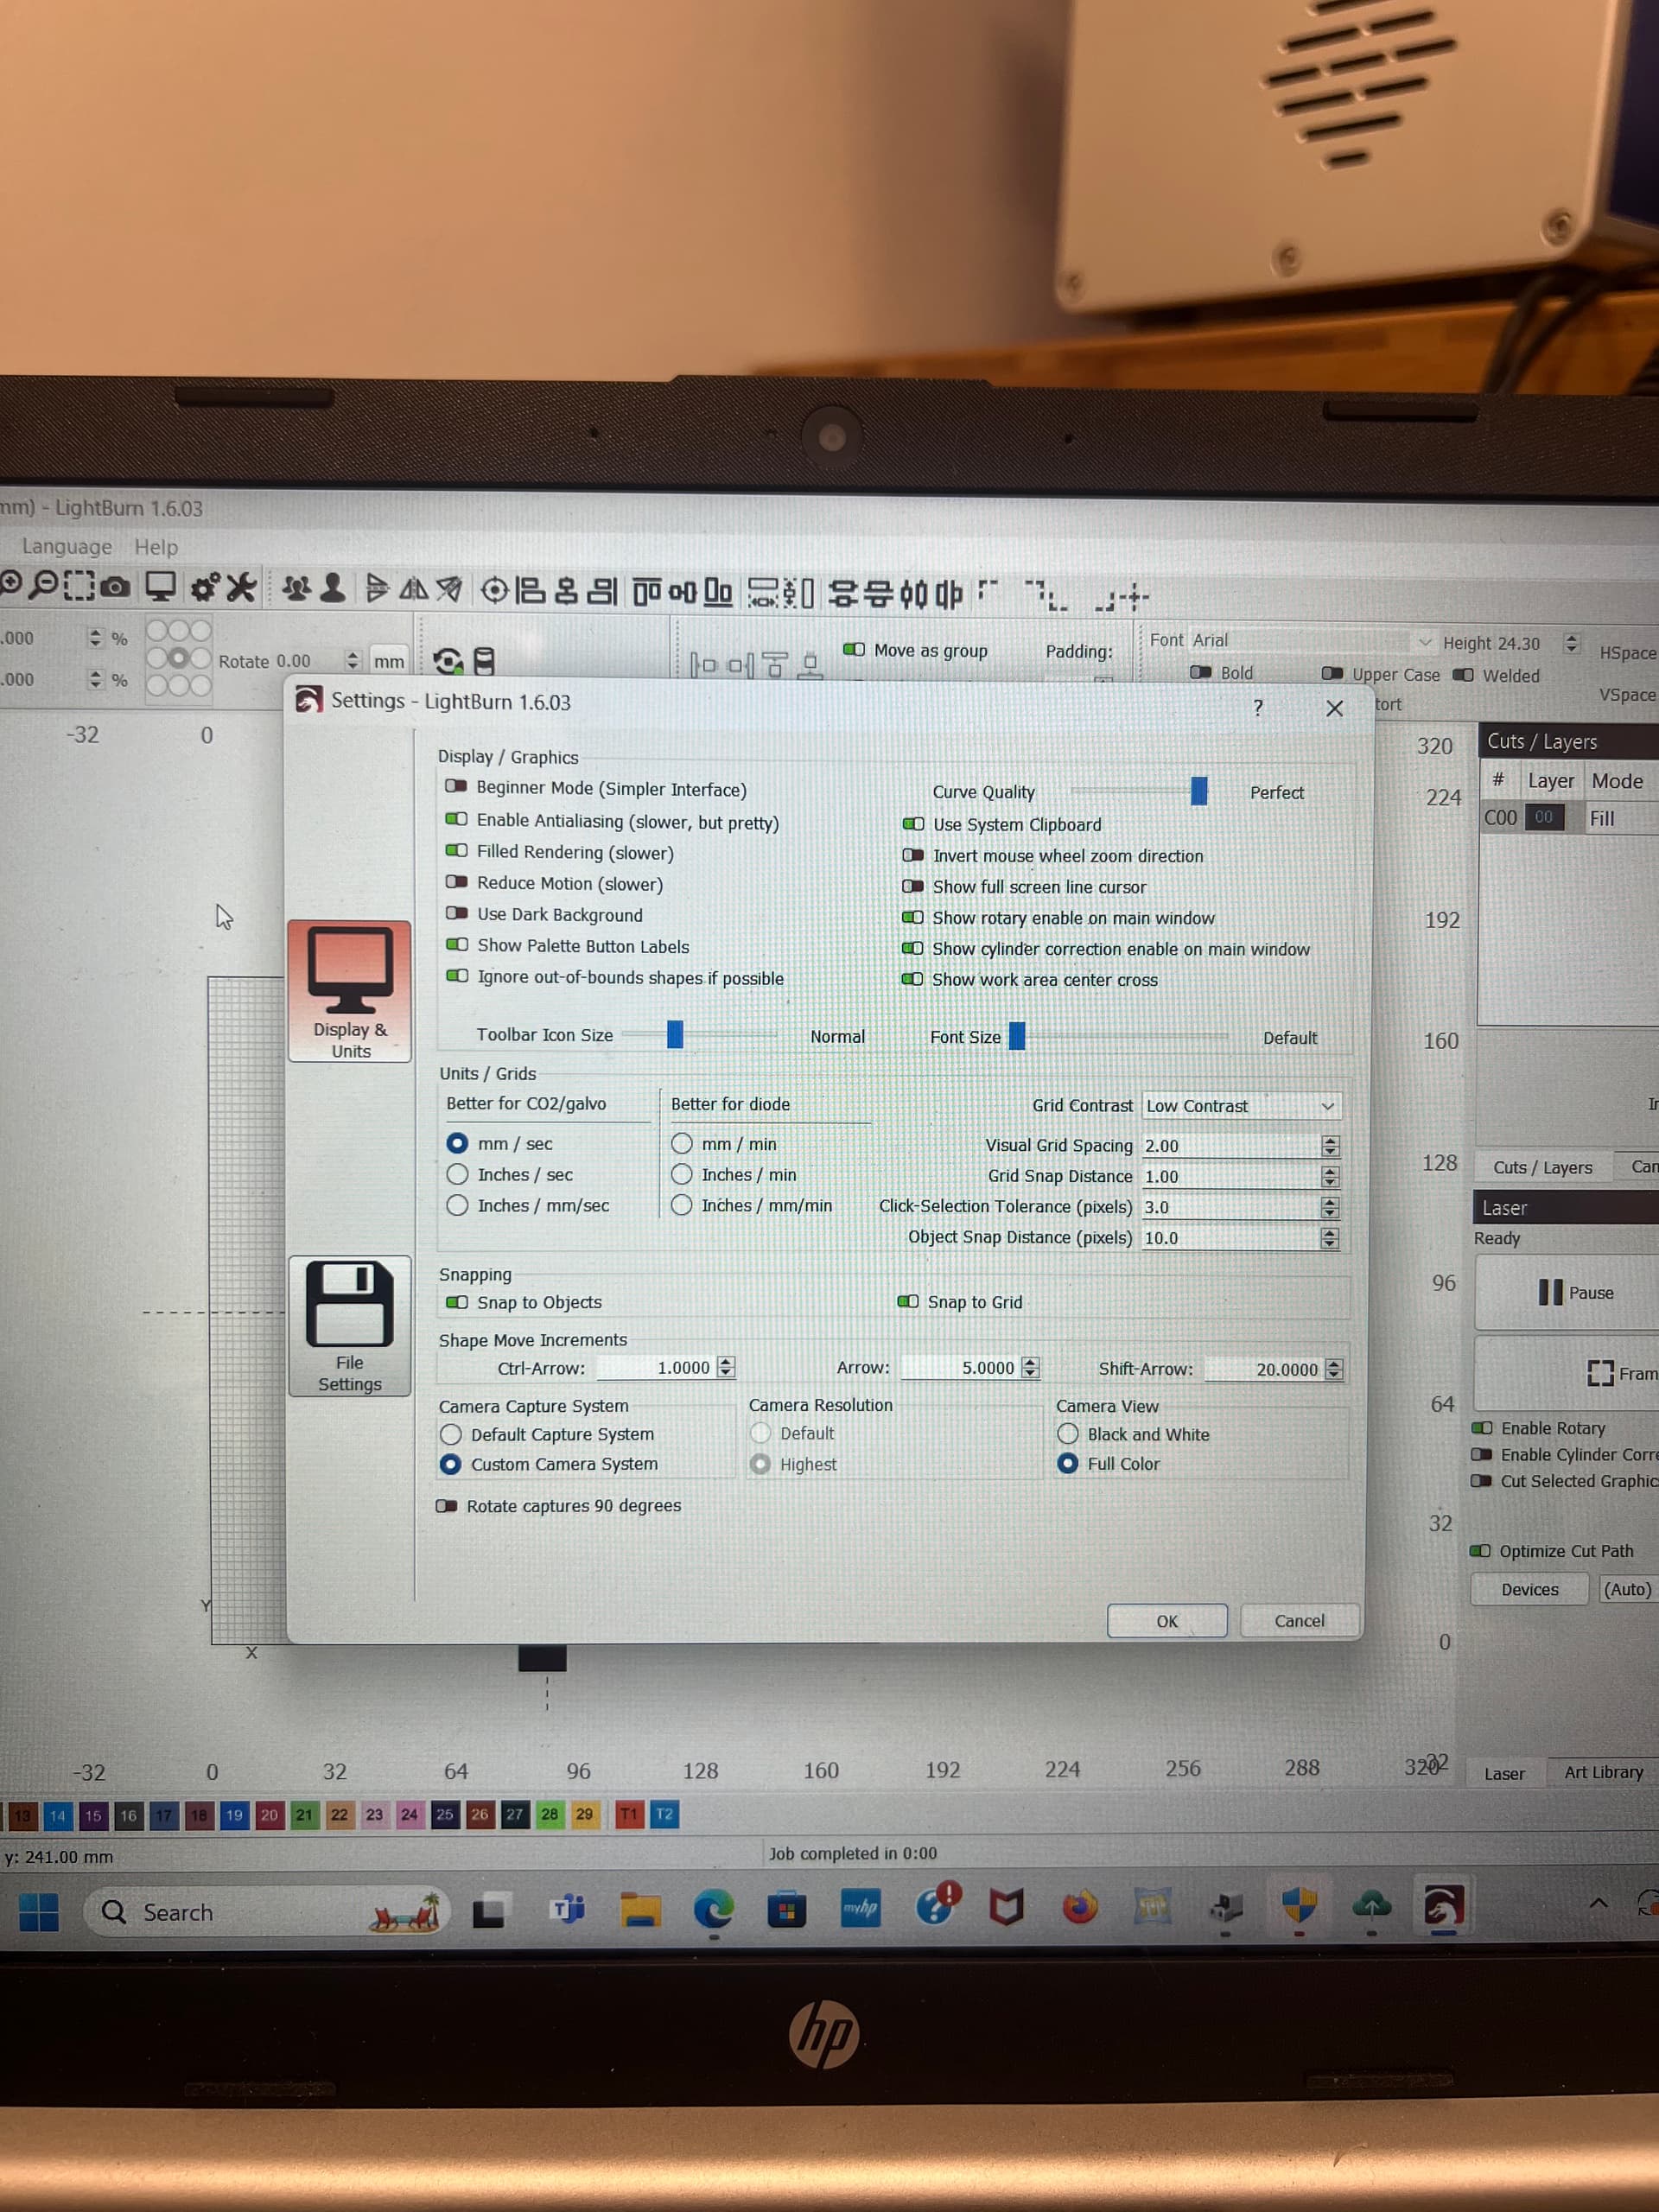
Something to look into further, 16000 is not a setting on any of my microstep drivers, when you hit “Test” or when you run a box equal to your circumference, does it turn exactly one full revolution?
Also, as Jack pointed out, you should go back to the start, lens calibration, timing delay and jump, get that baby dialed in. It is well worth the effort. Laser Master Academy has a great video on jump and delay timing. LB 9 point correction works great, just tried it last night with a 175x175 and a 300x300, the 300 came out better then the factory calibration. (didn’t test the 175 against factory but a 170x170 square came out within 1mm measured. Both sides and corner to corner.