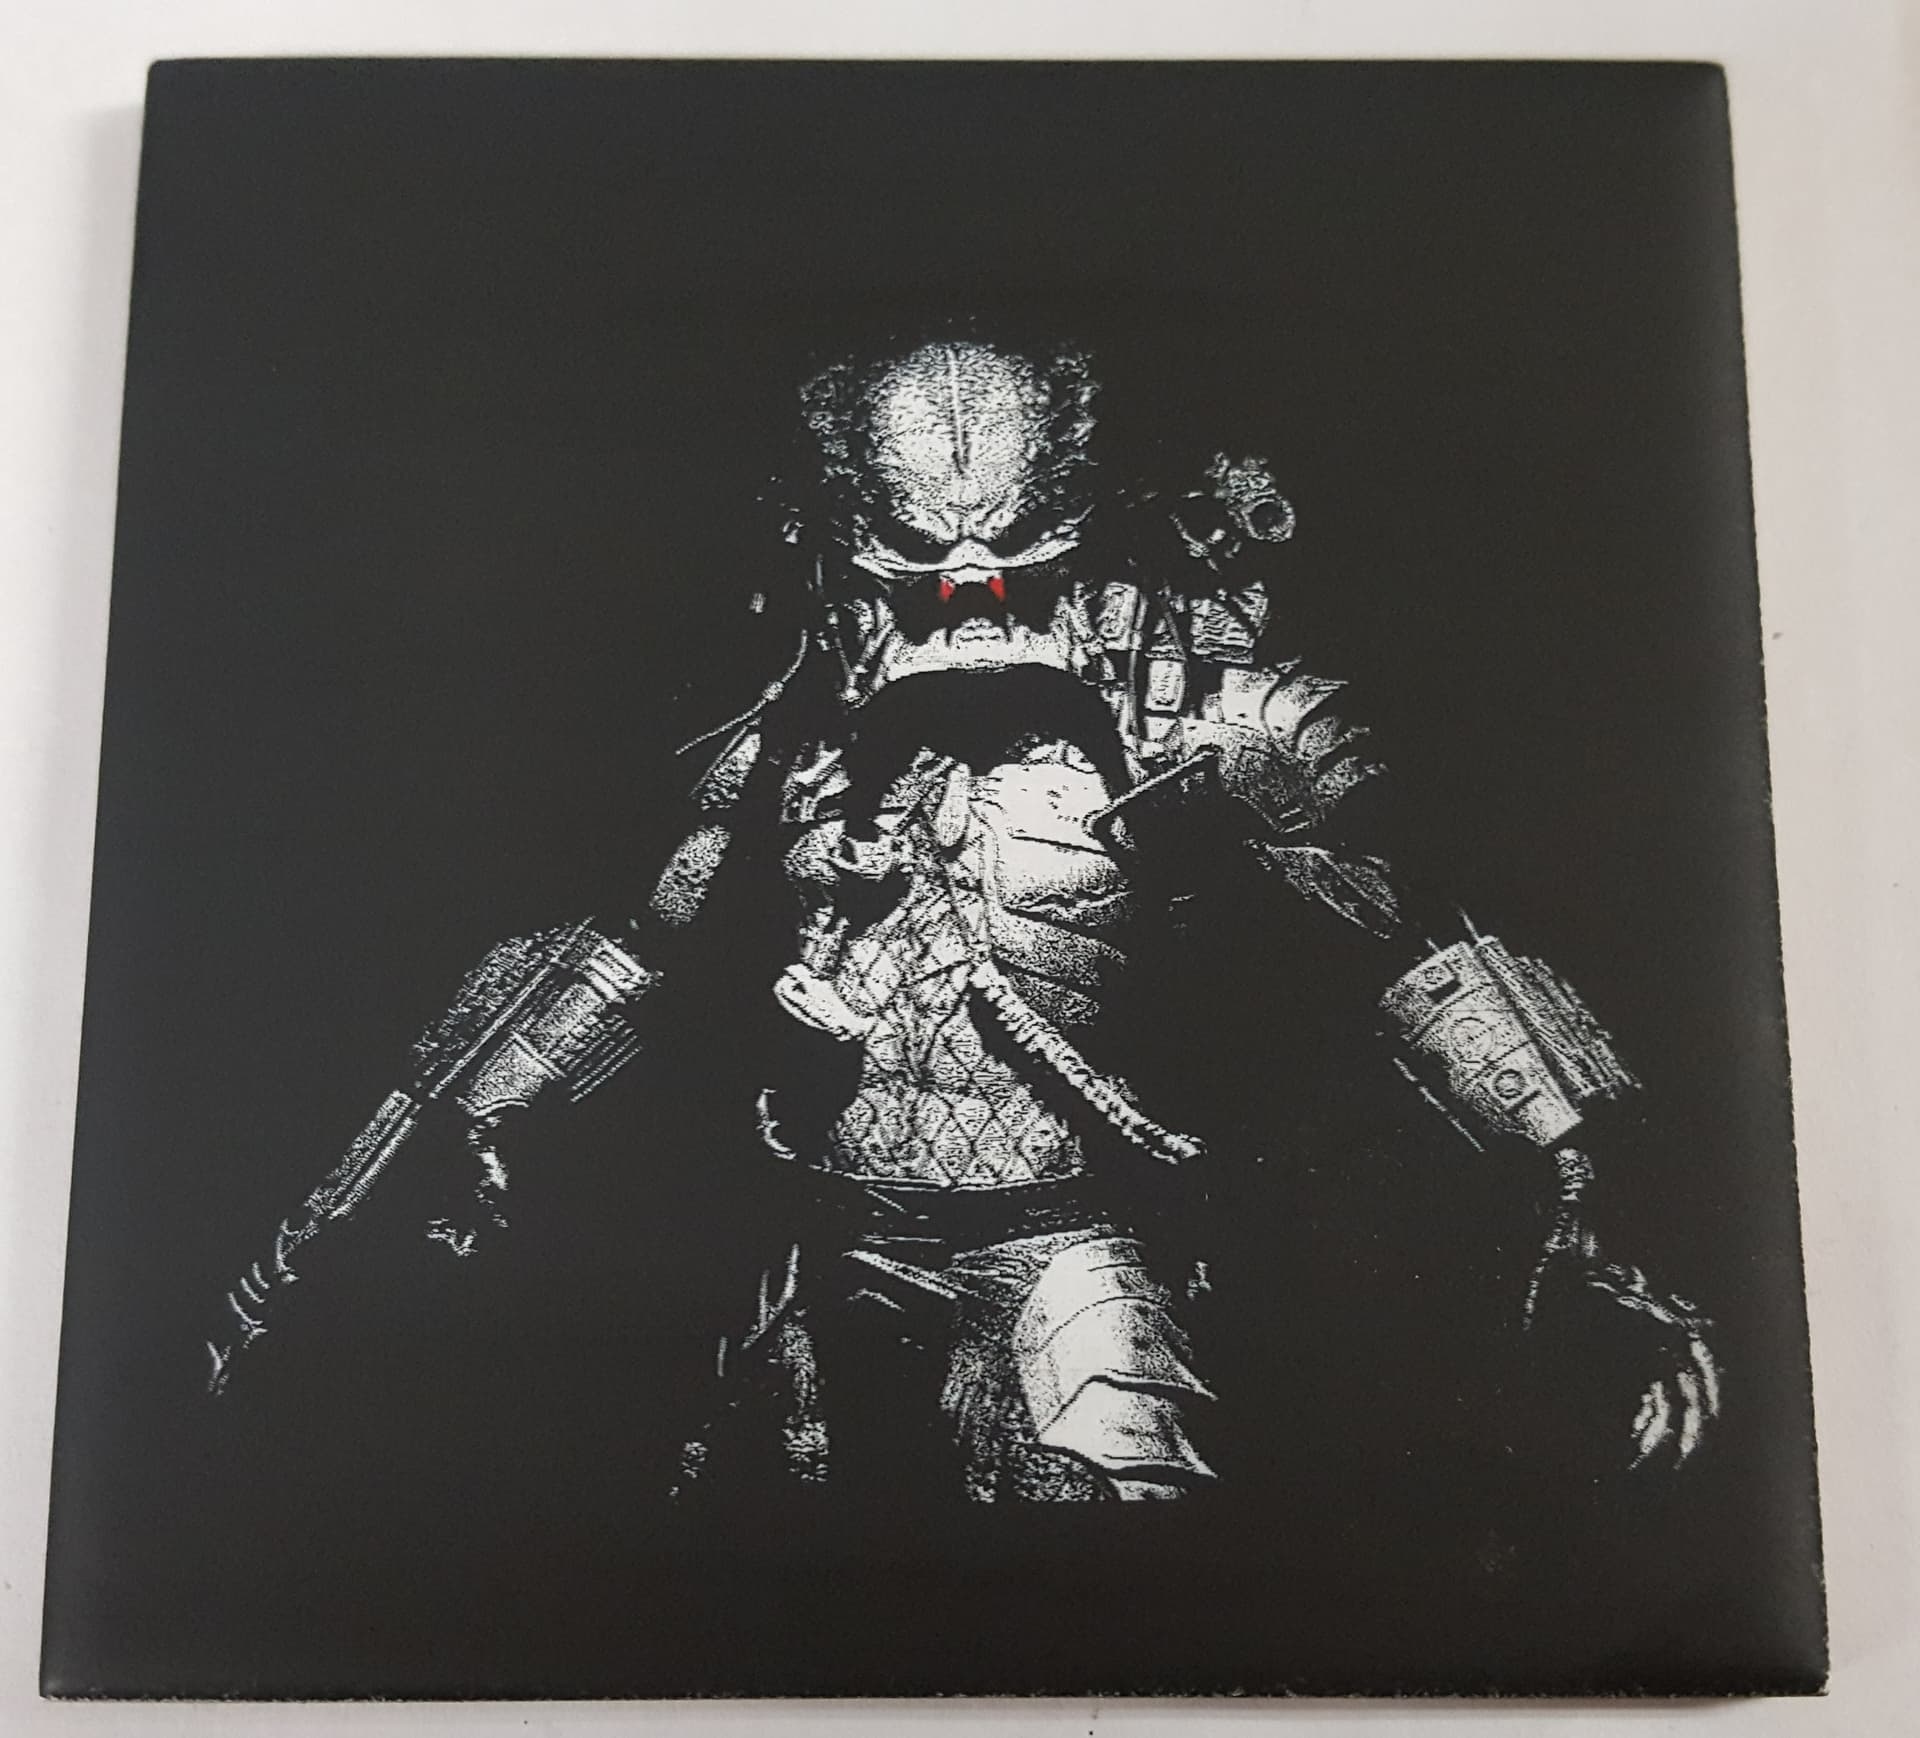
I like the idea of trying the black but wondering how it would look with maybe red paint on one. You would not want to do a picture but it might look cool on a flag.
Awesome job Rich! I’d be thrilled with that quality after the 100th try let alone the first. I know you
Mentioned this was your first time attempting tile, did you mess around with your speed and power much to find something ideal first? Only asking because I have yet to try any tile engraves.
Some months ago I bought a 3018 Pro with the intention of doing some woodworking (I did not realize at the time that there is not as much support for the 3018 as there is for 3D printing) but now I’m focusing on the laser (ya, I know  ) and also saw people etching on tile. I also thought that you had to do a lot of pre- processing, but as you have shown, that is not the case. I’m a little more then half way through my free trial of LightBurn and it has been a struggle to get my machine to play nice with with the software but I think I’m there. Your post and video came at a very opportune time. Thank you. I see some are using flat white, you used flat black, some are mentioning using primer. Is there any difference? and could you go into a little more detail on how you prepped the tile and how you cleaned it afterwards. I don’t want to spend an hour or more on a burn and then ruin it. Thank you for all you do!
Paul
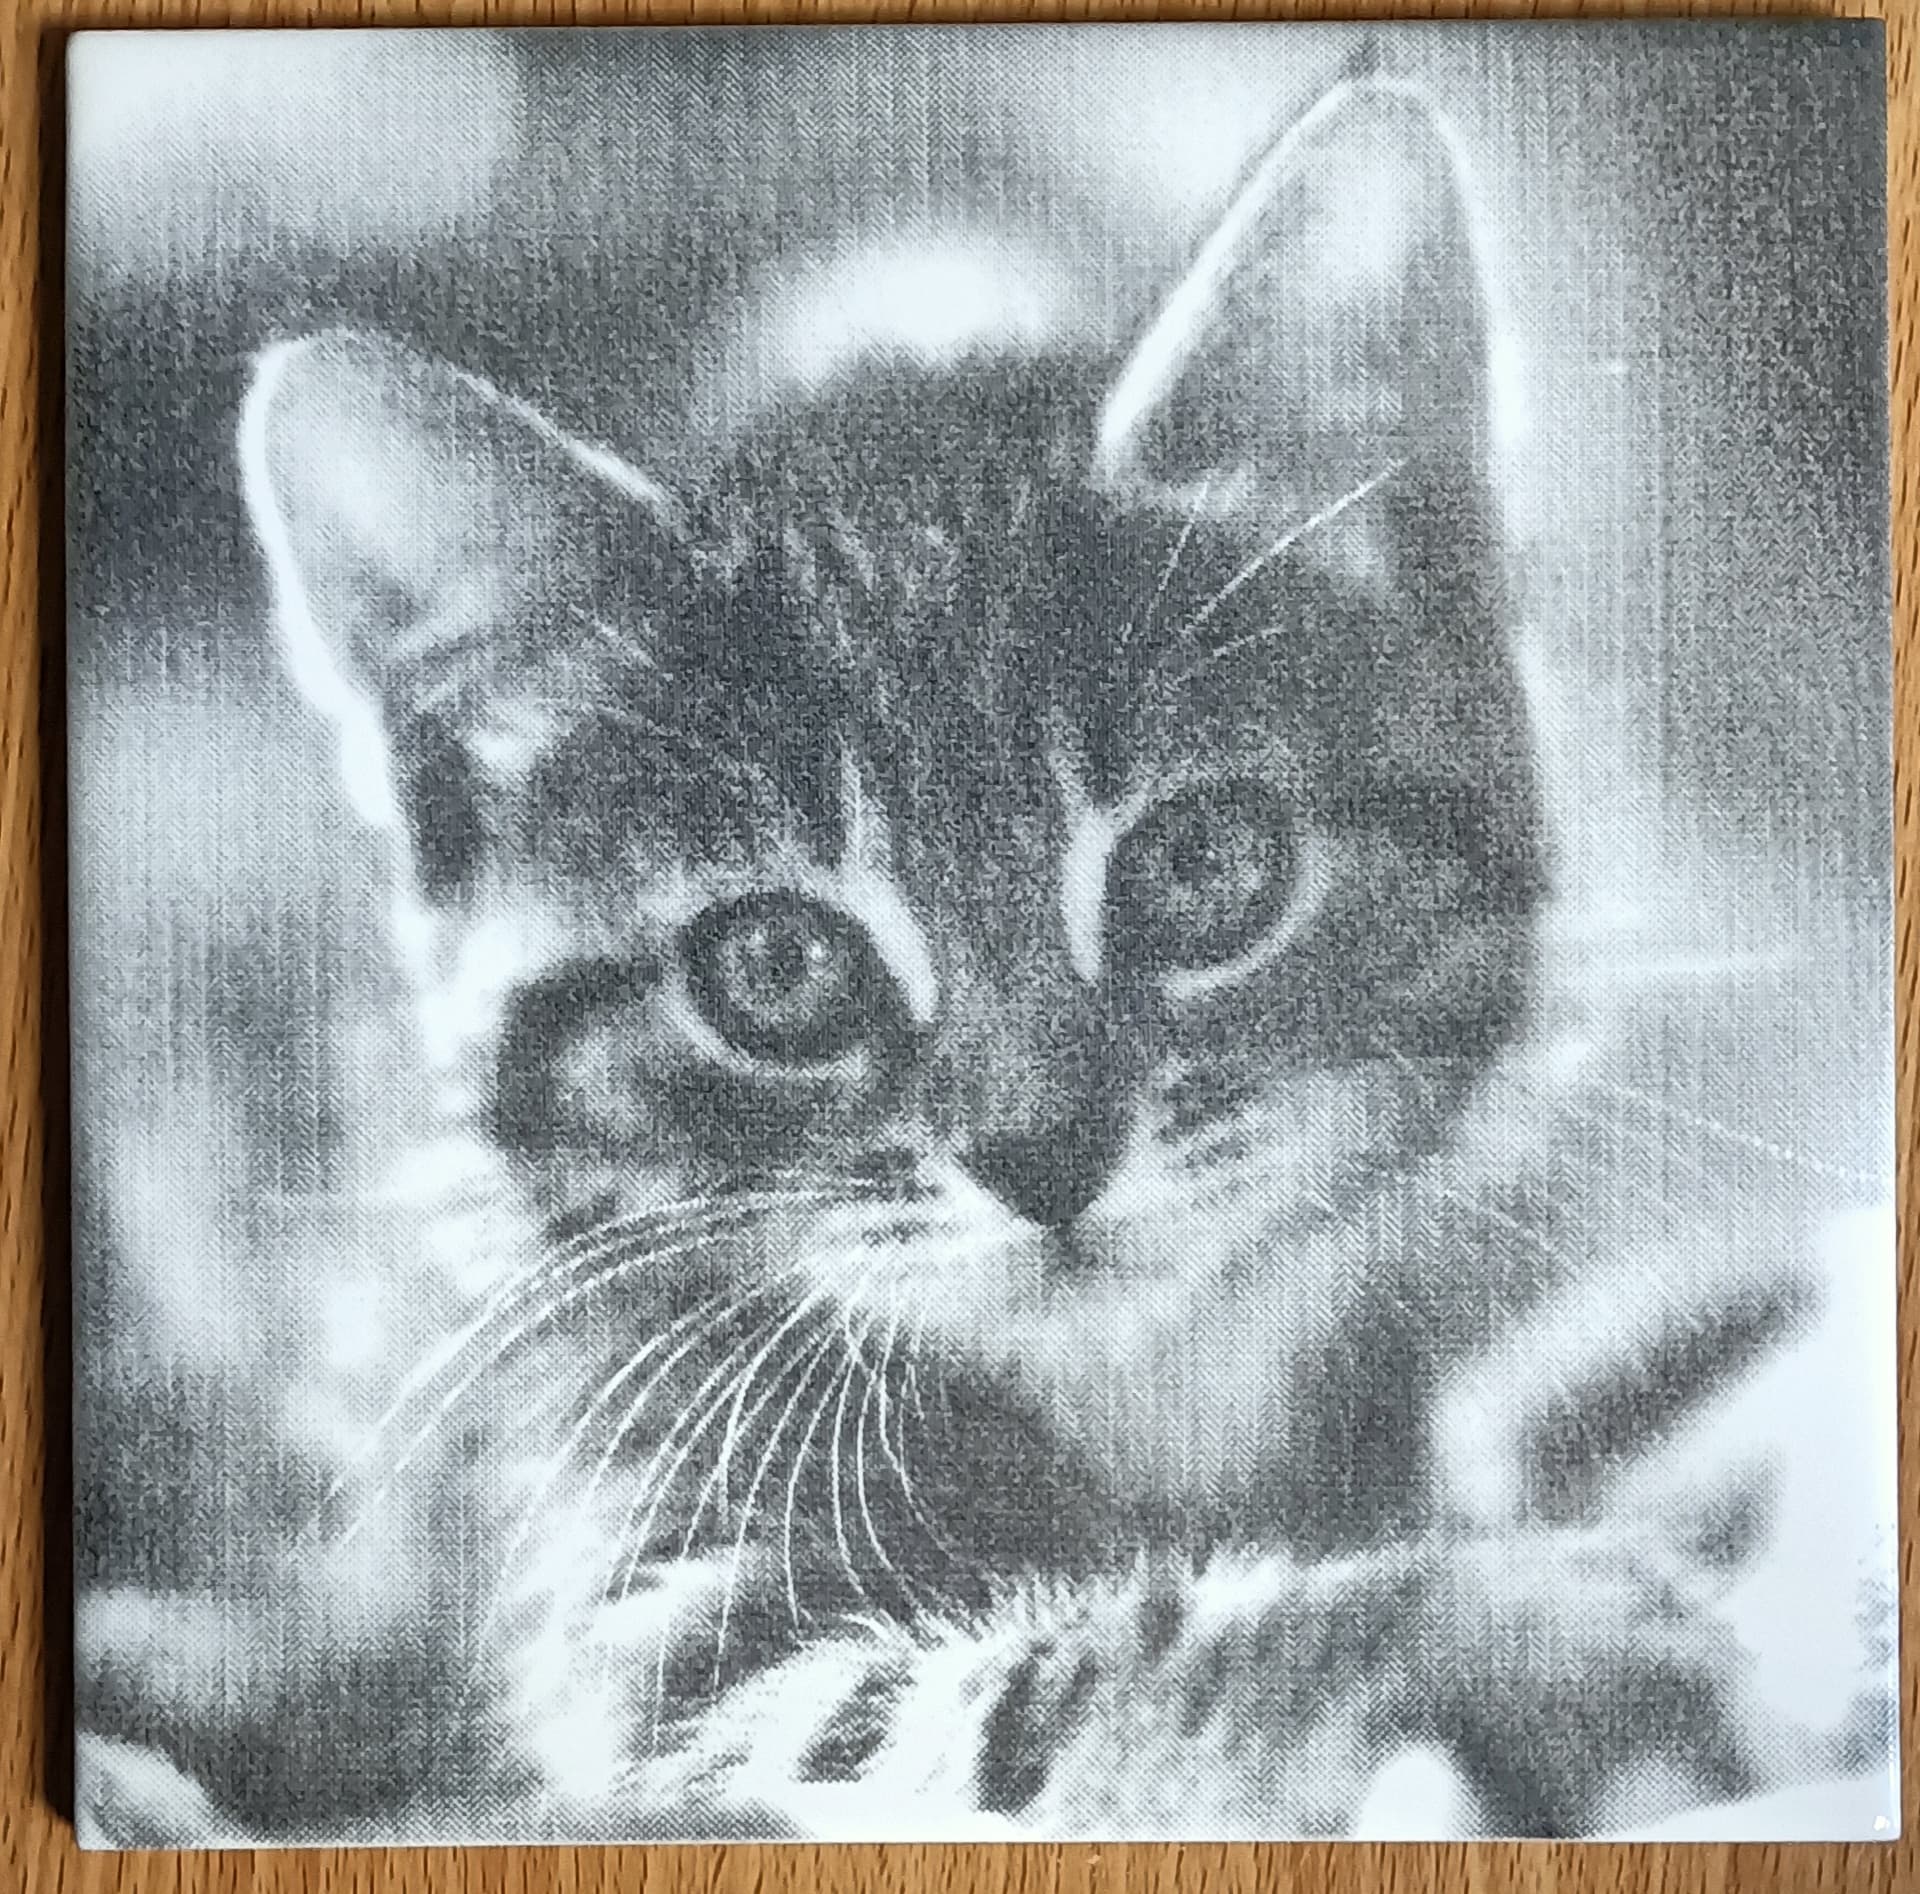
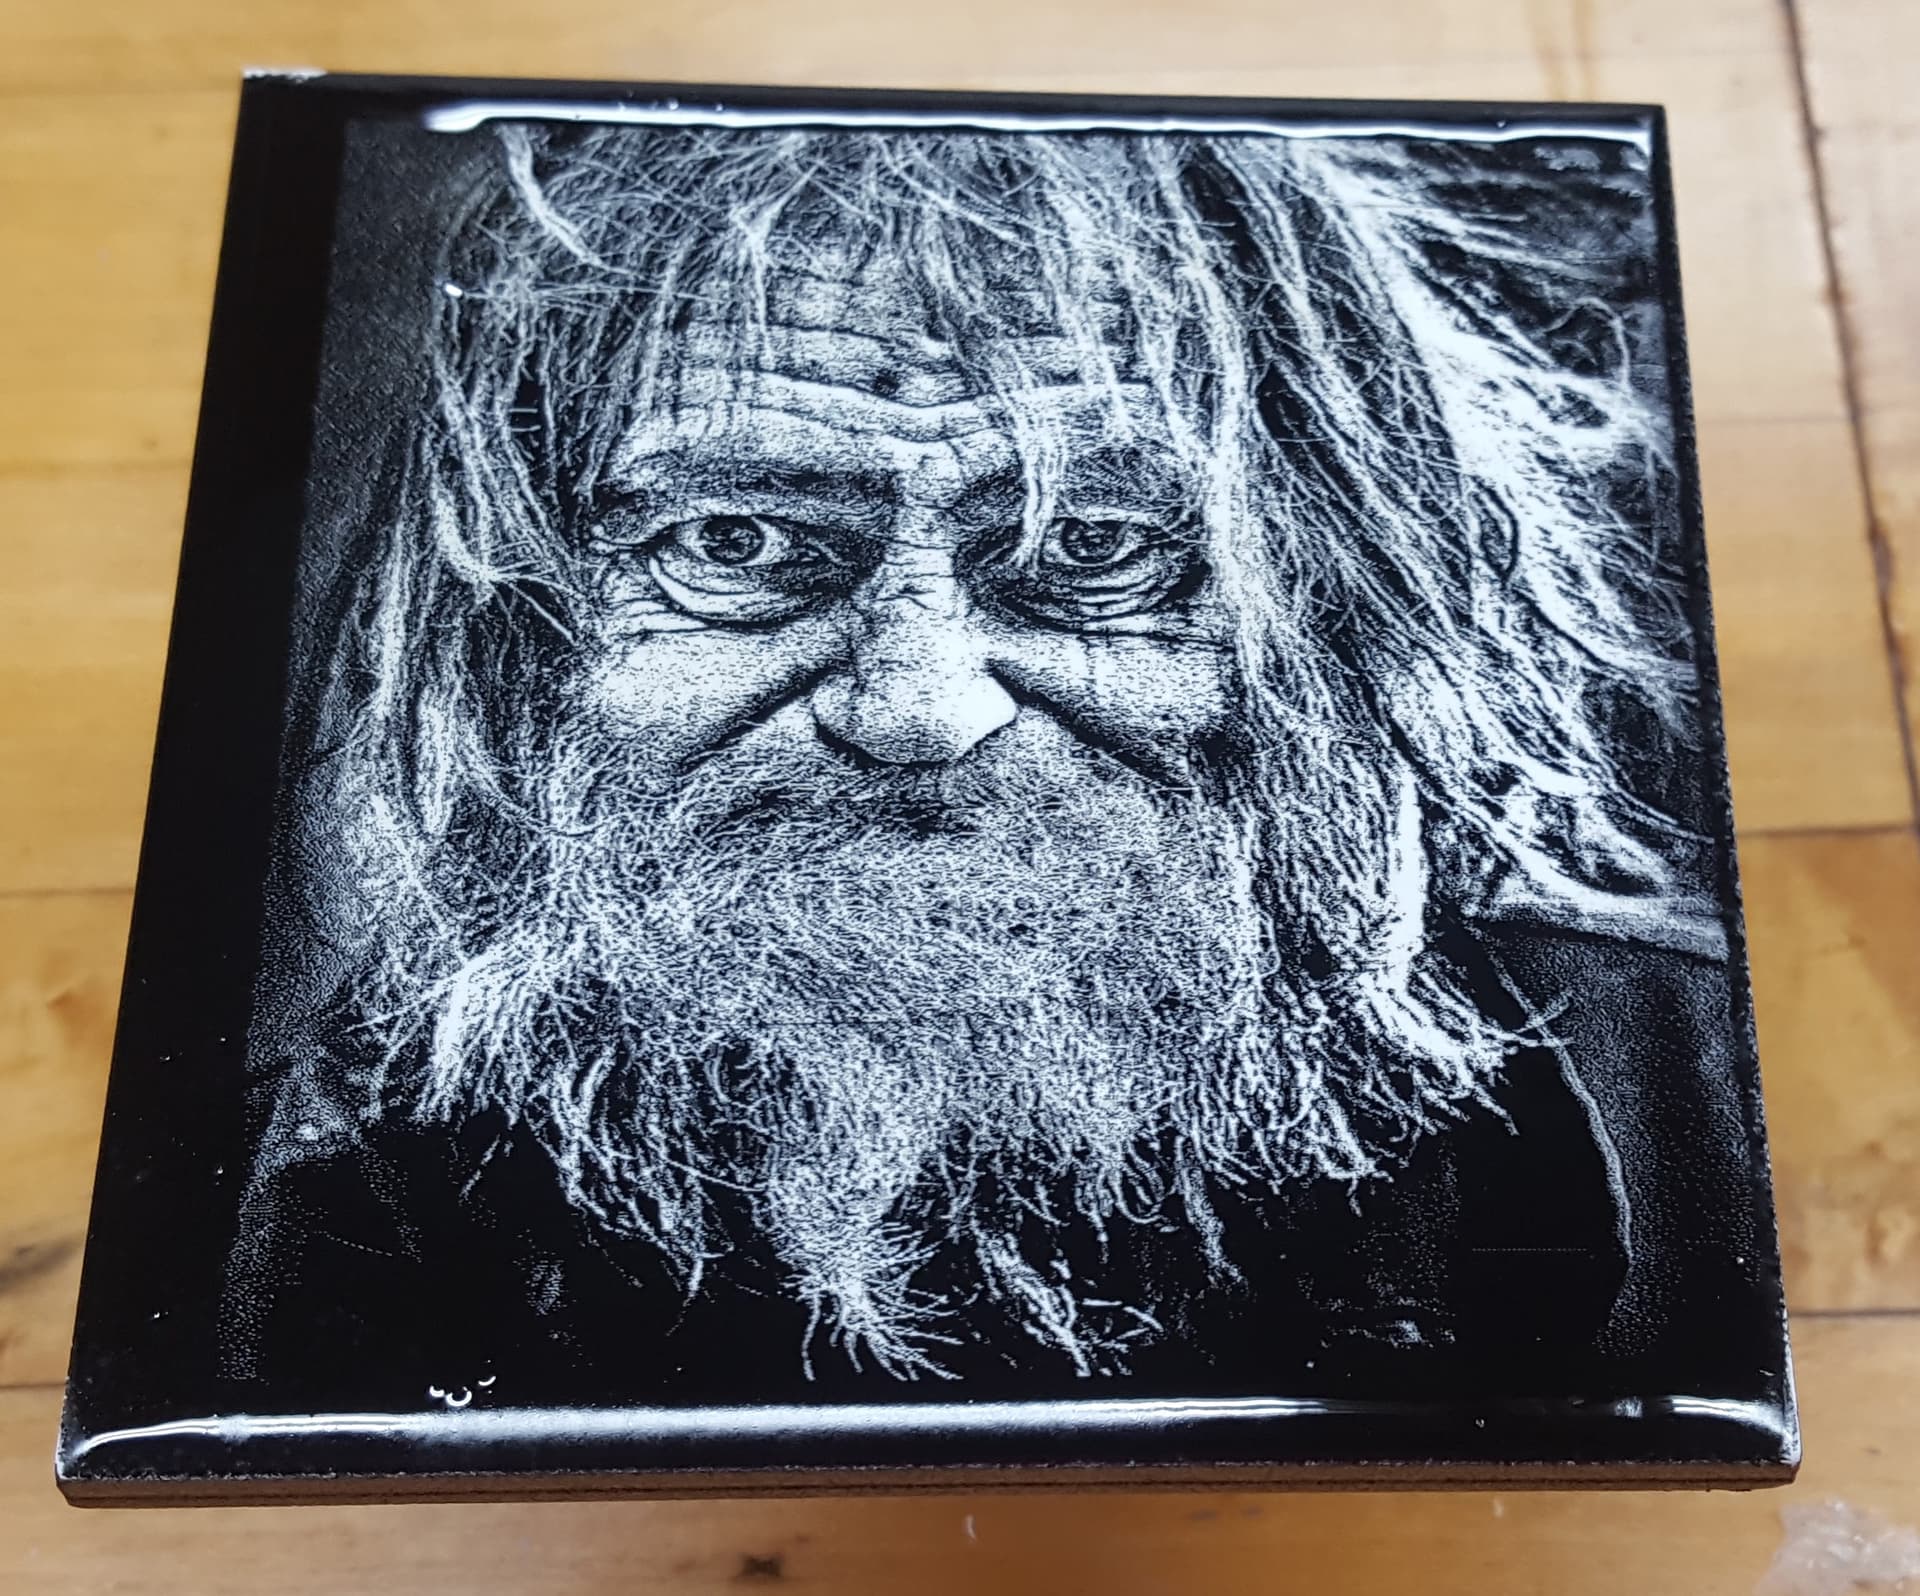
Thanks Jesse! No, the speed and power was a guess from reading what others were using. I normally run a test grid on new materials, but I figured so many people were using these settings I would just have at it.
1 Like
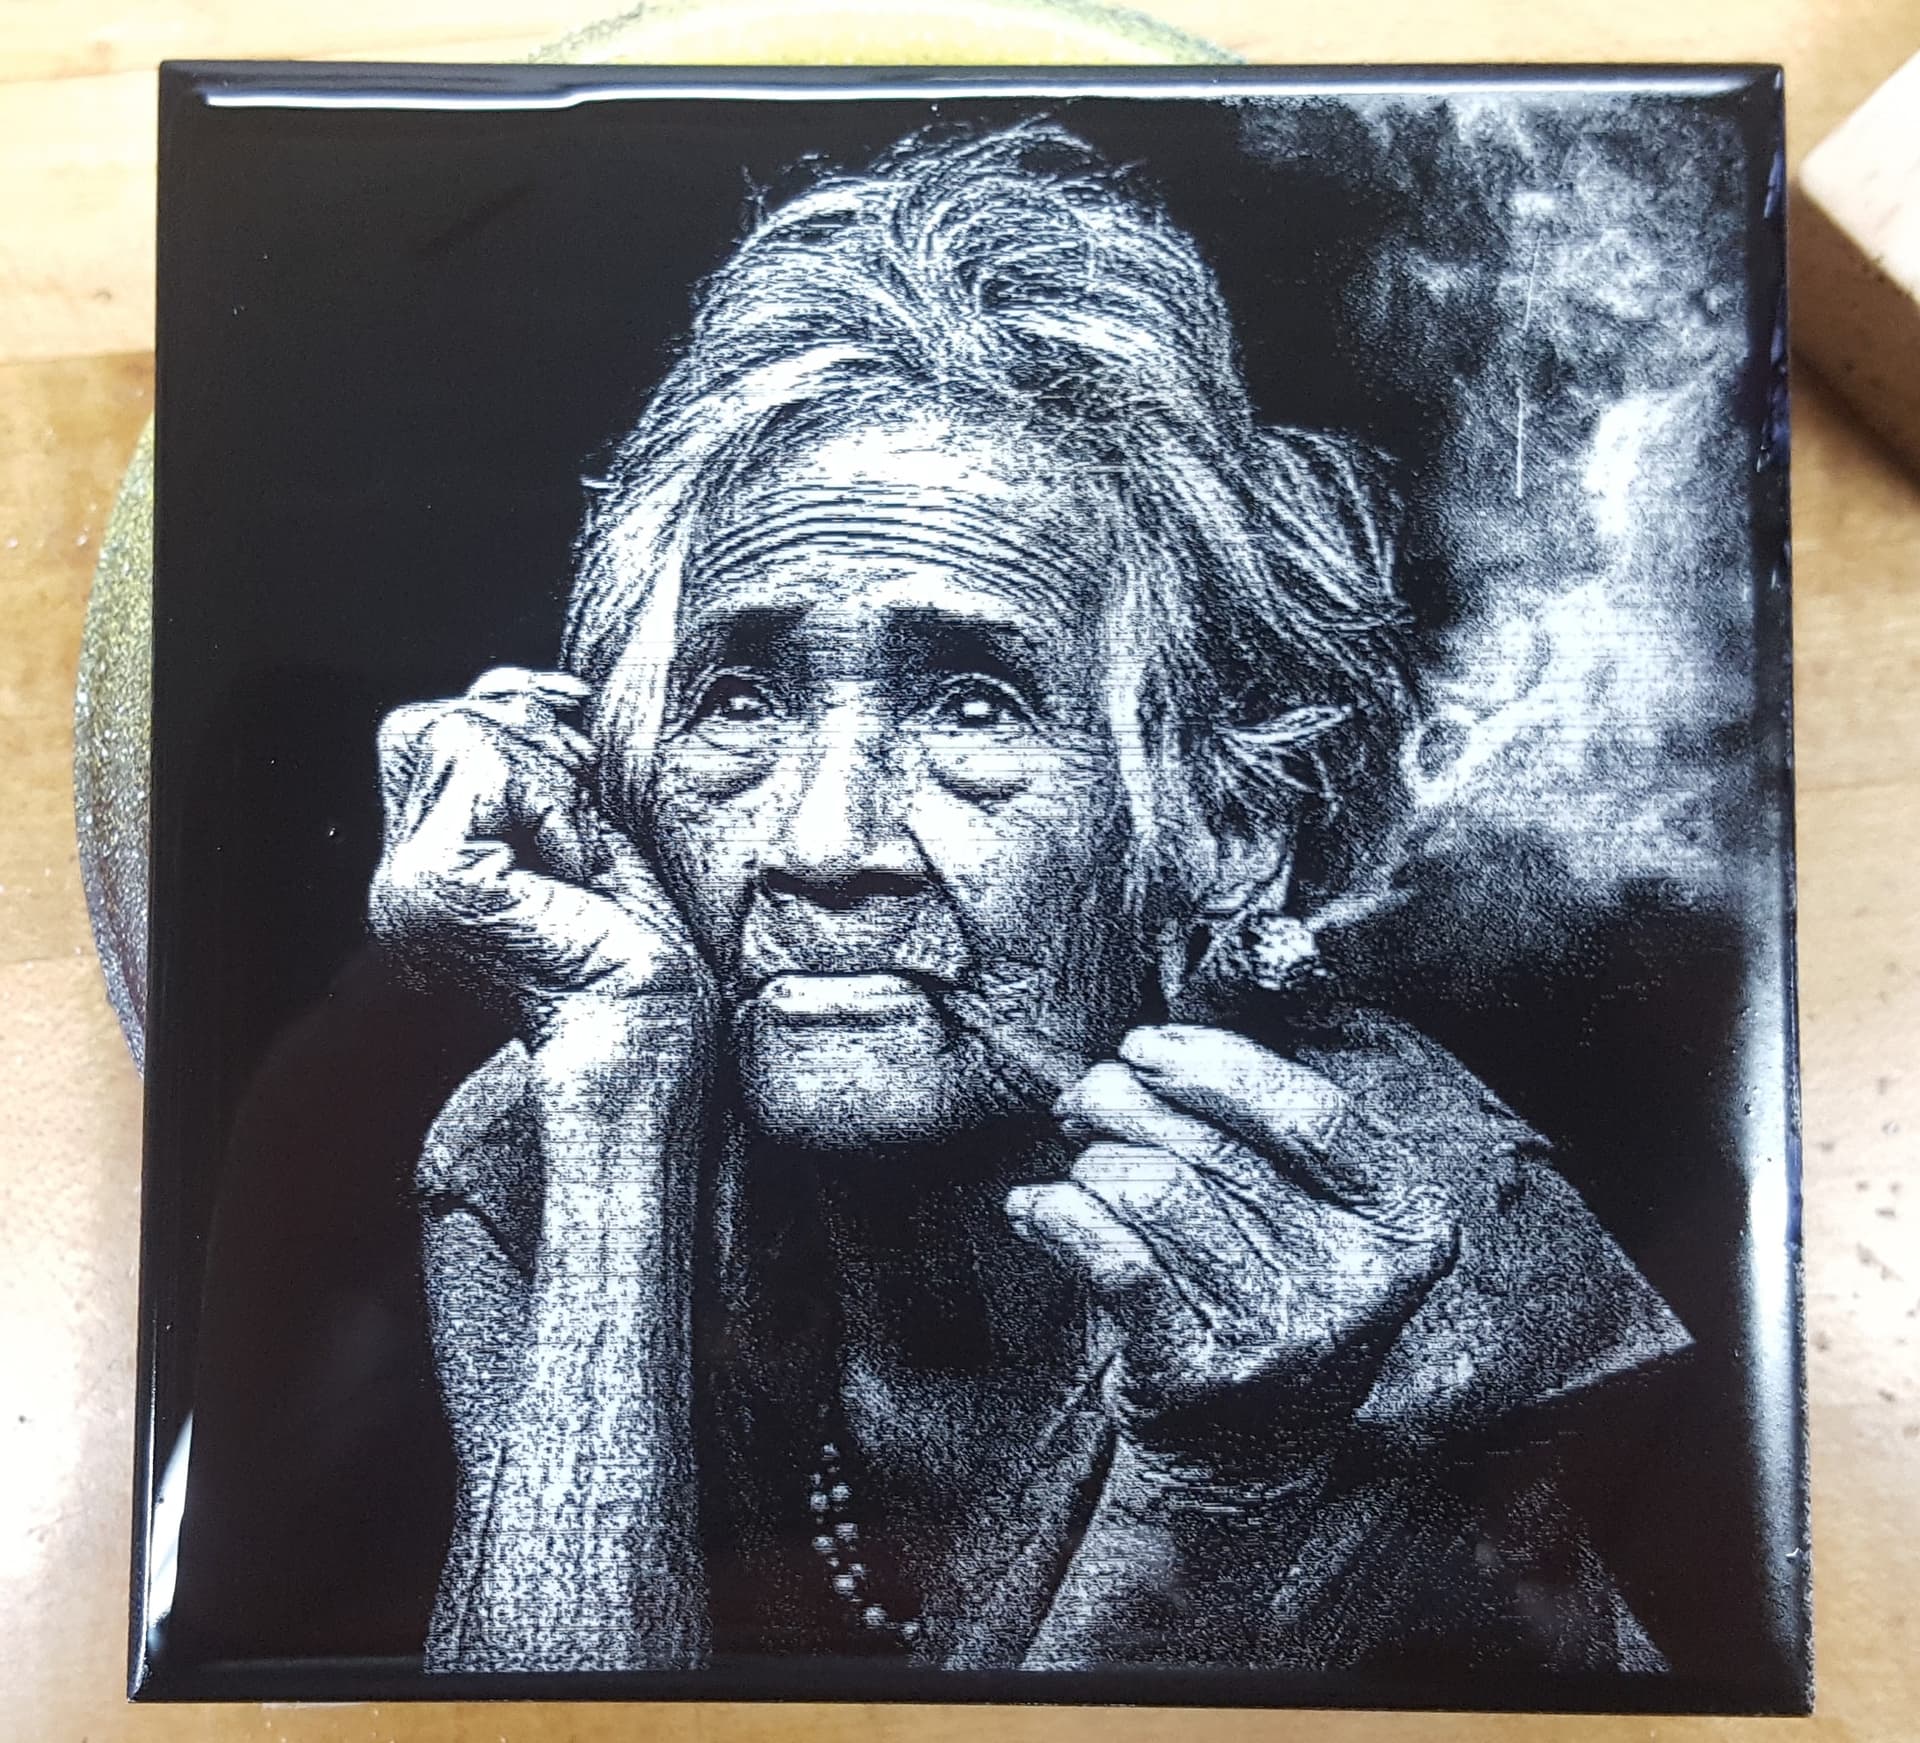
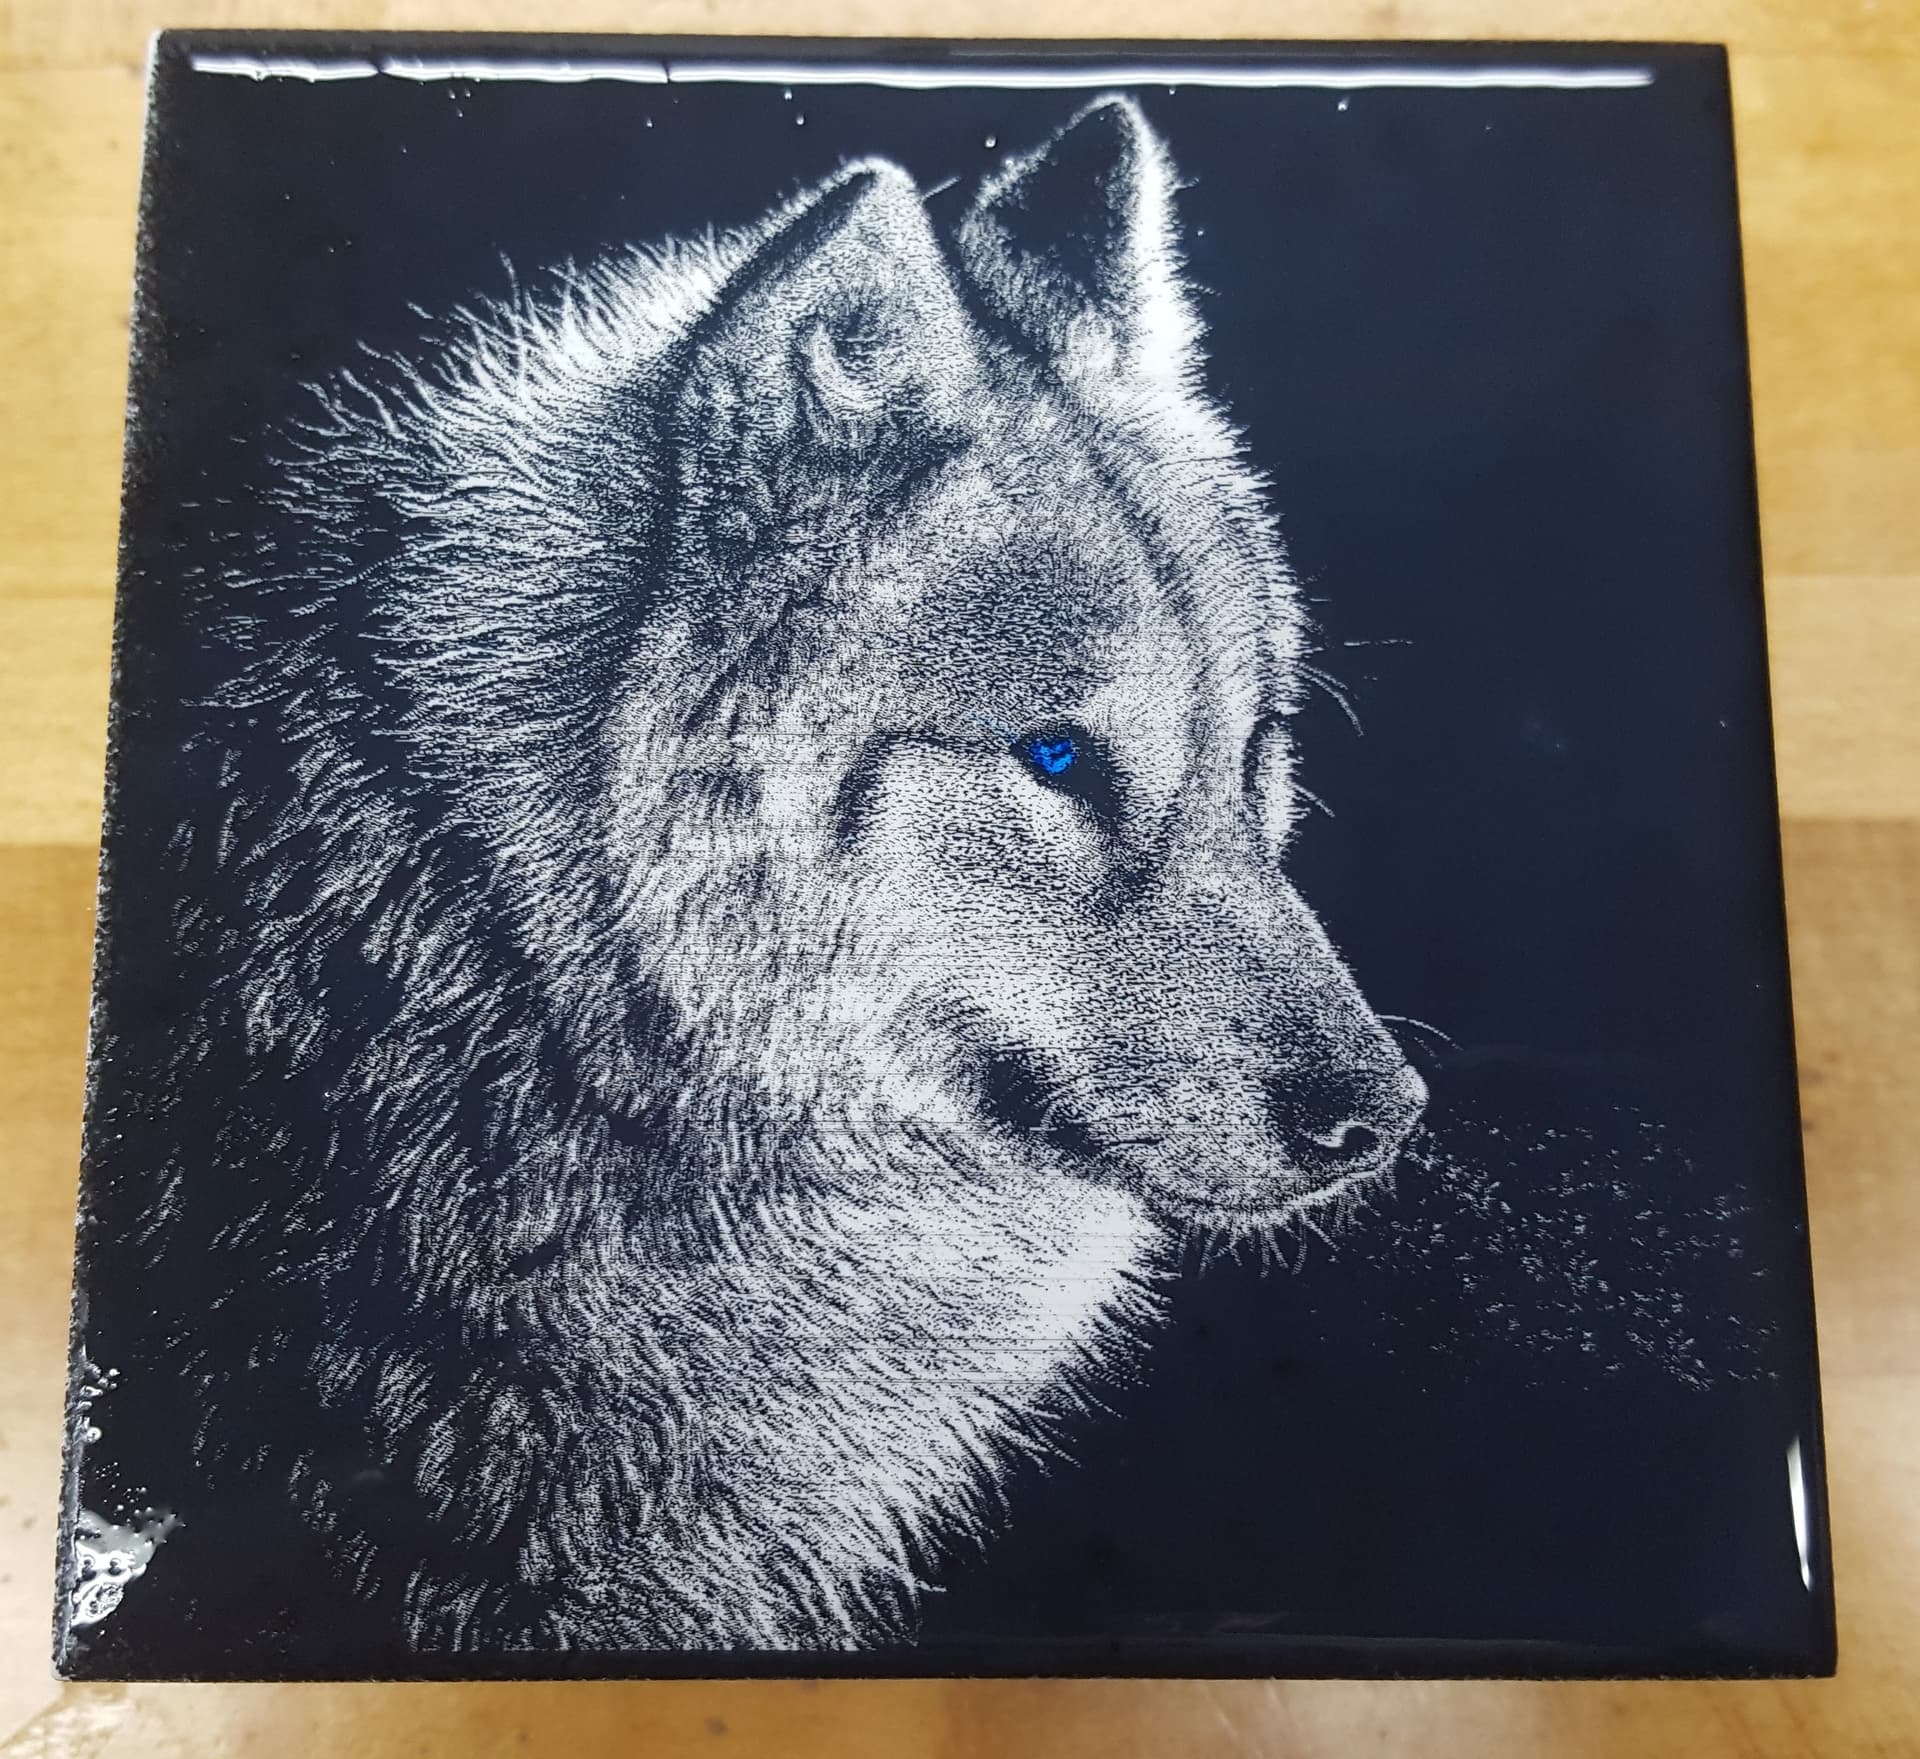
I’ve done a couple more since Paul, and yeah, the flat white primer seems to work best. I’m gonna give multicolor a shot in a few days and see how that works.
What type of laser are you using for this? Someone mentioned it doesn’t work on a CO2.
Mike, it works on any laser.

Wow - Awesome, I’ve been lasering for almost 2 years and just discovered this technique thanks to this thread - will be sharing with 4 other lightburn users. We were late to the game on Lightburn, but all have lighburn cameras now and rave about the software!
2 Likes
Rich, the speed of 20 and 15, is that inches or mm per second? It looks pretty fast for 20 mm per second.
Charlie
Uploading: IMG_20210814_104237.jpg…
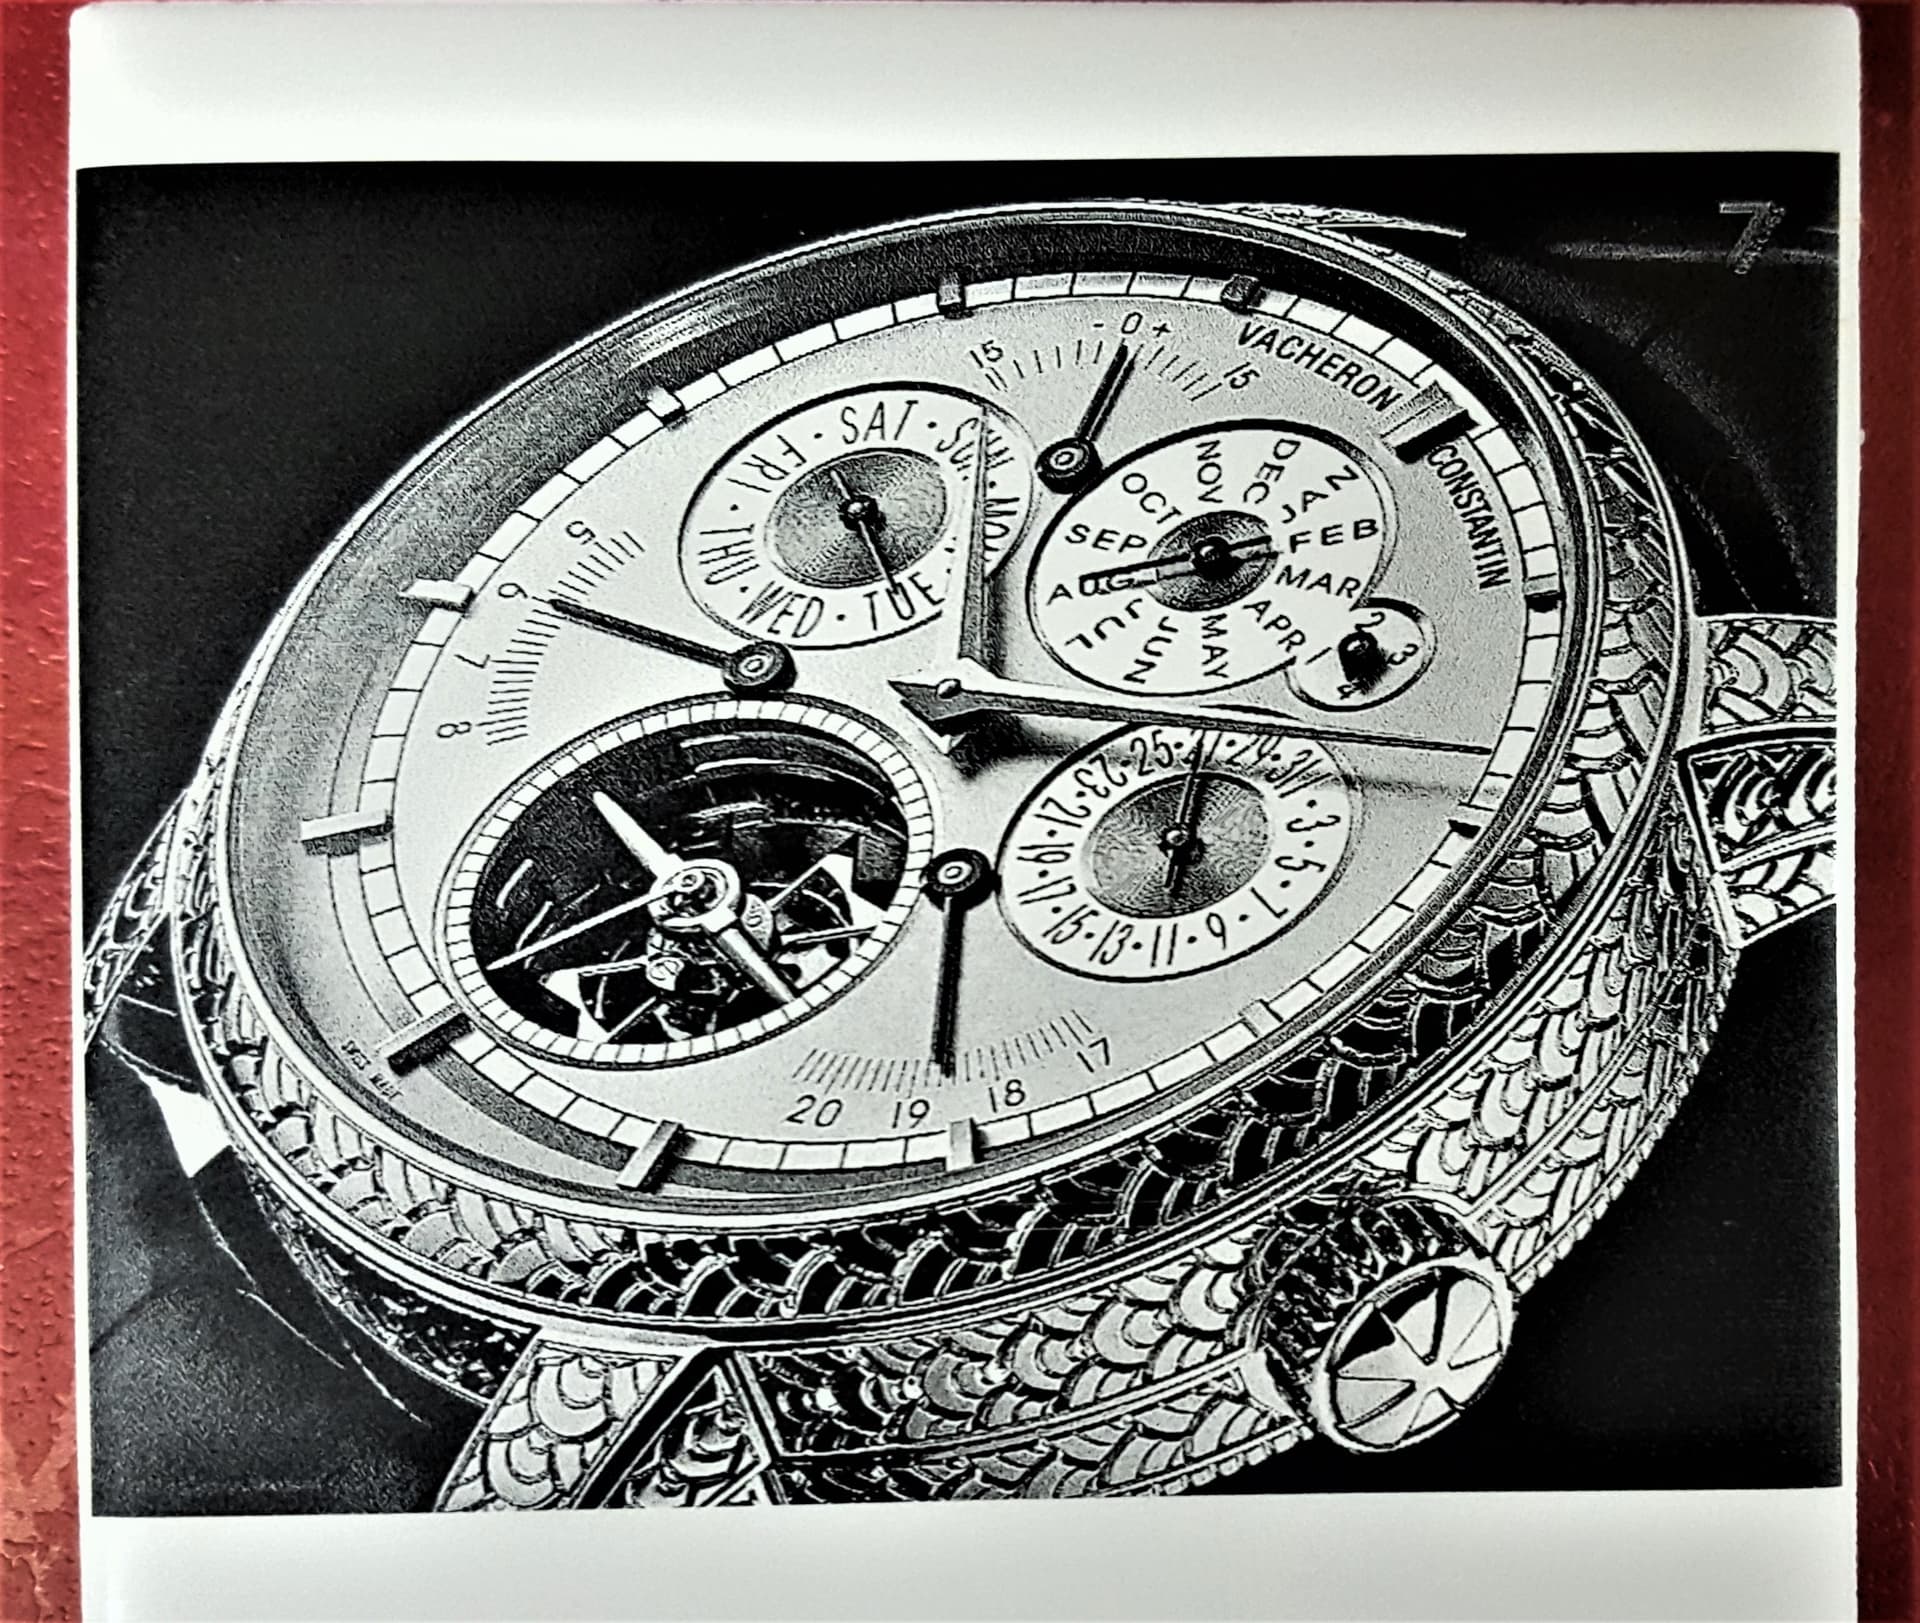
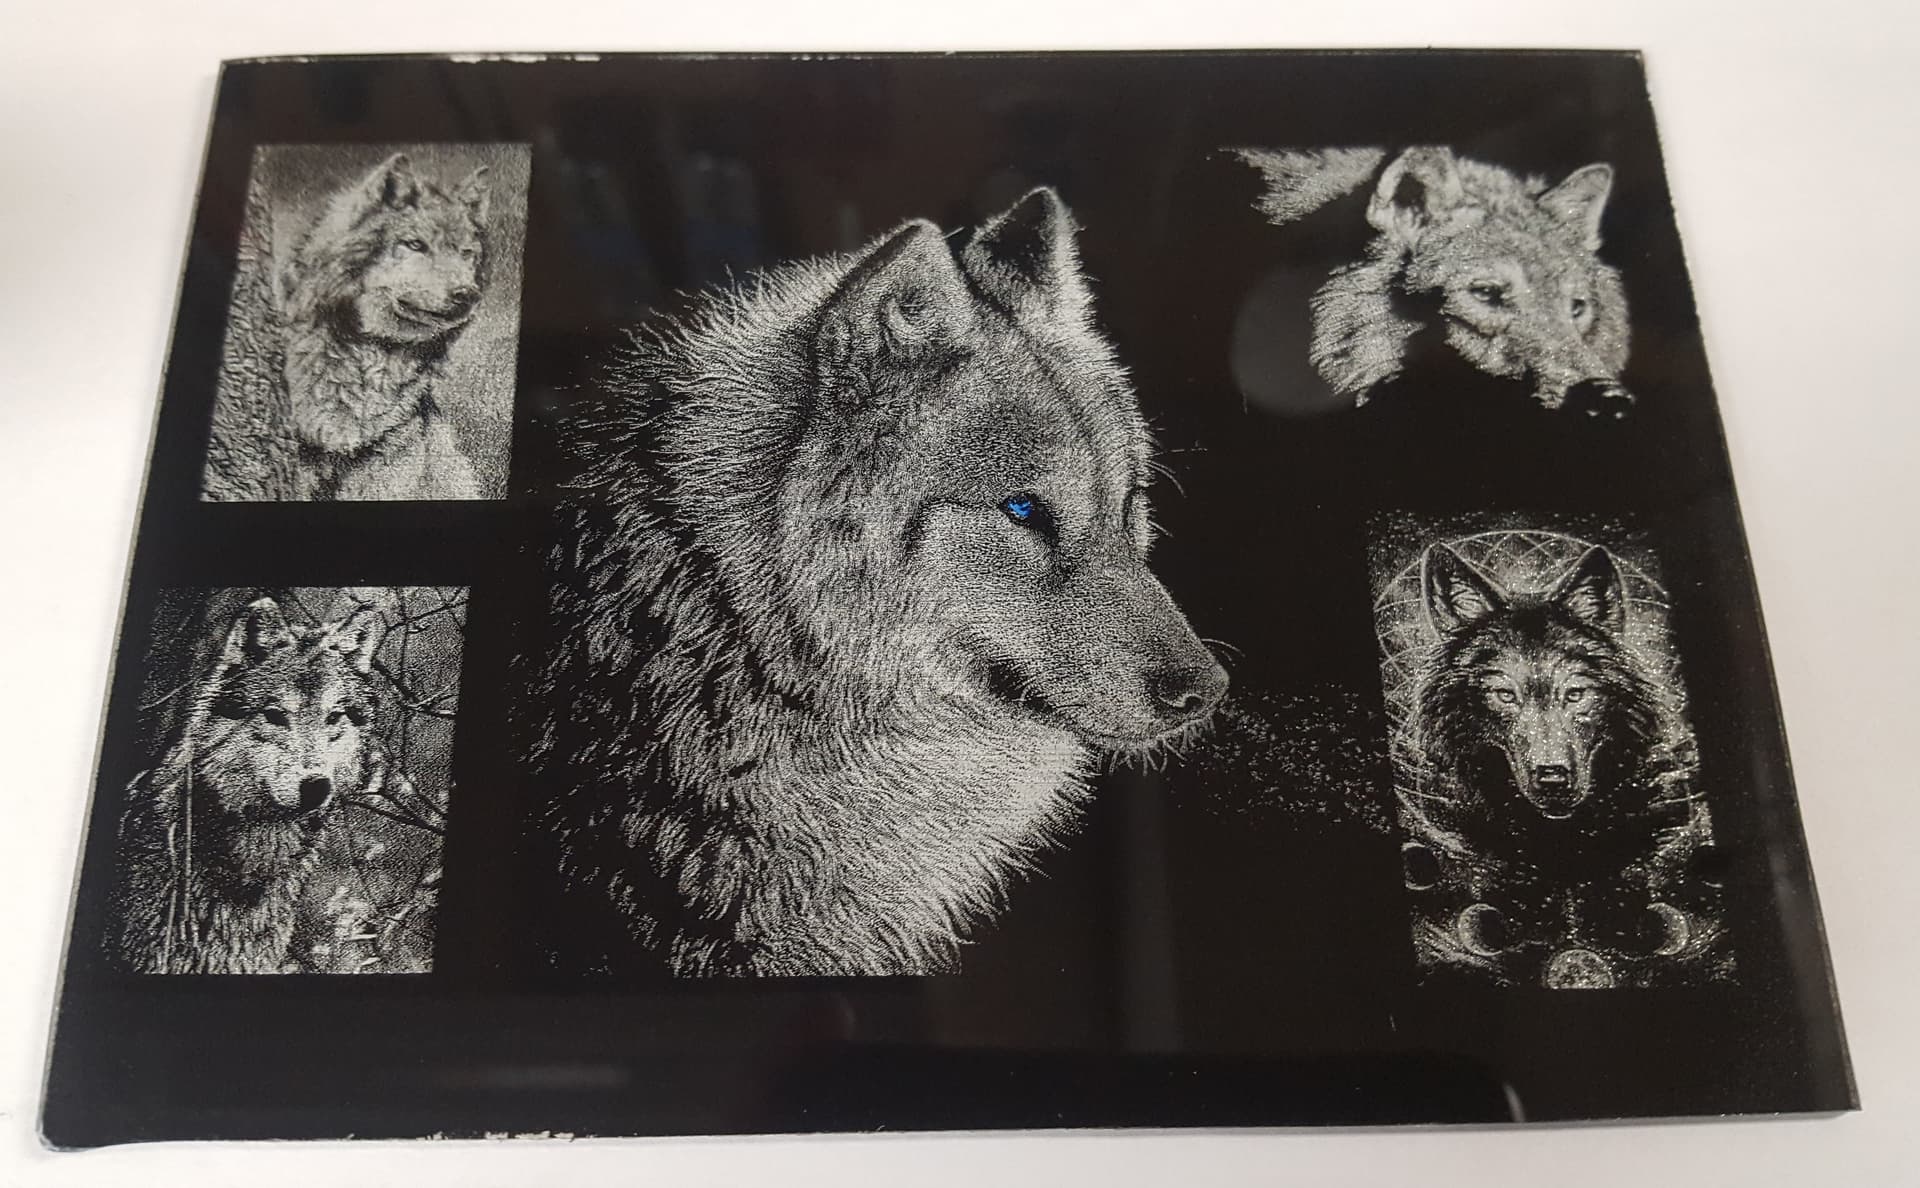
Gravure avec un CO2 80w
Il est possible de de graver en niveau de gris
I’m not here to diminish Rich’s work in any way.
But people who want to get into lasering tiles need to realize that the images that he puts on the tiles with his process can come off of the tiles.
It’s great for static display of the artwork.
However if you use my (Norton) method, the images are permanently burned into the tile and will not scratch off or wear off.
I actually use acetone on the whole tile after the burn to clean the excess paint off of the tile.
Great work Rich.
Again, I’m not here to diminish your work.
And as always, your videos are very helpful to a lot of people.
It’s not my video Charlie.
Jan, this was my first try at it so ![]() I’m discovering all types of new ways to do it, so criticism is very helpful, thank you!
I’m discovering all types of new ways to do it, so criticism is very helpful, thank you!
Oh, and I did shoot that initial tile with some clearcoat, so yeah, it is permanent, at least as long as the clear survives, which should be forever since it’s only on display in the kitchen.
Hmmmm…I remember that post…A lot different than what you described …It started out out that all methodology used and documented in Our forum was BS!!!..painting a tile with black paint using a subtractive method to remove paint has been around for years …and some photos require touching up before hand and some don;t …as for the Norton White Tile method certain protocol and settings are required to achieve a desirable tile that is indelible
1 Like
I personally don;t use white tiles painted with black very often
as they are susceptible to scratching …But one can achieve great details and a heck of a lot easier and not as frustrating as doing NWT method
1 Like
I remember this post very well as was me who banned you from the group when you started calling our members names (you said you are too intelligent to have decent conversation with us) and never answer the questions, when people pointed out that you talking about etching black paint and not real tile engraving (norton method is not tile engraving but is permanent method anyway). You never mentioned photo editing process but engraving methods. Stop playing a victim as it was You which came across as arrogant “knows everything”. Also pre processing is mostly for people which cannot use lightburn and have to use other software/plugins or websites for dithering (common problem for k40 users) but obviously you don’t have any idea about it.
norton method (permanent method)
tile painted black which exist for ages
For both methods I use lightburn and gimp (gimp to resize)
PS. sort out banding as is pretty bad on your photo also use less dpi and power as you lost hell lot of details (obviously you will call this BS same as you did before)
3 Likes
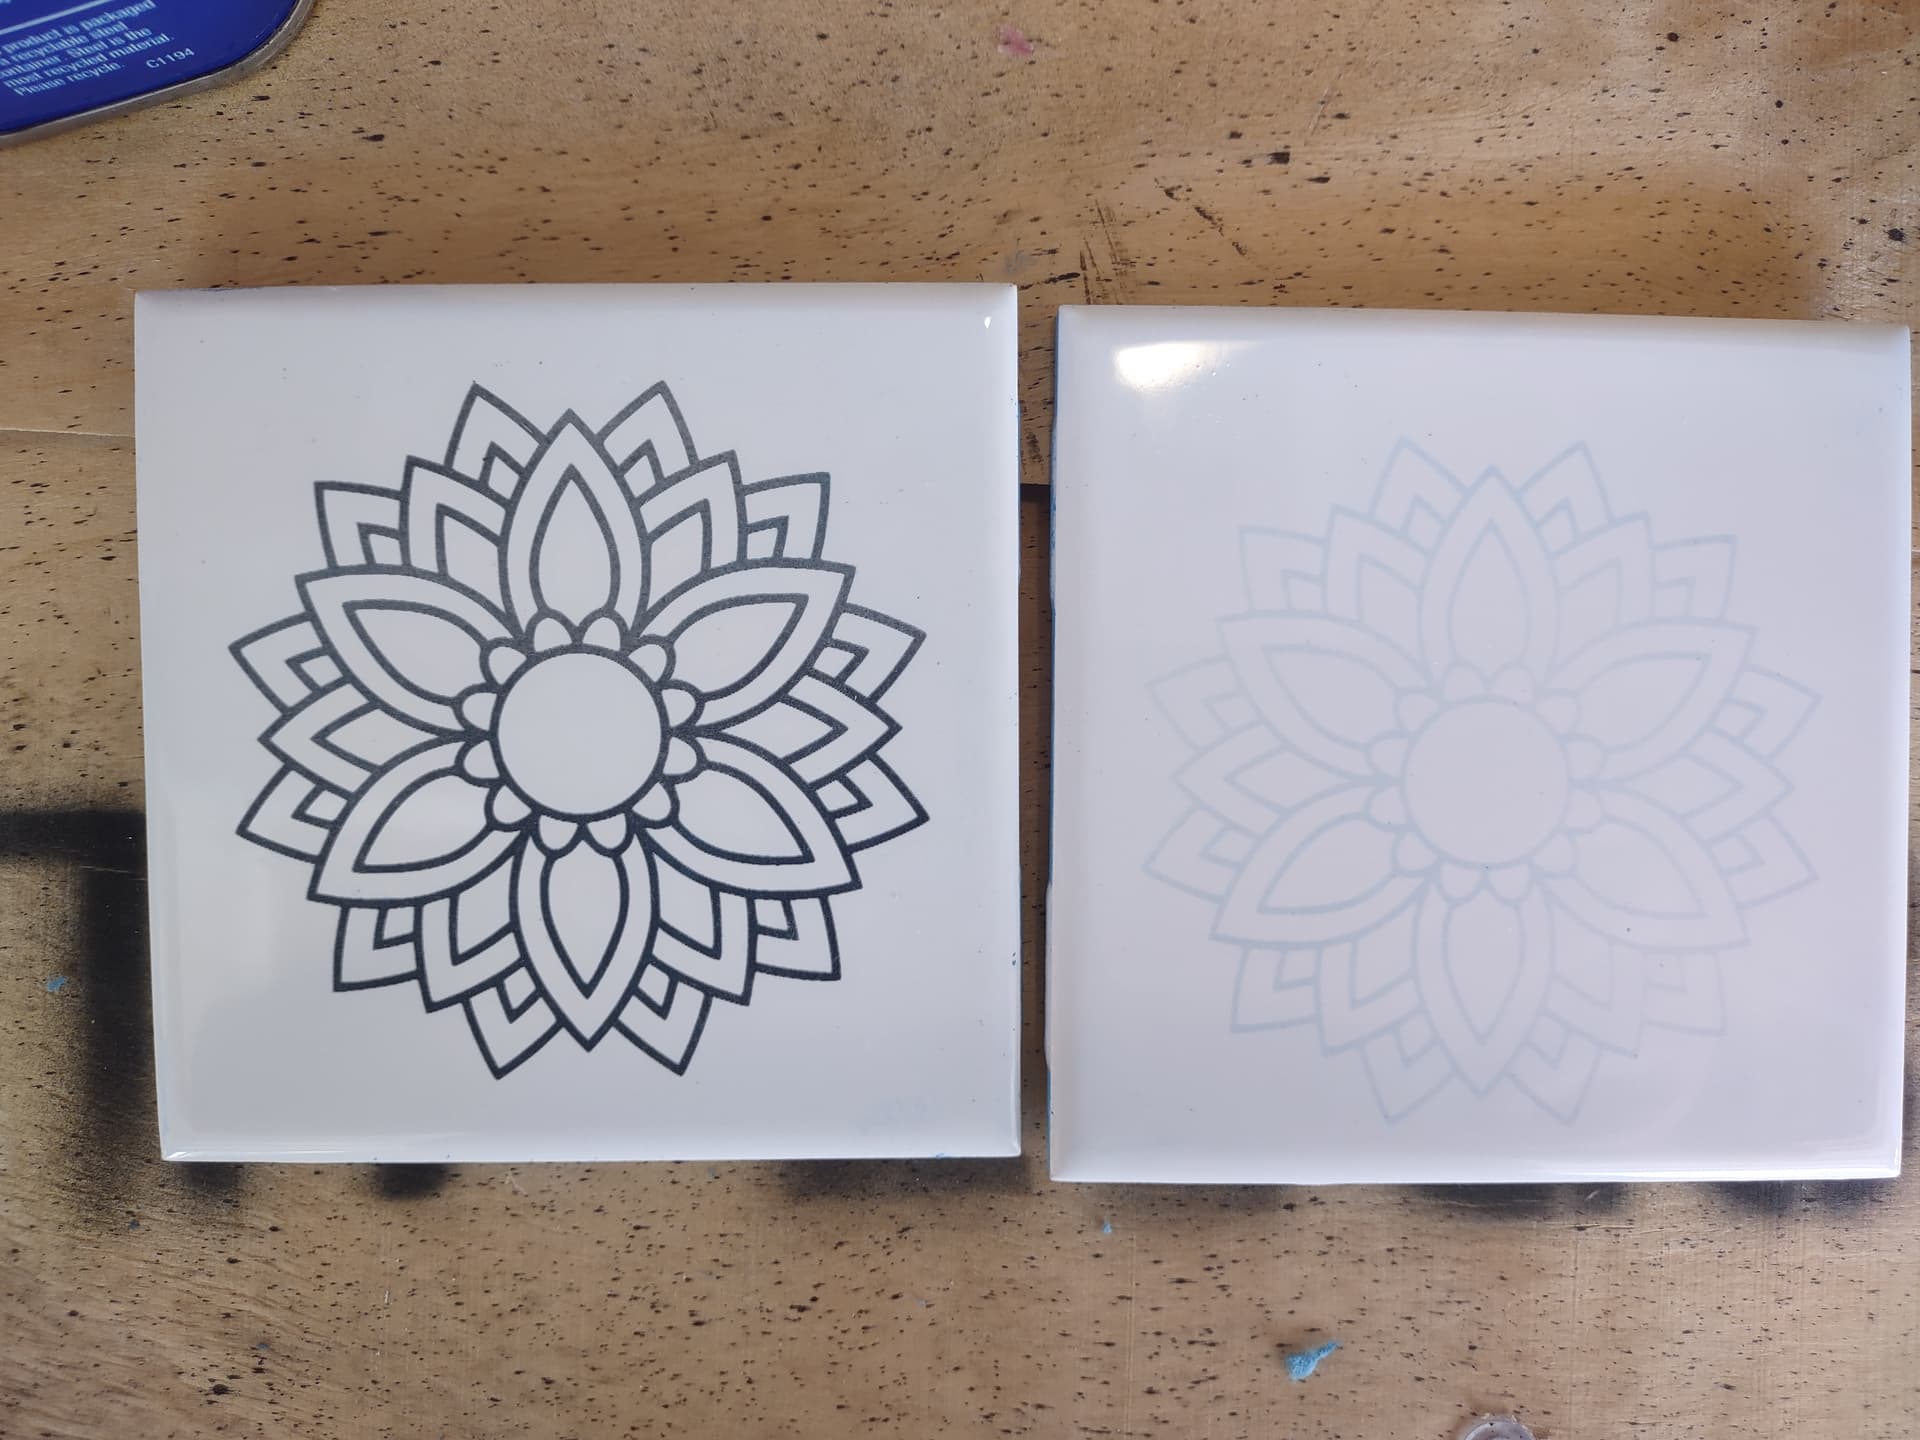
I have not tried a photo yet. I used a 80w CO2 with 2x Oasis blue paint, it’s what I had, and I think my first and second try turned out nice. The lighter was the first try. It’s 350mm/s at 20% the darker is 75mm/s. I will burn a test grid later and see how it turns out.
1 Like
“I’m not here to diminish Rich’s work in any way.”
But replying to diminish nice job!
I don’t know what you’re insinuating, but I’m not here to start a pissing contest.
Keep up the good work Rich.
2 Likes