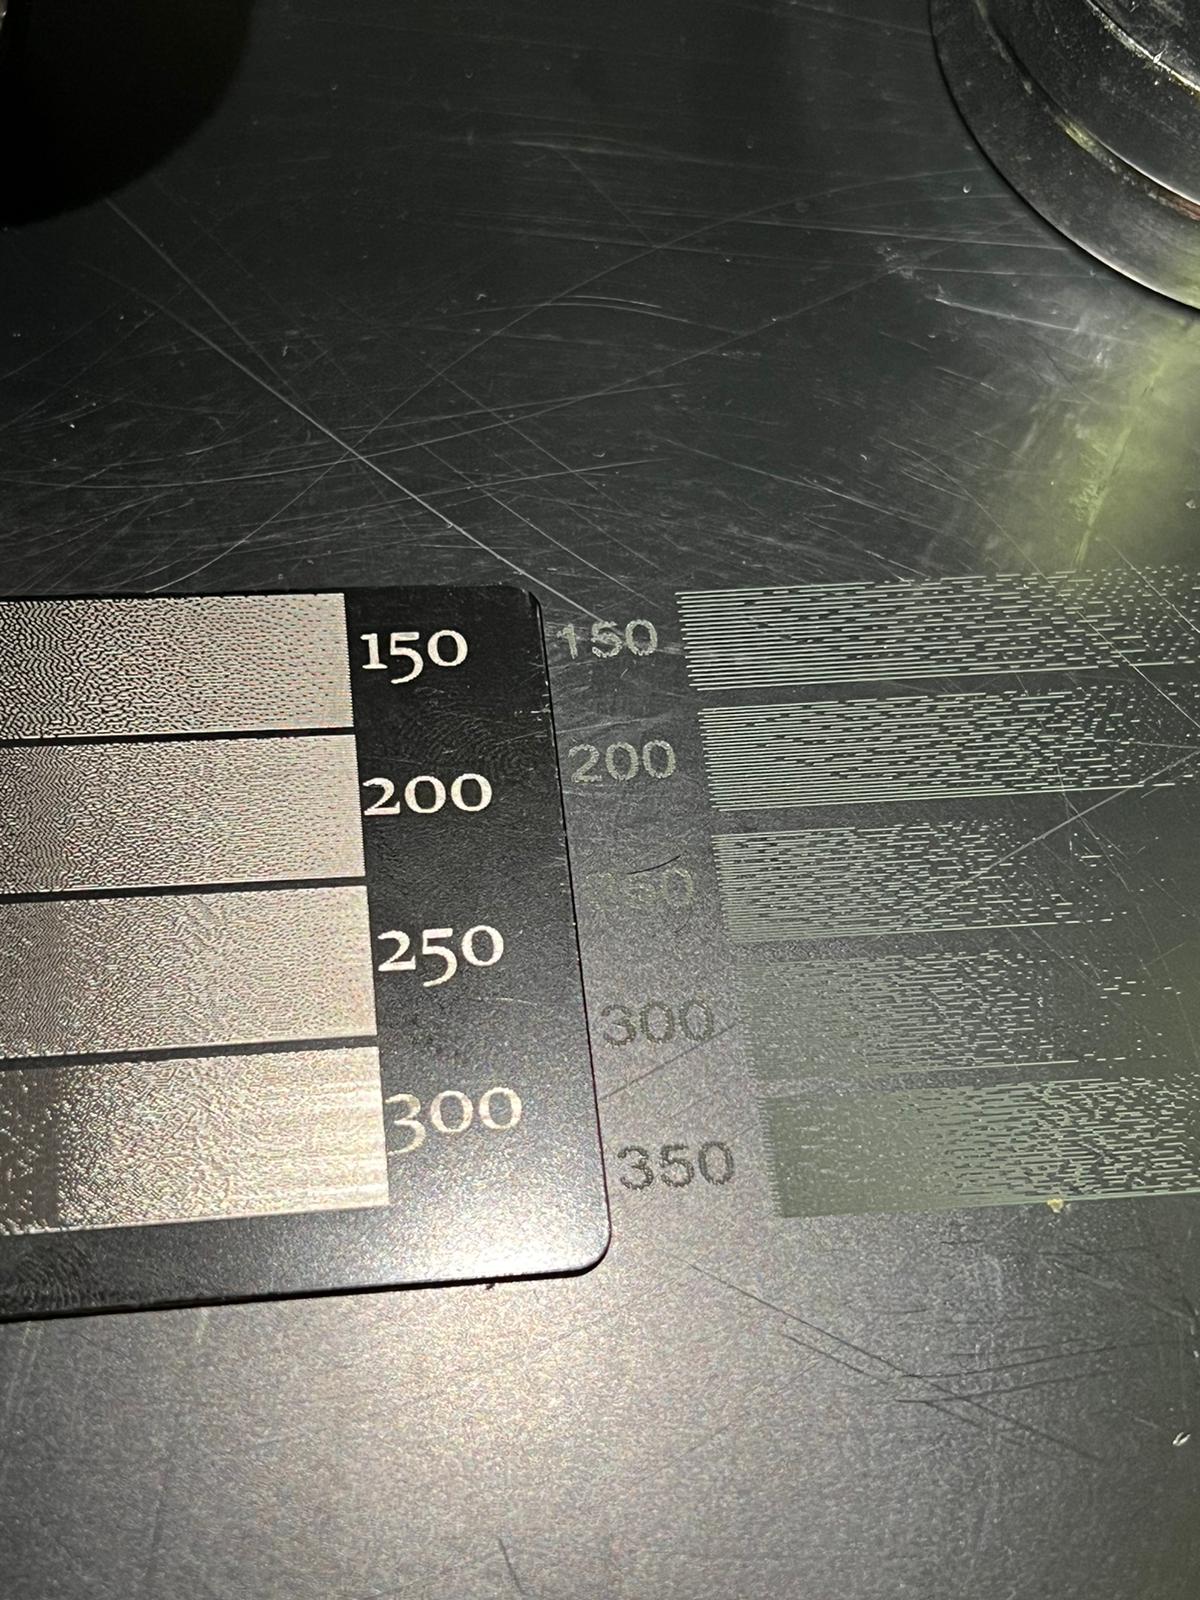
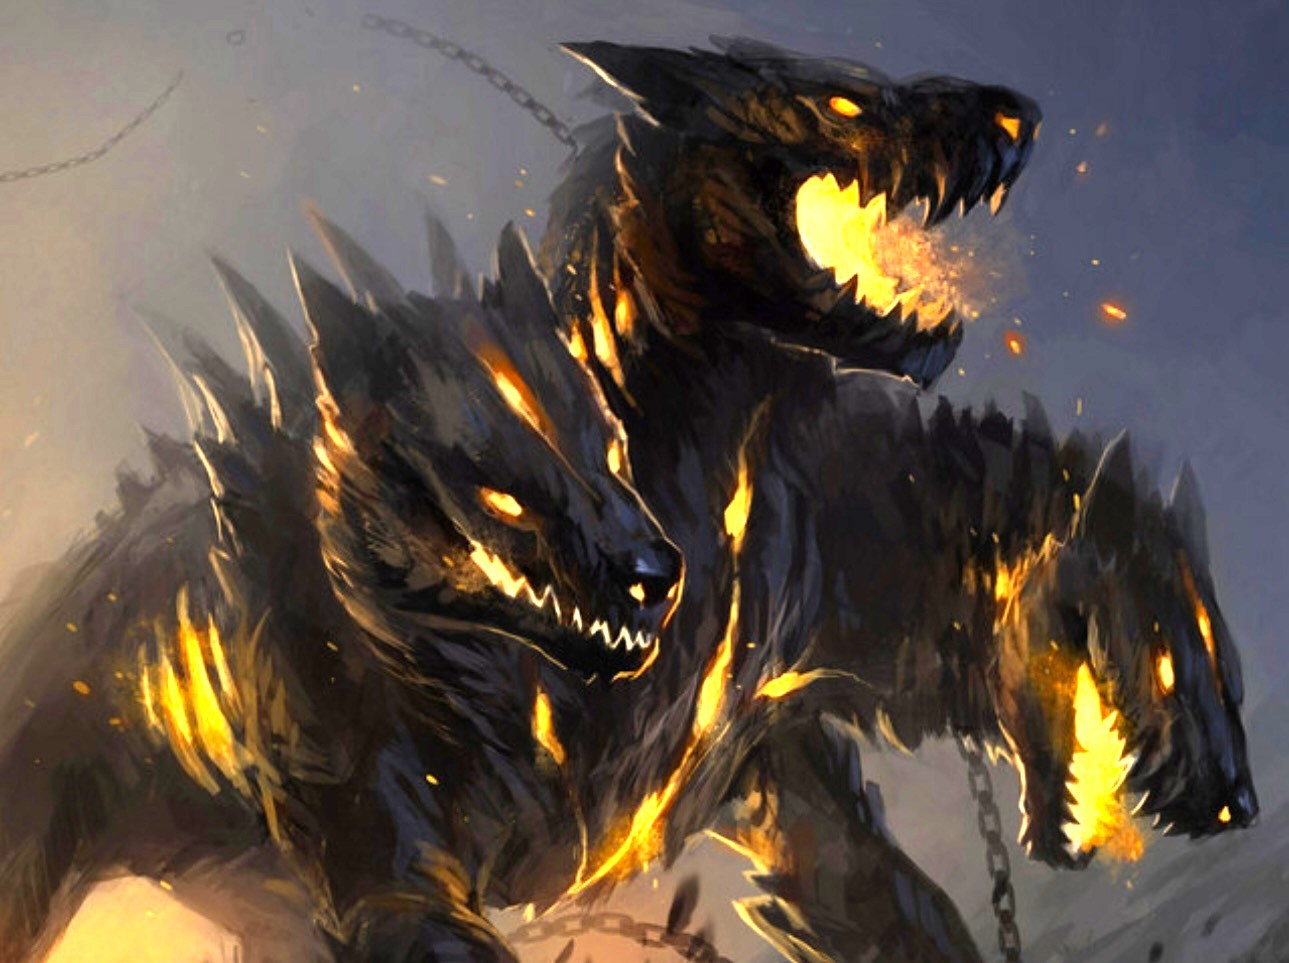
I engraved the card on the left a few weeks ago to find out what dpi i need to use to engrave pictures. 298 dpi was the result. I tested it again today and got the results on the right, as you can see far less detail and lines instead of dots. Does anyone have a solution or knows what settings i need to change? Any help is appreciated very much! I use a 30W fiber laser (raycus) Thanks in advance!
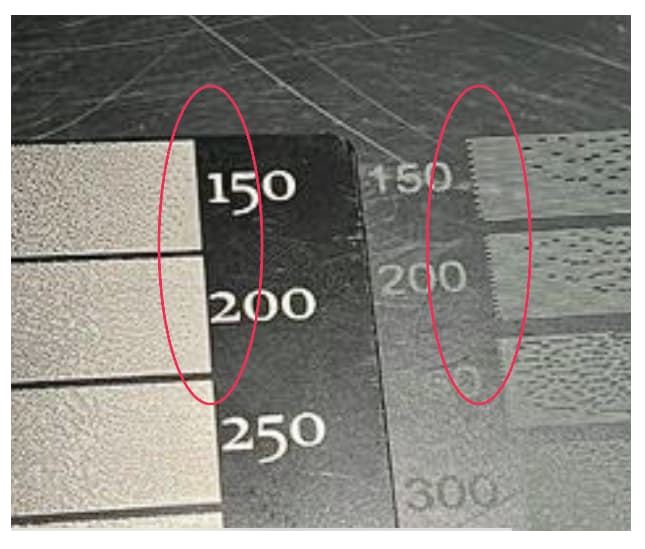
What I immediately noticed (when I zoomed in) was the difference in the ends of the rectangles in the two. The ones on the left are nice and square while the ones on the right are ragged indicating what I believe is an issue with timing. Also wondering if all the other settings were the same for both.
1 Like
To add to what I mentioned above about timing.
Laser timing
1 Like
Thank you very much, i will try to follow the video you sent and hope it solves my problem. I will update you if it does or not.
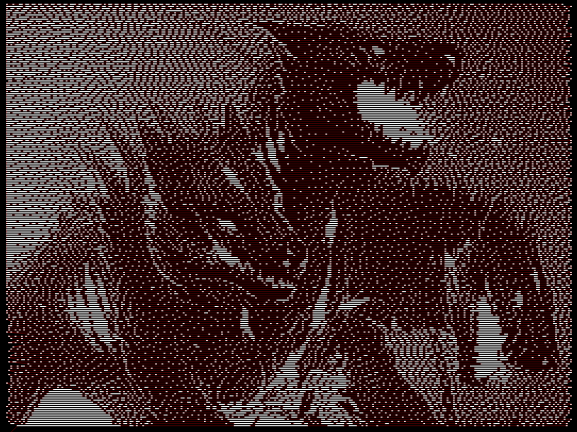
i fixed my timing but unfortunatly it didn’t solve the problem. I’m still getting lines and even in the preview it shows lines. This did not used to be the case. is there any other solution to this problem?
Is the dpi of the image the same as the dpi you’ve set for the burn? What image mode have you chosen for the burn … Stucki, Atkinson, Jarvis, Grayscale etc.? Could you post a screenshot of the image you’re trying to engrave?
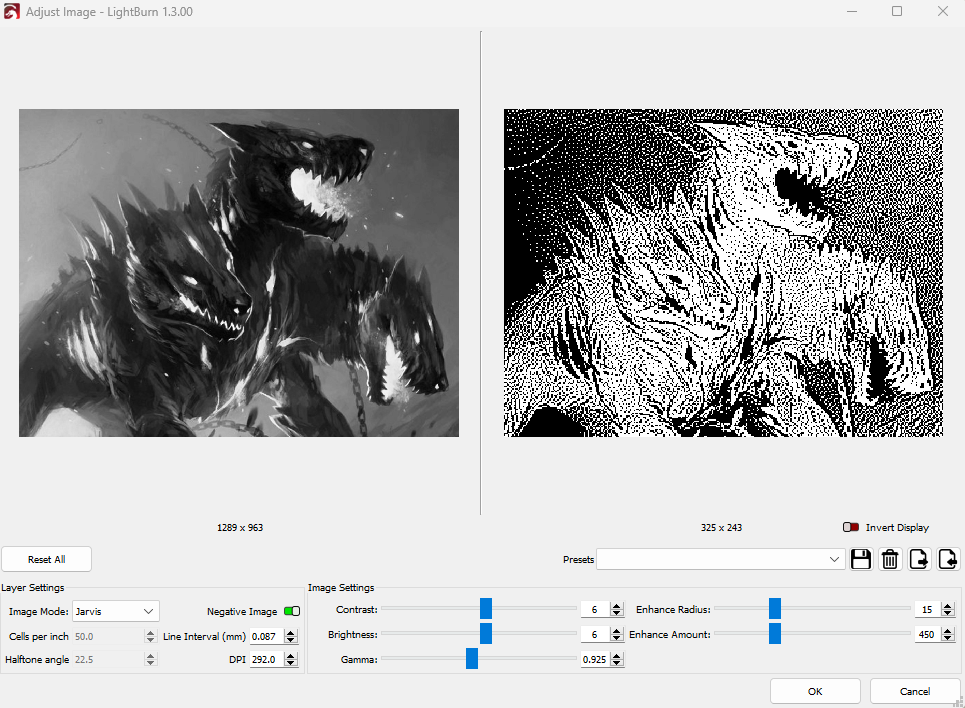
with these settings i get the preview i sent before
and yes the dpi is in both 292
OK, It’s not a very high resolution pic to begin with. In the Adjust Image pane you could try increasing the dpi noting the difference on the right as you go up. Not sure what else to suggest. Perhaps someone who works more with images than I do can offer more advice.
the dpi doesn;t change anything either, do you know where i could find someone who knows more about this?
I would hope someone on this forum will chime in.
1 Like
I think if you captured that picture from the net it’s likely only 72 dpi.
the picture isn’t the issue either because its the same with every picture i try
Perhaps this video will help.
Photo on Stainless Steel
1 Like
This video has helped me tremendously with photo engraving for both galvo fiber laser as well as CO2 hope it helps you as well:
![]()

1 Like
Thank you for your reply! I have seen the video and this was how i determaind my DPI in the first place. It worked perfect and i engraved very detailed pictures but all of a sudden something happend and now everything comes out as lines instead of dots. apparently no one has had the same problem, because i still have no solution after asking multiple people in multiple forums.
Have you seen this video? It’s a little older before Lightburn for Galvo was released however he uses Lightburn to prepare his photo before using EZCad2 . I did a screen grab of the settings he had for EZCad2 so you can compare with what you have to see if there is any difference. He used HalfTone


This might help you troublshoot
![]() Good Luck
Good Luck ![]()
![]()
1 Like
Thank you, i appreciate it! I haven’t seen the video yet, i’ll check it out and hope it helps.