This is an experience of mine that may be useful to someone else.
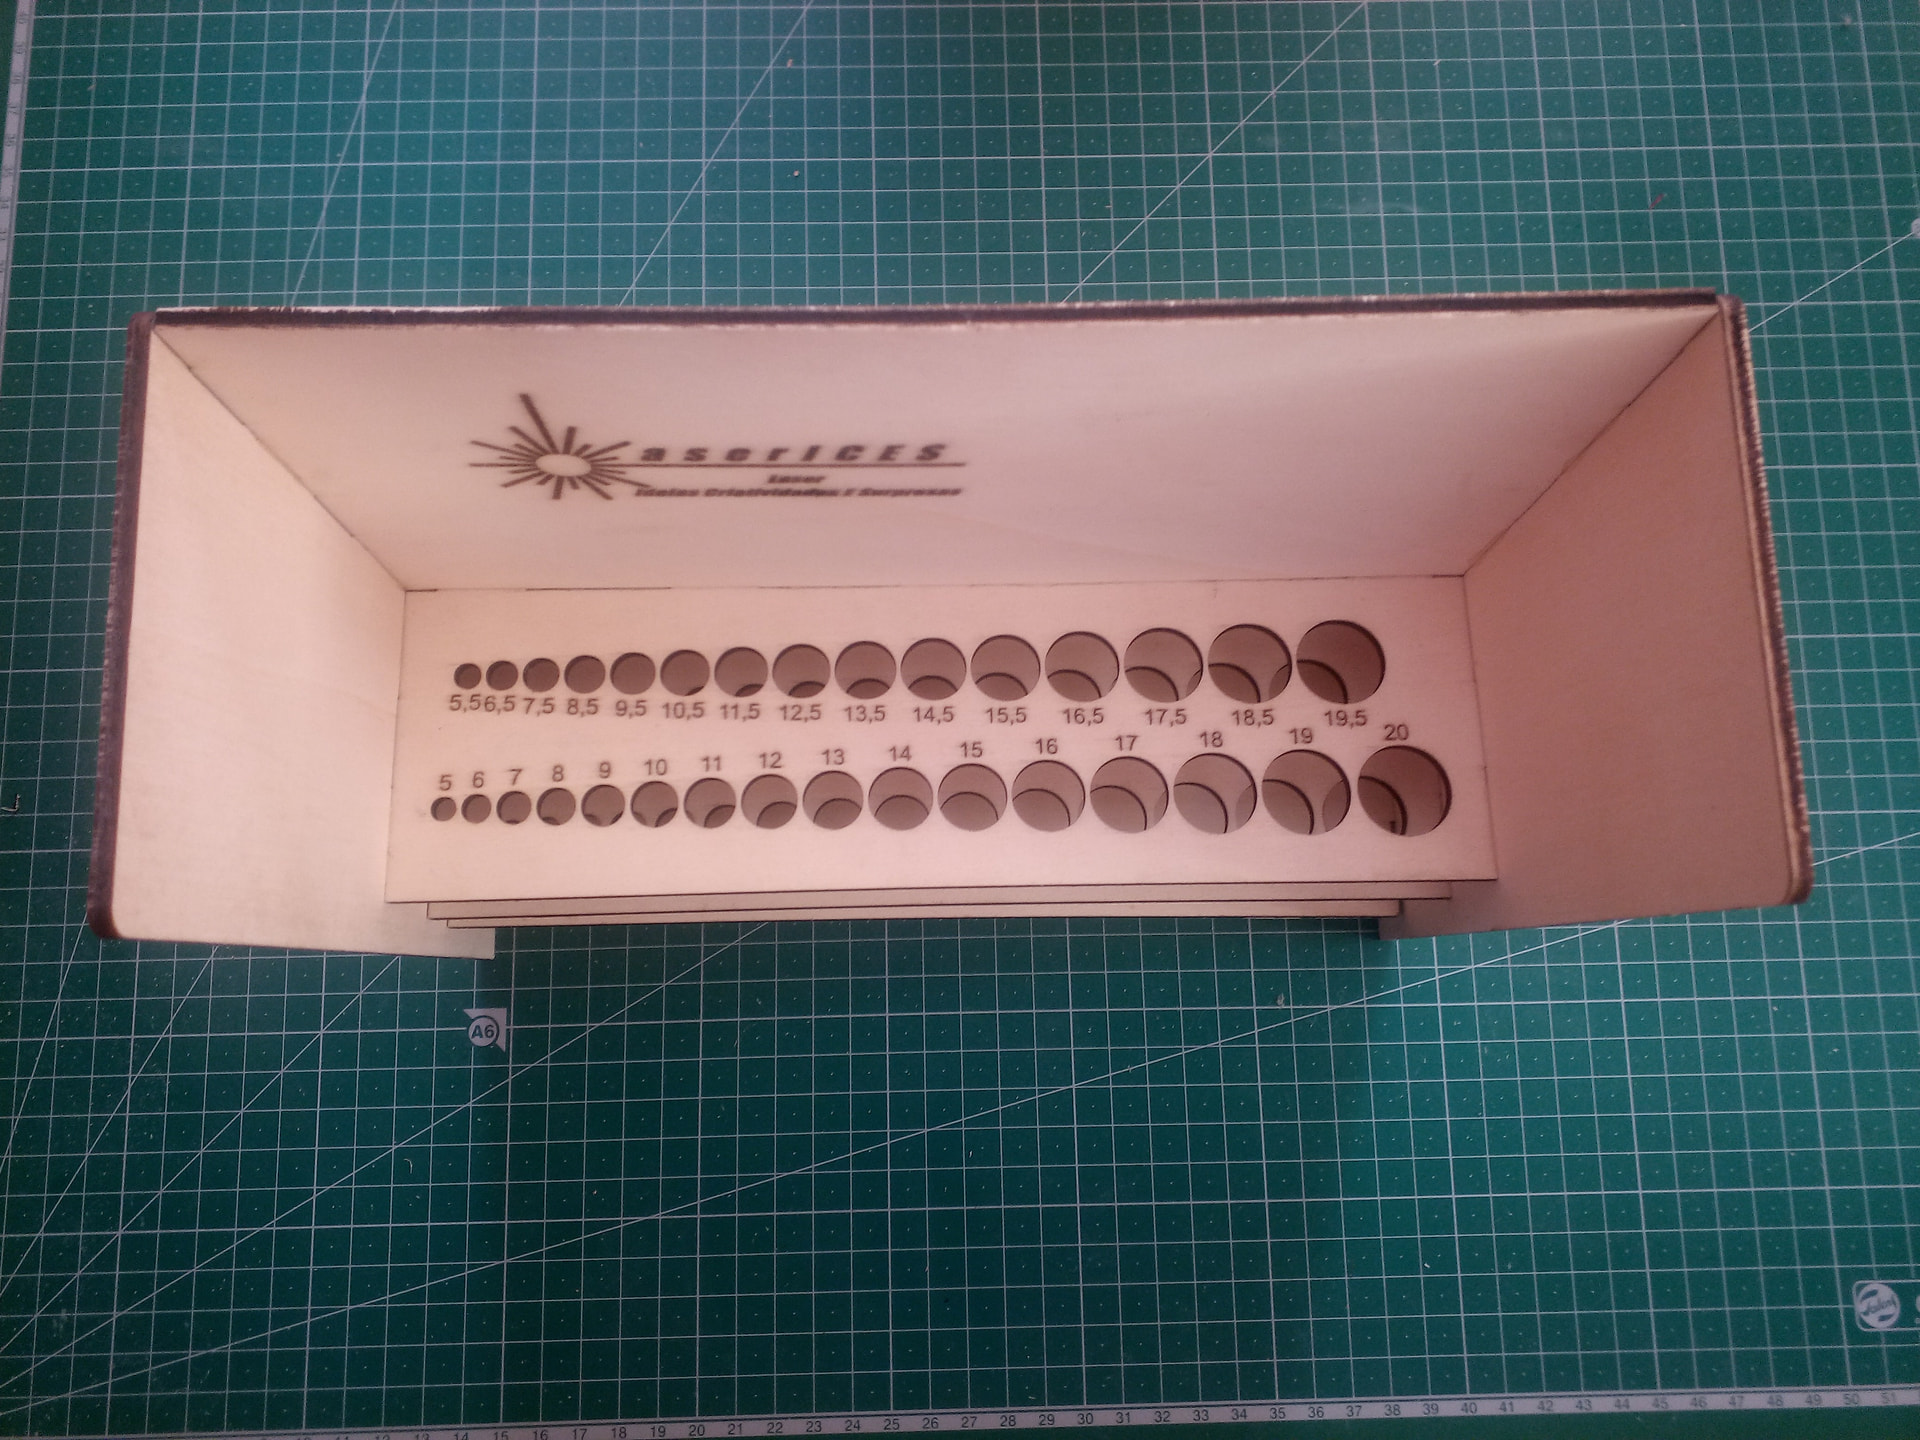
In this case, it’s a drill bit holder for 5 to 20mm drill bits to be used in a lathe and a milling machine that I have. (that’s why smaller sizes don’t make sense)
Who intends to use the model, should be aware that it is necessary to correct the cutting settings, including the kerf value.
Thank you for your comment and attention to detail Colin!
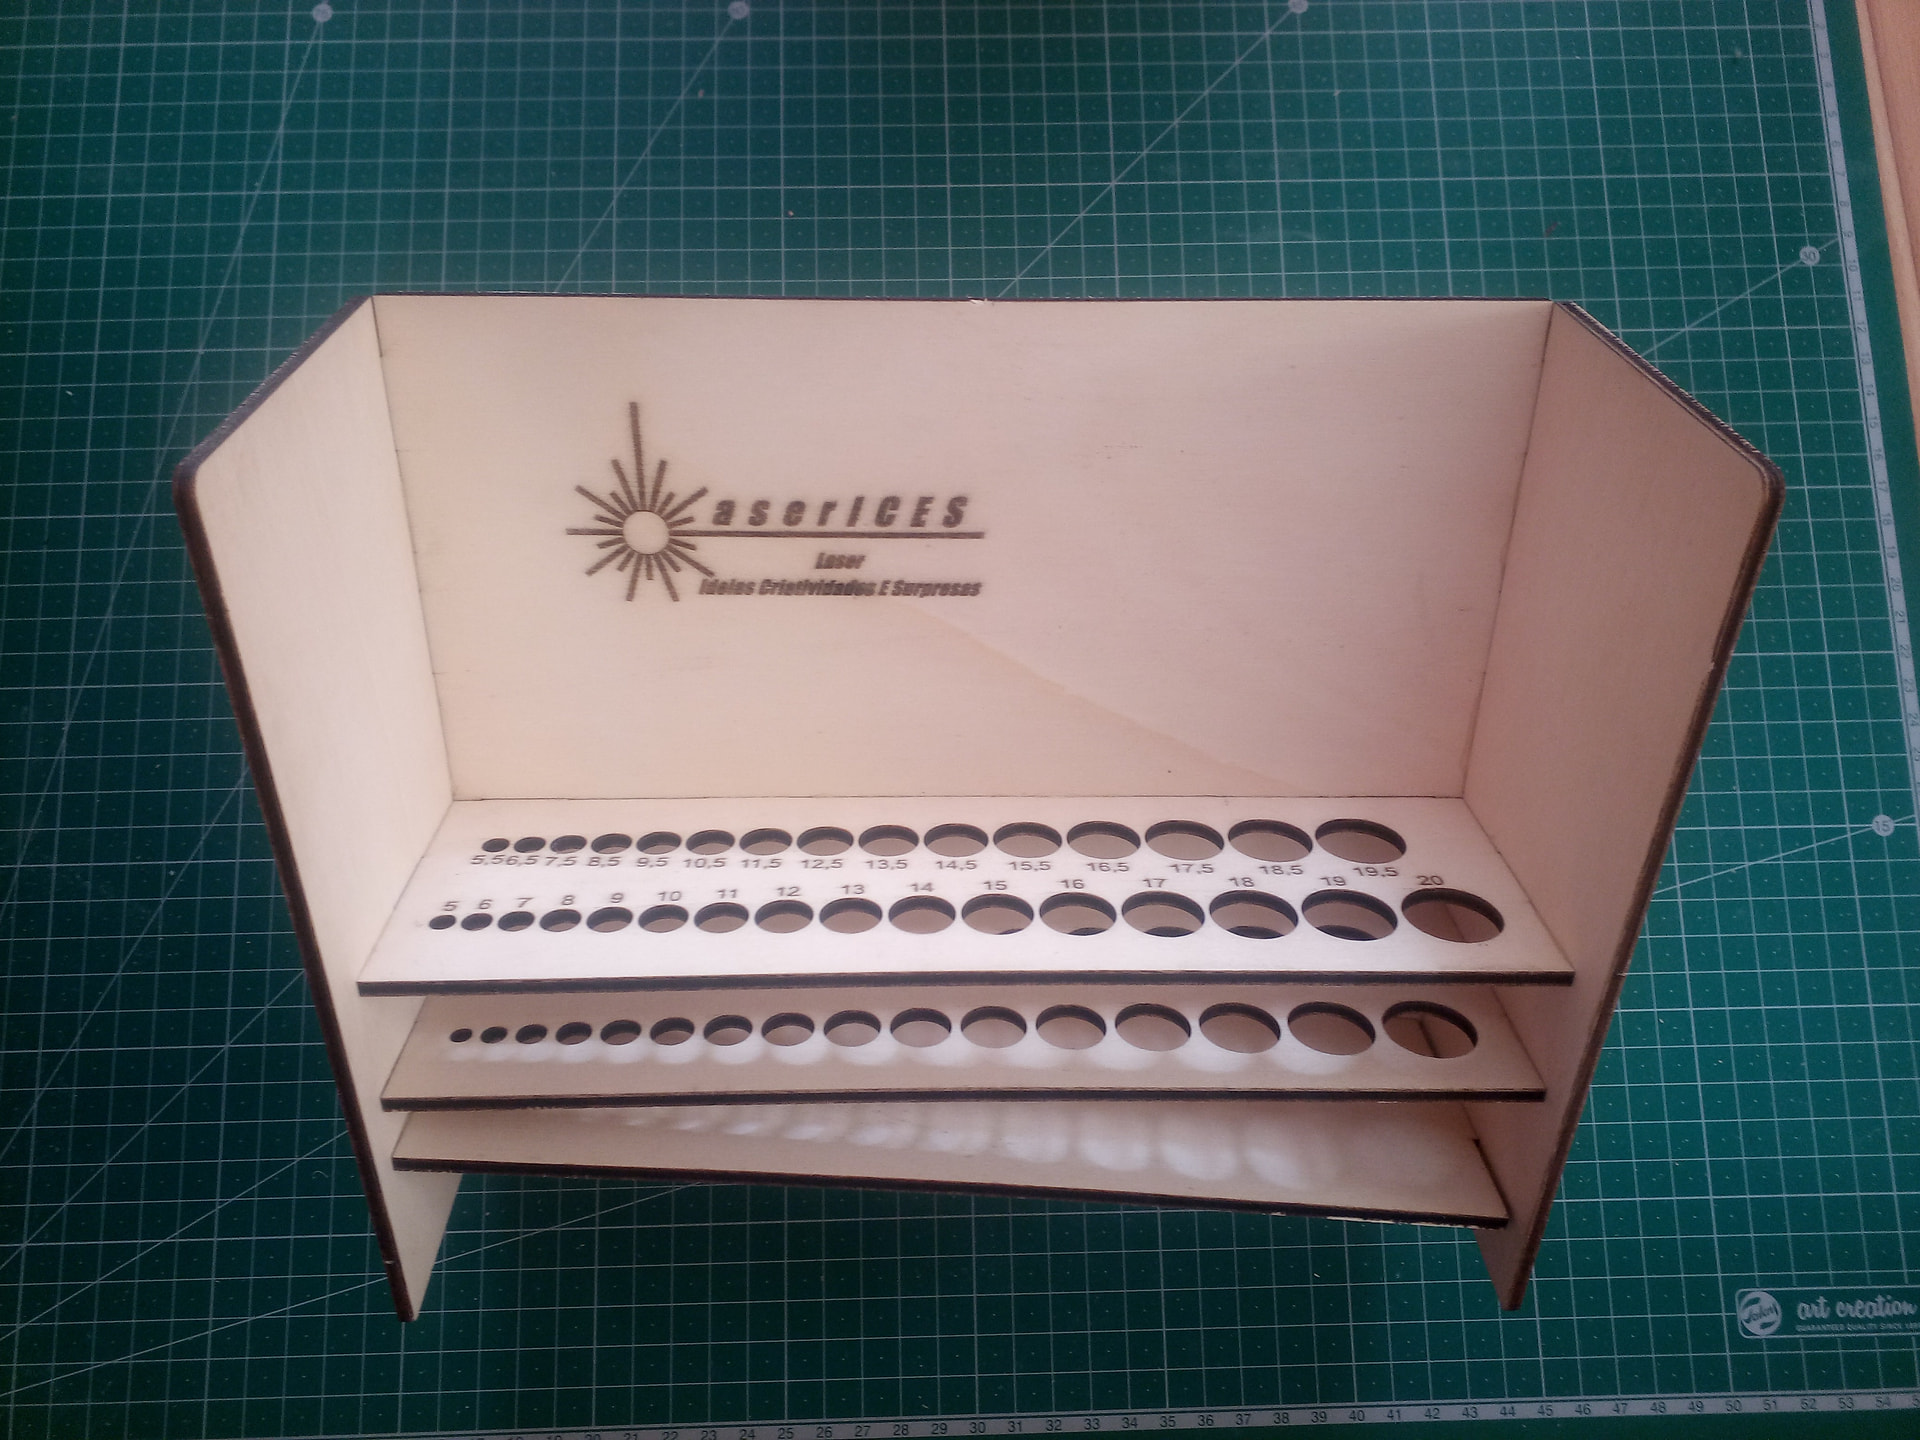
For clarification, the purpose of the base inclination is more to distribute the mass point and not so much to align the top of the drill bits.
Although it does that somewhat as a consequence, in reality the top of the drill bits continues to have an increasing inclination as the drill bit size increases.
To approximate the alignment of the top of the drill bits, I would need an inclination of around 20-25º at least. Which works very well as a display. (Let me explain) In the real world, drill bits wear out or break, and especially with larger diameter drill bits, unlike smaller diameter ones, it’s not always worth buying new ones, so people sharpen (at least I do this) the larger diameter drill bits.
This results in a reduction in length and, as a consequence, there are always some drill bits that stand out from the others.
The inclination didn’t involve any mathematical calculation, and I don’t even know what angle I used. I simply tilted it to shift some of the weight downwards and prevent the center of mass from being too high, because when inserting or removing a drill bit, it becomes very easy for the entire support to fall if the center of mass is too high.
In short, it almost took me longer to write this comment than to draw the drill holes.
EDIT: This is a joke for anyone who followed the project.
Thank You!
After many attempts, these were the settings that stood out best for plywood (in this case, I believe it’s linden wood, but I’m not sure).
The plywood is only 4mm thick (the standard is 3.8mm, but the quality of materials of this type here leaves much to be desired, and when measured, 3.8mm is only in some areas; most of it is 4mm).
16 passes ensures a clean cut, without large areas completely charred and without smoky effects on the wood face.
In the end, when I run finger across the cut, no charcoal sticks to my finger. If it does, it’s minimal.
The division into sub-layers allows the cut to cool while the laser works on other sections.
The extra time I spend on the passes is definitely worth it if I had to do cleaning, both of the cuts and the smoky effects on the wood face.
Exactly. Incredibly, without that step, when I ran my finger over it after completing the cut, charcoal from the last pass would stick to my finger.
As I mentioned, these settings are for my laser machine (for my specific case). The settings will be different on a different machine or with a different material.
My wood comes in as 2.8mm. Whether it comes wrapped individually or bulk package, it stays at 2.8mm thickness. I think moisture affects thickness little and cutting a lot.
I believe that, if you buy quality products, none of this happens (at least not so easily).
If I intend to acquire quality material, I can also do so online, but in that case, the necessary material spent for material proofs/tests becomes expensive.
It could be an option, but only at a time when I have mastered the technique involved a little more.
You think it, and you can be sure of it.
I think that if moisture gets into the wood, even after it dries again (I’ll use the case of 2.8mm), assuming it becomes 3mm thick, you have to think about cutting it from slightly expanded material, meaning that instead of being compact, there will be air pockets, or more pronounced glue pockets (in the case of plywood).
Which, when seeking perfection, influences the final quality of the cut.
This could be a reason for my necessary “17 passes”.
Not necessarily. It may have started out as 3mm then it was sanded.
A misconception that a lot of people have is that the manufacture is cheating them or have poor quality control.
Take for example a standard 2x4 here in the states, if you measure one it’s 1.5" x 3.5". What happened is when the wood is cut while still green it measured 2"x4", Then it’s kiln dried then all 4 sides are planed to a standardize size of 1.5" x 3.5".
Now when it comes to products from China…
Basswood is in the same family of Linden trees. Google: linden tree not Lindena. When I google Lindena I get a Gardinia
Thank you for sharing!
This is curious because here in Portugal (I have clients who are sawmills, so my opinion is based on what I’ve seen) after the boards are cut, they are left in the air for weeks to dry out the excess moisture and only then do they go into a kiln (machines which I service) to dry out the remaining moisture.
Only then do they go out to the various branches of the wood industry, but already dry.
According to what you mention, a description of the material is given before it is finalized. Here (Europe) the specifications of a material must match what reaches the final consumer.
What happens is that with items of such low value, few people care about that. (it’s more expensive to enforce the rules)
This is why I embarrass myself because of Google Translate. I end up saying things I don’t even understand myself!
Now, with your help, Linden Tree is what I mean.
Thanks for clarification!