I was having a horrible time paint filling my engravings, the paint would wick though the wood fibers and ruin the work. I tried all the usual methods of sealing the wood first with shellac. And that helped but did not always stop all the bleeding. Plus it was a pain having to apply multiple coats of shellac before engraving.
I saw an ad for Laser Dark while looking for a solution. But the Laser Dark is relatively expensive at about $18 per can. So being cheap I kept looking for an alternative that would work the same for less.
After a bit of research I discovered Marsh Stencil Ink ($4.05 per can). My order arrived today and I just did a quick test.
This stuff works great for making your lettering on wood jet black with no bleeding and no prep work! . Just apply your masking to the wood, engrave then spray with the Marsh, and then set it with a clear sealer, let it dry and peel off the mask. For the first time my engravings are dark and perfect with no paint bleeding no prep is required on the wood before engraving.
Amazon does require you to purchase 3 cans, but in my case that is a benefit. I will be using this on all my engravings from now on.
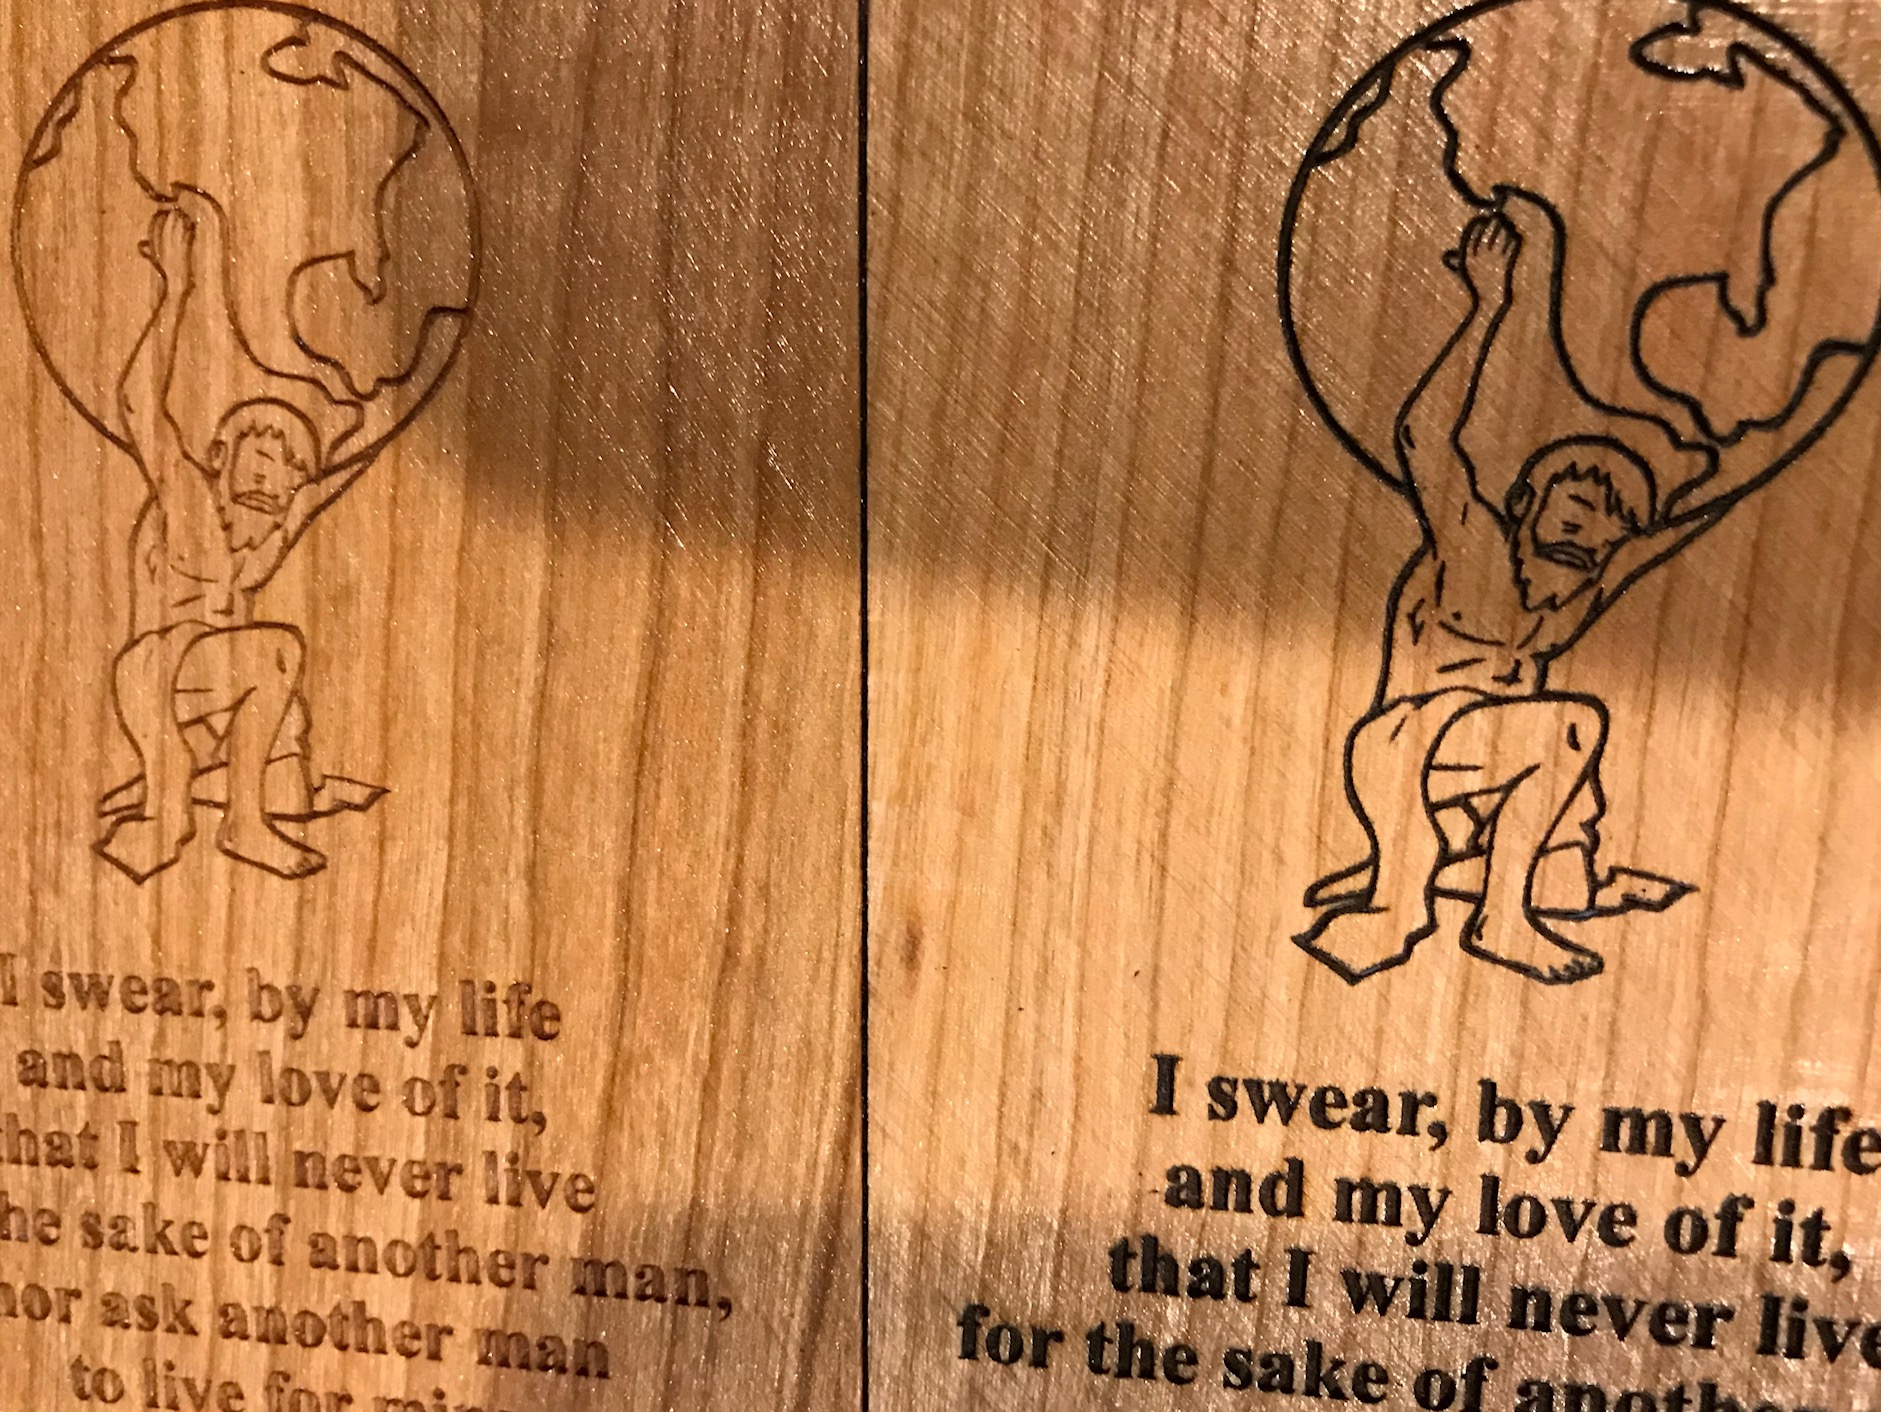
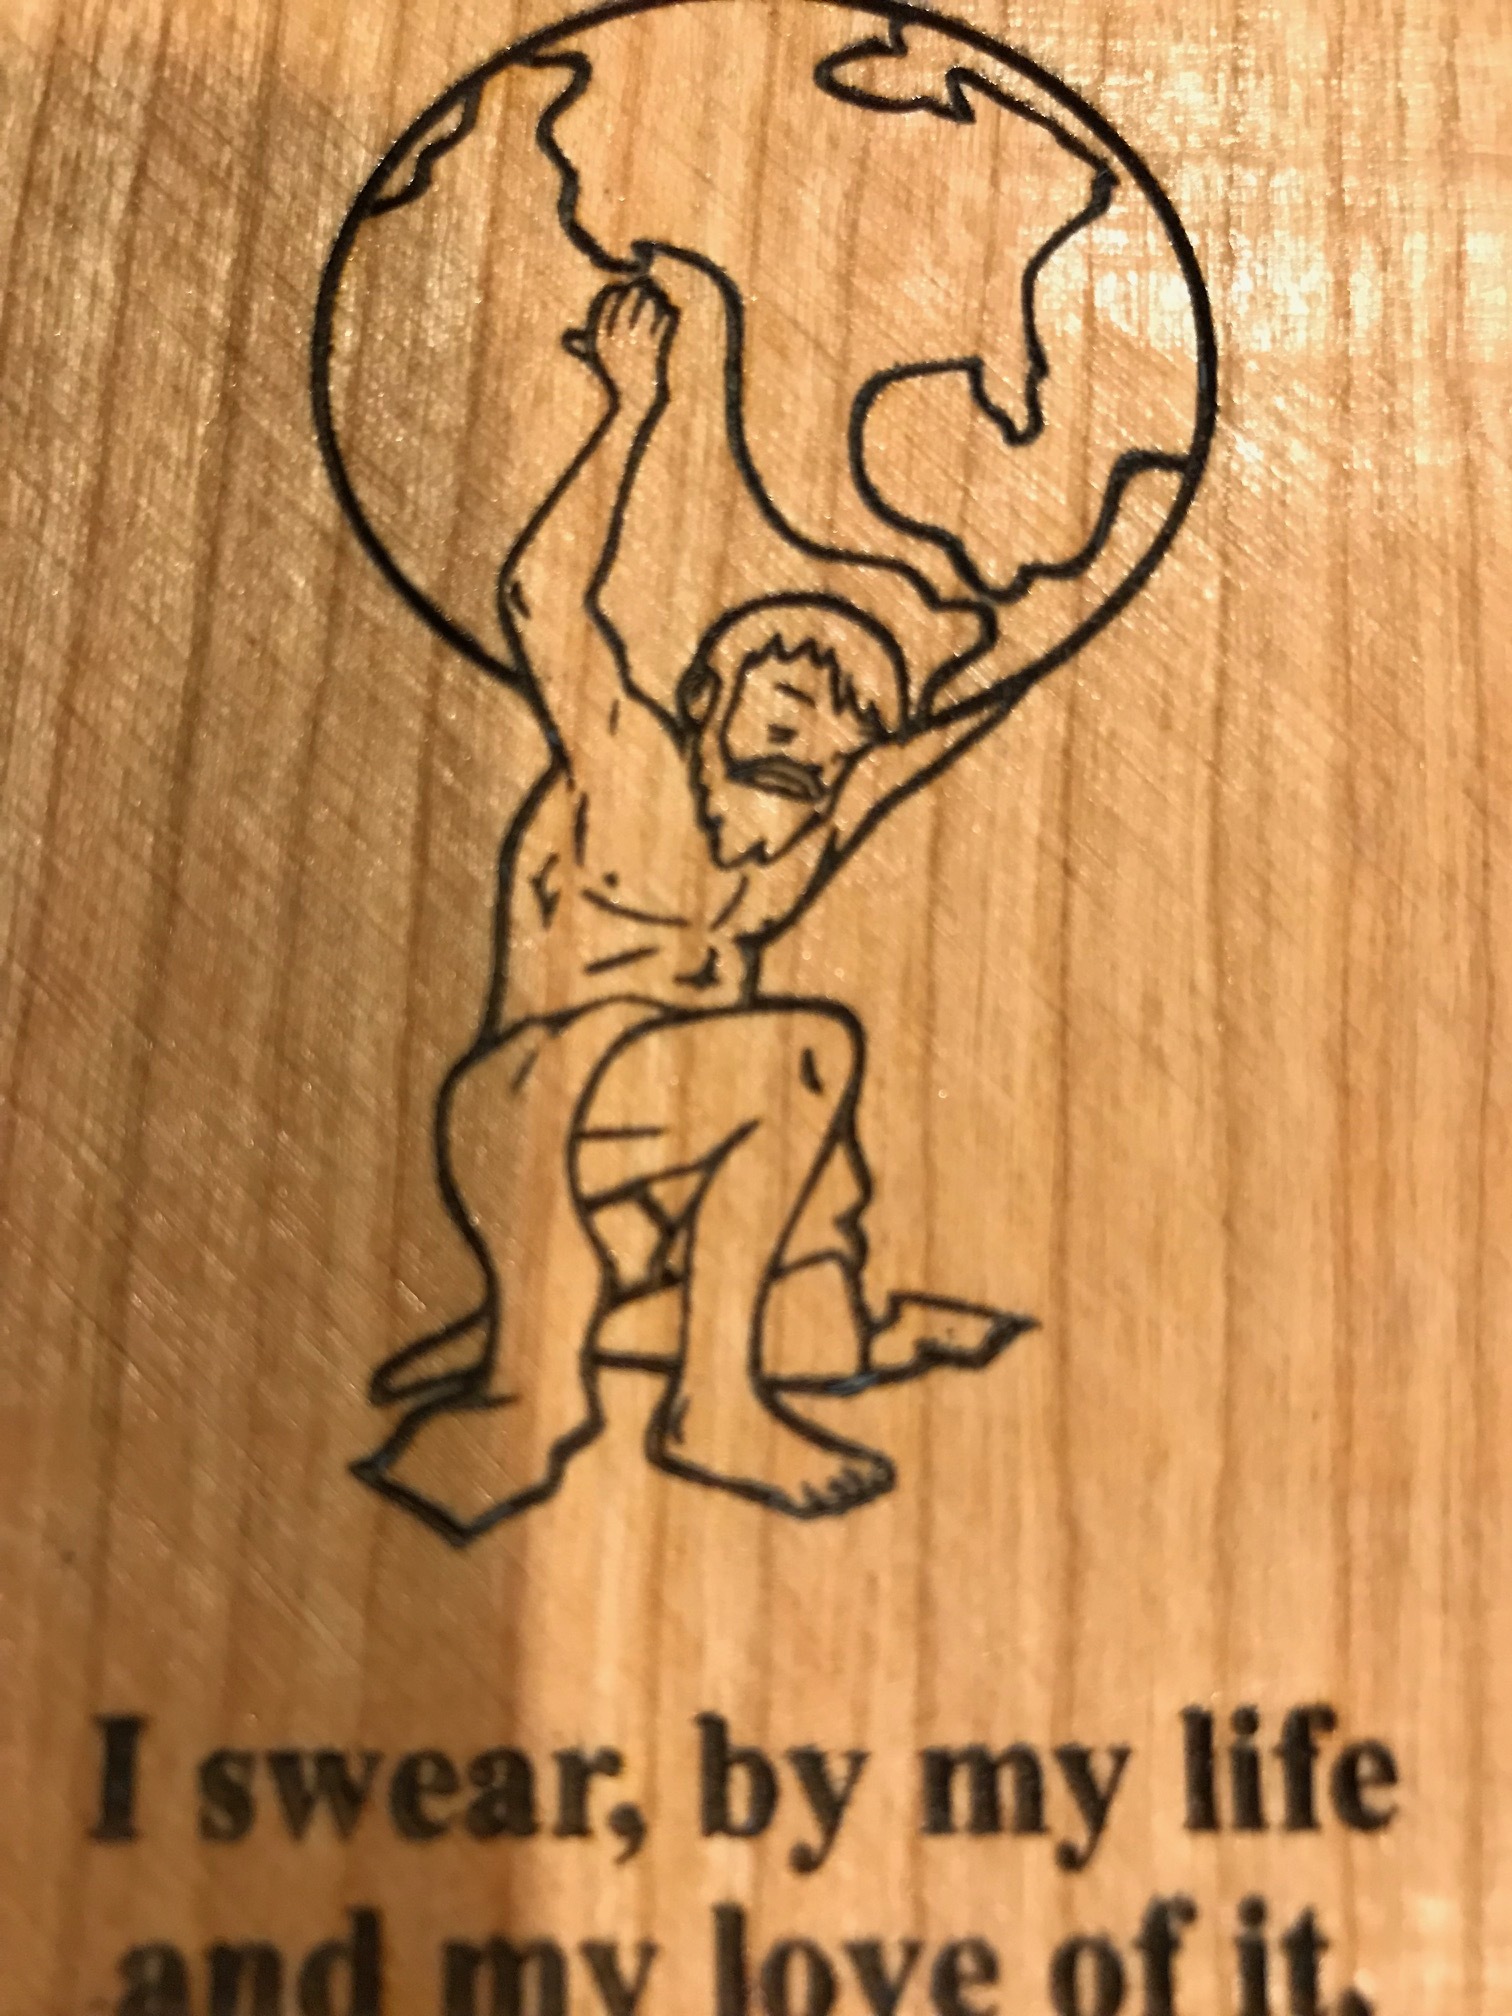
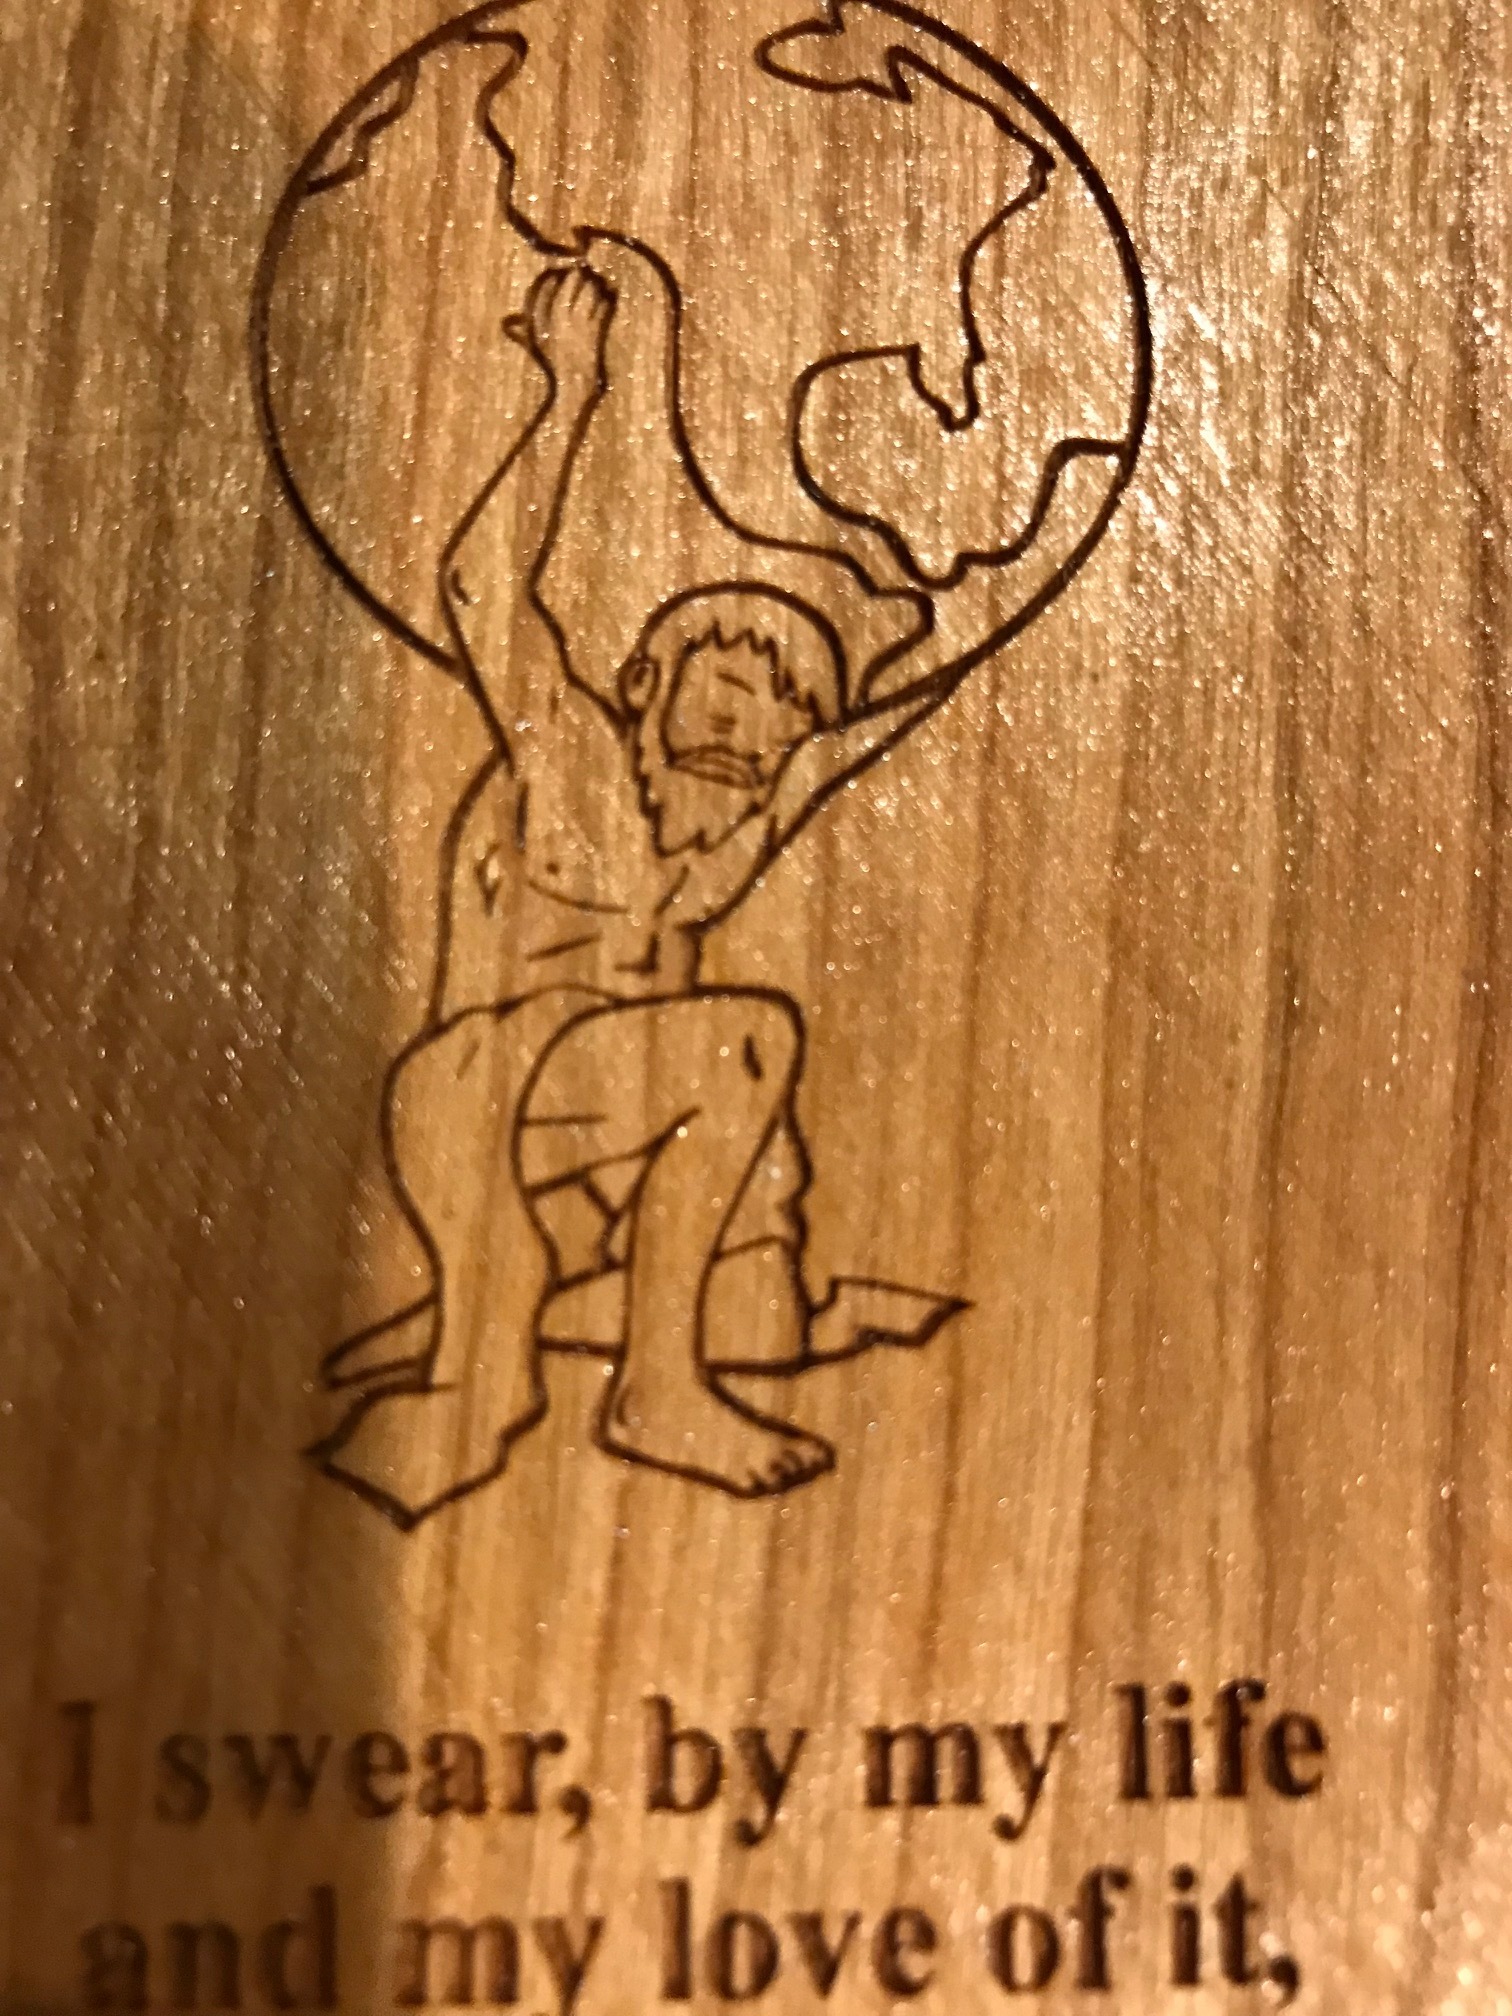
The version on the left, I made a few months ago just scanning the words onto maple. The version on the right I just did (again) and sprayed with Marsh (and a top coat of Rust-Oleum Satin Clear Enamel ) after it finished scanning.
Thanks for sharing your find. What are you using for your clear sealer?
Did anything else in your workflow change besides adding the stencil paint, though? The engraving on the second example is darker but definitely appears less sharp/well-defined to my eye once I opened the picture to full resolution. I don’t know that I would make the trade-off in this example. It probably would less on an issue with larger font sizes?
Yes I was in a hurry to see how the Marsh ink worked and I forgot to set the focus. So the line width it wider than it should be. I will do it again with better focus.
I thought I had just forgot to set the focus, but when I just now started a new one I made certain I set the focus (using auto focus from the “Focus Z” button in LB). Then when I checked Start, I was watching closely and I saw the bed of my laser raise up about .5 inches before it started scanning ! Then I remember that yesterday I was trying to get the multi pass option in LB to work with an adjustment in Z height for each pass.
LB did not seem to be able to control the Z once the job started so I when into the “Decide Setting” and turned on the “Enable Z axis” switch thinking that maybe that was preventing LB from controlling the Z between passes.
It did not fix the multi pass problem but I forgot to turn off the “Enable Z axis” switch. That seemed to cause the bed to move before it started cutting today. I have no idea why.
So I turned the switch back off and now everything is back to normal. So big warning, for Boss users, leave that switch turned off!
I like the no-prep aspect of the stuff, and the price isn’t bad at all. Not far off from ordinary spray paint, if there is such a thing.
I’ve been previously applying a water based sanding sealer, then sanding it a bit and applying a second coat which dries before masking and engraving. The problem with this is the water based stuff warps the wood, although I’ve minimized it by applying to both sides.
I use high-tack from US Cutter for my masking but may not have to be all that concerned in the future. I picked up a brayer (ink roller) to ensure that I get good adhesion to the wood to reduce the under-flow of the paint. Another aspect of the stencil ink that’s going to be a time saver.
You must have Amazon Prime to get it for four bucks and change, as they are listing six bucks shipping! I’ll have to ask my friend to use her Prime account! I see they have different colors too.
This stencil ink looks promising esp if it don’t have the problem with bleeding in to the grain of the wood… Have you tried the brush or roll on marsh stencil ink yet or only the spray cans??? I also noticed Marsh makes a dabbing style refillable brush and a roller applicator for the non sprayable stencil ink…
I have been using Laser Dark for about 6 months now. I use mostly brown to keep a closer look of natural engraving but the black is amazing.
I too have been experimenting with other paints. I have used approximately 12 different types and colors of paint. I think the key is, it has to be flat paint.and sprayed in light coats. Problem is black and white are easy to find in flat but not many other colors. Other colors also take more lighter coats to achieve a uniform look in the wood grain. Don’t get in a hurry and spray too heavy or before the previous coat has dried or you will have junk.
Most of what I do I do not spray a sealer on it just as I do not spray a sealer on unpainted engravings unless I want a shiny finish. For my work, I mostly do not want a gloss.
Some projects, I do not mask before engraving because it is not hard to sand away the over spray and gives the raised unlasered wood a nice crisp look or blend the over spray for a more rustic look.
It is late now so I will try to post some pictures of finished and maybe a few in the process of being done.
I have not used Laser Dark so I do not know what it is, but the Marsh Stencil ink is basically just black pigments suspended in a very fast evaporating solution so when it sprays on the wood there is no (or very little) wicking. Your standard rattle can spray paint is designed to penetrate the wood and soak into the fibers to provide protection and good coverage.
This is the process that I use when I do not mask first. Laser Dark sands off so easily if sanded within a few minutes that I find it is faster to sand than mask. If it is something that needs to be more durable or glossy, spray with sealer.
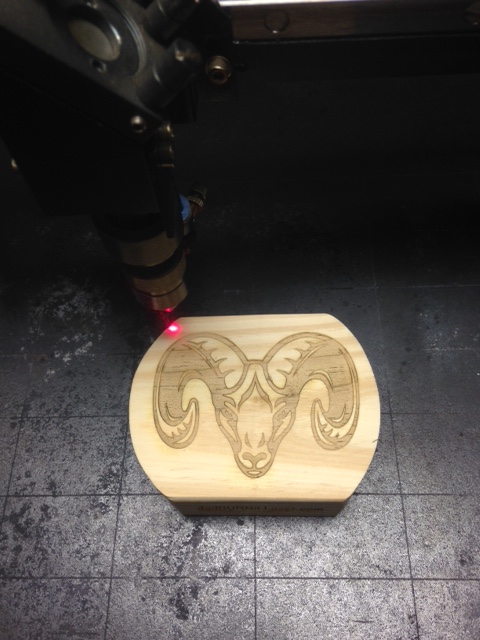
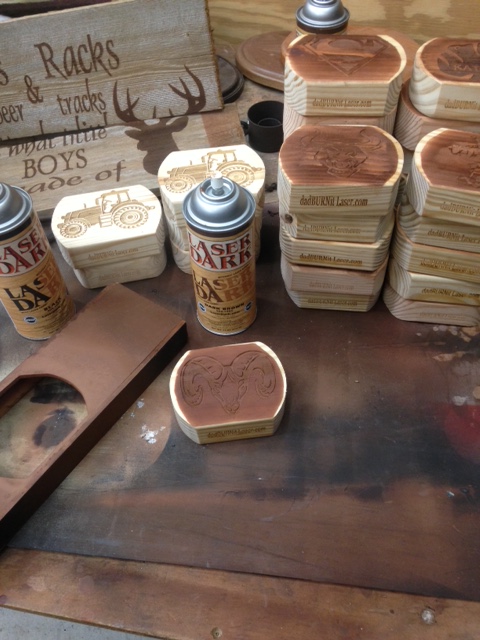
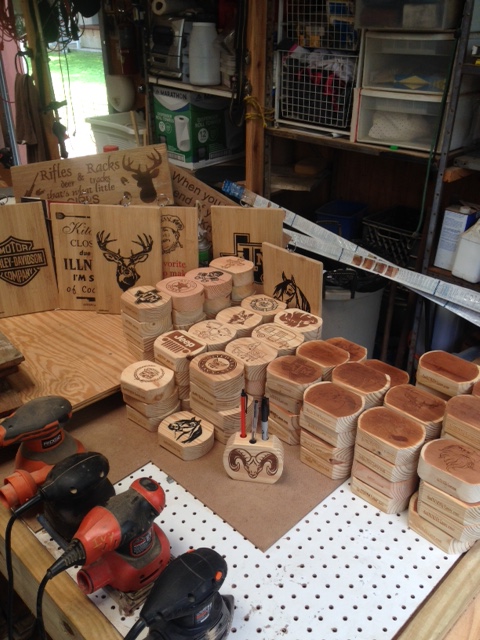
Apply Laser Dark (brown for this ram) using overspray template for less sanding. (The old 1x6 lumber with the deer on it in the background was done using wide mask tape. The two boards will be aligned, fastened together and the sides cut off).
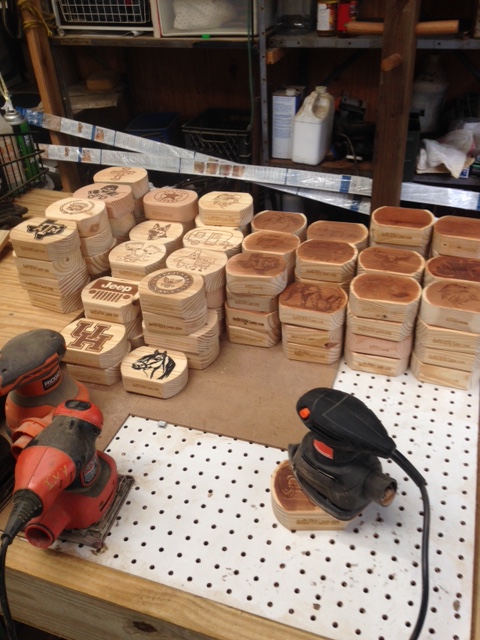
Same pencil holder now being sanded to remove the overspray. (The stack on the left have already been sanded and the right stack waiting for me to get to them)
I wonder what the results would be if using the Marsh Stencil ink in the same manner that Willyivy used the Laser Dark?
I kind of hate using stencils tape. Seems the paint/ink always bleeds a bit and causes boogered edges. If the stencil paint could be easily sanded might be the way to go.