Effect on different Lenses for Fiber Lasers

Whats the effect on different Lenses on Fiber Lasers like the cheap 20/30W models found all over?

I got my 30QS Raycus with a 175x175 lens and cant even touch copper at all, but have seen people engrave and cut copper with just 20W models.
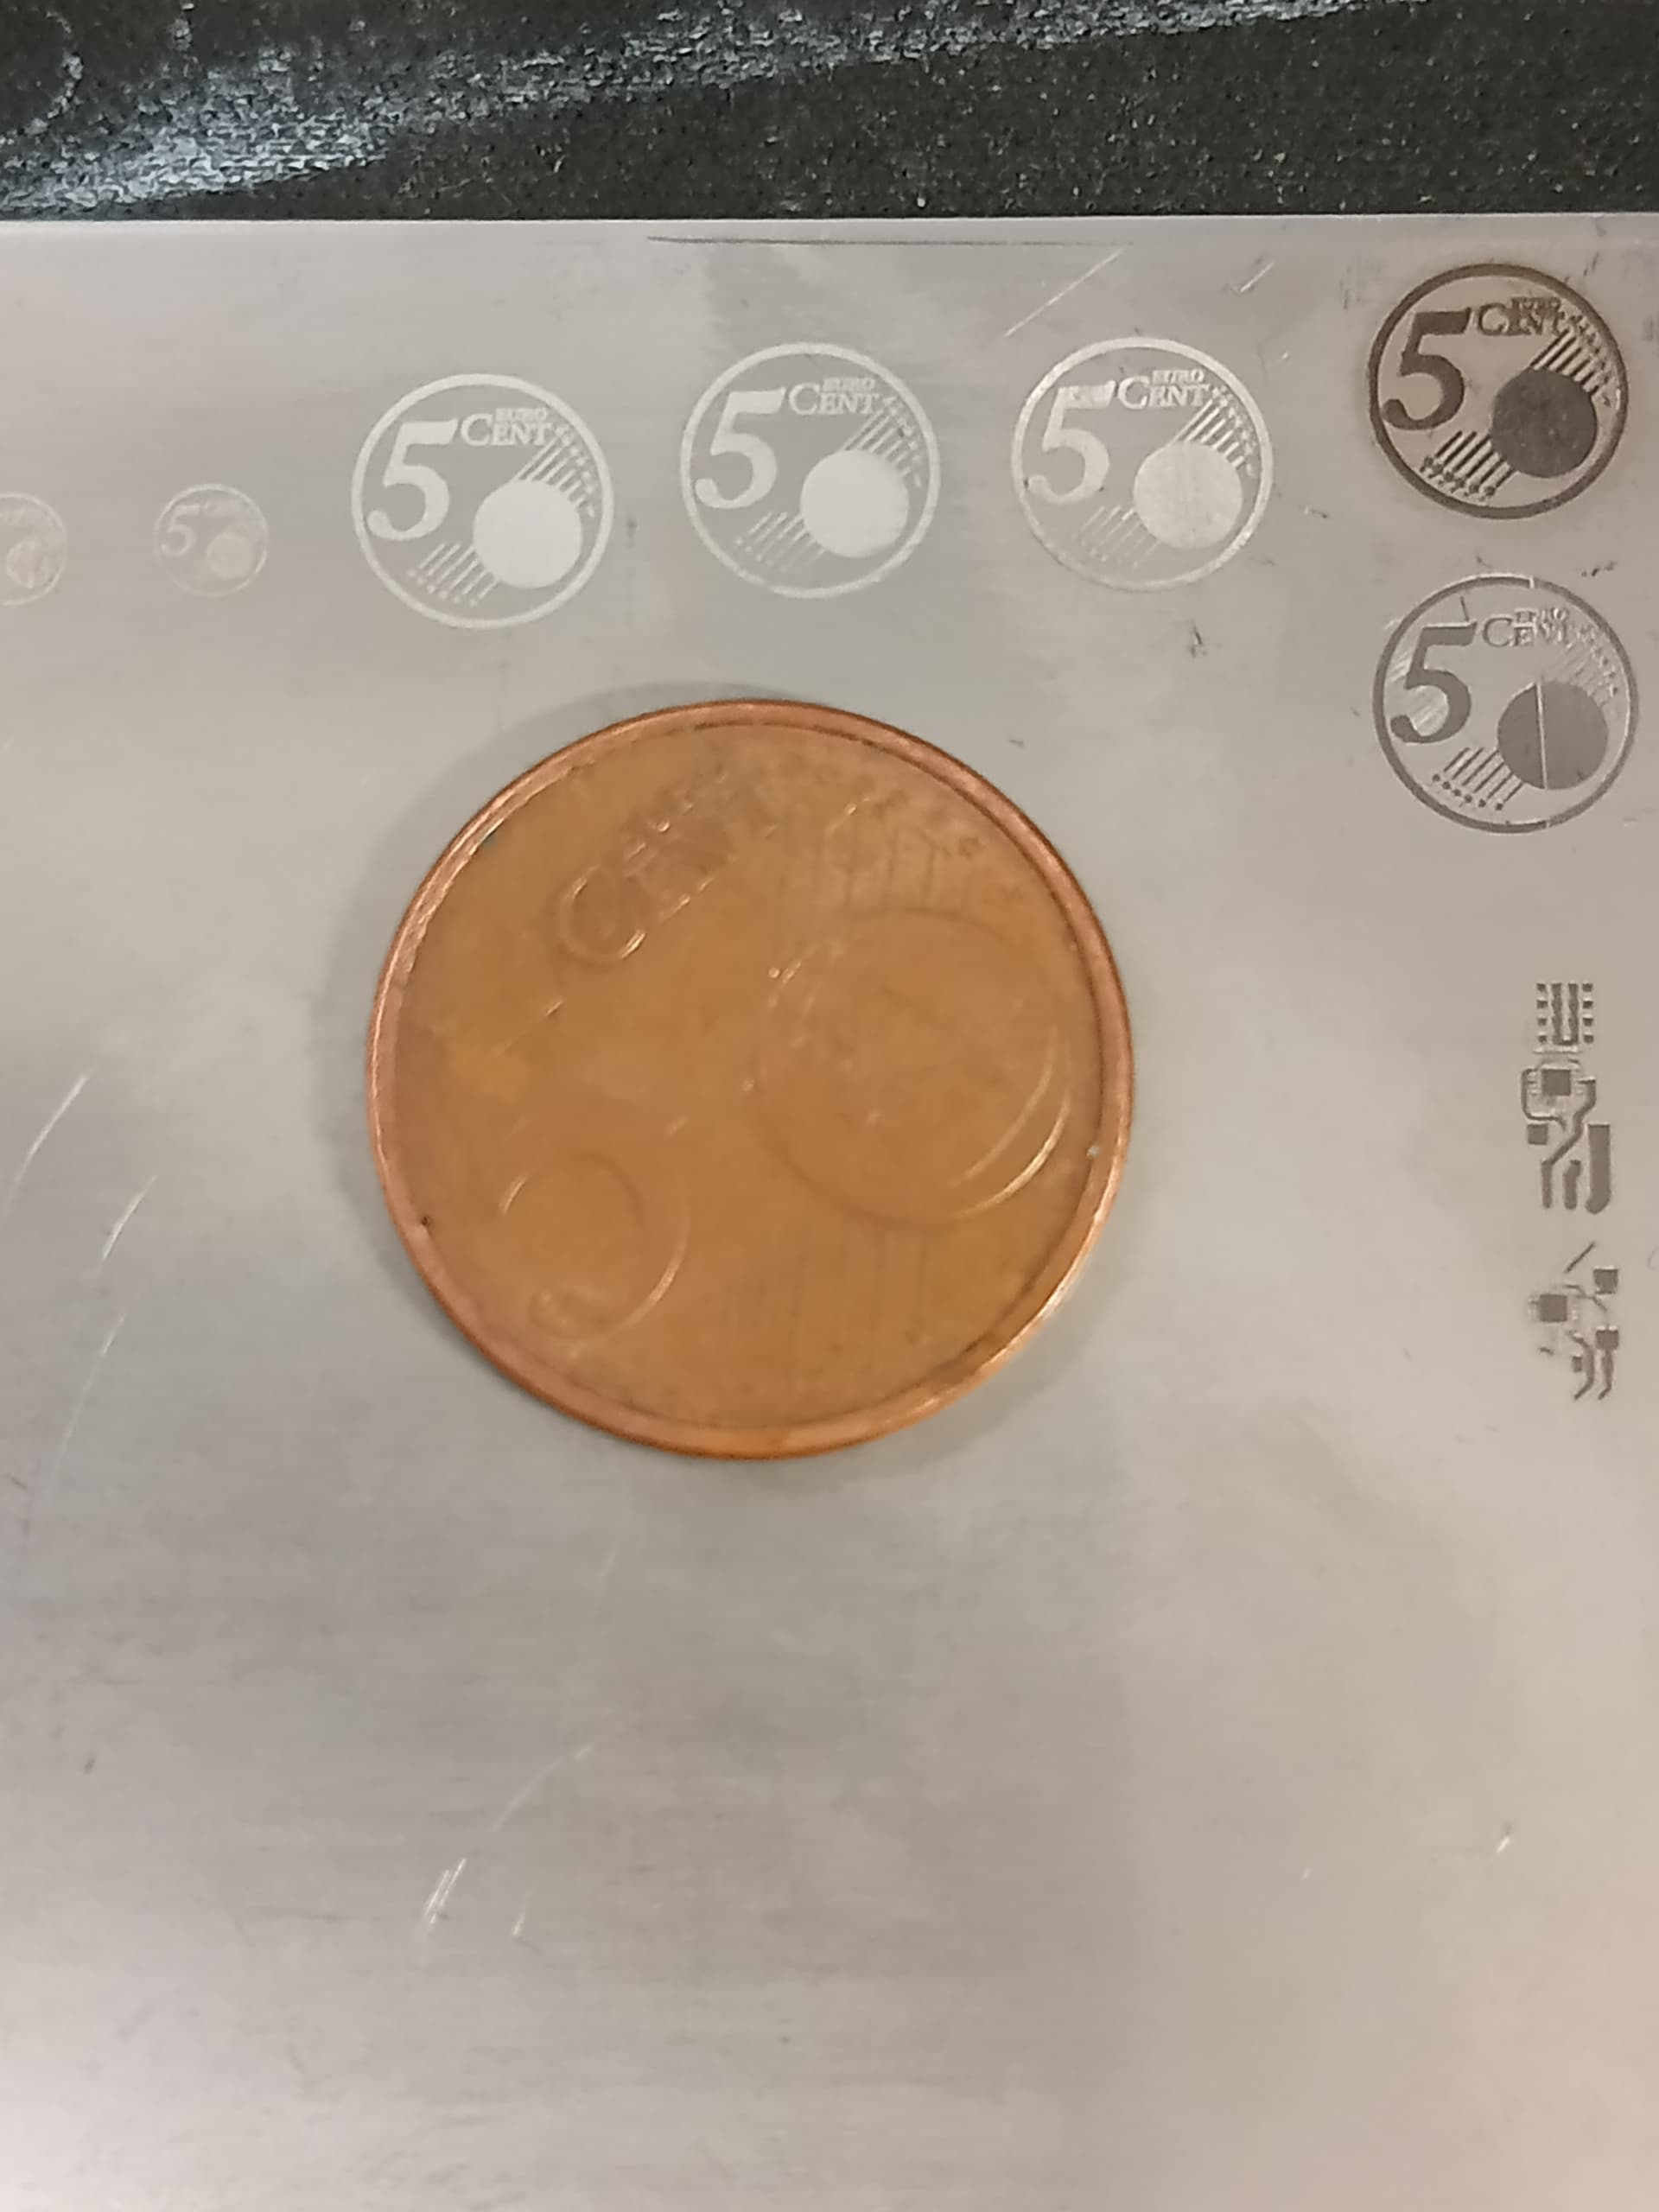
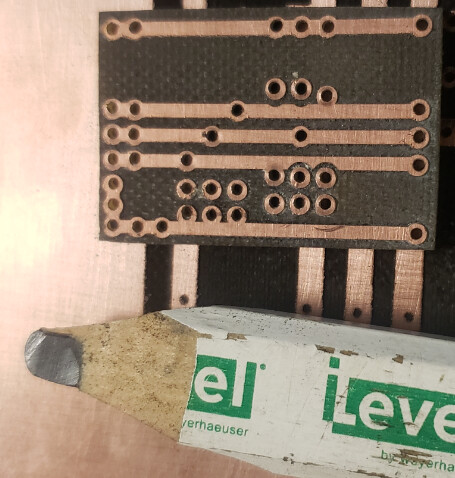
i managed to cut a 2mm steel washer with it, but even 35µ copper pcb material wont work the slightest at a 100% power, 100mm/s

i know, its also pulse-energy dependend to push it over the limit where the material suddently becomes less reflective… as my model only has 0.75mJ per pulse according to the raycus datasheet, some 20W models almost have 1mJ at a lower repetition rate.

But from my old diode days i still know, shorter focal lenghts result in a smaller spot size which increases the watts per mm2 significantly.

So how much more capable is a lens with a smaller working area like for example (extreme case) 50x50 with F=60mm compared to the 175x175 f=254mm?

I also have seen theres different lens materials like K9 and Quartz, is this only needed for higher power models or do the much more expensive quartz lenses perform better?
same as diode days experience with glass/multi element and G2 lenses that made a big difference as they absorbed some of it themselves.

I don’t know if I’d call them cheap… they have less ability for controlling them.

I have an 60W JPT M7 MOPA because I like to learn what the options do…

I would think your machine should work with copper. I know from experience and reading on the Internet that copper is one of the most difficult. It’s directly related to how fast it distributes heat… One of the main reasons it’s considered a great material for cooking.

I got a 60W, as I looked for extra lenses I realized that a specific lens for my 60W whent up 8 times in price for a >=100W model… A $60 lens for mine is almost $500 for a fiber producing 100W or more.


An F60mm lens will have a very small dot size, 20.193uM, but it’s depth of focus is only 0.265mm. It’s touch enough to focus these, without having a breath move it out of focus…

The other issue I have with short lenses, is there’s no working room between the lens and object.


Even if you get it small, there is only so much energy there…

As far as I know, on a q-switch type, the width is related to frequency… Are you using the lower frequencies?

I’ve lased 1 oz copper pcb’s with no issue, other than they stink to high heaven. I don’t know what it’s thickness is… I’ve also done pennies, not exactly copper…

Which lens are you using now?

:smile_cat:

They are built quite well but no idea how they do this for that price i paid, got it new including shipping and taxes for 1200… with a 4th axis…
A mopa, let alone a 60W fiber would be way out of my budget.

As i wrote, im using the 175x175 lens right now with f=254mm, manufacturer… probably cloudray.

i now bought a 50x50 lens for testing, for those sino galvos its only like 50 bucks no big deal if it doesnt work out.

but 20µ spotsize, assuming i can hold the 265µ flatness over the 50mm is impressive, compared to the 102µ of a 254mm lens.
i would go from 19.1J/cm² to about 477 J/cm² at 0.75J i bet that removes copper into the 4th dimension. thats over 25x as much… as if i suddently had a 750W unit
( according to rough values in this calculator: Power Density Calculator or i messed up my calculations it makes no difference)

lets see when it arrives.

I tried a frequency pattern at 100% power but not a single one left a mark
i dont think i can influence the pulse duration on this unit, just the repetition rate. as its not a mopa.
gotta try this with different materials later.

Stinky fumes are no problem, i just clog up the filter in my solder fume extractor with whatever the laser produces, it can handle that.

1oz copper is 35µm thickness
but even copper coatings are a problem.
ive tried pennies (euro cents here) that are steel with a copper coating, i can remove the oxides but cant pierce the copper at all.

i could blast away paint on those pcb’s to etch them, but id dont want to work with such chemicals.

Understand about the cost of a mopa type… I waited an extra year to get a mopa over a q-switched fiber.

My understanding is the pulse width on a q-switch boils down to frequency.

I can’t lower mine to 20W, it will always pulse full power at the start of the pulse. I can change the pulse rate and the q-pulse duration, but can’t lower each pulse at the start.

I’ve also found that varying the interval makes for changes in the results.

Did you run at the lowest frequency when you did this? It will put more heat into the material.

:smile_cat:

Unfourtainly according to the raycus test certificate mine has a fixed pulse width of 146ns
thats the benefit of a mopa, its pulse width can be changed, a ordinary q switch discharges the fiber and thats it.

based on the calculator webpage, at 146ns pulse length i can set the frequency to 40khz to utilize exactly the full 30W pump laser power. everything beyond that wouldnt charge the fiber fast enough for a full power pulse.

But i ran the test from 10 to 100khz, with no difference.

will try again with the new lens once it arrives

Does your Raycus actually respond to the 10kHz to 100kHz frequency. I though tit was much more narrow range. I was under the impression that the q-switch was related to frequency, but I don’t have one…

Sounds like you got a handle on it… I’m sure you know how critcal focus is, and I can’t think of anything that might help you out…

Hang in there and see if @Albroswift, he’s got a fiber, maybe he can suggest something…

:smile_cat:

my 110x110 lens arrived, 50x50 still on the way.

it makes a world of difference wow.
it went trough that 2mm steel washer pretty quick. and can cut and engrave copper, it didnt even char the fiberglass substrate on the pcb.

1 Like

My 110 x 110 is the way to go for PCB…Larger lens just seems to shine up the copper until I increase the power enough that it blows through the board completely and starts a fire. What was your settings for cutting the washer?.
I’ve been thinking aout a 50X50, report back when you get yours set up.

100mm/s at 100%, wiggle turned on. and played a little on the focus back and forth each pass.

will report!

1 Like

Tried playing with frequency settings, its really just a 40 to 60khz range


at 40khz the peak performance is reached.

Enough to engrave copper coated steel coins now and even drill a hole trough them.
(ignore the middle circle, i used that coin for multiple tests)


it gives a interesting rough surface, a lot of grip and surface area.
even the line spacing of the 50 lens wont be close enough to create diffraction gratings in the visible wavelength range but useful for some projects i believe.

The 50x50 arrived.
distance from the lens flange to the object is about 82.5mm for being in focus.
its insane amounts of power… even at 10% im able to engrave copper. let alone 100 it just shreds everything

its really good for engraving coins i guess.
very fine details can be resolved.

under the microscope, everything is readable. just not trough the microscope as the light comes from above and not the side.

but you gotta keep in mind the shallow depth of focus, the slightest tilt ruins it.

notice the square in the middle, its 0.85mm wide.

(taking photos trough a microscope using a horrible cheap phone isnt the best idea)

the 110x110 is certainly the way to go for making PCB’s. found some settings that work very well and dont burn my substrate. i even can drill holes for vias this way.

but as the phrase goes: you can never have enough lenses and accessoires for your laser.

1 Like

My 110x110 seems to do good on PCB’s

3 channel R/C Filters

first try

image

image

2nd try

image

image

I’ve done pcb on mine… mine stink to high heaven :face_vomiting: I don’t recommend that people purchase a fiber for doing pcbs.

Have you seen this video? Pretty mesmerizing…

:smile_cat:

1 Like

Very interessting thanks
may look into making flexible boards using copper foil on kapton tape.

you need to dial back the power to not burn the substrate and may run a strong and a light pass.
also use FR4 material (epoxy and glass fibre) instead of the older cardboard / phenolic boards, its not as bad as the epoxy gets blasted away and the glass fiber wont burn up.

1 Like

Mine wasn’t to bad after getting it dialed in but agreed, there are probably better ways.

its my first fiber laser so far, im new into this type of hobby.

but from experience so far, i found its a much quicker and easier way to make prototype boards.
even compared to those hole-grid prototyping boards that either are bad to solder or cost a fortune.

like this smd led board for a backlight.
i just had to wipe it off to get rid off the dark edges and cut it out. perfect.
adding a uv soldermask is no problem, you just laser off the solder pads with less power afterwards.

if its a more complicated design with multiple layers or a board i dont need in a hurry, i order it at the usual chinese pcb fabs where it costs like 10 bucks or less for 5…10 pcb’s but you gotta wait for 1…2 weeks for them to arrive.
like this audio dsp i made recently.

Also cnc milling takes a lot of setup. clamping, chosing the right milling bits and drills, fighting with flatcam software to get good results etc.

laser is just…click, done.

i dont want etching chemicals in my house either and i would need a laser printer to to mask off photoresist, and we all know 2D printers are coming straight from hell just to throw an error at us.

setting up the CNC for a board takes quite a while and you are limited by the minimum feature sizes.
i couldnt do SMD parts for example as i didnt have a cutter small enough that didnt wanna snap right away. let a lone drills with <0.5mm…

… and you got the problem of needing a perfectly level surface as the copper layer is just 35µ thick… see left upper corner. not all cnc controllers can adjust for that. i even had that on a freshly leveled wasteboard.

1 Like

How do you get holes drilled in proper alignment?

I used to do pcbs on my 3018, but had the same issue with breaking tools when things got small…


What kind of boards do you use, settings, lens length and I assume the 30W machine in your profile…

I’d like to try it again… :grimacing:

:smile_cat:

On the CNC?
In flatcam http://flatcam.org/ you import your gerber files and do the drill and isolation routing stuff, then export the gcode for each step.

you first run the drilling cycle with the drill(s) you selected. i found the 0.8mm to work the best. (carefully, they snap when you even look at it…) and then mill the isolation slots with a spiral v bit (not the straight v bits, they tear the edges too much).
then do the outline cutout with a pcb milling bit (many small teeth, no cutting edges)

drilling before milling prevents pads from lifting.

On a proper machine you cant move the axis by hand even when changing tools, so it allways knows where it is. when i set the G52 offset to the PCB middle (or wherever i specified it in flatcam) its allways starting there. all positions are referenced to this location for all gcodes i run.

you just need to adjust the z-height for the different tools. on pcb’s its easy, i just use the pcb material itself as a conductive touch probe.

On the laser, just import the DXF or SVG from your PCB Design program, for drilling use fill with wiggle turned on and give it full blast. may need to adjust focus. but this time with fume extraction. not tried yet with holes that are on the edge of the lens as they might be slightly tilted.

Engraving, turn wiggle off, lower the power. find the right settings. dont go too hard, rather do it in multiple steps.

im using glass-fibre FR4 type PCB material, not sure where to get it globally,
but i got mine from a local online seller who sells pcb cutoffs in 1kg packs for like 3…4 bucks.

settings are highly dependend on each machine and lens used also on the pcb material.
i doubt my settings would fit yours or any other 30W fiber machine.
just get a scrap piece and try a few settings, start with low power first.
the 110x110 lens seem to work the best so far, the 175x175 couldnt even touch copper at all. the 50x50 is way too small and overkill for just copper.