Having sorted the big operational issues on my 130W 1400x900 machine (well at least it’s behaving for now) I am ready to move on to troubleshoot more nuanced tweaking.
When I bought this behemoth I got the most size and power I could afford. Not realizing that the large beam and heavy laser head would not be suitable for the small details I hoped to engrave.
Application: guitar amplifier control panels and logos. No images, just text (as small as 4mm high). Front engrave and also reverse engrave and fill.
Here is a fellow amp guy who is killing it on this stuff:
Turns out though, he cuts the panels on his laser and engraves with a rotary. Regardless, his results are fantastic.
My machine has been riddled with trouble from the first power on. At times when it has operated I’ve attempted engraving, always with the same abysmal results. Just terrible.
Precision has improved with some recent upgrades. A 38mm lens and Light Object power supply made noticeable improvements. I can now fire the tube down to 8-9% power. And, ramp tests show cuts around .5mm wide.
My plan is to focus on speed, power, offset and acceleration. I’m sure I improve the results. But, just to manage my expectations…is it feasible to accomplish precision engraving with this machine? Should I be able to engrave crisp, clean 4mm text? Or, should I abandon this futile pursuit and seek another solution???
cut size of 0.5mm is VERY BAD. until you can achieve 0.2 or 0.1mm width, you will never get any good engraving.
with a 38mm lens, you can get very thin line if the focus is correctly set. at first, just try to draw an horizontal line, lowest power possible, low speed. you must be able to “mark” a very fine line on your material. a crispy clean one, regular.
with the test i suggest, you eliminate most of the problems like too much speed, backlash, x/y orthogonality, … so you can focus on just finding the perfect focal length.
if you can not achieve this, you have to find the defective parts of your machine, either alignment of mirrors, table not flat, … or maybe you are overburning (too much power, movement too slow, …)
Someone else on this forum has a dual head laser for the same purpose. A larger power tube for cutting and a lower power tube for engraving. You will take a performance hit when you try to make the single tube do all the things you want it to do.
Excellent info, thanks! I’ll do some straight line tests and measure the results. Cuts have always been pretty good, though. Engraving has never been on par, or even close.
I would consider installing a lower power tube if it would solve this problem. But I think the large machine has a lot of slop, the tube won’t fix that.
Quick ramp test. Best focus happens with material 6mm from the laser nozzle. The cut line is .2mm Not bad for this machine, better than I expected. This is with the 38.1mm lens.
The range of focus is only from about 5.5mm to 6.5mm. Beyond that the cut thickens and gets fuzzy.
I managed to engrave a 4mm tall “A” that looks OK. Even with my naked eye I can see overshoot on the X axis edges.
Nothing in software seems to change this, so I assume it’s slop in the machine. Frustrating, but it is what it is. In this case, the wrong tool for the job.
Are you doing bi-directional scanning on that block? If so, it looks like you need to change the Scanning Offset Adjustment, in the Device Settings so the ends of the lines are even on both sides.
You could also try turning that off and confirm that the issue isn’t present at that time.
Thank you, yes that is exactly what I tried. No offset parameters seemed to change the ends. Nor did turning it off. That’s why I think it’s mechanical. There is a lot of slop in the laser head, I can easily move it 1mm in all directions while it’s at idle.
I have checked all the screws in the transport and rails. Motors too, they are tight. The belt could be tighter, but I don’t know the correct spec.
Even with some ‘slop’, changing those values should show up in the engraving as a change. Every other line is consistent to itself, so their is consistency within the machine.
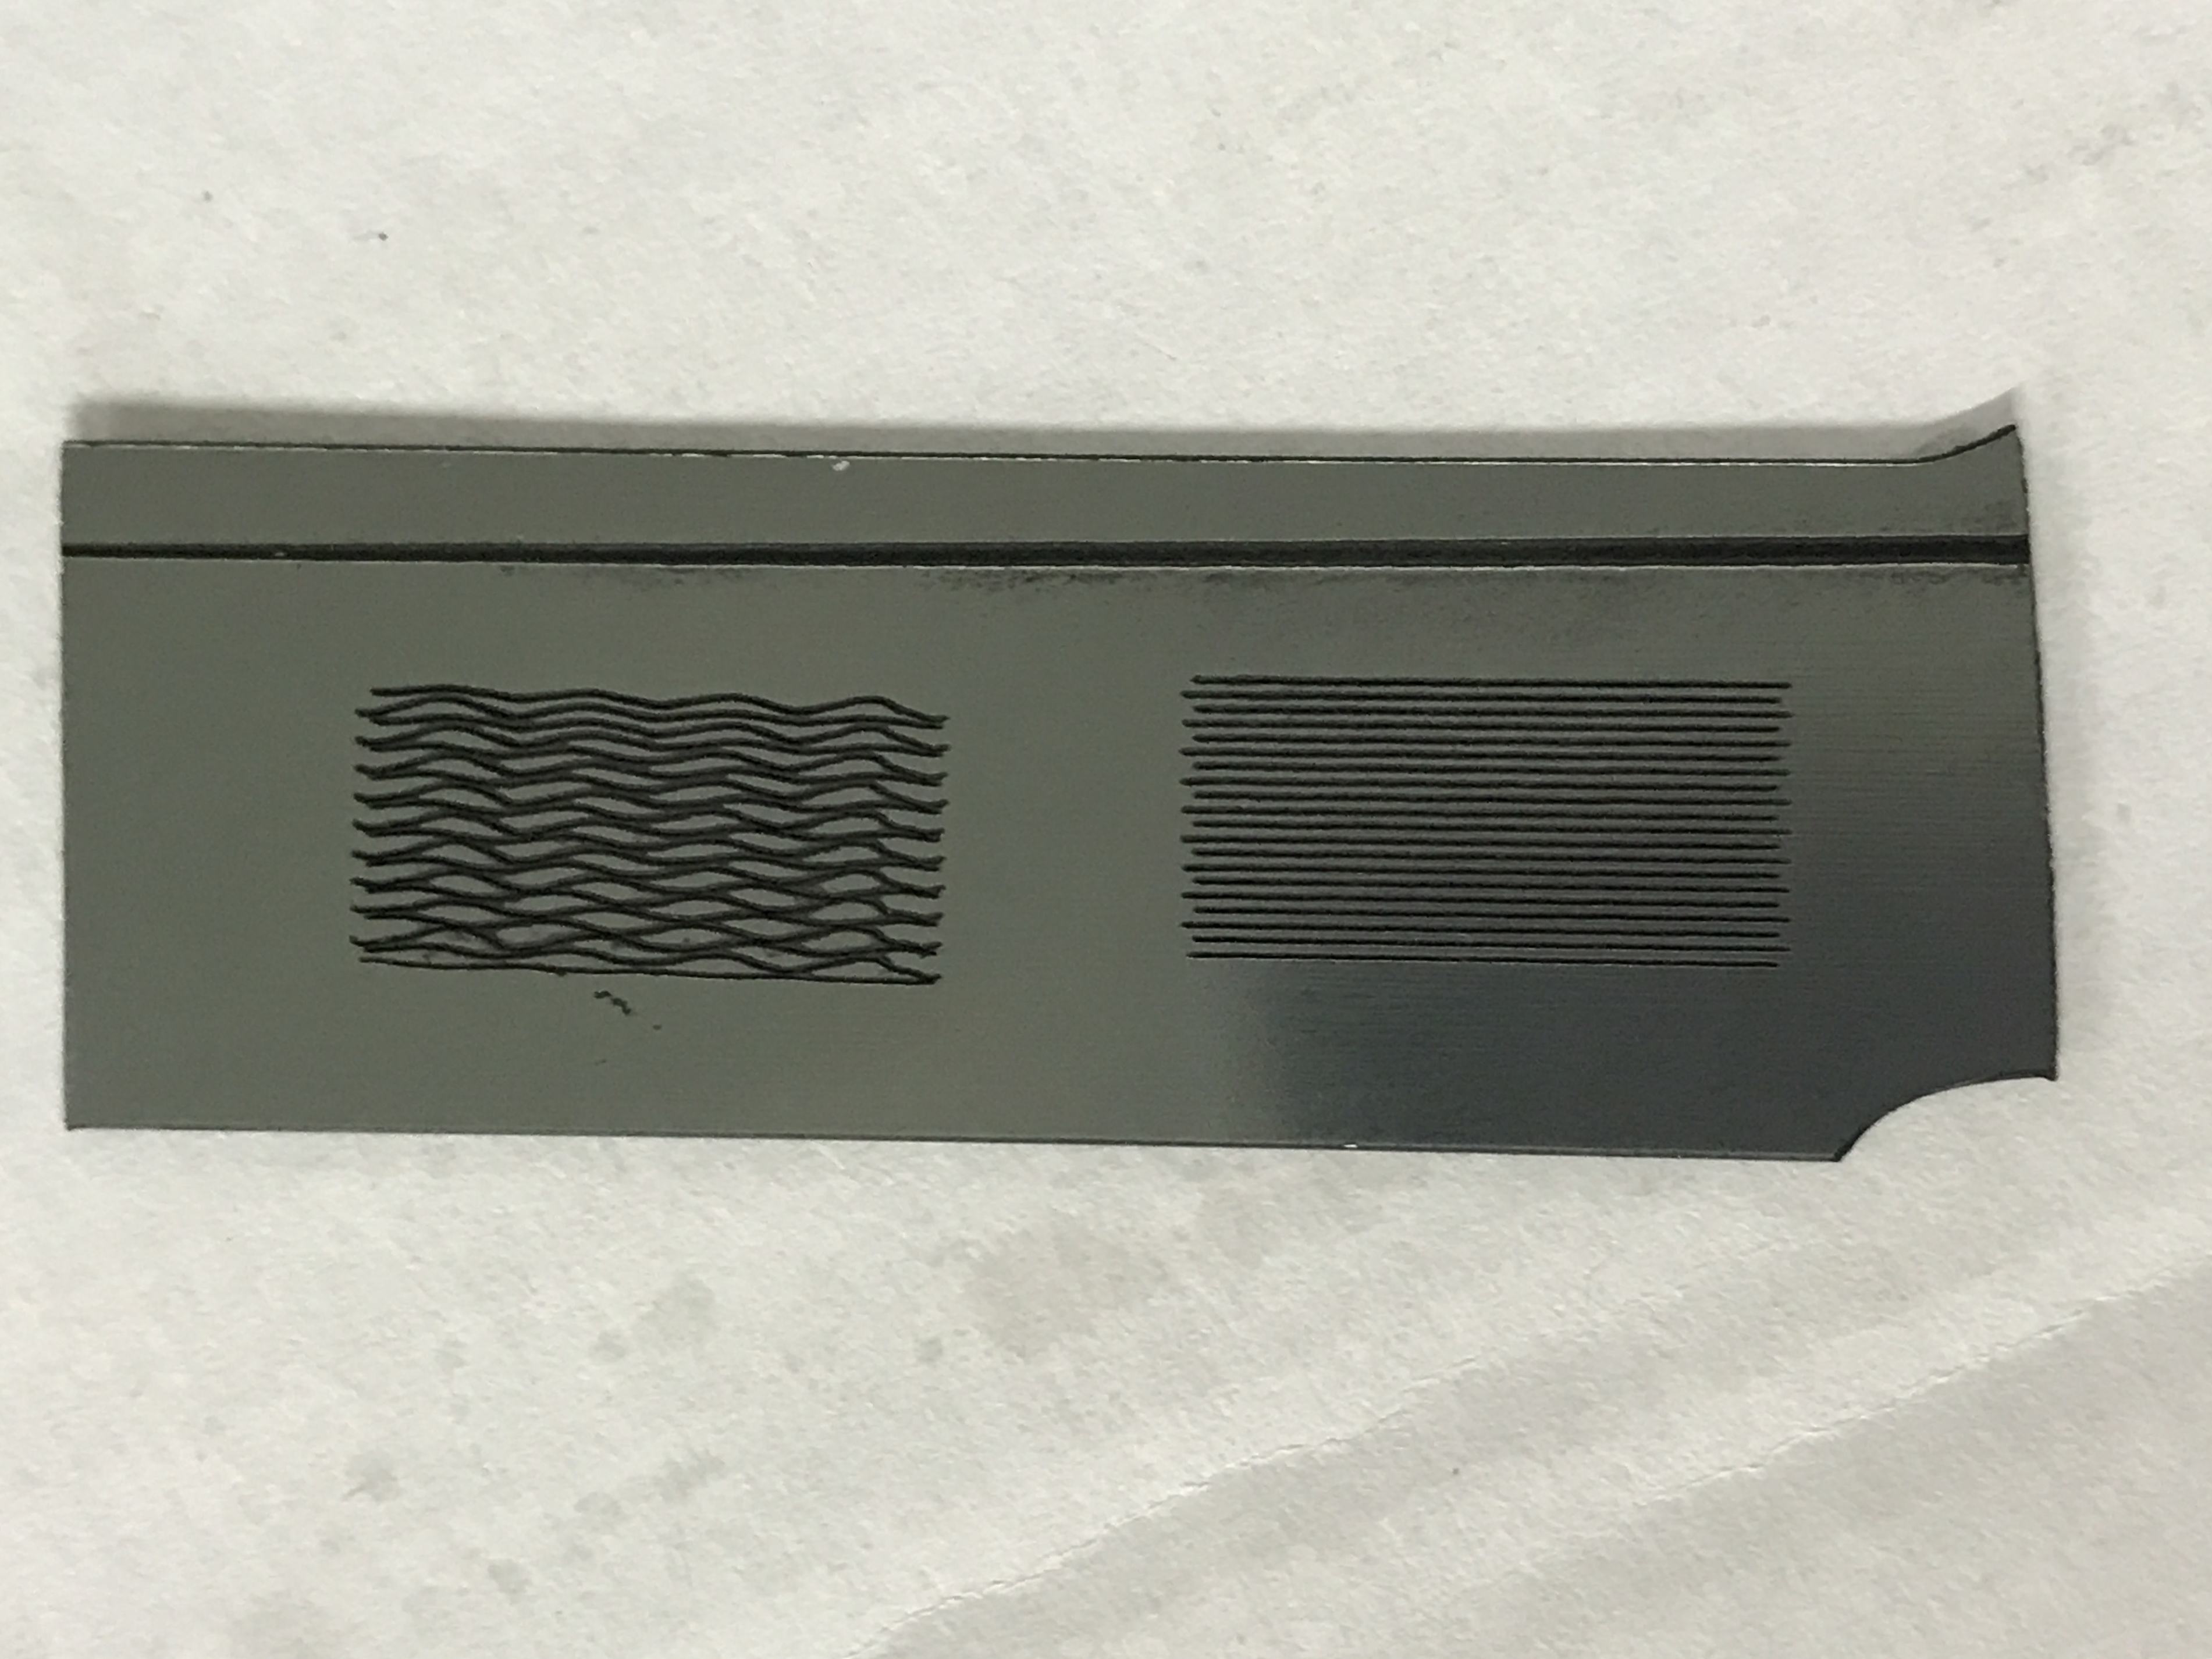
It engraves the bottom line first and works upwards. The bottom line is always more left and short on the right. That is engraving from left to right IIRC, so turning on and off early. Next line is offset right, with laser moving right to left…once again early on and off.
Here is another post dealing with a similar issue. To set up ‘Scanning Offset Adjustment’, you need at least two entries for any others to be extrapolated. Start with two measured speeds, and if you need more after that then add them. Also, are you using “Flood Fill” for anything? It doesn’t work with that option enabled at the moment.
Had a busy Monday, but glad I was able to spend time working on this today. Everything with this machine feels like baby steps. LOL
Away from the shop now, which means I’m reflecting and considering the results. It seems like I’m just a few parameters away from engraving as well as this machine is capable. I’ll research and try to gain perspective on this. For example, I have no reference for what typical engraving parameters smaller machines use. It’s all trial and error.
If I can reel in the offsets on left and right during engraving I’ll consider this machine operating at it’s limits. I say that with some optimism, since only yesterday I didn’t realize how jacked the axis acceleration settings were.
Thanks everyone for your answers. Please keep them coming!
I’ve found that the machine is far more capable than my patience for adjustments!
What happens if you set the scanning offset adjustment to something ridiculous like 10mm at 100 mm/s? Then run it at 100mm/s. You should see a change. If not, the issue is somewhere else (the wrong setting area, not saving to the machine, etc).
I wonder the same. I should have seen a change with the settings I tried. So I suspect more drastic will also not change anything. But, I can’t wait to try tomorrow.
I also wonder if there are machine settings working against the scanning offset. It’s so cryptic, you have to wonder.
My more pragmatic side goes right to testing in steps. Movement, calibration, belt tension and so on. The controller tells the machine to transit from coordinate A to coordinate B. If I can measure the delta between what the controller says to do and what the machine does I can start to work backwards and find the culprit.
Measuring anomalies during transit is obviously more challenging. I’ll happily rely on experience and anecdote here.
I have almost all the same issues discussed here. My laser is 1000x900 and 150 watts. I engrave anodized aluminum and cut some acrylic parts holders. I can now engrave clean “circle R” symbols but it took me months to achieve them. My major breakthrough came when I rebuilt the frame under my honeycomb bed using 2” square aluminum hollow stock. After installing the new frame, I could shim different areas of the bed. Getting really accurate distance from nozzle to bed everywhere made a huge difference in my output
I replaced the head on my machine and had to make a mounting plate, (didn’t make it perfect!). After that I started to get the wobbly lines from resulting play in the head. I reduced the X and Y acceleration and that has helped a lot.
3000 isn’t crazy high, mine was set to 6000 and I wasn’t getting any wobble beforehand. I’m hoping that machining a new mounting plate will allow me to up that speed back up.
Do you have any play in the head if you try and move the nozzle in multiple directions?