Engraving Tile with NWT method on Boss Laser 65 watt using Lightburn

I have found a lot of information for using diode lasers but not so much for CO2 lasers.

Is a 65 watt laser to much power to do Norton White Tile Engraving? Can the power be set low enough or speed high enough?

Anybody have a starting point so that I know where to start to run a test tile?

Thanks for any help.

Good luck

:smile_cat:

Jack, thanks for the reply, I had read your post earlier, but I am sure if I can use my CO2 laser (65 watt) and get a low enough power and speed setting. Most of the videos that I have seen are using a Diode Laser (5 watt range) instead of CO2.

I don’t believe Russ Sadler uses an led laser, so all of those videos are with co2.

I’ve done it on my co2. You should be able to lase at around 10% which would be about 6 watts. In reality, it’s probably less. My 50 watt machine is really 44…

Maybe I misunderstood you issue?

:smile_cat:

Thanks, I will checkout Russ Sadler’s video. I did make some progress, the test file was generated with 15% min, 50% max, the 50mm/sec was close but not quite dark enough, will try again tomorrow.

I use a 60 watt co2….generally best results are 15% power at 45 mm sec. This can vary a tiny bit but running over 18% or faster than 60mm a sec will result in fall off of a dark fuse. Too hot and you burn off what you want to fuse and too fast you don’t have enough time on burn to fuse properly. It’s a fine balance of speed and power.
Try 15% and 45 mmsec.
Spot size matters so size of lens will affect the optimum settings

1 Like

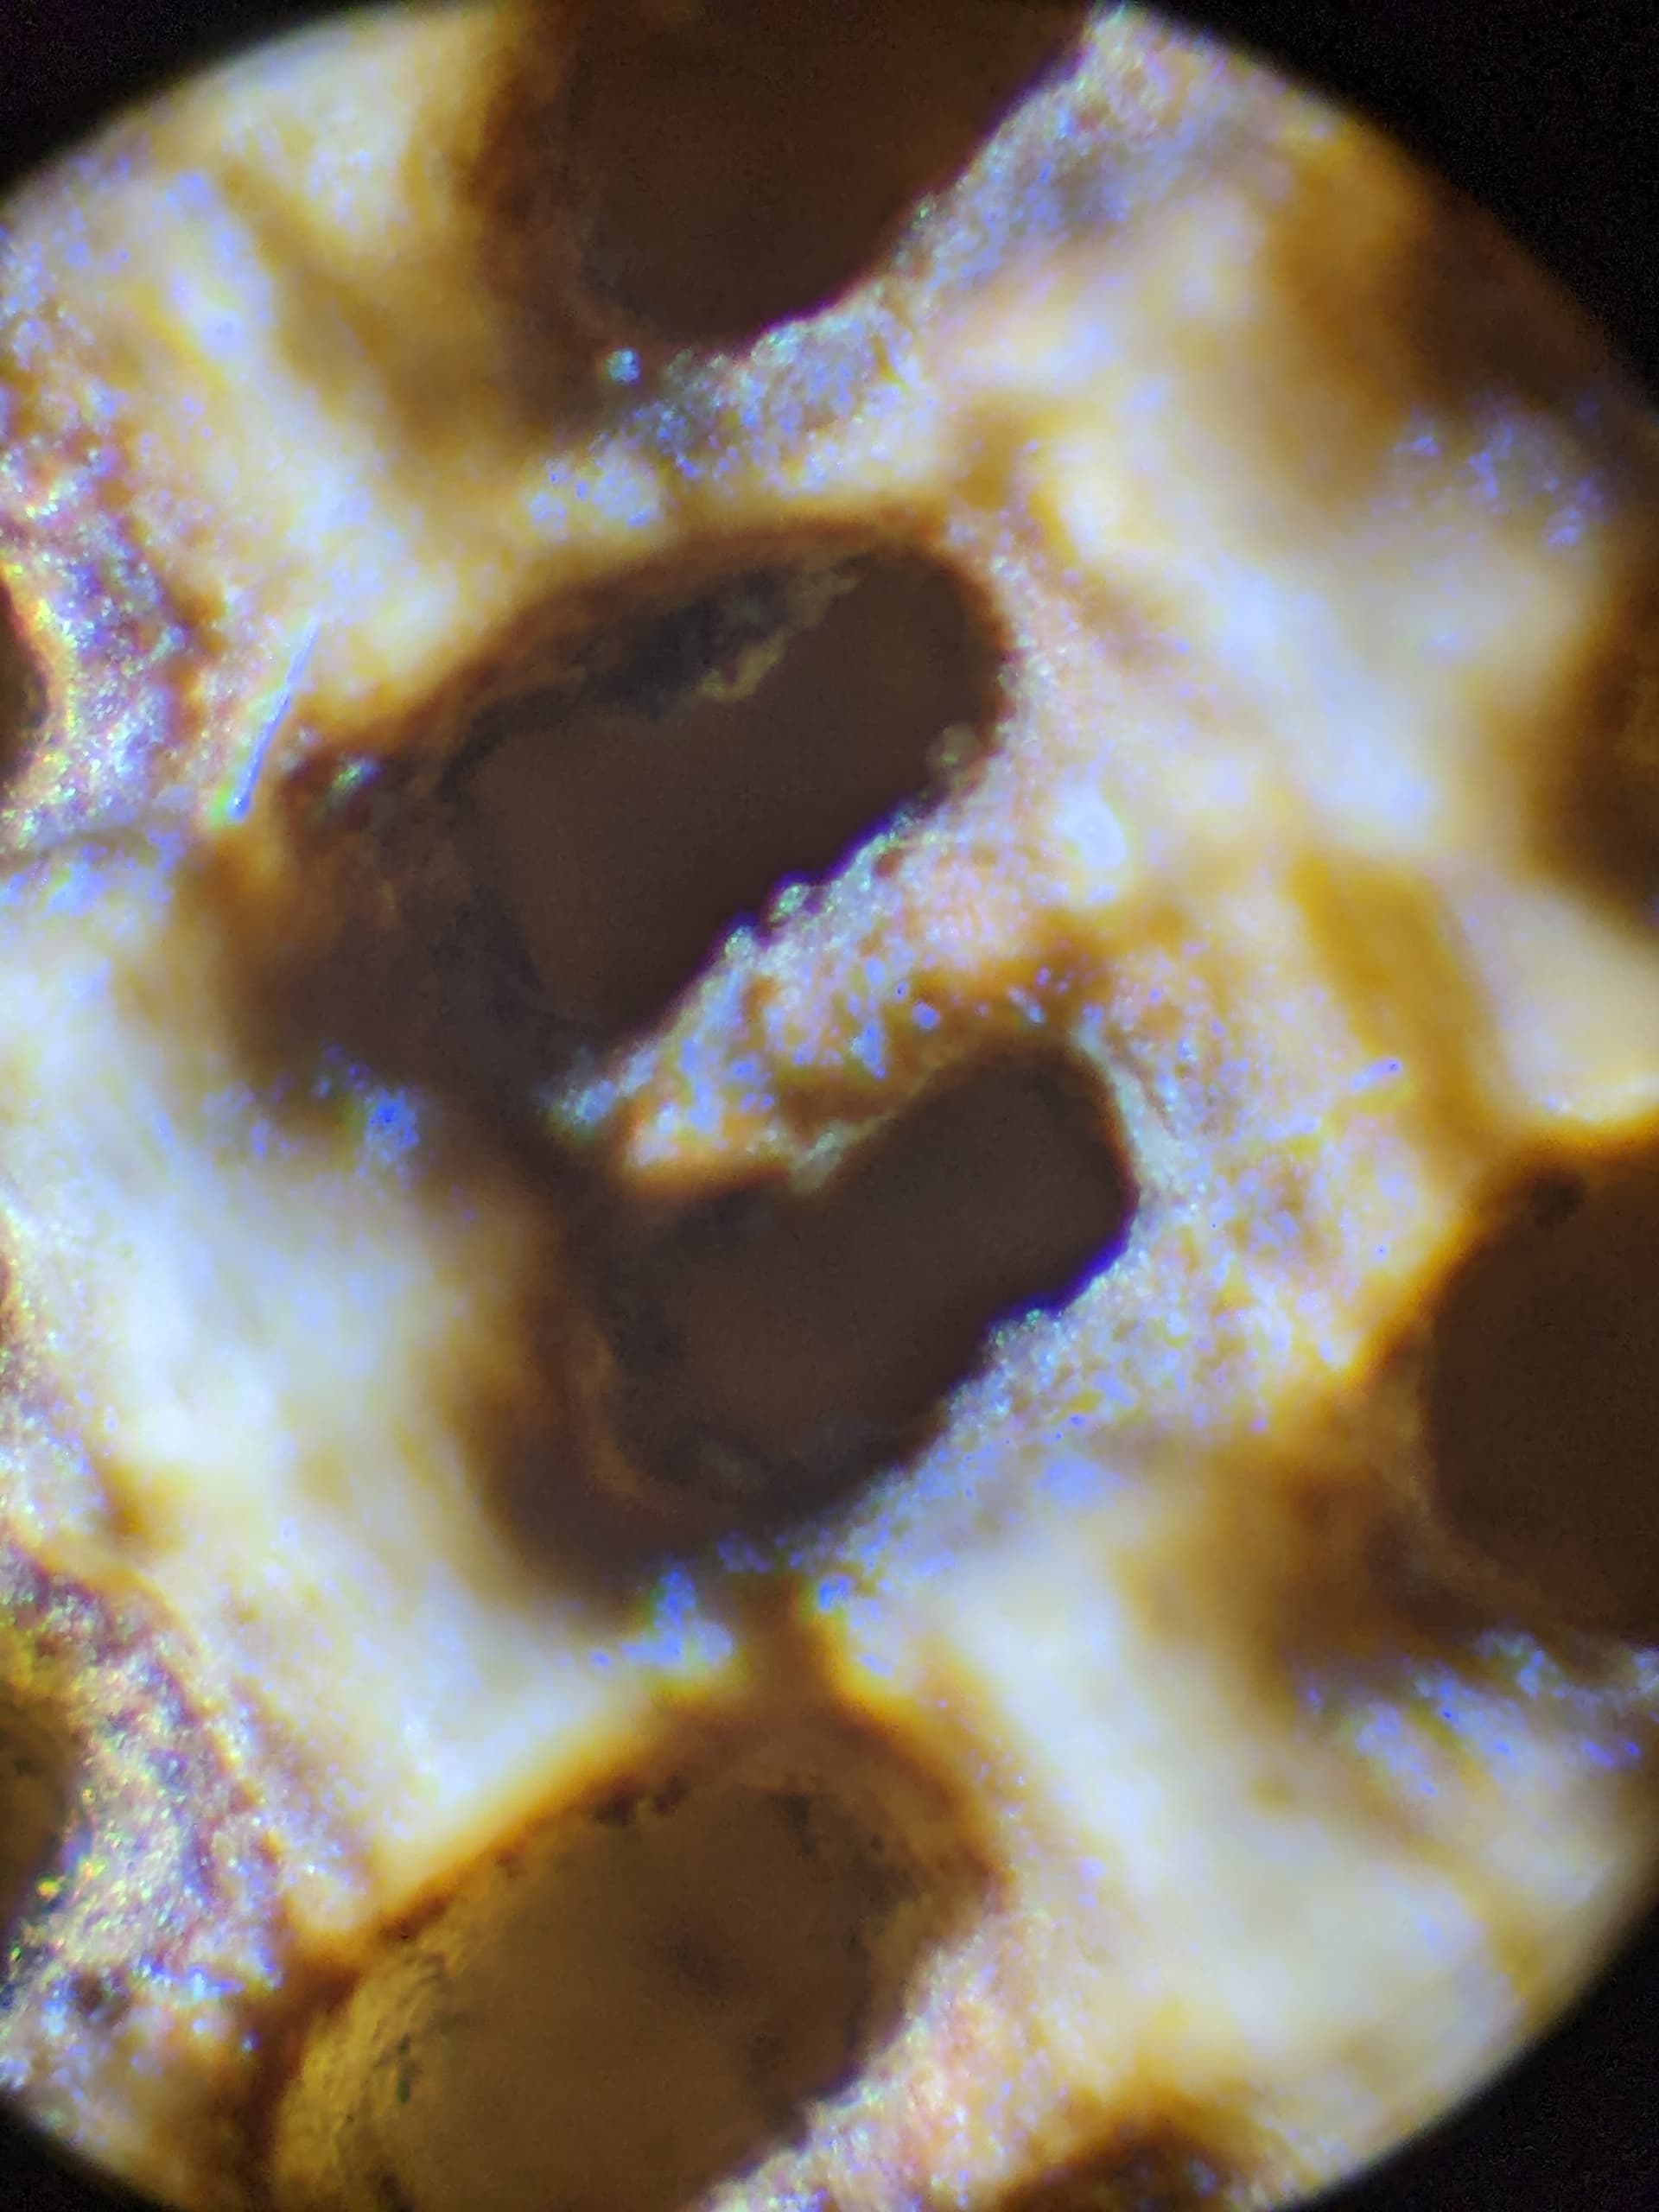
I strongly recommend you evaluate these burns under a microscope, rather than general overall appearance.

The key points to look for are the line interval spacing, and how the burn is going. If you’re running too much power too fast, you can blast the titanium dioxide off the melt zone and only get the tile a little gray in the melt zone.
I also saw where it was running too fast and the titanium dioxide did turn black, but I could see it didn’t actually get through the thickness of the paint and melt the tile surface. It was black but not glassified.

Hitting with too much power can also make a halo of non-glassified black around a mostly white melt zone.

Sometimes these deceptively appear good, or “close”, or even “great!” to the naked eye but the black falls off with cleaning. This also sucks because small test burns on a prepped tile can’t be cleaned individually after each adjustment, because the solvent isn’t that specific, it will ruin the prep for the whole tile.

Also if it’s overpowered, you can drill tiny holes in the ceramic surface which may appear as a light image, but isn’t NWT. This actually can appear good when black pixels are isolated, but where it exceeds 50% black or so the black pixels on one line are often adjacent to black on the last line. When that happens, the thin wall between them will collapse and it can go different ways- it can break off and look whiter there, or melt and puddle into adjacent lines and that might appear darker there but it’s not a linear response.

All the while, tweaks to power and speed do affect the spot size and thus line interval must change.

The microscope is such an indispensable tool to understand what’s going on.

I do recommend burning a gradient, like 2" wide 1/4" tall. Let’s say white is on the left and black is on the right.

First run in grayscale mode with too high of a max power. The gradient will show the effect of increasing power so you should see where it didn’t penetrate the TiO2 into the tile on the left, and where it blasts off the TiO2 and creates a melt zone in the tile with little pigment, and/or where it’s got far too much and blasts a hole. You will also see how lines are affecting other adjacent lines.

If you find a black glassified melt zone 1/4 from the left, multiply the max power by 0.25 and use that for the next step.

Step 2 is change to a dithering mode and confirm the black melt zone and the line interval. The process does things quite differently when there’s one isolated black pixel vs multiple adjacent horizontal black pixels on a line vs black pixels on vertically adjacent lines.

It all shows up on the test gradient, time-efficient and shows the whole dynamic range so you’re not picking through an image looking for a spot where there’s a lot of black in one spot. And it’s a slow process so there’s a real limit on how many whole test images you can shoot in a day.

I did find 91% isopropyl alcohol wipes off the dried Bullseye 123 and Krylon primers. This doesn’t dissolve your gloves or evaporate so aggressively, also cheaper. I recommend 91% iso over acetone.

Thanks Danny, I will order a digital microscope so I can see what I am doing to the tile, good advise.

I use a cheap Apexel cell phone microscope. Cell phone cameras have such excellent imagers. But, USB can be put on a full size monitor live. It’s got its own light ring with a tiny battery and usb charger. Full FOV, the pics I share here are using the Apexel.

I may try out this one, but does the “tunnel vision” thing:

I have APEXEL Phone Microscope.
IN my first grow I was using a jeweler’s magnifier to monitor the trichomes for color changes. The view with the jeweler’s scope just wasn’t working well for my tired old eyes. I saw this microscope attachment for cell phones and figured it to be worth a try. I found it to be THE BEST tool for micro photos of the fabulous trichomes and I couldn’t be happier with the product and the results. Just attach to your cell phone, turn on the “microscope” and the phone camera and simply move the phone in and out while watching the phone’s screen. I also record video so I can review the progress across all of the plants.
This is exactly what I needed, performs exactly as described and is one of the easiest to use cell phone attachments I have ever purchased. I am PUMPED about the performance of the attachment and, as you can see in the photos, you get fantastic micro close-up photos!


What kind of ‘power’ is the microscope you use? I have 4x, 20x, 40x, 100x ability.

What type do you use?

It’s really tough to get the part in there…

This same thing happens to the LBT100 spray… from what I can tell.

Will have to check out @christyV lens for the phone…

:smile_cat:

I also got the Apexel 200X. It’s also very good. It does have 2 limitations- one, the image won’t cover the entire camera imager, so the widest image on the phone will have a circular image and black areas in the corners unless you zoom in a bit.

Second, it can only handle flat surfaces. For example we could do circuit boards with the Apexel 100x, but not the 200x, because the 200X has a very narrow and very close focal area, almost in contact with the surface for it to be in focus. The solder pins sticking out the bottom of the board prevented it from getting close enough to the board to focus on the board. The 200X is good for examining how the burn is “working” inside each burn mark. That’s a 200X image below

For viewing the results of rastering, 100x is a good starting point, and the phone’s “zoom” is helpful to a point if you need more detail.

1 Like