Getting To Know You All

Hey everyone, I’m the LightBurn team’s new Community Manager and I’m really looking forward to getting to know you all and find out what you are using our software to create.

To help kick things off for me, I would love if you shared a picture and a quick description of your favorite thing you have created with your laser here. I love looking at other’s projects and will be sharing some of mine with you all here soon too.

8 Likes

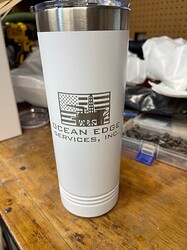
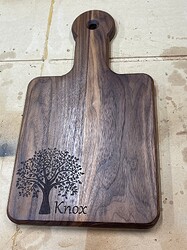
I build a lot of cutting boards. This one is one of my favorites, one of the first ones that I thought the quality was excellent along with speed with the new laser. I’ve been building woodworking products for about 2 years now with my CNC and upgraded from my 7W Jtech on my CNC to an 80W Omtech laser.
The second picture is a full cut of 1/2" Walnut with the laser and it came out better than expected. Funny enough my business is named Texas Hardwood Products but my biggest money maker is Polar Cups. Even though I’m in hobby mode, I’ve sold about 150 of these in the past ~3 months. Lastly, the acrylic engraving is fun too. I’ve been using the laser as much as the CNC since I got the 80W and Lightburn has been great.


4 Likes

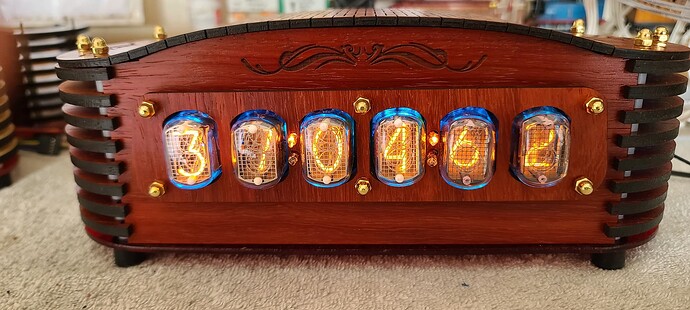
I have been designing nixie clocks all done with LB.


Member in florida.

9 Likes

Those are great! I’m such a fan of mixing mediums, I’m working on a CNC and laser project right now too. I can’t wait to see more of you work, thanks for sharing.

1 Like


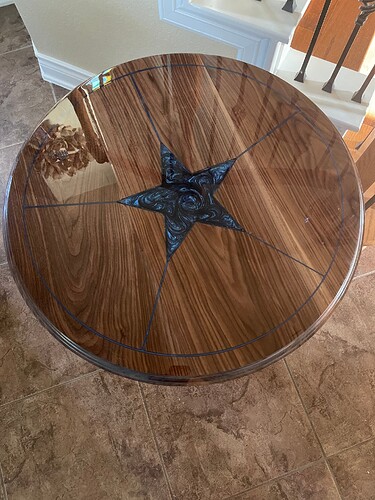
Here’s one of my favorites. Epoxy fill in the star, walnut. The legs were too far in because I goofed but the second build was better. :smiley:

4 Likes

Ugh, I love Nixie clocks and these are great! I’ve got a few tubes myself and a driver board, I’ve just never gotten around to fully setting it up. Have you ever tried Numitrons? They are kind of like nixies had a love child with a 7 segment display and it all runs on 5v. I have a bunch of those too. If you are in Florida you should go check out Maker Faire Miami this weekend.

3 Likes

The swirl in the epoxy is really well done. Nothing says Texas like a lone star table!

3 Likes

Never had the chance to mess with a numitron.
Maybe someday.

1 Like

:scream::scream::scream::scream::scream::scream: I love love love your nixie clock!! Oh my gosh. We have a very similar design style! :grin::grin:

2 Likes

That counselling sign is super slick!

1 Like

Oooh I love that swirl!! How did you keep it swirly as it set? Is it a thick epoxy?

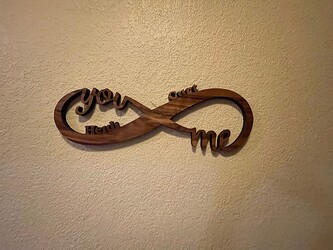
I made that one for my wife. :slight_smile:

1 Like

I just stirred it with a pencil after it was setting up just a bit. Don’t wait too long but once it starts thickening up. :wink:

1 Like

It turned out very nice, congratulations.

1 Like

Matt: I have installed Lightburn on my laptop, but really need to have it on my desktop as well. When I installed it, it doesn’t operate the Atzer 20 at all. What can I do? I have looked in the help files, and I know I can install on two units, but I’m not sure what I am doing wrong.

I’m still getting up to speed on the technical side so I’m not really the person to ask and this thread isn’t really for solving support questions. Open a new thread the software support section of the forum and I bet you will get an answer quickly.

2 Likes

Hi Matt,
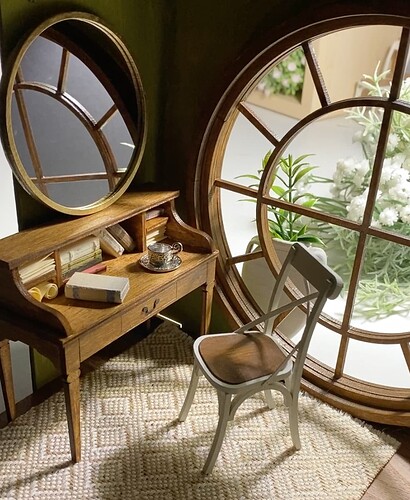
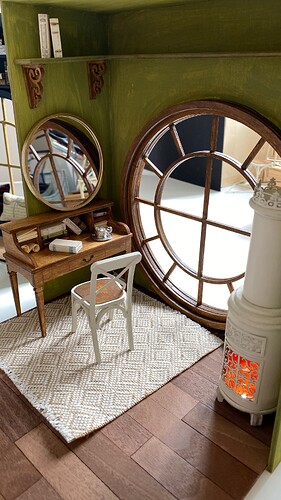
that’s what I’m doing with Lightburn - miniatures!
Love my laser, love Lightburn – will have to find out, how to properly export designs from LB to Affinity Designer…
All the best, Mirjam

3 Likes

Mostly cutting 3mm plywood, mat board, card stock and paper…
Everything in this pic is designed and laser cut by me (except for the tea cup and rug, of course).

5 Likes

Hi Matt — I’m pretty thrilled that Lightburn keep hiring excellent people!

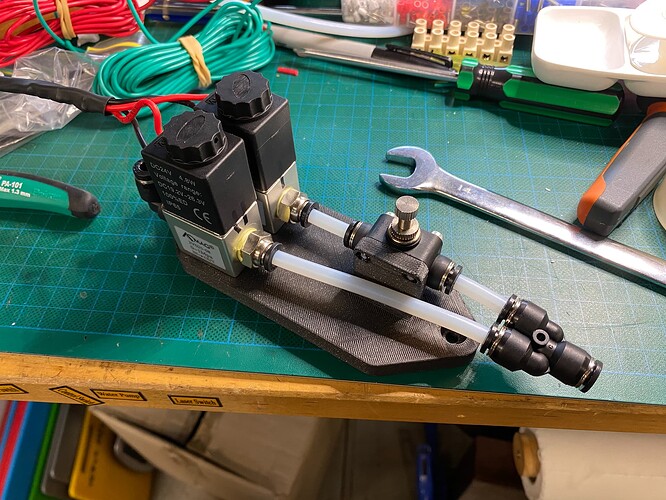
My “60W” OMTech ebay laser is still very new, and it has spent more time in pieces than actually cutting. This is because I haven’t stopped trying to make it better. I’m not exactly sure why I’m compelled to change it, but I’m having a great time. It now has a motorised bed, better fan, compressed air line, etc.

I’m still learning a lot about CO2 lasers, so no amazing laser projects to share at this time… but my air assist upgrade was printed in Prusament PLA, so I feel like it’s extremely relevant to this particular discussion!

The stock machine uses 18mm lenses which are mounted inside the nozzle. I’m converting the machine to a Cloudray head (I think it’s a “Type C”??), so that I can use 20mm 4" lenses for (hopefully) better cutting performance. This has involved making a new bracket to mount the head, which I have made from scrap aluminium. I need to turn some 16.5mm standoffs to get the head up higher, to locate the mirror closer to where the stock one was. My “design” is basically a collection of workarounds, which I am affectionately referring to as “prototype 1” in case it all ends in disaster :rofl:

I’d’ve done a much better job with FreeCAD and 3D printing — but I’m apprehensive about using too many plastic parts inside the enclosure, in case of fire. Perhaps that is silly. Who knows? Aluminium fabrication is extremely rewarding, I reckon, even though my parts look… pretty scrappy.

I need to change the way I’m homing the bed — I approached it like I would have if it was a 3D printer, where the bed itself hits the endstop. This isn’t great for laser cutters, I’ve learned, and I think it might be simpler to use a probe-style endstop which hits the material itself. Either way works, but the material-detection seems more in-line with how lasers “expect” things to work (currently a long lens/nozzle hits the honeycomb, material detection could help avoid this).

TLDR:, hi, glad you’re here, very excited to be a part of this all. Now back to the laser!! (well, first to the lathe… then to the laser!!)
1 Like

This is gorgeous — and it took me too long to realise it wasn’t full-size!

2 Likes