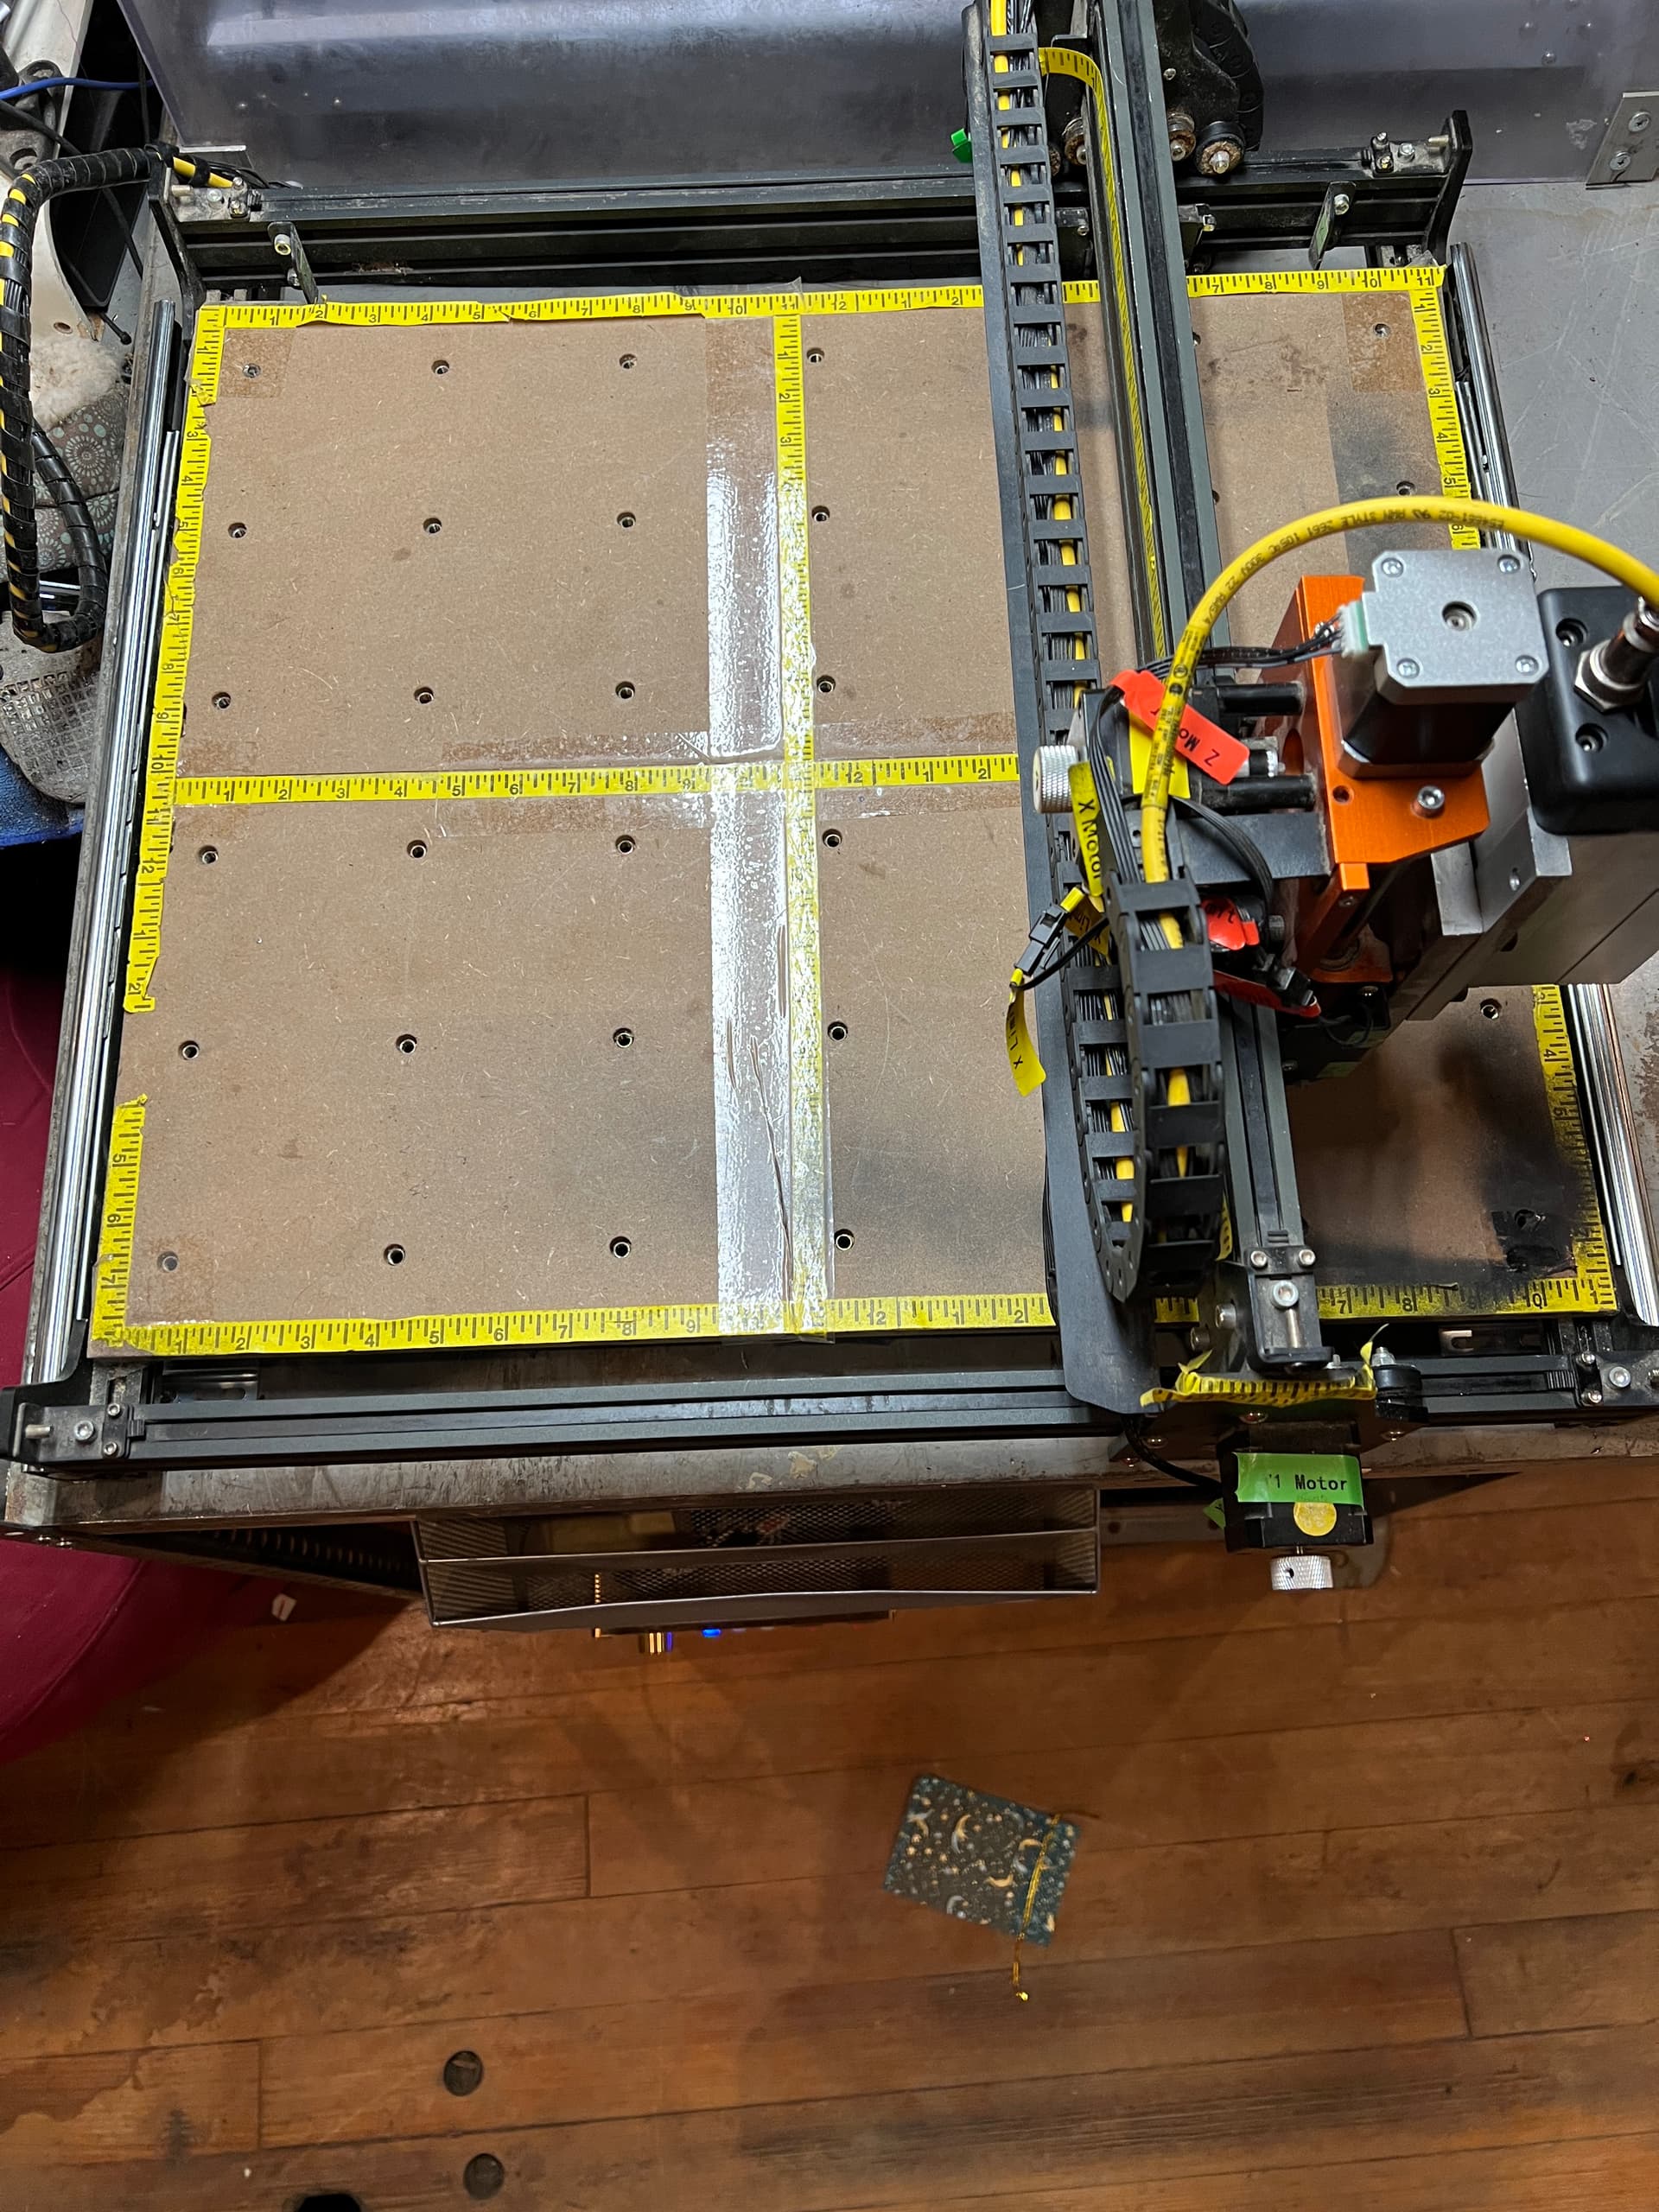
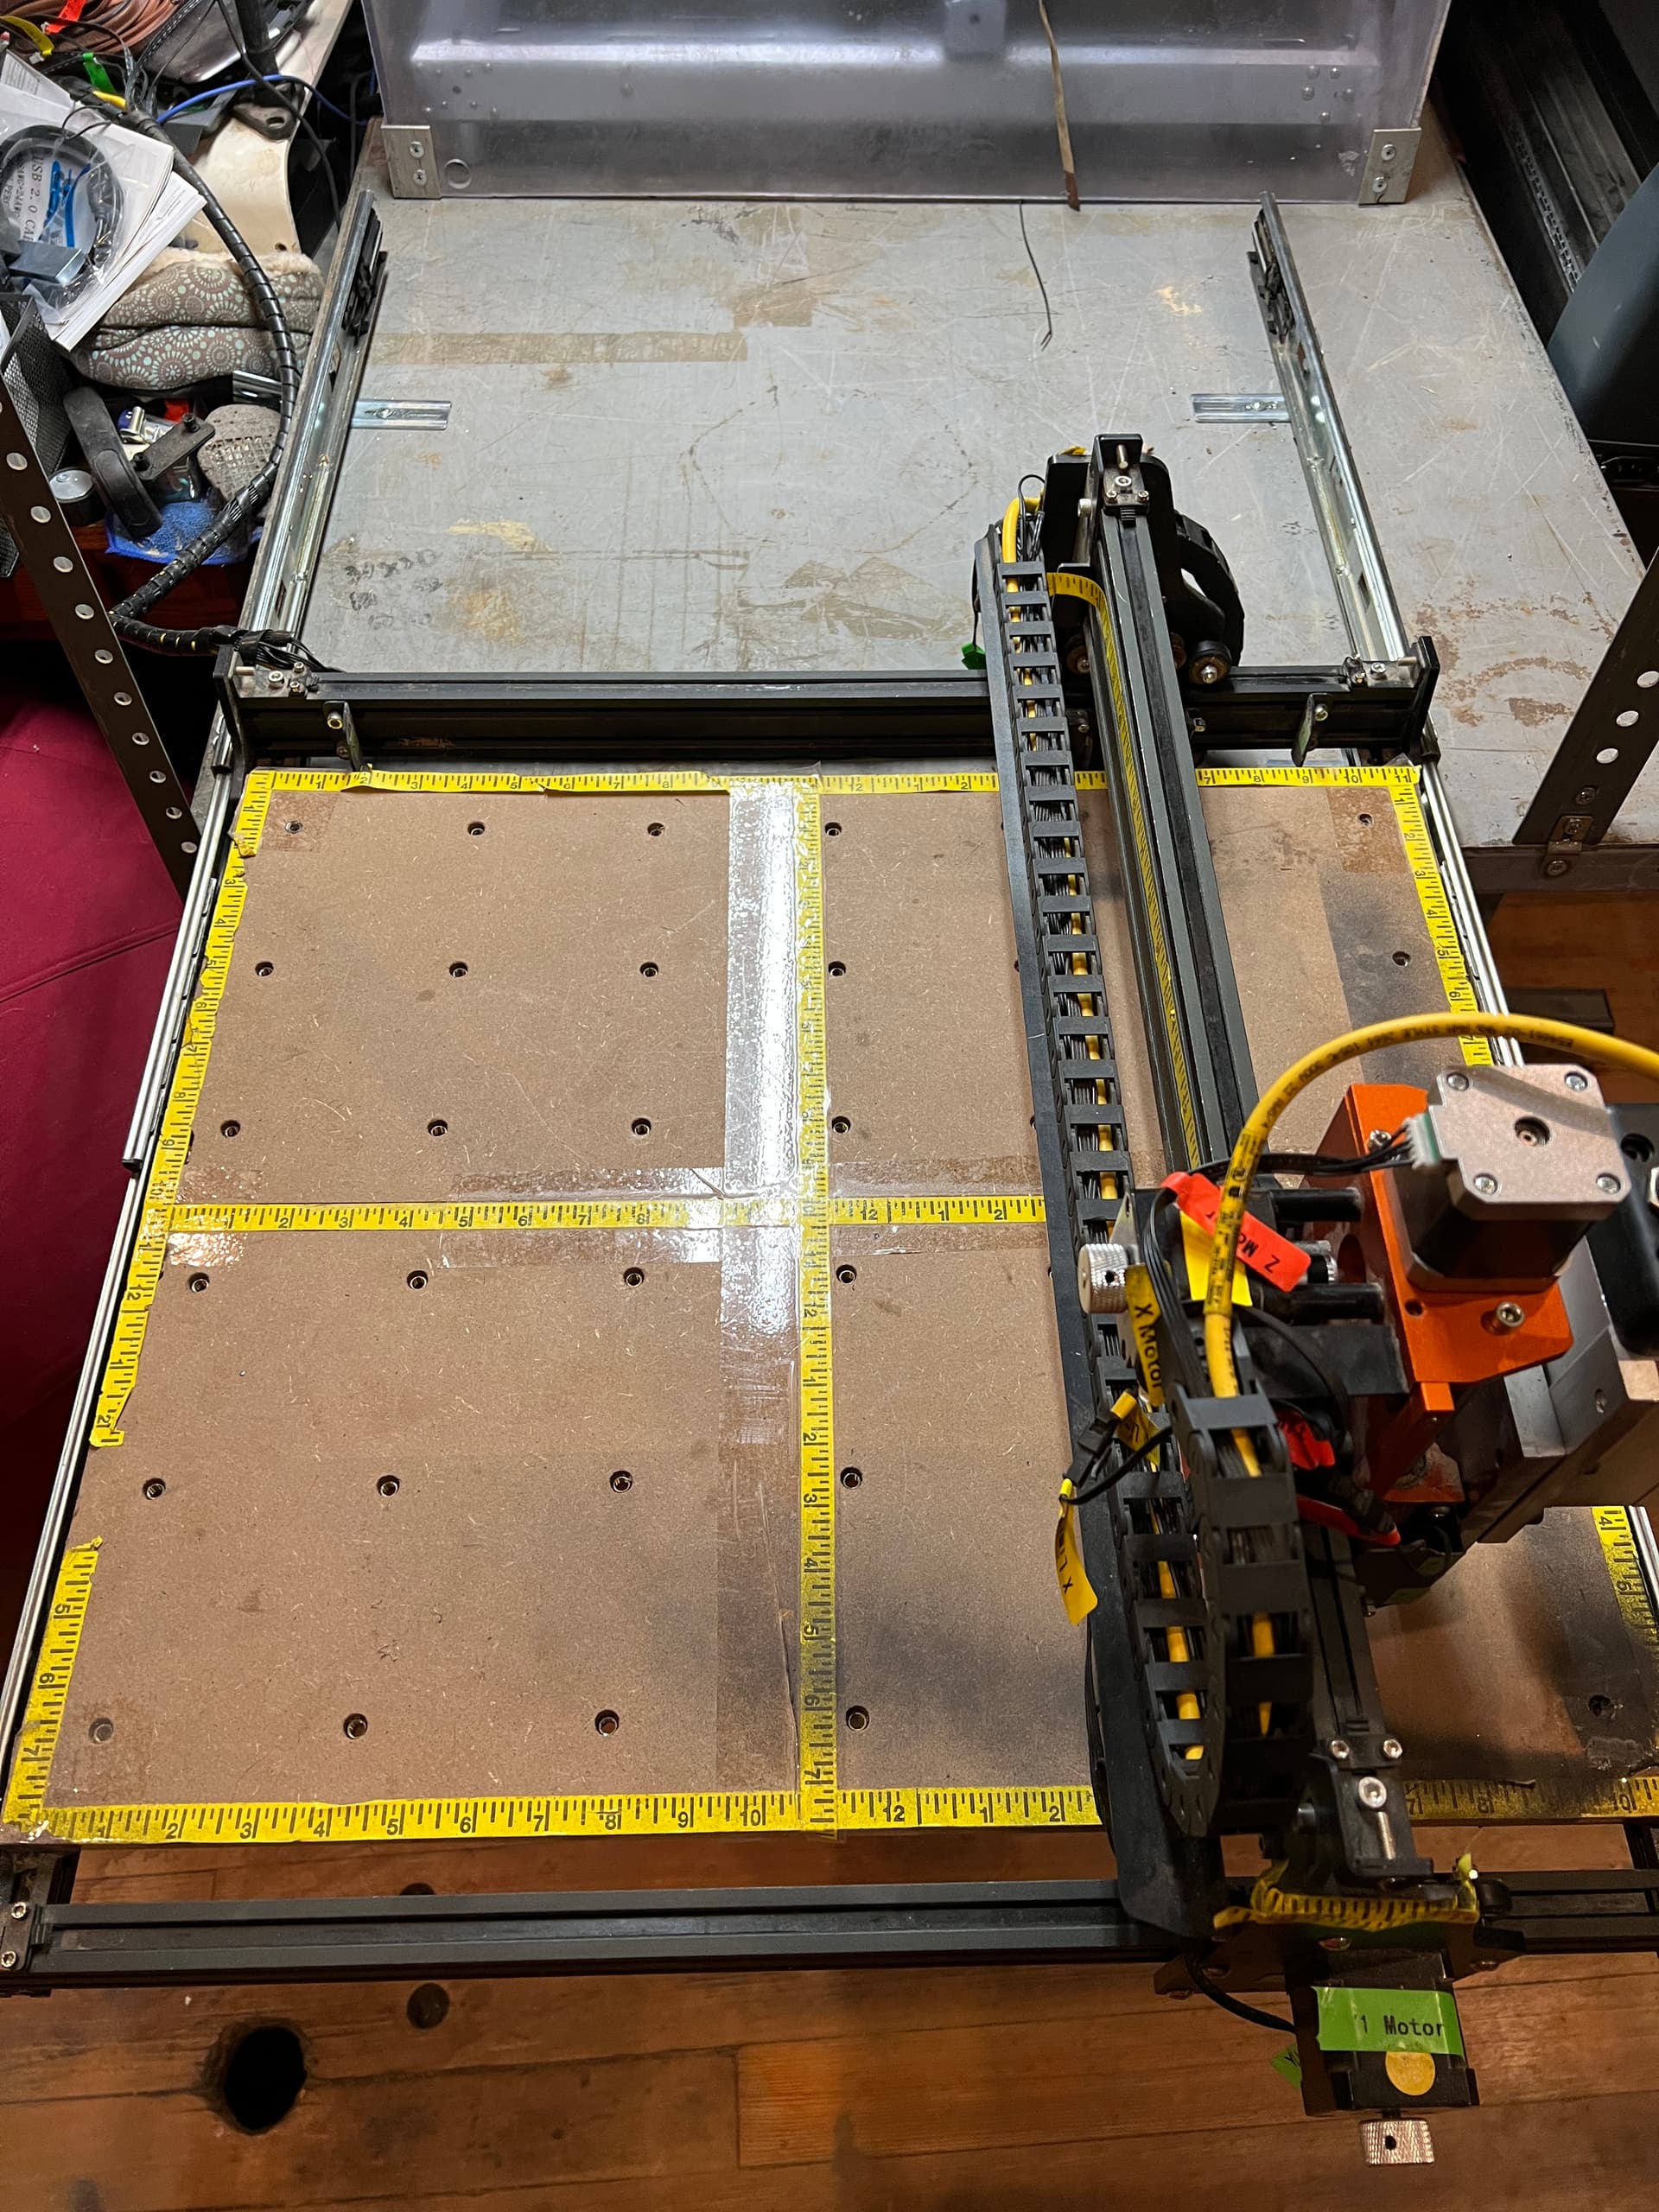
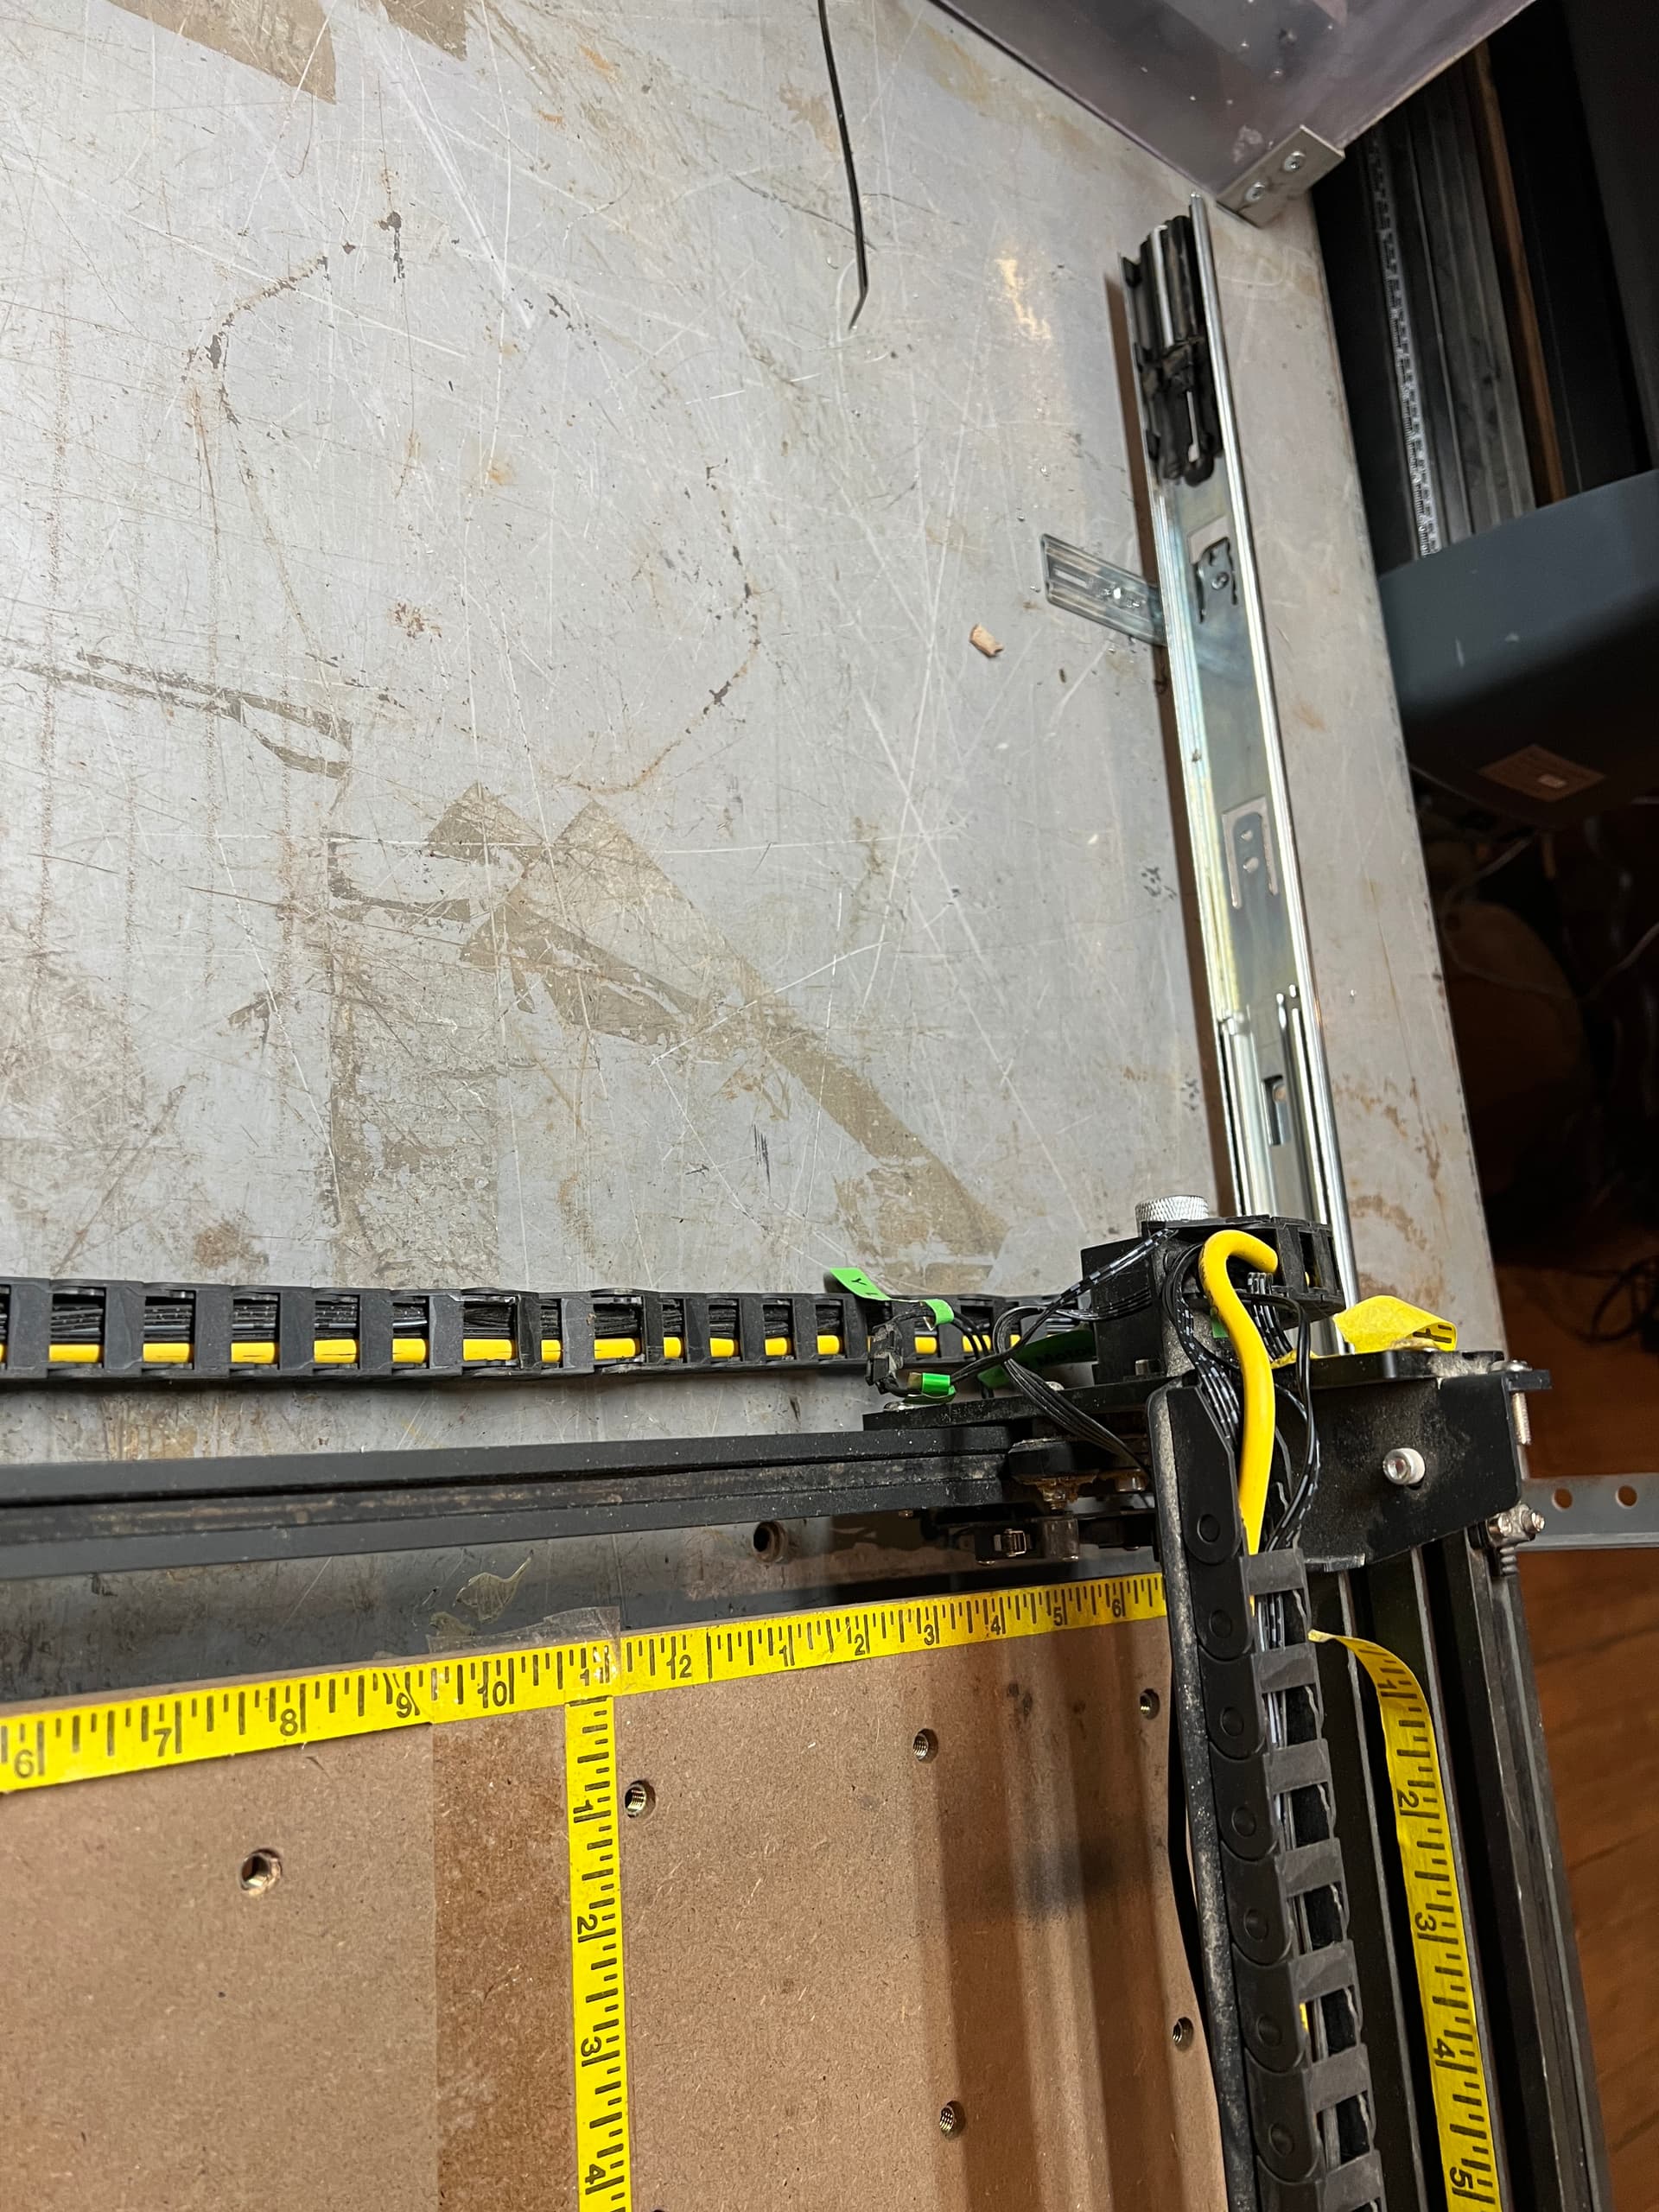
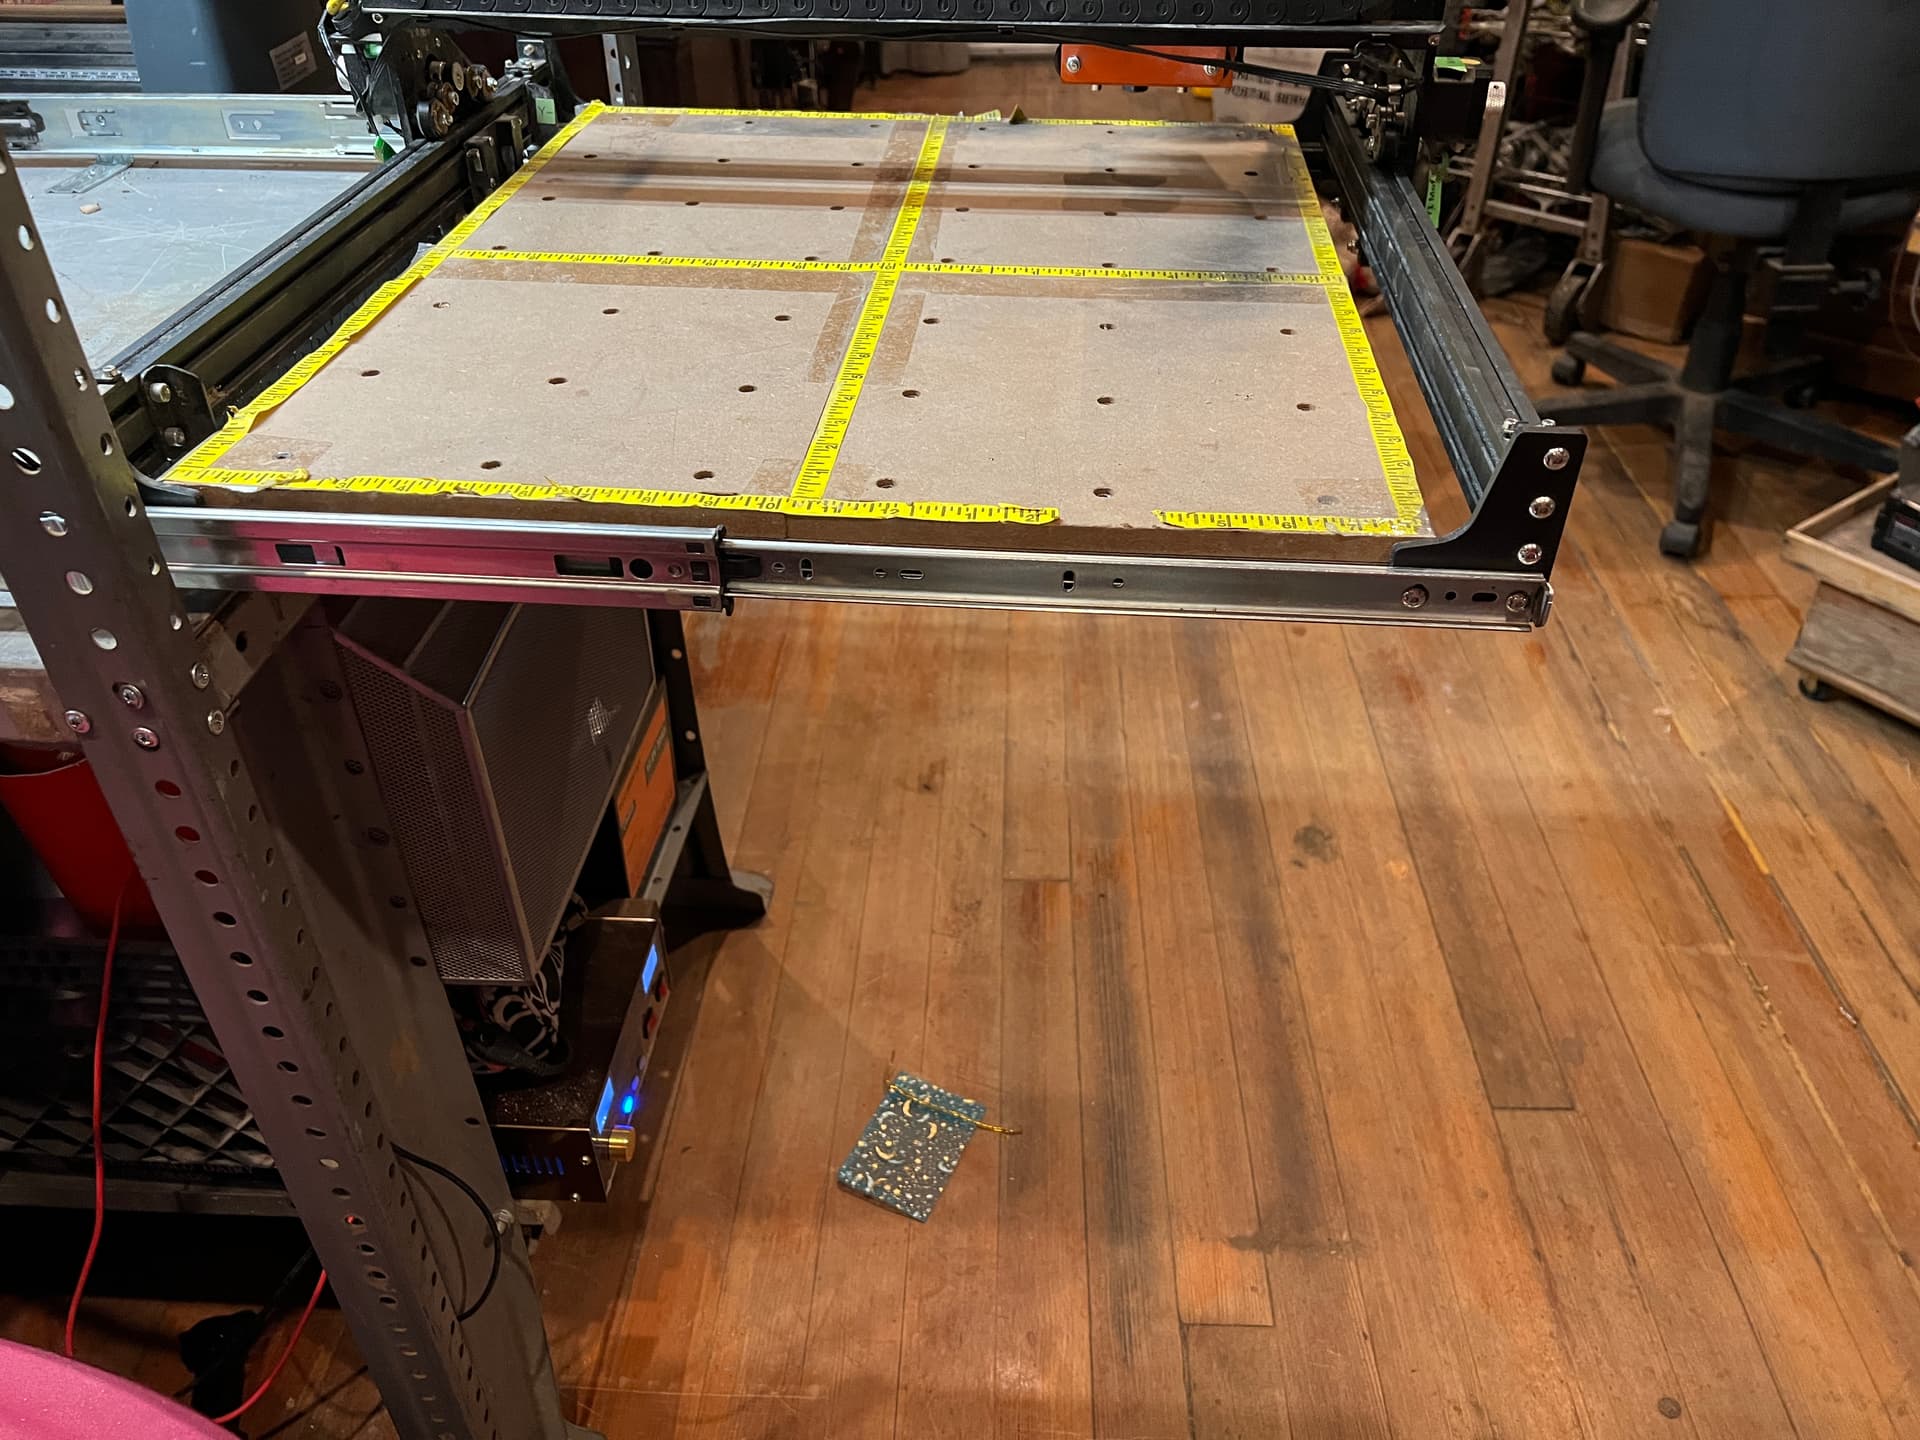
As it says I got tired of having to change legs and reposition everything< one of the problems of have a large enclosure. So I decided to change out my work table from a 1900 school table to a metal worksurface to modify. I layed it out and then made my cutting deck adjustable in height from flush to surface to down 4" and that also doesn’t include the stepper driven z axis also. I used 4 linear actuators of 100mm and built a frame and adjustable mounts that allow fine tuning of it for any inconsistencies. It can even be extended lower below the work surface if needed.
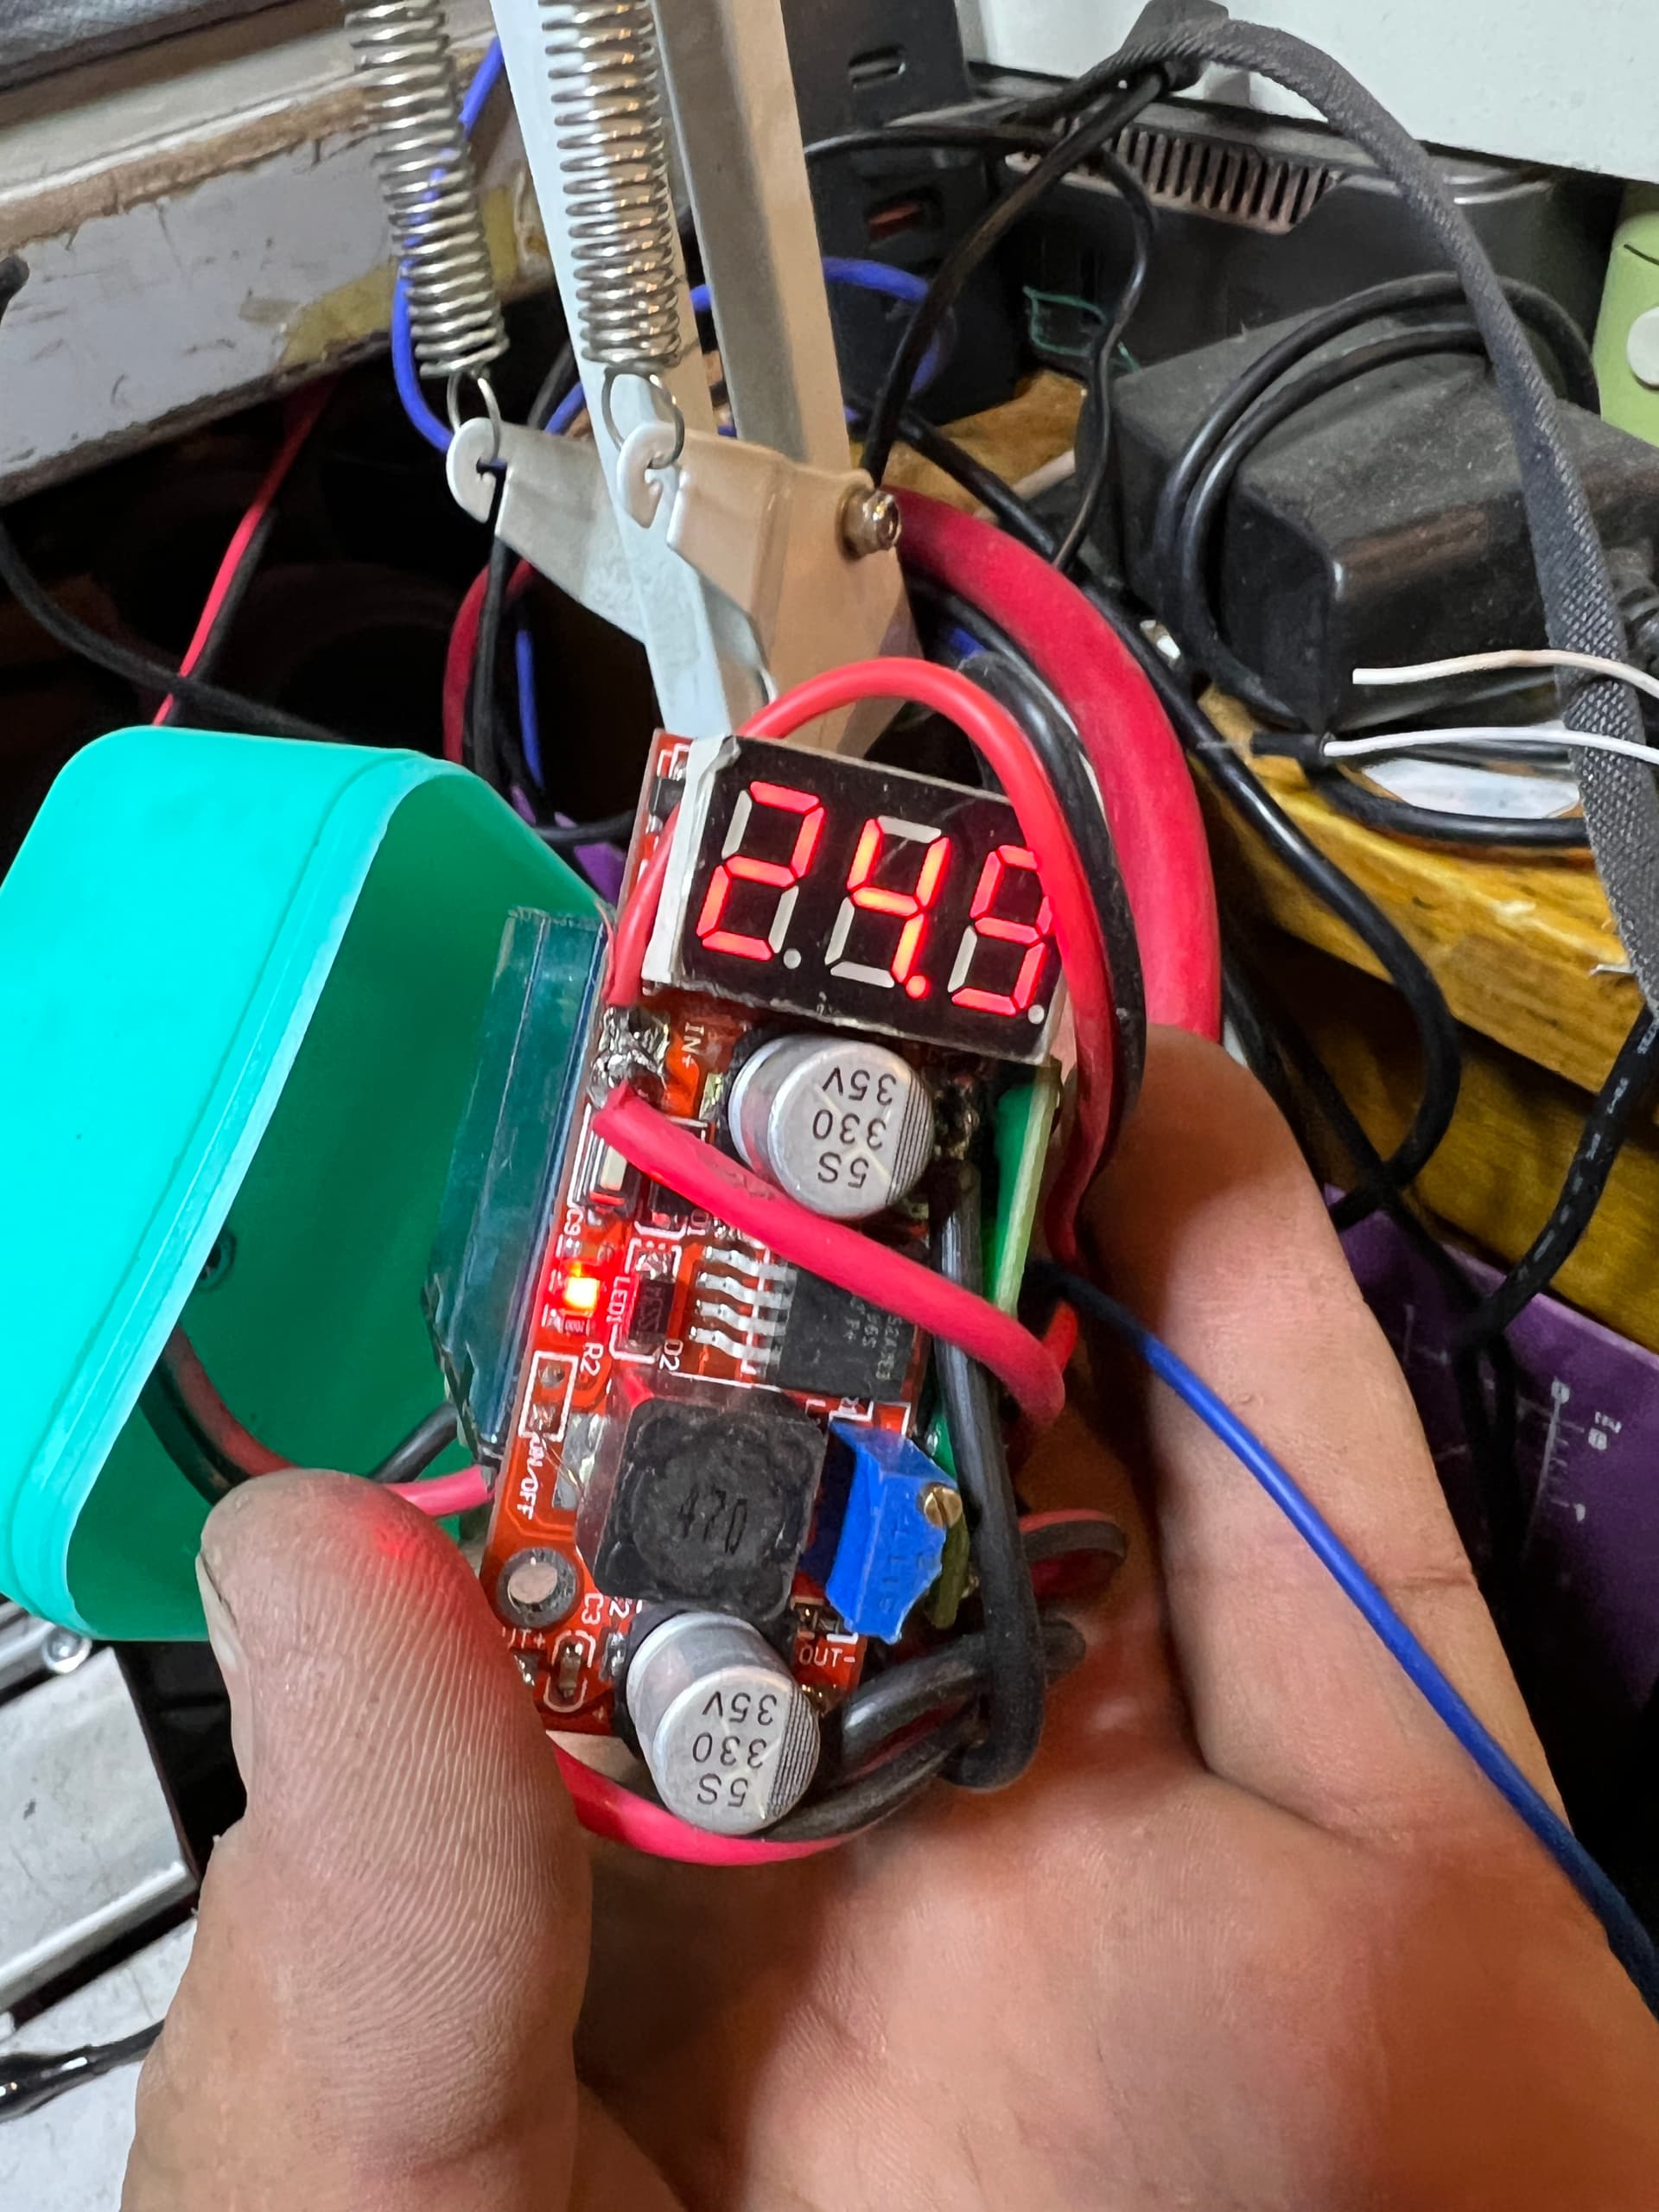
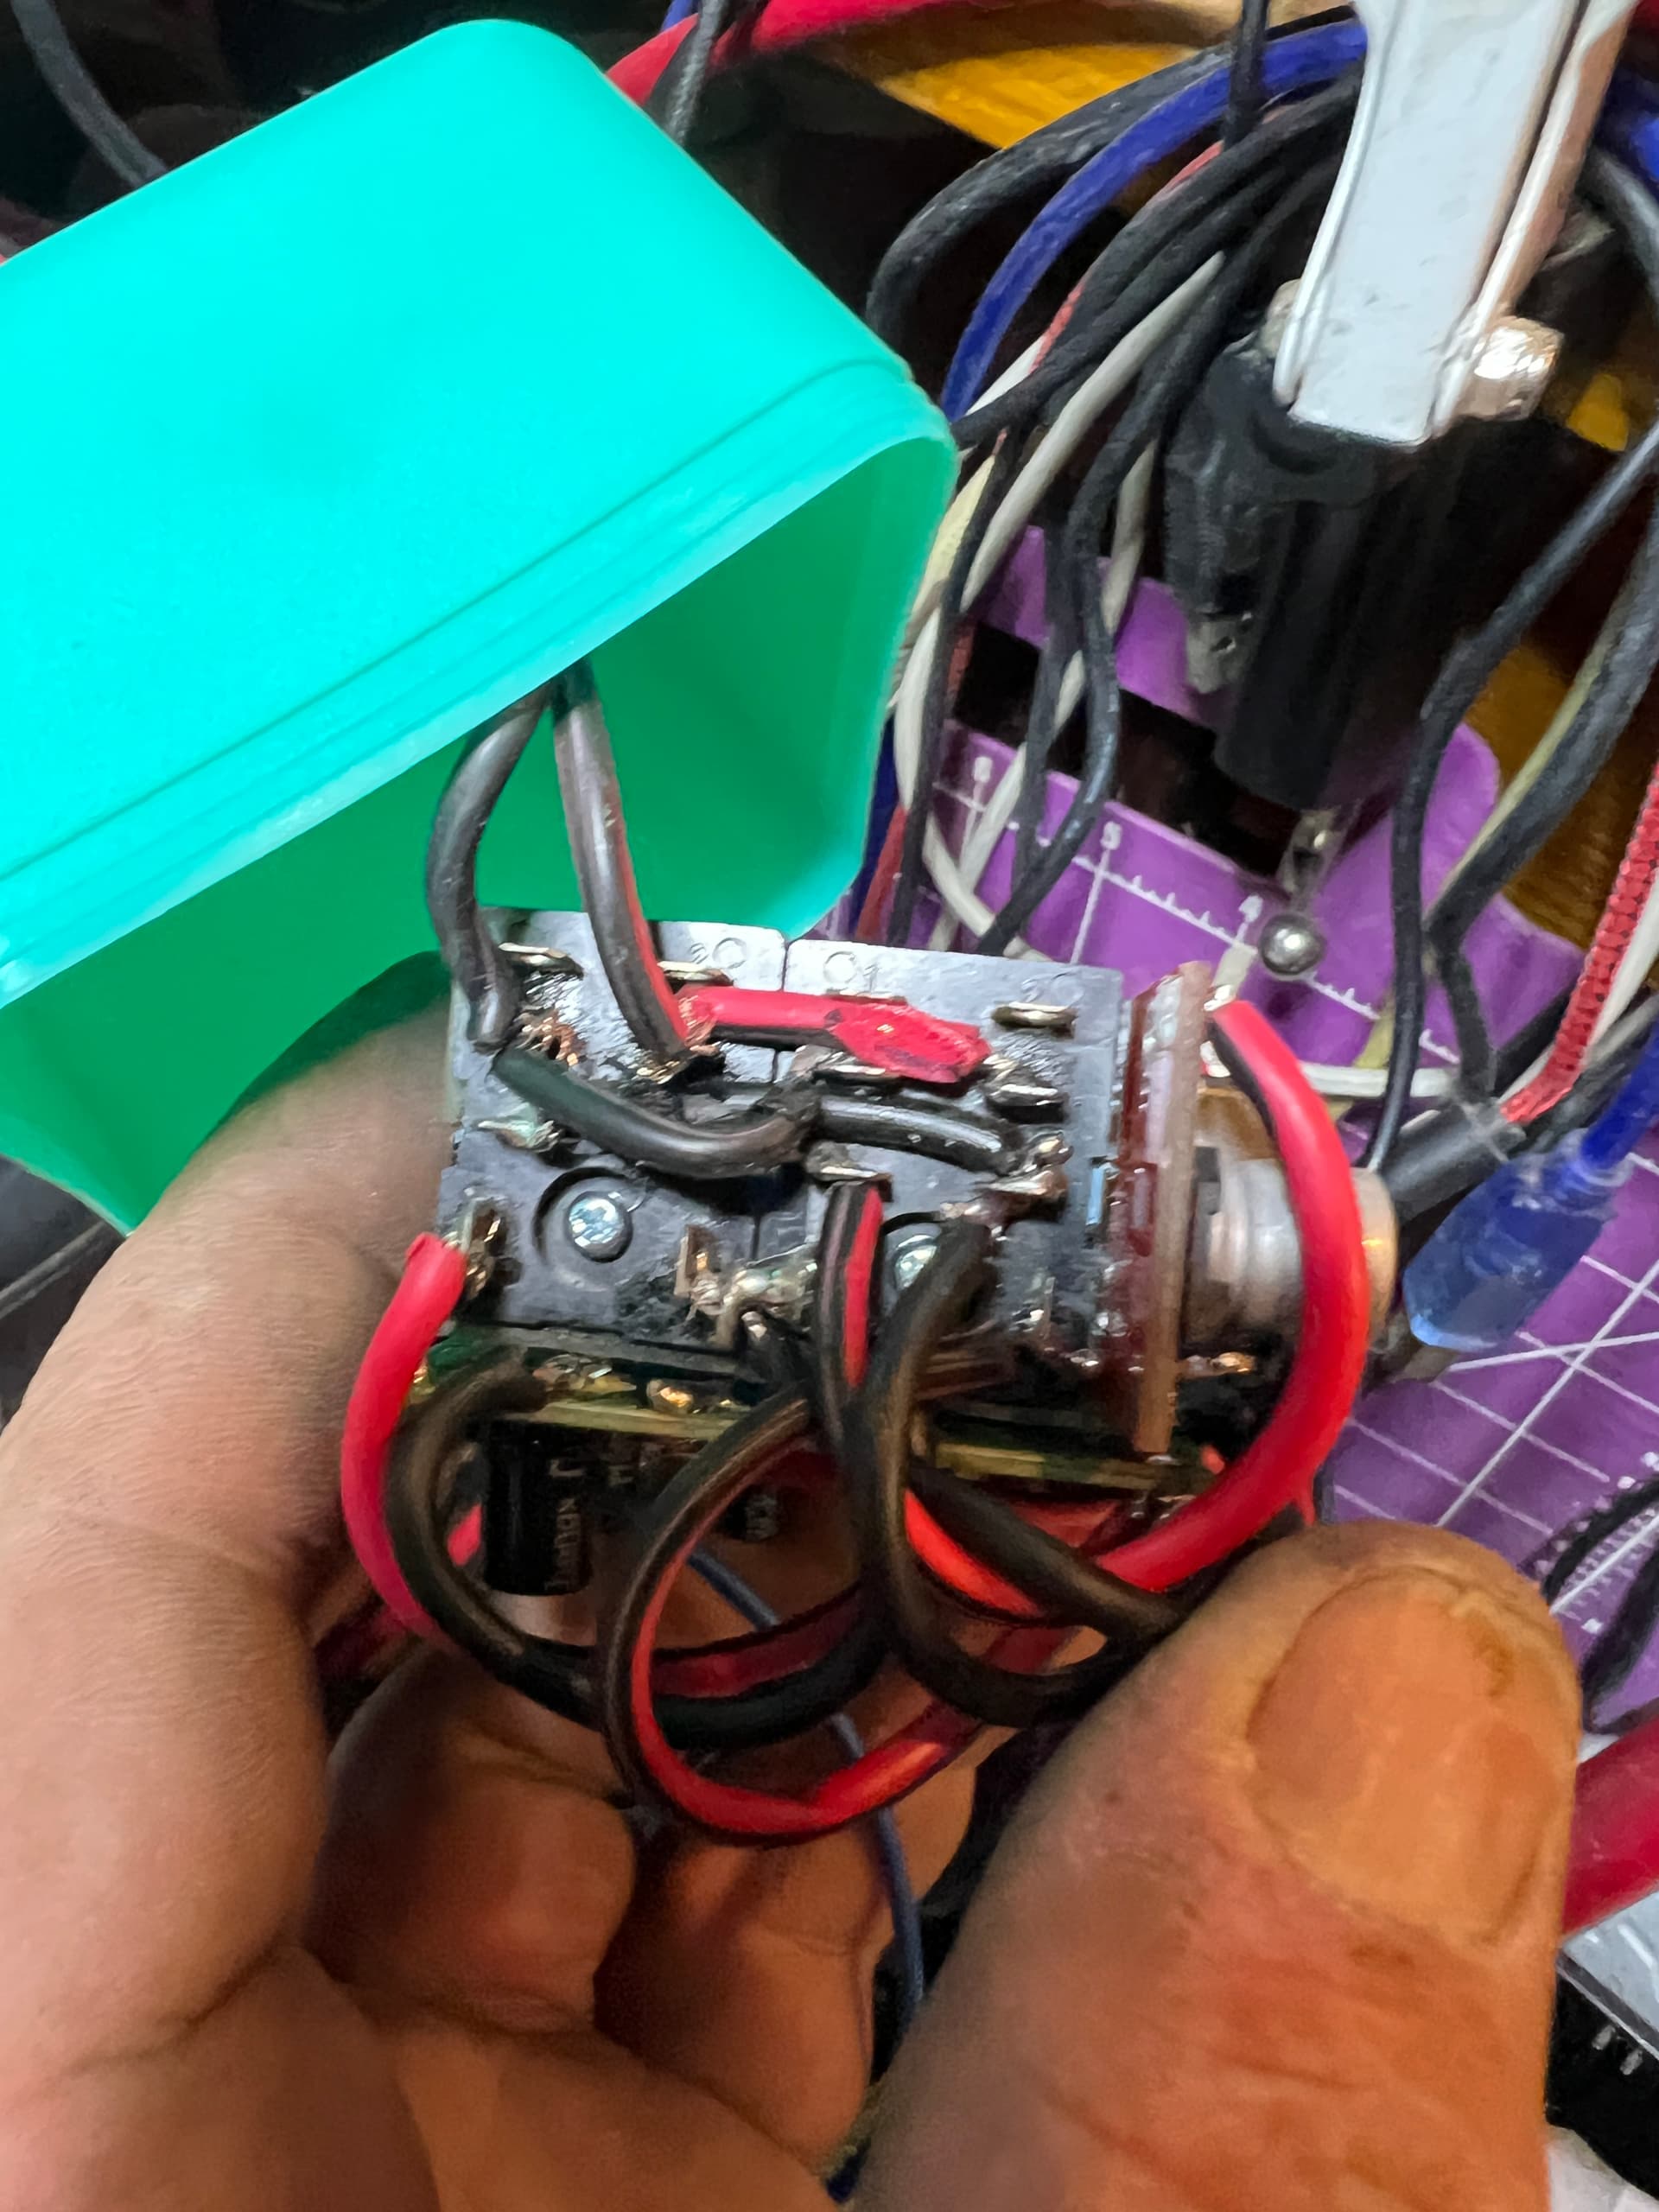
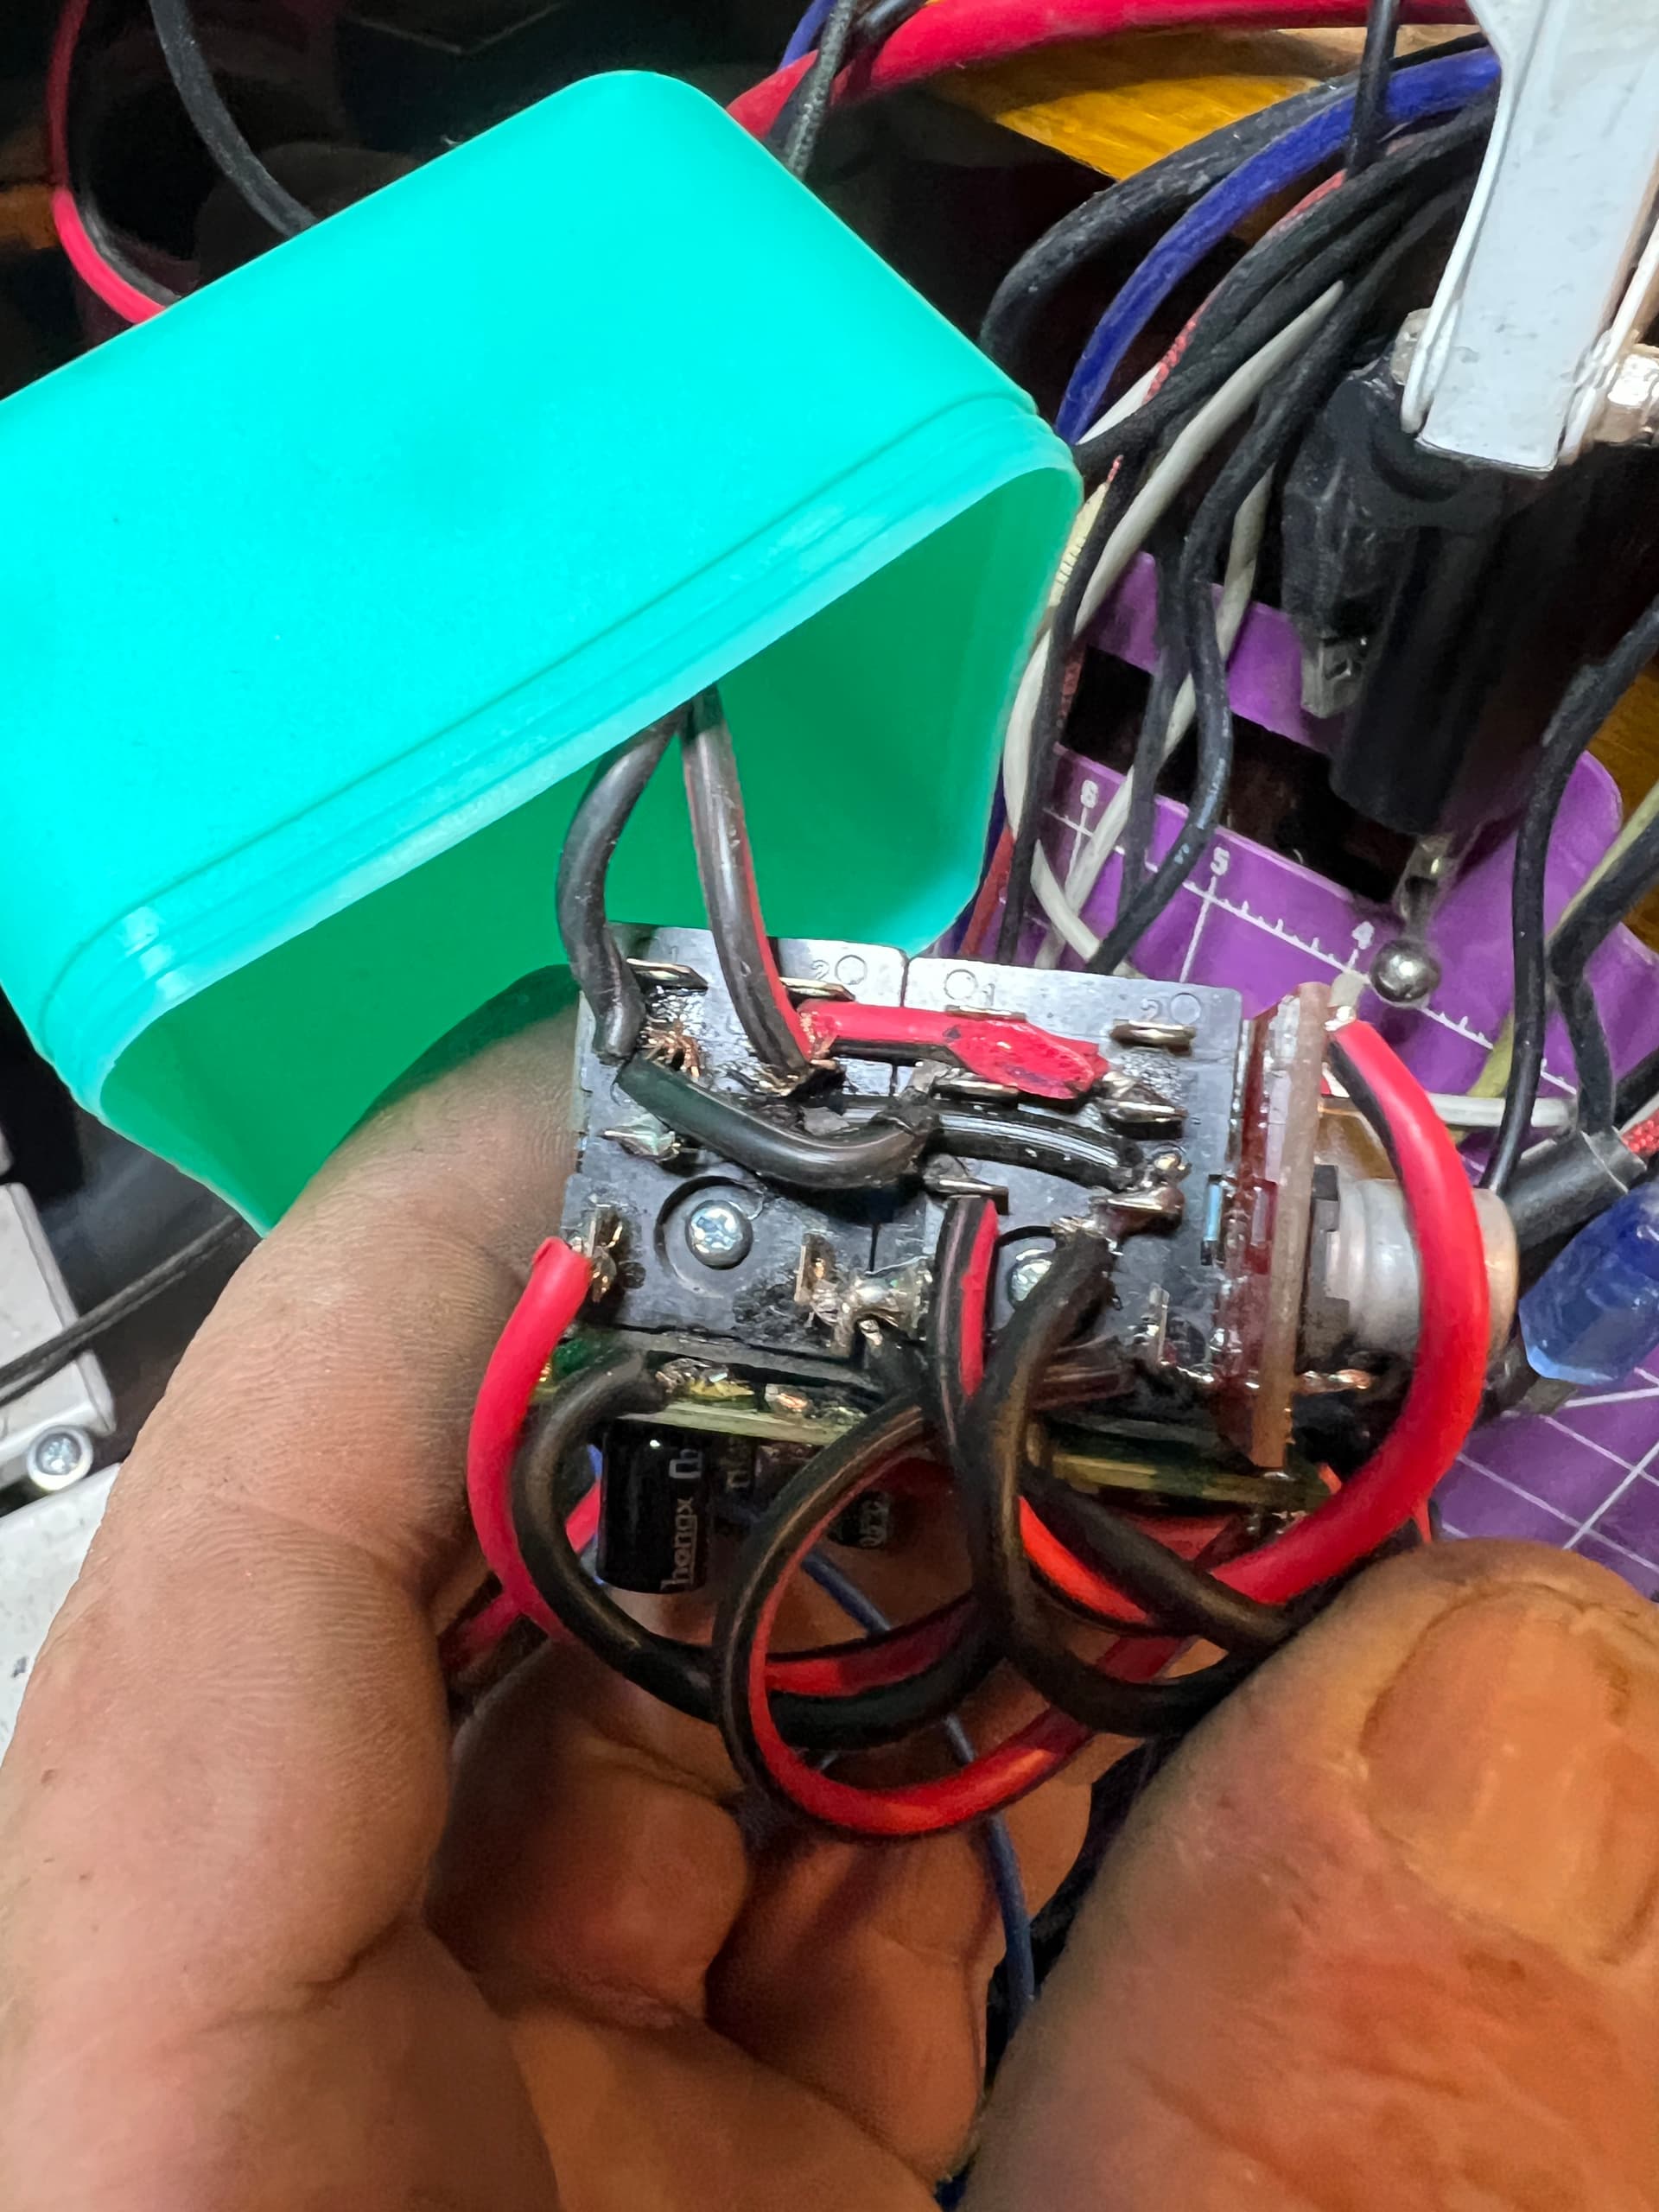
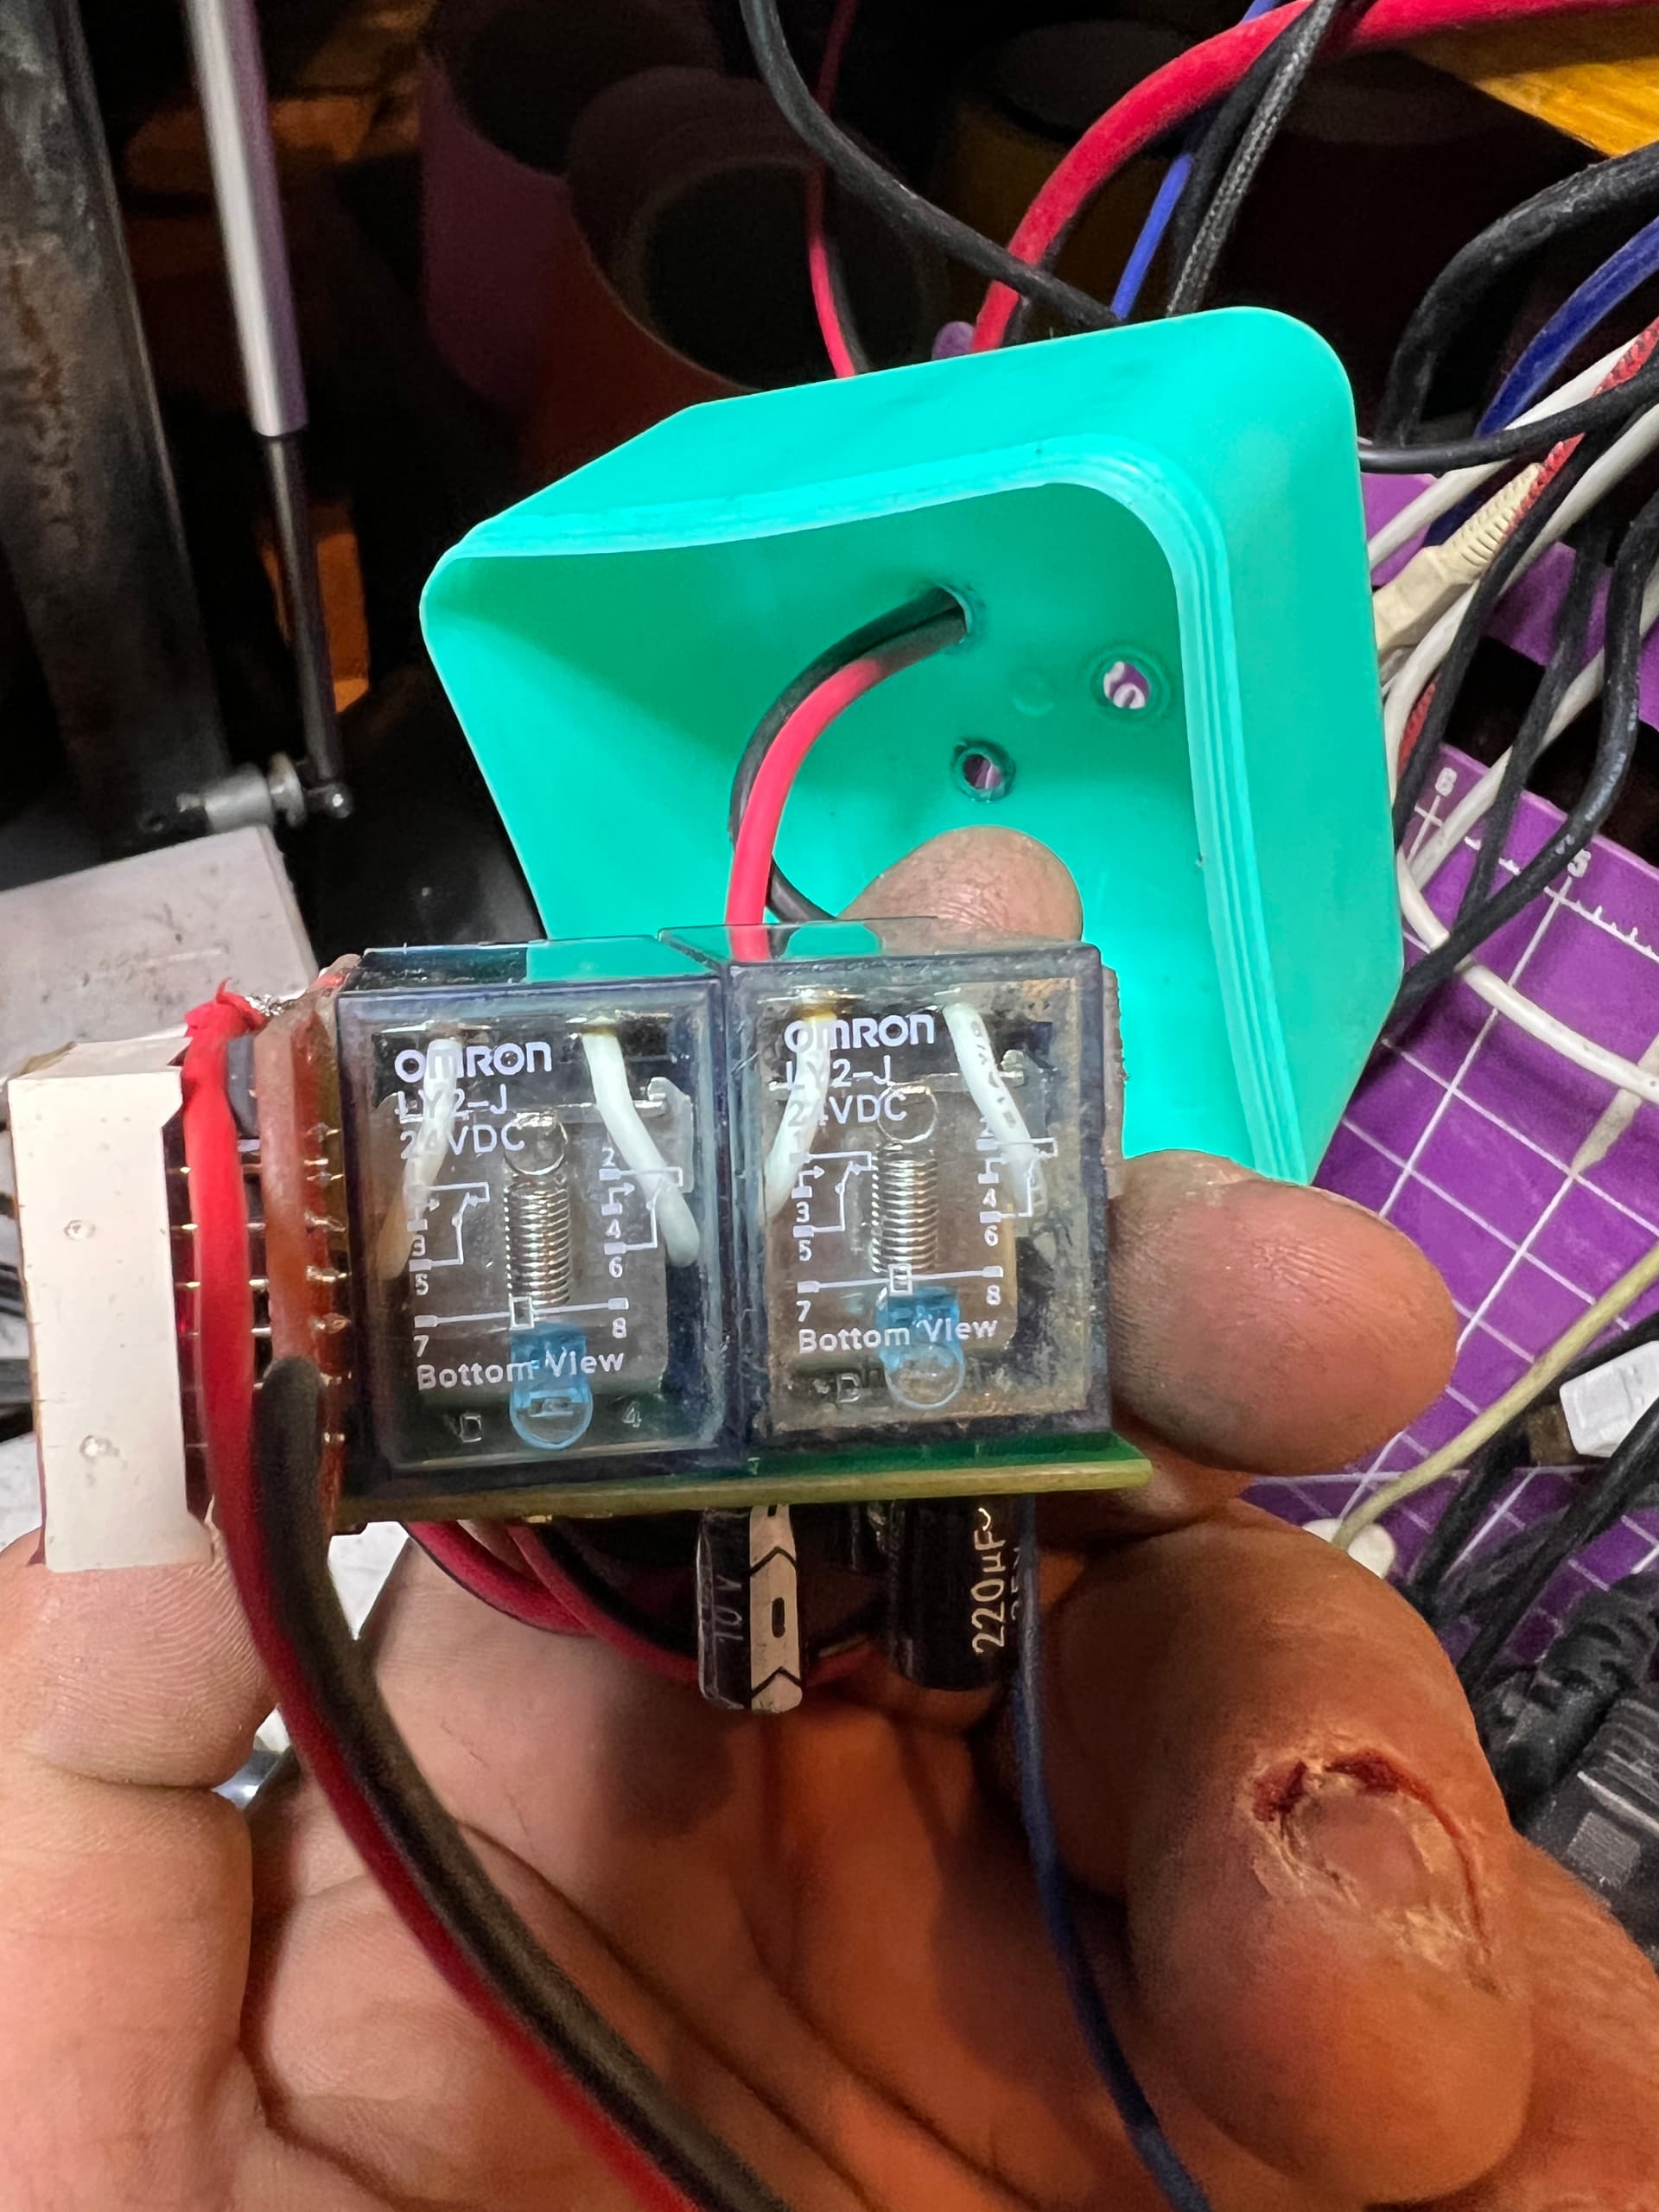
Electrically I had to do a little “constructive circuitry” as the actuators were 12vdc but I needed 2 2 pole mechanical relays for forward-reversing, but it worked out well as I am using the 24vdc input to the laser controller. So, I feed 24vdc to my wireless remote (which was 12/24 vdc) and then did an adjustable buck down transformer for the 12vdc for the actuators and used the 24vdc to control both relays and the remote setup
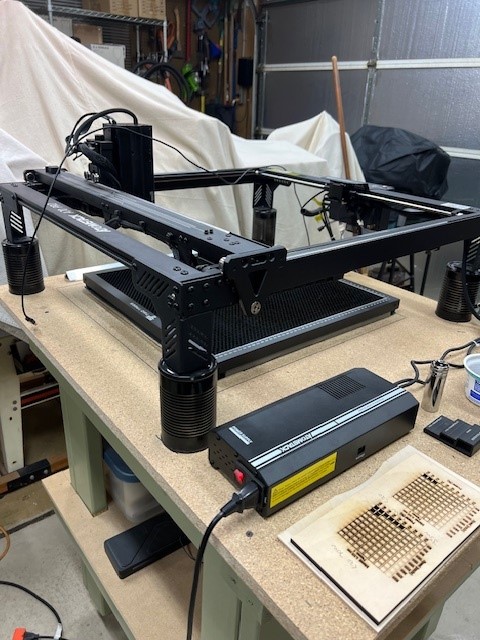
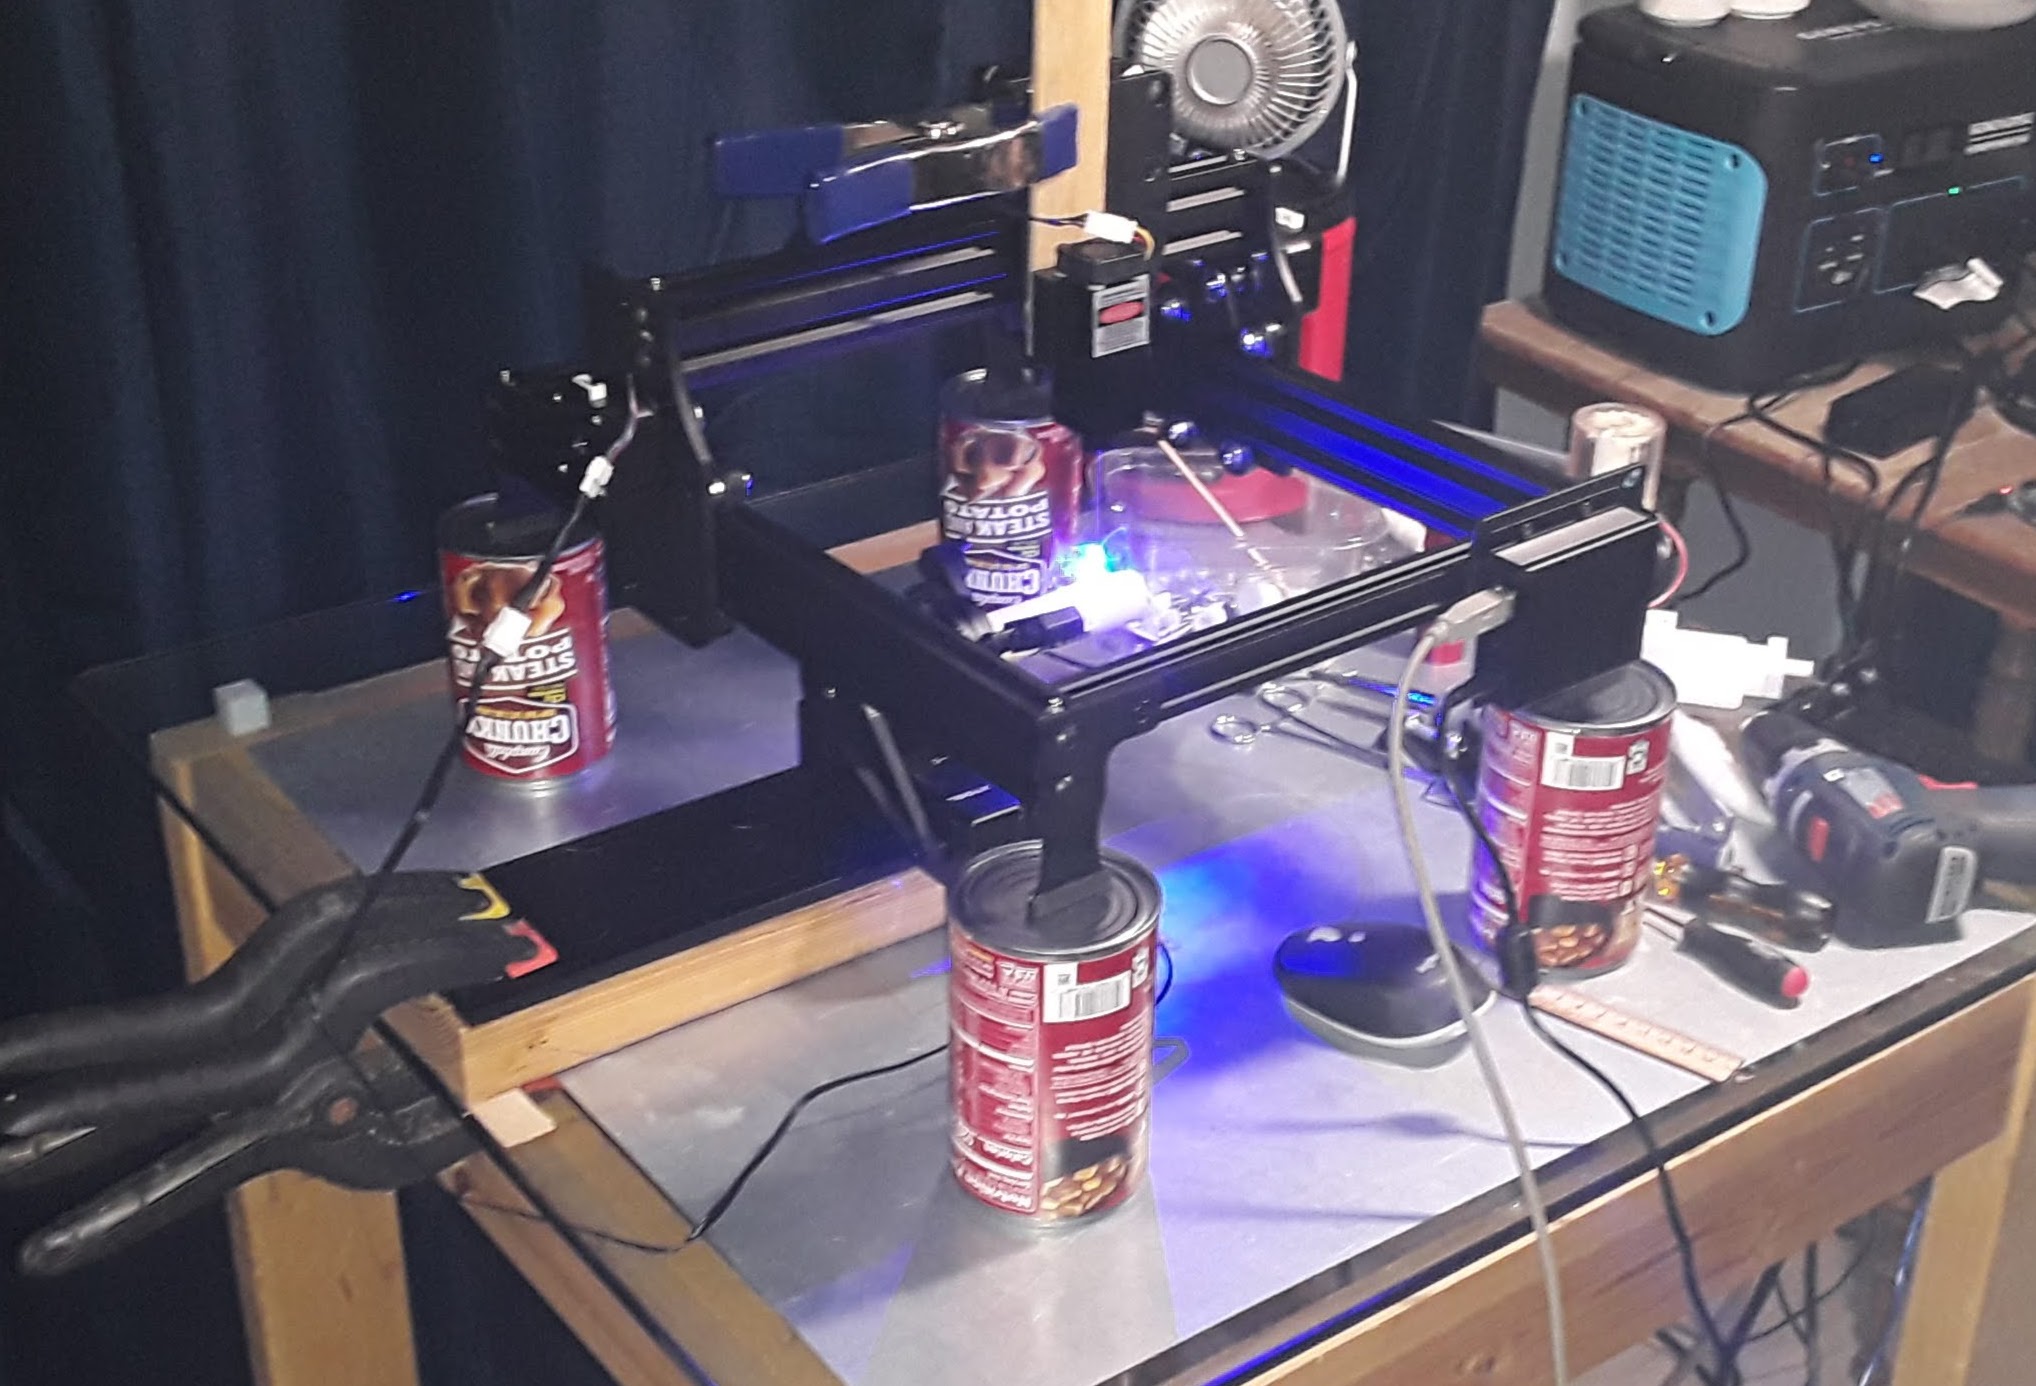
Here’s my Hi Tech solution when i need to raise my laser. I took some empty 15 oz cans of Cannellini Beans my wife discarded from the kitchen. Put some small pebbles in them to make them more stable. Cut a circle and glued in to seal the bottom and painted them black. Perfect height for using my Rotary Chuck. My wife laughed and said “Really, your painting empty cans”. If anyone would like to purchase one of my Laser Riser Kit’s their $29.95 Plus S&H. Comes with 4 cans (I Mean Risers) and instructions
NOTE:I guess i didn’t even have to use empty cans. I could have just left the beans in them, took the label off and painted them. Then if i get hungry while I’m working…
My next project is to make a honeycomb bed out of egg cartons. But i need to wait until the price of eggs comes down,
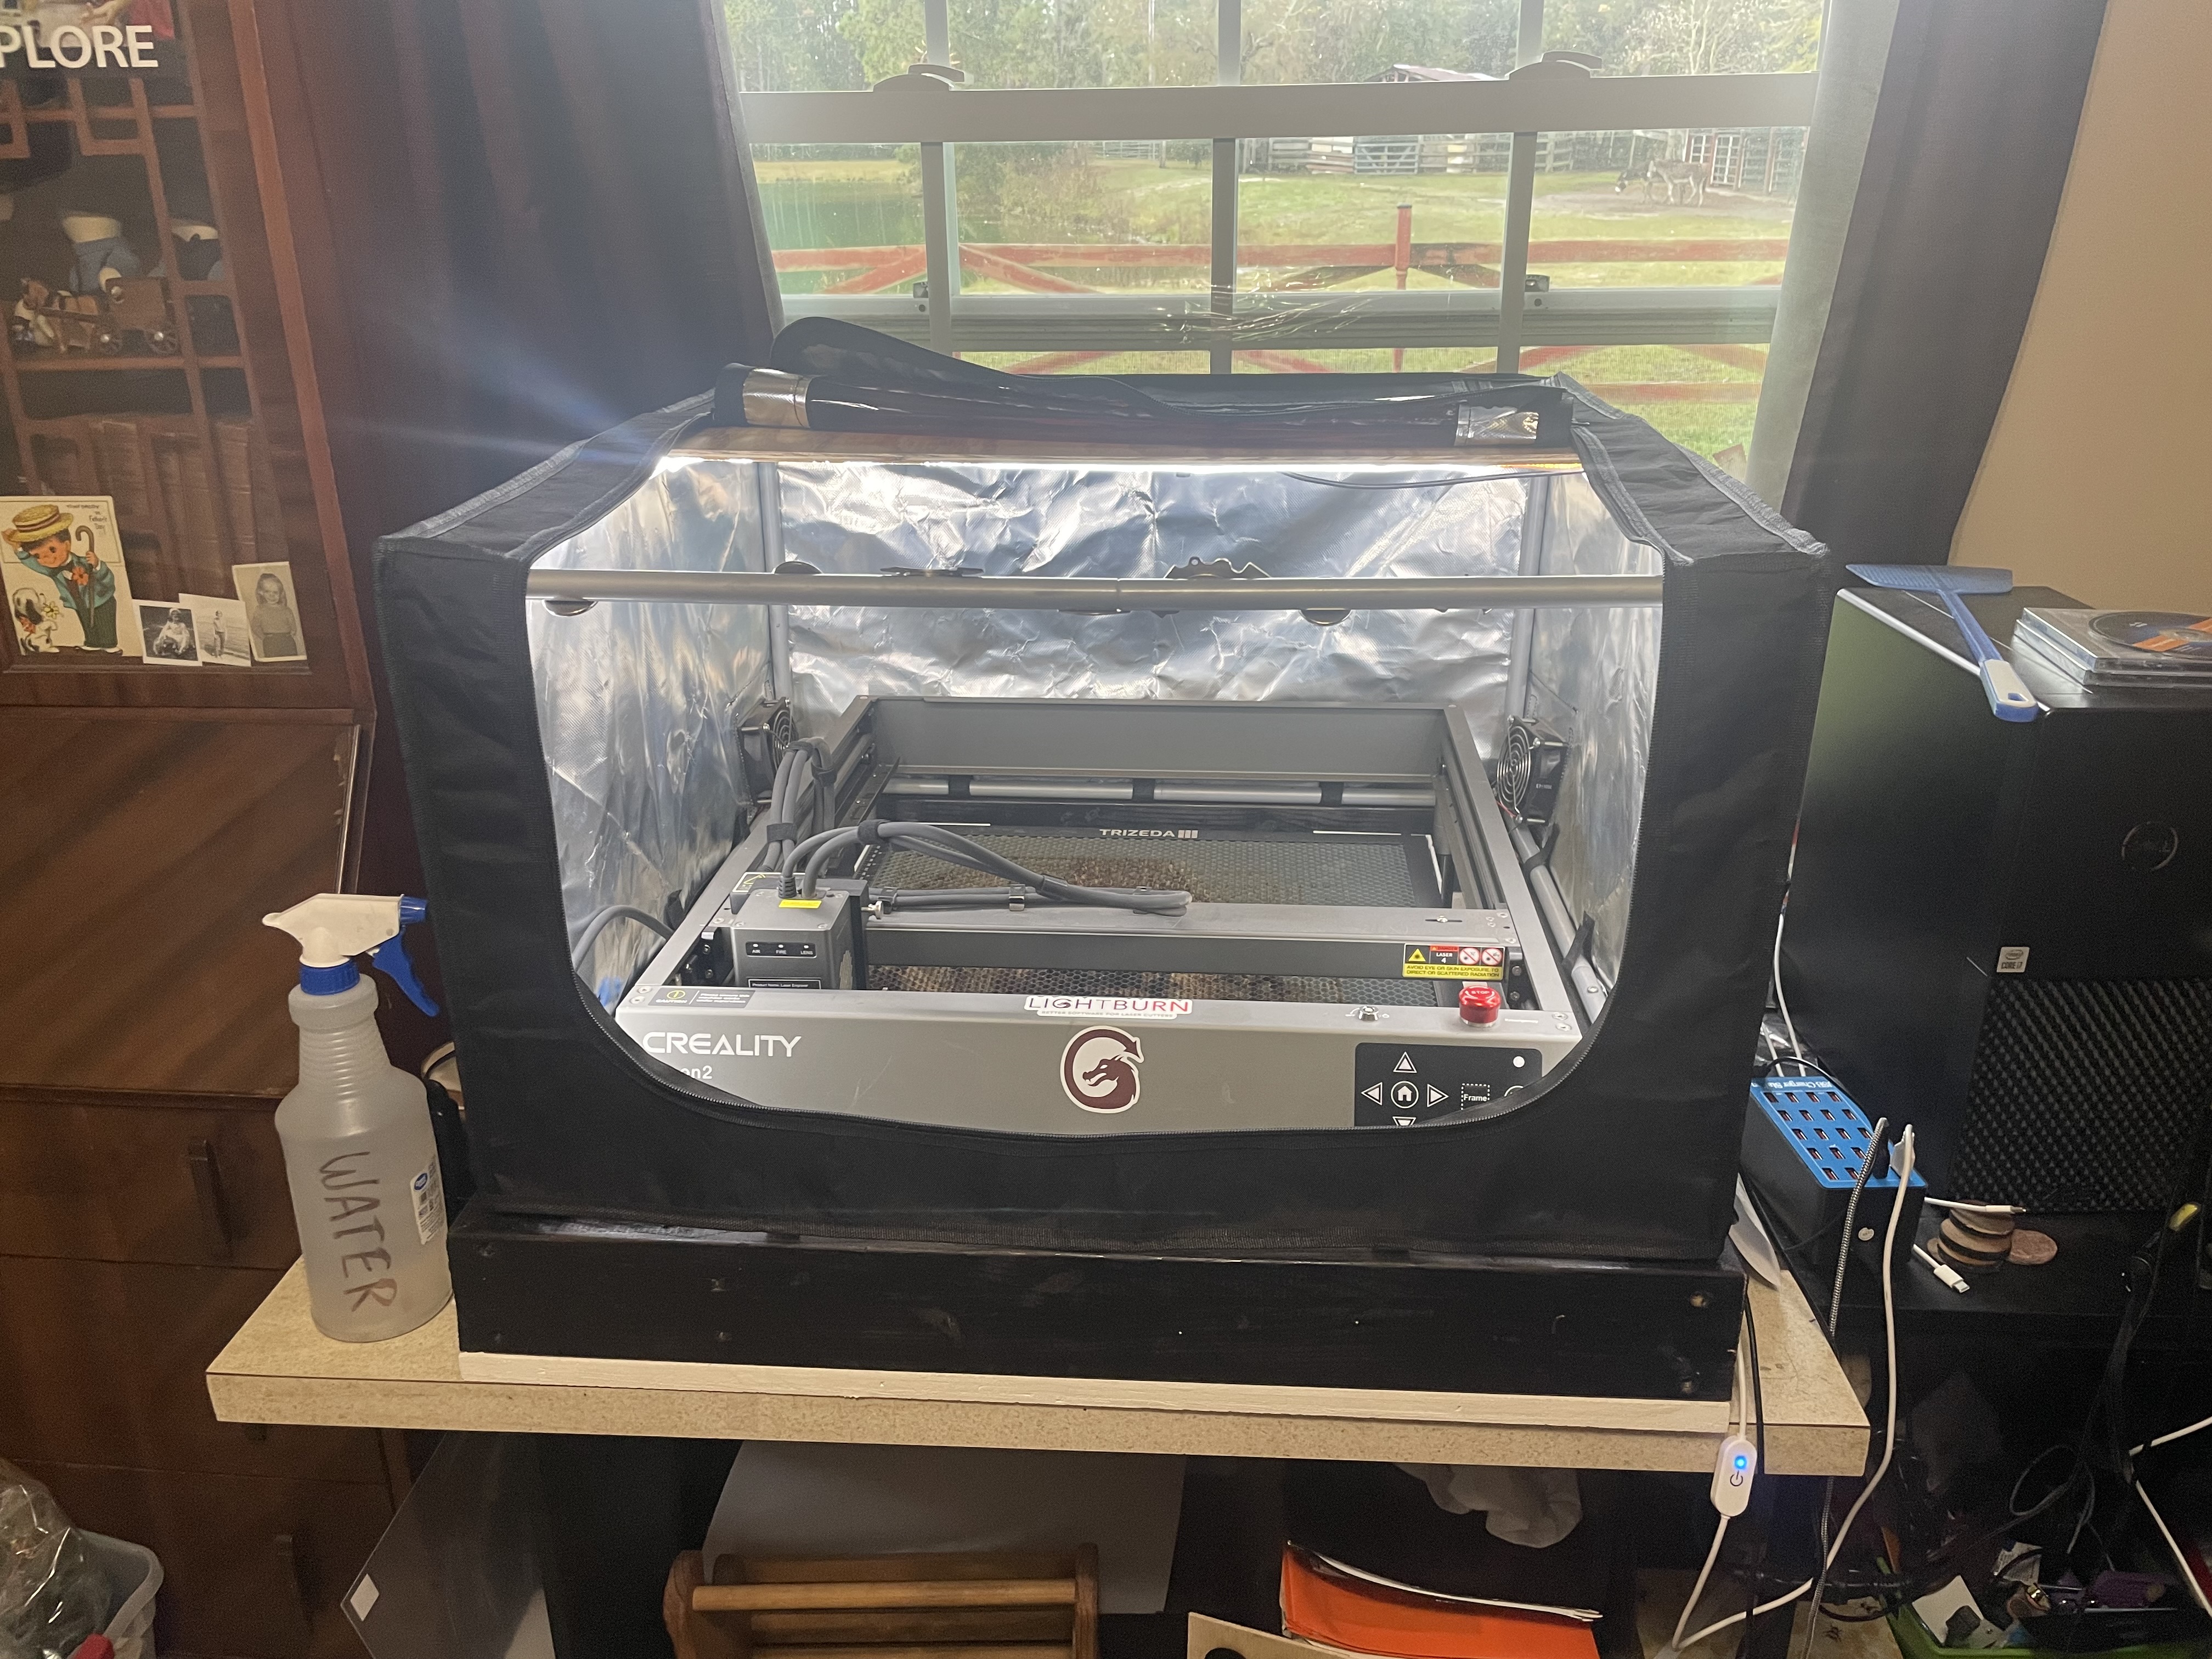
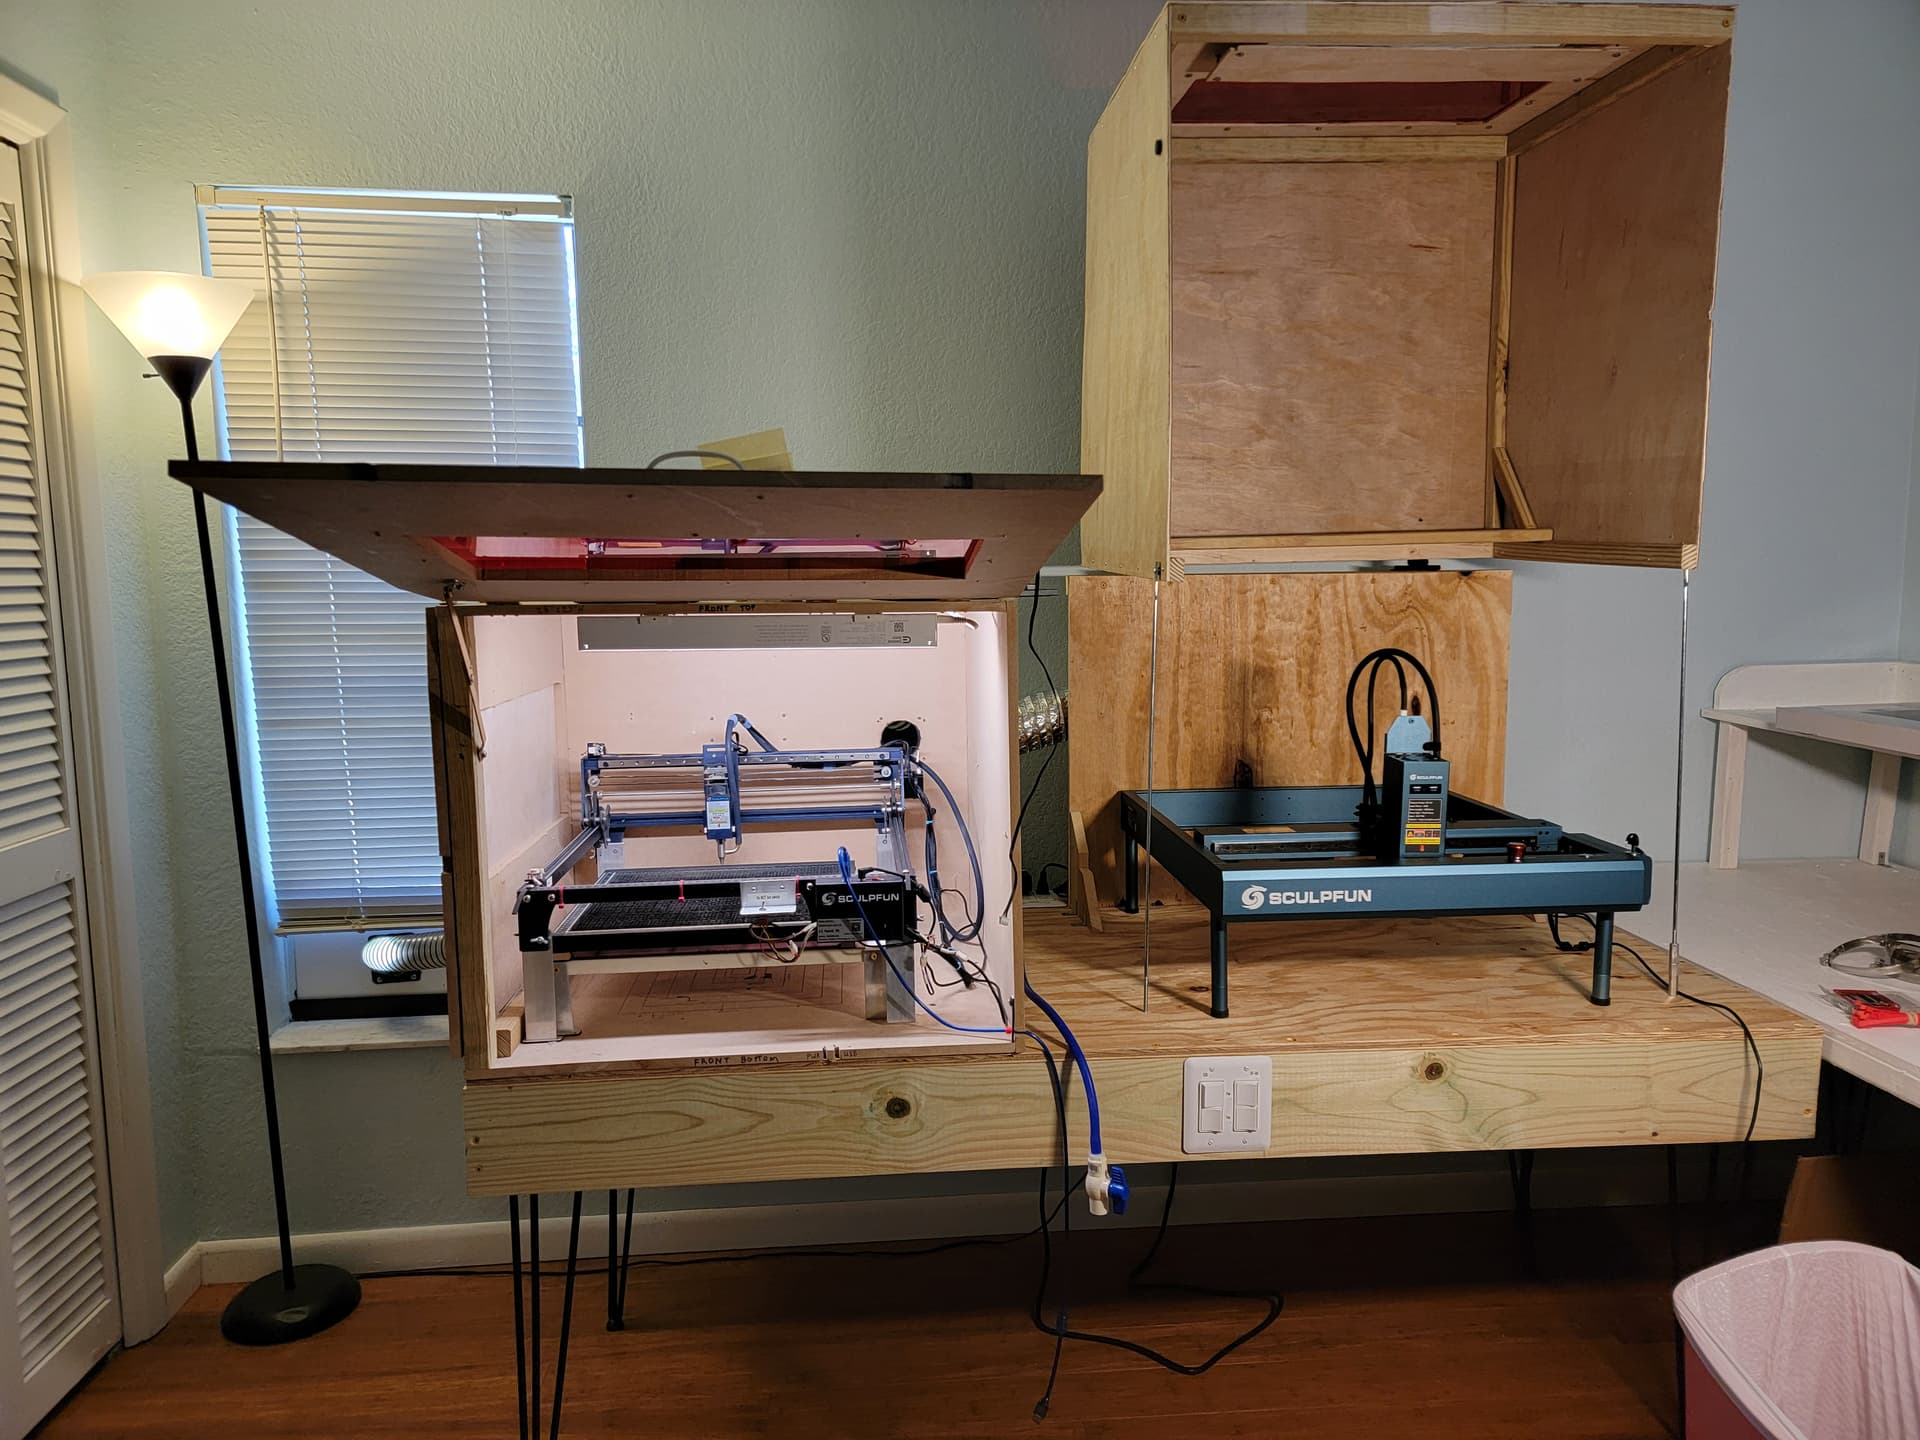
Great idea luckily I found that schedule 40 3/4" pvc pipe fit in my stock legs so I could make them as tall as I wanted. The problem is the enclosure is 12" tall and awkward and heavy meaning I will definitely break it or drop it at some point if I move it much. Plus I get brick orders every little bit or a tumbler and it was an hr long process and a lot of complaining on my part.to unplug the enclosure and move the frame and enclosure then put it all back with limitations.
Almost went with a bigger z frame but then my enclosure was to short and at a foot of 1/4" poly it was heavy enough LOL
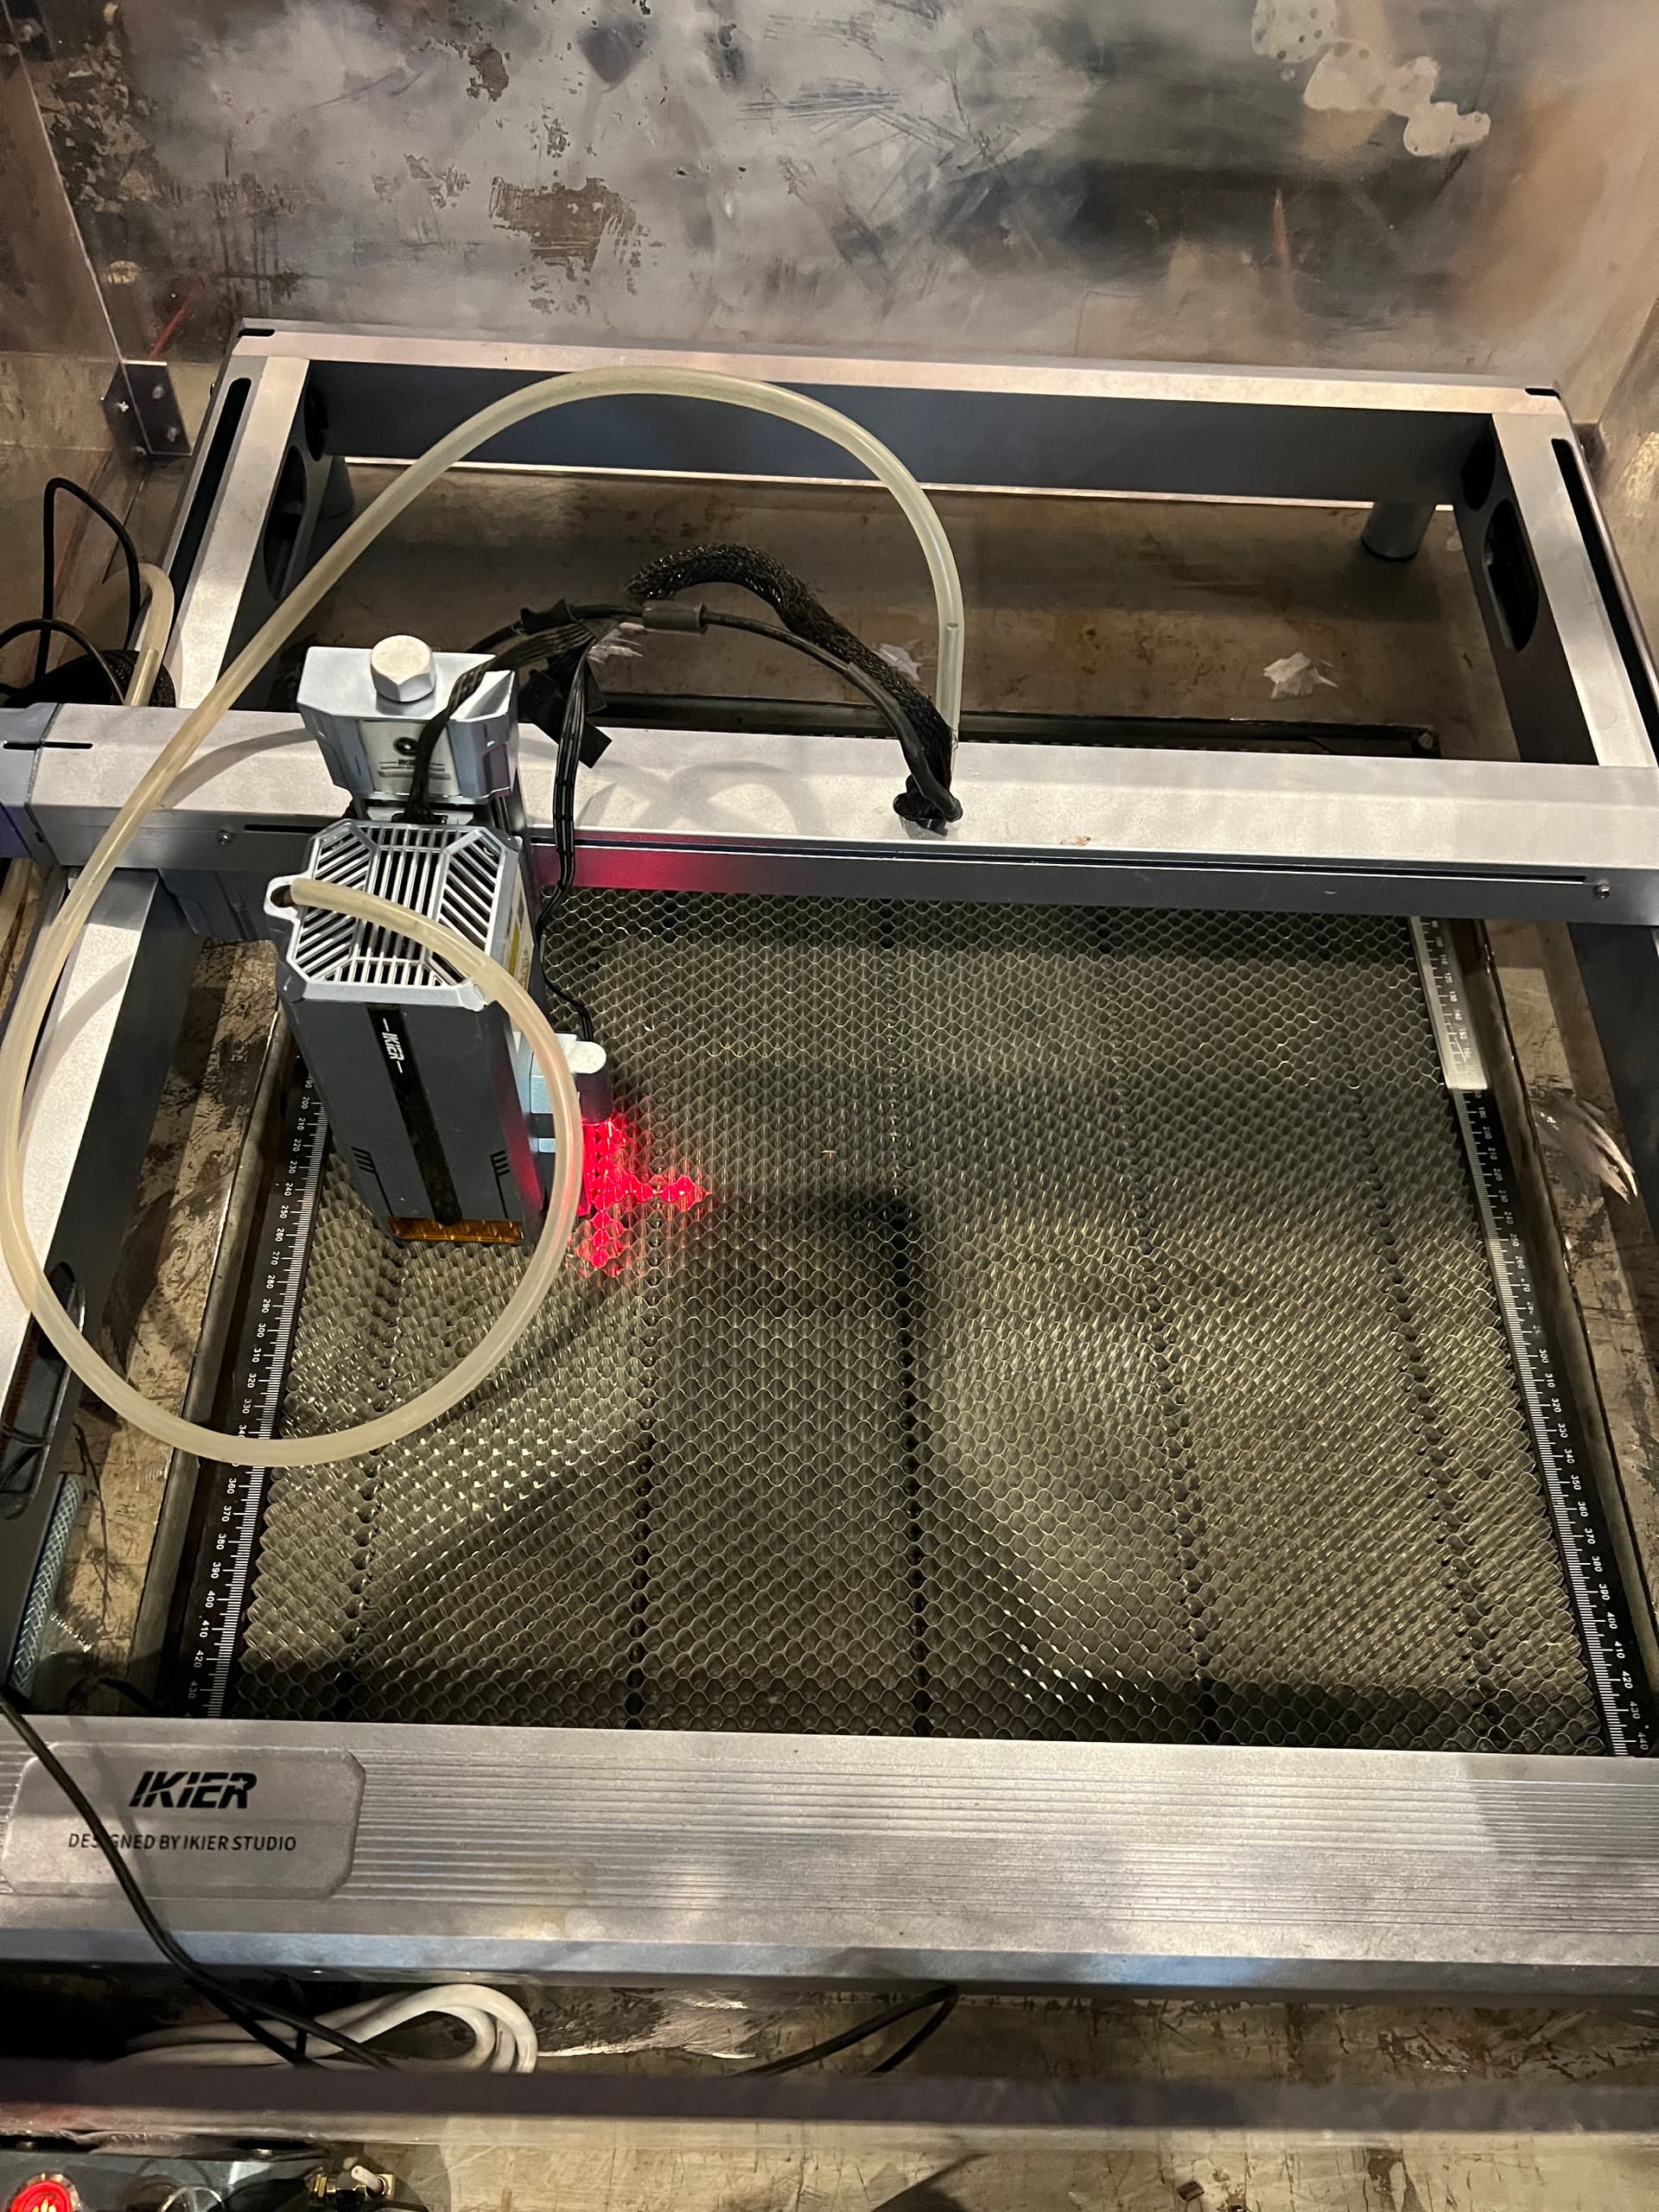
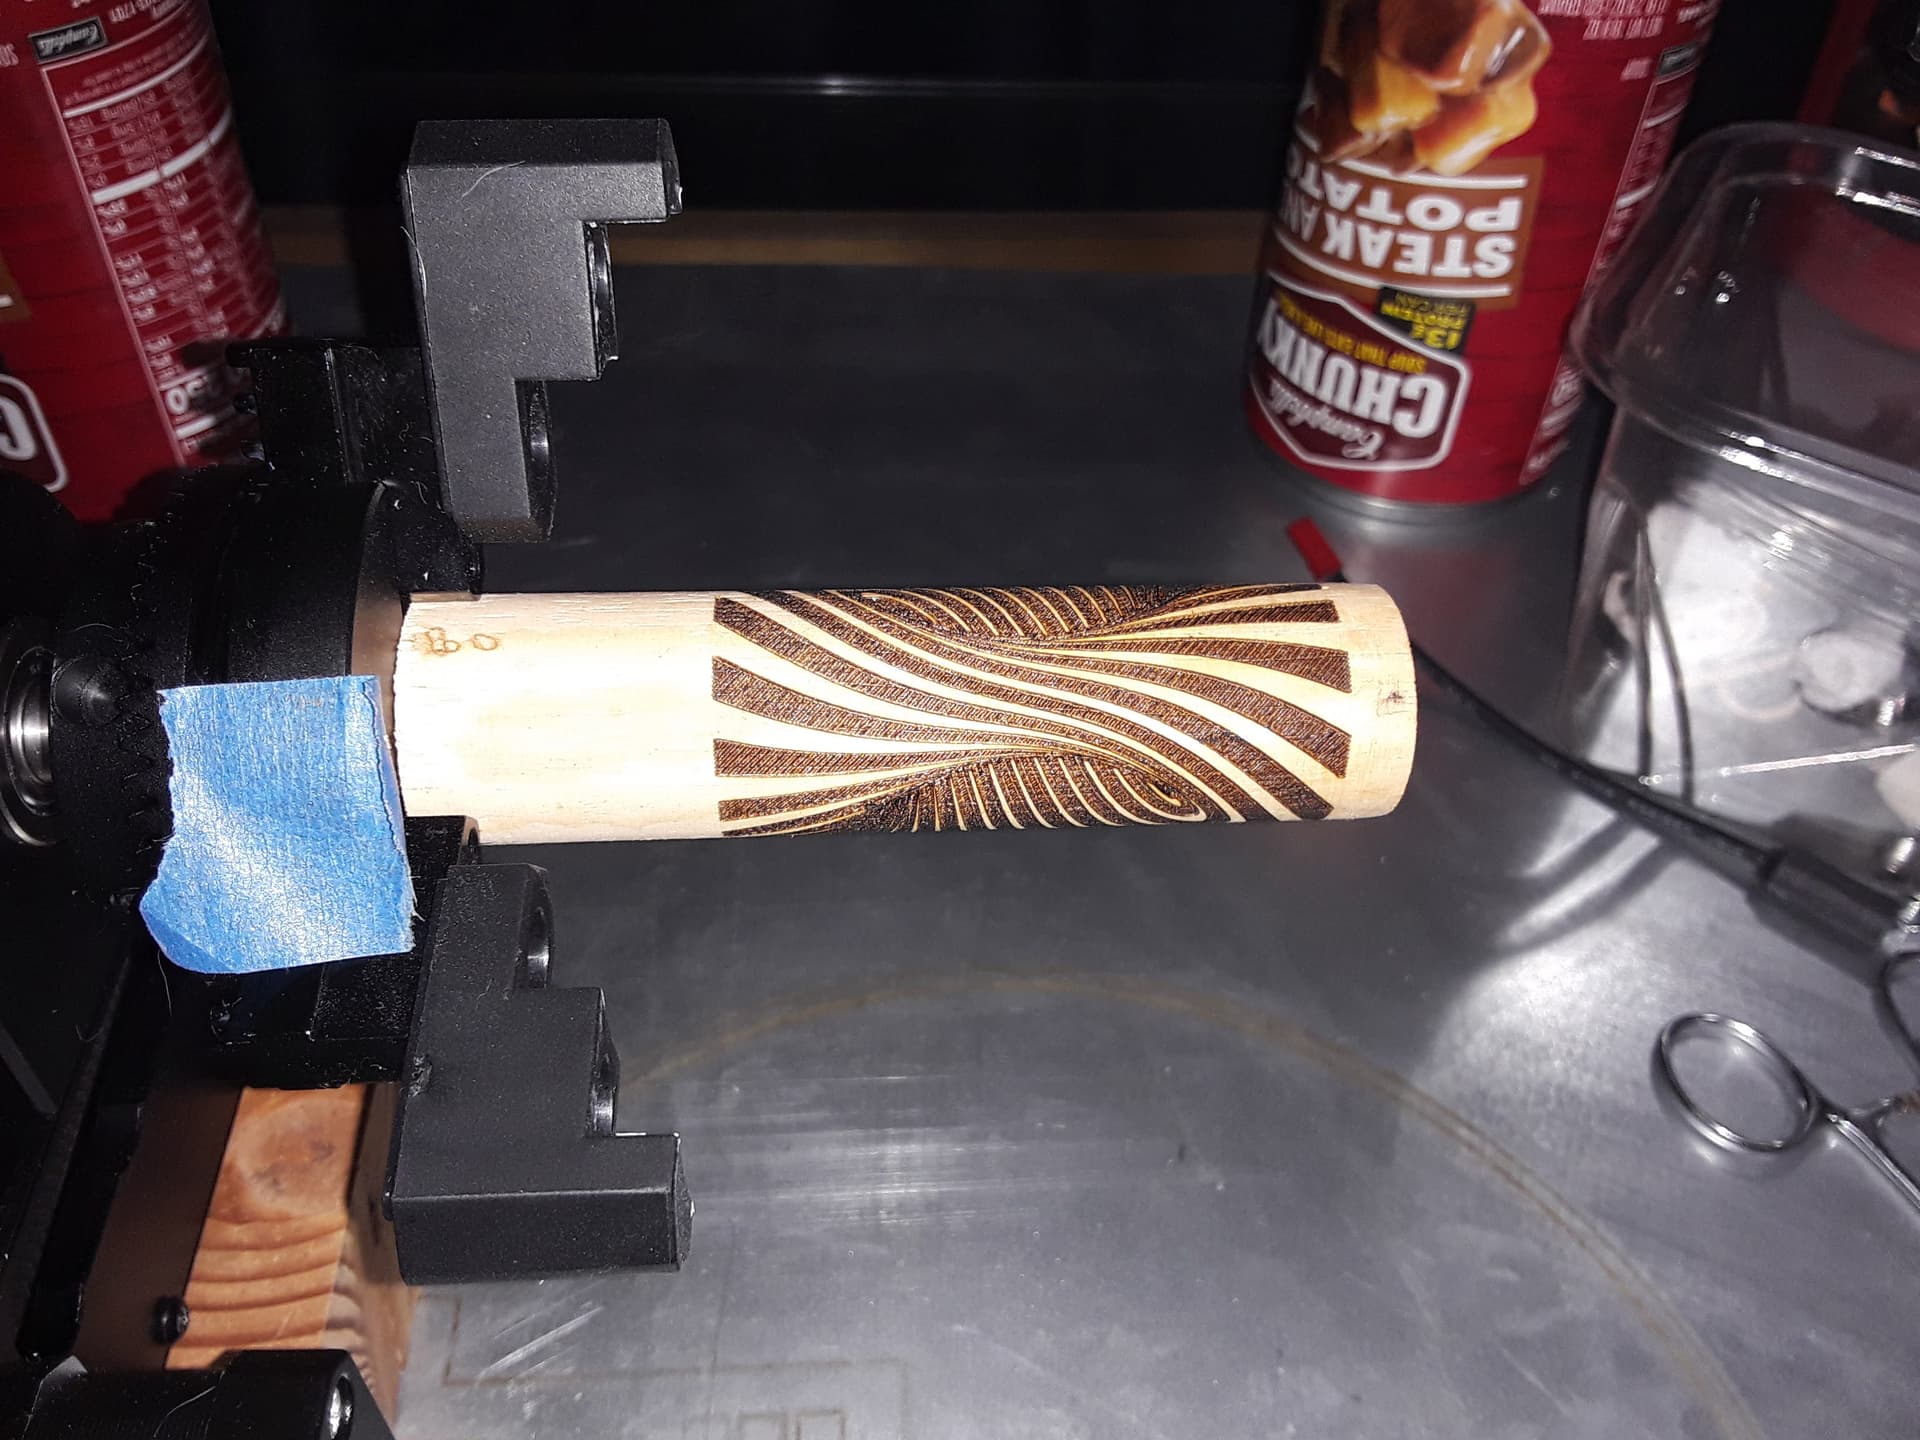
The other reason I made it was the ikier 48" is a tall setup as it is and if it was up high enough to do bricks the air hose had to be disconnected or if I was doing the rotator on larger cups I had to leave the lid open.
So my solution was it was cheaper to do an adjustable work surface then the moving the frame.
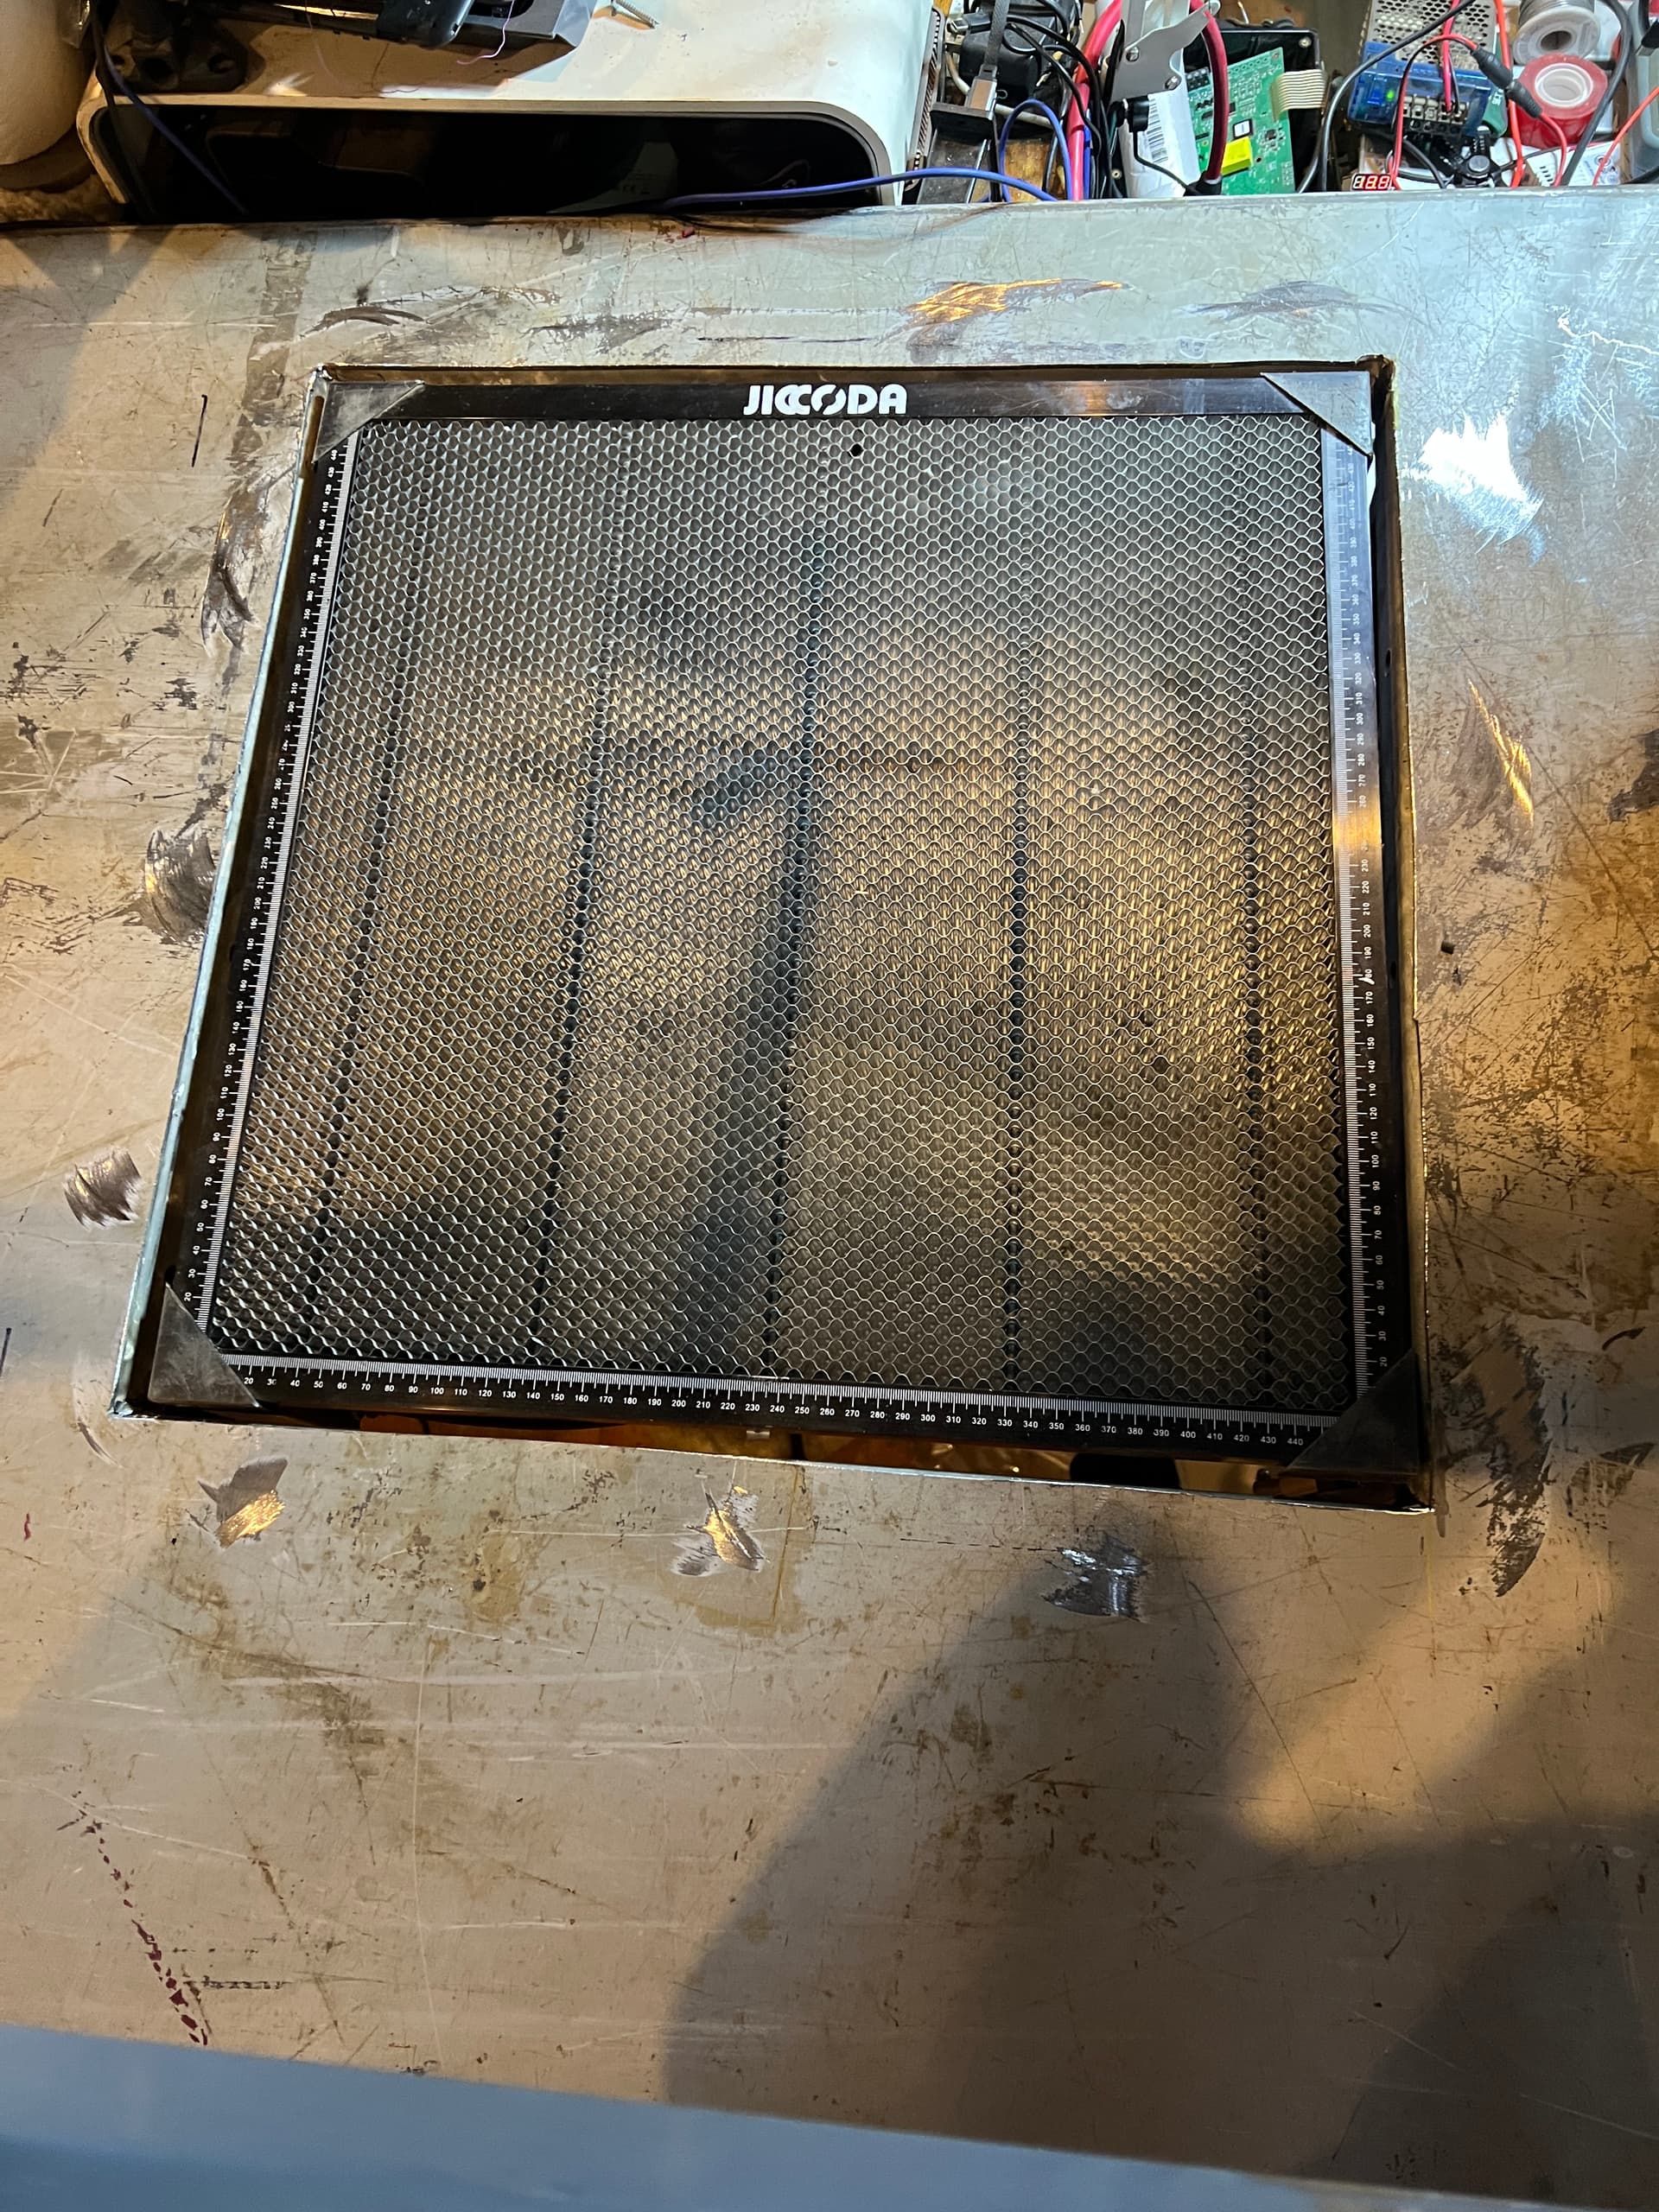
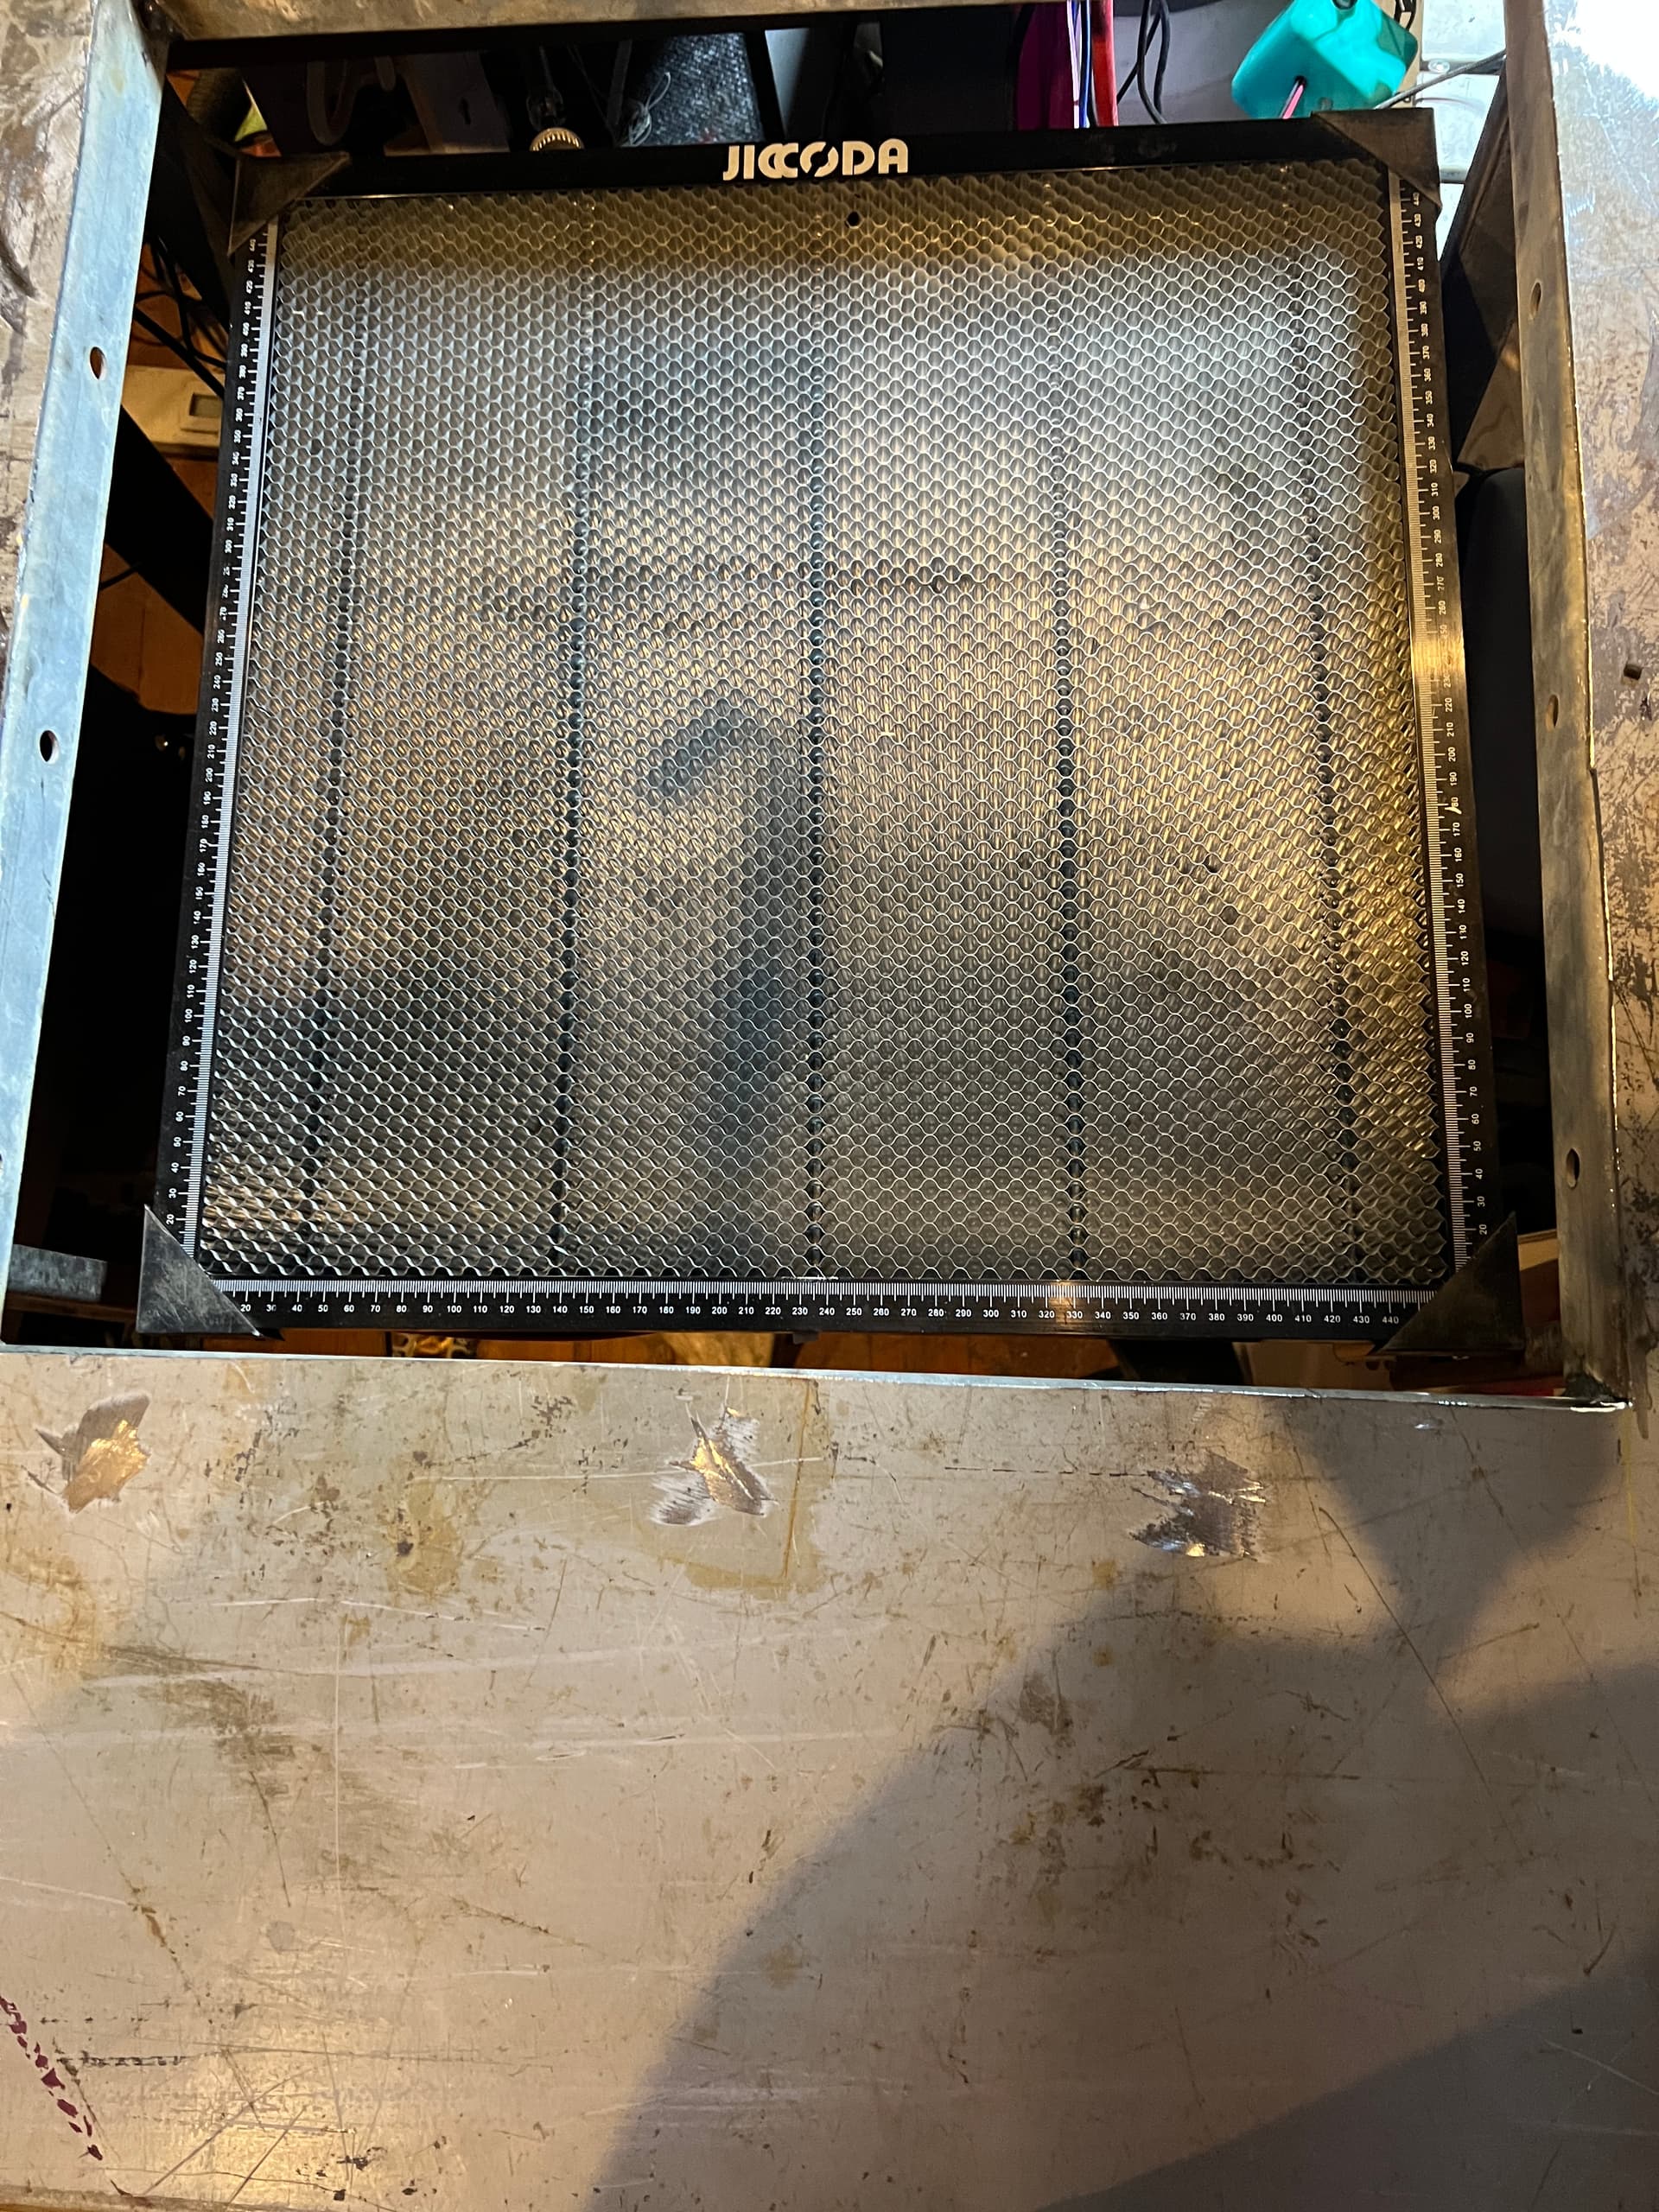
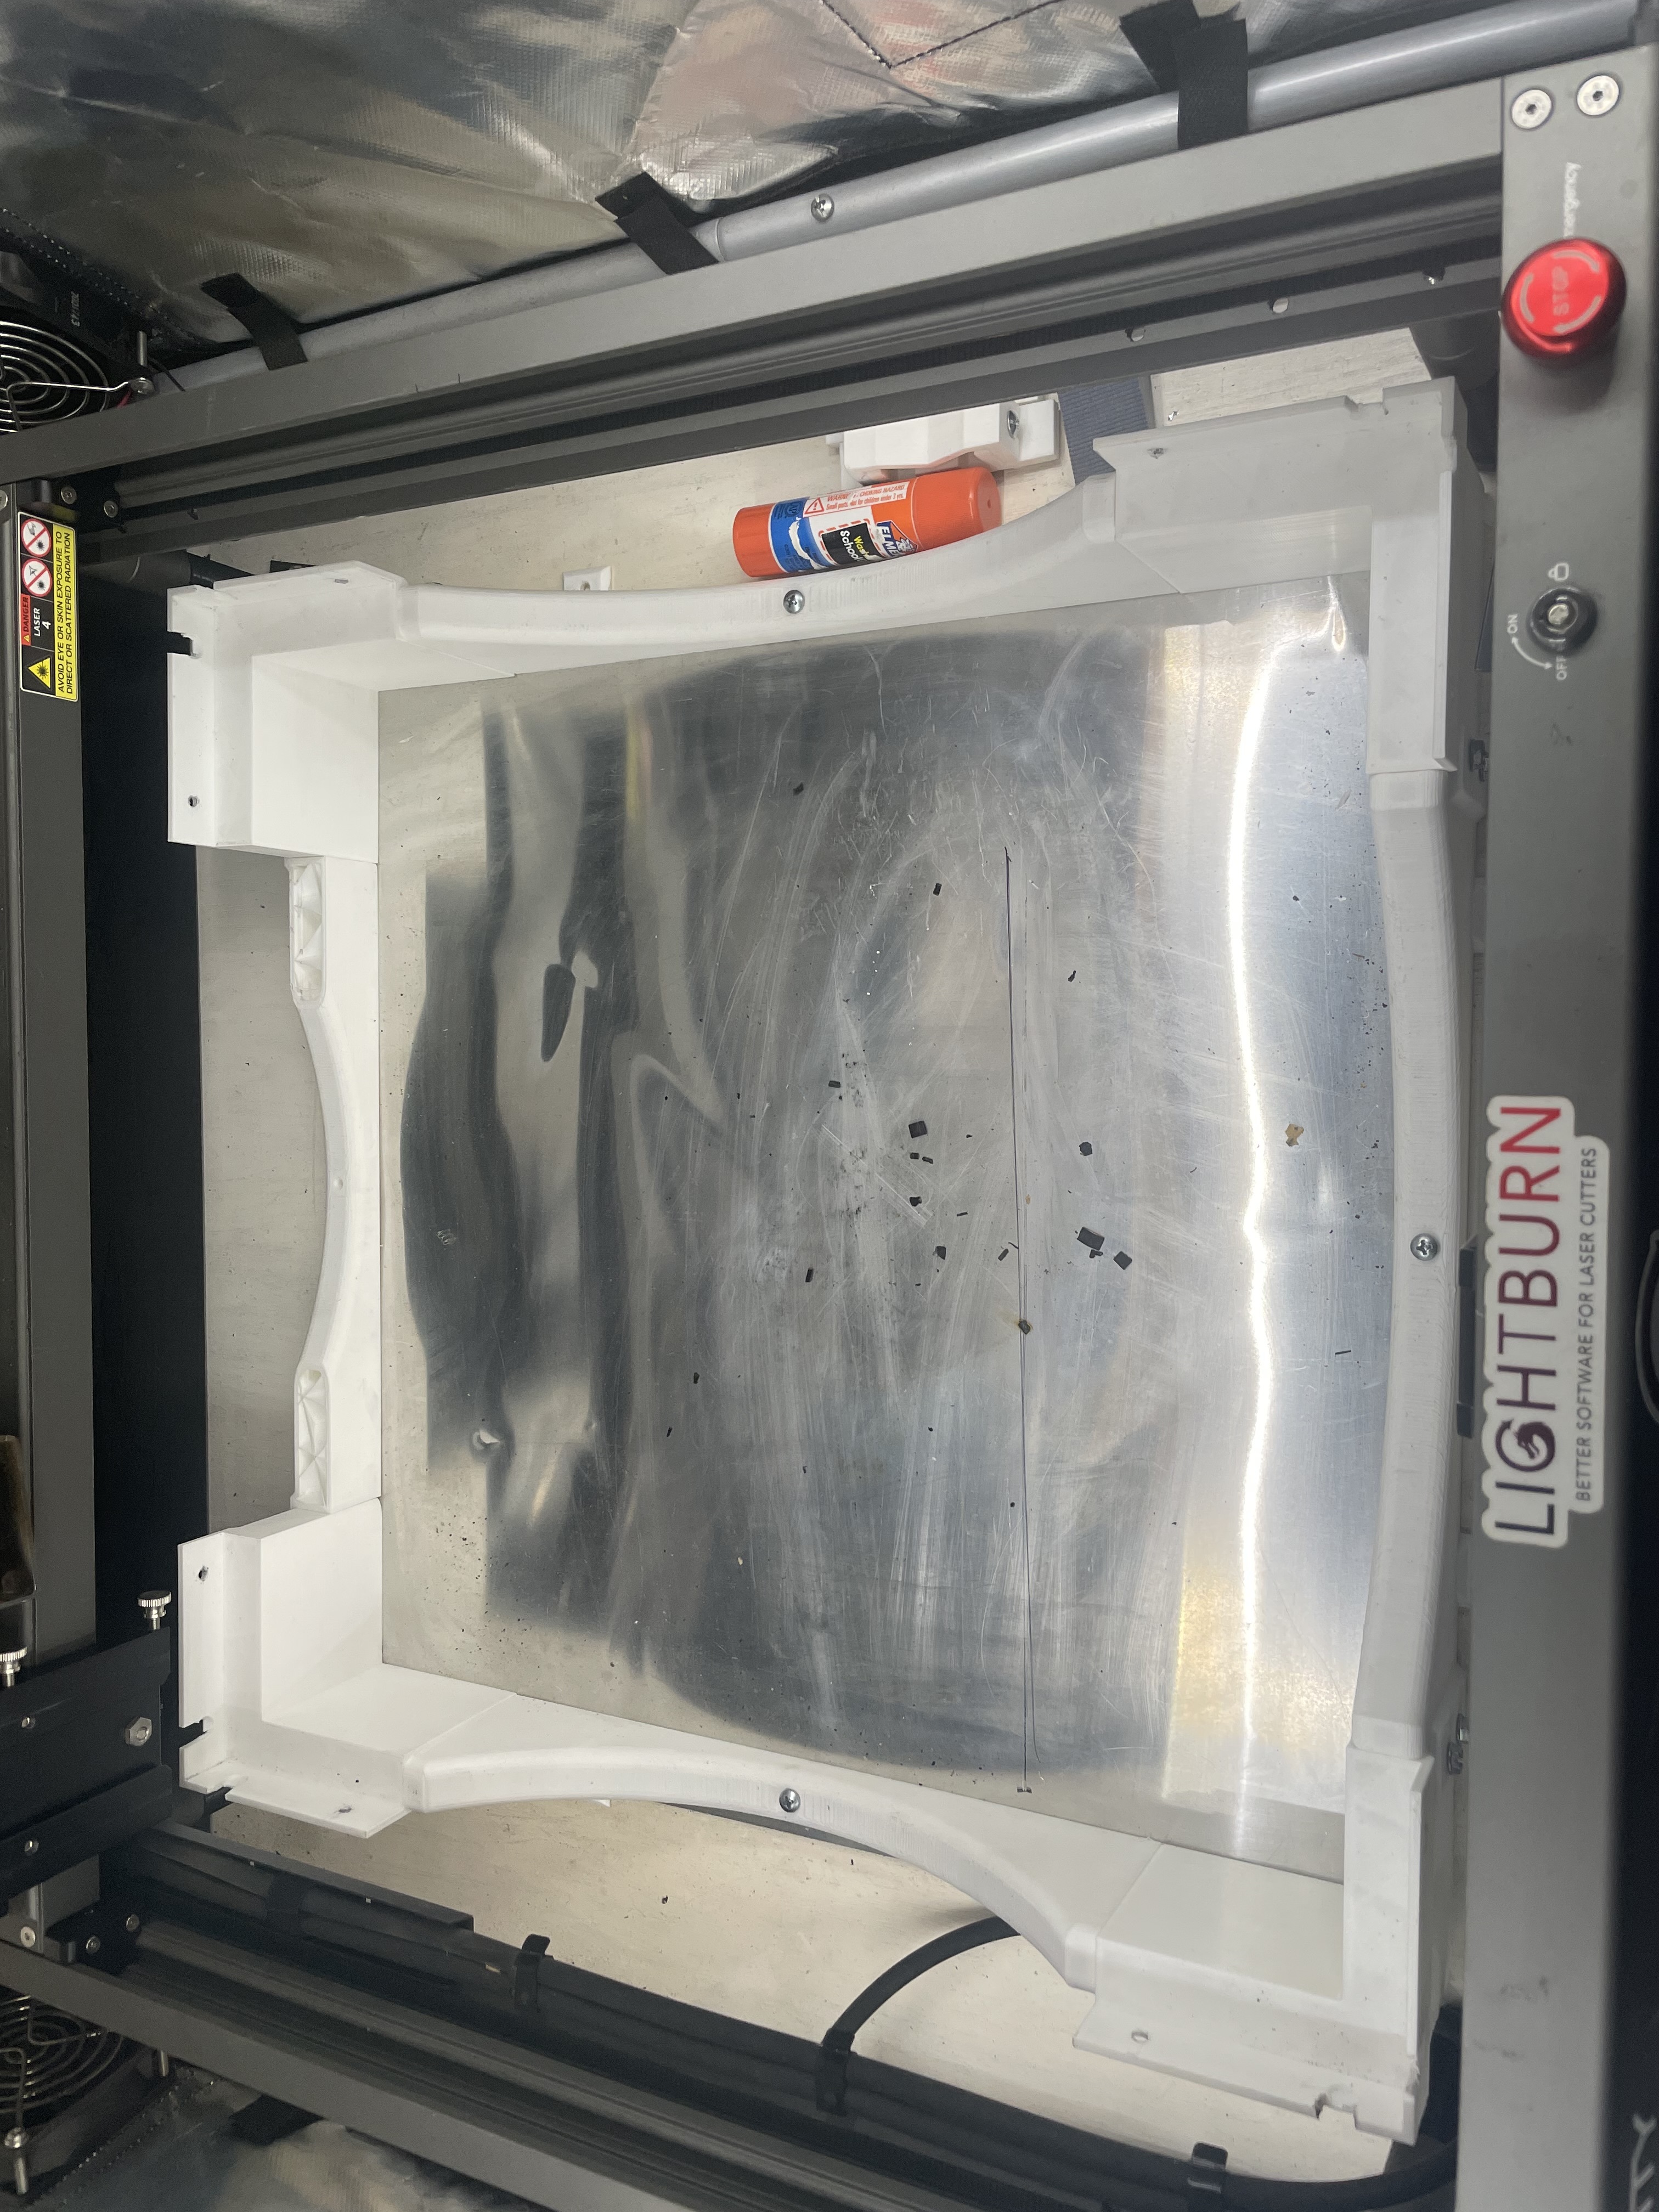
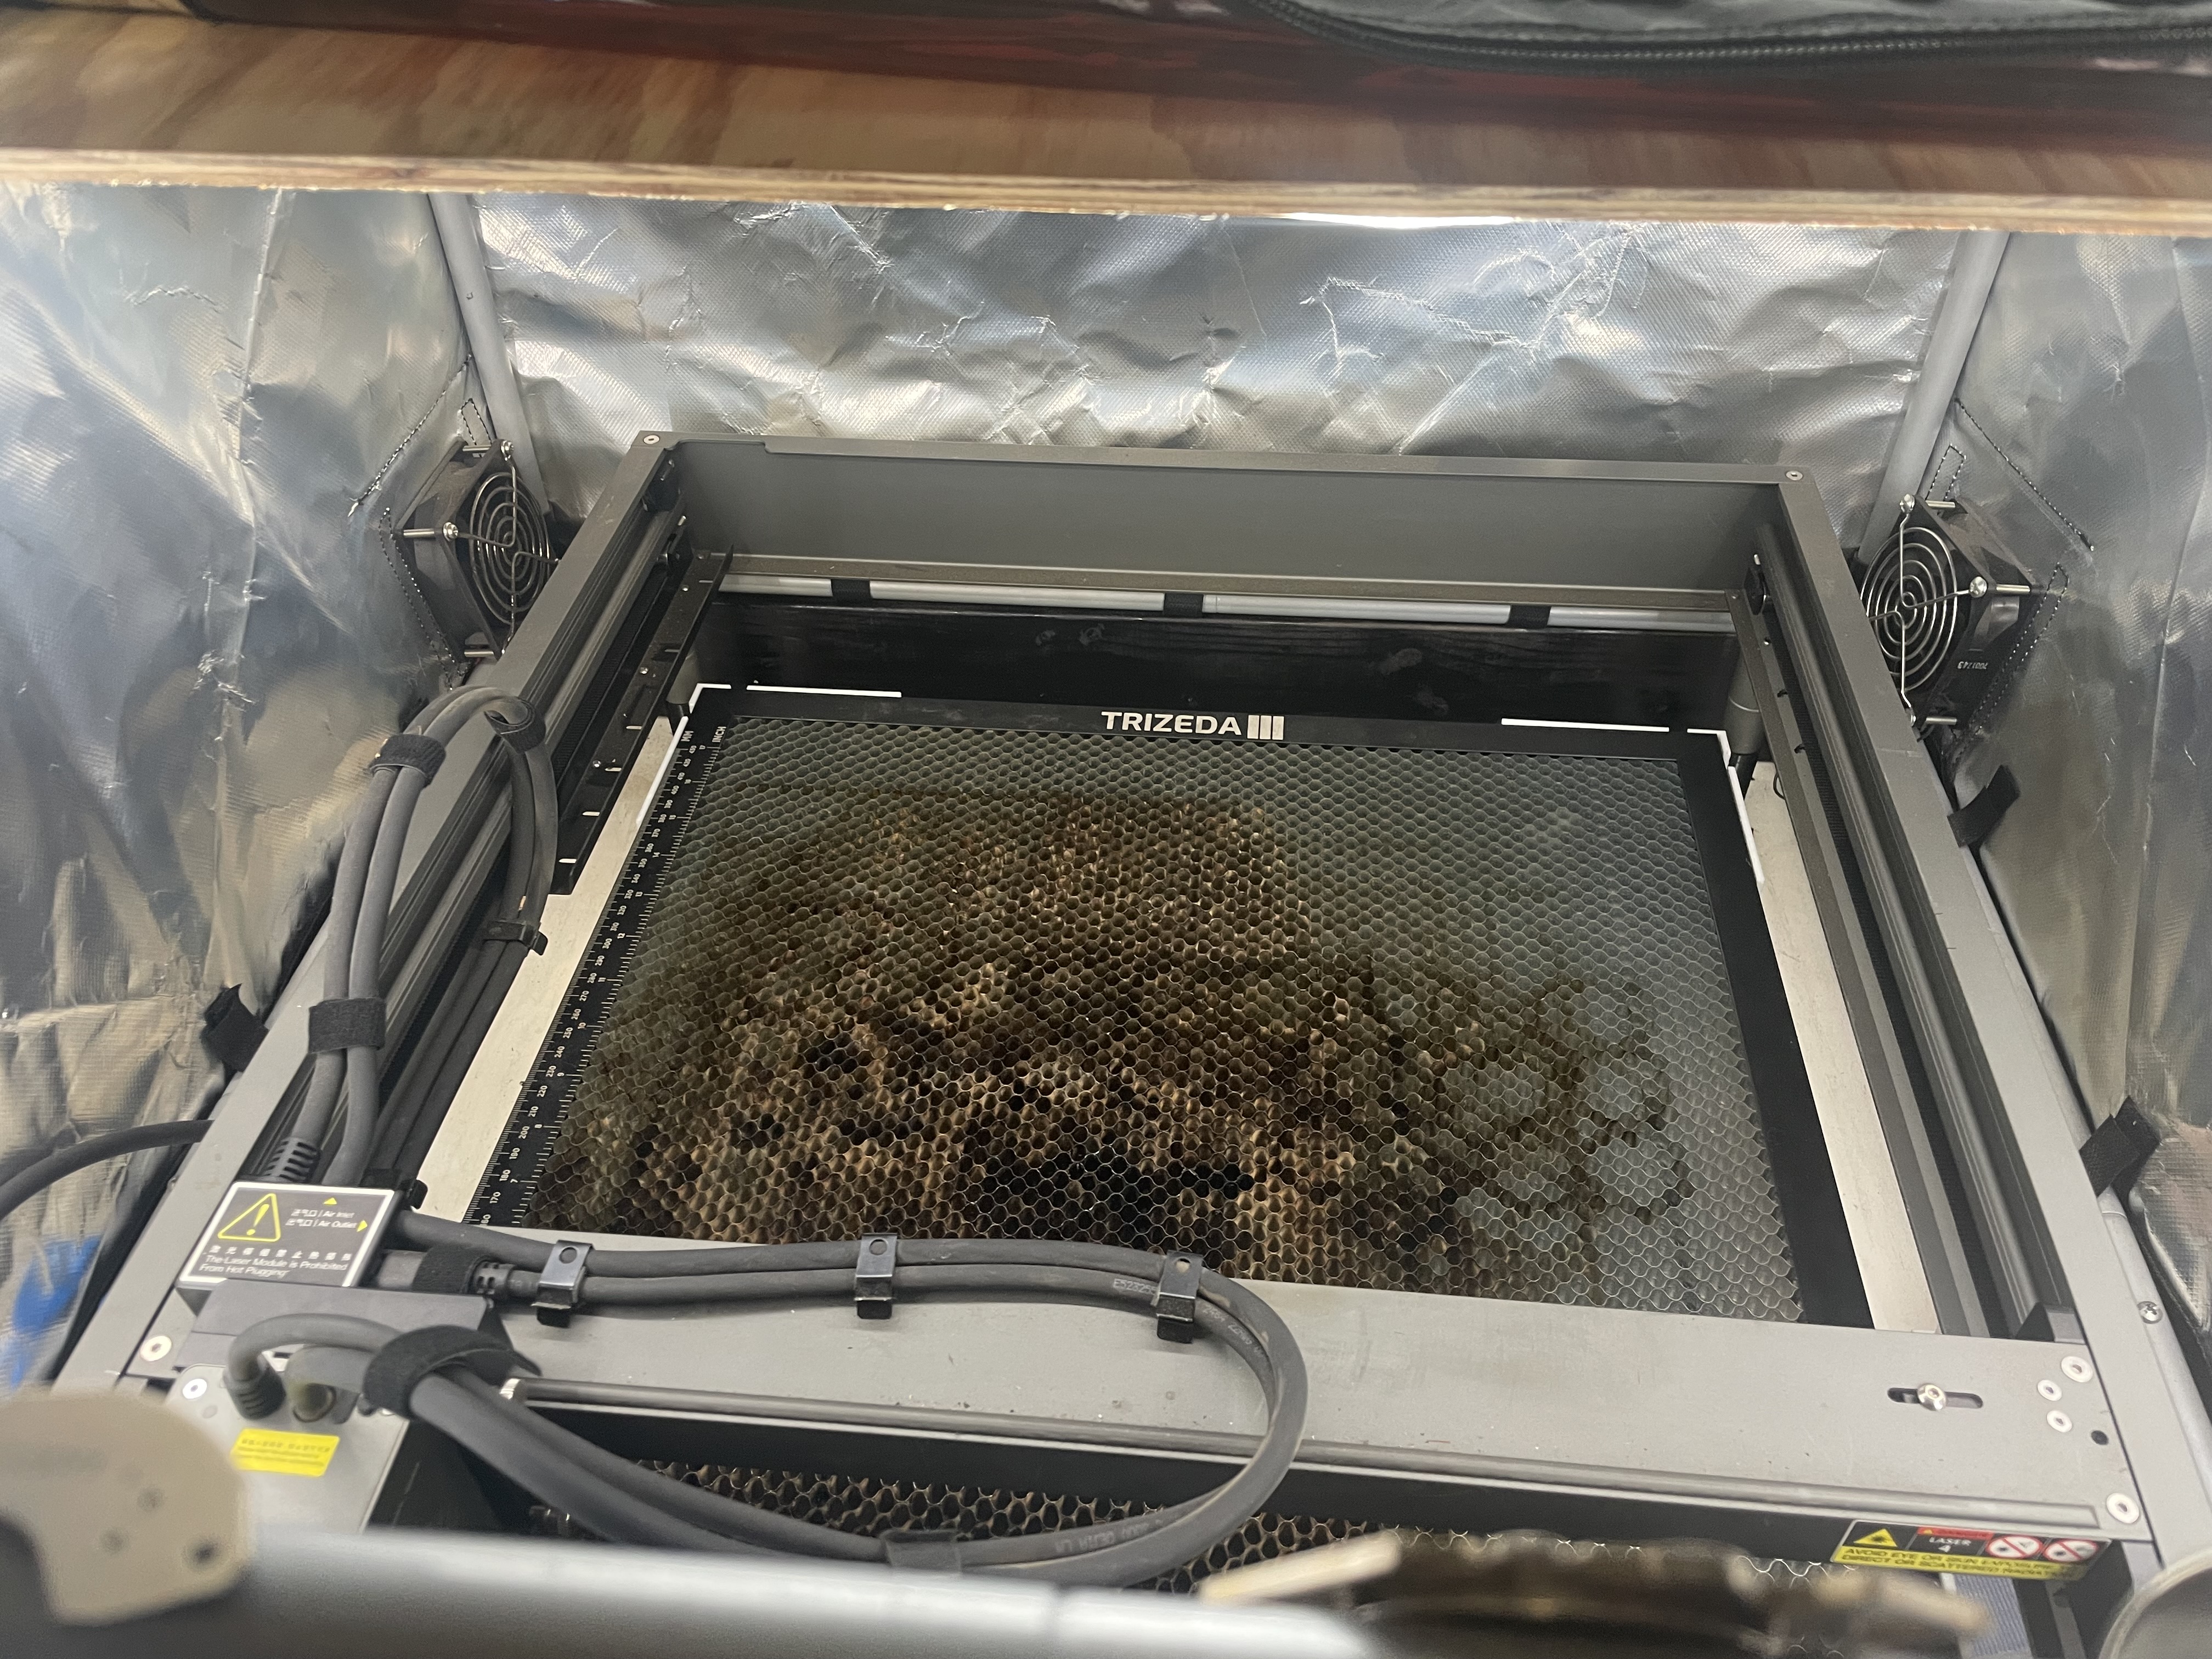
Here is my way of dealing with changing from flat engraving, I 3d printed 4 corners and 4 spacers to raise the honeycomb bed up 3 1/2”. Then I added a 2x4 base to raise the cover and camera up the same height. I 3d printed 3 1/2” spacer for the feet of engraver. Now I can switch from flat engraving to rotary in less than 30 seconds and reverse it just as fast.
I considered doing that also but with may z axis being stepper motor driven I didn’t consider that when I built a 12" tall enclosure ( I didn’t consider the air input to it on my calculations) so I thought that down was better then up LOL
On the other end of that table I run my CNC router so IO was tired of lifting it up to clean it as I am limited to 10lbs of lifting. I also wanted it to be able to be easily moved to allow service and also if I wanted to run a longer piece of material through it.
great ideas, originally I was using a 1905 school desk (it was one my great grandmother sat at)
and wasn’t willing to even put a screw in it LOL, now that I am using a steel one I probably would have done an overhead lift on a mini spooler or a linear actuated lift if I hadn’t already made the enclosure.