Transformers certainly are expensive. Speakers? If I had to guess, you have CNC woodworking equipment? Good speakers are the most overpriced thing in the world. I would think that you could make some pretty good cash… Or is it just a hobby right now since retirement?
This is a good Google font to score on acrylic. You can mess around with it, but the Roboto Condensed Thin works well. It is not a single line font, but the width of the font is about 0.006" at a height of 0.2".
Ralph, Thank you very much. I have been working with the text and have actually compressed and expanded some test fonts. I had settled on two fonts called “FIN” and “MSIMPLEX” but will work with your suggestions as time permits. I am always eager to make improvements and always appreciate suggestions. Chris.
CNC on plastics usually needs lots of air for cooling and chip removal to prevent the melting side-effect. Also, using the o-flute (one-flute) bits actually carve/scrape the plastic off and remove it along with the heated piece instead of burnishing it into the base material.
Something like this might help, but I am just using this particular one as an example.
Just a though… Lasers are more precise than even a 1/32nd bit tip for sure, but sometimes CNC can work as well.
I have taken everyone’s thoughts and suggestions and worked with them tirelessly. What started out as an embarrassment has turned into something that I am pretty proud of. I ended up changing the font(s) font sizes, speed and power settings and defocusing. Basically everything. ![]() I also cut the power back to what was just over the point of no paint cut through and then ran many tests varying the speed to come up with what looks best. I’ll post a picture of the updated project soon. I still need to put it into the case so that I can take a picture with the backlighting on.
I also cut the power back to what was just over the point of no paint cut through and then ran many tests varying the speed to come up with what looks best. I’ll post a picture of the updated project soon. I still need to put it into the case so that I can take a picture with the backlighting on.
However, I had one oversight where the defocus screwed up my cuts. The cutouts are frosty and the paint along the edges is rough. Is there a way to have Lightburn adjust the X axis (table height) for each layer?
Thank you to everyone. I couldn’t have gotten this far without your help. Chris.
I have tried many single flute cutters and they worked but the surface of the acrylic is painted and the paint in the centers of the O’s and 8’s etc. flake off. Air cooling did help. I had pretty good luck with small circuit board drills but they would break easily if run at a decent travel speed. I have since obtained a refrigerated air cooler which could also help. However, it looks promising that the laser will work out okay.
Painters tape over these areas help with painted areas when using an upcut bit.
To start with the second part of that question, I don’t know ![]() , but that leads me to the first part of your question. It certainly shouldn’t be necessary with “our” machines. Up to about 6 mm I get very nice, smooth edges with the right setting, you should be able to achieve that too. Up to about 3 mm I don’t defocus, up after a few times, but mostly to achieve a straight cut. The only small problem that sometimes occurs is sharp edges. I deburr them either with a deburring tool or a sharp knife or with heat treatment.
, but that leads me to the first part of your question. It certainly shouldn’t be necessary with “our” machines. Up to about 6 mm I get very nice, smooth edges with the right setting, you should be able to achieve that too. Up to about 3 mm I don’t defocus, up after a few times, but mostly to achieve a straight cut. The only small problem that sometimes occurs is sharp edges. I deburr them either with a deburring tool or a sharp knife or with heat treatment.
Thank you again for the note. Tonight I found that it is possible to change the focus for each layer in Lightburn. It’s very simple and works great. My perfect out of focus (text) distance is 19mm and my cut focus is anywhere between 8 and 12 comfortably. This setup makes the cut edges and the text both look great. Now I am working with the backlighting and am going to try some different paint colors but black is great. I am using satin and want to try gloss too. I would think, even though protected, gloss would be more durable. The paint is sandwiched between a backlit panel that holds the controls. In front of that is the “etched” panel with the paint, which is basically a 1mm overlay. The lighting that I have designed is working very well but I would like to simplify without sacrificing intensity. I’ll post a picture after I get the latest burned panel into a lit case.
4 Likes
You are correct. I have a couple large AVID machines. I do some custom builds to order, but LightBurn keeps me pretty busy and I have much less time to play in the shop. Although now with MillMage coming I am still encouraged to spend a few hours in the shop on company time. Keep the skills sharp.
Yes, high end audio is so overpriced so I would much rather build my own. I have some nice products to prove that you don’t need a million bucks to get great sound.
1 Like
That’s awesome. I am very new to Lightburn and have only been using it for about a month. It is by far the best piece of software I have ever used. I was expecting nothing special and thinking it would be just another stuffy Corel or similar to the half baked Artcam. Was I ever wrong, Artcam is superior in every way. I hadn’t heard of MilMage until you just mentioned it. I just researched it and now can’t wait to try it. I too am going to fire up my CNC soon to give it a try. I have a few parts to cut and was not looking forward to dealing with Artcam.
Yep, In my world a Williamson amp sounds better than any solid state amp. Perhaps its because my ears grew up with tubes? There is just something about 1%THD that I like the sound of. ![]()
I just noticed… 35mmX35mm. That’s incredible. I love the clip together design and am going to keep it in mind. Great idea. Did you create it for a specific purpose?
It’s a “found” file that I use regularly to test my settings such as kerf settings on the different materials.
I’ll post a link here as soon as I’m back from my little business trip.
Cool, thx.
Like a warm fuzzy blanket
1 Like
Electric blanket… ![]()
1 Like
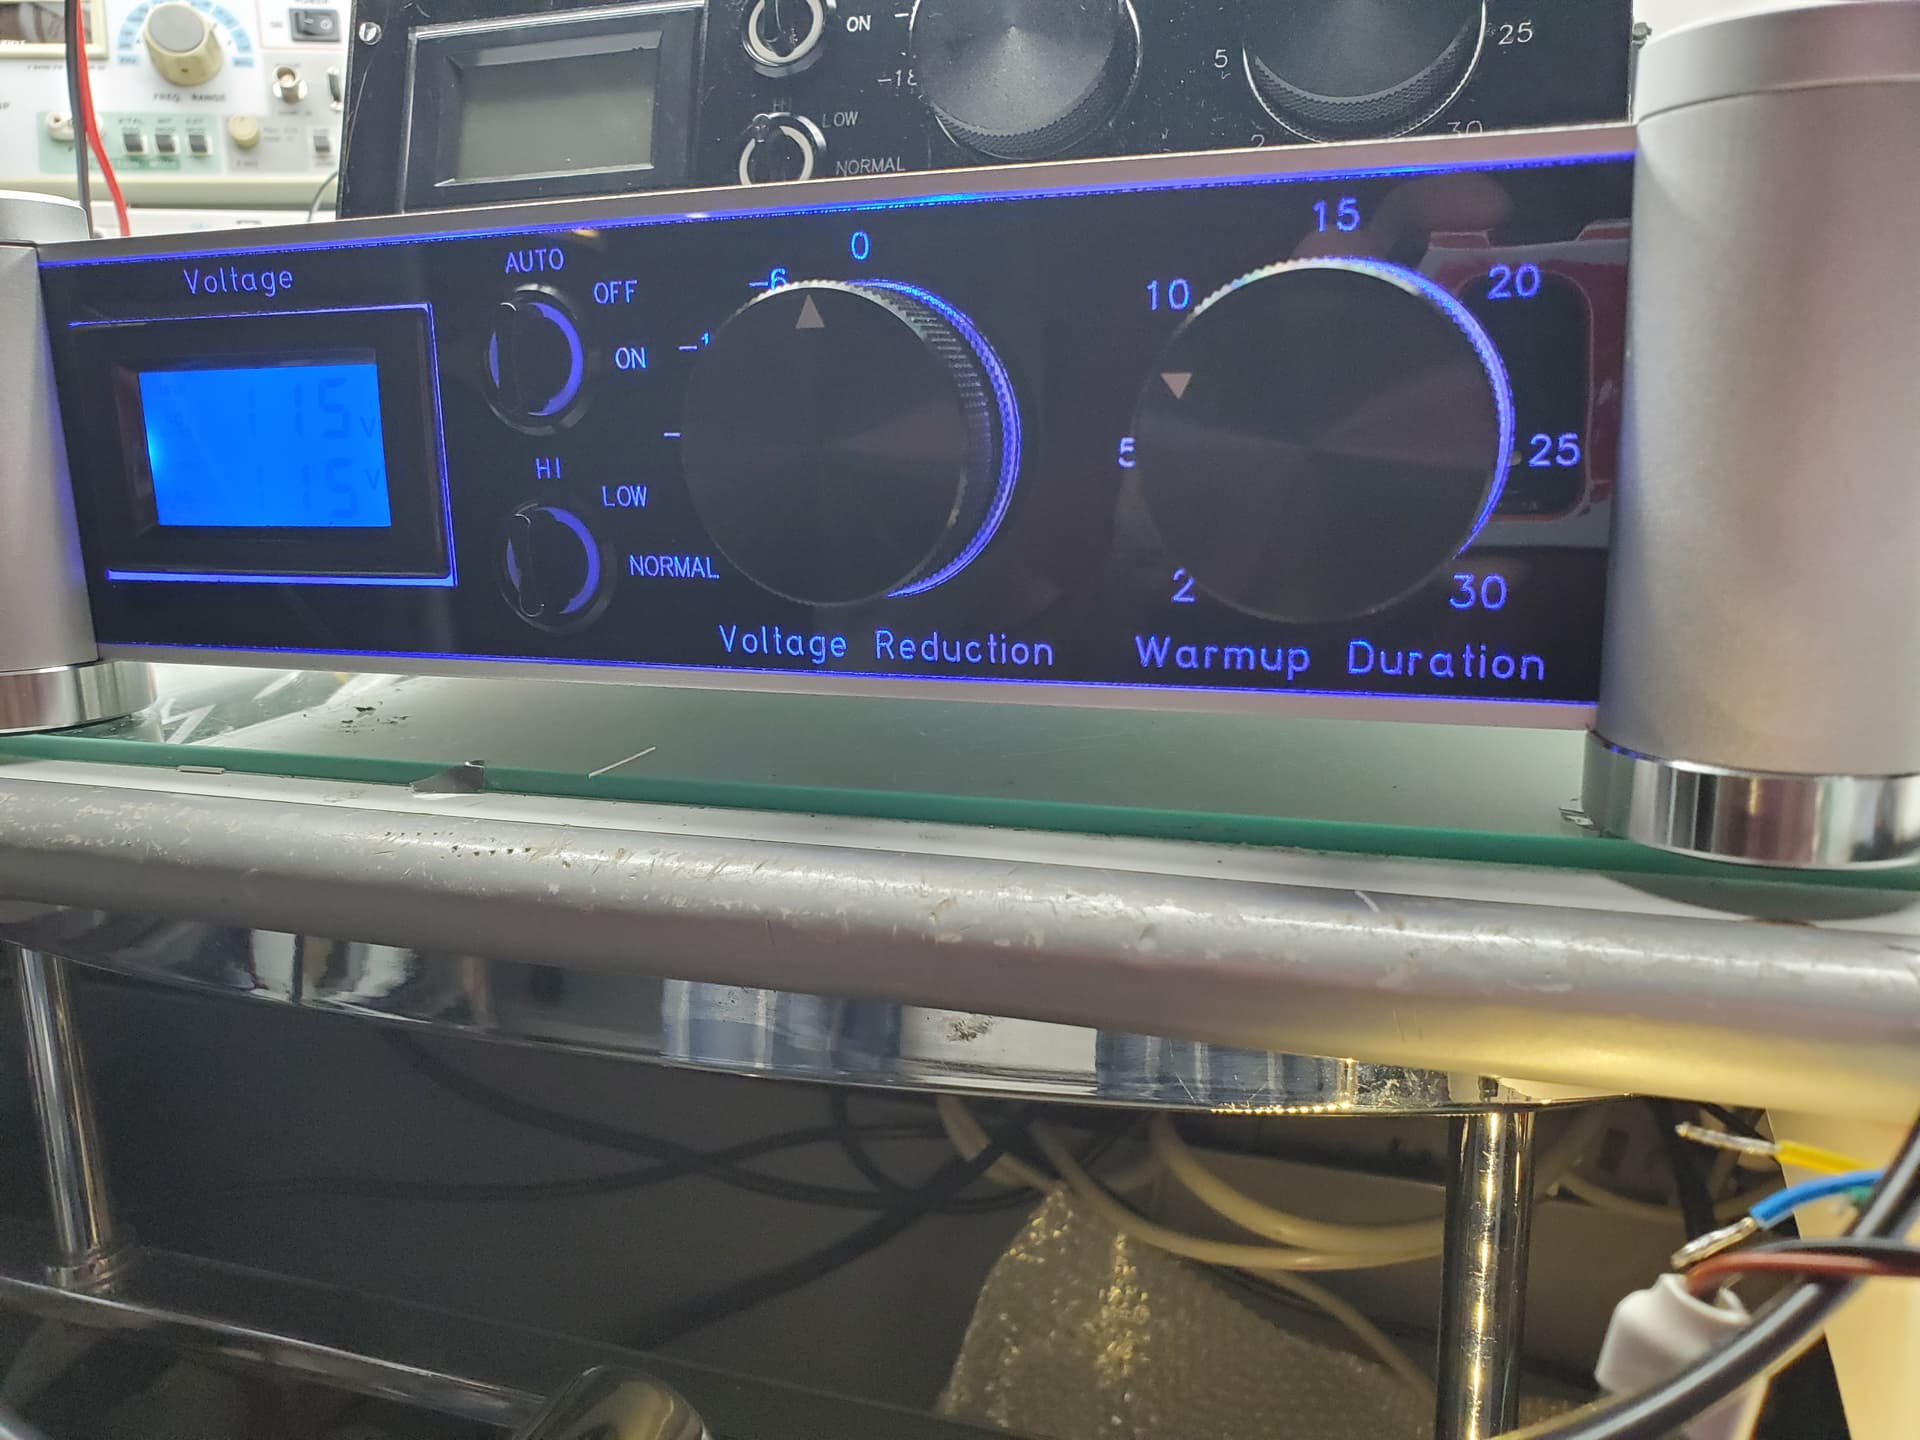
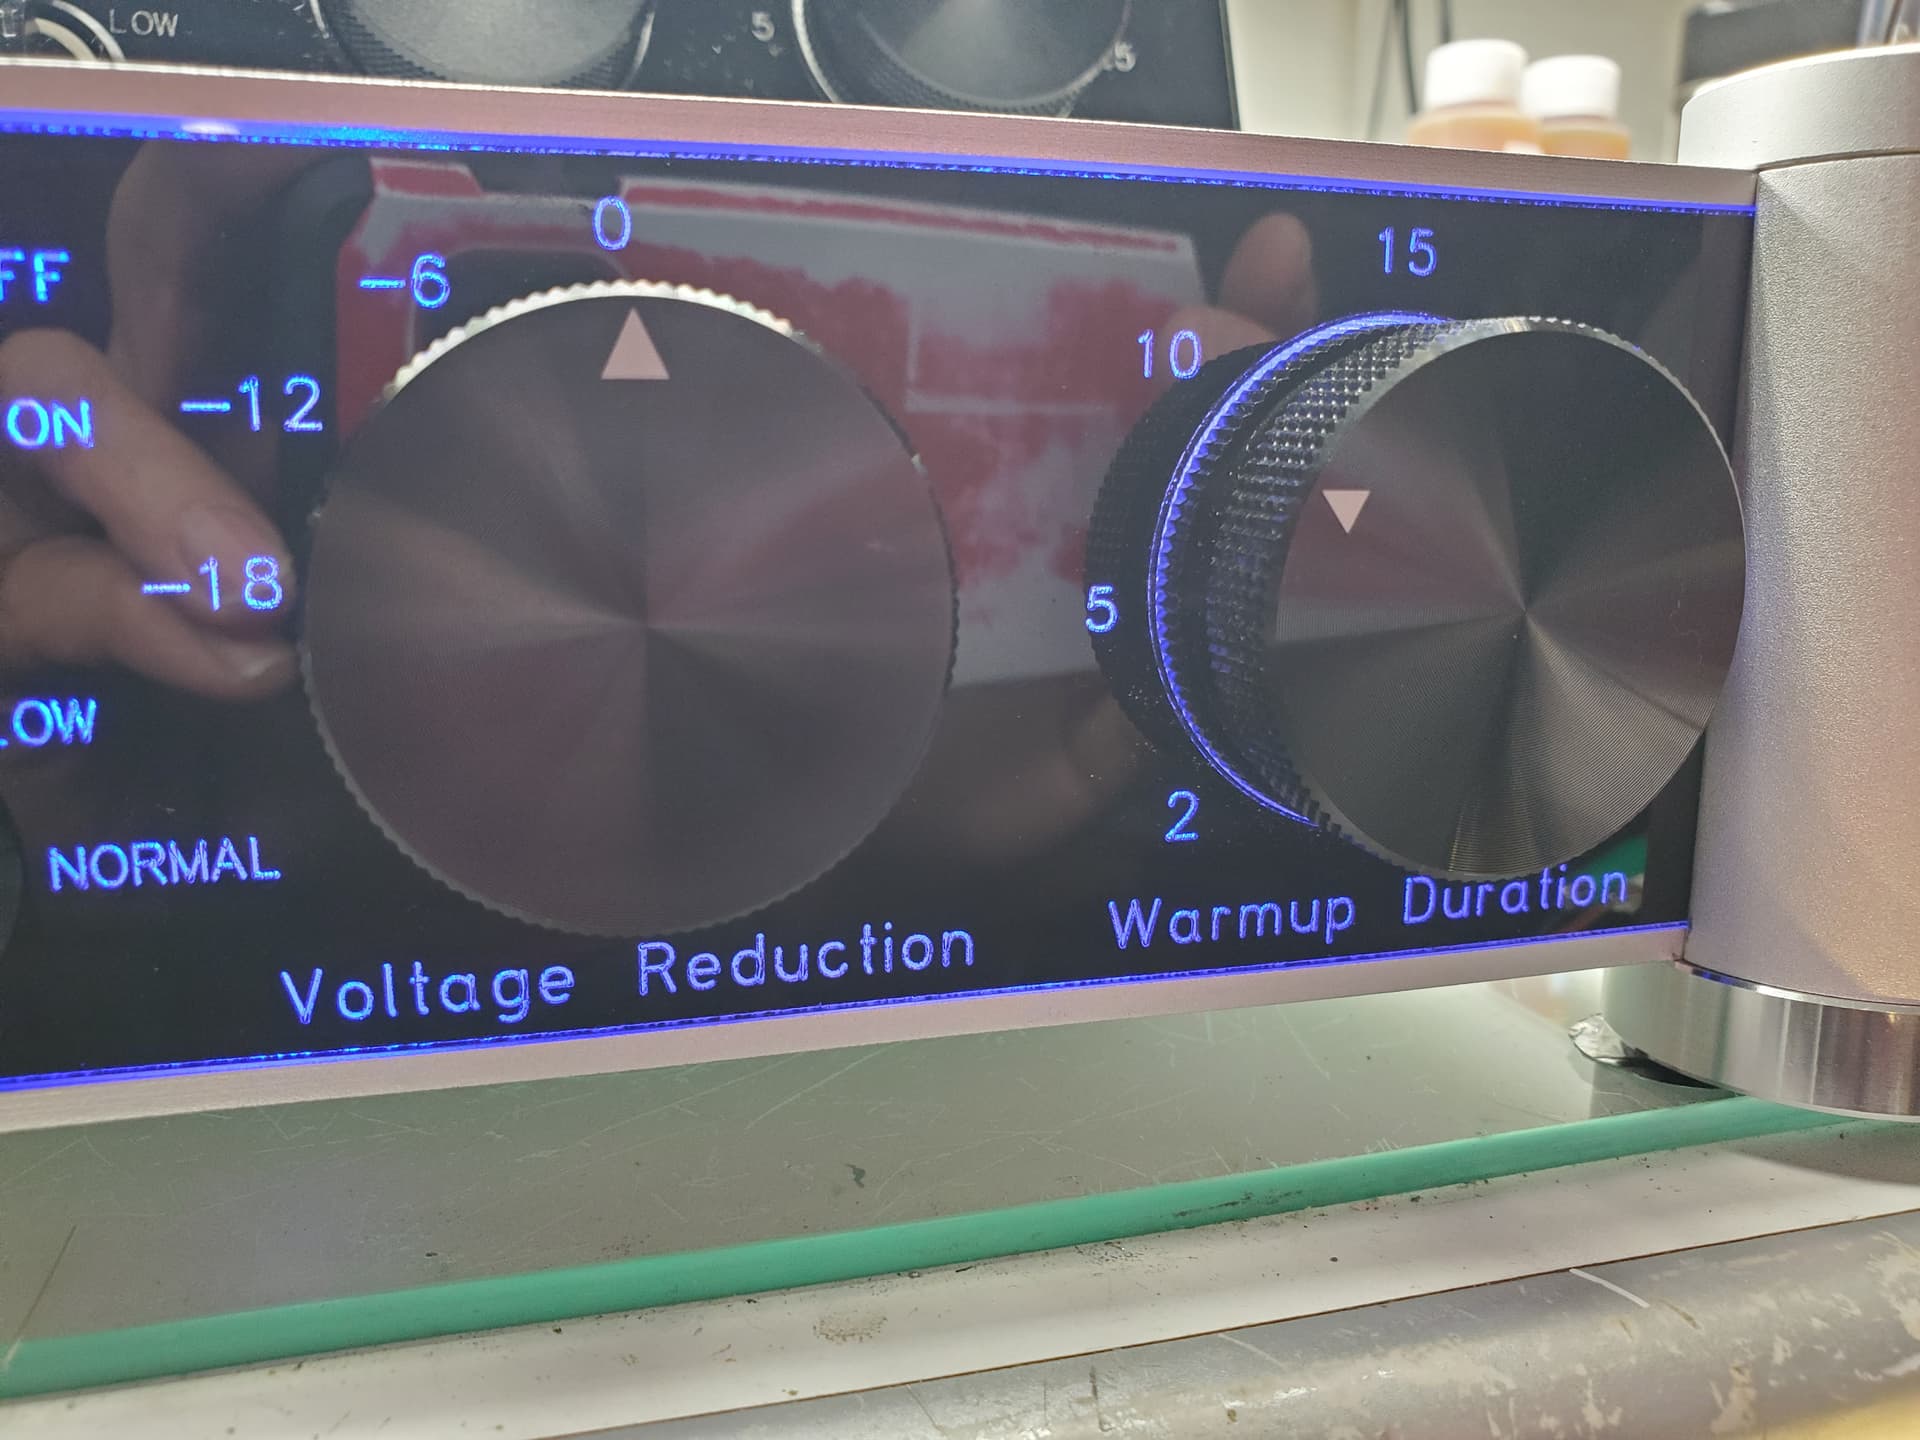
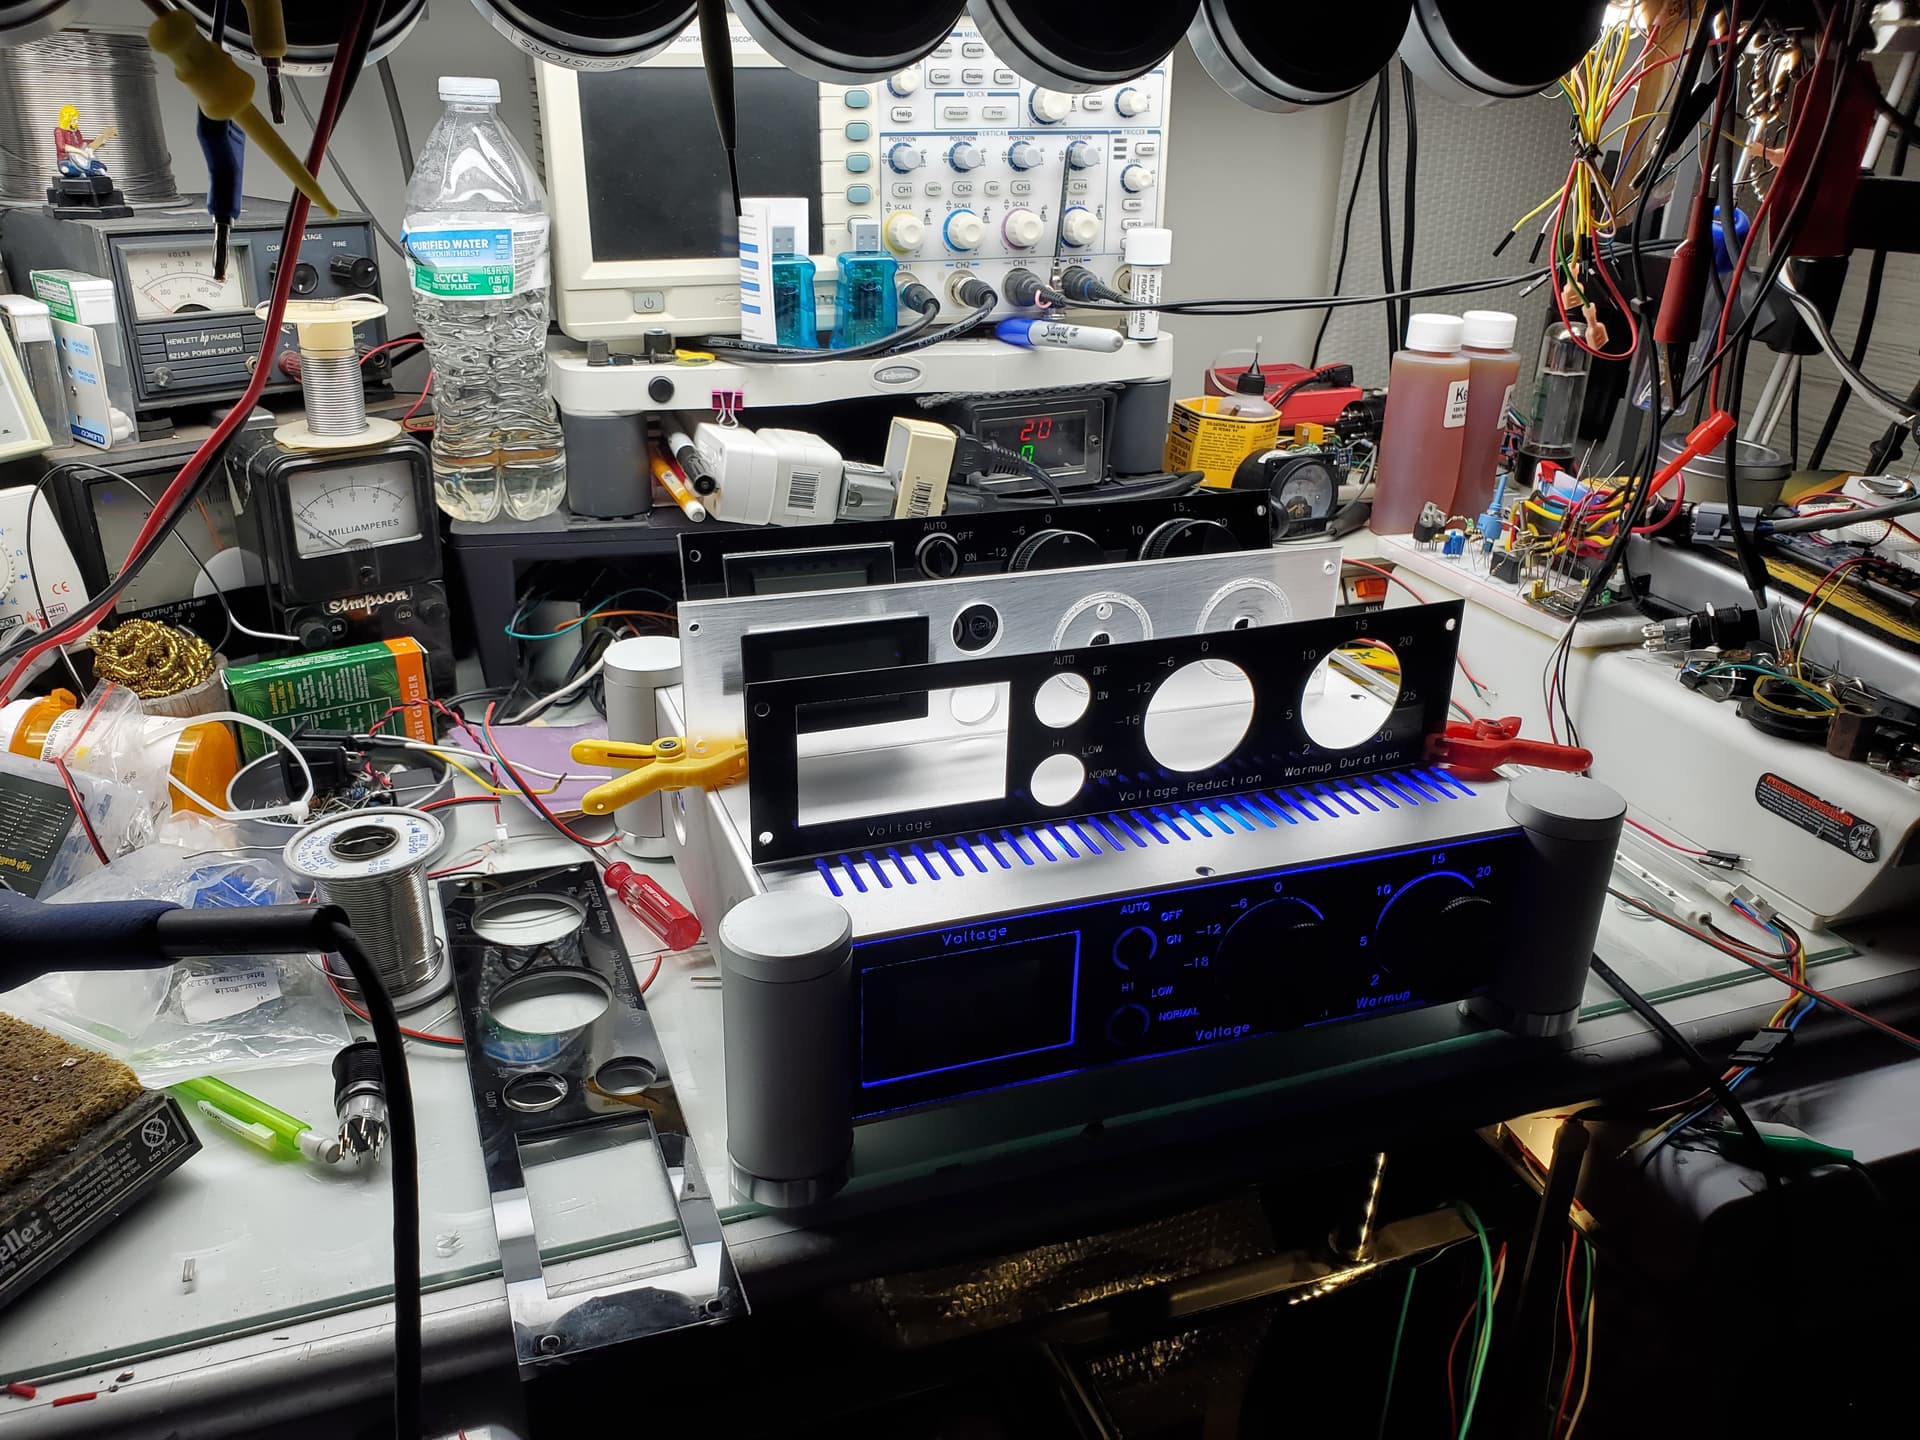
As promised… Here are a few pictures of what I ended up with. I have since perfected the cuts so they are no longer jagged. The text is just rough enough to reflect light and not look grainy from a reasonable distance. One thing that I learned that I haven’t mentioned is that Rust-Oleum 2X (Charcoal satin) needs to age before cutting. After 3+ days of drying time there are no flames or flareups. The burning paint odor is also 1/10 of that of the paint simply dried overnight. Also, this paint is so far the best as far as inclusions and ash creation. It does require a wash to clear the slight ash residue after burning. I simply use a kitchen sink sprayer to rinse it but my wife caught me in the act tonight so I may have use the bathroom sink and her toothbrush in the future. ![]()
Included are some pictures of how the parts fit together in case someone wants to create this kind of panel for their project. It really does look nice. Thank you again to everyone who helped with this project. I couldn’t have done it without you. Chris.
5 Likes
looks great… Now let’s just hope your wife isn’t avid reader of the forum
Thank you… I’m not worried, she is forever glued to the TV and telephone. ![]()
I’m a doer and she’s a sitter. ![]()
2 Likes
1 Like