I’m new to the laser engraving topic and have chosen the biggest challenge first: grayscale images
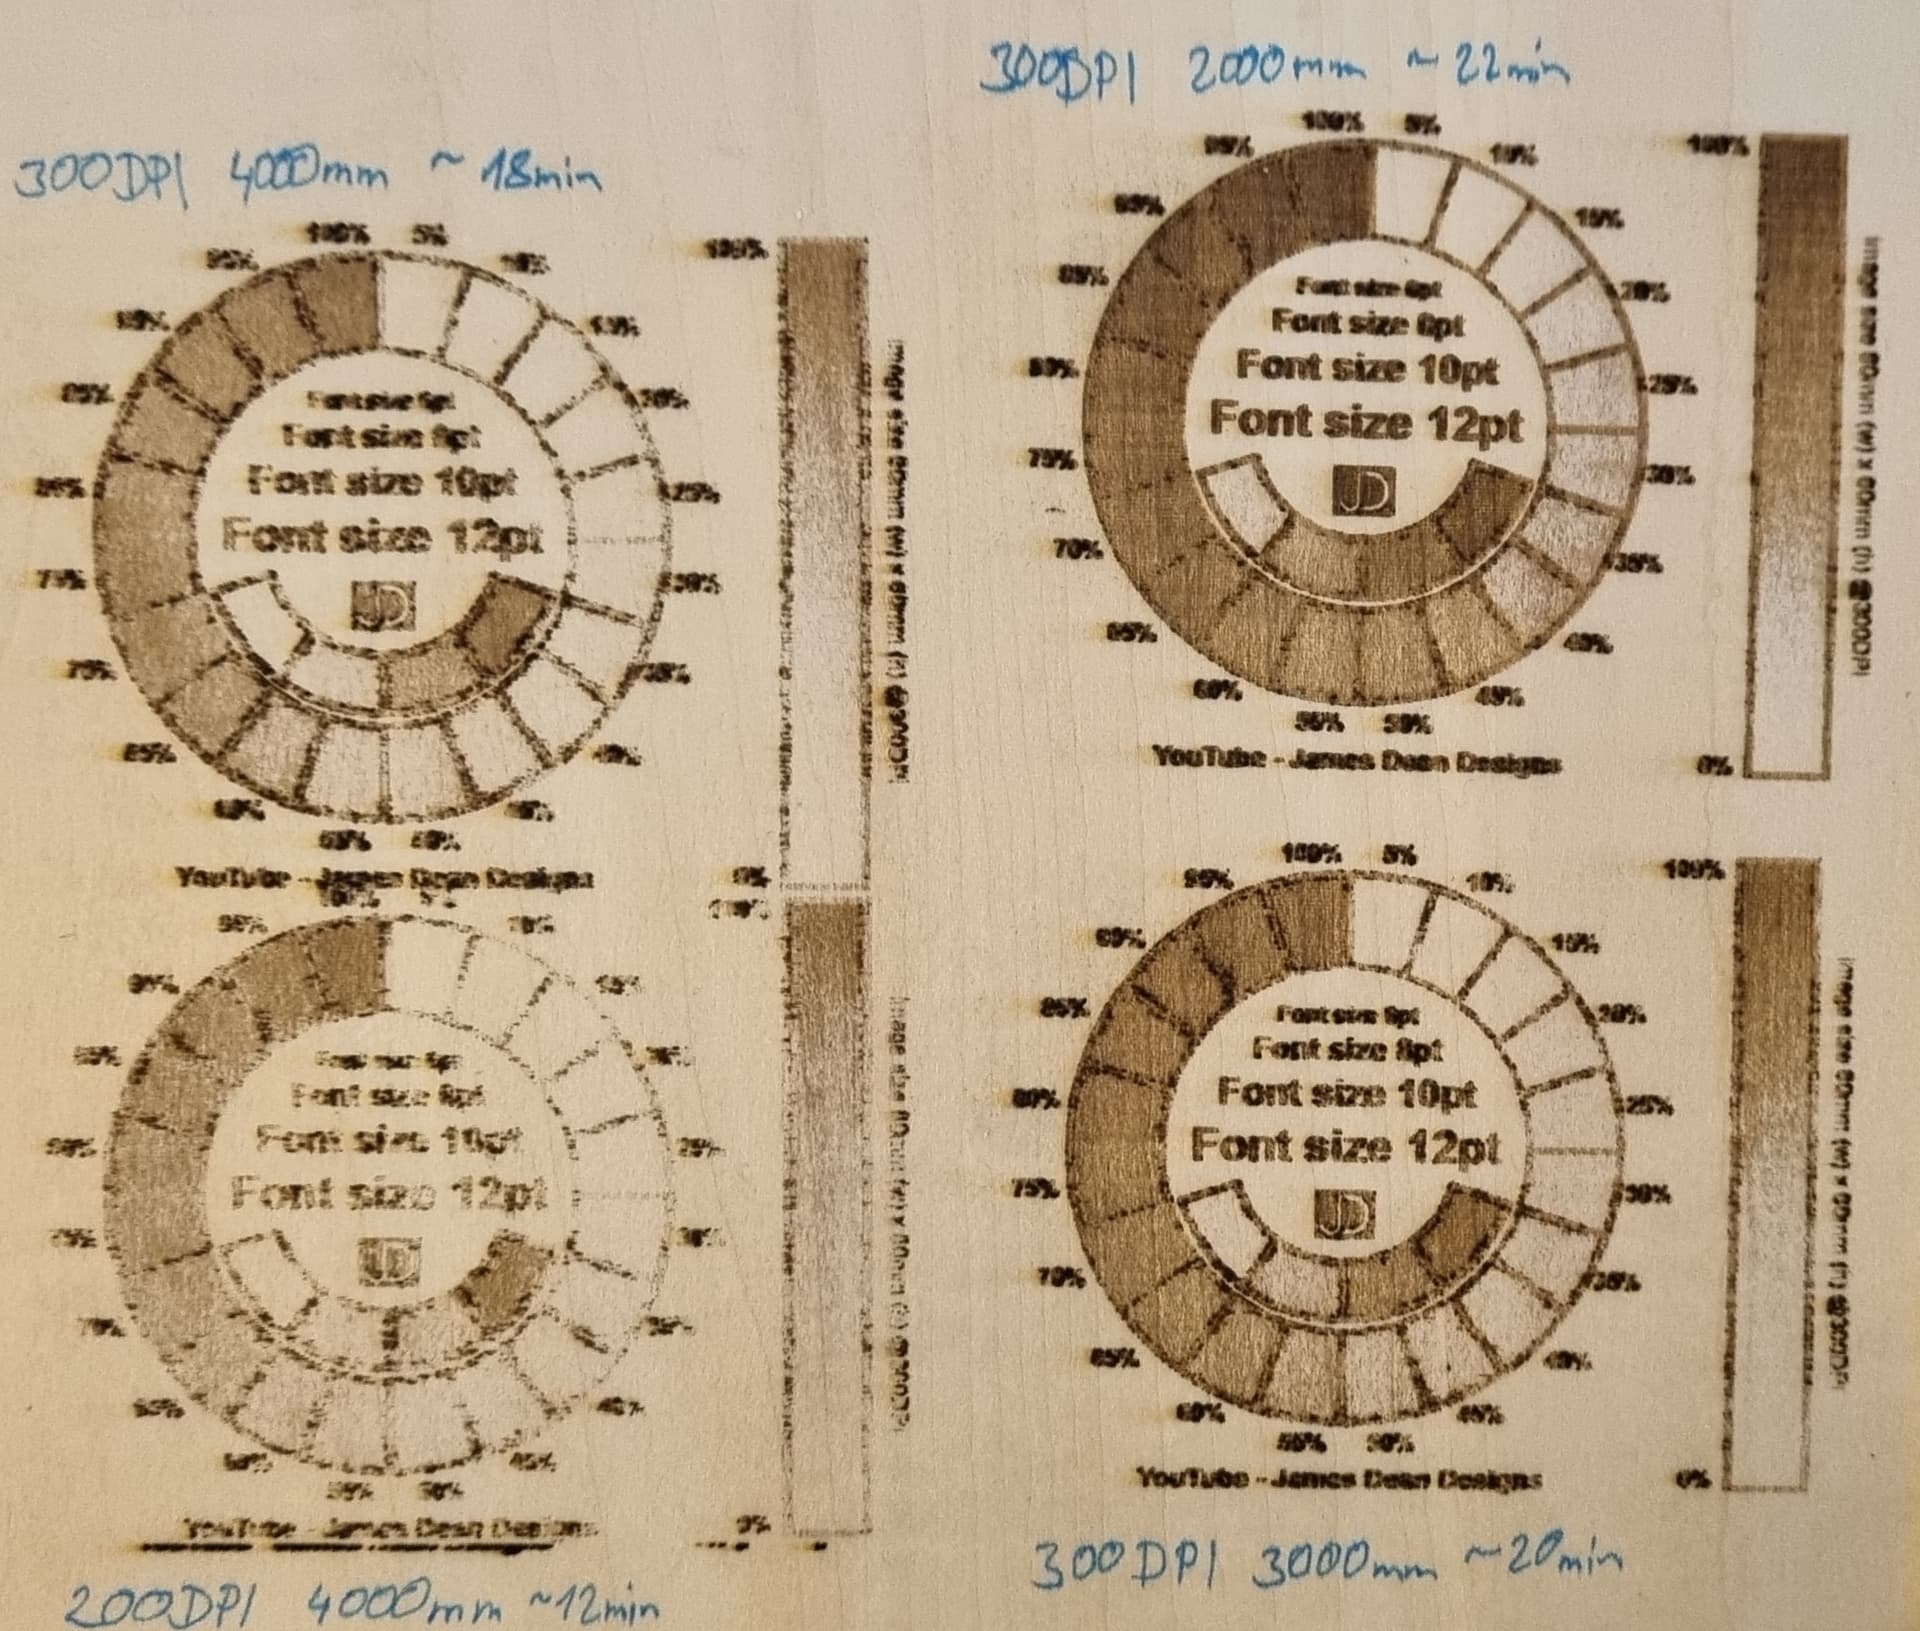
Unfortunately, I’m facing here a big issue as you can see in the pictures below. The test image burns with an okay quality (not good though), however, whenever I choose a different picture it looks not even near grayscale. Do you have any hint what I’m doing wrong here?
maybe you could post the original greyscale image?
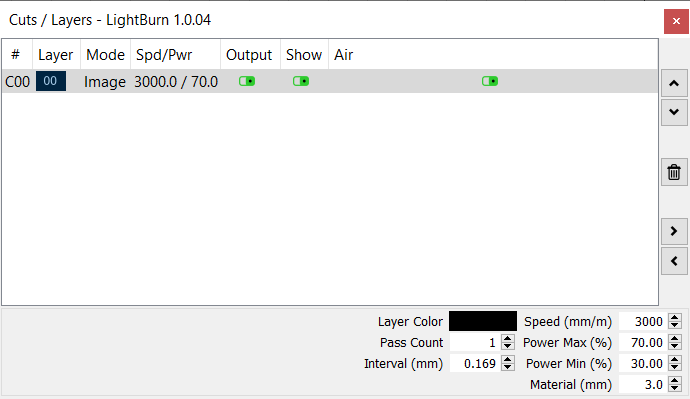
from your tests it clearly shows the quality degrading as you lower the DPI and speed up the pass, with 300dpi and 2000mm/min best, then then you engrave the image at 150 dpi and 3000mm/m, less dpi and faster in fact a lower dpi than any of your tests, I wonder why did bother doing the tests?
That aside it doesn’t explain why you got such a patchy image scan, but without seeing the image you are scanning what are we to advise on?
maybe you could post the original greyscale image?
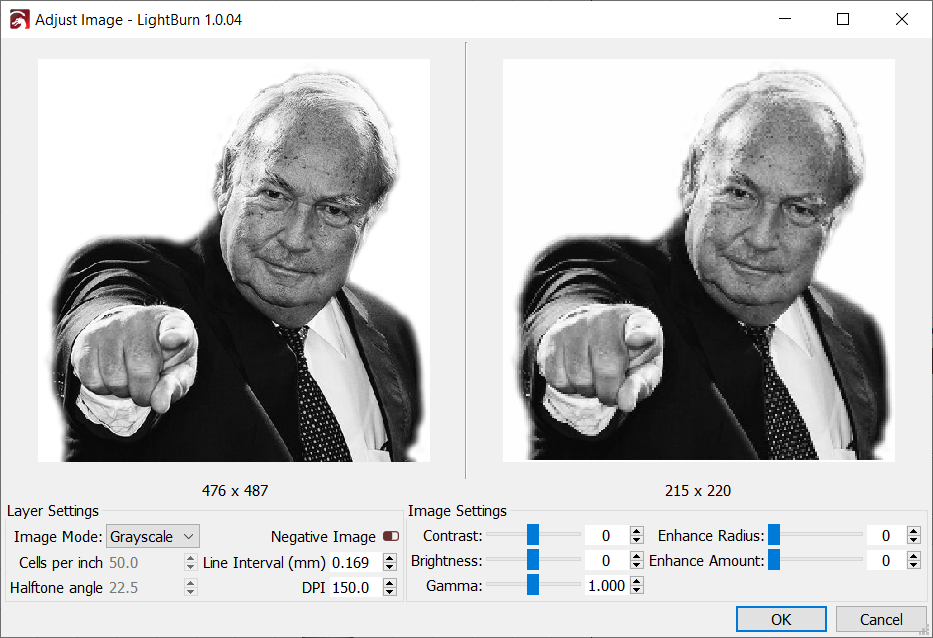
Here you go (random image):
from your tests it clearly shows the quality degrading as you lower the DPI and speed up the pass, with 300dpi and 2000mm/min best, then then you engrave the image at 150 dpi and 3000mm/m, less dpi and faster in fact a lower dpi than any of your tests, I wonder why did bother doing the tests?
You can ignore the fact I tested 200DPI with 4000mm/m. It was my first print of the tests where I forgot to adapt the DPI to correct 300 (started left bottom → left top → right bottom → right top).
That aside it doesn’t explain why you got such a patchy image scan, but without seeing the image you are scanning what are we to advise on?
Since I’m just experienced with 3D printing where you can easily give people some hints if you see their bad printing results, I thought that this is also possible in laser engraving. Apologies my assumption seems incorrect
You can drop your .lbrn2 file on your reply window and it will upload for us to examine. There is also an upload icon on the tool bar of the reply window.
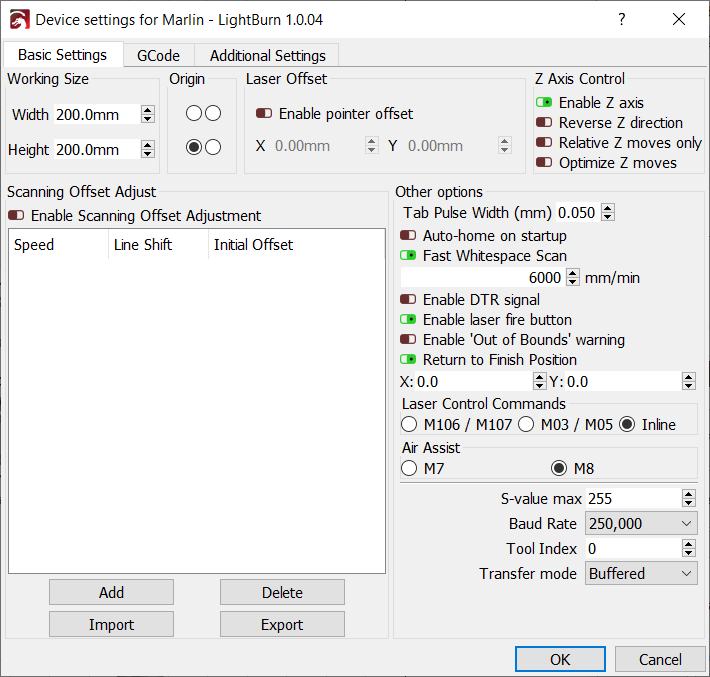
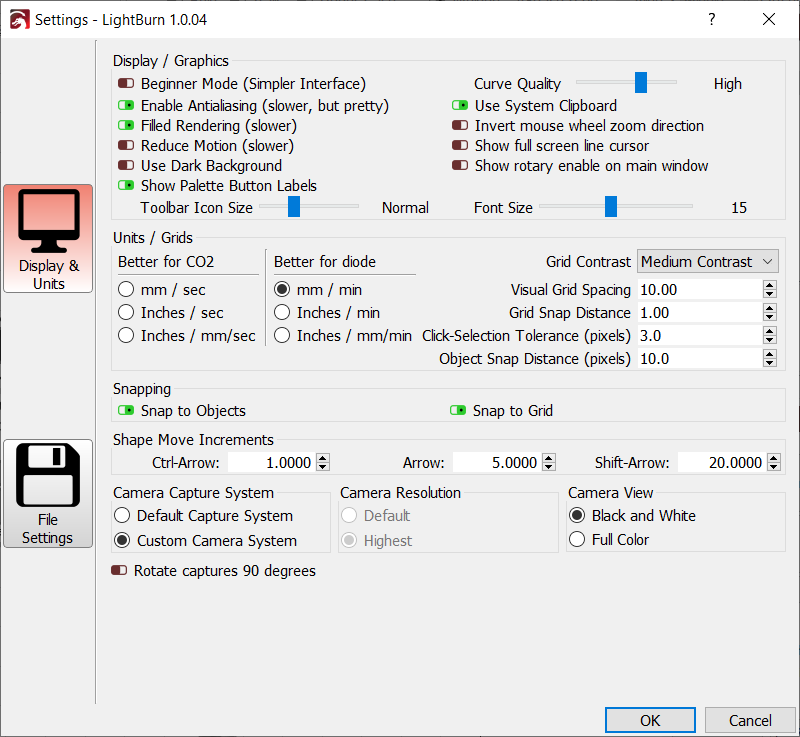
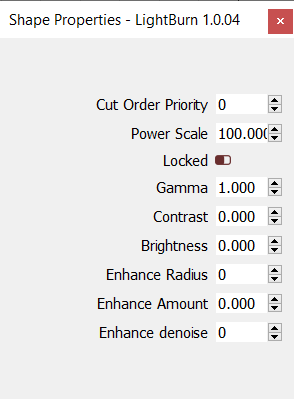
All of these settings are important, so instead of just guessing, we are a little more precise.
The issue is almost certainly the Marlin firmware you’re using. Do you know which version it is?
On all but the most recent versions of Marlin, the fan outputs were commonly used for lasers, and they’re only updated by the firmware about 10 times per second, which is not nearly fast enough to do grayscale or dithering with a laser.
To make it worse, they also tend to “ramp up” the power when turning them on, so the fans don’t pull too much current when starting to spin. You basically have to recompile the firmware with the ramping disabled and the update rate for the fan outputs set to 1khz instead of 10hz.
Thanks for the input. I’m using latest version 2.0.9.2 . I have tried the suggested fix of the marlin.cpp function yesterday without success
The quoted thread is assuming I’m using FANx pin, however, I’m using Servo1. Do you know if the described frequence issue also impacts the Servox pins?
I honestly couldn’t say, but if it’s intended to drive a servo (like, a remote-controlled car / plane hobby style servo) they are updated at 50hz, and have a PWM range of 0.5ms to 1.5ms, so the shading would be horrible.
(This is just from experience using a microcontroller to run servos, not specific knowledge of Marlin firmware)