Help with autofocus kit installation?

Thanks.
Yeah that worked. I actually had somehow already inverted the keypad and undoing that fixed it.

I’ve set the machine origin to front left in a position where it won’t bump into the side posts. We’ll see if that works.

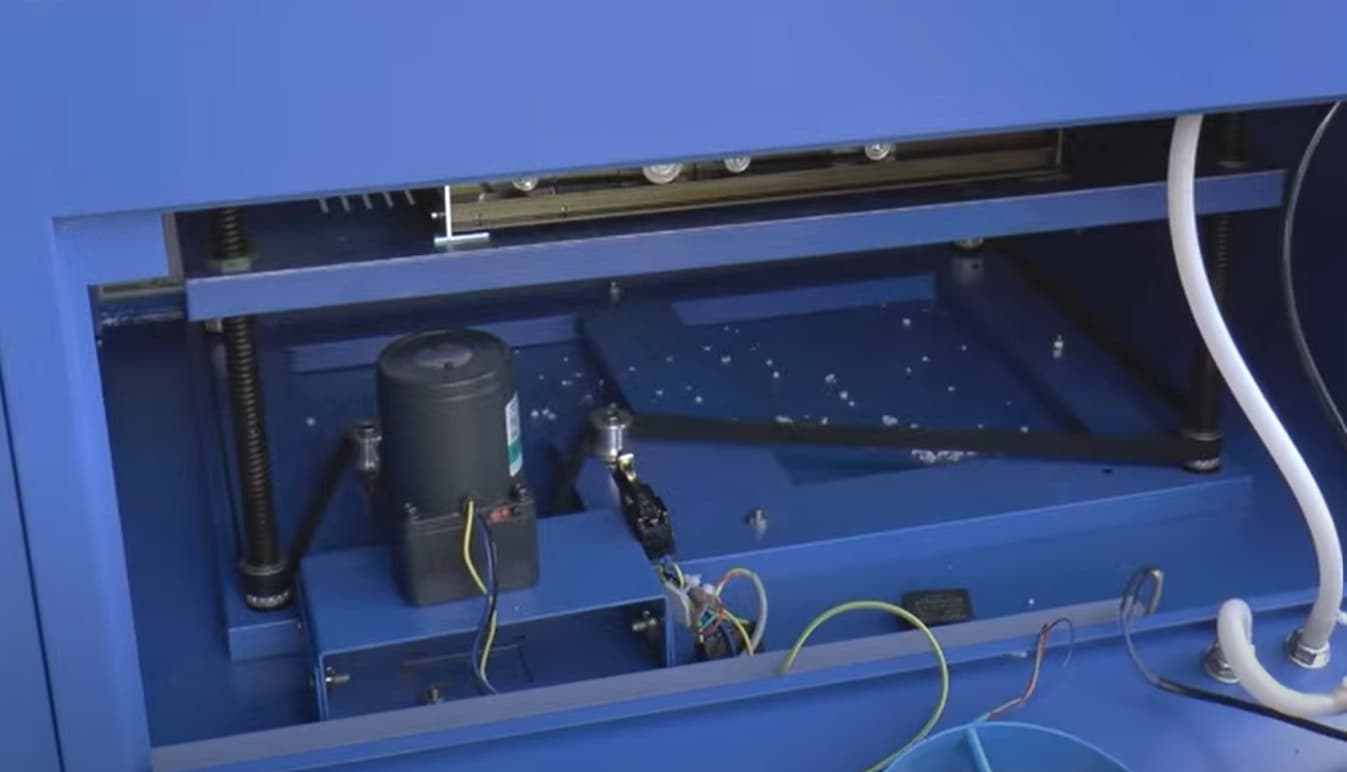
So it looks like I’ve successfully got the Z-axis motor working and the autofocus pen in focusing to the proper distance:)

Now I just need to go back, check my mirrors again and likely recalibrate my camera and then I’m (hopefully) back to lasering :slight_smile:

Thanks for your help!

For what it’s worth, my issue with installing the motor was perceptual, but in case it help anyone with a similar autofocus kit and belt, here are some quickly and badly drawn pictures of where I went wrong and what worked, as I can’t get a good photo of inside my machine.

  1. Here’s the machine floor as it was in the beginning without the motor. The four pillars are at the corners with the belt going around them and the smooth side of the belt contacting a smooth belt connector.

I removed the small original belt connector and tried to put in the motor mount assembly like this:


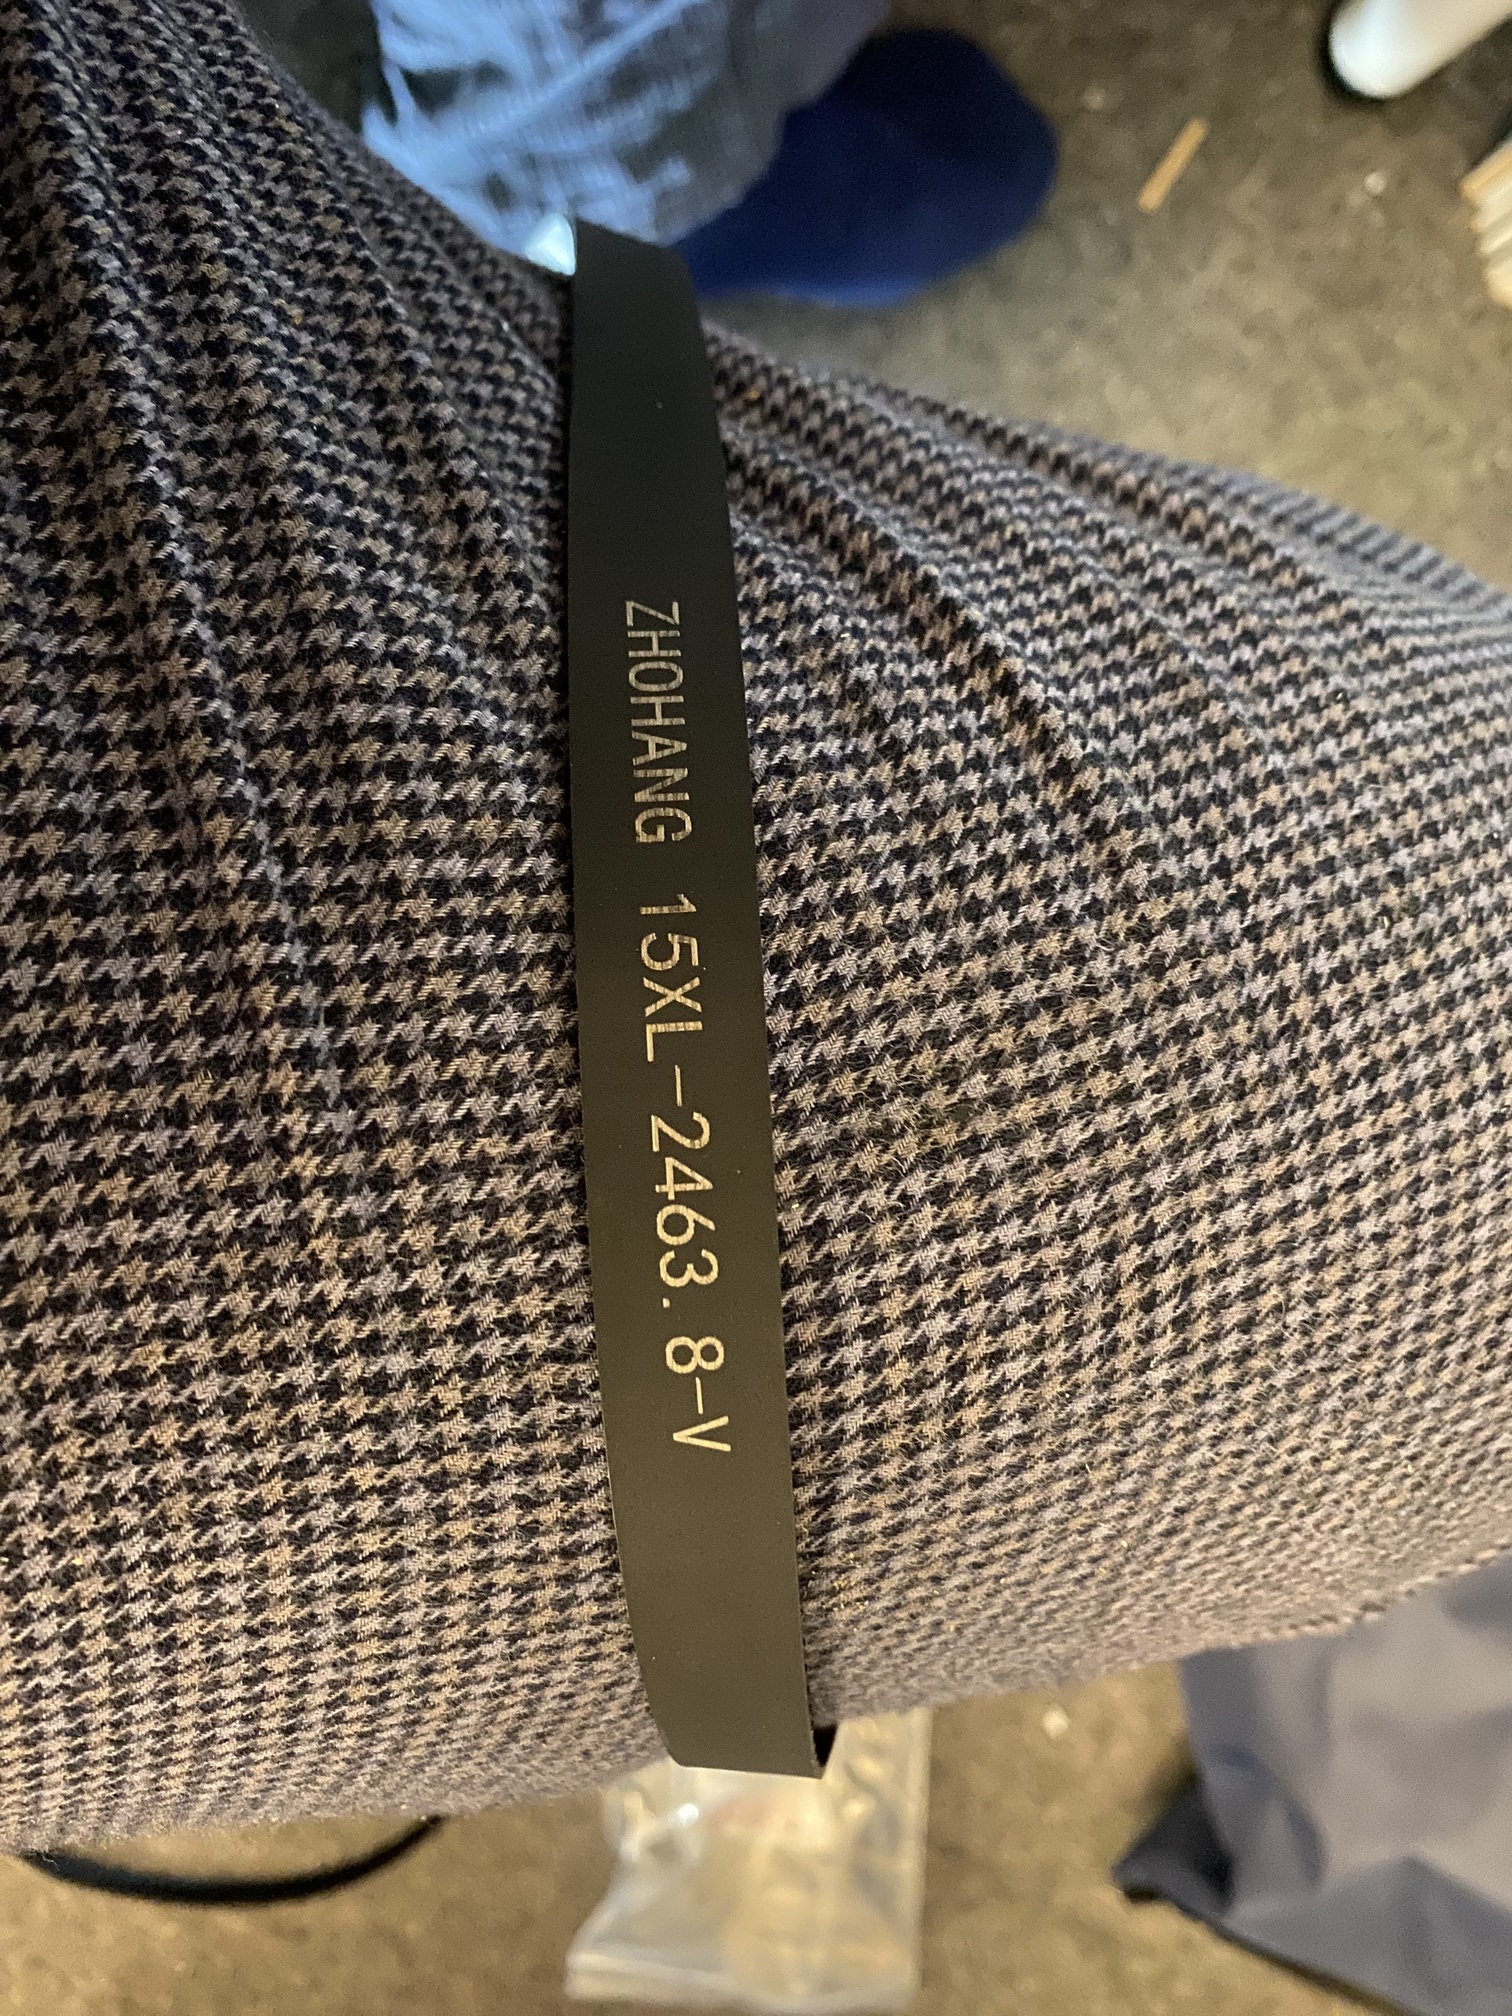
But the belt was not long enough for this to happen. So I tried turning the motor mount 90 degrees and there was not enough room at the back of the machine to install it this way and have it fit tightly with the ridged side of the belt contacting the belt connector.
3. I finally woke up in the morning realizing what, perhaps, should have been obvious. I needed to leave the small belt connector in place. What finally worked ended up looking (sort of) like this (the point is using the small belt connector allowed me to turn the motor mount AND get the belt tight against the motor mount belt connector with the ridged side of the belt against the belt connector.

Quickly and crudely drawn pictures but perhaps it makes the point of where I was going wrong:)

And I DO have a “woman cave.” My spouse would probably say it’s the whole house but I have a room with craft stuff – but my husband saw me trying to figure out how to get a large laser up there and kindly allowed me to stick one in the garage where it should be:) Right now my craft space in the house, though, has been overtaken by my daughter’s recent cosplay project.

Thanks, again, for all your help!

I found a video with one installed. Here is a picture how it was set up.

Where were you when we needed you ???

Thanks…

Cheryl, glad you have it up and working properly. Thank you so much for the effort to clarify the ‘fix’ it’s appreciated for a long time, since it’ll be around that long…

I found that I need to ‘get away’ and let this stuff ‘percolate’ for a while. Get in a rush and it’s curtains…

Take care, and thanks @micrololin for the picture…

:smile_cat:

Guess I came late to the party. I found another picture on an amazon listing of all places.

1 Like

Unfortunately, mine didn’t come with a longer belt or another pulley – but I found a way to make it work.

Sort of. It raises and lowers smoothly but I just tried my first test cut and engrave and am finding it gets the correct autofocus but after the job starts it just starts lowering the bed endlessly. I have “relative z moves” enabled.

Does anyone have any idea what could be causing this?

I have seen this, just recently, but can’t seem to locate it.

Have you read about the Z operation in various modes in the Lightburn documentation?

Most of the way down… I think you’ve about picked my brain on this… however @micrololin may be able to point you to a solution…

Good luck…

:smile_cat:

Thanks. Perhaps I’ll start this as a separate topic as it’s a bit different than motor installation.
I have read the page you cited about z moves and I’ve tried toggling various settings off and on.
Thanks

Yep, good luck with it…

Sorry I can’t be of more help.

:smile_cat:

Might just be us, but the first thing we disabled on our larger laser was the “autofocus”. Crashed the head into fixtures and product about 3x , and we found it was faster to disable and just manually adjust with a 6mm thick token. What took the hardware and buttons 3 mintues to do before takes me 10 seconds.

Just something to think about if you are reading this thinking of “needing” focus for your laser. PLus, when you set it, you can adjust on the fly for extra thick materials, or sharper (or less sharp) lines. For instance, when I laser cut charcoal foam, I keep the nozzle almost touching the material. We get a much better cut that way.

We’ll see if I end up disabling it :slight_smile:

But I like the motorized z-axis so far now that I have it working.

I’d love to have a motorized Z axis… I agree with @TeamADW in that autofocus appears to more of problem than a solution.

I used the ‘ramp test’ to determine the focus, then cut a block of acrylic the right size. I also use the stepper gauges that I posted quite frequently.

I removed the LED pointer less than a month after getting the machine… More work fiddling with it than it was worth…

You will develop you own ‘style’ of doing things…

Take care.

:smile_cat:

1 Like

I find this an interesting position. I can’t imagine anyone having this sentiment for 3D printing or CNC milling as precise Z-axis height is critical in those applications. I can only assume this is not as valued because of subpar solutions that are either cumbersome or unreliable and the fact that there’s a lot more wiggle room for laser focusing tolerance in comparison to those other scenarios.

I’ll need to keep this in mind when it comes time to upgrade and not get fixated on a dynamic real-time focus tracking mechanism.

My problem with the Z height is that…

When I crank the table up and down, the long screws on the corners are not 100% vertical so the table changes the x and y position… The table follows an oblong x & y path from the screws out of vertical.

So I couldn’t think it would be advantageous to have a Z controlled by the Ruida.

A high altitude look they are all CNC machining operations. If it’s a 3d printer it’s additive machining, a laser or cnc that cuts material is a subtractive machining operation. It’s that simple, icing a cake or cutting stickers…

Putting icing on a cake or plastic down with a 3d printer is pretty much the same game, however the material change how the machine is built and how it’s operated and how the materials are handled.

As you ‘zoom in’ it gets more detailed, more idiosyncrasies show up that are more unique to the materials/process.

It’s relatively easy to maintain the tip ‘distance’ with a bit in a cnc, a little different for a laser. The hardest part is you can’t have something where you actually need it measured. Probably why spacing blocks of acrylic are popular, low cost and accurate.

Understand about working 3d/cnc machines, the material and how we work with it changes how to accurately set up the operation.

How autofocus works, with just a switch could be much less accurate than the limit switches, depending on the material. Paper, soft wood or foam compared to acrylic will effect the autofocus accuracy. Even the autofocus probe is offset from the head, so where it’s checking isn’t even where the laser is going to hit it.

Some of these heads have capacitive type autofocus, working only on metal, but claim to be more accurate.

Hope this didn’t come off as a ramble…

:smile_cat:

Funny you should say that, because I end up setting my Z height on my 3 axis CNC router with a post-it note more often than I do with the auto adjust. If we had a tool changer, it would be a different thing, but me and my eyes are faster and just as accurate. I was taught how to zero using a manual mill, compared to that, the laser and other CNC machines take nothing to do by hand.

Plus, when I move an axis, I can stop when it crashes into something. If its on an auto routine, I either have to watch or cut the power, and sometimes cutting the power isn’t great when you have 2 or 3 more operations to do.

2 posts were split to a new topic: Powered X-Axis Retrofit - Motor / Idler pulley installation - How to remove old belt?

Definitely late to this party, but as it’s the most in-depth thread I could find online I thought I’d share my experience.

The kit purchased from OMTech, as mentioned before, doesn’t come with the longer belt. As the OP did, you “can” make it work, but if you need to use a rotary engraver, you can’t drop the bed far enough as it hits the Z motor. The only way around this is to install it as per instructions, with the motor at the back, and the only way to do this is with the longer belt.

There’s nothing online with what size belt this is, but after a lot of back and forth with OMTech, they gratefully sent me one (after a month) and I can now say it’s a Zhohang 15XL-2463.8-V belt.

Once you’ve got your hands on one, you can install the motor properly.

Tip, to take the original belt off, don’t completely unscrew the screws holding the upright rod caps, they’re an utter F**K to get back in without hands the size of dolls with the dexterity of a laparoscopic surgeon.