dtown no one is alone.lbrn2 (334.7 KB)
Can someone who is good at it, trace this image for me please? I just can’t get it right. Thanks

2 Likes
keep in mind that you have to turn this multi-color image into a single color on a white background. The only way that’s going to work well is to edit the image in a raster editor to make it a single color. The remaining option is to use it as an image and let half-toning address the color changes.
1 Like
I think we really don’t know what you are looking for in a ‘trace’ outline.
Maybe a little more specific, like how is the ‘color’ parts handled?
Are you engraving this or vector cutting it?

darf ich mich hier auch anhängen
anfänger braucht hilfe
Veruch auch gerade ein bild nachzuzeichnen weil der osterhase kommt auch bald
Hase.lbrn2 (86.3 KB)
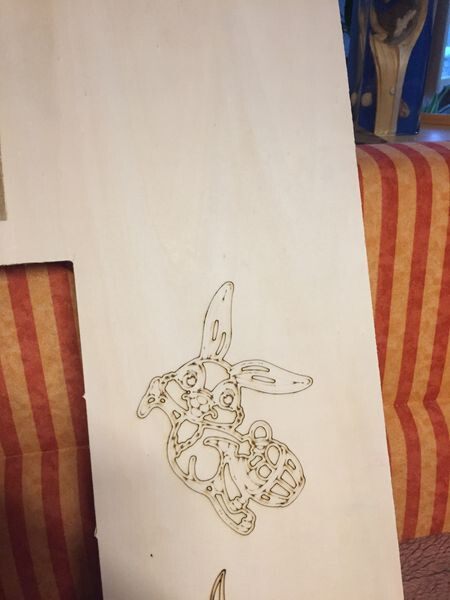
ich hätte gerne nur den Hasen ausgeschnitten 4mm Sperrholz und die innen linien nur dünn gelaser
wie kann ich die einzellnen lienien bearbeiten ???
vielleicht hat jemand einen tipp für mich`
Danke mal Grassy
may I also add myself here
beginner needs help
Also try to draw a picture because the easter bunny is coming soon
Bunny.lbrn2 (86.3 KB)
I would have liked to have just cut the rabbit out of 4mm plywood and lasered the inside lines only thinly
how can I edit the individual lines???
maybe someone has a tip for me
Thank you Grassy
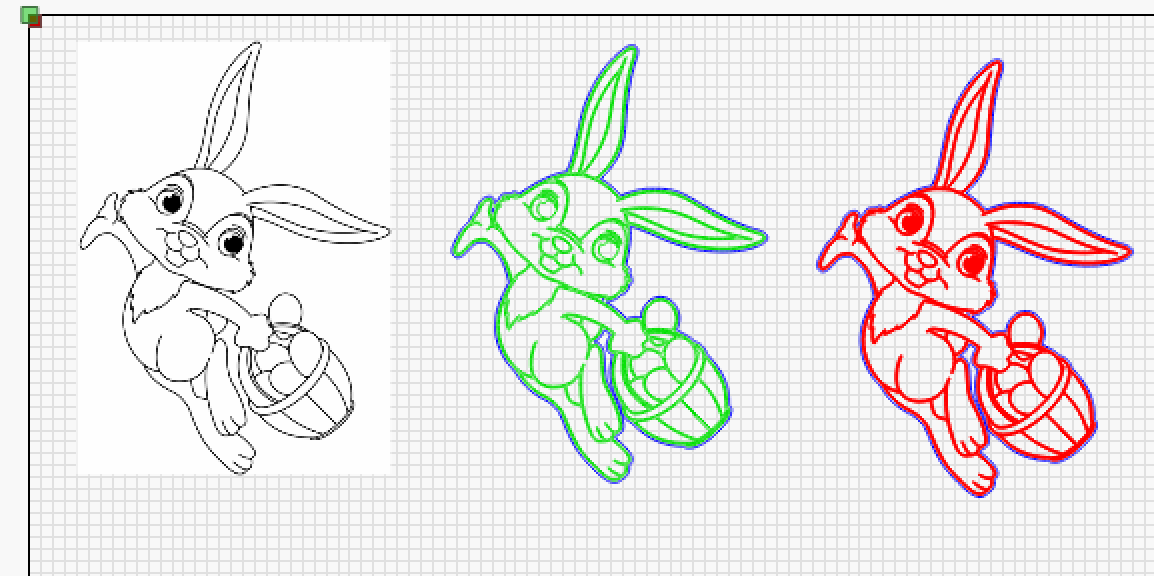
With this example, I will also choose to engrave it as an image.
Brauch nochmals hilfe
wie geht das linien versetzen und innere Linien Ebene zu füllen
ist mein erstes bild das ich so lasern möchte
aller anfang ist schwer
Dank für die geduld
Grassy
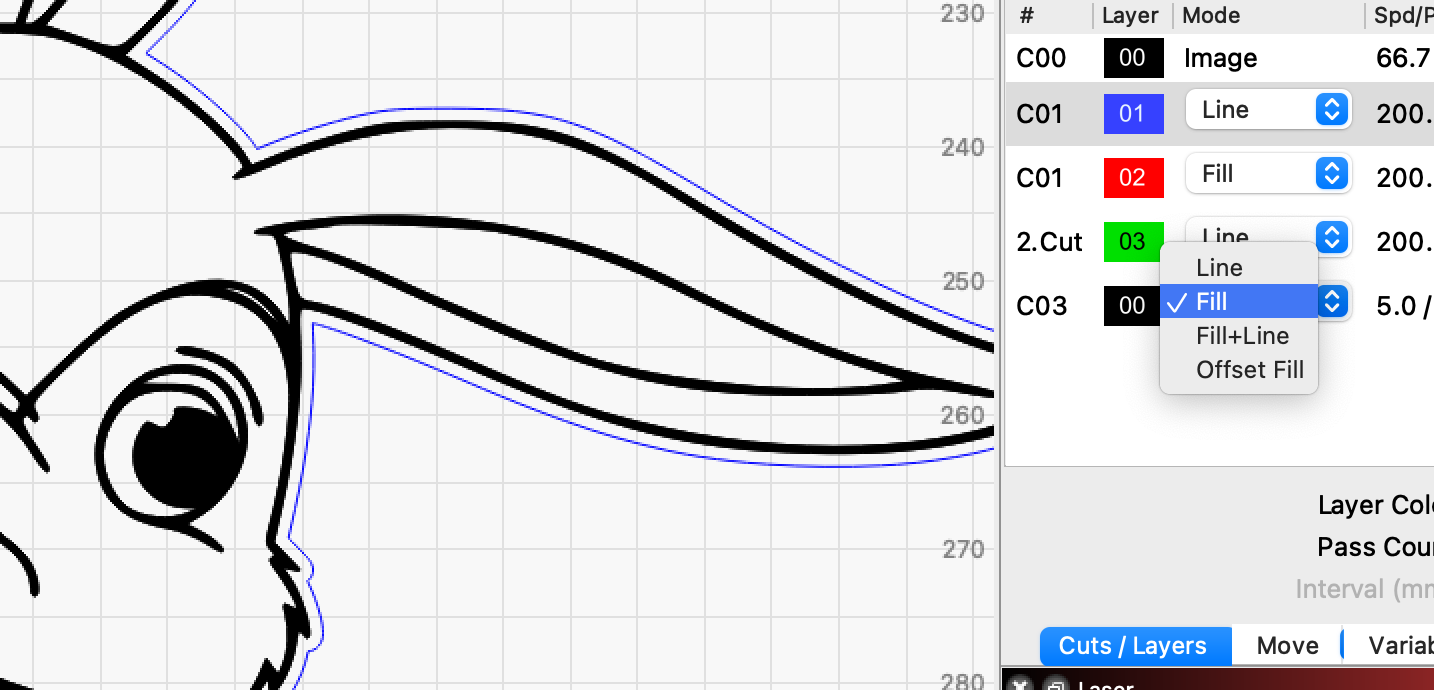
The new outer line you get has its own layer, as a fill you can also use “Offset Fill” - it is much faster.
If you throw your questions through Goggle translate, everyone can join the thread and contribute 
HAVE STILL NOT FOUND THE BEST SETTING THAT THE LASER CUTS OUT AROUND THE OUTSIDE AND ONLY ENGRAVES THE INSIDE LINES???
Ok, start over.
- import and trace your image
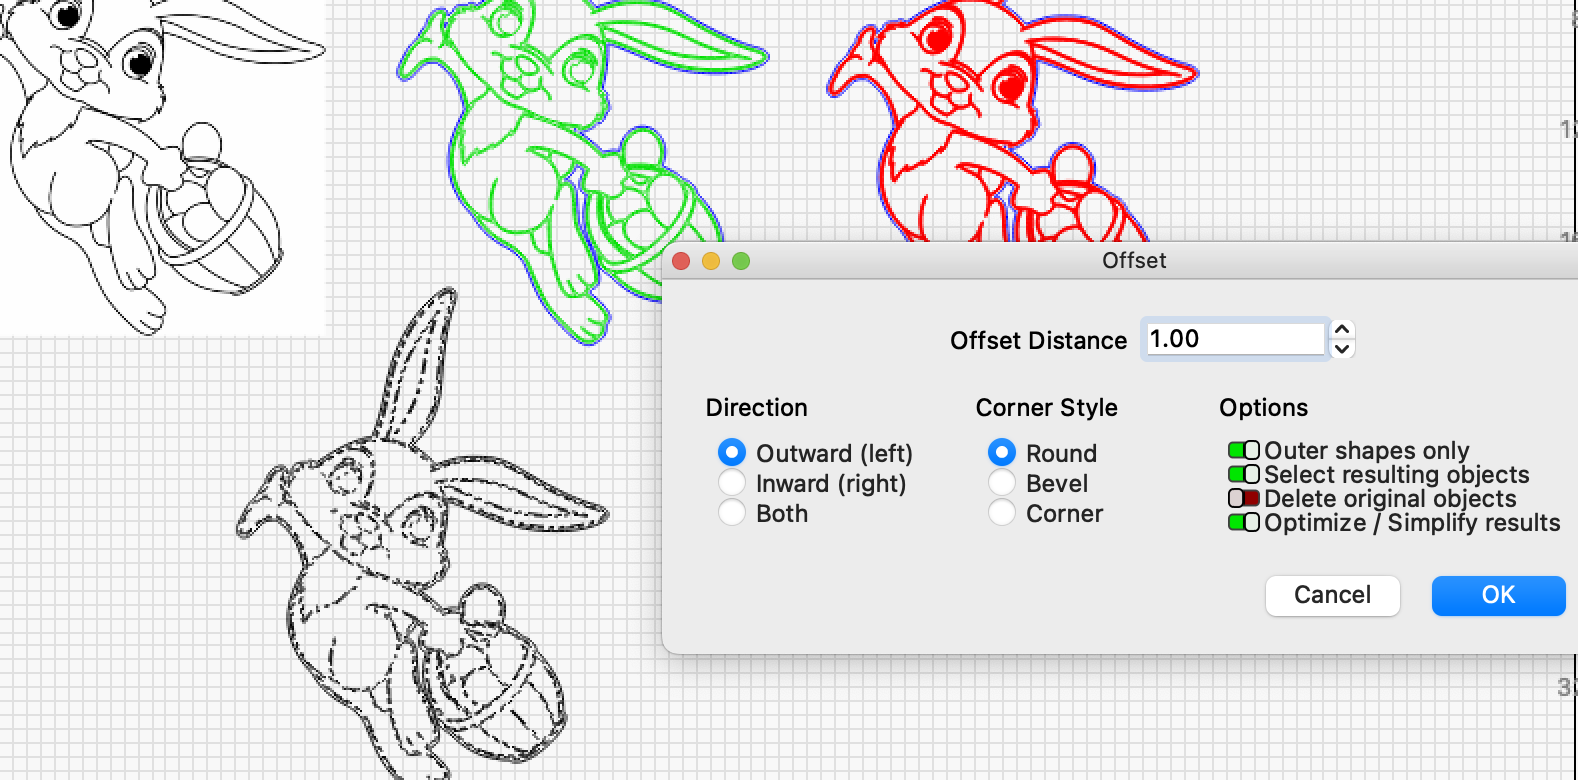
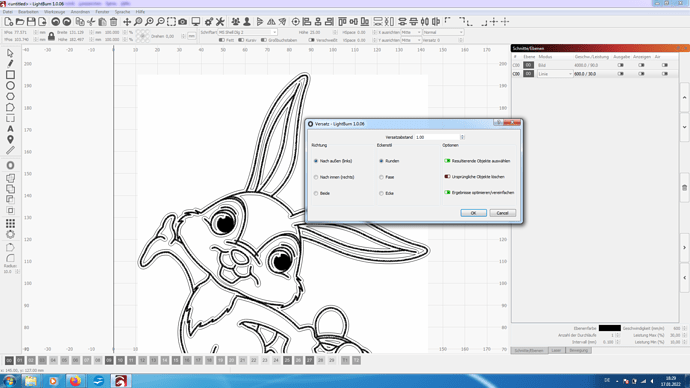
- mark everything and make a 0.5mm “Offset Sharpes”, select “only the outer edge” in the menu
- Mark the new outer line and give it its own layer.
- Select the rest, shift ok click on the layer in the list that represents the inside of the rabbit and select in the drop-down menu “Fill”
You do not have to do anything else or extra, these are the steps I use to achieve the result shown.
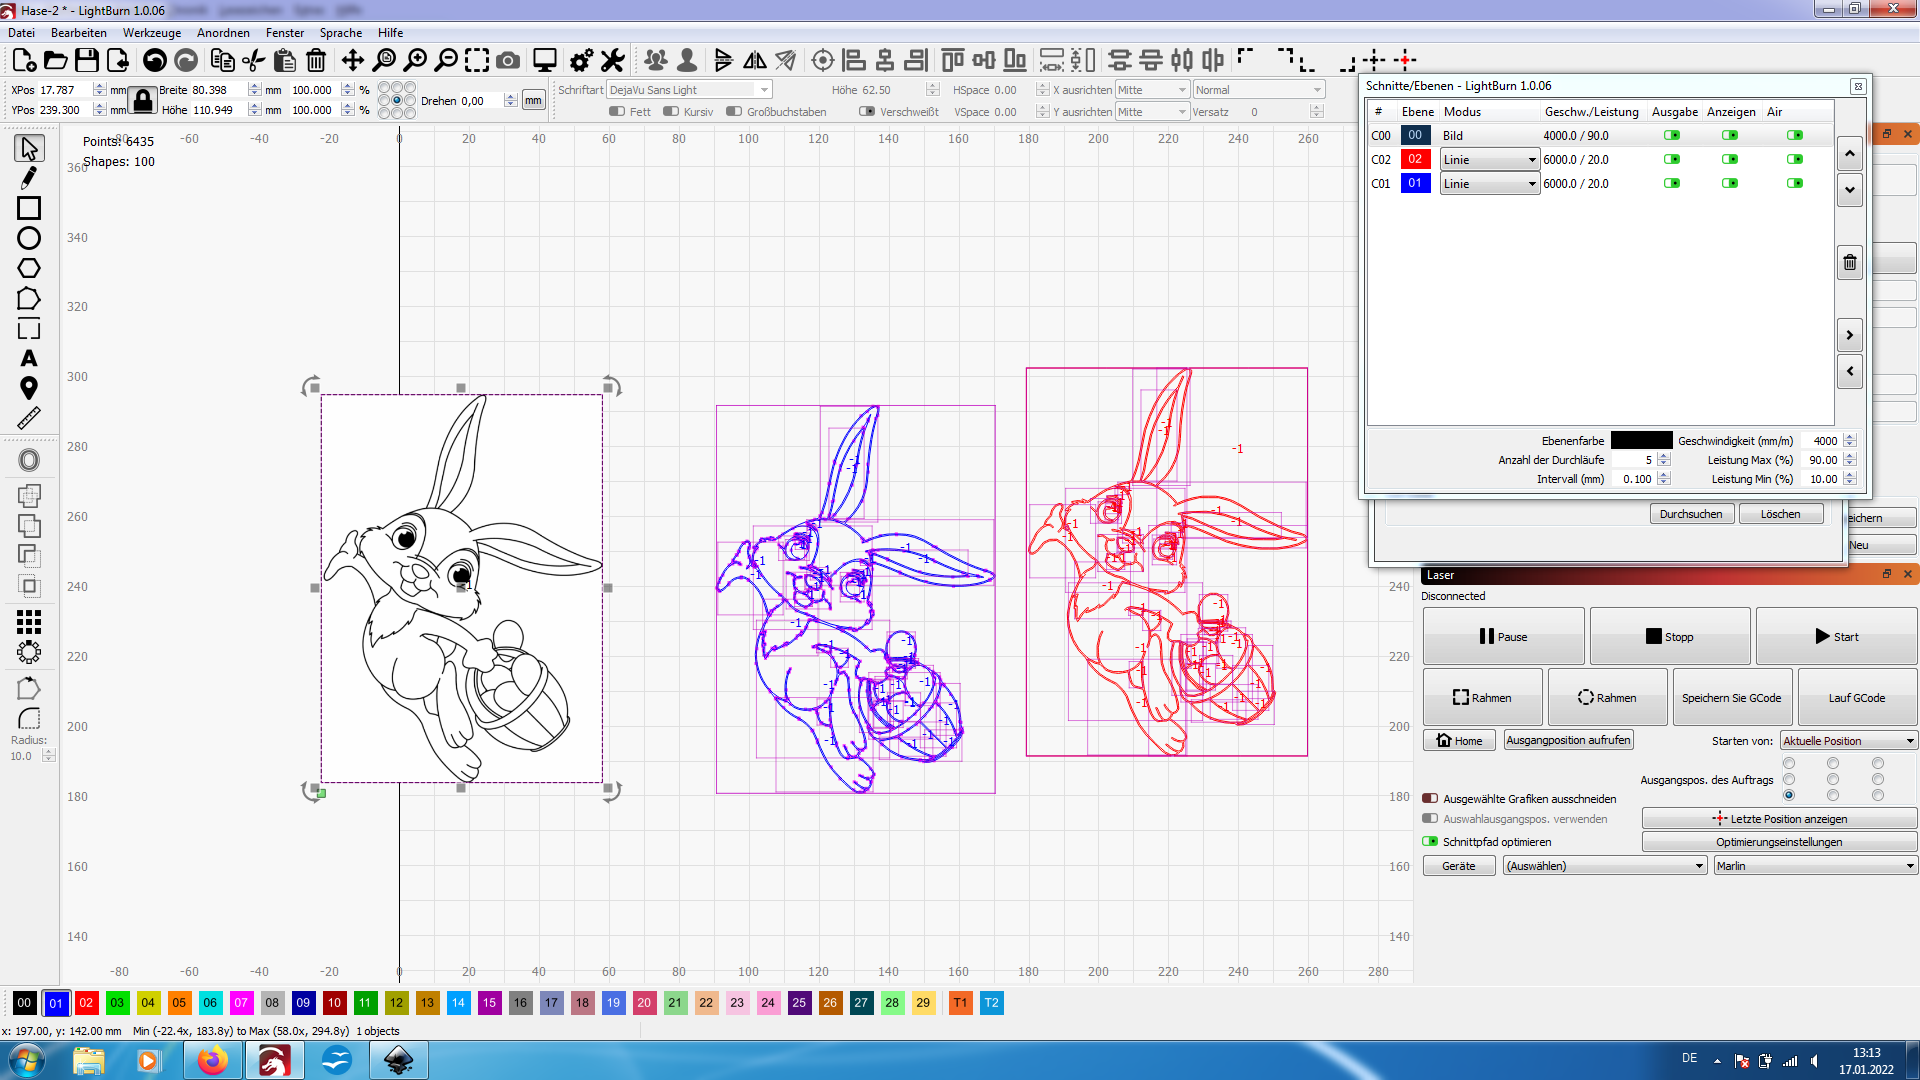
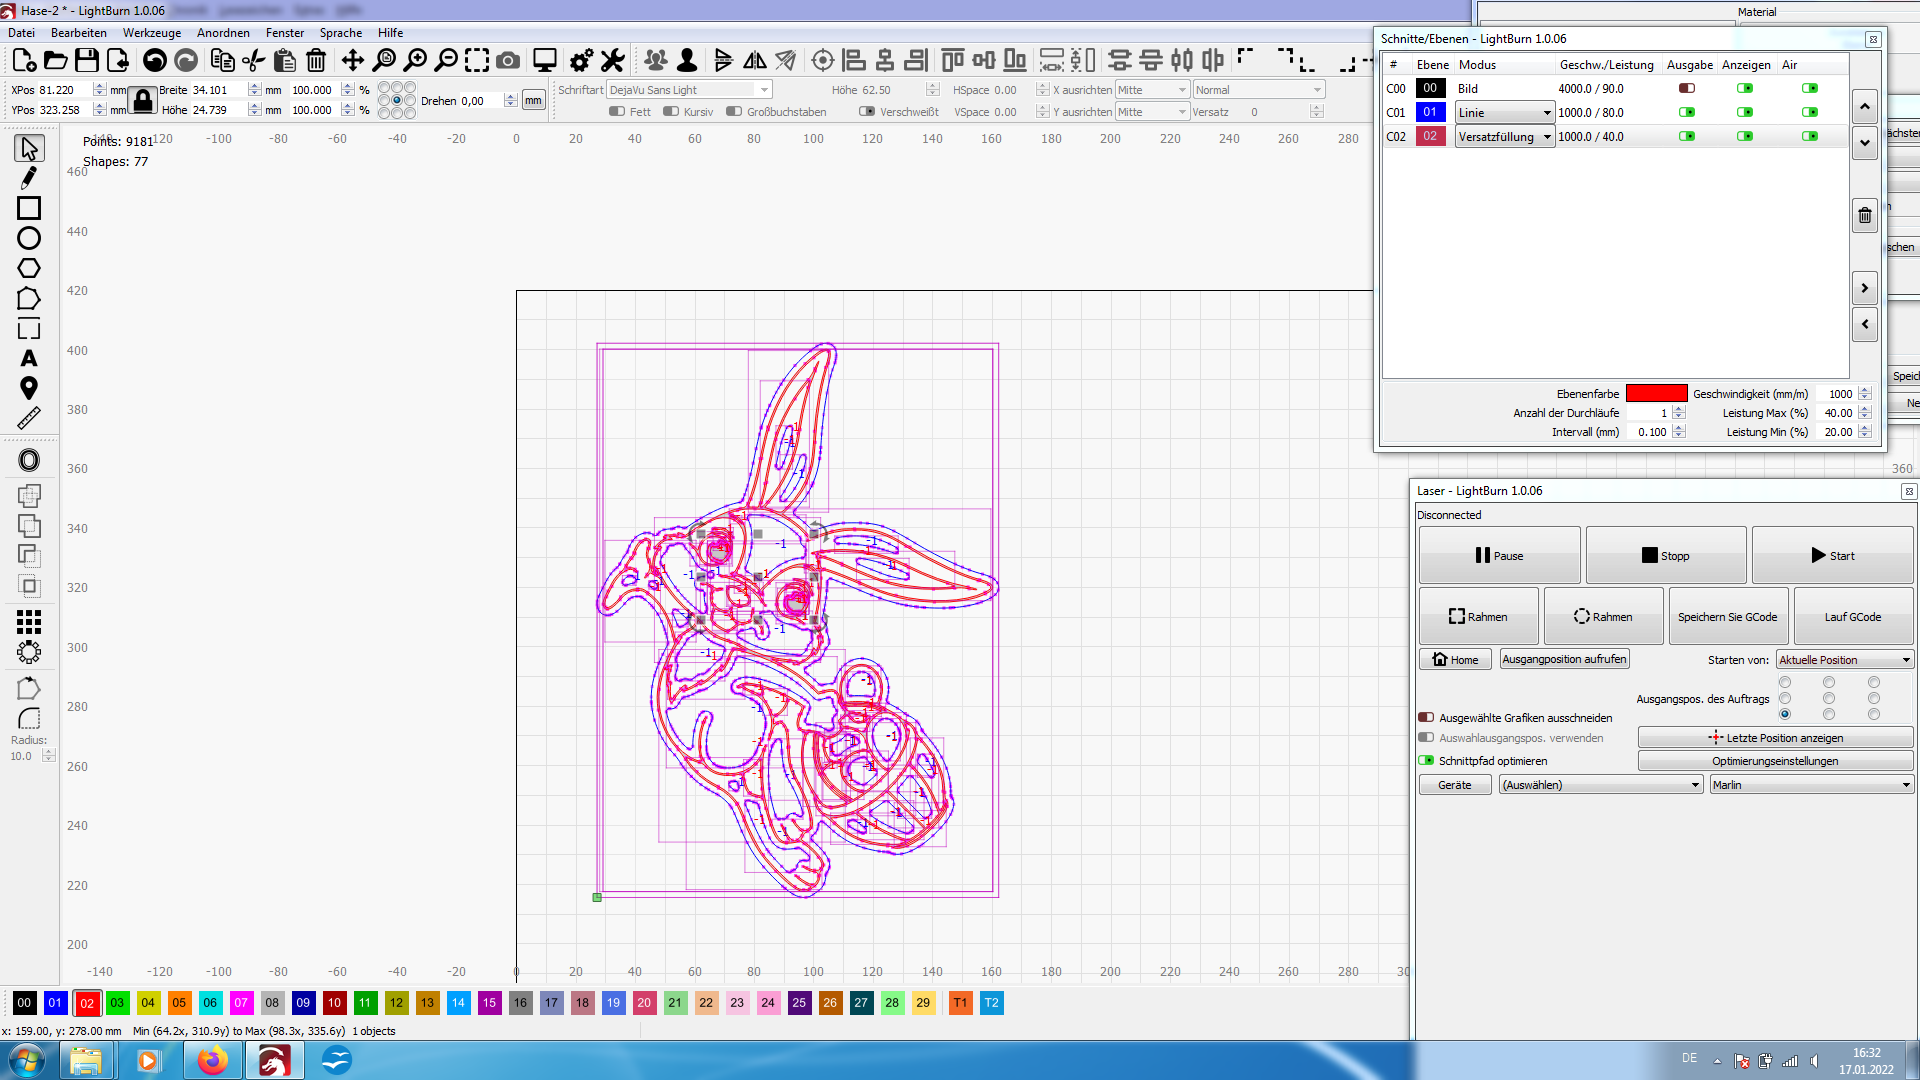
Why are there so many squares in your example?
And I can see that you are not using “outer shapes onli”, here is the main problem.
1 Like
where i can find ““outer shapes onli””?
Bernd is referring to the outer edge of the image. I have attached the amended file for you, but please follow the instructions from Bernd so that you can master it yourself
Hase.lbrn2 (101.2 KB)

I am just trying to copy the image so I can engrave it, but when I trace it the result is an image that doesnt have all the hands. Its just one big black and white blob.
this is my screenshot - i don’t have “outer shapes only” - i can’t select it
mmmmm, then we need @lightburn to help us
and how does it work?
Thanks to all who are helping me
Many greetings from Austria 

This is easily remedied even without that “outer shapes only” feature.
- duplicate trace image
- move duplicate away from original
- ungroup duplicate
- select only outer line
- apply offset to only outer line
- realign to original - this can be done easily with center align tool by selecting original and offset line

Or just ungroup, select outer line, apply offset. You can just leave in place this way.
My version is the same. That’s how 1.0.06 is.
@bernd.dk You’re using a test version are you not?