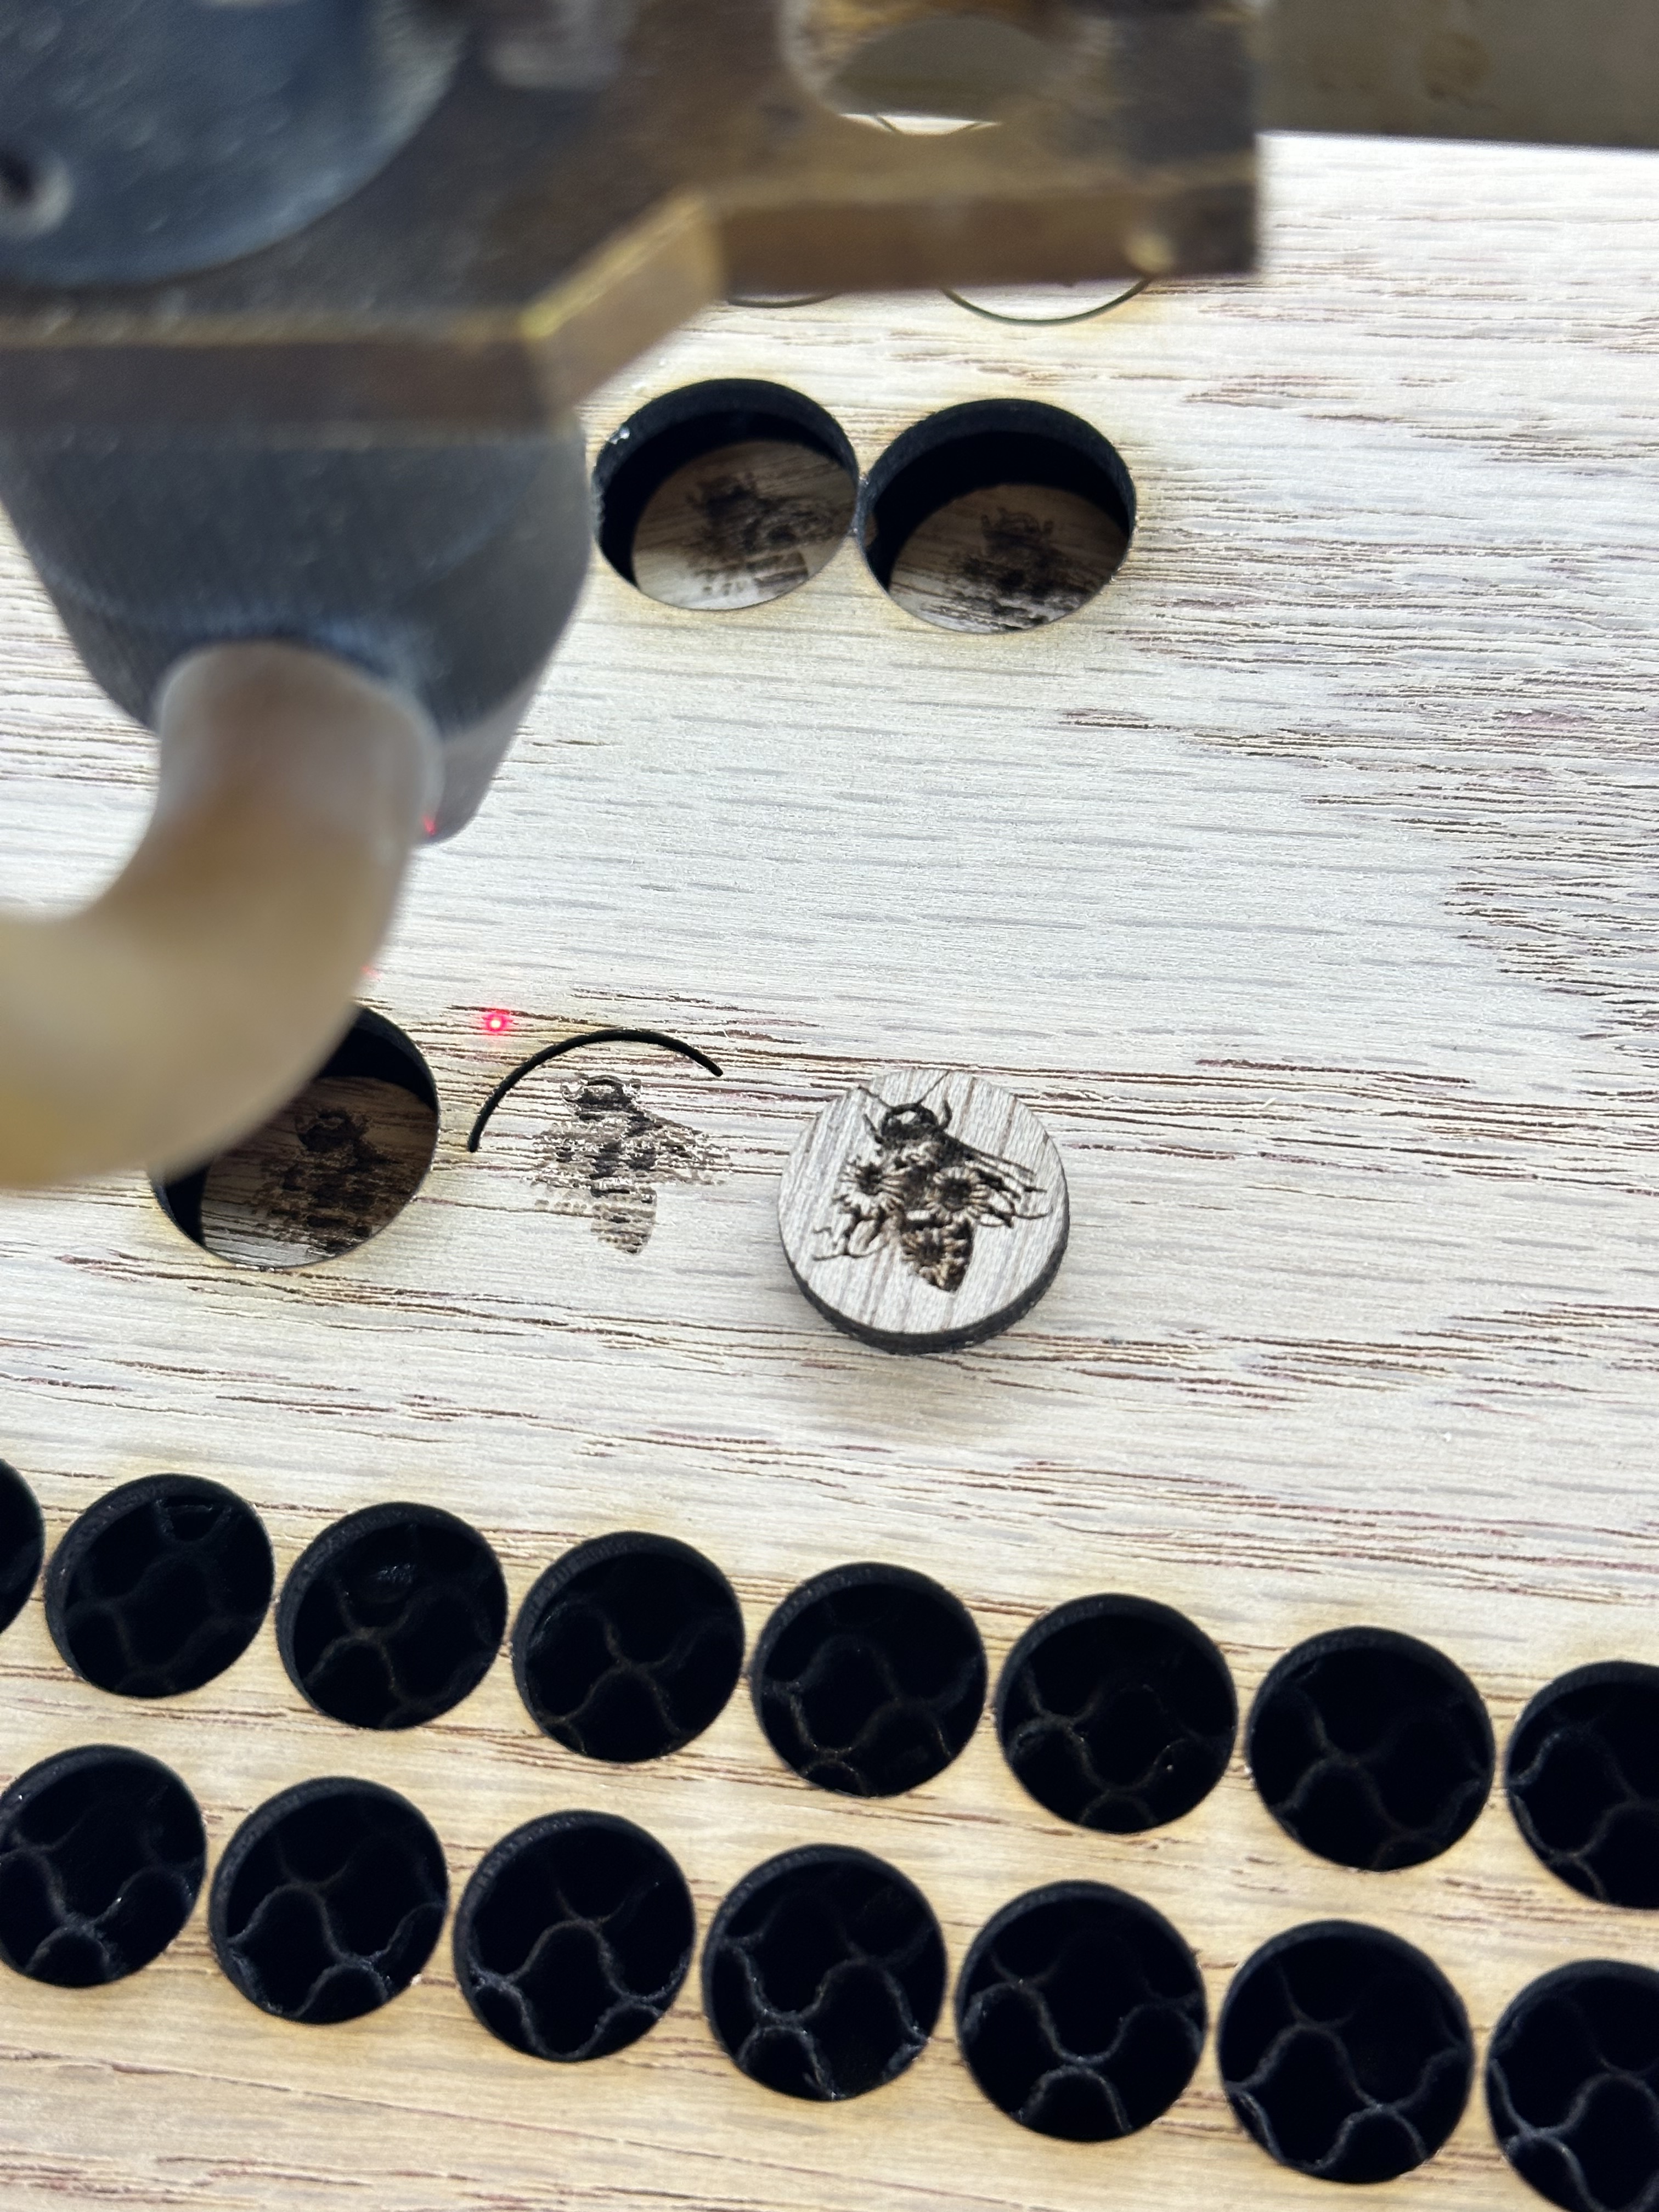
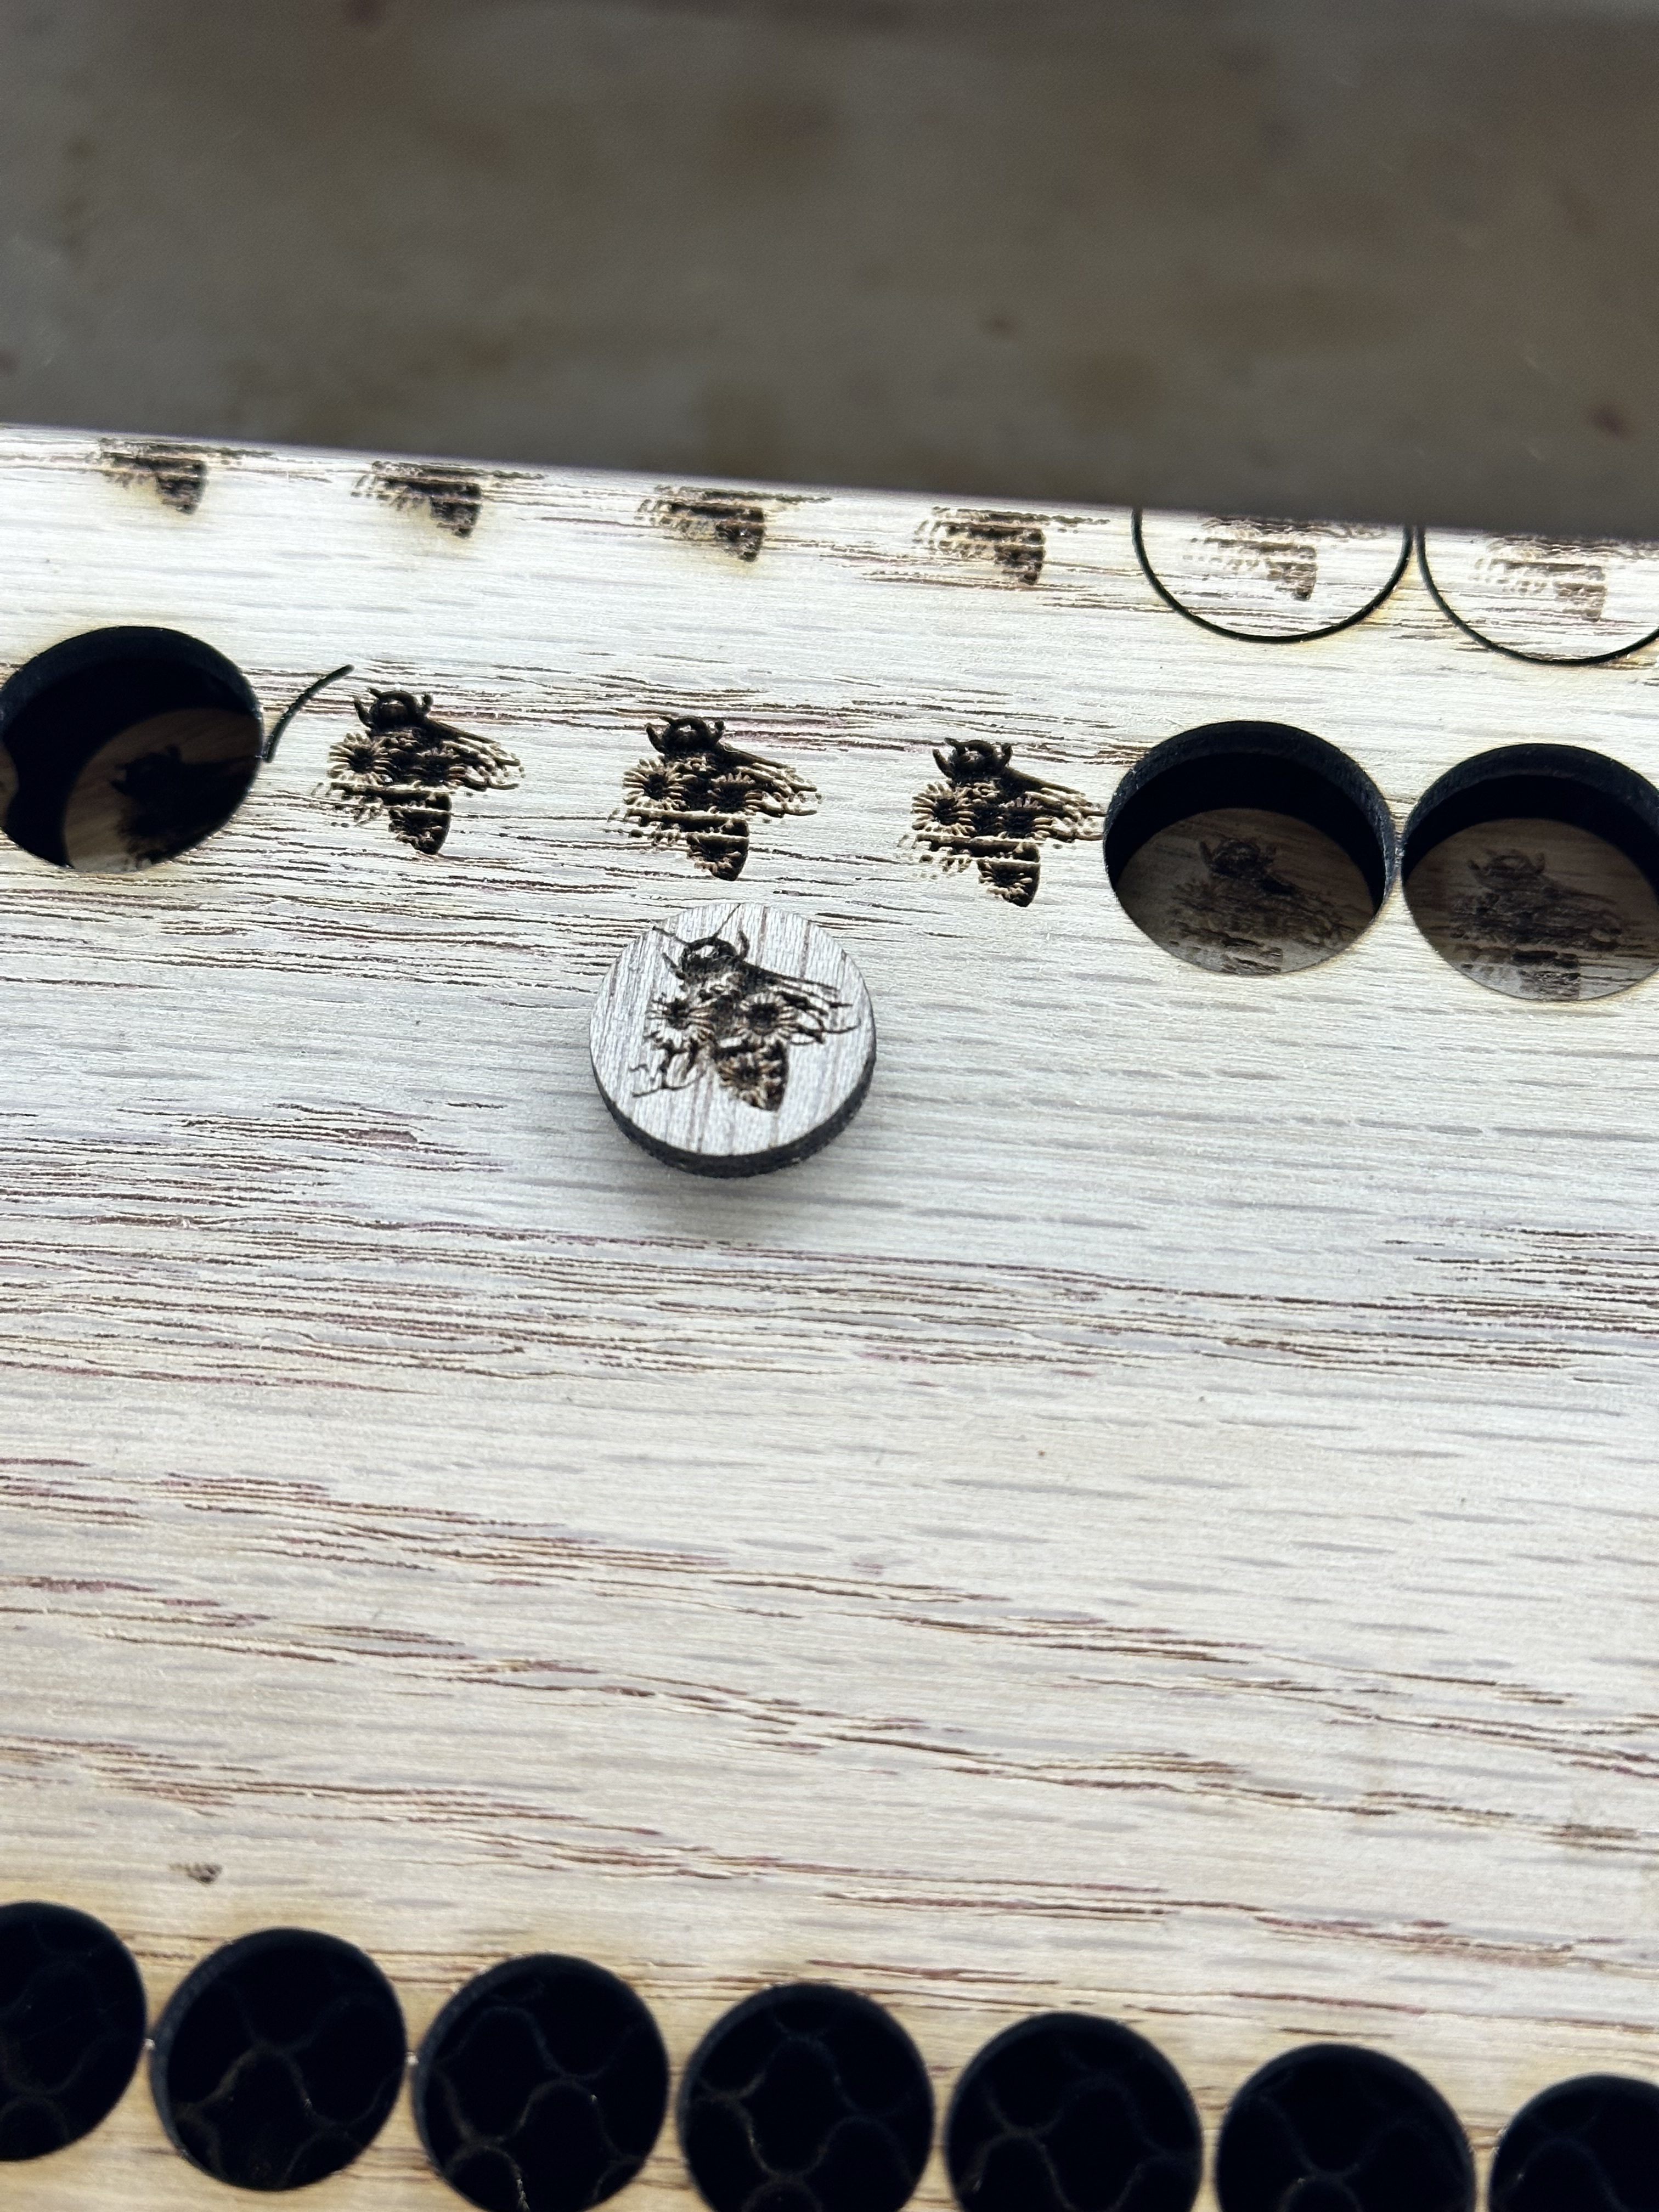
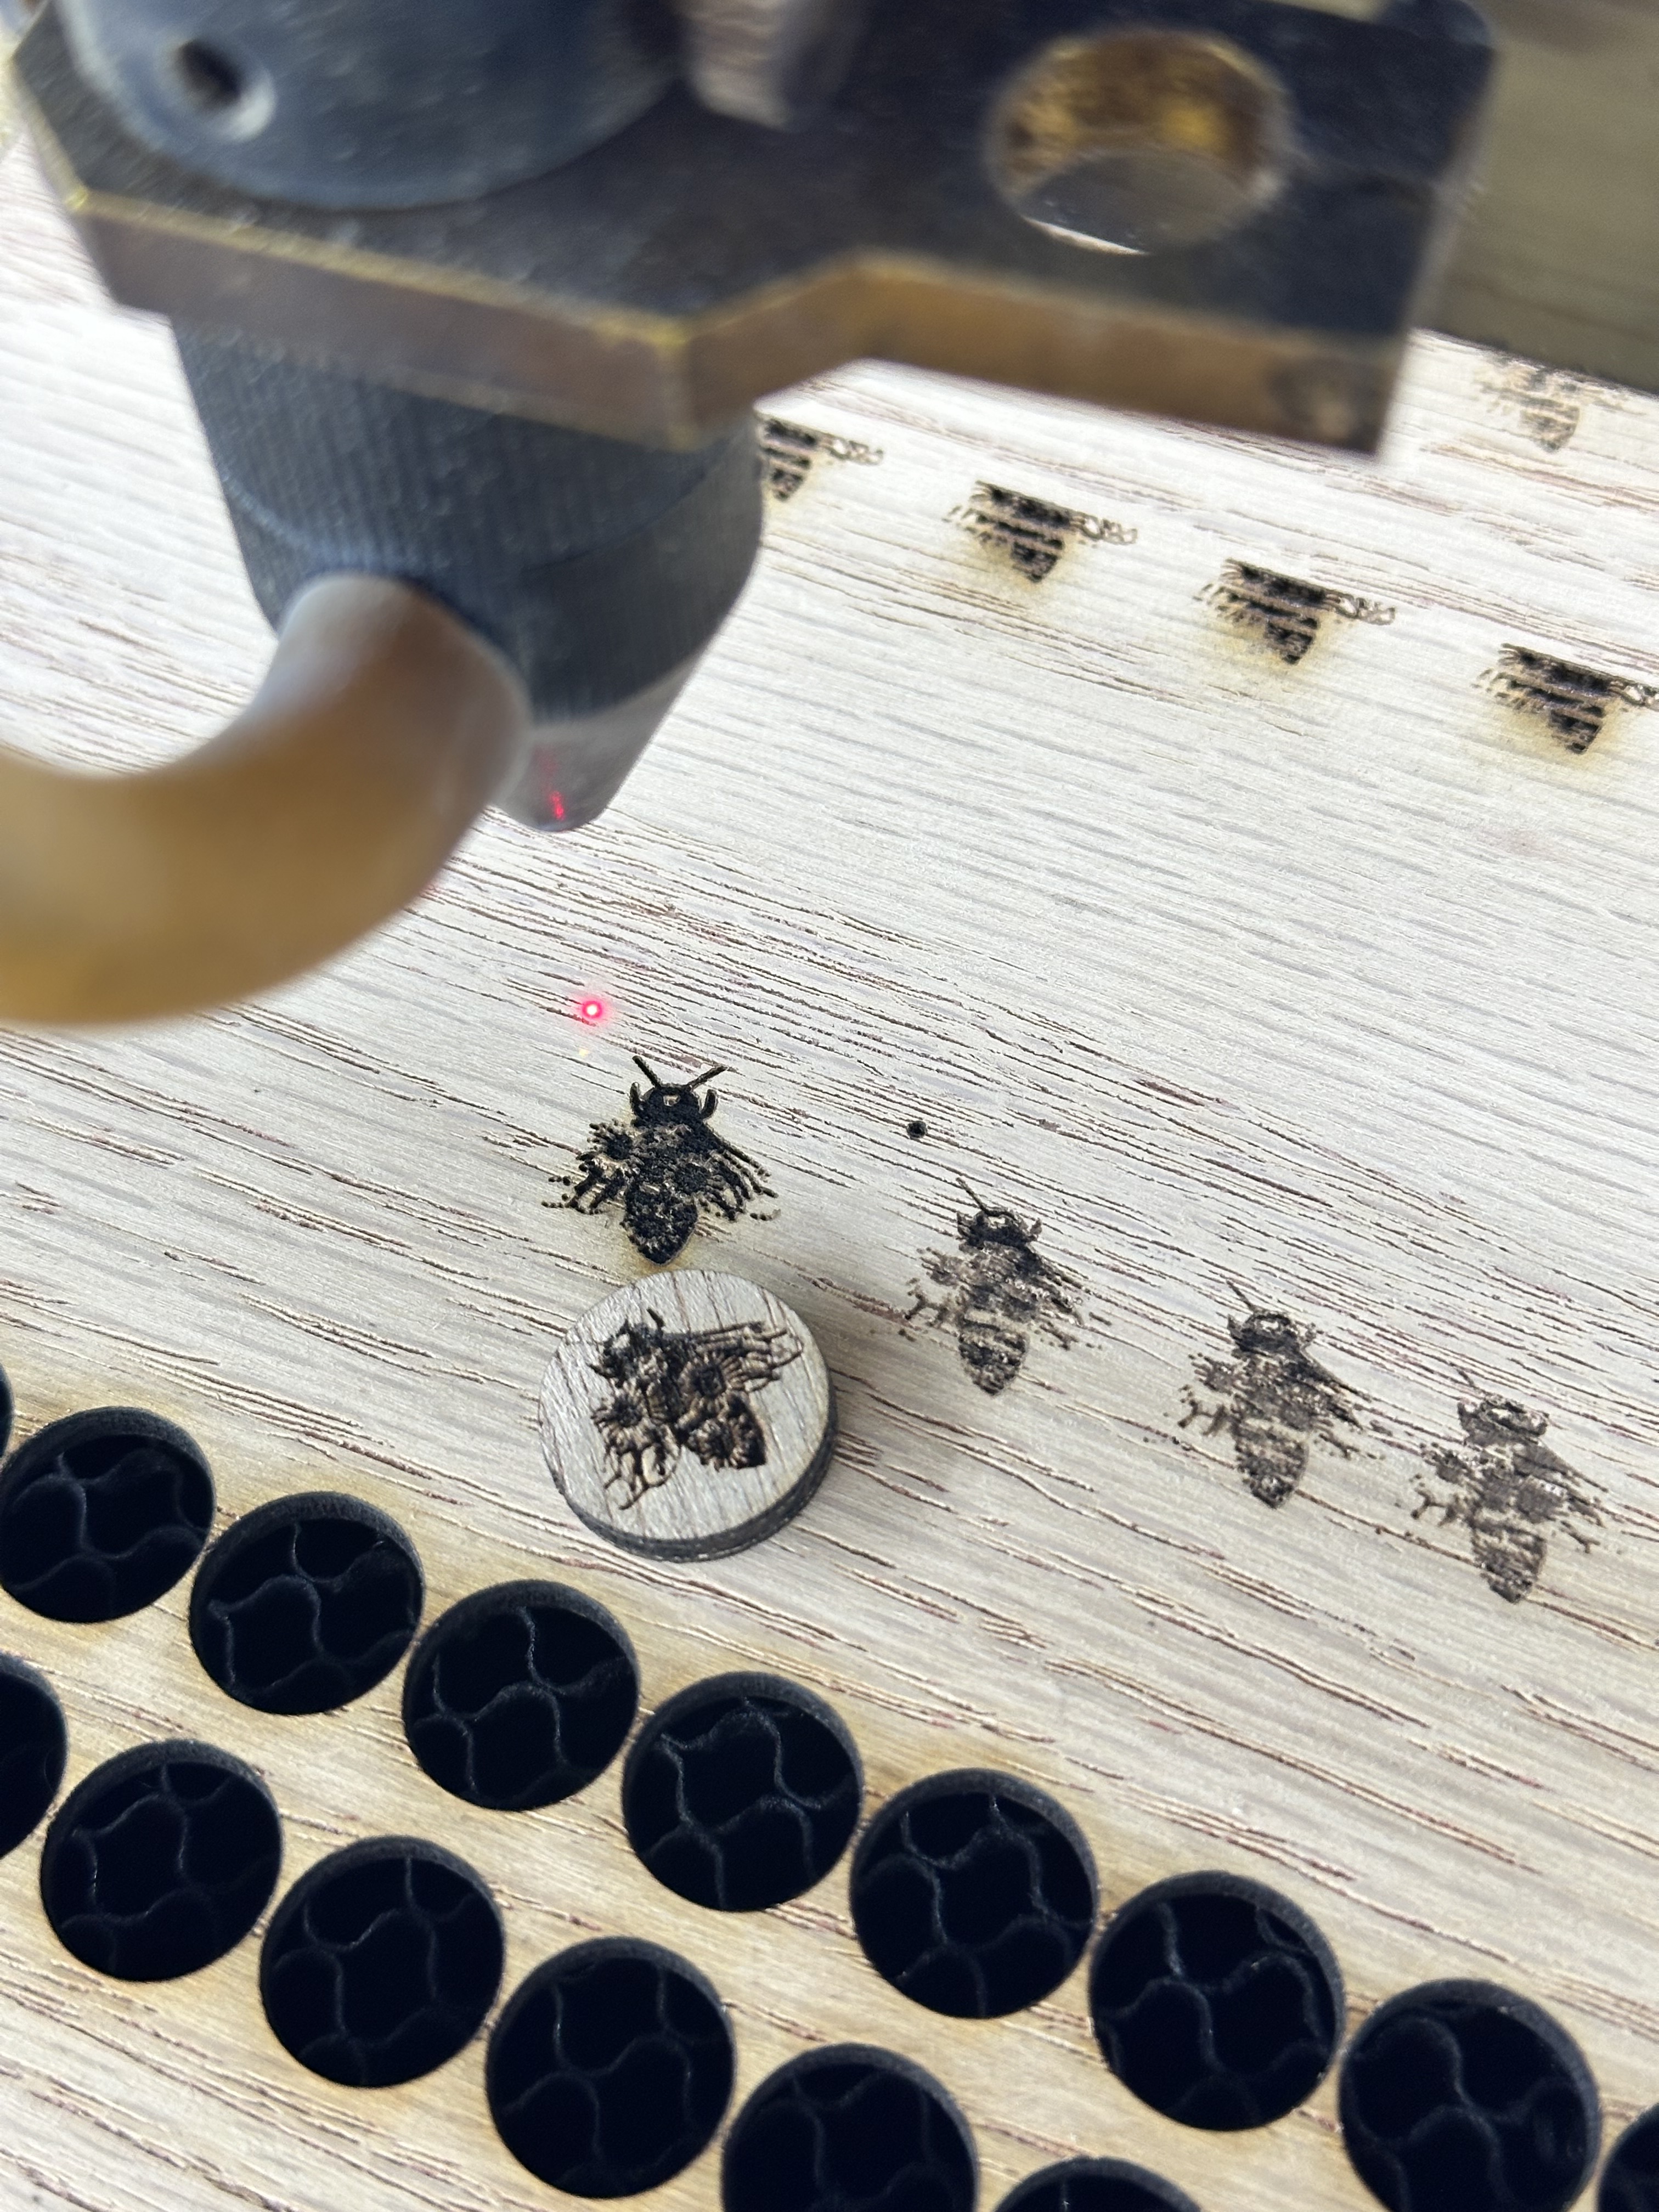
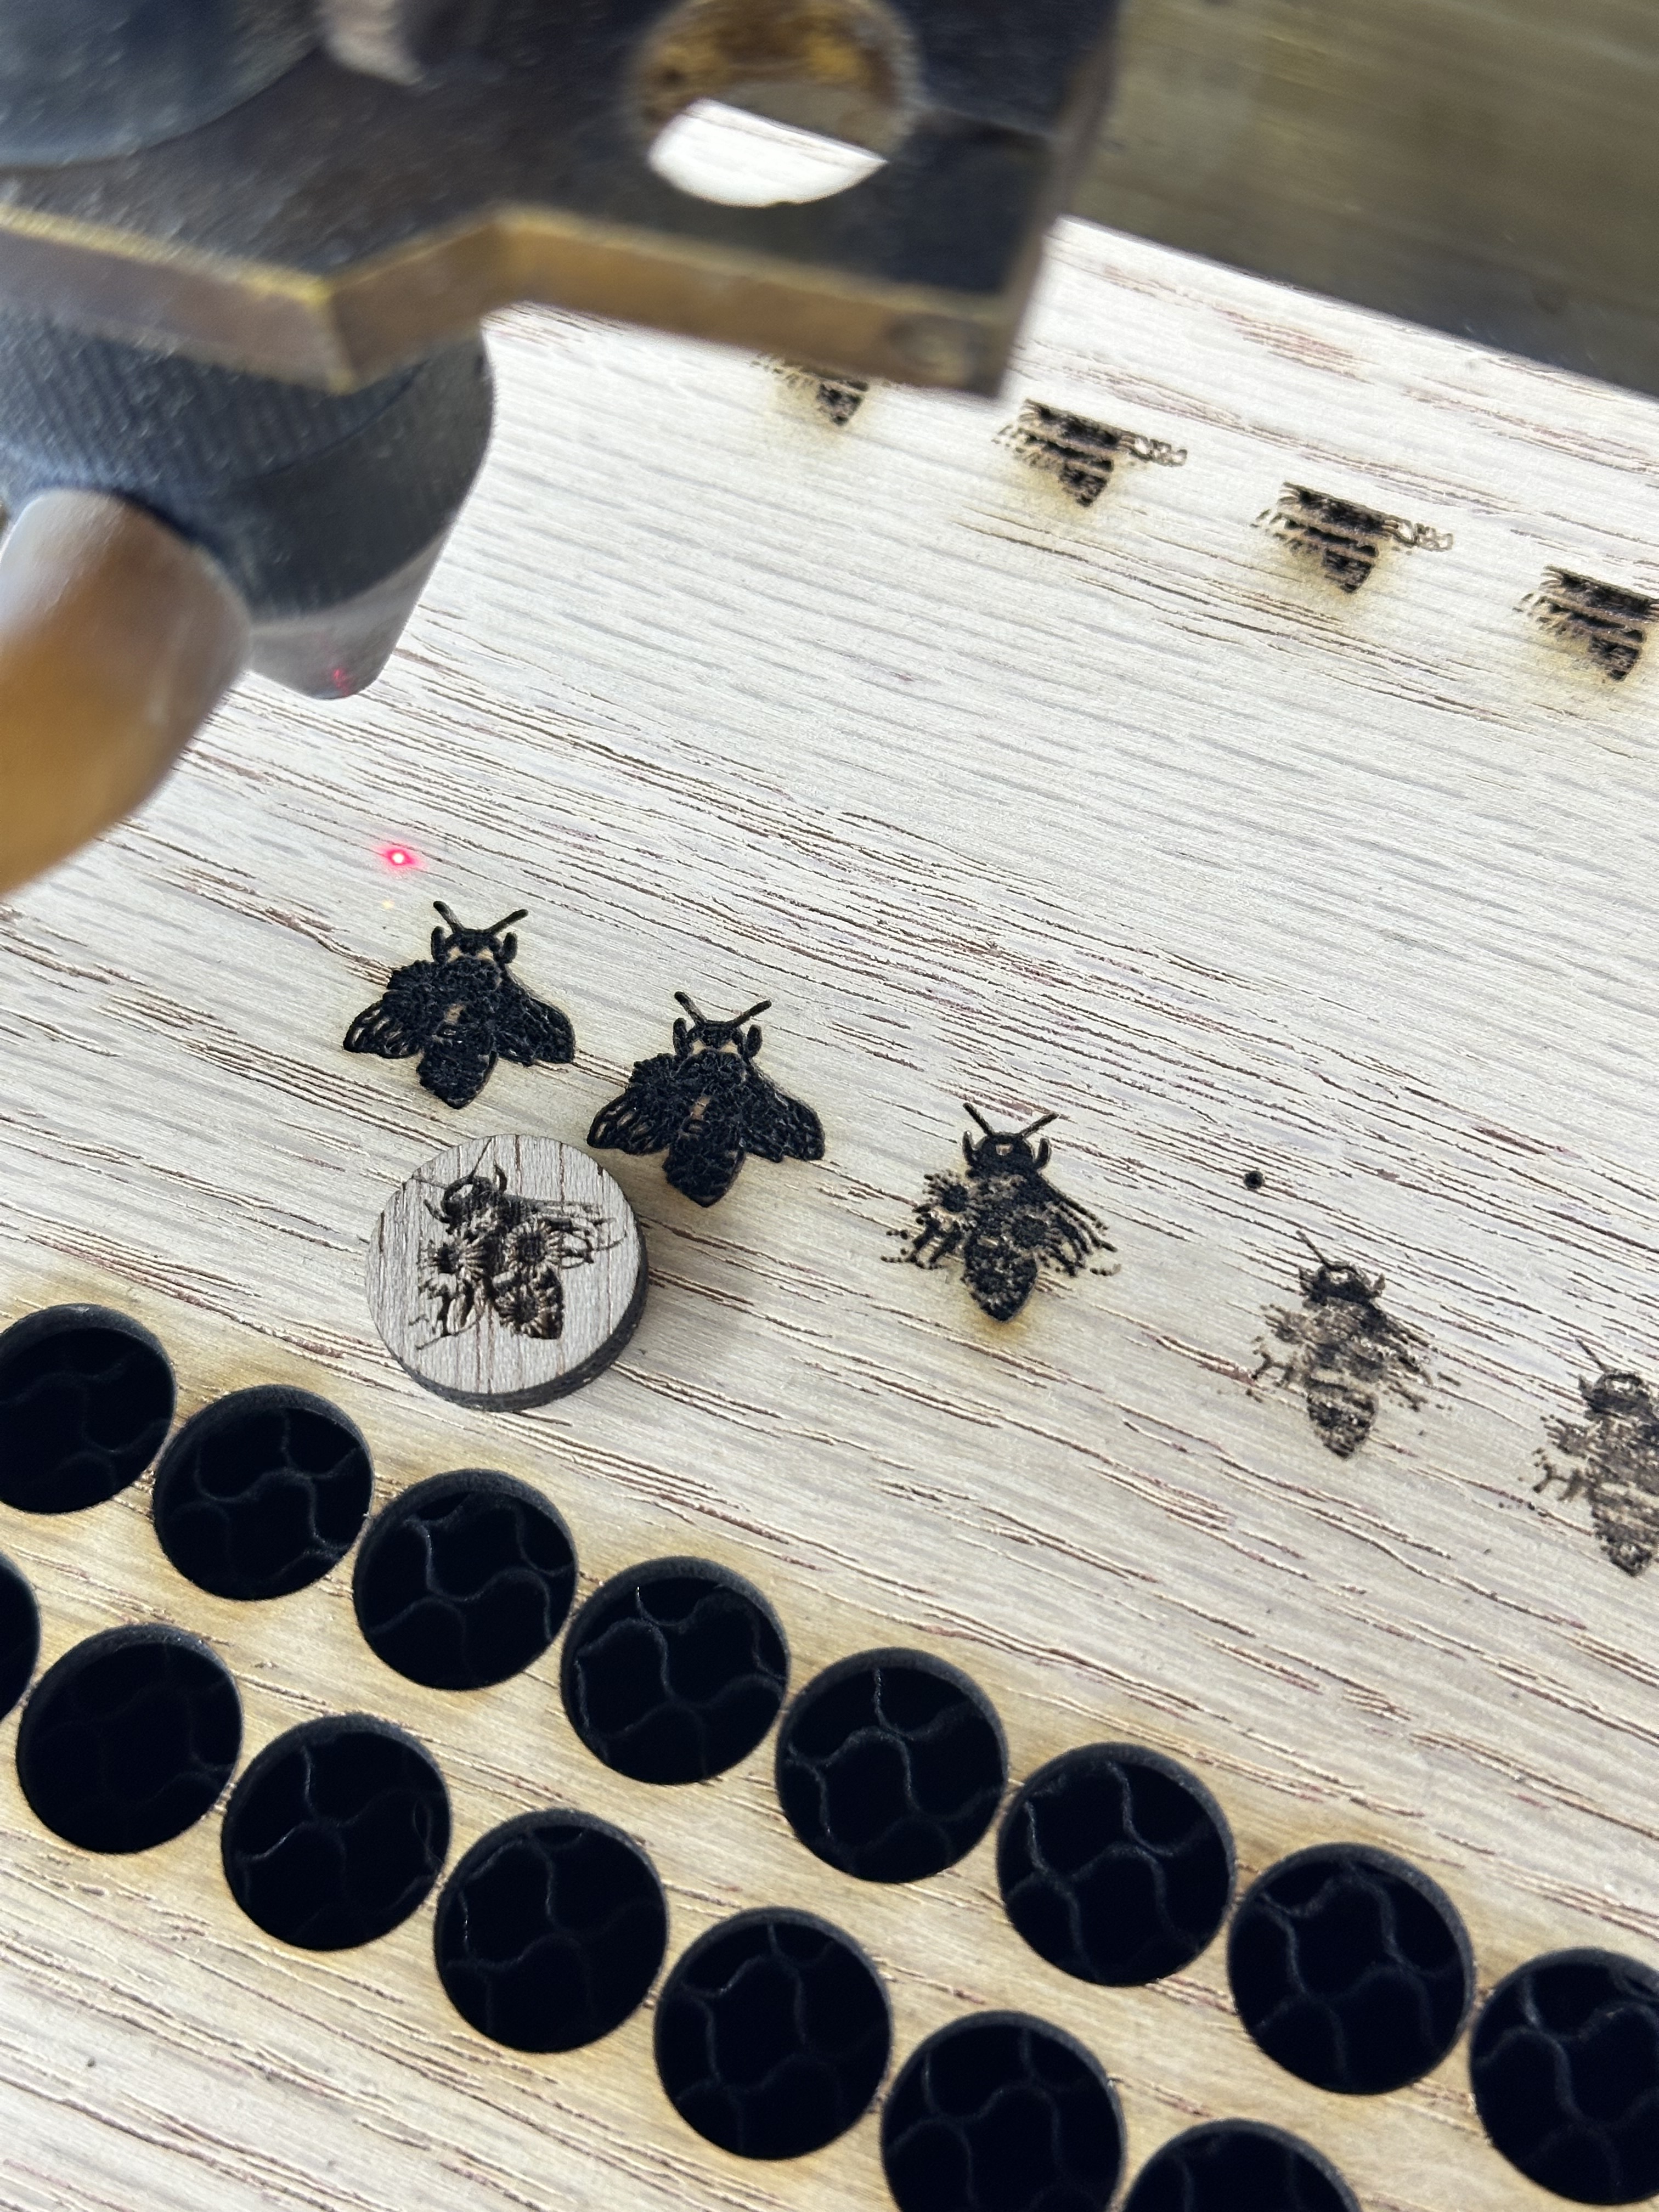
I have an older full spectrum 24x16 and the board finally died on it I decided to swap it over to a Ruida 6445 I also replaced the tube and power supply while I was at it. I have calibrated the motors and also fixed scanning offset but now as I’m trying to do fine details I’m having to slow things way down and I’m still losing fine lines attached are picture of a earring stud that I do often the one fully cut out and to the right was running at 300mm/sec using full spectrum software at 500dpi. The top one in the wood still was at the same 300mm/s and 500dpi. The bottom one which has some more of the detail but still missing a lot was run at 100mm/s at 500dpi. I also attached a picture of the design showing in light burn. All of them were ran with power at 15% which reads out at 2ma on the analog and digital readout.


Do the wings show up if you rotate your image? I wonder if you need to enable the special engraving mode mentioned in this forum post: Not engraving thin lines perpendicular to scanning - #2 by Stroonzo
If this issue also shows up in RDworks, you may want to confirm that your power supply is wired correctly. This user was able to achieve tiny engravings like yours by switching to PWM-signal instead of analog:
I tried enabling the special engraving mode and that helped significantly but I’m still getting artifacts and bands almost like the ones on your second recommendation I triple checked the wiring even tried a few different ways to make sure but it seems like it is all wired correctly the power output does change as I change my settings in lb the analog dial is just for the test button beam. I’m only getting the line artifacts in highly detailed or thin lines if you look at the test word ran at the same speeds there is no missing detail

It looks to me like your image is outputting in threshold mode almost - there is very little low power etching going on, if any. Could you attach your .lbrn2 file so we can take a look at your specific settings?
tiny bee studs.lbrn2 (1.1 MB)
i think this is the file
i always do all the designing in inkscape and save as a svg so when i think file thats what i am used to doing
Your DPI was set to a resolution far beyond what your laser would be capable of (2450). I’ve adjusted the file to a more reasonable DPI (~350) as well as changed the power settings slightly (to 10% min, 15% max - vs. 15% min/max).
Give this a try and let us know how it goes.
tiny bee studs - single.lbrn2 (1.1 MB)
Unless you have some kind of special optics, this isn’t reality. Most of these co2 machines have a spot size around 0.20mm which relates to how much detail you can expect, in this case 127dpi…
You might find it faster and maybe better quality if you can adjust the line interval
However - your work looks great.
![]()
So the line interval is set at .05. It is a 2 inch focal length lens I have been using this machine for a little over 4 years it’s only since changing it I’m having issues
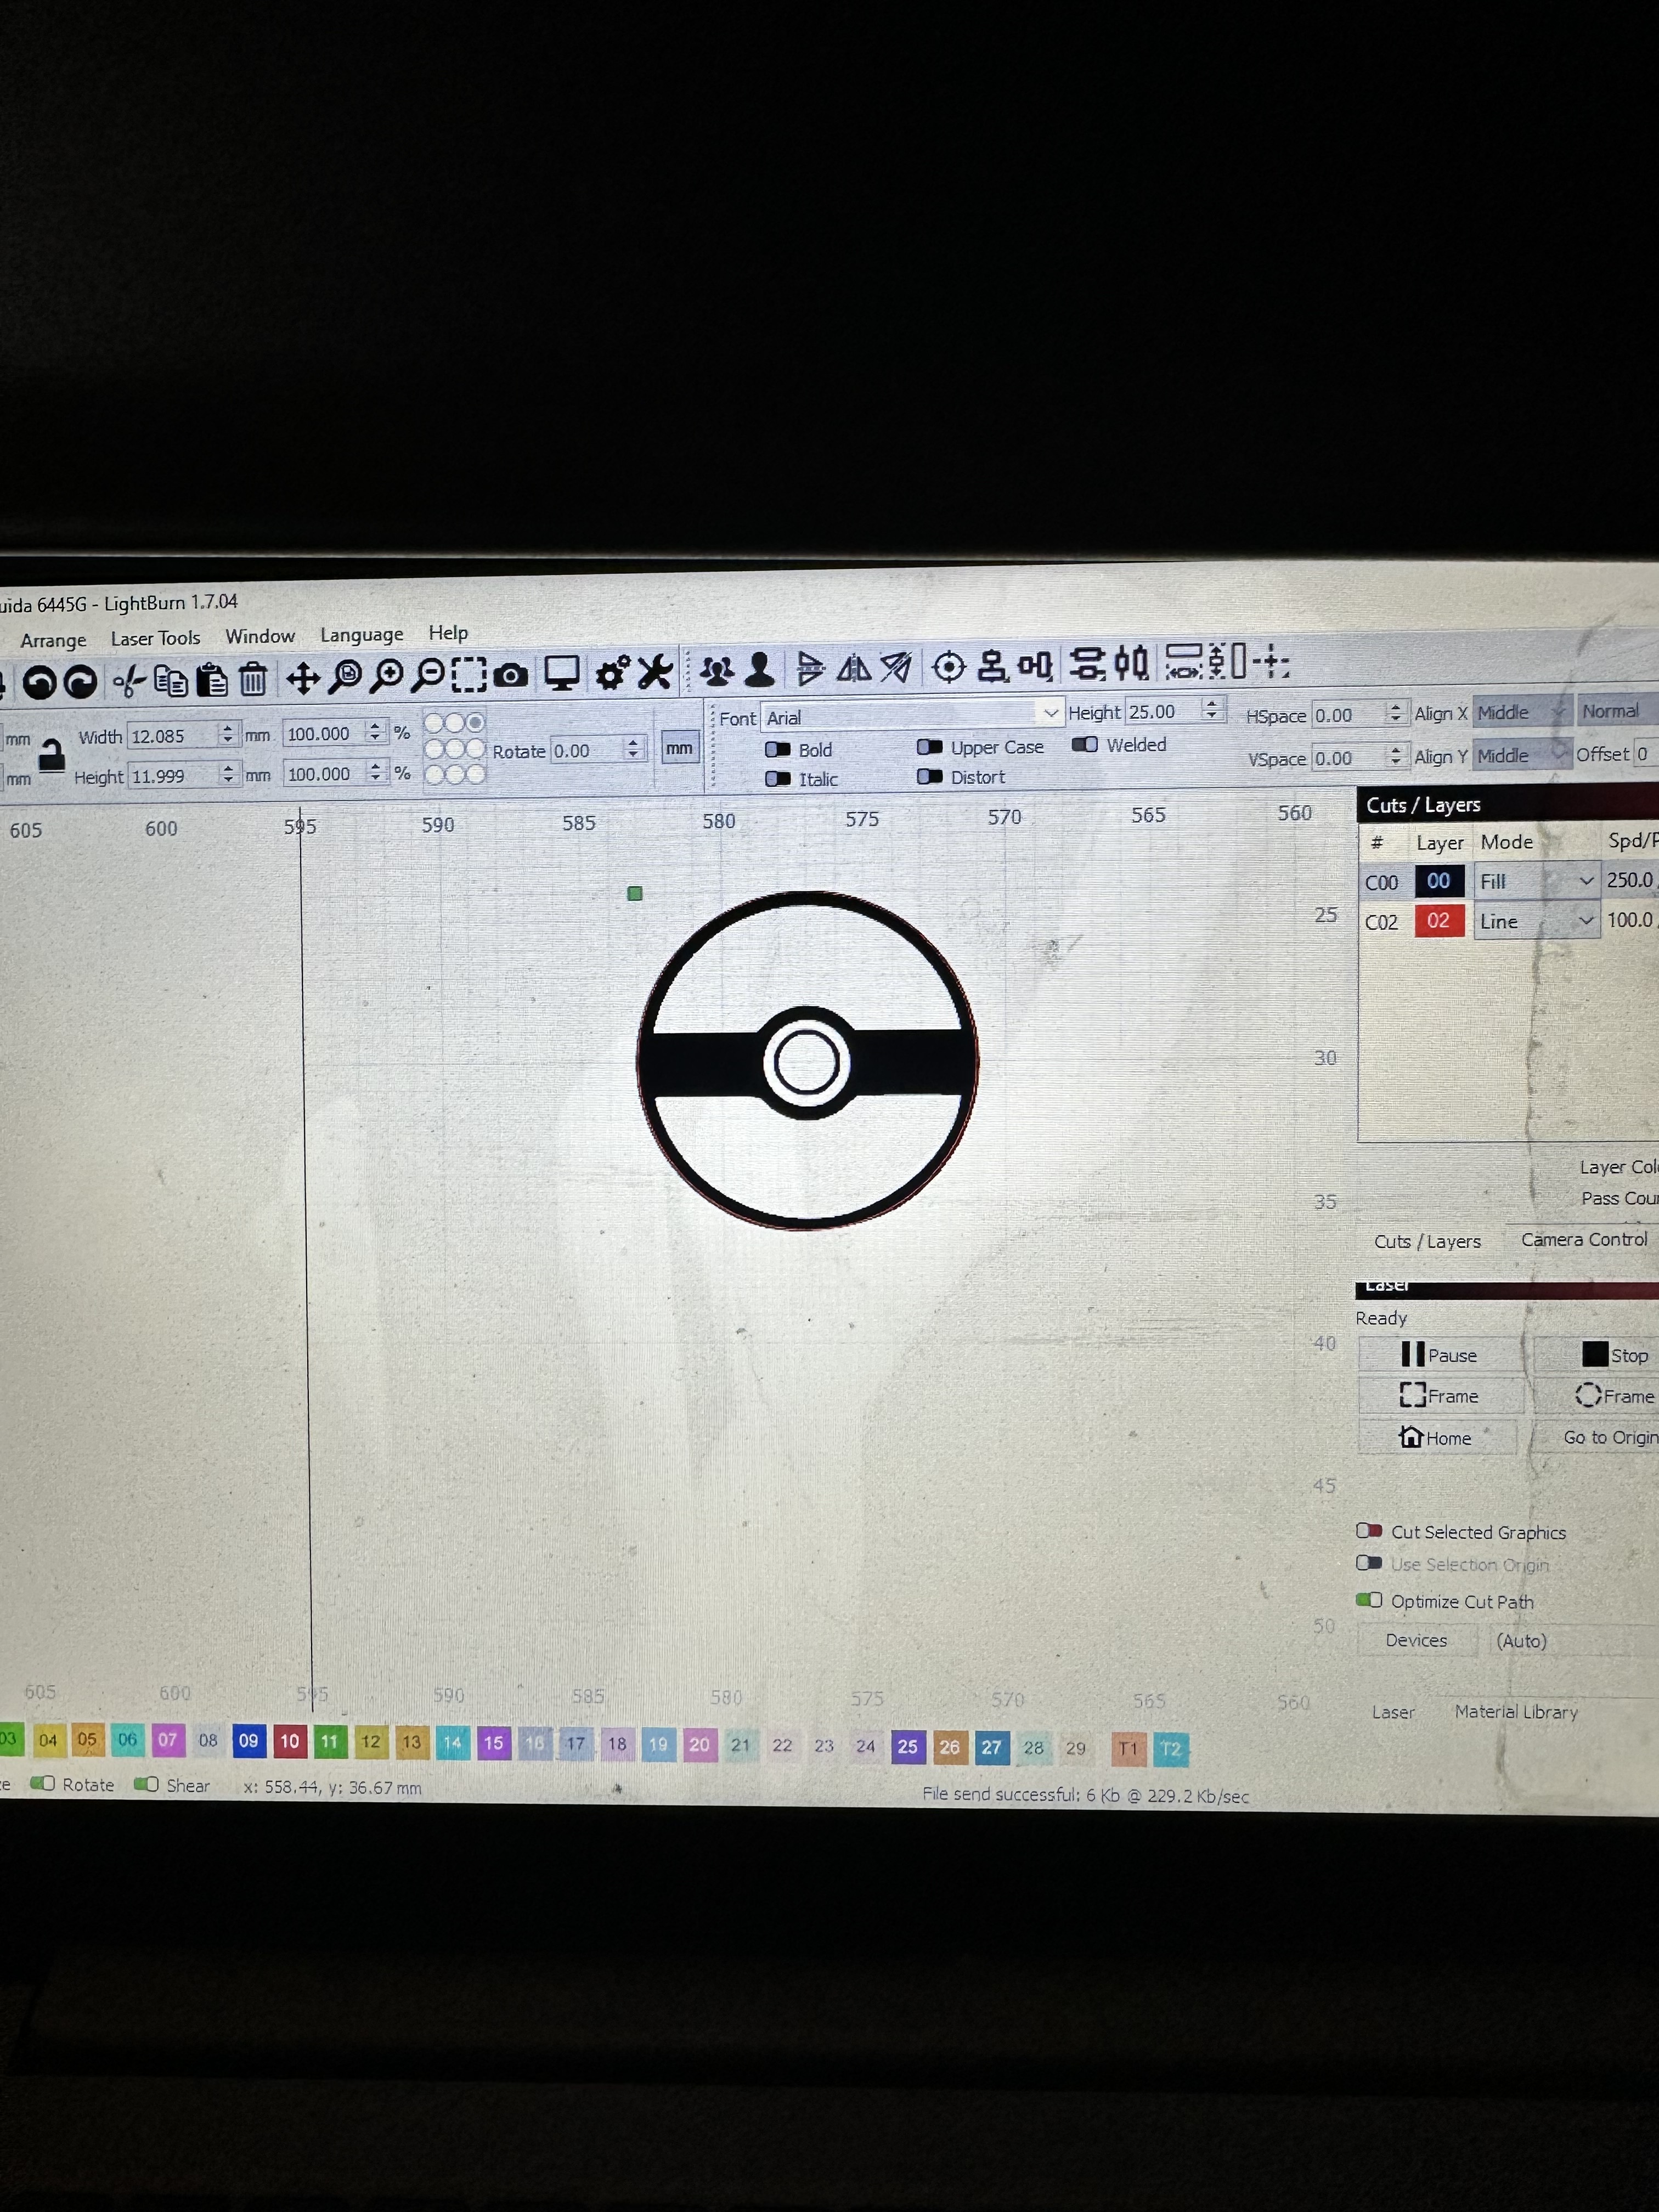
It seems like it’s more of a speed thing than a power thing. I tested another design I was having issues with the little pokeball stud at 250mm per second and even 50% power it wouldn’t fire same as at 15% then I left the power at 15% then dropped the speed to 100mm/s and success but the bee even dropped down it couldn’t get all the detail
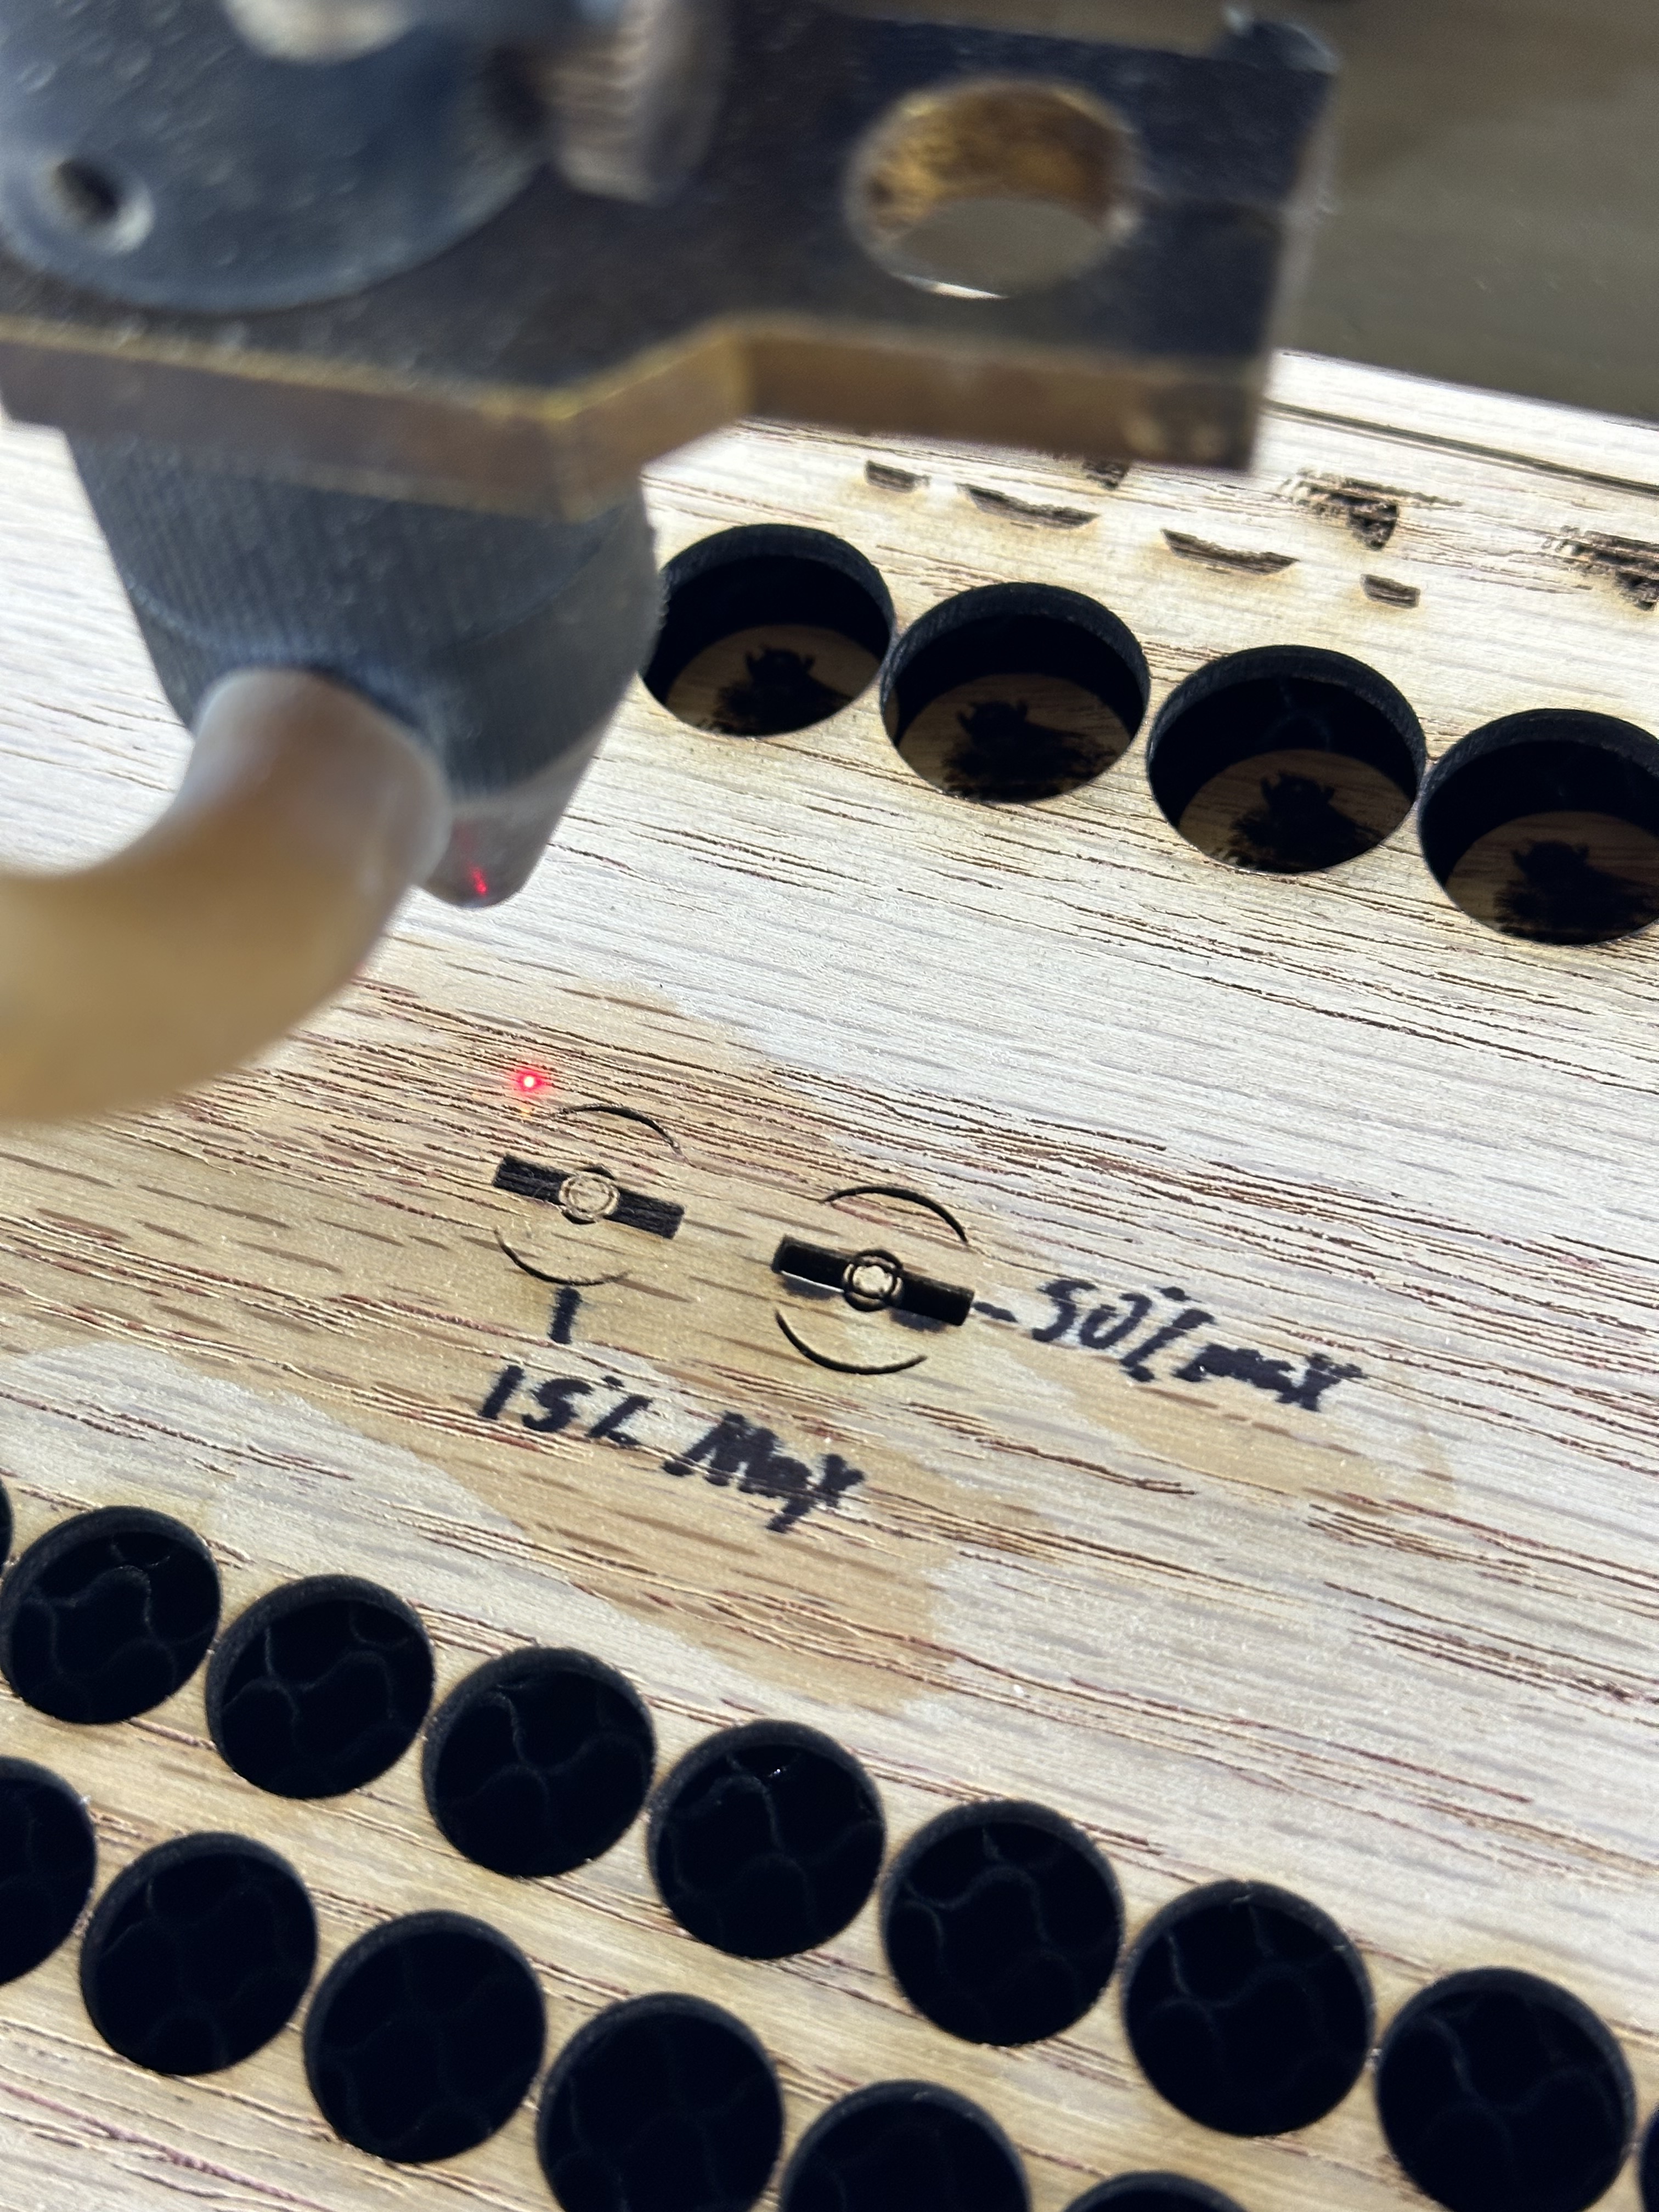

Not completely a speed thing lol I ran this bee at 30mm/s and even though I finally got the antenna it still isn’t getting the wing I did it also as a line run at 100mm/s and it marked the wing outline
Running a preview on the file I sent above gives me the following:

Can you check your preview, and see what it shows? (Alt + P)
I’m beginning to suspect that you may need to do some calibration to your Scanning Offset to improve your output. There may be some mechanical slop in your system, or your laser is not firing appropriately. Your preview should
show the black parts of your image marked as above.


Would the negative scanline offset cause that? I tried turning off bidirectional fill and it still looked the same
Try this file adjust your settings.
tiny bee studs_edited.lbrn2 (200.8 KB)
Thank you.
You were right all along. I re ran fresh 18ga wires from my controller to my power supply and it fixed it there must be a short along the old line that allowed for the longer stronger voltages but the short low pulses weren’t going through
This topic was automatically closed 30 days after the last reply. New replies are no longer allowed.