I’ve been doing some Christmas ornaments lately. I’ve been using spray can stuff from WallyWorld on MDF. Just a few here and there.
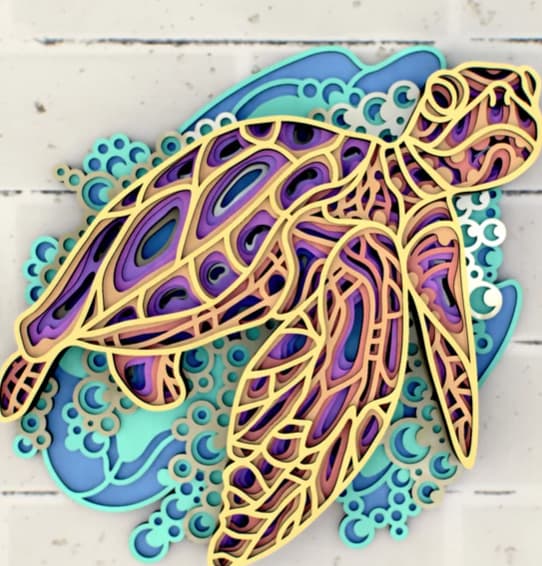
I want to sell some layered products to my customers in Florida, and was wondering, does anyone have an idea on the painting process of these? It looks very clean and light.
Probably just painted the individual layers, then glued/stacked. Paint isn’t the best surface for a strong glue joint, but with the large surface area and a super good glue connection not needed, the bond strength is probably more than sufficient.
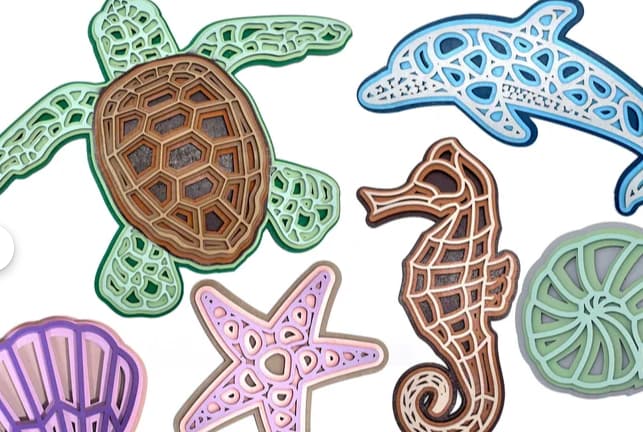
I’m thinking of just cutting pieces and providing an 12 color acrylic paint set in the box with 2 brushes for kids to use with each piece labeled. I’m thinking of selling kits and finished goods for resale.
I just bought this one, and will be working this fall/winter to sell as a kit for kids to paint. Product will be sold to souvenir shops in the Gulf.
The hardest part for me personally, will be to create some type of cheat sheet / instructions for the kids to follow. I’m thinking of numbering the piece on the back side 1, 2, 3 etc… Leaving just to coloring up to them obviously. I think there are only 3 to 4 layers anyway.
I think that would be great for kids! Would you pre-assemble the stack or leave it up to the builder?
Only thing I see as “tricky” would be for kids to align all the parts. Heck, if I was making these I’d probably laser in alignment holes I could stick a pin through to save me the grief
I looked at the file. It’s only 3 layers “pieces”.
I’ll mention in the cheat sheet to use Elmer’s School Glue to glue and to paint each piece separately before assembling. It dries clear, and is safe.
I ran it by one of my customers yesterday. She thought both would be good sellers. Completed piece and kits. She said it could sell good on those rainy days when customers and kids are locked into the rooms during those times.
I’ve located the boxes on Amazon as well. I think all in all my unit cost would be around 4.00 each with shipping box, paints, and parts to assemble. I figure I can sell them to my customers for 10.00 each. They should be able to retail them for 15.00 or higher.
I told Chat GPT to create a cheat sheet / instruction sheet for my sea life build for kids. It came through like a champ. 1 piece of the puzzle down. Now one more thing that I totally forgot about.
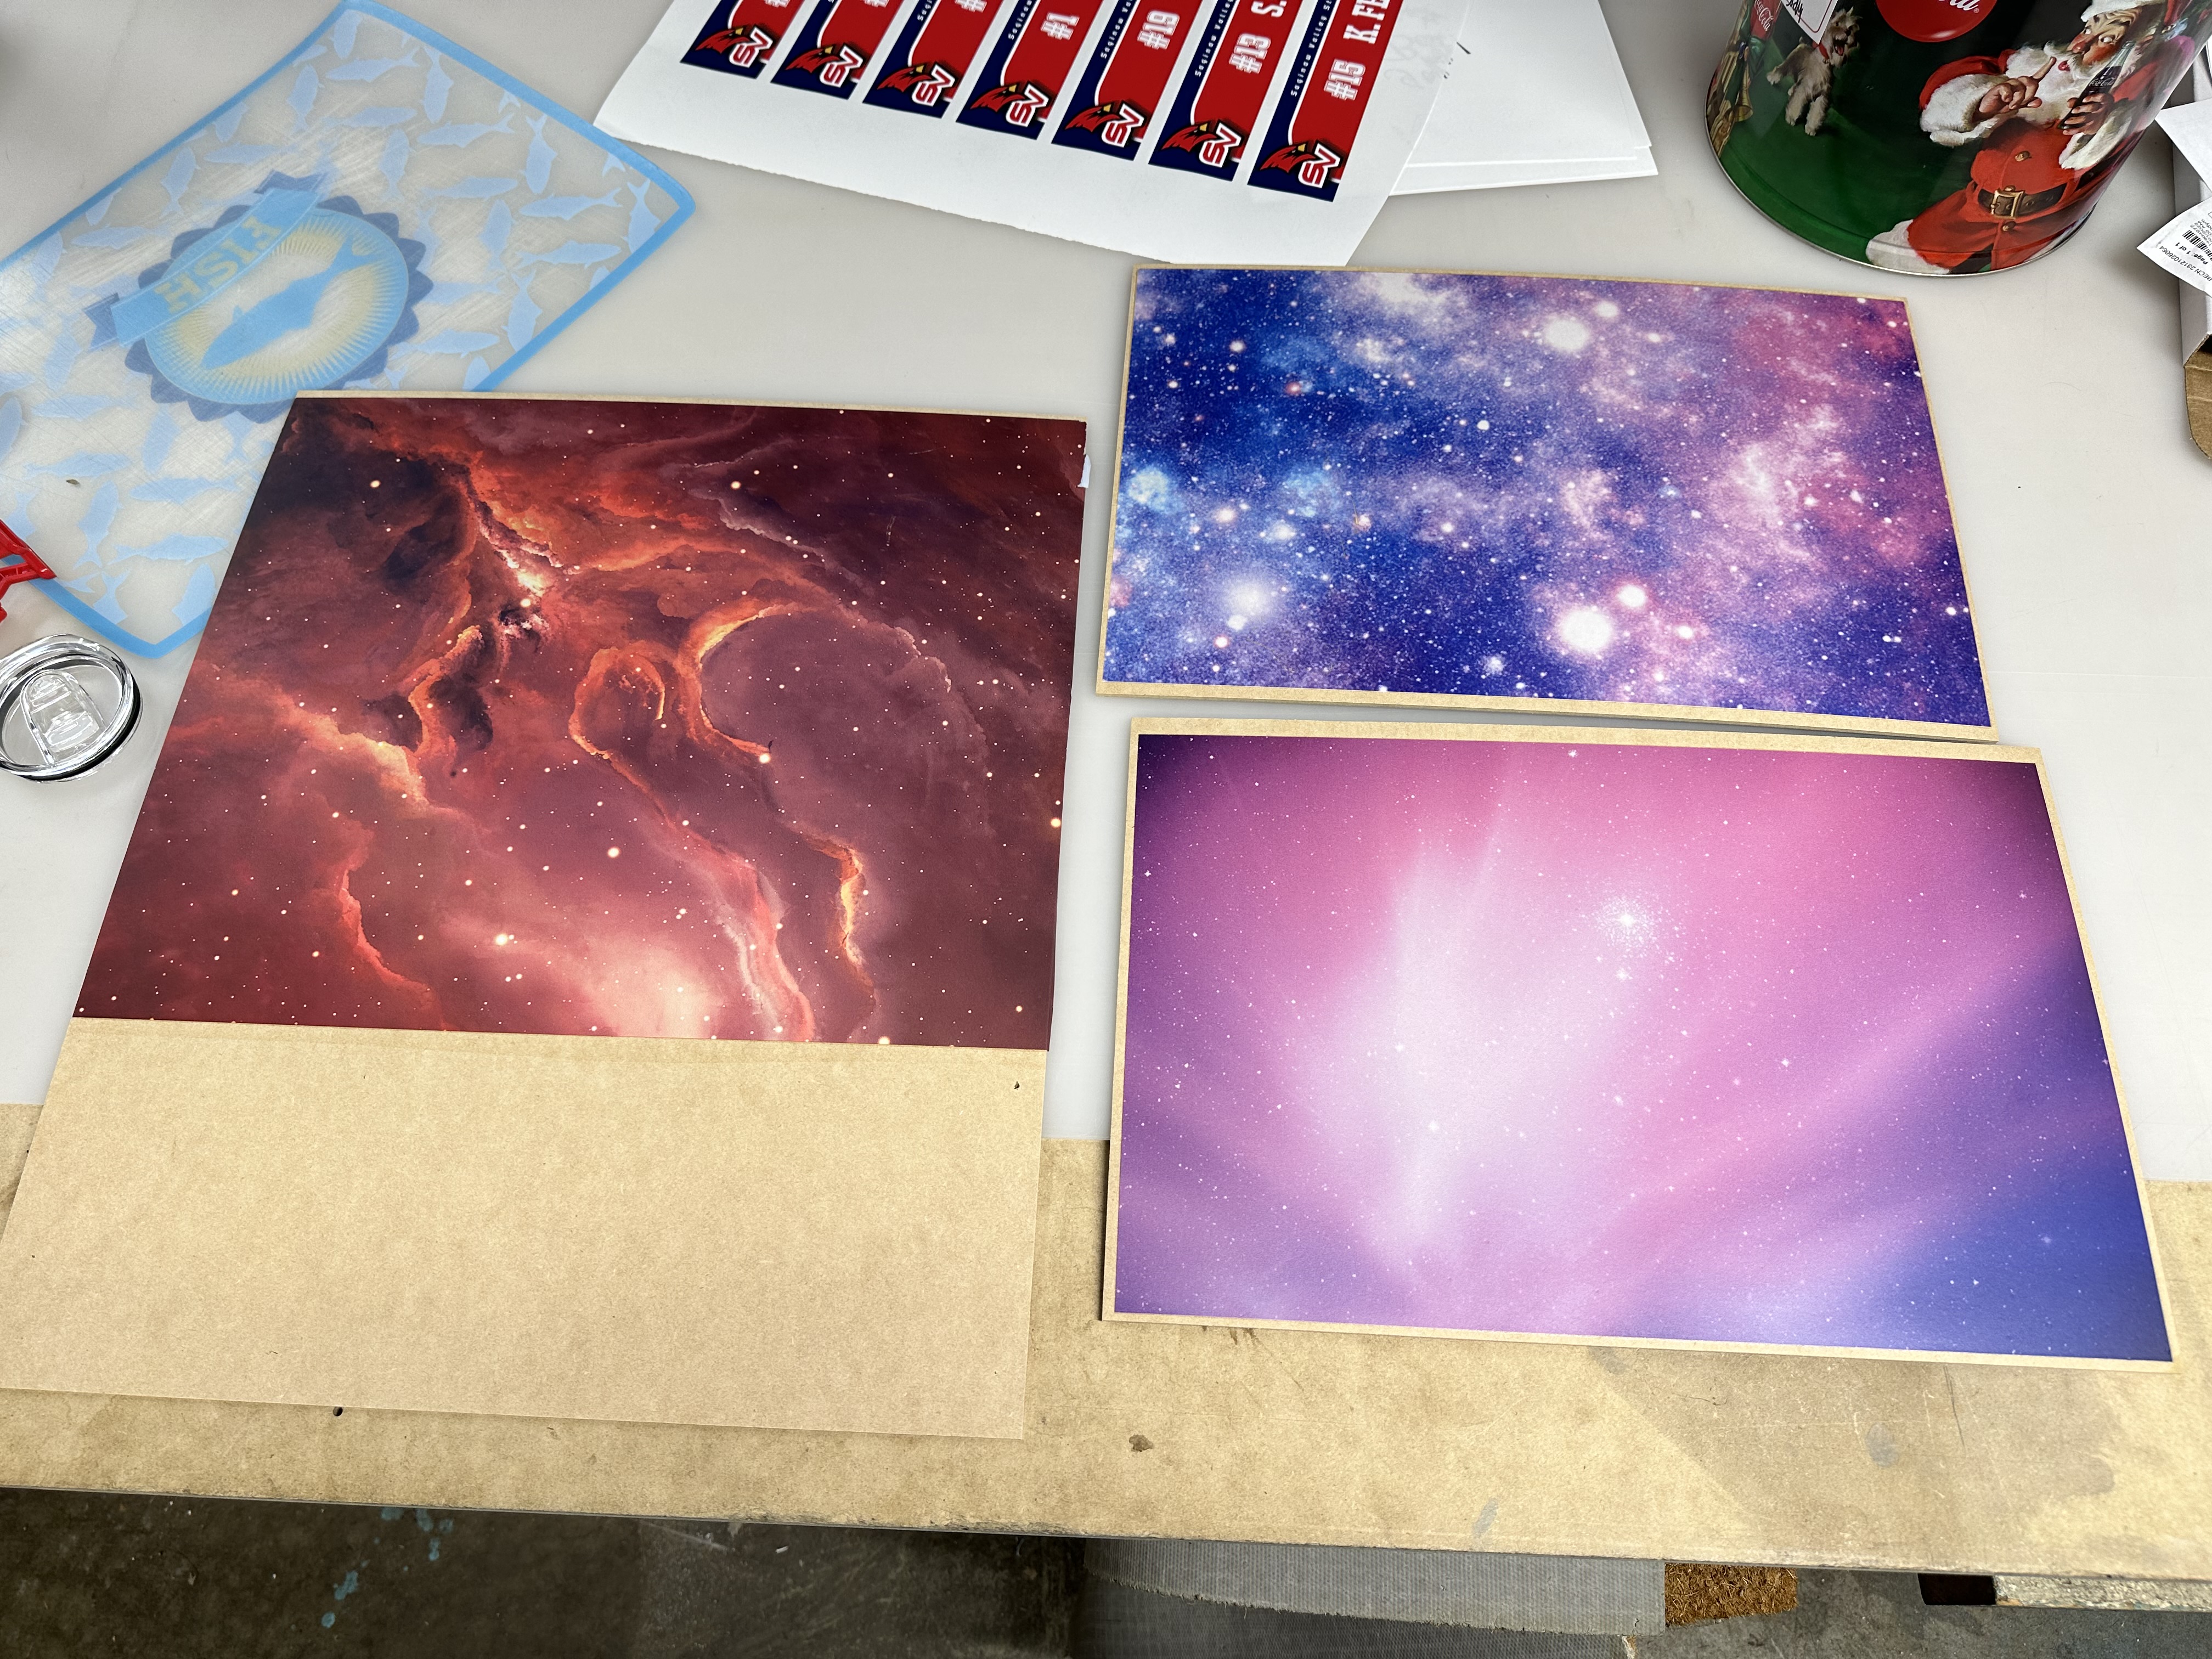
The chare left from a laser on MDF or any other product. I have a small Dremel in the shop. I’m going to see if I can find a soft brush to clean up the outside edges of the MDF. I can’t see packaging this stuff to a customer, and have black soot all over the edges.
I have to play with my air assist. All I’m using now is that crappy fish tank pump they sent. I have a small shop air compressor but my father in law has one a bit larger. I’m going to play with it over the holiday weekend next week or this weekend. He won’t be using his anymore anyway. I think if I can crank up the air it should reduce the char on the sides of the cuts…
Bigger is better. I have a 60-gal, 120 psi shop compressor that’s plumbed over to my 60W OMTECH and regulated down to 25-ish psi into my dual air assist system. After I’m done engraving/cutting I give it a blast with the air gun. It gets off most (but not all) of the soot and debris.
In the deep, dark, misty past I seem to recall something about 25 to 30 psi for cutting the 3-4mm ply that I occasionally do, and much less for acrylic (around 15 L/min) and the Acacia cutting boards that are my bread and butter. Russ did a whole thing about trying to keep the schmutz off your material. The one thing that has almost eliminated the dreaded schmutz is switching to the compound lens kit (from Cloudray) that Russ developed. I’ll have to “give it the beans™” the next time I cut some plywood.
I’m going to be working with MDF for these kits and final products to sell in Florida. That’s the plan. I just don’t want to pack the 3 pieces in a box, with the acrylic paint kit, brushes, and have black soot rub off on the customer when they open their kit. Of course for the assembled pieces that I’ll be putting together, they’ll all be assembled and painted. I’m going to see if I can find some type of soft brush for my Dremel tomorrow.
I do have a slow speed 8" bench grinder. Going to see if I can find a “soft” brush for it, and see what happens… I may be able to just hold the finished pieces and run the grinder to remove the soot.
Thanks Mikey. I’m mainly interested in clean up those dreaded outside edges, but yep I forgot that there will be some burning / soot on the inside as well. Ugggggg
Just FWIW - I don’t use MDF much but have done thousands of key rings, ear rings, puzzles, coasters ,etc. over the years usually using 2 to 4 mm plywood. I usually just toss them in sink of soapy water then pick them out and give them a quick brush with a kitchen scrub brush (or even an old tooth brush for small bits) under a running tap - set them somewhere to dry and your good to go. Might not work so well for MDF (swelling??) but for ply and thin wood sheets it works a treat.
I have some 3mm basswood sheets and some ply that I bought when I first bought my CO2. I may give the bath routine a go. What do I have to loose but time. I have all winter to get this right… LOL
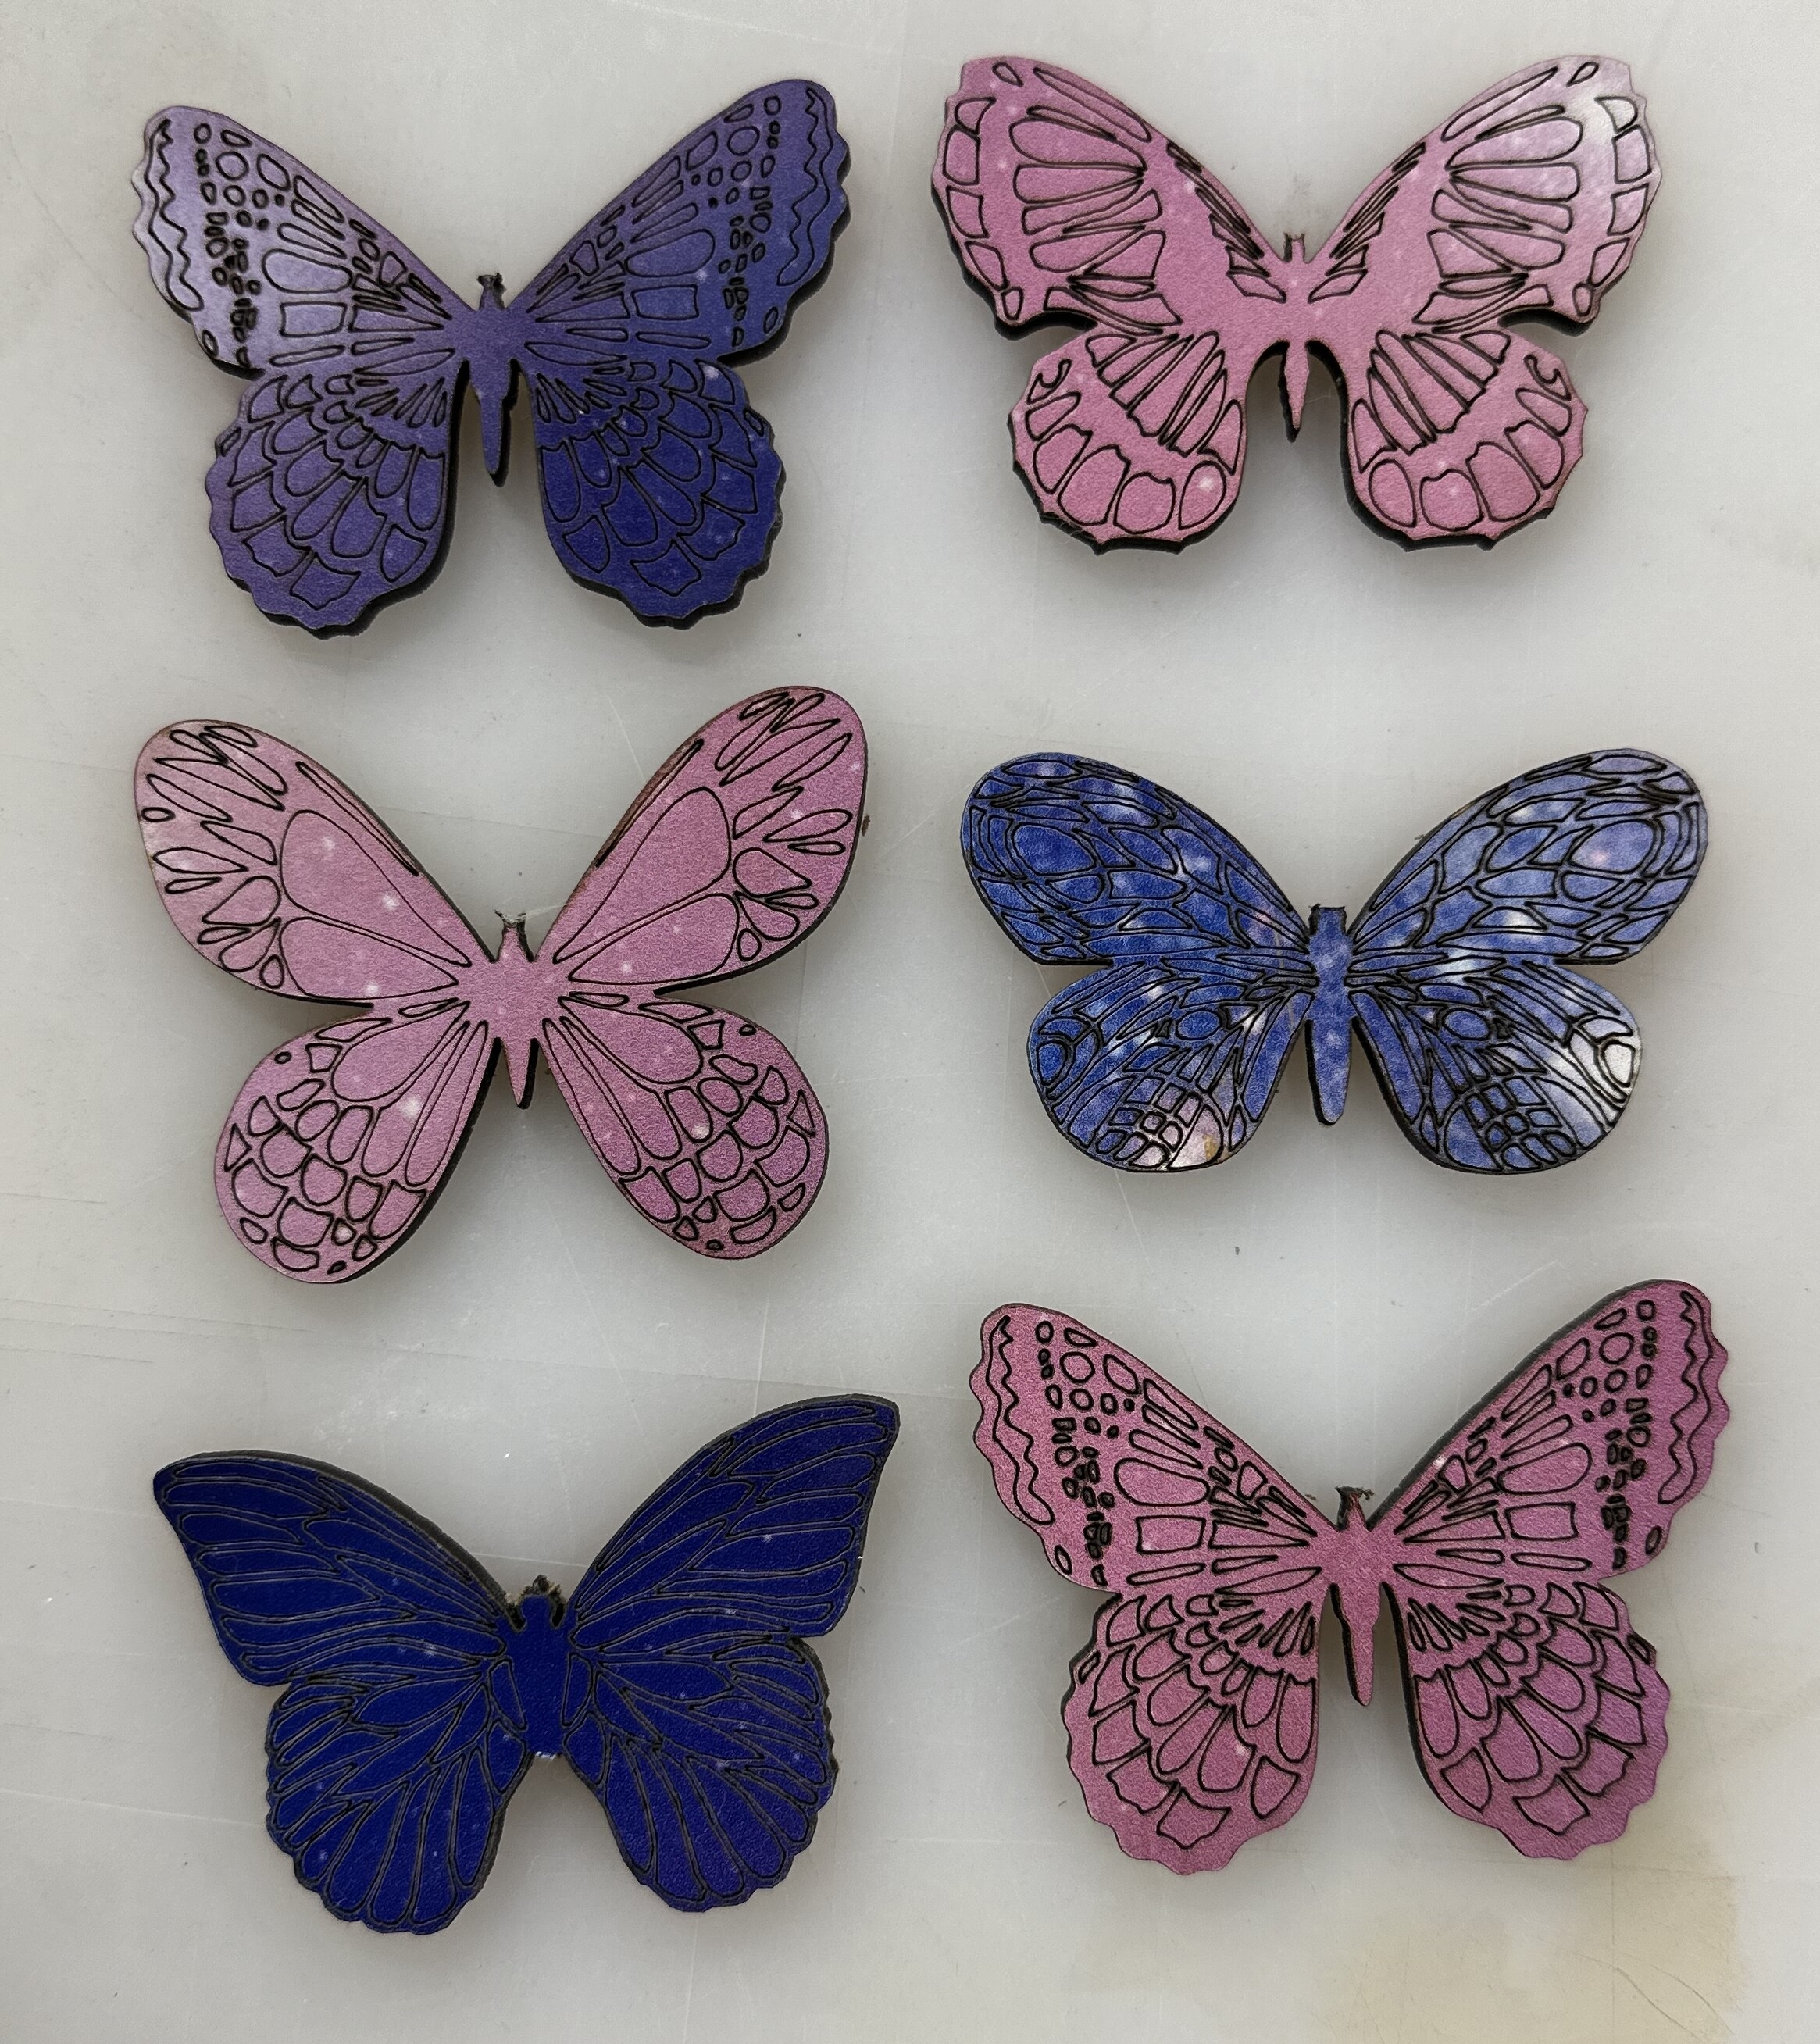
So I made some butterflies for one of my customers. She had bought some of those precuts ones that you paint, the ones she did looked horrible. I have a garment transfer printer and printed a few different pictures, applied them to the MDF, cut them out, and finally did a light clean. They turned out great. You could do something like that; paint it first and then cut it. I would think that would be the easiest way.