I have the origanal XTOOL D1 10 watt and using windows 11. New update on Lightburn. I have an image that my customer is wanting on a specific piece of wood and I started playing around with the Image settings but I’m not getting good results. I am running a test engrave on a piece of 1/4’’ ply just to try yo get it dialed in. I need it to look smooth like the original here but I’m just not finding the right settings. It is going to be around 15x8 " and I’m hoping it won’t take 20 hours lol. Anyone able to give some ideas where to start? Is 317 DPI a good setting? Will Grayscale possibly work? Thanks in advance
I previewed in greyscale at 44min job time, Speed 3200mm/min, Power Max 28% - Min 0, dpi 96..That dpi might seem low but Ive had some good results with similar.
If I can crop that image/file to try some smaller areas to check quality I will…tomorrow!
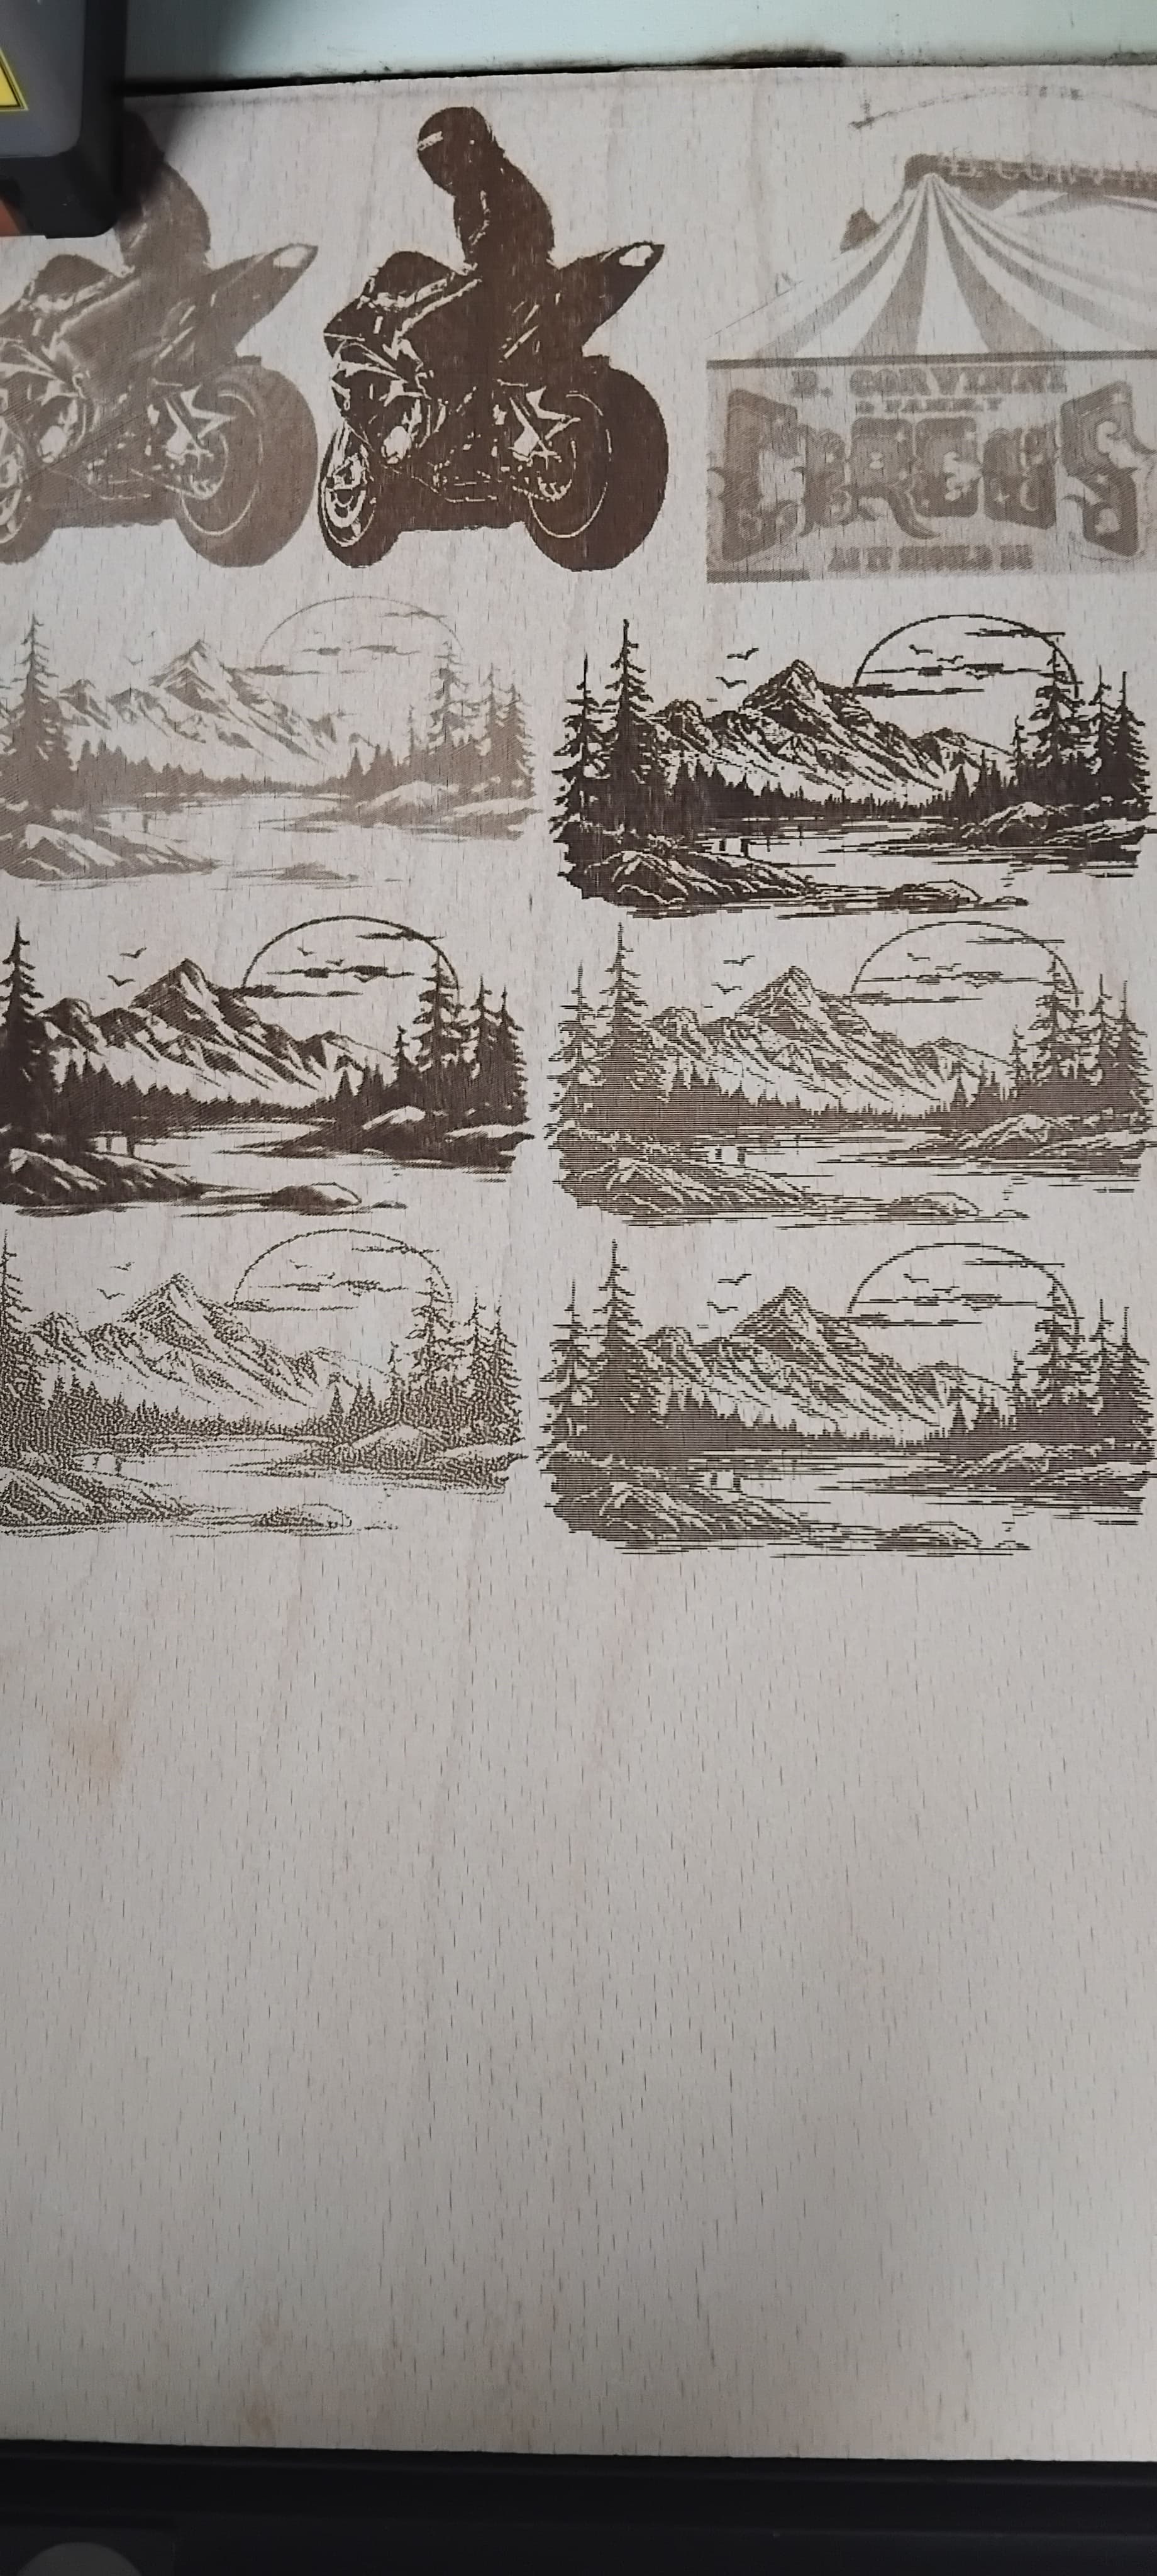
These are what I got so far. they are aprox 92mm x 50mm just to save time (4-5 mins each) until dialled in.
I cant get the two tone shades on the rocks at all and wondering why?
Not to excuse my own lack of skill but I find the image to be quite pixelated and wondering if that could cause the lack of contrast in the darker and greyer areas on the rocks.
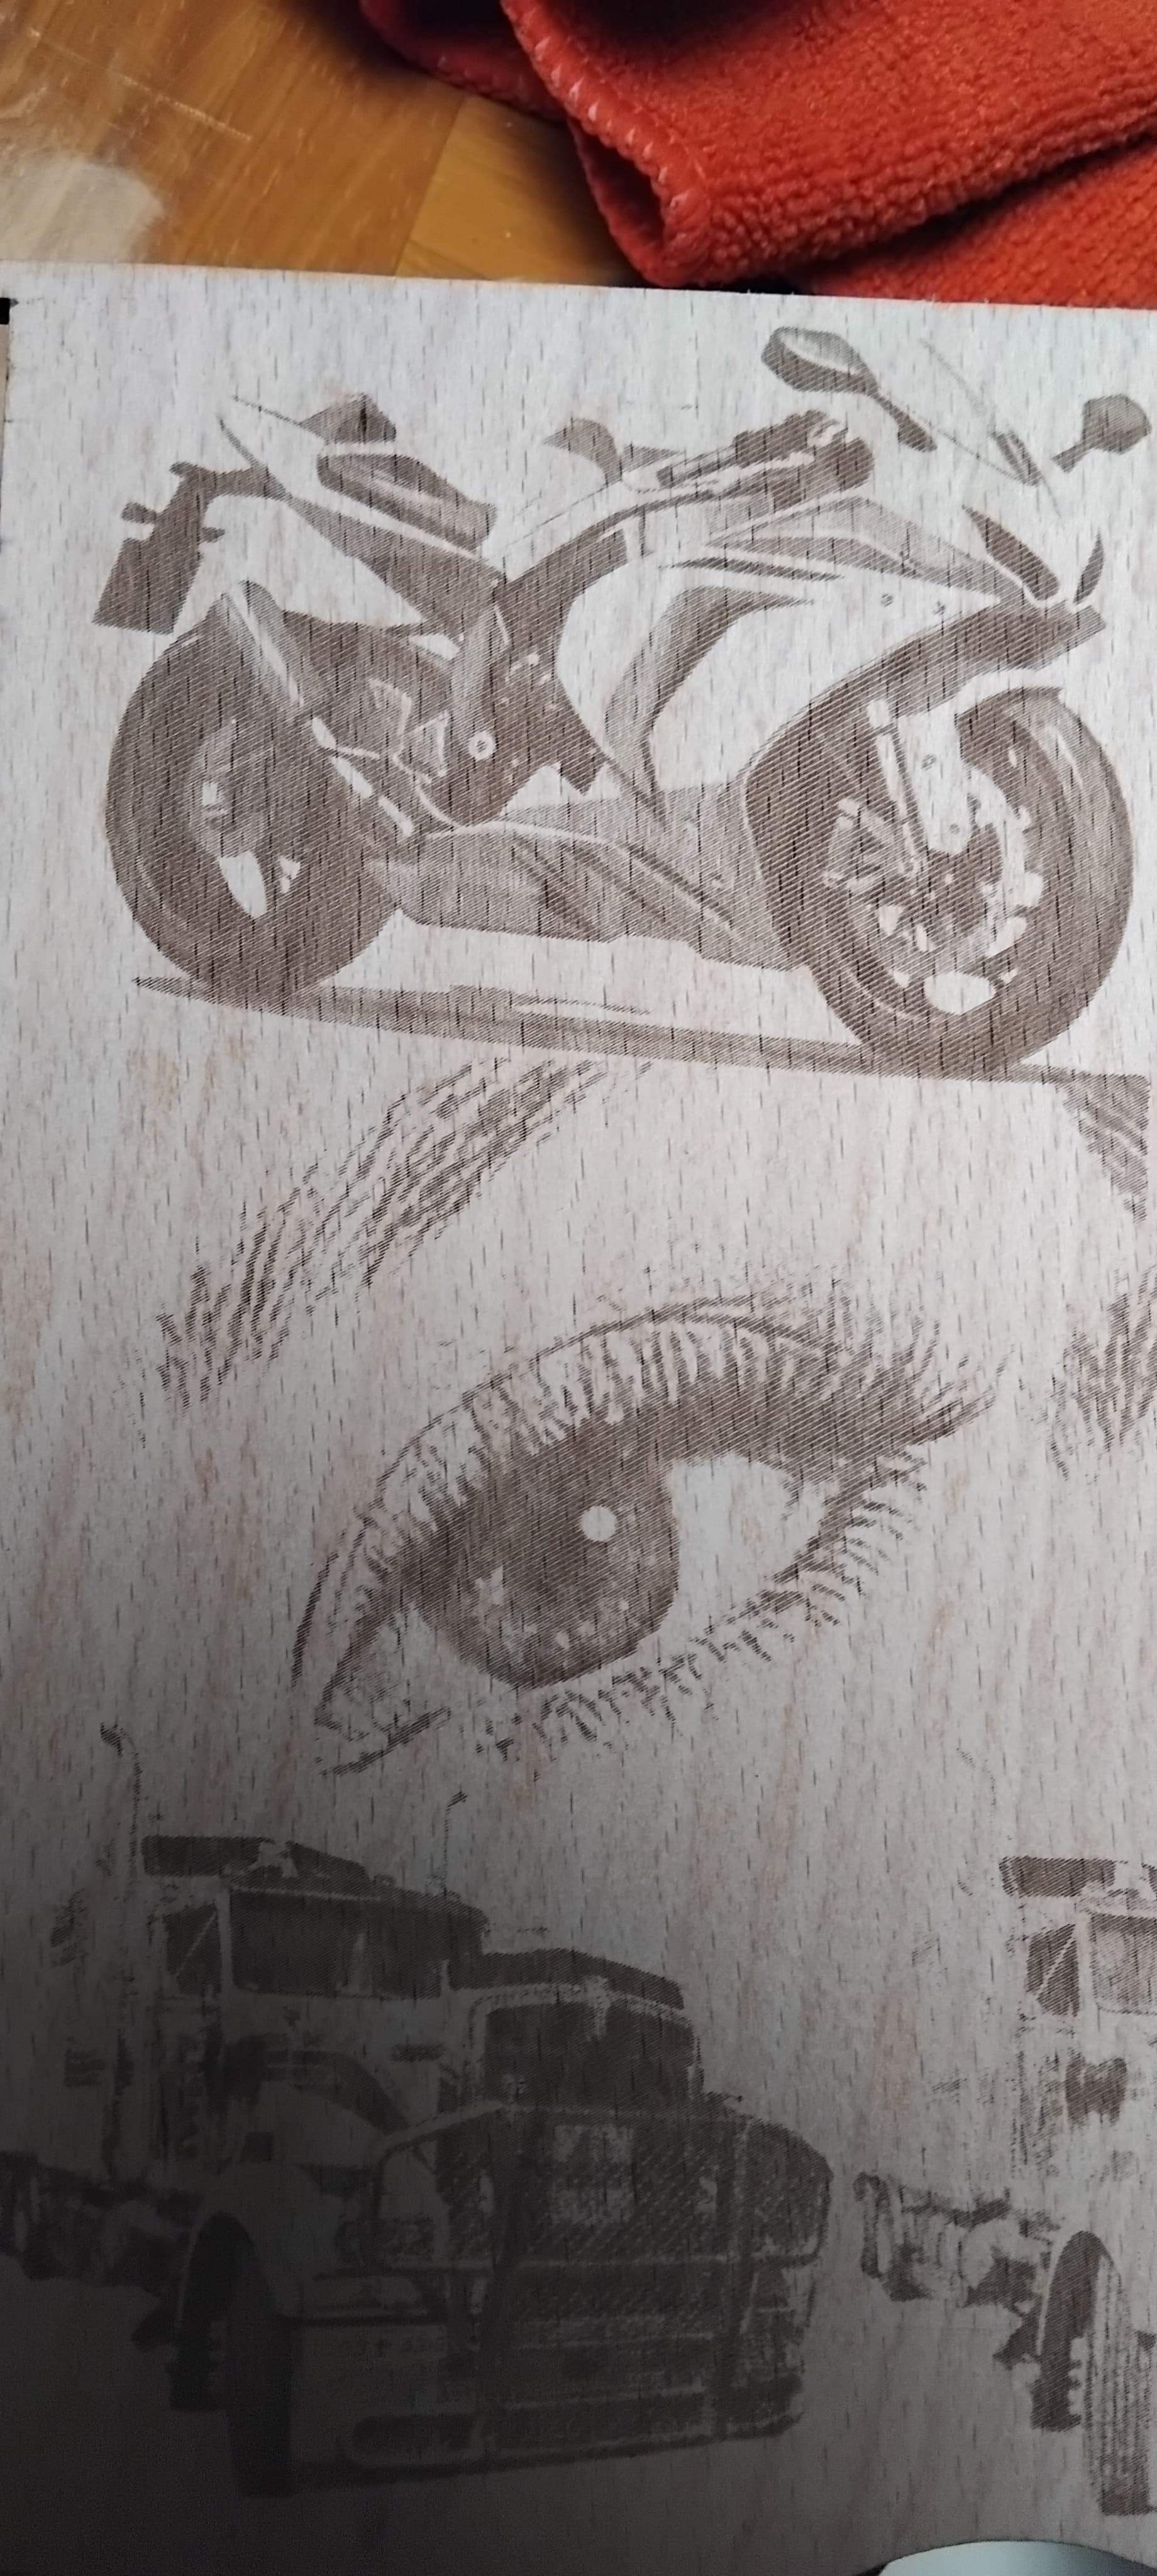
Also, if anyone knows how to select an area of such a file like cropping a photo of a face down to a specific area like the eye to fine tune detail.
Ps, the bottom left is Jarvis..not Greyscale like the rest.
The original file said it was a hand drawn sketch. I wonder if maybe I can run it through something like image-r and get a better result? thank you for the help. Is this done by a diode? I am using the original 10 watt D1 xtool.
The main problem with doing photo realistic engravings is, the material rarely has the ability to take various shades of gray.
If your material starts to make a visible mark at 41% and is burnt at 60%, your range of grays can only be withing the 40% (white) to 60% (black) You have to compress the photos range in order to get anything near the original image.
Even if you get the photo compressed, photographs rarely compress linearly. Even with an 8 bit power scaling, it’s very unlikely that you can tell the different between 45 and 46% power… the original pwm only has 256 steps, very likely more range than the eye or the material will allow you to see. Increasing resolution to 16 or 32 bits is unlikely to really add any benefit that ends up visible.
One of the items listed in the link @BillieRuben posted, is the interval. This is pretty critical. Laser everything video on photo engraving is great to understand what’s happening. I advise it’s viewing anywhere anyone is struggling with laser usage.
As you figure things out, you’re going to try grayscale, but I’d suggest you take the path of using a dither of some type. This is much more like a laser works, burning one area and not another, much like a printing press.
I don’t know if this helps, but what you’ve picked to do, photo engraving, is the most difficult and demanding part of using a laser… hang in there I’m sure you’ll get the hang of it.
Yup..Snapmaker 20w (output). I would have thought the grey pixels/areas should burn lighter.
Can you give me the dpi of the image and any other data.
If you can process it further…we can see what happens.
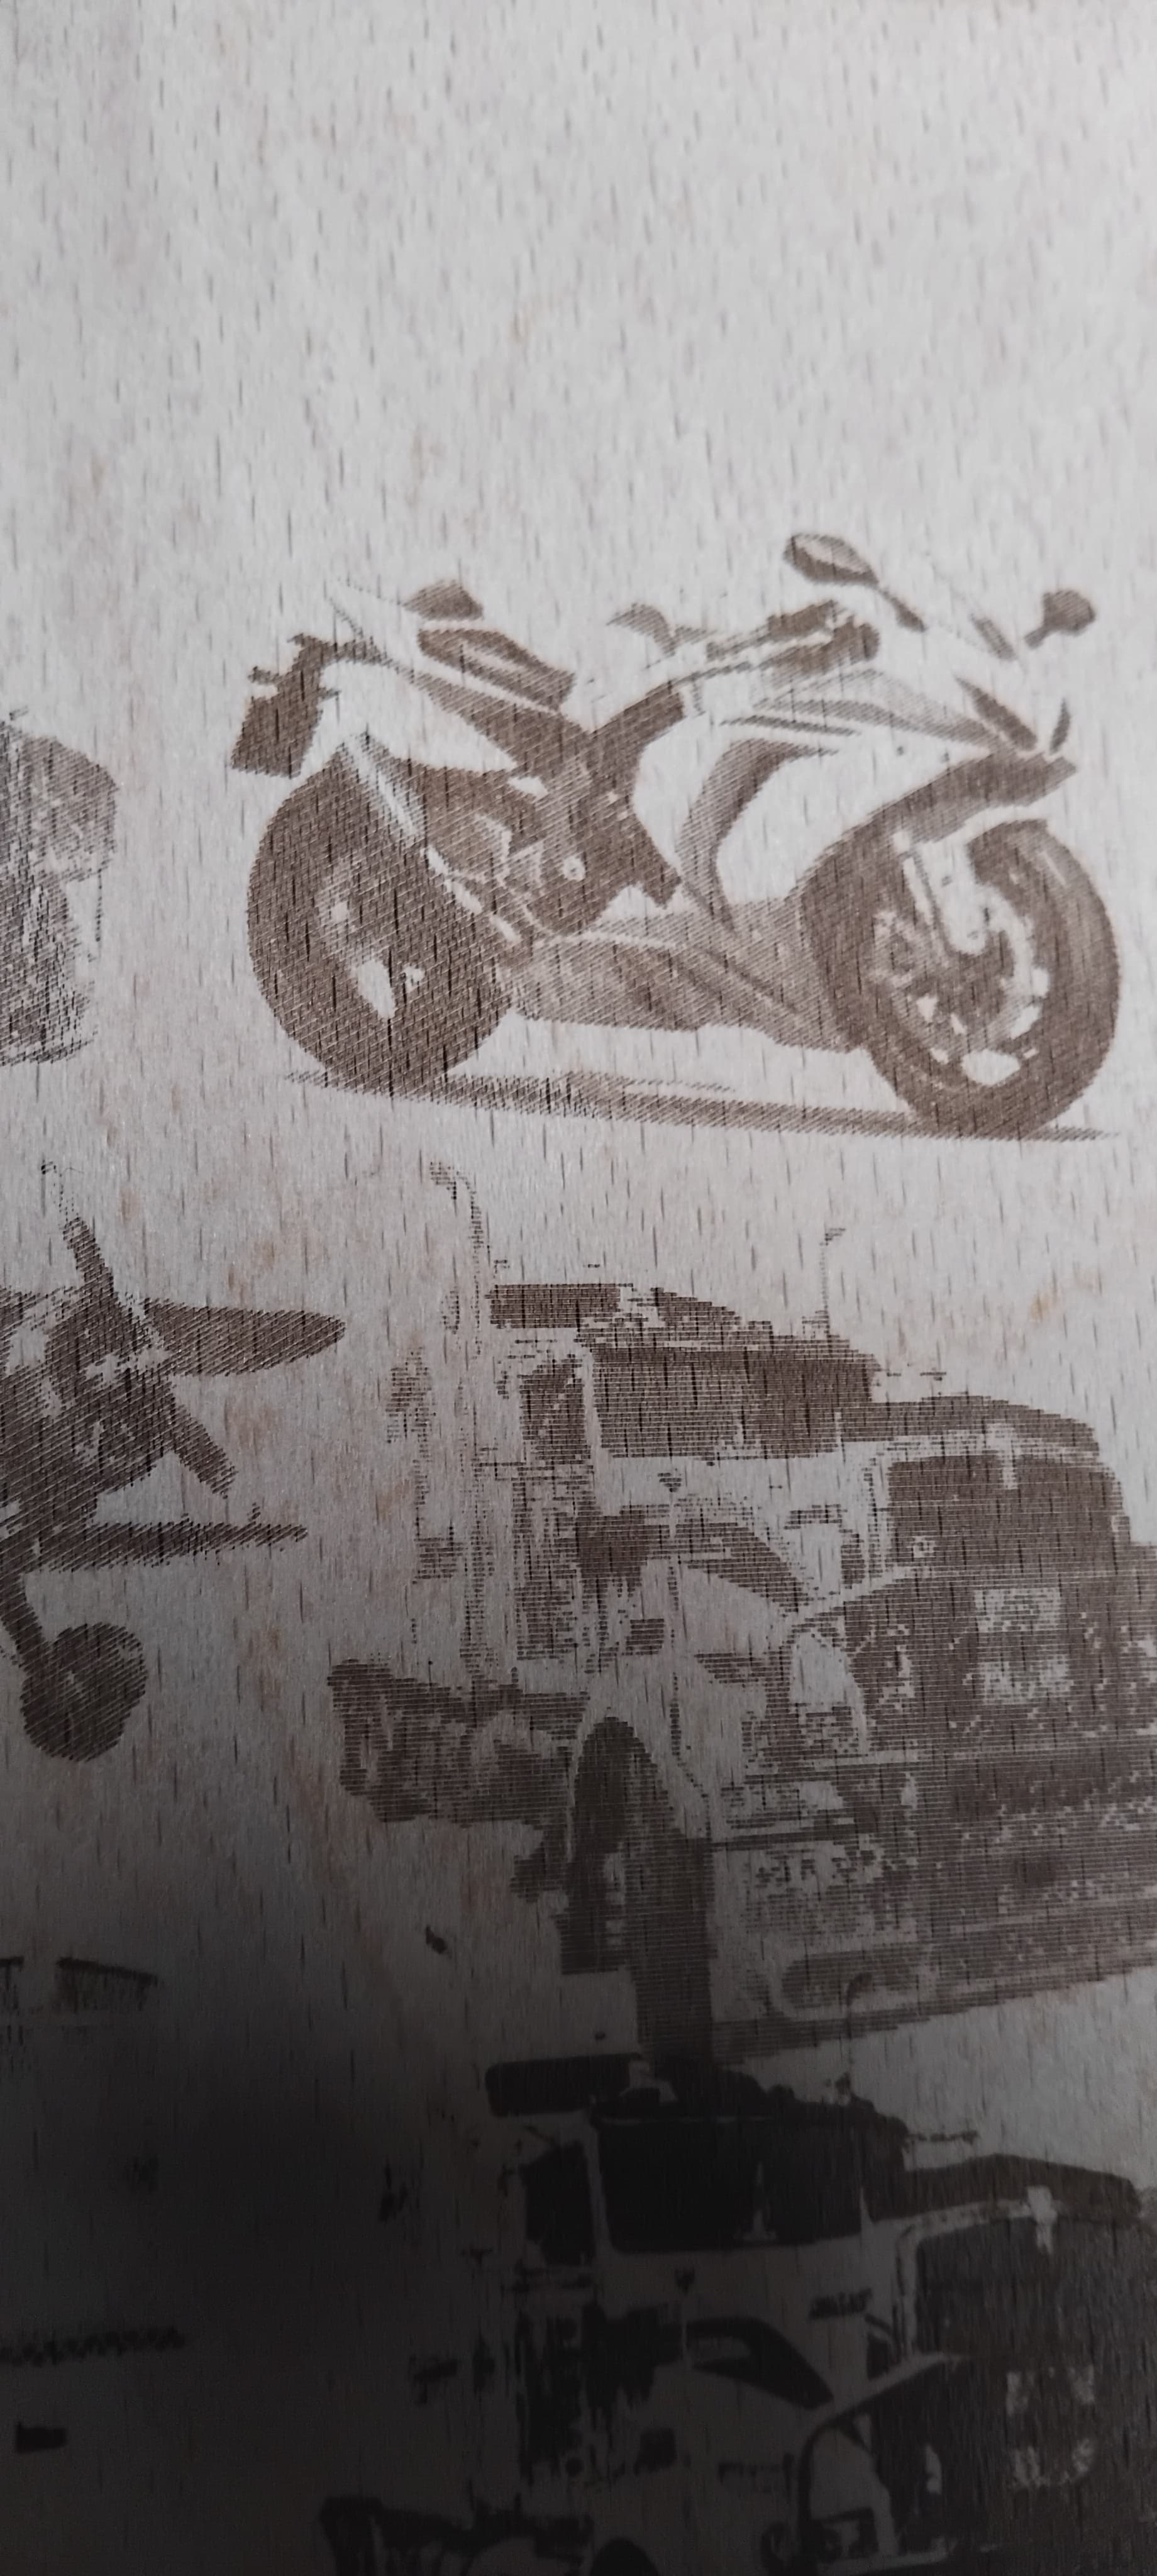
The bike in the pics above was a huge step in quality for me and I used LI (0.265) to get it…also Radius (1) and enhanse amount (1490).
It brought in lighter shades I previously coldnt get.
I thought I had found a formula for all, but its only for some…Im trying to figure how the ‘some’ it does work with are related.
Hey, this is a great explanation already. Just knowing to head toward Dither and instead of Grayscale is a step in the right direction. Thank you very much.
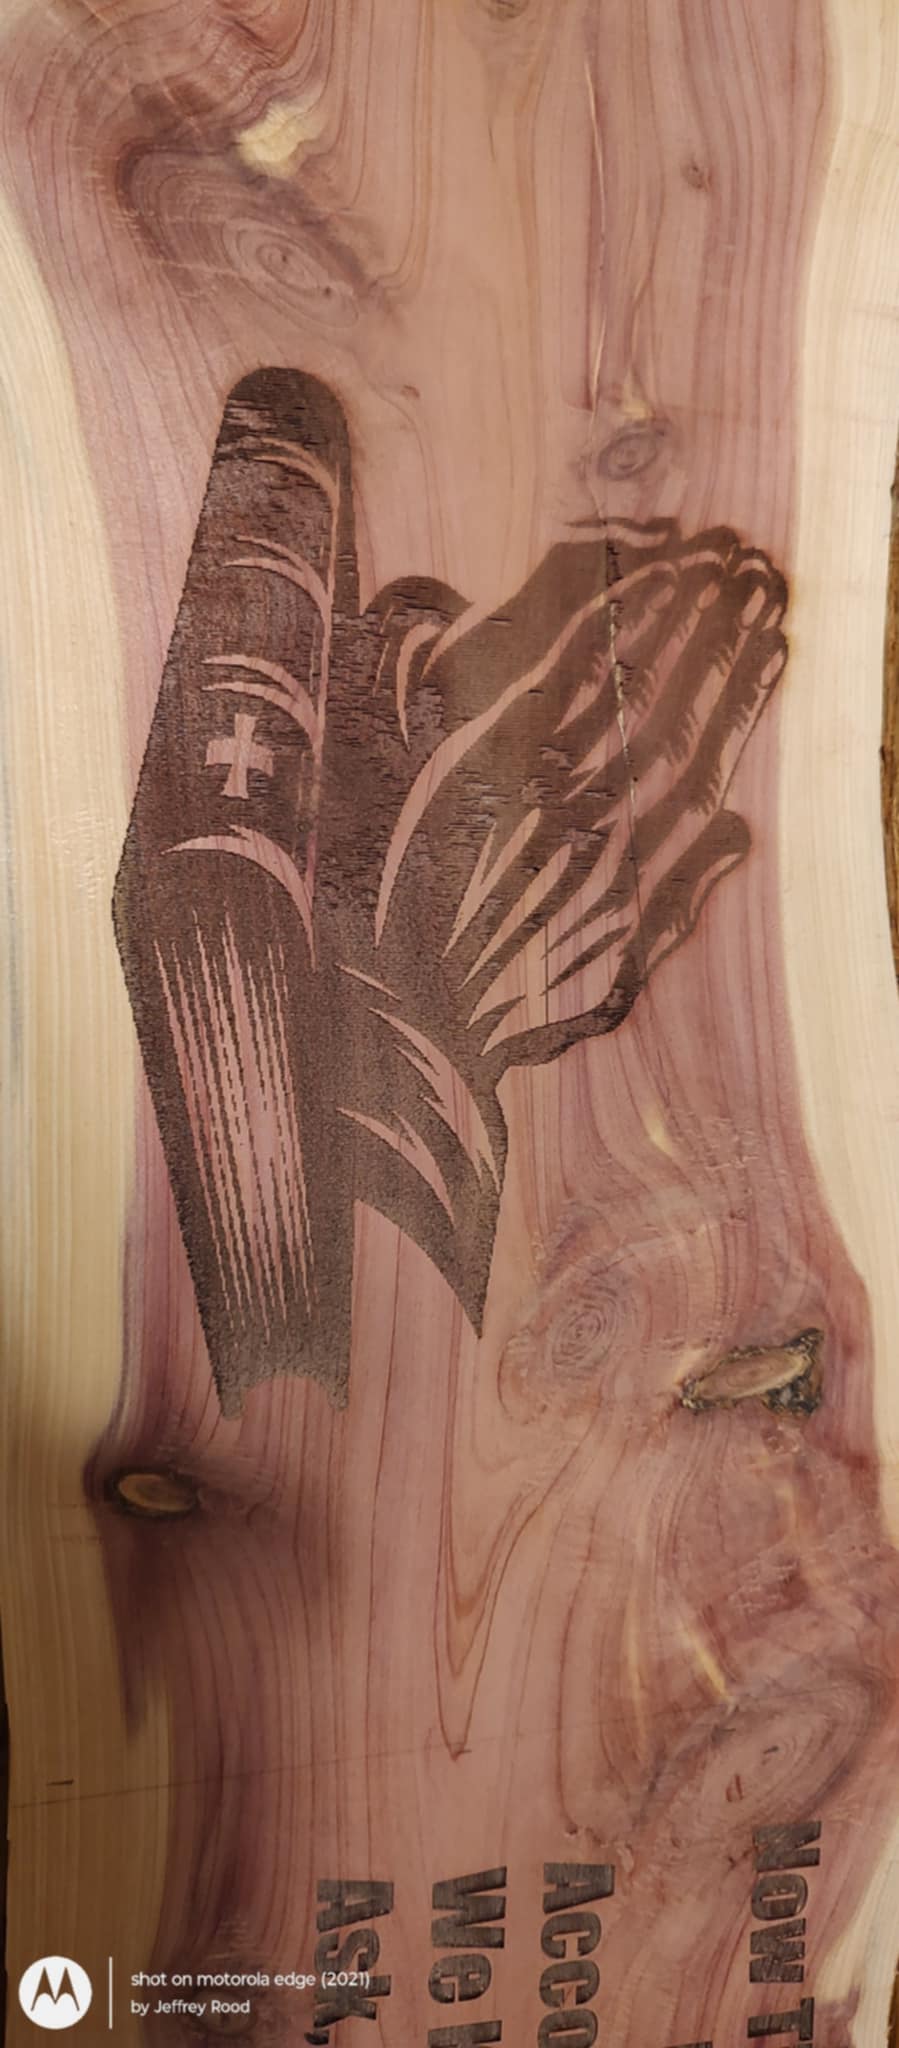
This is the finished engraved on cedar. Mistakes were made! Zoom in to see the lines.
I needed it to be darker than the fist run so I slowed it down and ran it 2 more times…don’t do this.
I think I know how to set the power and speed for my next plaque for him. I will run it through Image-R, (and yes, pass through" I think I will tr4y color instead of Grayscale in Image-R. Maybe that will yield better results sine grayscale is not the most compatible.
Curious to know what the original looks like for comparison.
Threshold will give you a plain black/white effect and Halftone can be good…bit easier than greyscale at the start, and I put Cells per Inch up to 95…but its all about trying and experimenting as it can take quite a while to get used to even a few modes and their variables.
Newsprint is also a good way to experience how whitespace (between dots) can enhance an engrave.
After changing it around, they are all fill operations with different intervals to give it a sense of different gradients. Same as using a dither of some type.