I don’t find in my version of your software (that I downloaded on the 3rd of march 2021, the button “image optimization”. It’s supposed to be in the laser window, but it’s not.
Where can I fond it ?
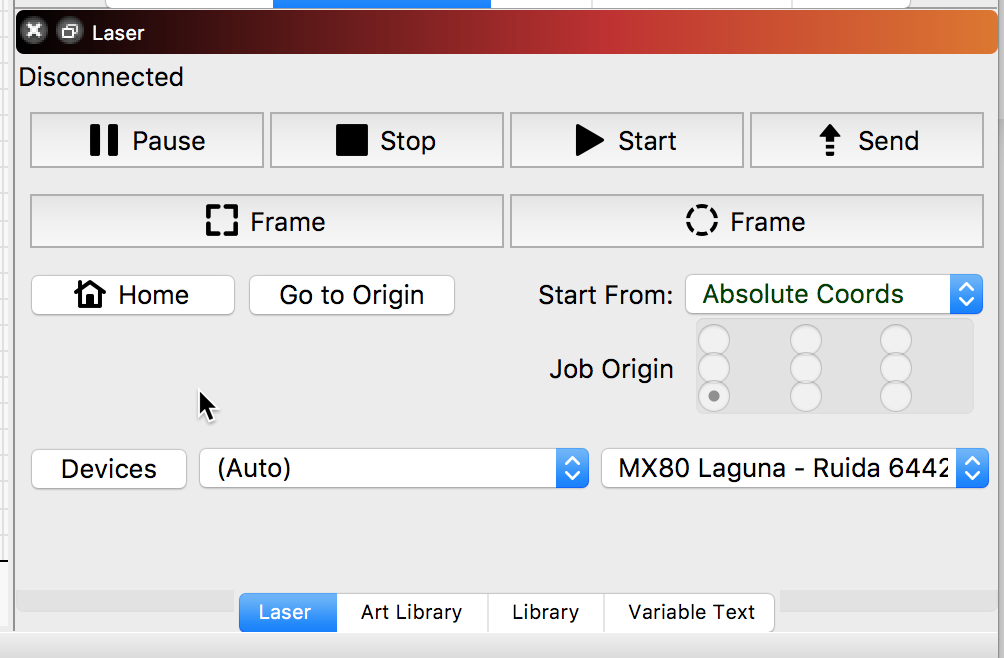
Also, the button « return Home », in this same window, sometime disappears…
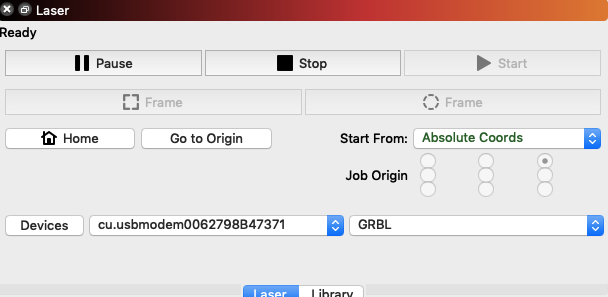
Next to absolute coords, is supposed to be the image optimization button (that we can see in the videos you created to explain your software).
This is place (image optimization) where I can tell the laser how to behave, for instance.
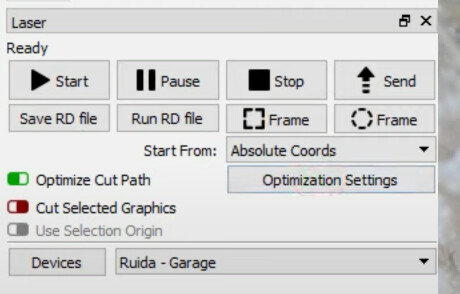
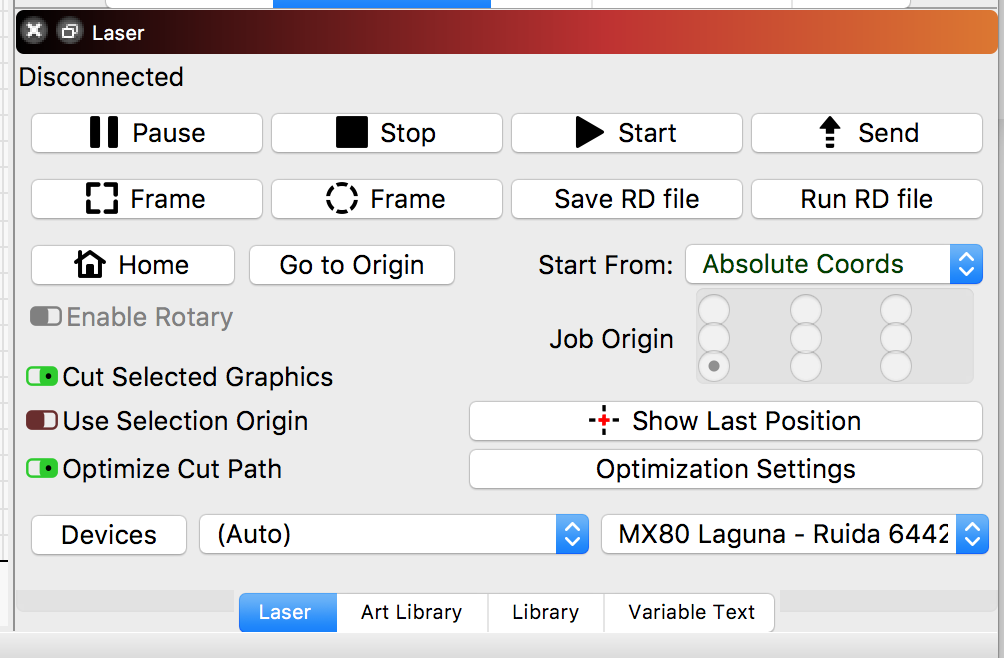
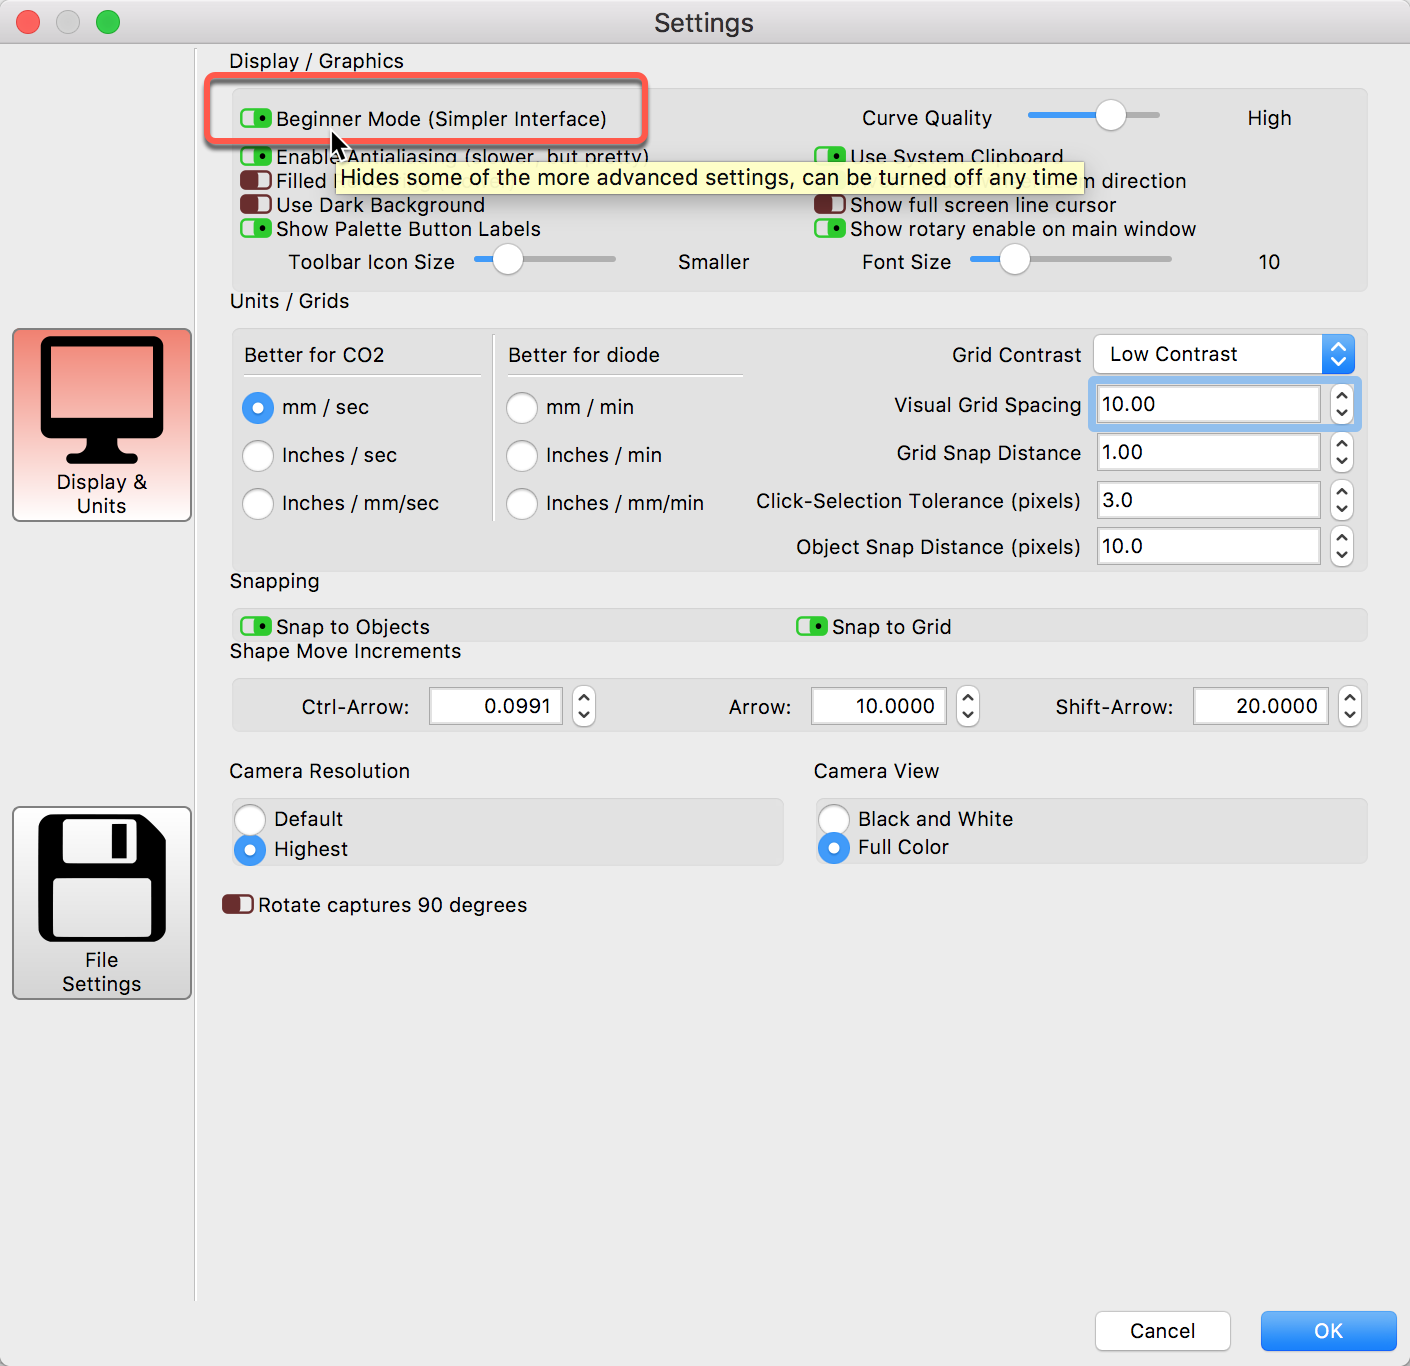
I think you are referencing the ‘Cut Optimization’ button in the ‘Laser’ window. As Oz said, this button is one that gets hidden when you set the ‘Beginner Mode’. Beginner Mode is used to hide some of the more advanced features and options. Here is mine, set both ways, so you can see the difference.
Thanks ! I will try that. (I can’t now). That’s such a relief, I work on big images with big empty spaces that the laser travel for nothing… and I can go from 60 hours to 1 hour with the help of the cut optimization…
Thanks for your help.
If they are images with empty spaces you want Edit > Device Settings, and turn on the ‘Fast Whitespace’ option - give that a speed to work with, like 4500 mm/min or something faster than the engrave speed.
Images are just scanned left to right, bottom to top, so there’s not much “planning” involved. The Optimization Settings are normally for setting up how cuts are ordered.
My reason is that I had a problem with engraving after 14 hours and I had to stop. It was at the half of it. Now I have to finish and I can’t… Except going top to bottom and stopping when it reaches what is already done…
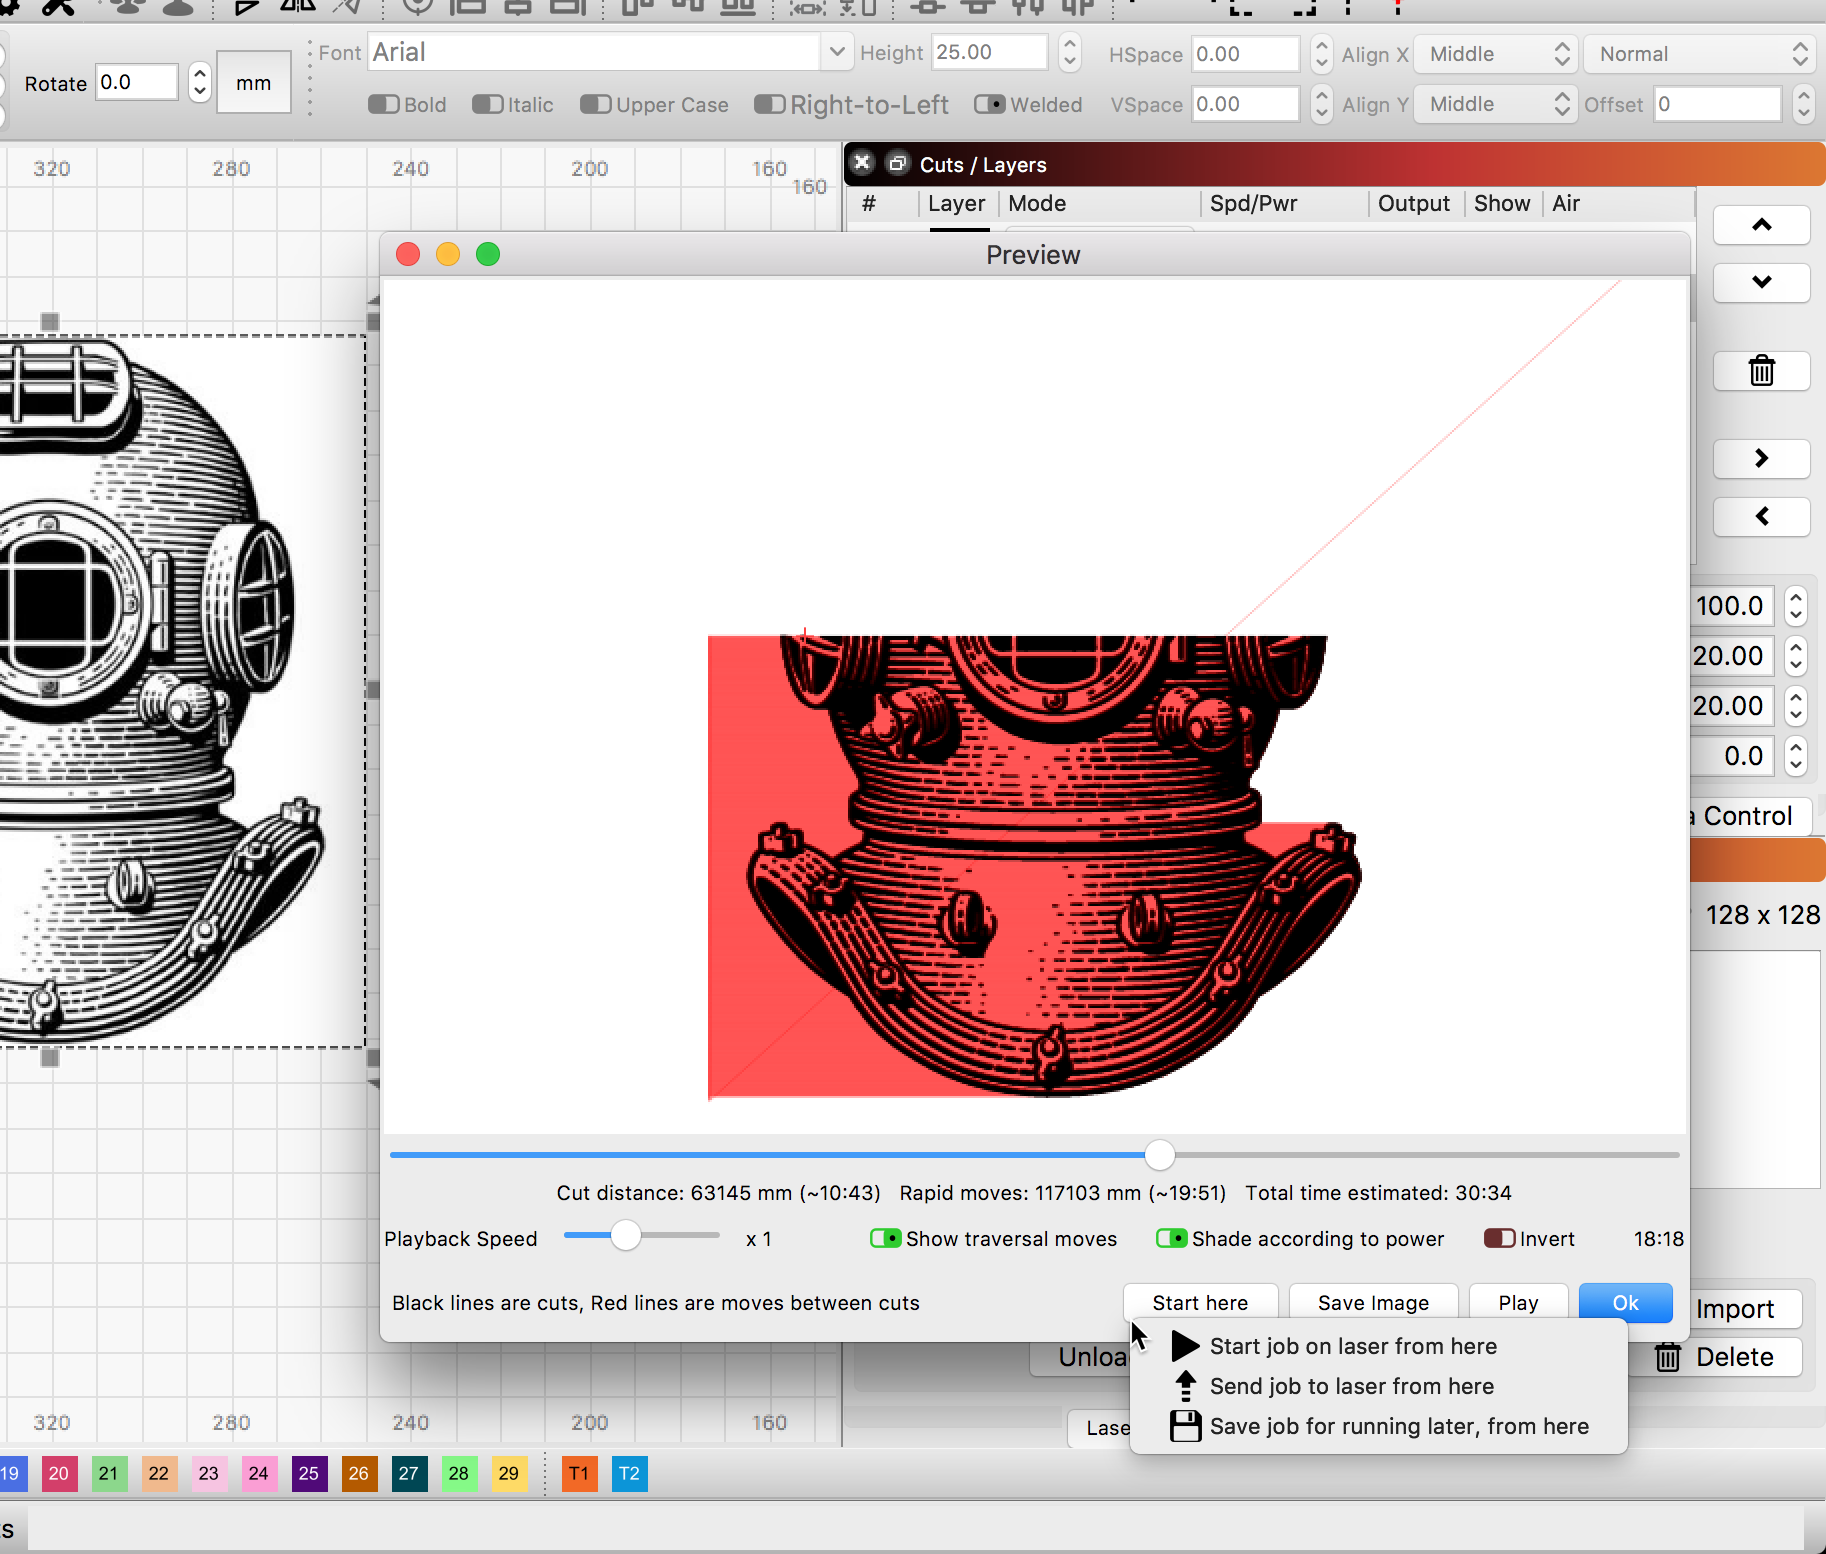
There are two ways to do this - the first, as you mentioned, is to engrave in the opposite direction by changing the Scan Angle in the image settings to 180 degrees. That will run top down instead of bottom up.
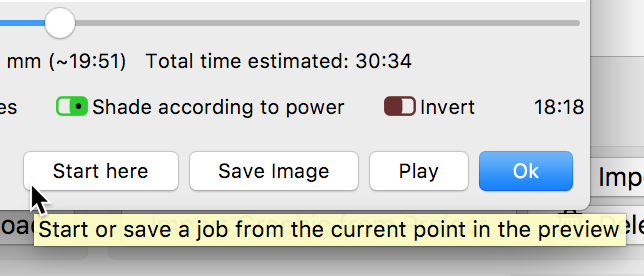
The more recent way to do this is to use the preview - drag the slider to where the job stopped, then click the ‘Start here’ button at the bottom of the preview window and it will run the job from that point forward.
Hello again. This morning I turned my Ortur 2 on, and the laser tried to go more left than he could, he bumped repeatedly for 10 seconds than stopped. I turned on Lightburn and told the laser to go Home. And he bumped again repeatedly. I told him to scan the image and he went crazy… Do you know what is the problem and how to solve it ?
I sent this message to Ortur but they won’t answer.
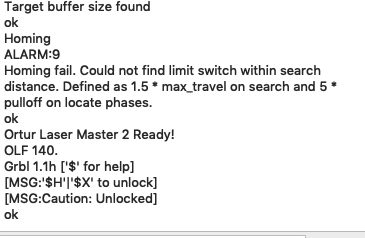
I send you a capture of the message I received.
That says it was unable to home the machine, meaning that the controller tried to move the laser head to bump into the switches on the ends, but they didn’t trigger. That can be something getting in the way of the movement of the laser head, or an issue with the wiring or mounting of the switches.
I checked that. The strange thing is that it begins to bump against the left part of the engraver before it goes down to hit the switch. I’m not sure i’m clear. Is there a way for me to send you a short video ?