I have 3 images of my pets. I brought them all into PSP and resized them to the same size. When I import them into LB the sizes are slightly different and so I tweak them ever so slightly. Then I arrange them as you can see in the first screen shot. When I attempted the project last night the middle image was skewed over to the right and the right image was bigger than what the I had imported it as and it looks like the left image got smaller.

More info required. I see from your profile that you are using a Ruida controller. What version of LightBurn and on what OS? What is the file format of your PSP exported images? Additionally, what are the LightBurn layer settings for these images? What are the ‘Optimization Settings’ in LightBurn for this job?
I have not seen this behavior before, so as much info as you can provide will help in tracking down this issue.
If you turned on “pass through”, it means you’re not allowing LightBurn to resample / scale your images, other than with the aspect locked. If you stretched one, that would require resampling, which you’ve explicitly turned off by setting pass-through mode, so you’d need to do that sizing in PSP.
Im using the latest version of Lightburn (9.0) I save the PSP files as BMP and yes I have passthrough on.
Images are 500dpi and inverted in PSP and saved that way. The layer settings are 200mm/s and 13.8max and 6min with bi-directional scanning on. I am also using a script on the photos before saving them as BMPs.
I did do the sizing in PSP to 6in by 6in and set side by side so as to have an 18x6 inch final product.
…but you said “the sizes were different when imported so I tweak them ever so slightly”. That, or scanning at an angle, or rotating the files would require resampling with the current version, and could cause what you’re seeing. I’m working on making pass-through mode more tolerant of adjustments for the next release now that so many people are dithering externally. If Sean has a version of the script that doesn’t dither as the last step, none of this would be an issue - you could resize and do the final dither in LightBurn.
I will try that and see how it works
As usual you are 100% correct. I don’t have time to burn it yet but the preview shows them all together now. Its too bad that the script messes with the photo in such a manner I like the outcome of most of my images when using it.
Thank you very much for the help
It’s the fact that it’s dithered for you when you import it. LightBurn tries to resample everything to the final size for quality, but resampling a dithered image produces artifacts, and pass-through turns off all the resampling. It can be made to work differently, it’s just going to take me a bit of time to alter the image scanning code to handle it.
Hello,
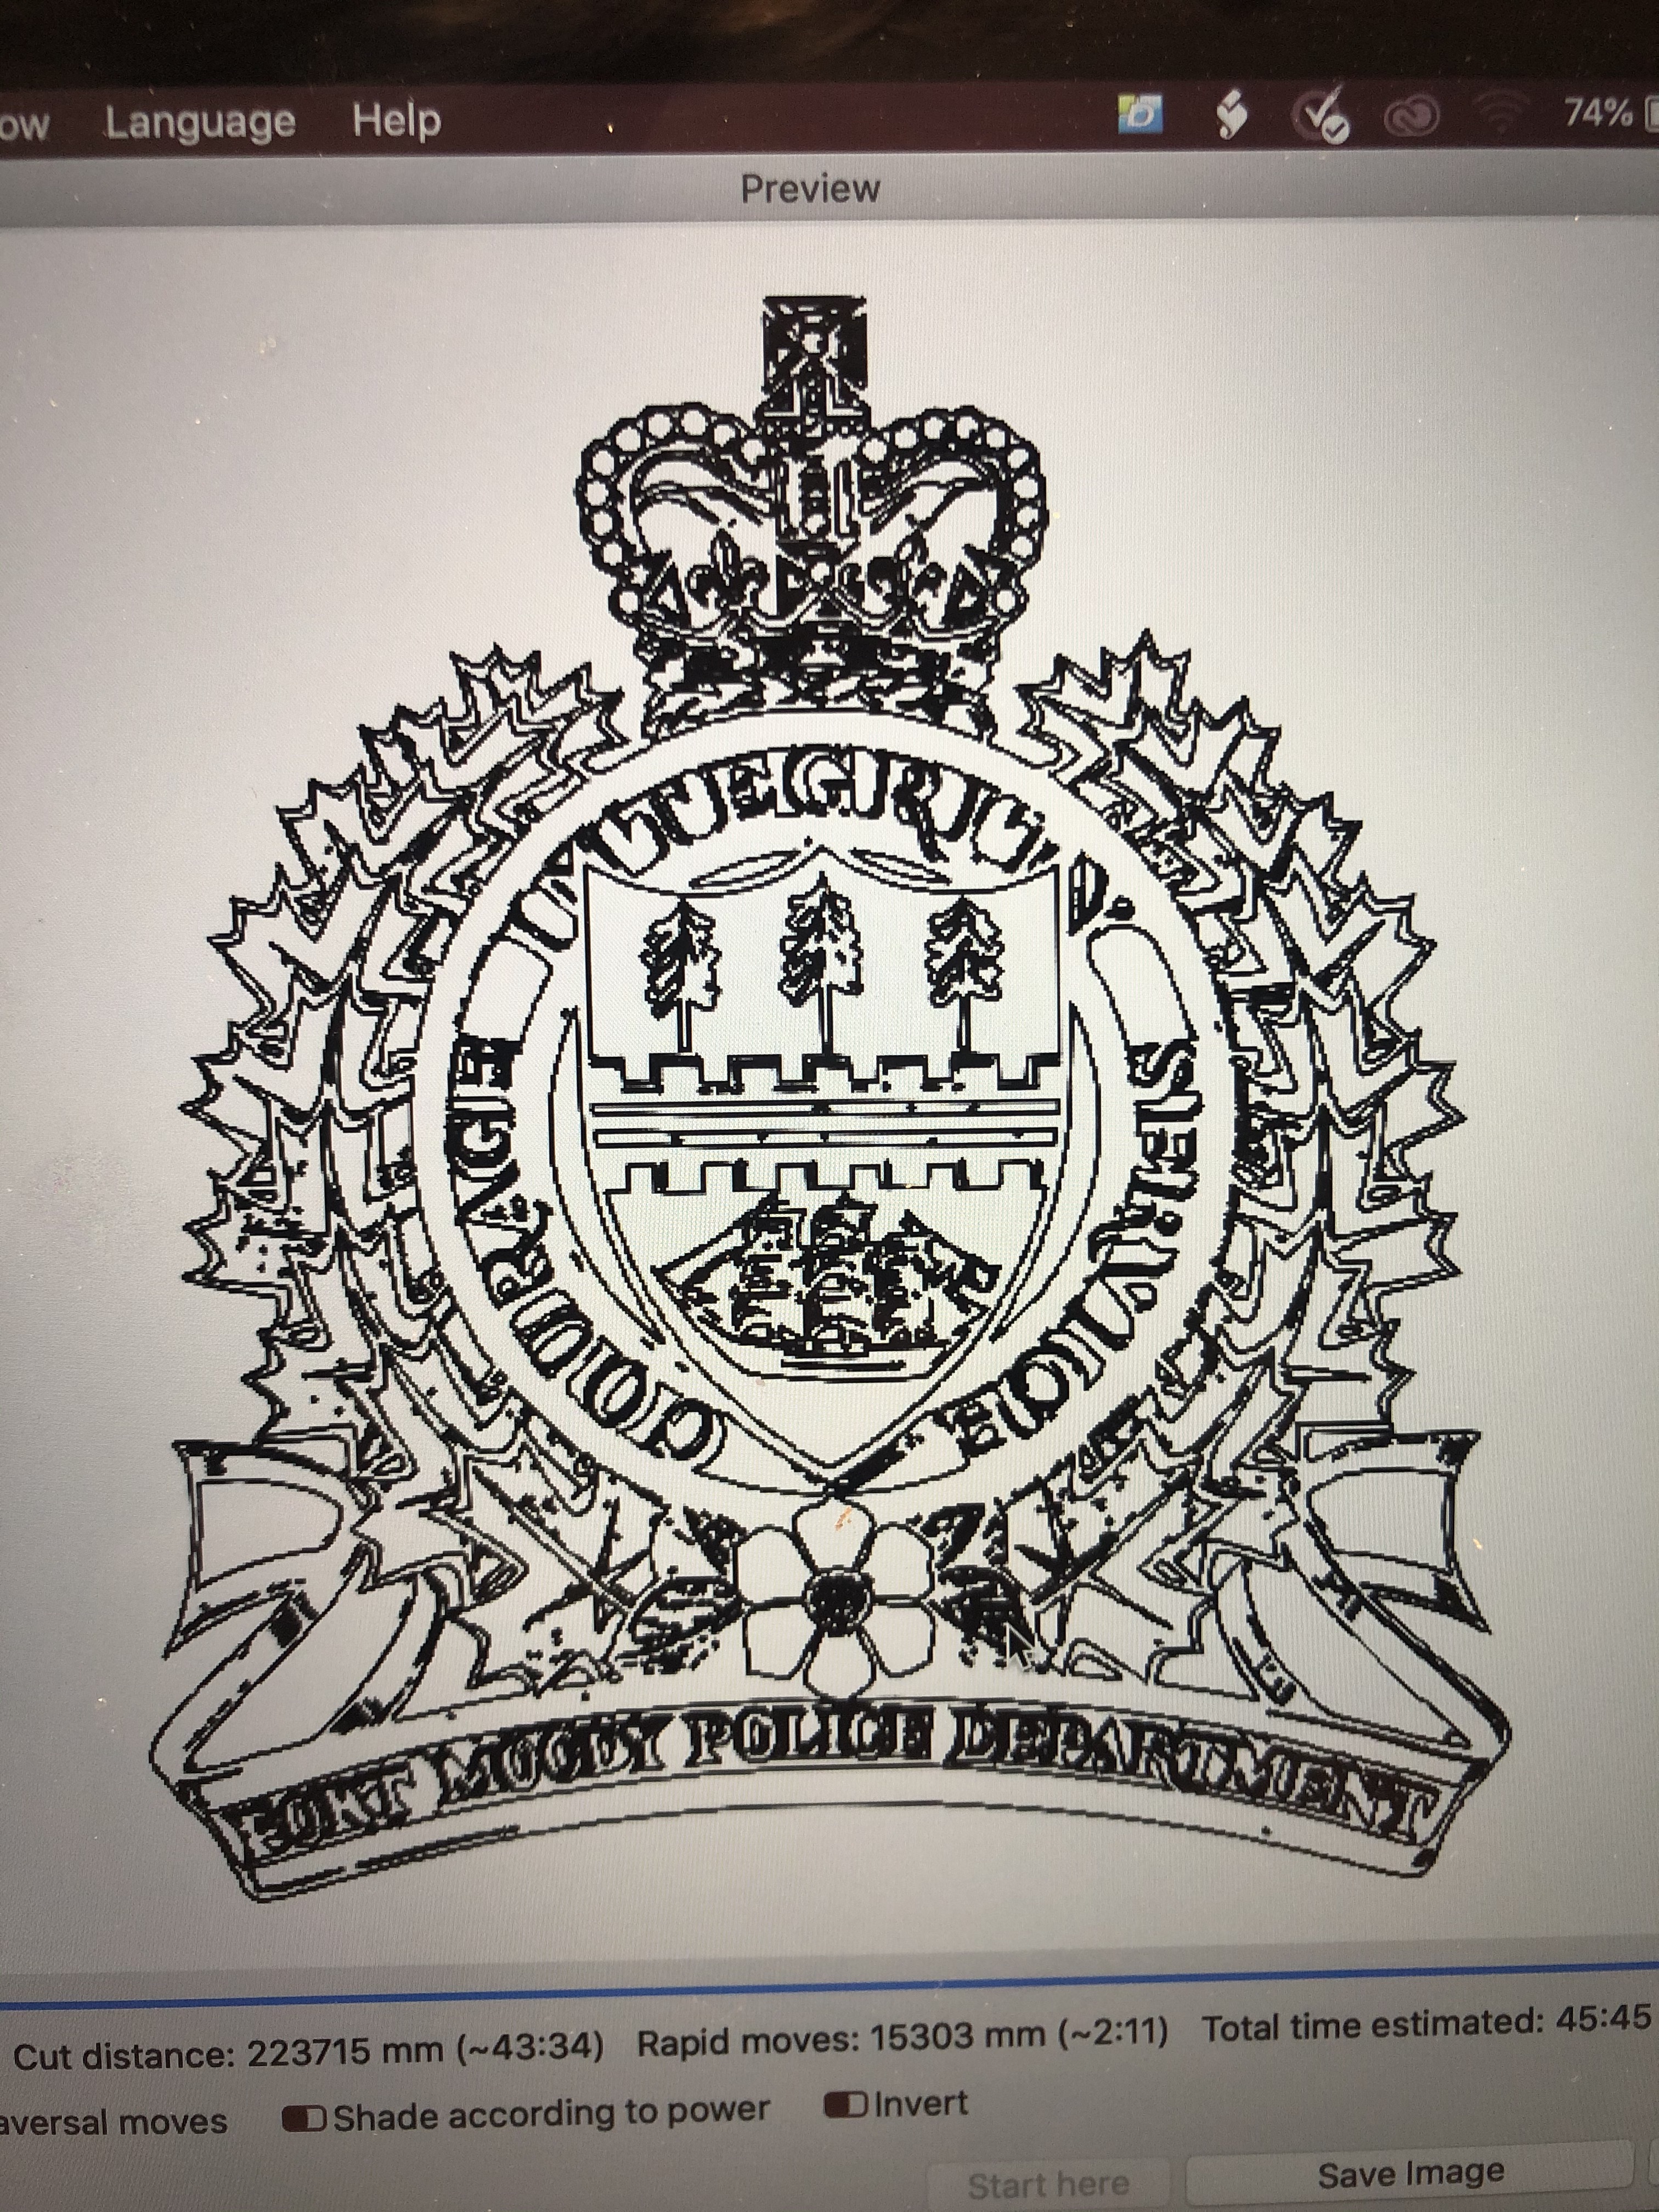
I am trying to laser engrave this police crest with my Jtech 2.3 watt laser. The first coloured imaged is what I was provided by the customer and after converting it to an SVG in Adobe Illustrator and placing it into Lightburn I get a very weird (dotted) image. This isn’t the first time that I have put something into lightburn and gotten this same effect.
Is there a different way that I need to covert this file before placing it into lightburn ??

Thank you!!
You say that you converted it to an SVG - is it vectors, or an image? What does the preview look like when zoomed in? I ask because the preview draws lines that are always 1 pixel thick, regardless of the zoom level, so it probably looks worse when zoomed out.
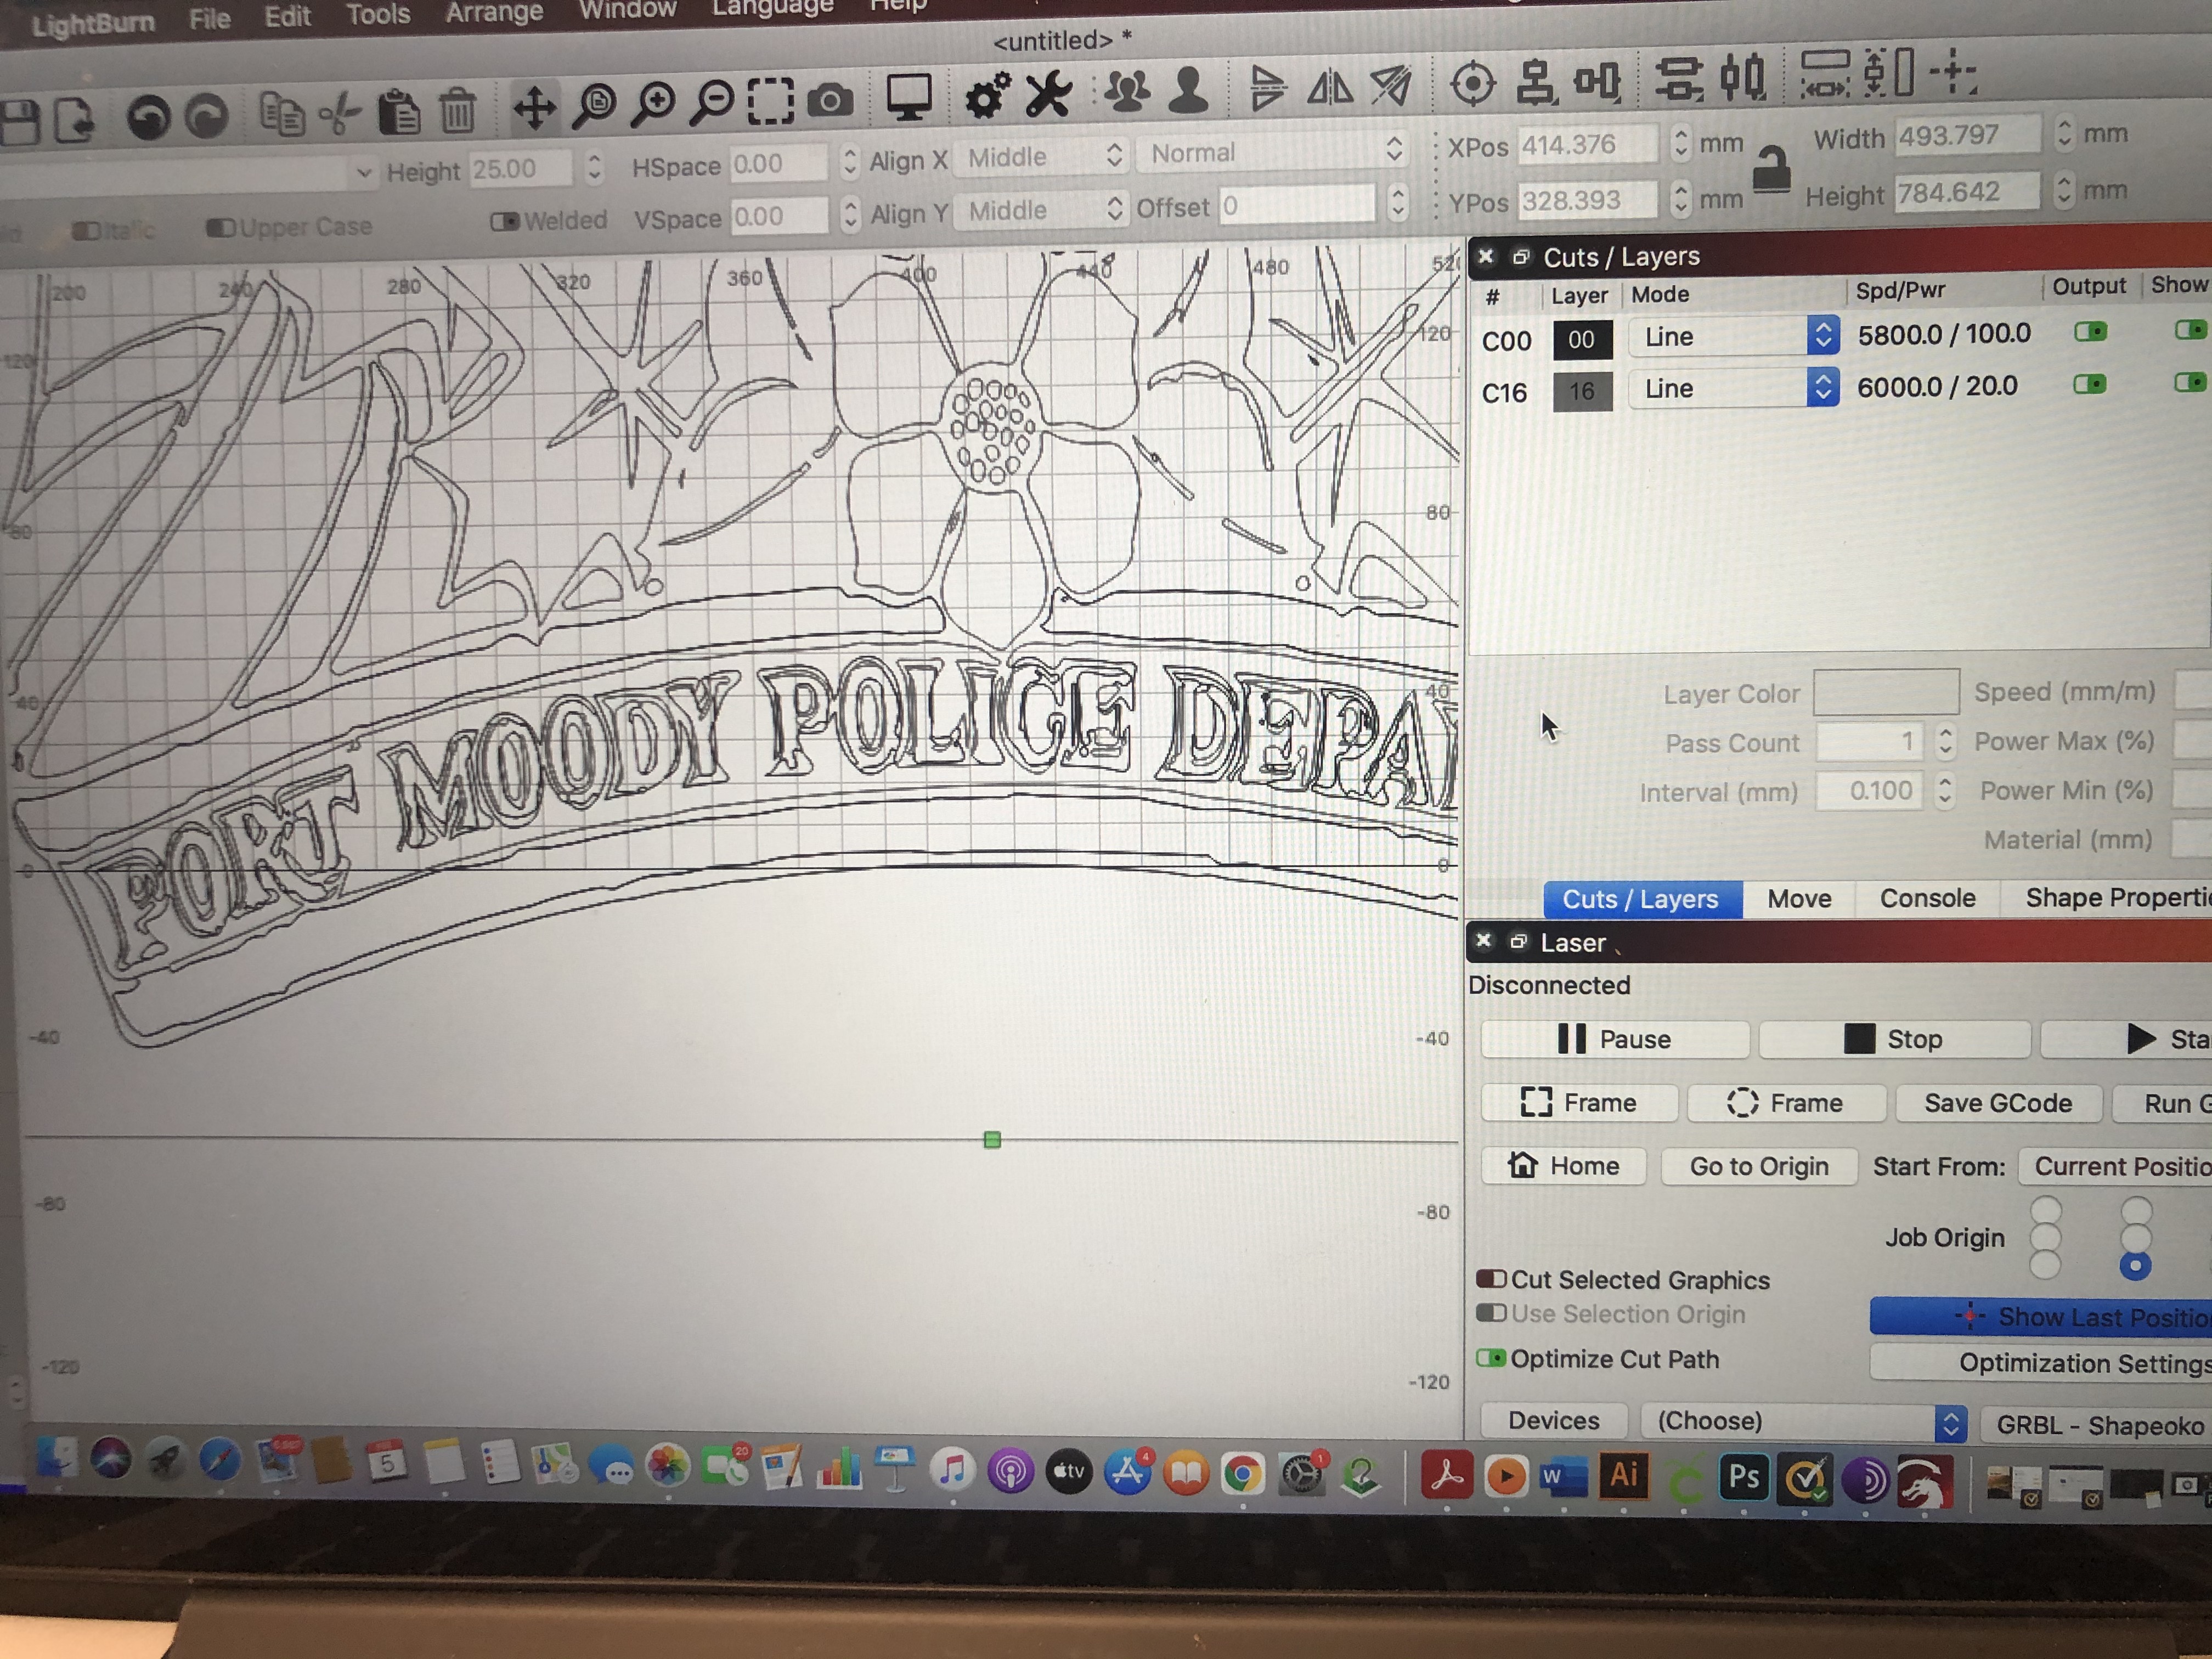
It looks like you did an image trace, to convert it to vectors, but the conversion is poor, so the lines are wobbly. I would try taking your original image, unchanged, into LightBurn, and try running it using ‘Newsprint’ dither at 300 to 350 DPI.
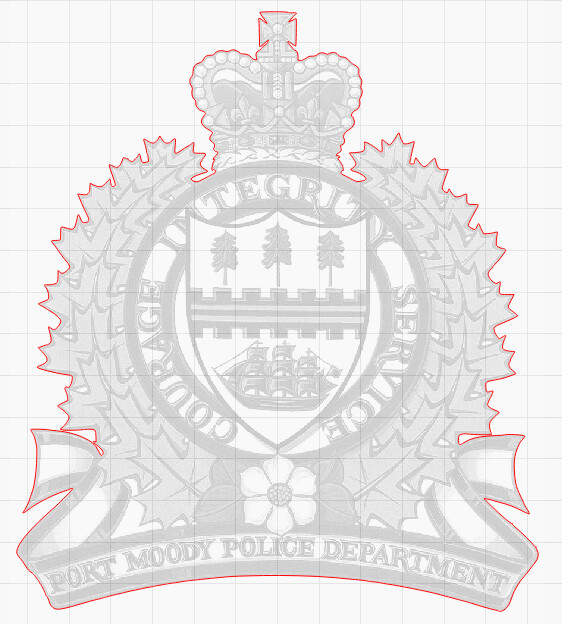
Even simple ‘Threshold’ mode does a reasonable job of it, but it will lose all the shading. If you need to cut it out, you can trace it in LightBurn and edit the trace to remove the inner details and just retain the cutting outline. Dragging the ‘threshold’ slider in the image trace up close to the max (about 230, I think) and setting the ‘Ignore Less Than’ value to about 50 gets me this outline: