I followed the guide carefully, but the issue happens right after writing the LightBurn Bridge image to the SD card and inserting it into the Raspberry Pi 3B+. The Raspberry Pi does not boot properly.
Here’s exactly what happens:
The red LED stays on.
The green LED blinks 4 times slowly and then 7 times rapidly, which, according to Raspberry Pi documentation, indicates a bootloader or firmware issue.
However, if I install Raspberry Pi OSon the same SD card using the same method, the Raspberry Pi boots perfectly fine (!).
I also tried:
Downloading the LightBurn Bridge image again.
Running it from a USB drive instead of an SD card.
In all cases, I get the same LED blink pattern, meaning the Raspberry Pi is unable to boot LightBurn Bridge.
Could you confirm if the latest LightBurn Bridge image is fully compatible with Raspberry Pi 3B+? Or is there an older version I could try?
Hi! I wanted to share an important update regarding this issue.
I just tested the same SD card (which does not boot on any of my Raspberry Pi 3B+) in a Raspberry Pi 4, and it boots LightBurn Bridge successfully. This confirms that:
The image was correctly written to the SD card.
The SD card itself is working properly.
The LightBurn Bridge image seems to be incompatible with all of my Raspberry Pi 3B+ ¿?
Additionally, I made sure to select the image specifically for Raspberry Pi 3 version in Pi Imager, which should include support for all 3-series variants. However, the issue persists.
Given this, ¿is there a issue with the 3B+ model…?
Thank’s.
The Bridge should work on a 3B+. We have not released any updates to the Bridge firmware for a long time now, so a bootloader failure code is interesting. Are you loading the firmware with the Pi Imager or something like Balena Etcher?
The newer firmware may not have made it into the bridge image which hasn’t been updated for some time (we’re looking into it, and will update the bridge image soon if needed).
I wanted to share my experience and solution in case it helps anyone else facing the same issue.
The Problem:
I tried to install LightBurn Bridge on a Raspberry Pi 3B+ following the official guide using Pi Imager to flash the SD card. However, after inserting the card and powering on the Pi, it wouldn’t boot. The LED indicators showed a red light (solid) and a green light blinking 4 slow times and 7 fast times.
To rule out hardware issues, I:
Used different SD cards (including one that works fine with the standard Raspberry Pi OS).
Tried flashing the image multiple times.
Used different card readers and computers.
Even tested the same SD card in a Raspberry Pi 4, where it booted without any issues.
The Solution:
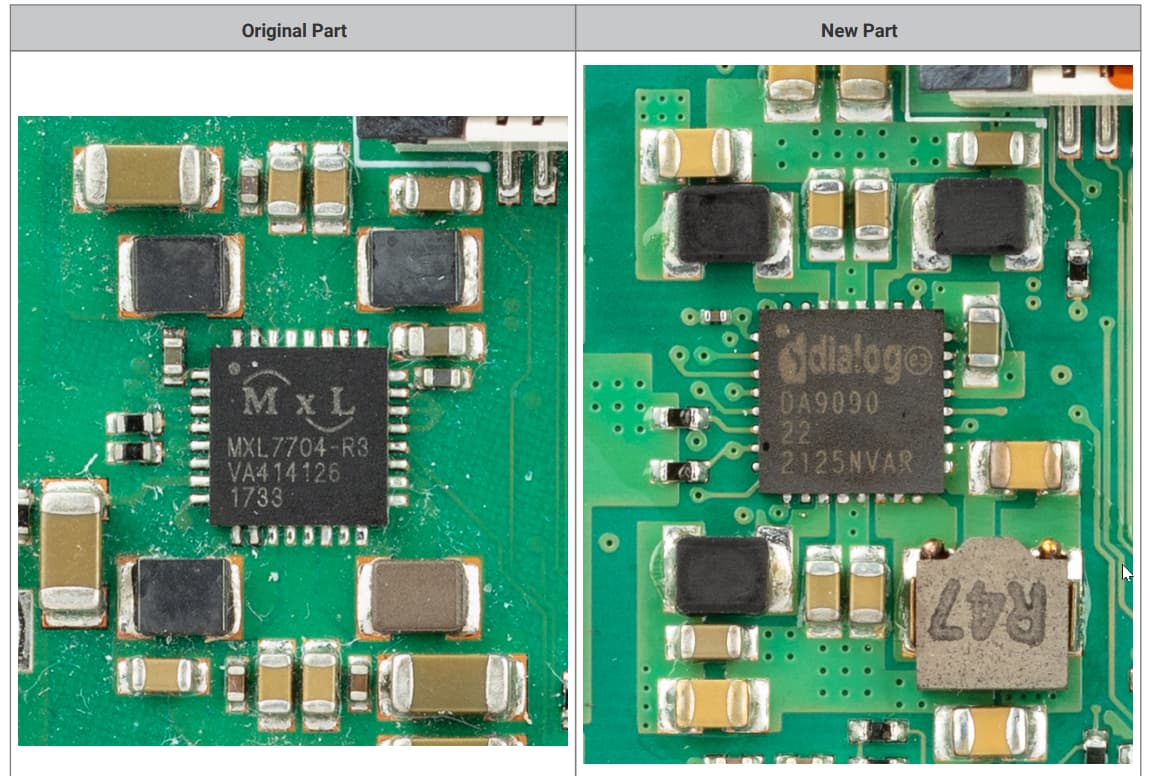
After talking with the LightBurn support team, they suggested that my Raspberry Pi 3B+ might have a newer hardware revision that requires updated firmware files and they explained me how to proceed.
I extracted the start*.elf and fixup*.dat files from the ZIP.
I replaced all start.elf, start_x.elf, start_cd.elf, start_db.elf and fixup.dat, fixup_x.dat, fixup_cd.dat, fixup_db.dat on the LightBurn Bridge SD card with the new ones.
Inserted the SD card back into the Raspberry Pi 3B+ and… it worked!
Now the LightBurn Bridge boots perfectly, and I’m moving on to setting up the laser connection.
Big Thanks to LightBurn Support!
I really appreciate the quick response and dedication from the LightBurn support team. They were incredibly helpful and actively looked for a solution. Their guidance was key to solving this issue, and I hope this post helps others who might run into the same problem.
If you have a Raspberry Pi 3B+ that won’t boot LightBurn Bridge, try updating the firmware files as described above.
Thanks again to the LightBurn team, and I hope this helps someone else!
I do not understand how to complete step 3 of the fix. I have downloaded and extracted the Raspberry PI firmware and can see the necessary files but I can’t access any files on the Bridge SD card. What am I missing?
What is happening is normal. The Bridge SD card contains two partitions, and most operating systems only show one of them.
The files you need to replace are located in the boot partition, which is a small FAT partition that should appear when you insert the SD card into your computer.
Please try the following:
Remove the SD card from the Raspberry Pi and insert it into your computer.
Your system should automatically mount a partition called boot (or something similar).
Open that partition — you should see files like config.txt, cmdline.txt, kernel.img, etc.
This is the correct location for the firmware files.
From the Raspberry Pi firmware package you downloaded, copy the following files into that boot partition and replace the existing ones:
You do not need to access the Linux partition of the SD card. Only the boot partition is required for this fix.
On Windows and macOS, you will normally only see the boot partition.
On Linux, you may see both partitions.
After replacing the files, safely eject the SD card, insert it back into the Raspberry Pi, and boot it again. That should allow the Bridge image to start correctly on newer Raspberry Pi 3B+ revisions.
If you cannot see the boot partition at all, make sure the Bridge image was actually written to the SD card using a tool like Raspberry Pi Imager or Balena Etcher. Simply copying the image file to the card will not work.