I am just setting up this Ortur Laser Master 2 S2 for the first time. I have gone as far as installing the software and connecting the machine to Lightburn. When I open LB the machine if the laser is in the center of the frame it will home correctly. If it is already homed it will make a terrible sound and give an error or maybe eventually home.
When trying to test a piece I can’t figure out how to set it up. I set it to Absolute Coordinates. I placed the piece in the center of my frame. I open the text that I want to burn (it opens with the text in the bottom left corner of the grid, but my wood piece is in the center of the frame) and click frame it doesn’t find the wooden piece. It frames near where the image is on the screen. How do I set the piece to be burned in the right place?
I finally managed to burn a sample of text onto a wooden business card but it was blurry and not filled completely and too light.
I have watched hours of video and read many help articles to no avail.
I’m confused…
If LB shows the text in the corner of your grid, why would you put a piece of material in the center of the frame and expect it to frame/burn there?
You would need to center the text in your grid to center your work in the machine…
Do not move the laser head by hand. The motors will generate electricity and back feed into your control board. That can cause damage. Get your laser head movement problem figured it before you start to throw laser beams around.
New user alert #2 - even low powered diode lasers can and will damage your eyes in an instant. Wear your goggles! The green ones from Ortur do not filter the blue laser. You need red/orange lenses for the 400-450nm wavelength.
Can you please check your belts are tensioned correctly if the belts are slack the alignment will be out , it wont laser at correct location on material , i had this issue before
This may be a silly question, but do you expect it to automatically know where that piece of wood is located?
I have 3 diode lasers. Two have honeycombs not fixed in position. I needed a way to easily / quickly synchronize the laser position with the position of the drawing. This series of steps is my solution.
Absolute Coords.
Home machine if capable.
Move to front-left, power up, and Set Origin if no homing switches.
Never move by hand after power on.
[1] Jog laser to CENTER of what you want to burn.
[2] In Laser window, click “+Show Last Position” button.
[3] In Workspace window, you should see a small red cross.
[4] In Workspace (drawing) window, highlight (CTRL-A) your work.
[5] Mouse to the center of your work, click and drag that center onto the top of the red cross.
[6] You now have the physical locations of the laser and work aligned.
[7] Frame should be pretty close to correct. If not, re-scale the drawing or move your part to be burned slightly, but do not move the laser or the drawing center (red “+” position).
I found this method also allows to quickly relocate to unburned / uncut areas of the workpiece (read scraps).
Thank you for your reply. No it’s not a silly questions at all. Yes, that’s what I was expecting. My thought was wherever it is on the screen in LB that’s where the laser would go. But apparently that is incorrect.
I tried all the steps you listed but couldn’t get them all accomplished. I am set to Absolute Coordinates. When I home the machine it makes a gosh awful noise and says all of this:
“Homing
ALARM:9
Homing fail. Could not find limit switch within search distance. Defined as 1.5 * max_travel on search and 5 * pulloff on locate phases.
ok
Ortur Laser Master 2 S2 Ready!
OLF:OLF 191.
OLH:OLM_ESP_PRO_V1.2.
OLM:GENERAL.
Grbl 1.1f [‘$’ for help]
[MSG:‘$H’|‘$X’ to unlock]
[MSG:Caution: Unlocked]
ok”
then finally stops the noise. I have researched all of that and adjusted the limit switch, tightened the belts and anything else I can find. If I move the laser to a different position other than it’s home position and then click home it will go there just fiine with no error or noise.
Your number list, 1: Jog to center. I can’t get it to move except to the right. Then it hits the other side and makes the same awful noise.
2: click the Show Last Position button. Nothing happens when I click it.
3: No small red cross.
4: done
5: can’t because there is no red cross
6: makes sense if I could do it
7:helpful to know
I can see all of this being very helpful if I can just get that far.
Let’s get some basic information. If I understand correctly, you have not been able to get this to work correctly at all.
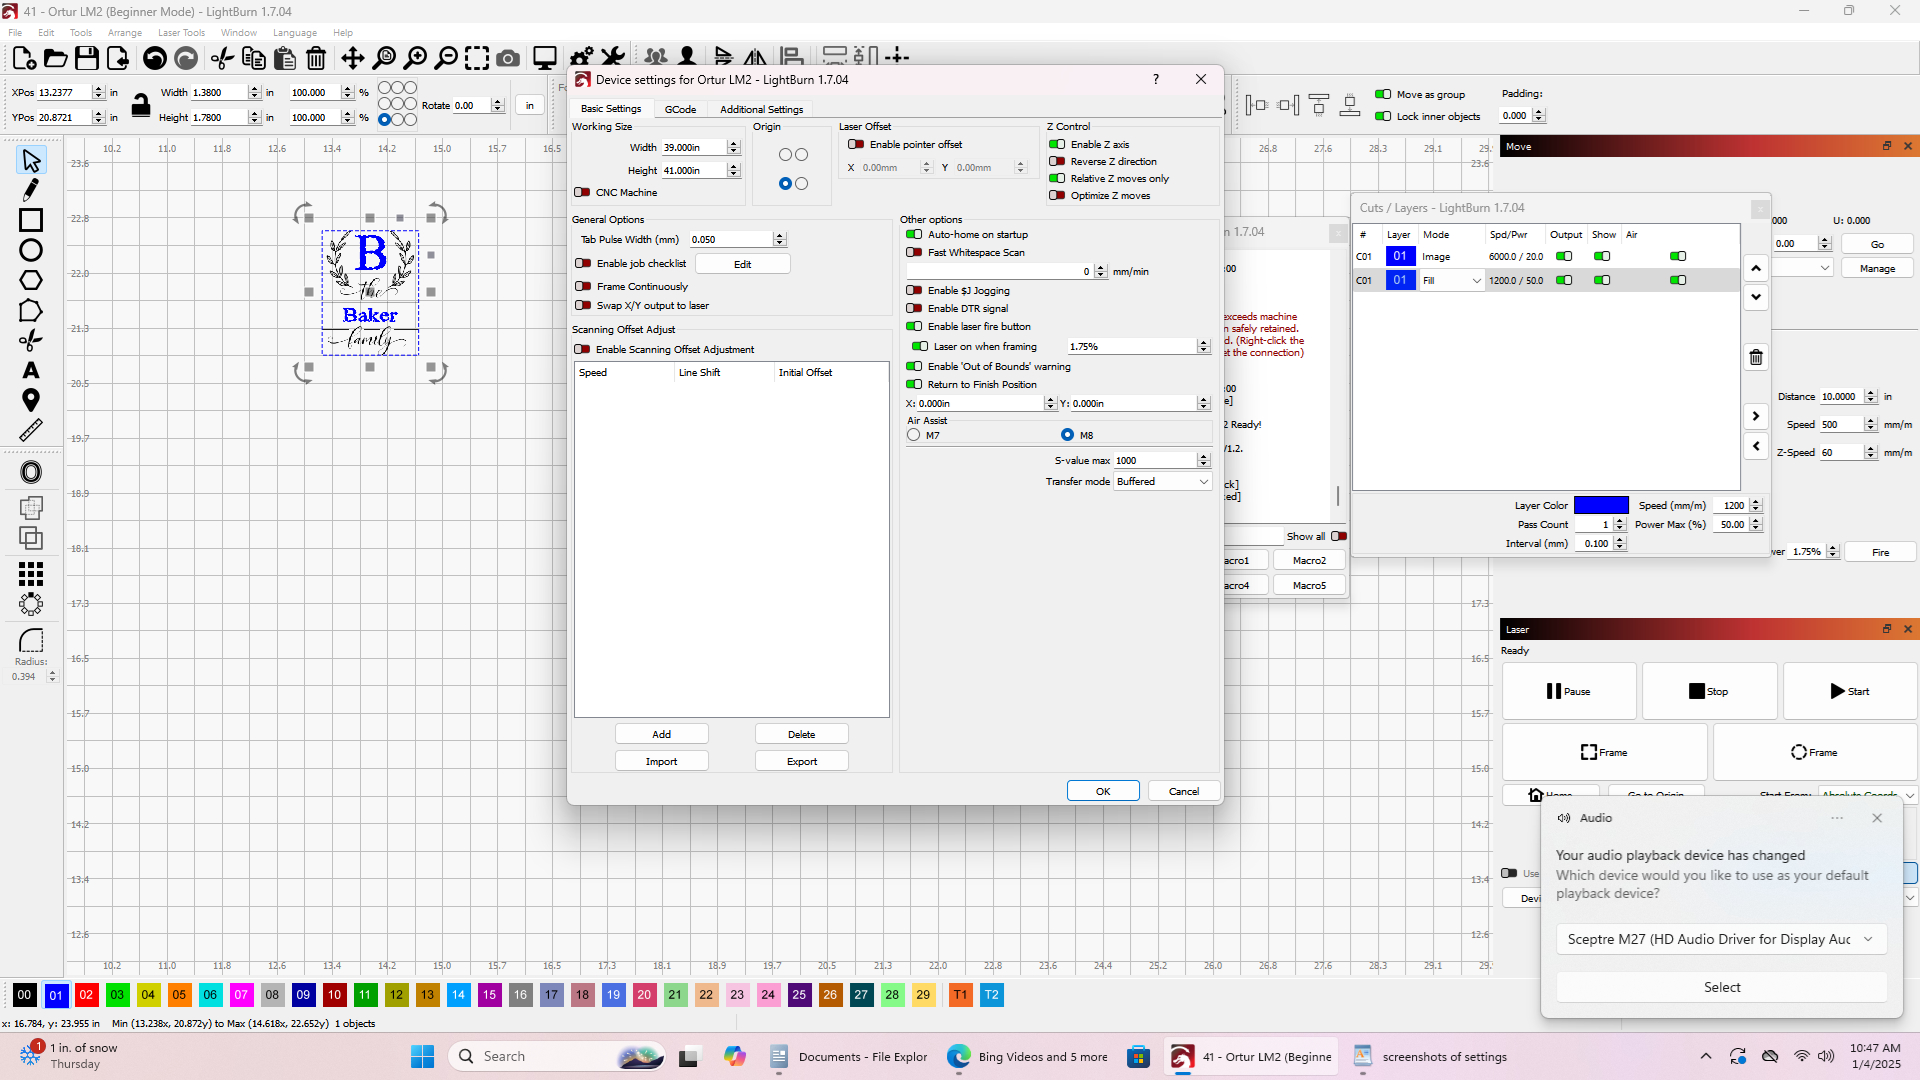
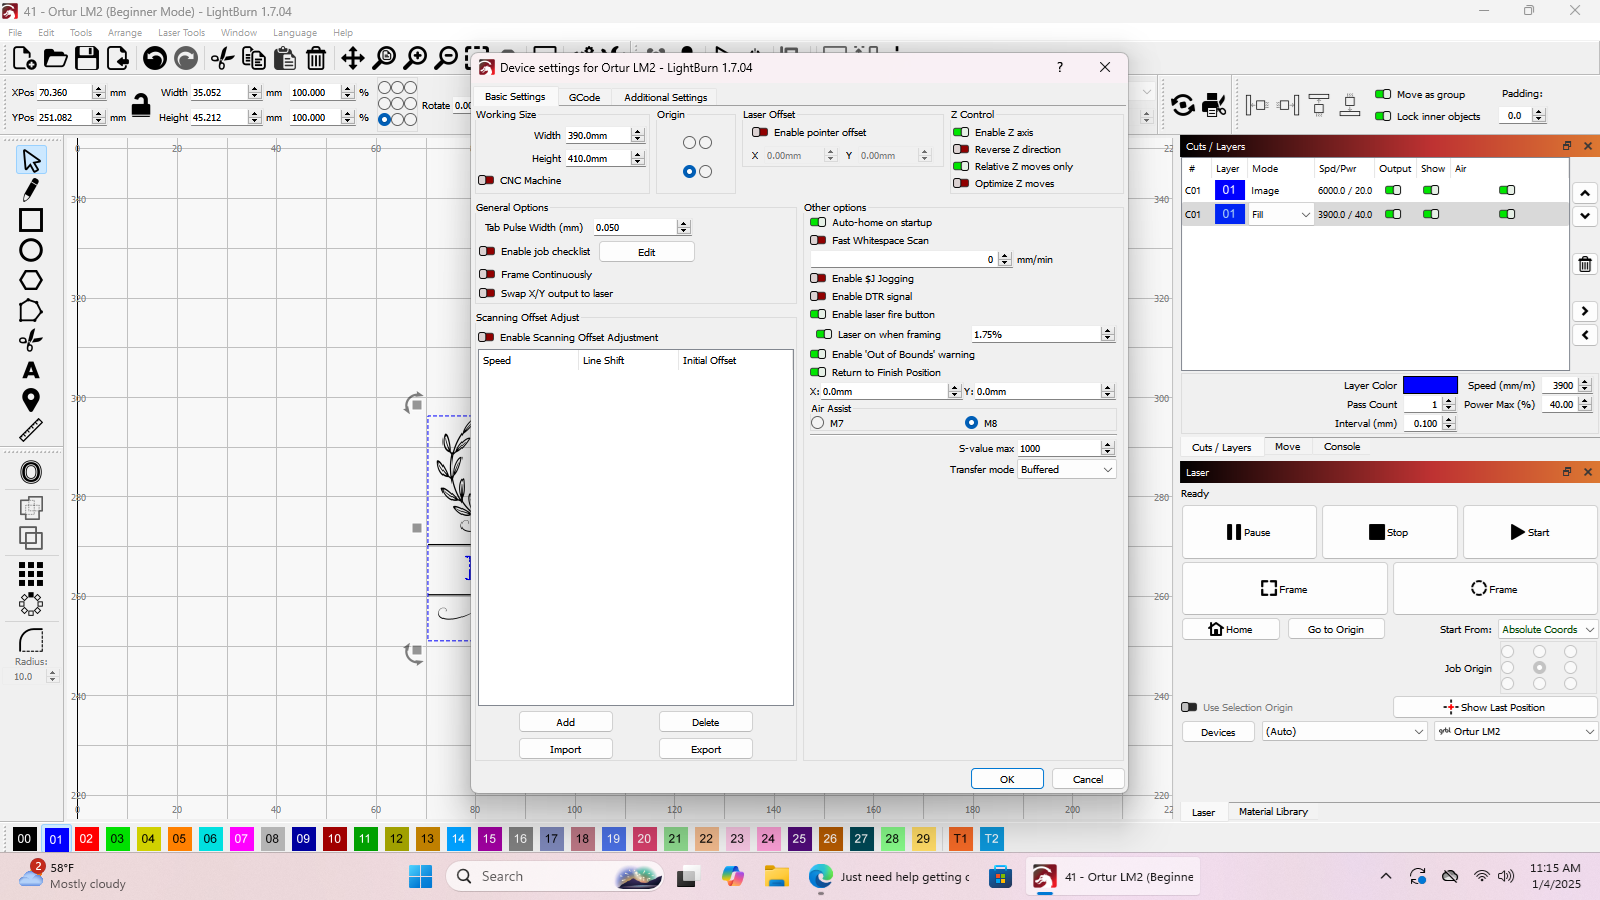
I may ask for other info later, but let’s start with this. Post a screenshot of your entire Lightburn screen with your project loaded and the Cuts/Layers Panel and Laser Panel visible. Also post a screenshot of the Settings Window (Gears icon) with the Units and Grids tab selected and post a screenshot of the Device Settings Window (Wrench and Screwdriver icon).
One thing I see is your machine size is set to 39 in by 41 inches. I don’t thonk that’s correct. Get that set properly and go from there. Working in mm rather than inches is recommended also.
I tried doing the “go to origin” thing and it still goes all the way to the top right. And I still don’t see the red cross when I click “show last position”.