Help please. My laptop went up in smoke (literally!), and I had to buy a new one. I’ve reinstalled lightburn on the new laptop but cant get it to work right. My image is coming out mirrored. I’ve searched the forums, changed origins in the device settings menu and am continuing to have problems. I saw a post somewhere that said to type G92 X0 Y0 when I get the laser to a corner and then type $10=0. I did that as well. Still, the image is coming out mirrored. When I change the origin in the device settings box, it can mirror my image on the actual laptop display too, depending on which bubble-circle I select (bottom left vs bottom right).
Origin most likely should be bottom-left for your laser. Start there.
For any designs that now look flipped, flip the design and attempt a burn. The key thing is that what you see on screen should be what you get on burn, even if what you see on screen is flipped.
Before you do that I suggest you revert any GRBL changes that you made. Do you know what your $10 setting was before changing it?
2 Likes
Thank you. I did a horizontal flip in the design software so that it was mirrored on my screen, and yes, it then gave the correct output on the laser. I appreciate this as a short-term correction, but am looking for a long-term effective fix. I do not know what the $10 was. I’m very non-techy and have just been trying the things I come across…
That’s not what I intended to convey. What I’m saying is that with the correct origin setting (most likely bottom-left for your laser) that what you see on screen is what you should get in burn. However, if you have designed something with a different origin, LightBurn will then make that appear flipped on-screen when you change the origin. You will need to flip again to make it appear correct. But in either case, it will burn as it appears on screen once the origin is correct.
What is your current origin setting?
1 Like

What would be the output if you were to burn that design as you show it now on-screen?
It would burn “hello” correctly (not mirrored)
Are you certain? If so, then switch to lower-right. It should flip the design on-screen and burn correctly.
Yes, I’m certain. I switched to lower right, and it is burning correctly! Thank you so much!!!
One question-why did it move when I switched it (see screenshot)?
If you look at the grid marker numbers note that 0 for X is now on the right. When you had origin to bottom-left the 0 mark would have been on the left. So distance from 0 is the same in both but since they are on opposite sides of the screen the position of the design appears to move.
By the way, I believe yours is the first machine I’ve ever heard of with origin at bottom-right.
Gotchya, thank you! Of course it would be me for the first lol. Im a bit of a train wreck in all areas lately bahaha. Thanks again for your help!!
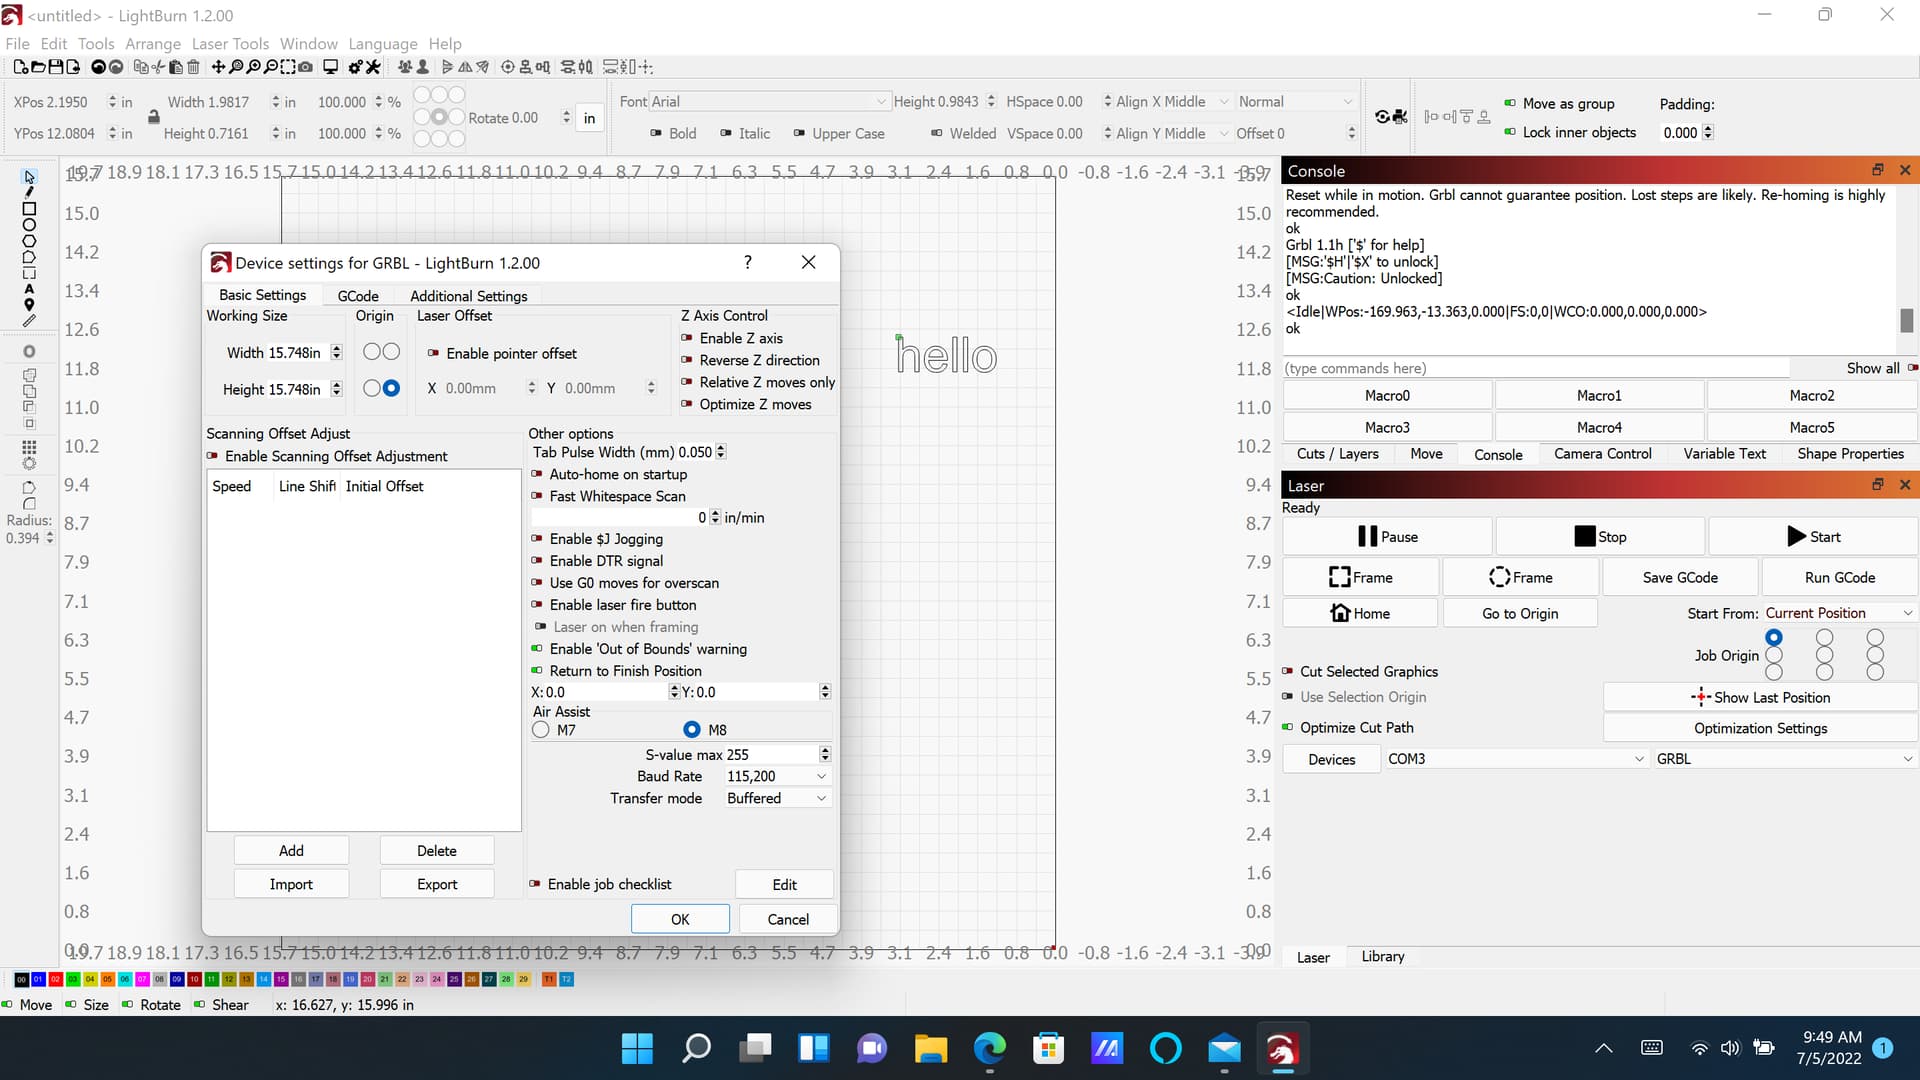
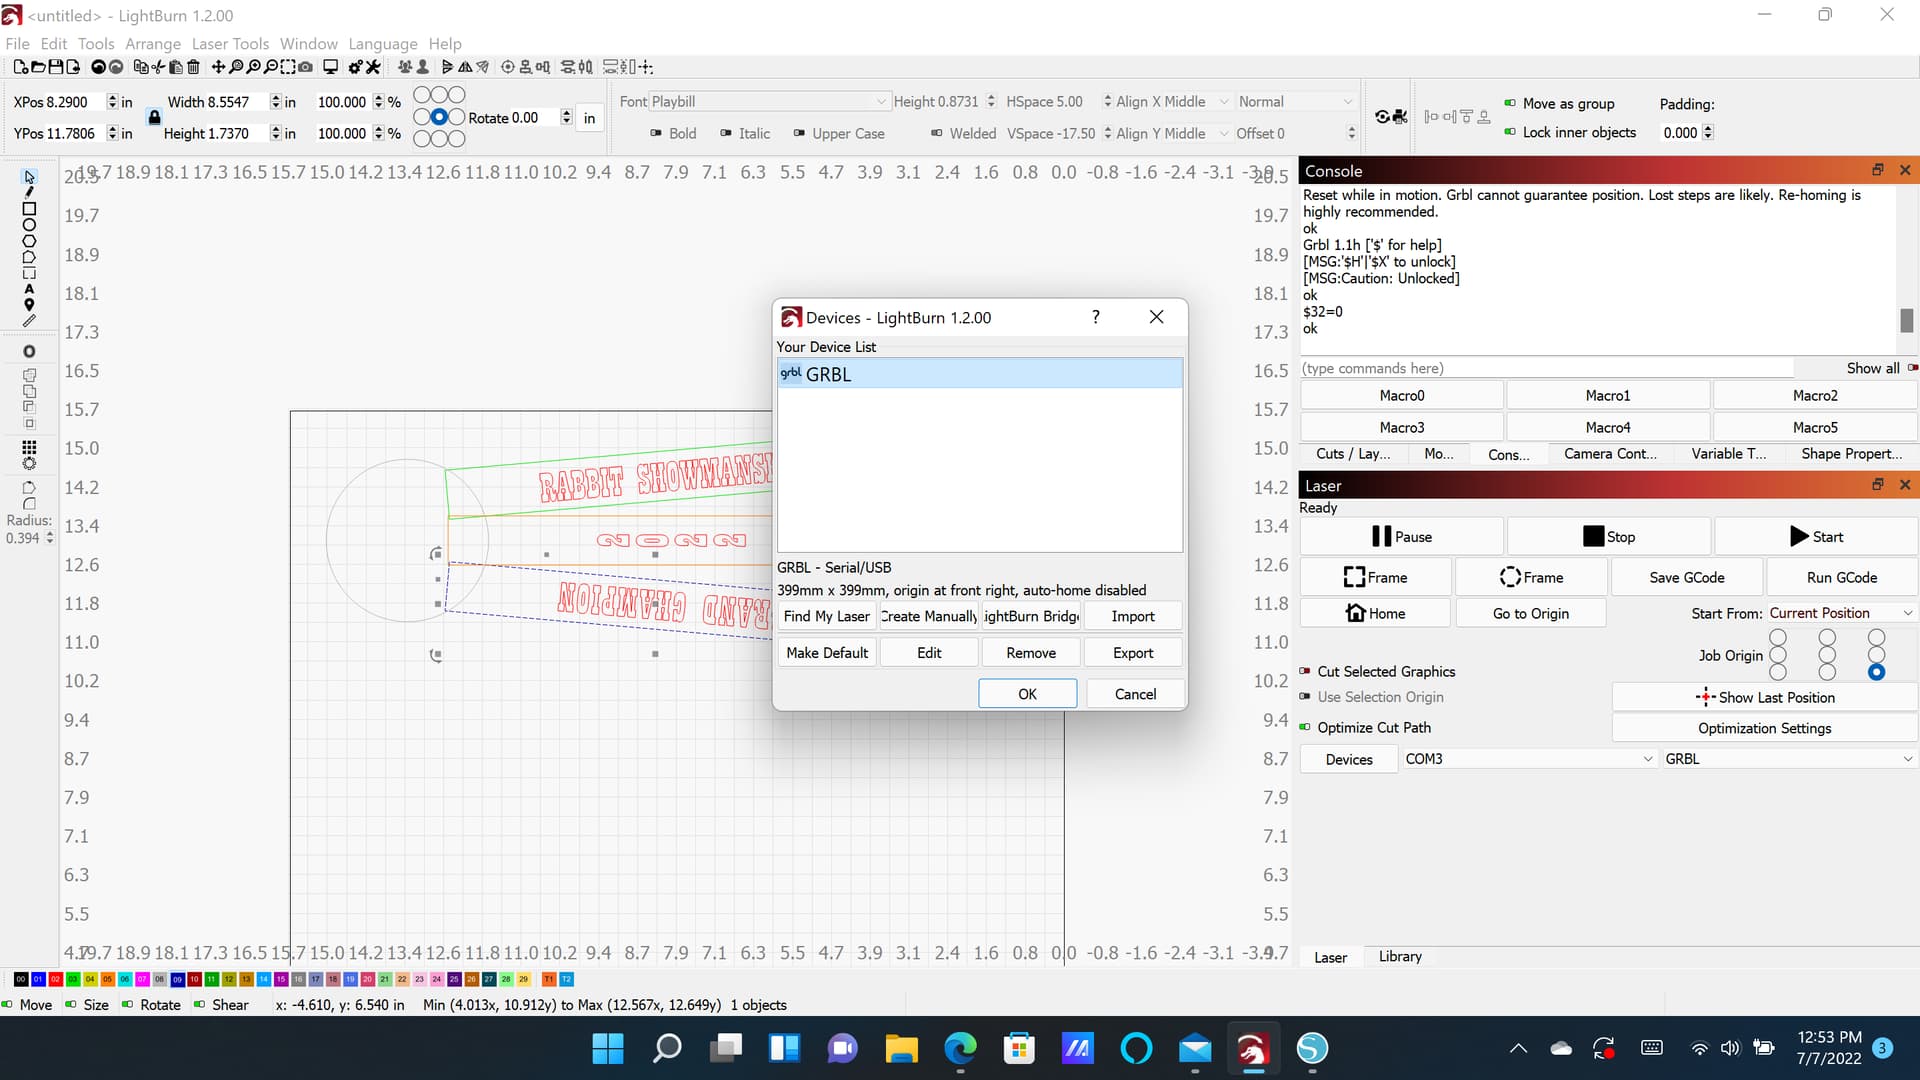
I have a new problem! Hoping you can help? Im getting travel lines on projects now. I’ve tried checking the S value-its currently at 255. When I switched it to 1000, its like the laser jams up/doesnt fire right. It does ashort burst…pause…move…another short burst, etc. I switched that back to 255. I also did $32=1. When I do that, the laser moves like its burning but no light comes out, no burn. I put that back to $32=0, and it will burn again, but still have travel lines. Ideas?? Thanks
Can you provide the following:
- Push Devices button in Laser window. Then click once on the name of your laser. Then take a screenshot
- Enter this in Console and copy/paste the outputted text here:
$$
Okay.
$$
$0=10
$1=25
$2=0
$3=7
$4=0
$5=0
$6=0
$10=0
$11=0.010
$12=0.002
$13=0
$20=0
$21=0
$22=0
$23=0
$24=25.000
$25=500.000
$26=250
$27=1.000
$30=255
$31=0
$32=0
$100=80.000
$101=80.000
$102=80.000
$110=3000.000
$111=3000.000
$112=3000.000
$120=400.000
$121=400.000
$122=400.000
$130=400.000
$131=400.000
$132=200.000
ok
Based on your config, your idea to enable $32=1 is the right one and your board should support it. S Value Max at 255 is correct as it needs to match $30=255.
Can you elaborate further on what happens if you enable $32=1?
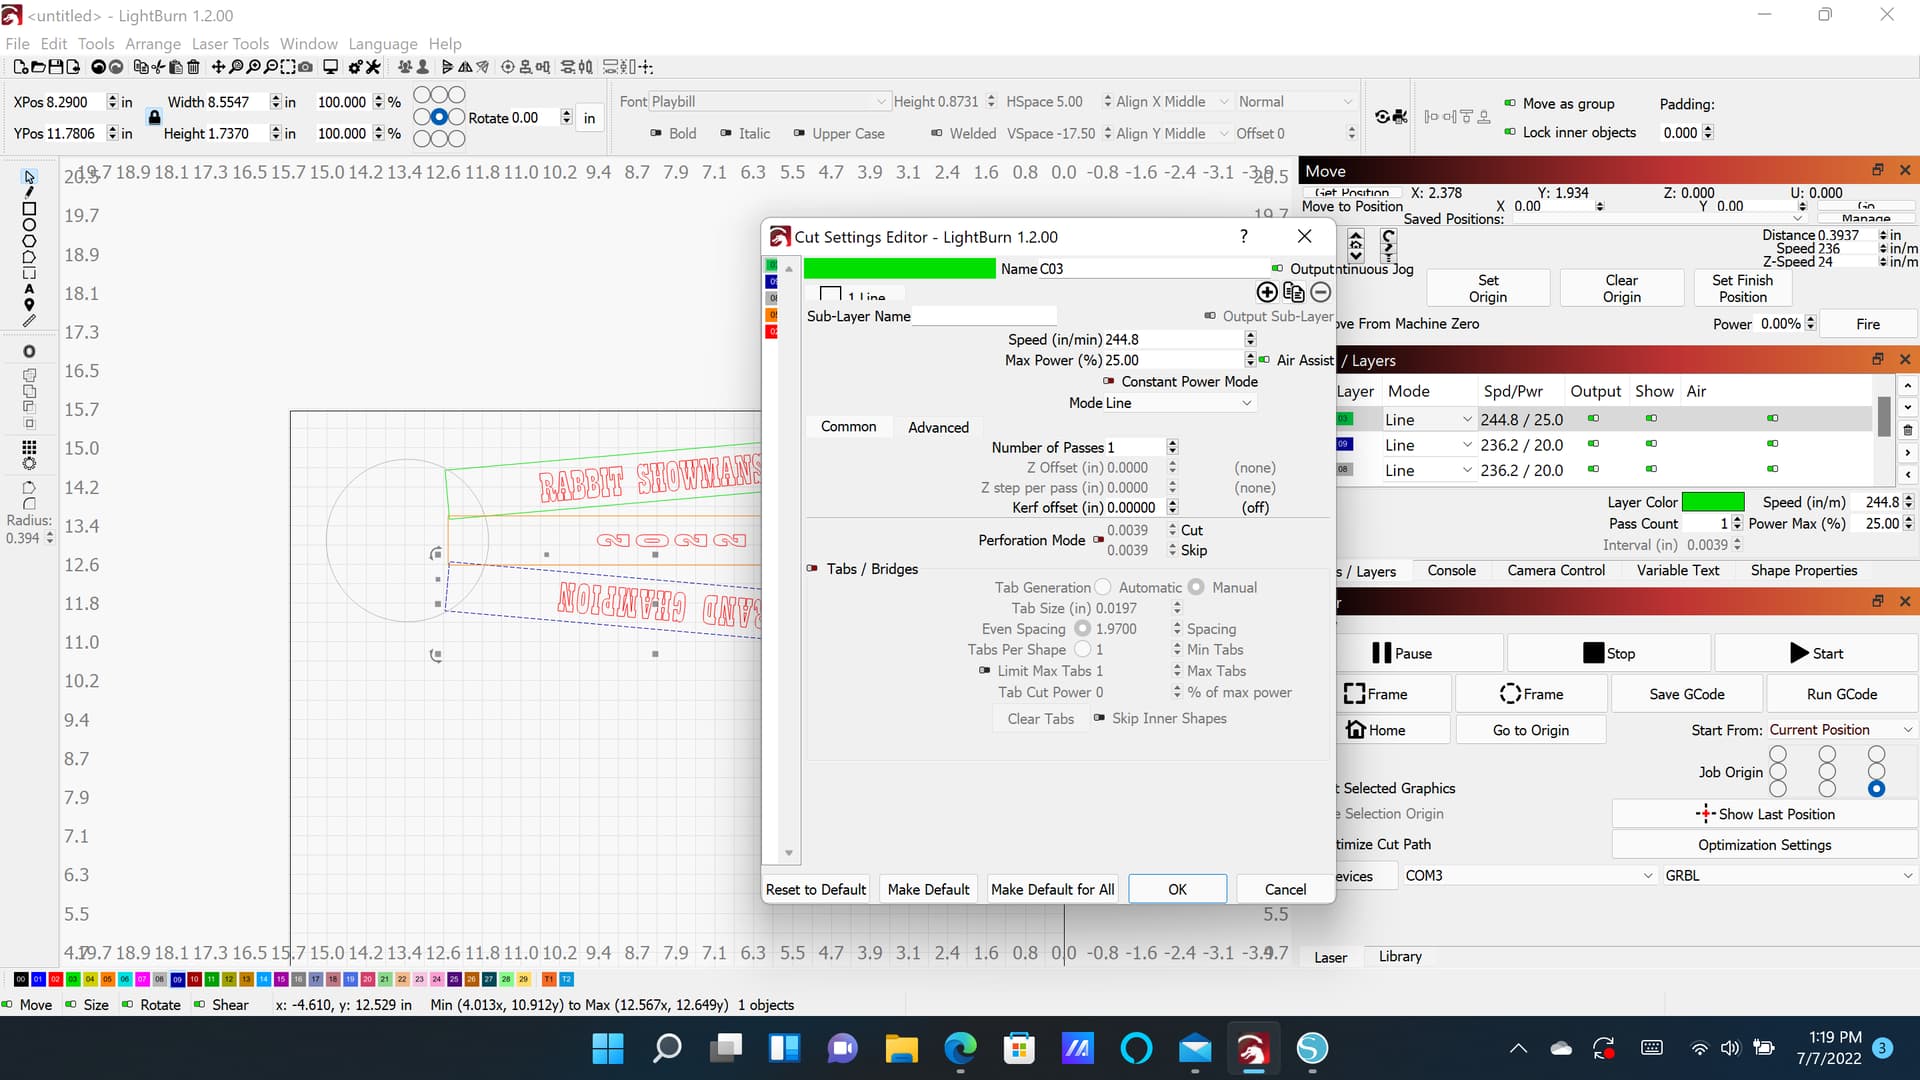
Can you open the cut settings for the layer and take a full screenshot of LB?
Also, can you take a photo of the resulting burn with $32=1 enabled?
Also, please confirm that you are able to modulate power of the laser using the Fire button and Power % in Move window. Does increasing power increase light intensity? If Fire button is not available make sure to enable it in Edit->Device Settings. This was not enabled in a previous screenshot.
Sure thing. I’ve read that if I enable $32=1, it tells the machine to be in “laser mode” and turn off in between moves. Unfortunately, ever since I’ve had the machine, if it is in that mode, it doesn’t engrave anything. Like, it will move and follow the tracks and appears to be working, but there is nothing being etched into my leather. Its just blank. This morning, when I noticed the travel marks, I tried separating each piece into a different cut layer, hoping that the machine would recognize to turn off the laser when moving to the next layer, but that didnt work either. I can screenshot a couple layers and send them your way. I haven’t adjusted anything on these layers, btw. They seem to be set at whatever parameters I need for the leather burning I’m doing. I can send a photo of the $32=1, but it will be just a plain piece of leather…do you want that?

*Fire button was not on. I enabled it in device settings. Still leaving travel lines.
Are you saying it’s simply not activating the laser at all? Or it doesn’t burn enough to make a mark?
This wasn’t a fix to the travel lines problem. I wanted to confirm that laser power modulation works. Does the light get brighter as you increase power?
Do this with $32=1 enabled please.
I suspect what’s happening is that your speeds are too high, especially with respect to your power level. Looks like you’re working with units in in/min which is different than typical mm/min. So if you are comparing speed/power figures with references this could throw you off. The screenshots show you in the ballpark of 240 in/min which would be 6096 mm/min at 20% power.
I don’t know the power level of your laser module but line operations would typically be much slower than that. I suggest you run some tests on cardboard or other cheap material. Dramatically reduce your speeds and/or raise power until you get the material to burn.
You should also consider running a material test to get a better handle on how your laser module performs against a given material.
Sorry, I was saying that the light comes on but nothing happens. I did what you said and bumped the power…
oh HECK YES!!! I increased power to 75 (was 20 or 25) and it is working with $32=1 now. GAH, you are a life saver!! Thank you so much. Its working perfectly!!!