I am in the market for a laser engraver for my project and I was hoping to get some information about the laser master 2 and which version of it that would be suitable for my needs.
I am going to engrave small symbols, about 15mm in diameter on plastic. The plastic has a very thin layer of paint on it. I have no idea how thick as it is way too thin to measure.
The machine I am looking for needs to be able to engrave extremely detailed, some lines in my graphics are as thin as 0,05-0,1mm and I would like a clean line.
Is the Laser Master 2 precise enough and capable of what I am asking of it provided I set it up properly?
Would be very thankful for any help given.
Ps. If someone could possibly be able to test engrave one of my graphics I would gladly pay for it! Let me know
Best regards, Christoffer
0.1mm is fairly easy with the diode. 0.05mm is pushing the limits with focus for a diode. It will depend on the direction, as a Diode does not output a round beam of light. I have the original 15W version if you want me to test an image for you.
Gil, from the original post it would appear to be a very thin piece of plastic with a thin coating of paint.
Not sure that would work with a diode,…never tried though
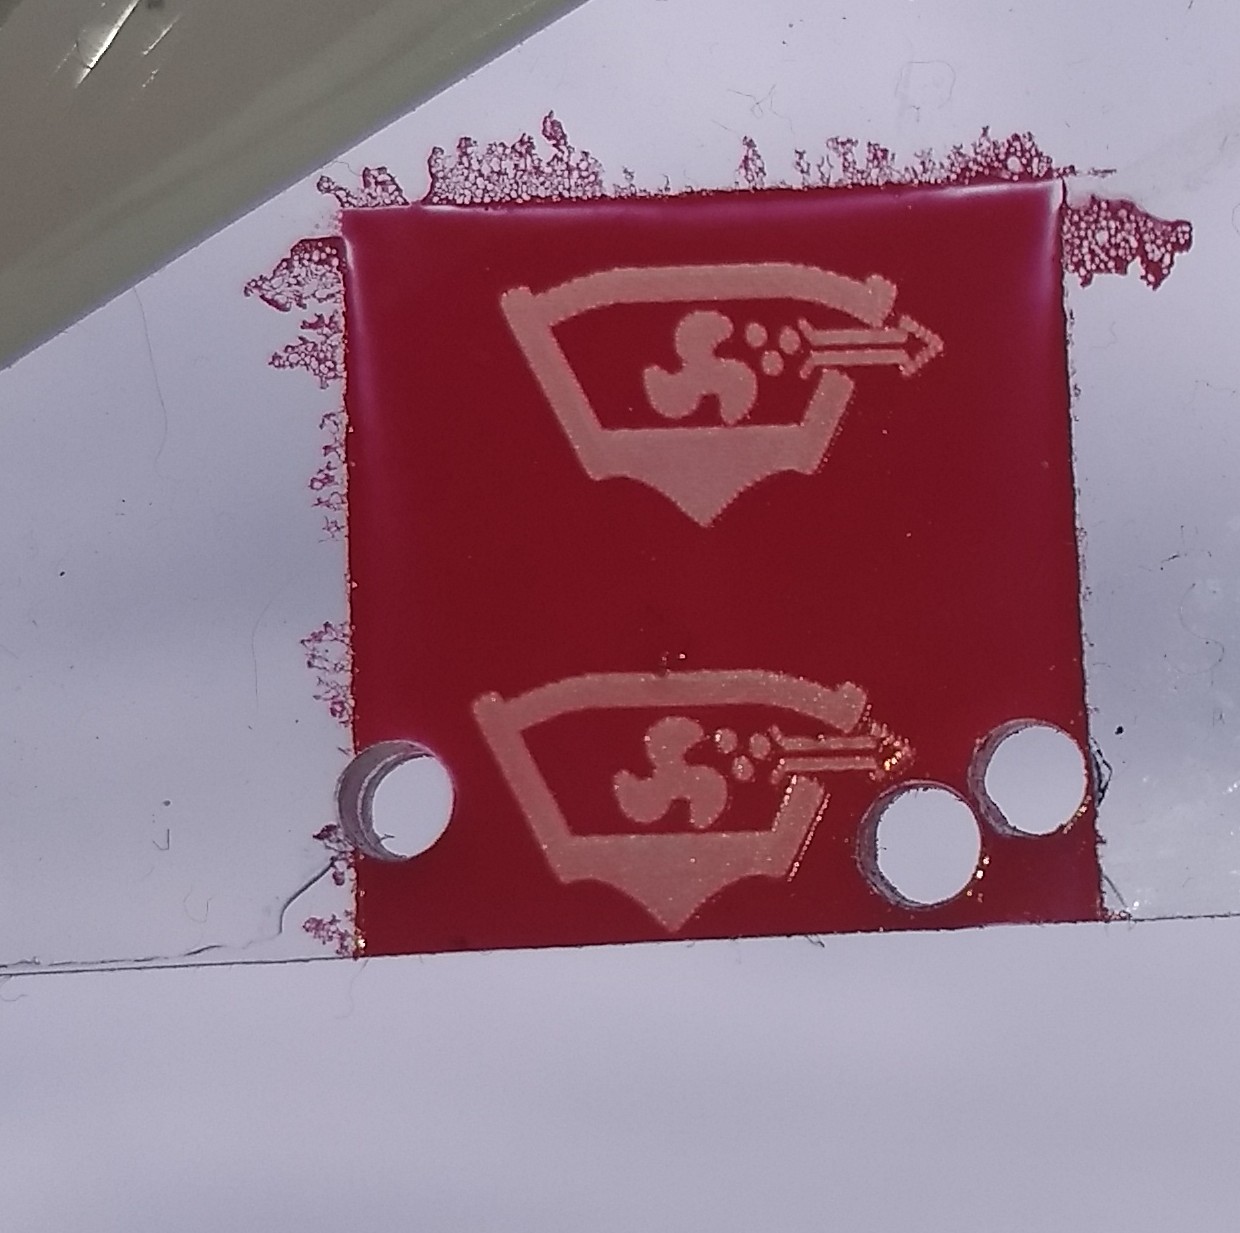
You didn’t specify what kind of paint, so I chose Red as it interacts with the blue light beautifully. Done on 1/8" Bayer Makerlon. Top burn 1900mm/min at 15% power. Bottom burn 1900mm/min at 13% power. Both 0.07mm line interval
You really went above and beyond, really appreciate that!! Also I must say I am very impressed by this machine, the work it does for its price is unreal. They should charge more for it
Unfortunately since I need to burn so small details I think I will have to keep looking, unless there is a way to focus the laser with a lens or something? I am sure the lines could be made even smoother with enough trial and error in the settings and also depending on the paint, but correct me if I am wrong, the lines on the arrow probably can’t be made any thinner?
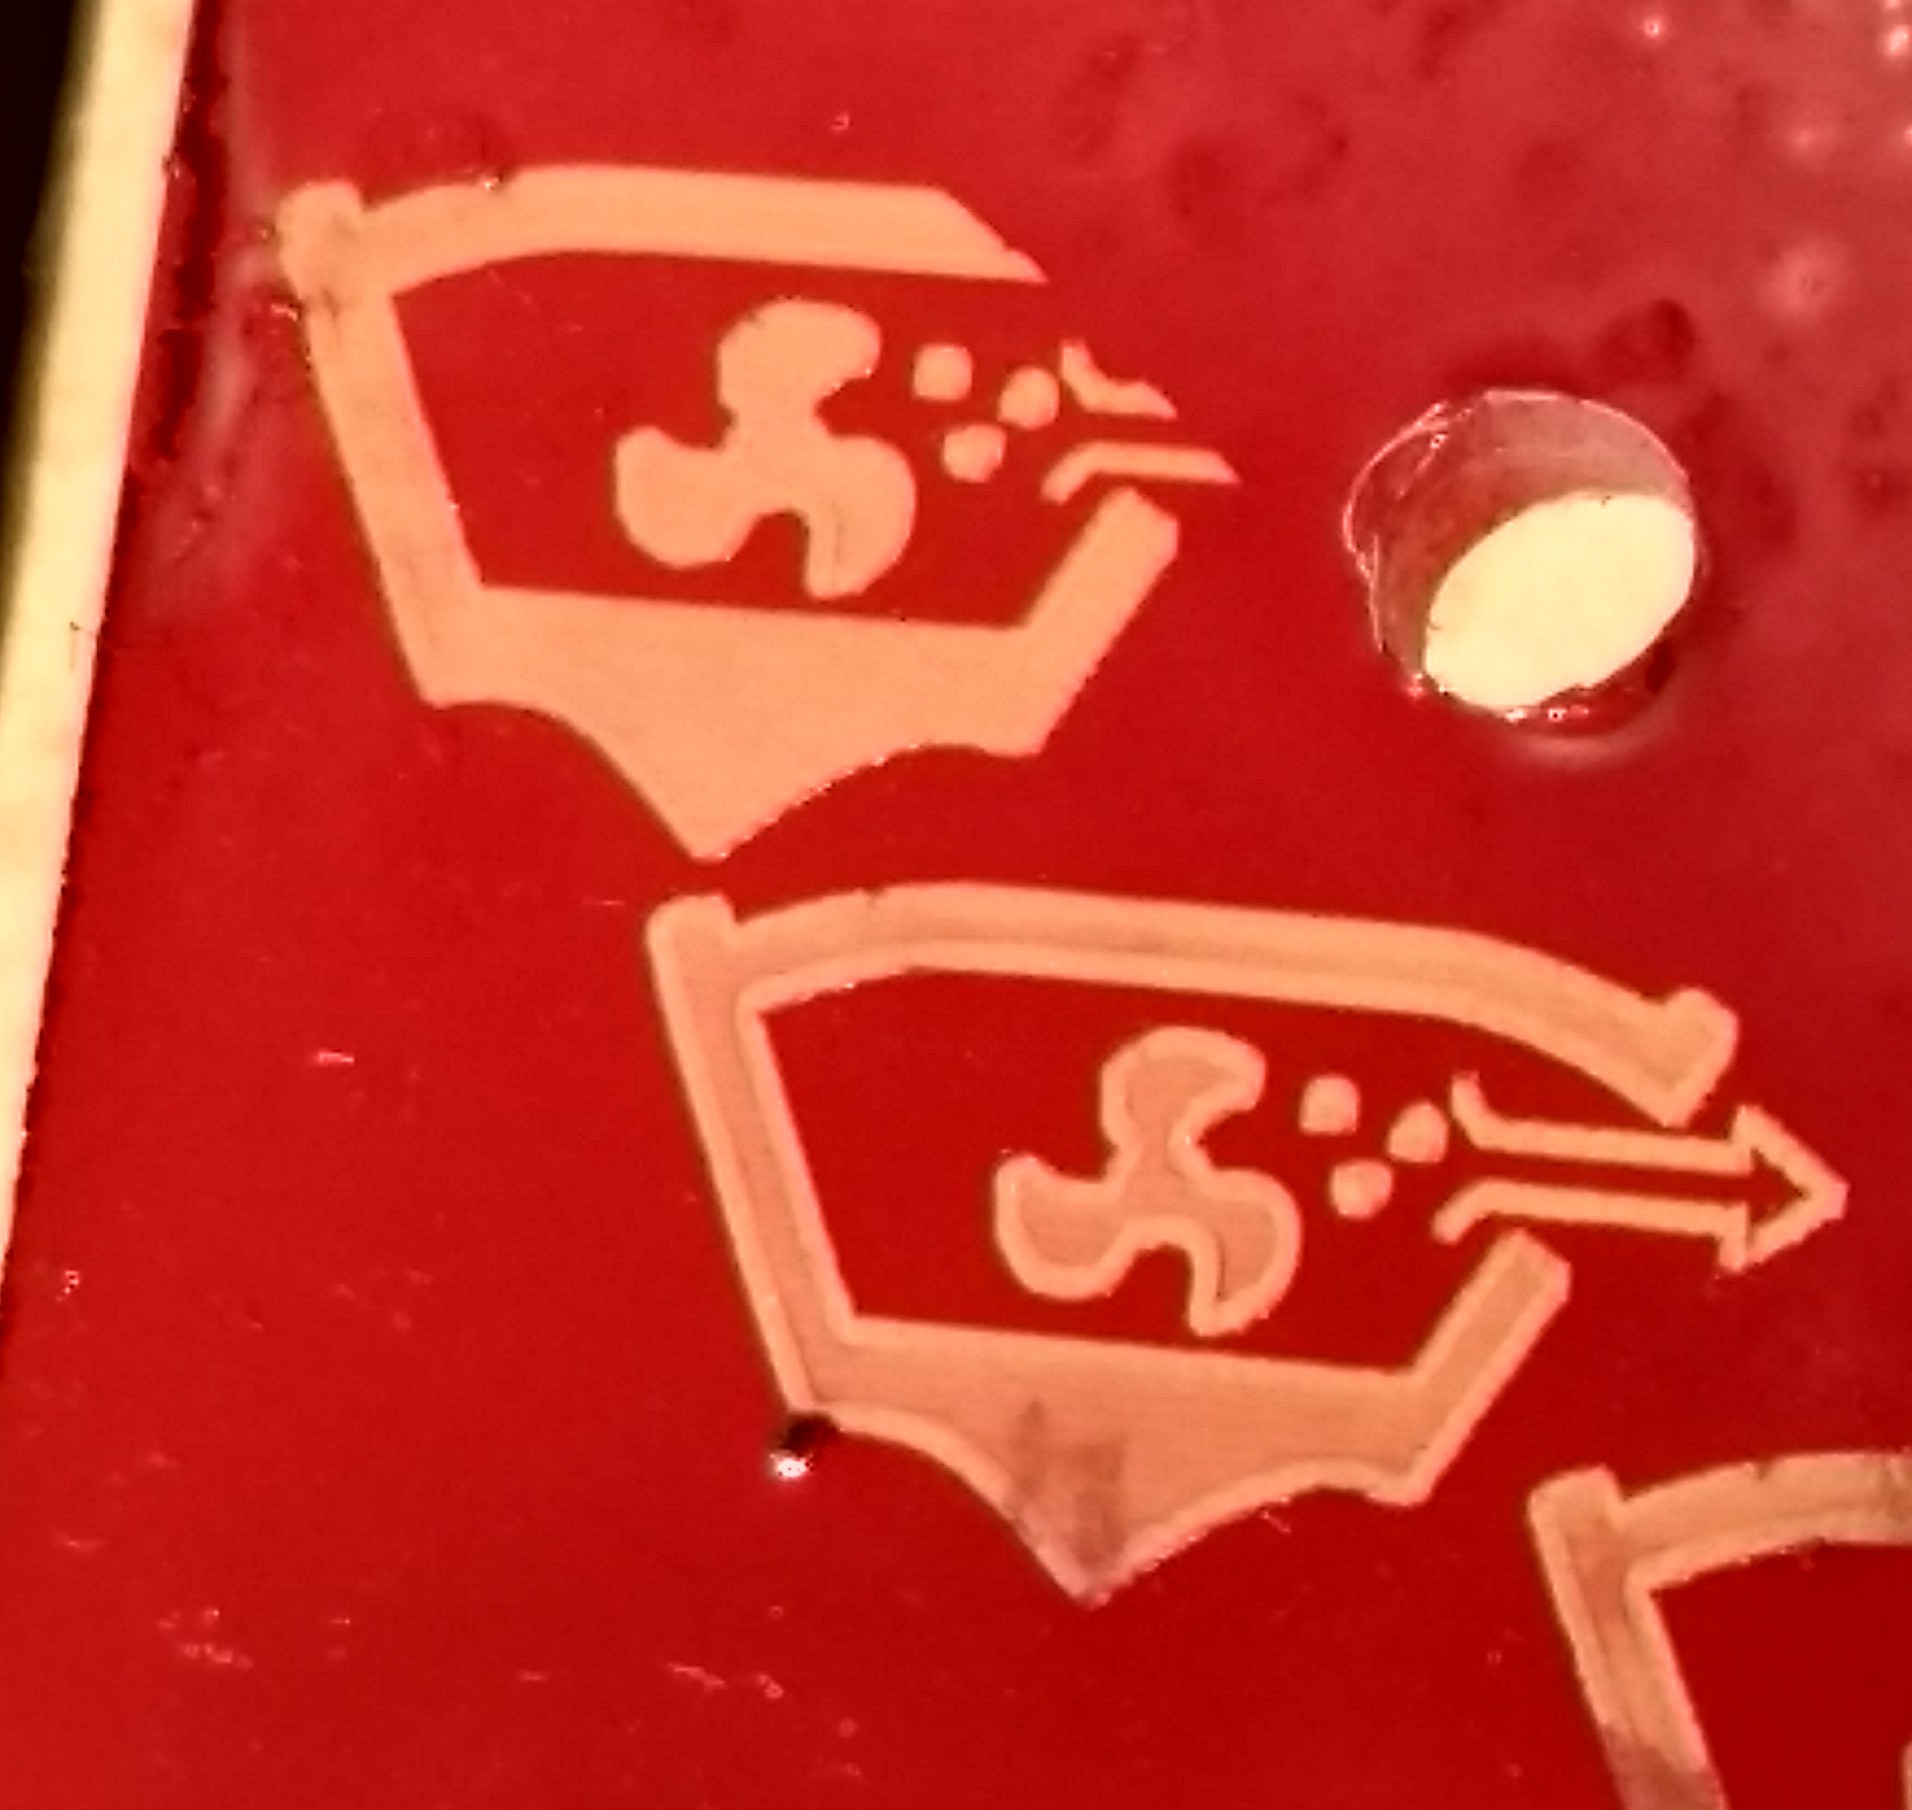
There were 4 burn lines on the horizontal part of the arrow, .07mm apart for a commanded burn of (.28mm + Kerf). If you want a very fine line it could be done, but you would need to actually post a .lbrn file of what you want to attempt. By just posting a picture I had to trace it and didn’t have any indication of what dimentions the lines were intended to be.
That is what I had done the first time around. You have never indicated what dimension are you trying to hit for the arrow line thickness, I assume by saying
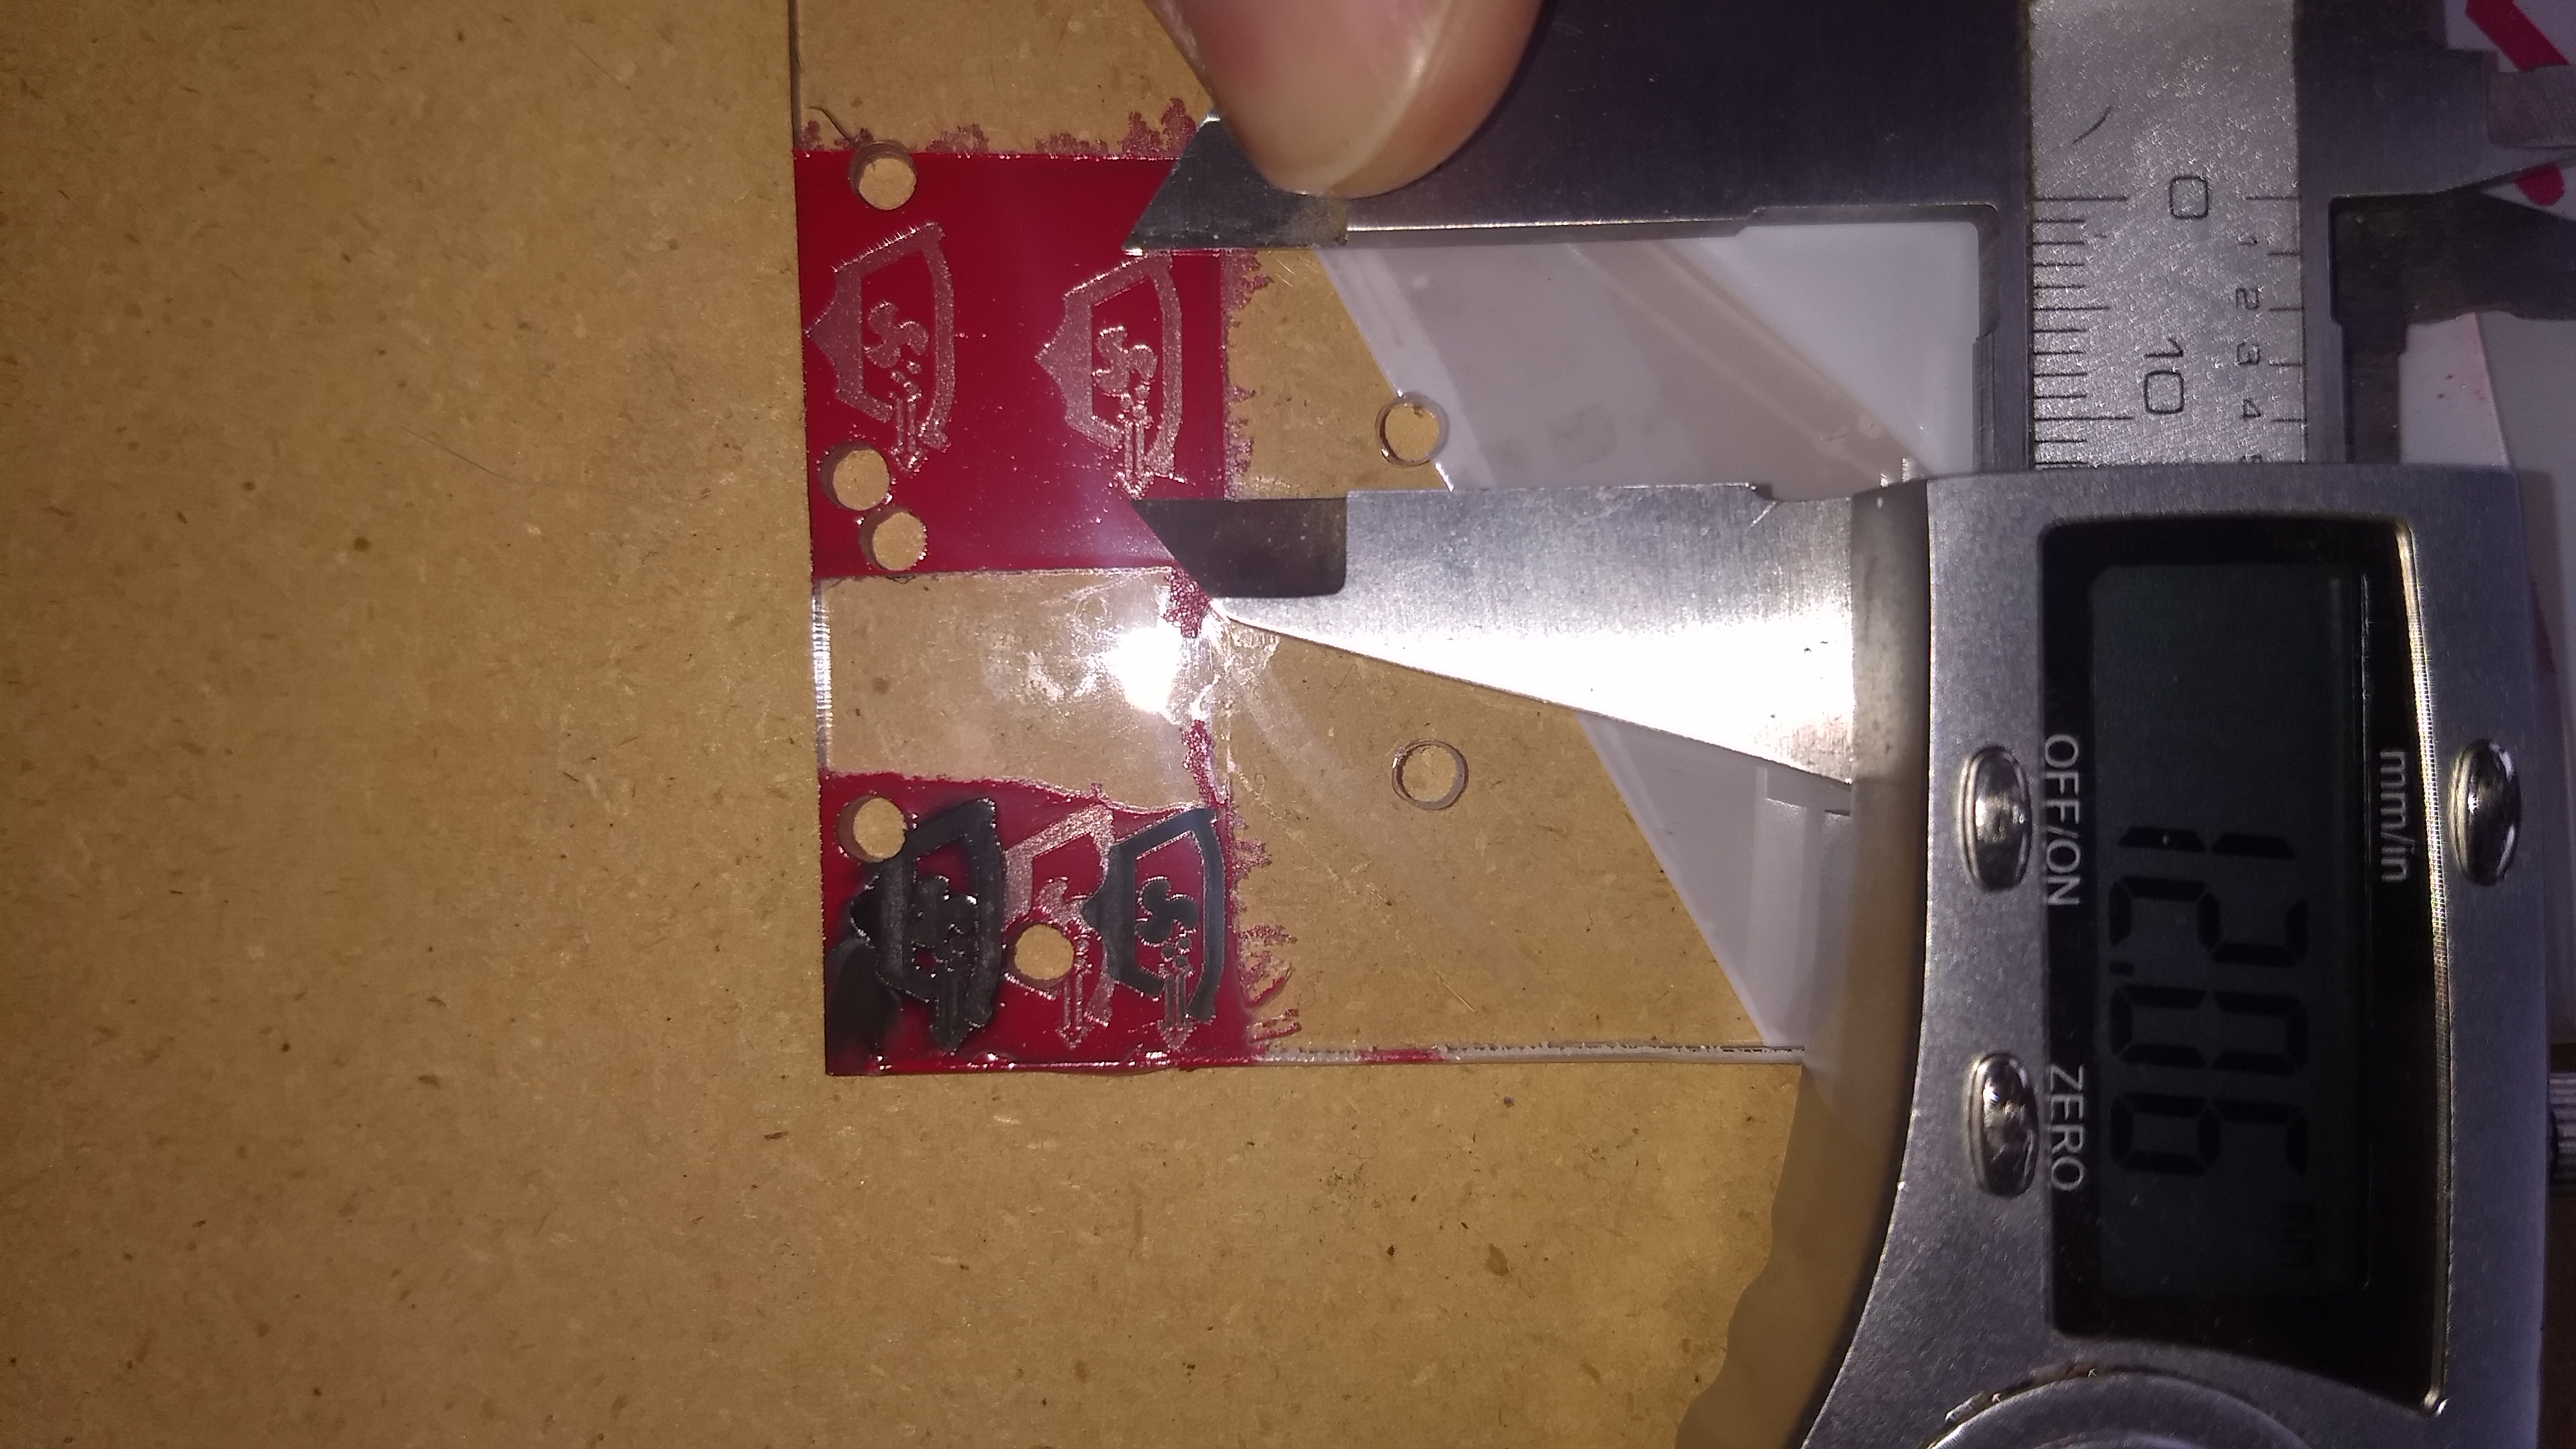
you are trying to see the minimum kerf of the laser. I have edited your file to make the arrow lines as thin as the laser will burn, but am waiting for paint to dry.
In the mean time if there is a specific dimensions you want to hit for line thickness, how about letting us know so we don’t have to guess at what you are trying to achieve.
In my lightburn the height of the image was relative to the length, so when I put 12mm width the height became 6,9 or so tall. The size of the arrow lines stayed the same compared to the rest of the picture so I had no idea this was a measurement you would need.
This looks really good and promising, thank you very much for your help
You have got to remember every laser has a kerf you have to account for. It usually is such a small percentage compared to the project that it does not really matter. But when the project is only 7mm tall, then .5mm (or whatever the kerf is) becomes a significant percentage. It also comes into play when making precision or friction fit parts.
If you are looking for a smaller kerf in a diode laser I’ve heard the lower wattage ones have a tighter focus, but I’ve never tested it. Also you can get shorter focus lense. It does not take much power to burn such a thin paint layer on plastic.
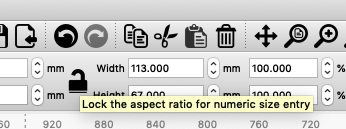
I know, I don’t want to change the aspect ratio of the image. My point is that if you change the width of the picture in total the height and length of the arrow as discussed above will change with it