$20 is used to enable soft-limits. It’s up to you if you want to use this. This can prevent crashes if setup properly.
$130, $131 set X and Y size of your engraving area respectively in millimeters. These will need to be setup for the soft-limits to work.
This should match the dimensions you enter for LB workspace size (again in millimeters). They should all be in agreement but determined by your physical dimensions.
Since your system doesn’t have limit switches and setup to home it should be assigning 0,0 to wherever the laser head is at startup. As part of your startup procedure have the head be at front left.
Ok
Don’t think I completely understand soft limits or how to set up and how much do I need them.
Soft limits… I think is when it gets to the end (limit switch would stop it) soft limits stop it a little earlier
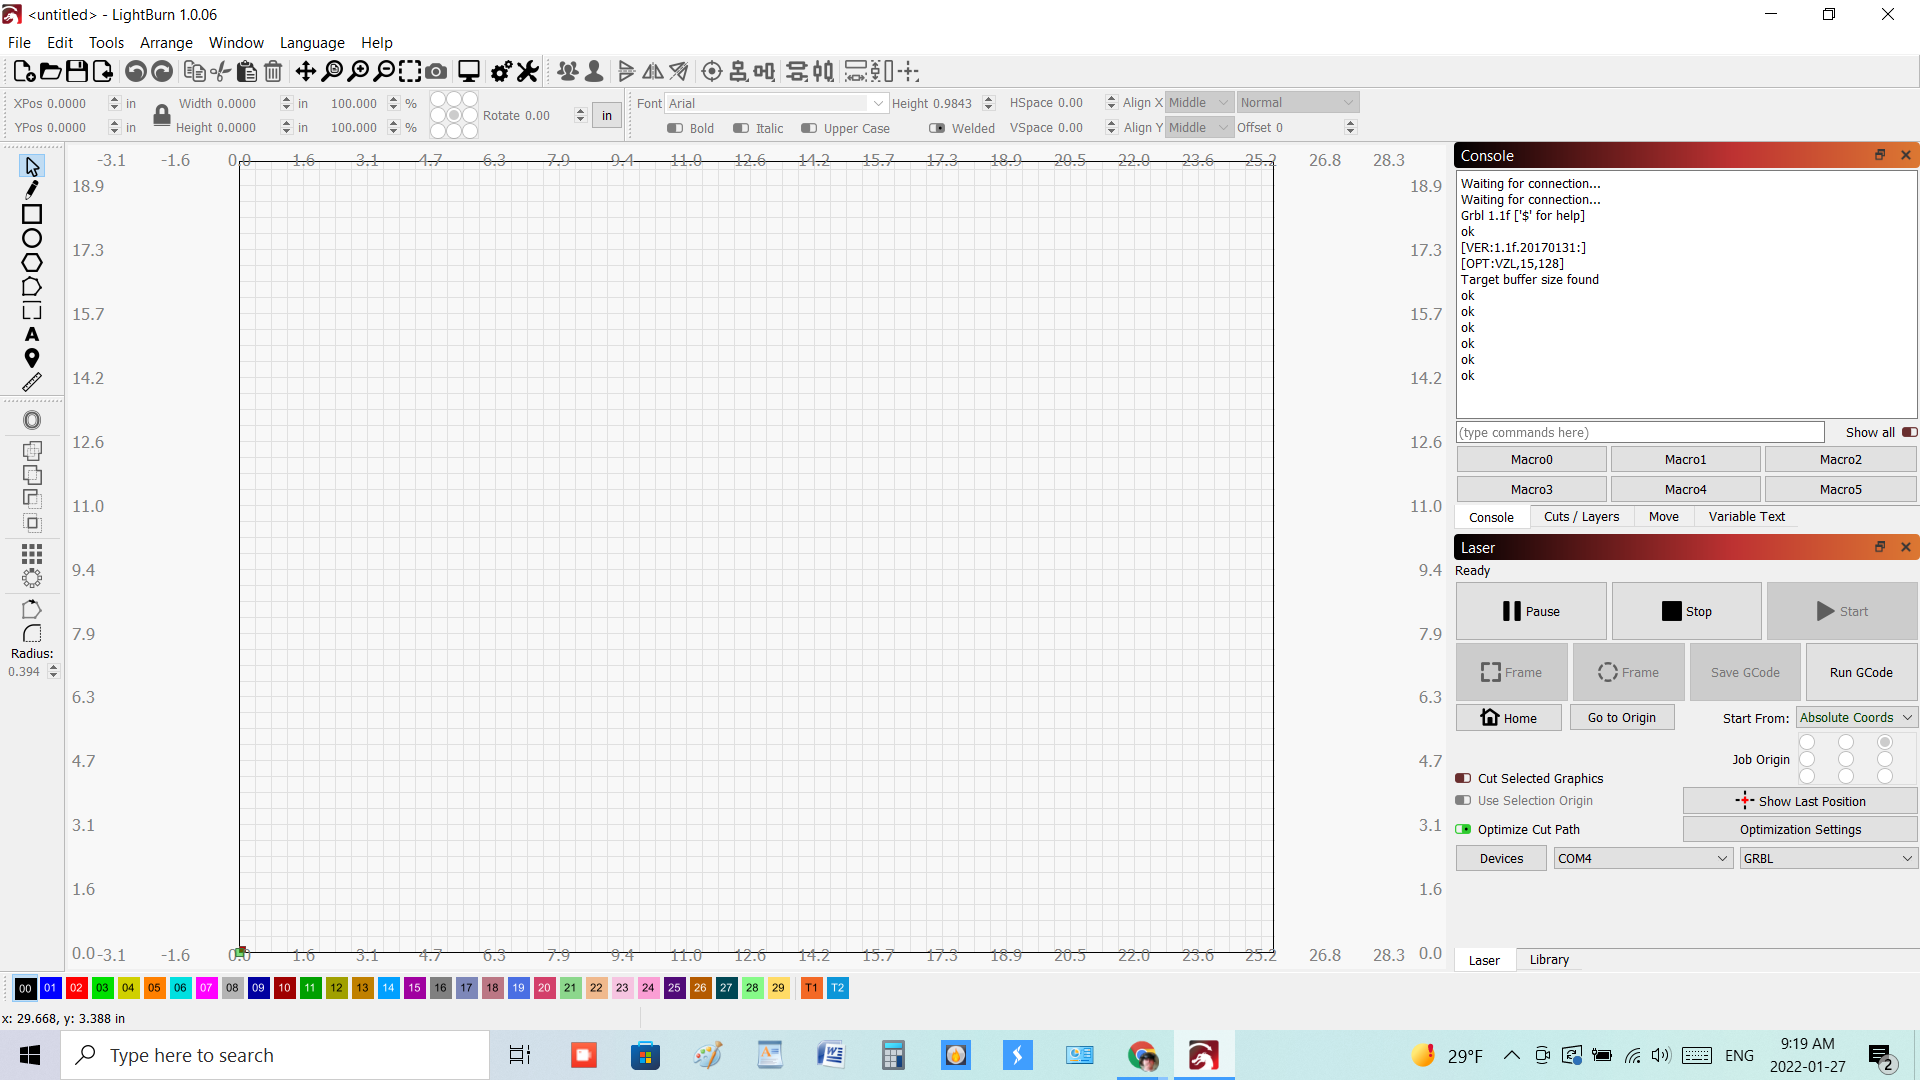
This morning I was moving it around and it seamed to know its limits(it would either stop just before or at the end, if I hit the go button (move to position set at x0 and y0) it would go to the front left(later I changed Something, (I don’t remember) it would go to the back right)) then moved it with the x and y arrows say 5 inches then moved it back 1/2 " in both by hand, when I hit the go button again it would hit the end and try to go further(vibrate)
I hope that made sense
Work area $130=400 and $131=300 don’t look the same
This is probably for another thread (I haven’t checked the forum for that yet)… I tried to burn txt It would go to position, the laser would lite but wouldn’t burn!
LightBurn will limit some movement at the application level based on the size listed in Device Settings.
Sorting this out should be fairly straightforward.
Determine actual physical engraving area for your laser.
Hopefully this is listed on the box or any documentation that you have. If not, you could measure the addressable area of the laser lens. Keep in mind that the laser won’t be able to travel all the way back and may be impeded from going all the way forward. You could also do this in software if could trust that your laser was properly calibrated for dimensions. I’ll write a note about that farther down.
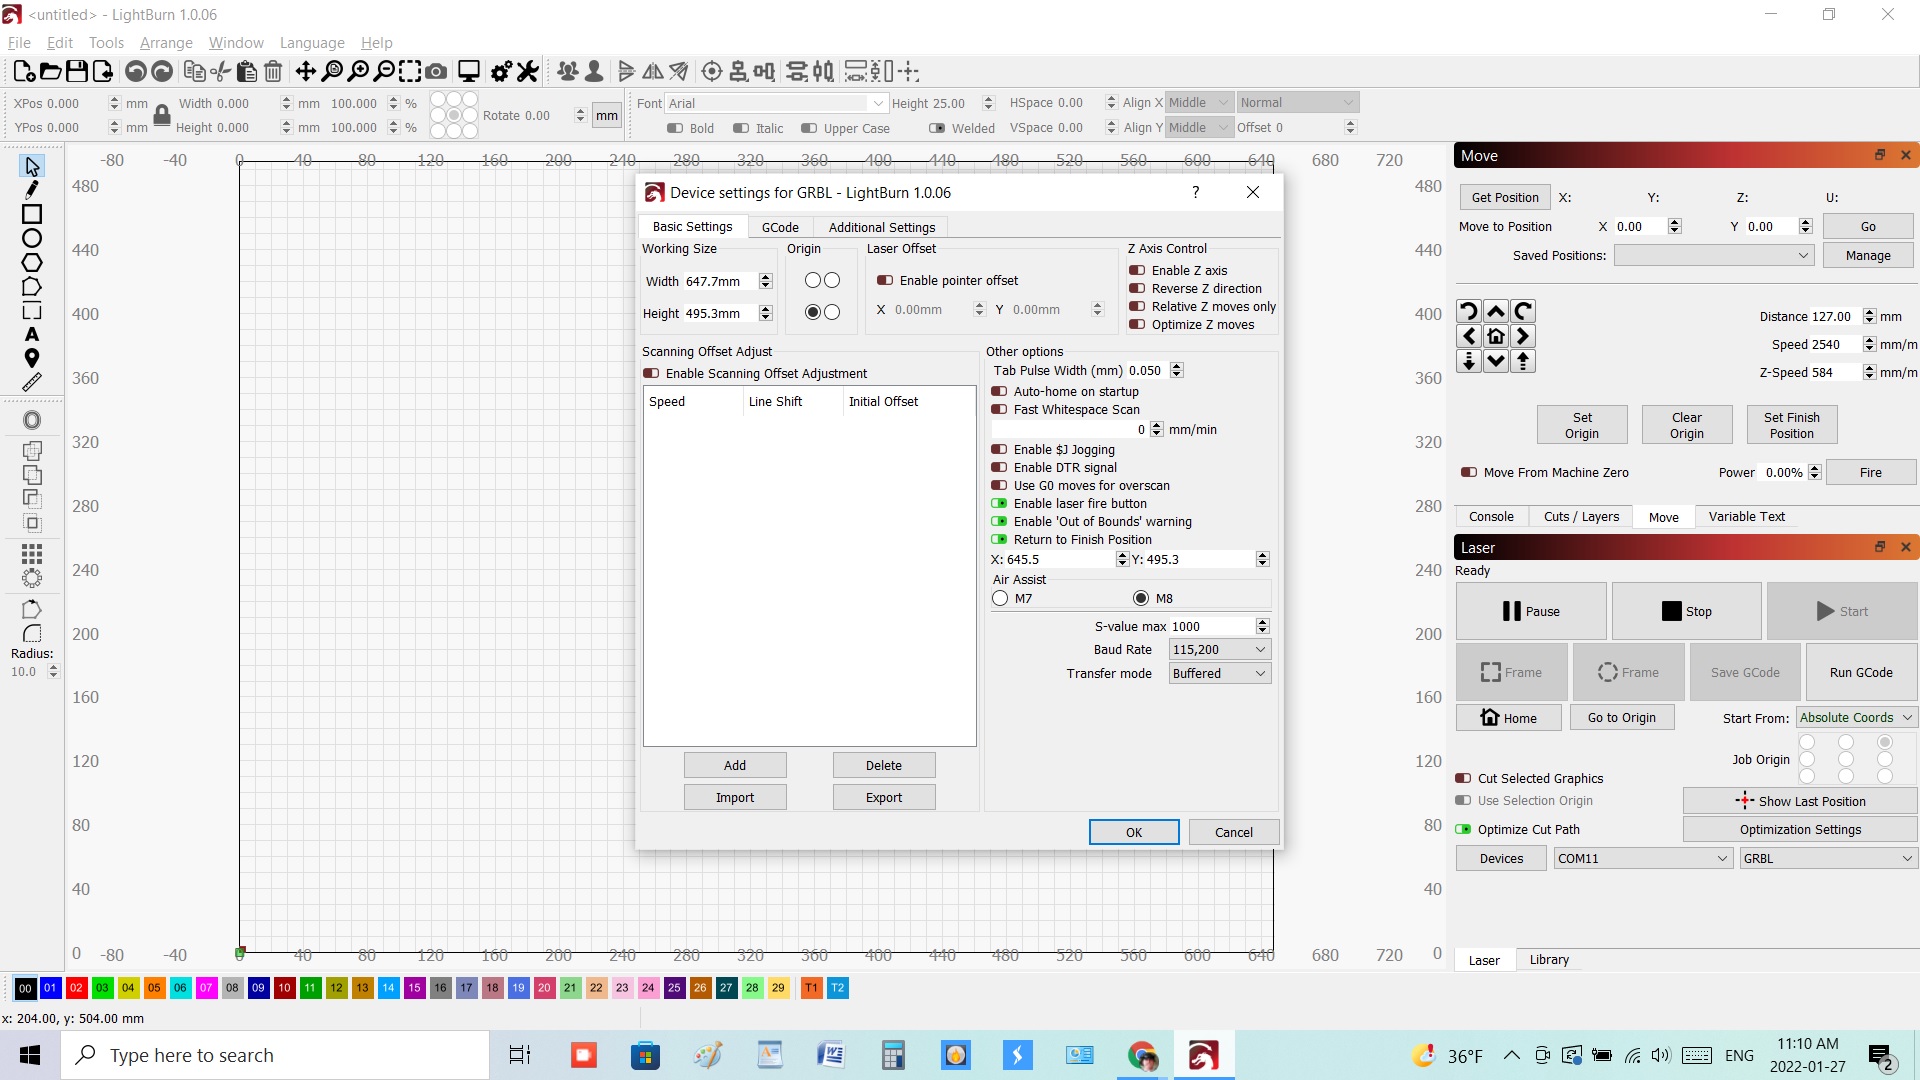
Update Working Size in Device Settings with dimensions
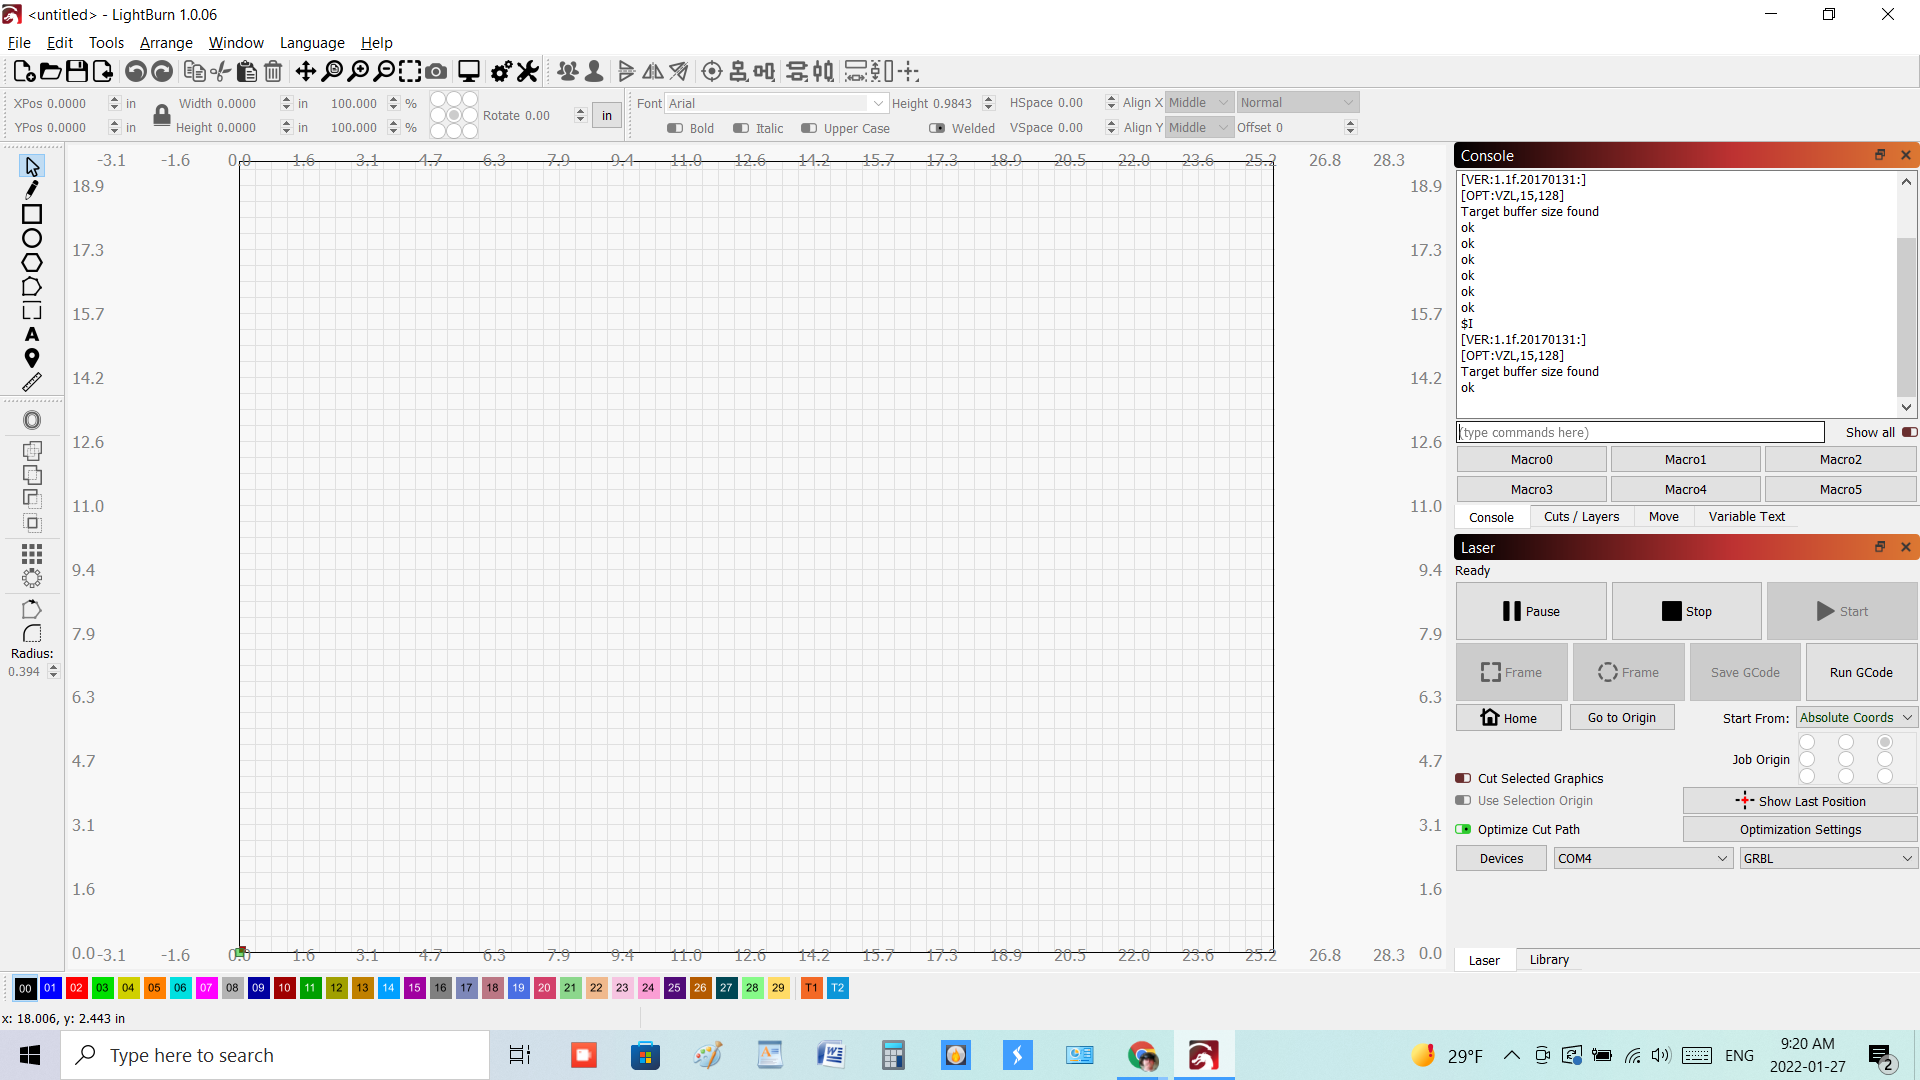
Update $130, $131 by typing in Console: $130=[X VALUE] $131=[Y VALUE]
Exclude the square brackets when typed.
Enable soft limits by typing in Console: $20=1
Can you confirm that you updated S Value Max to 255 in Device Settings? Doesn’t show that in your screenshot. Make sure you do this first or else you’ll have a bad time.
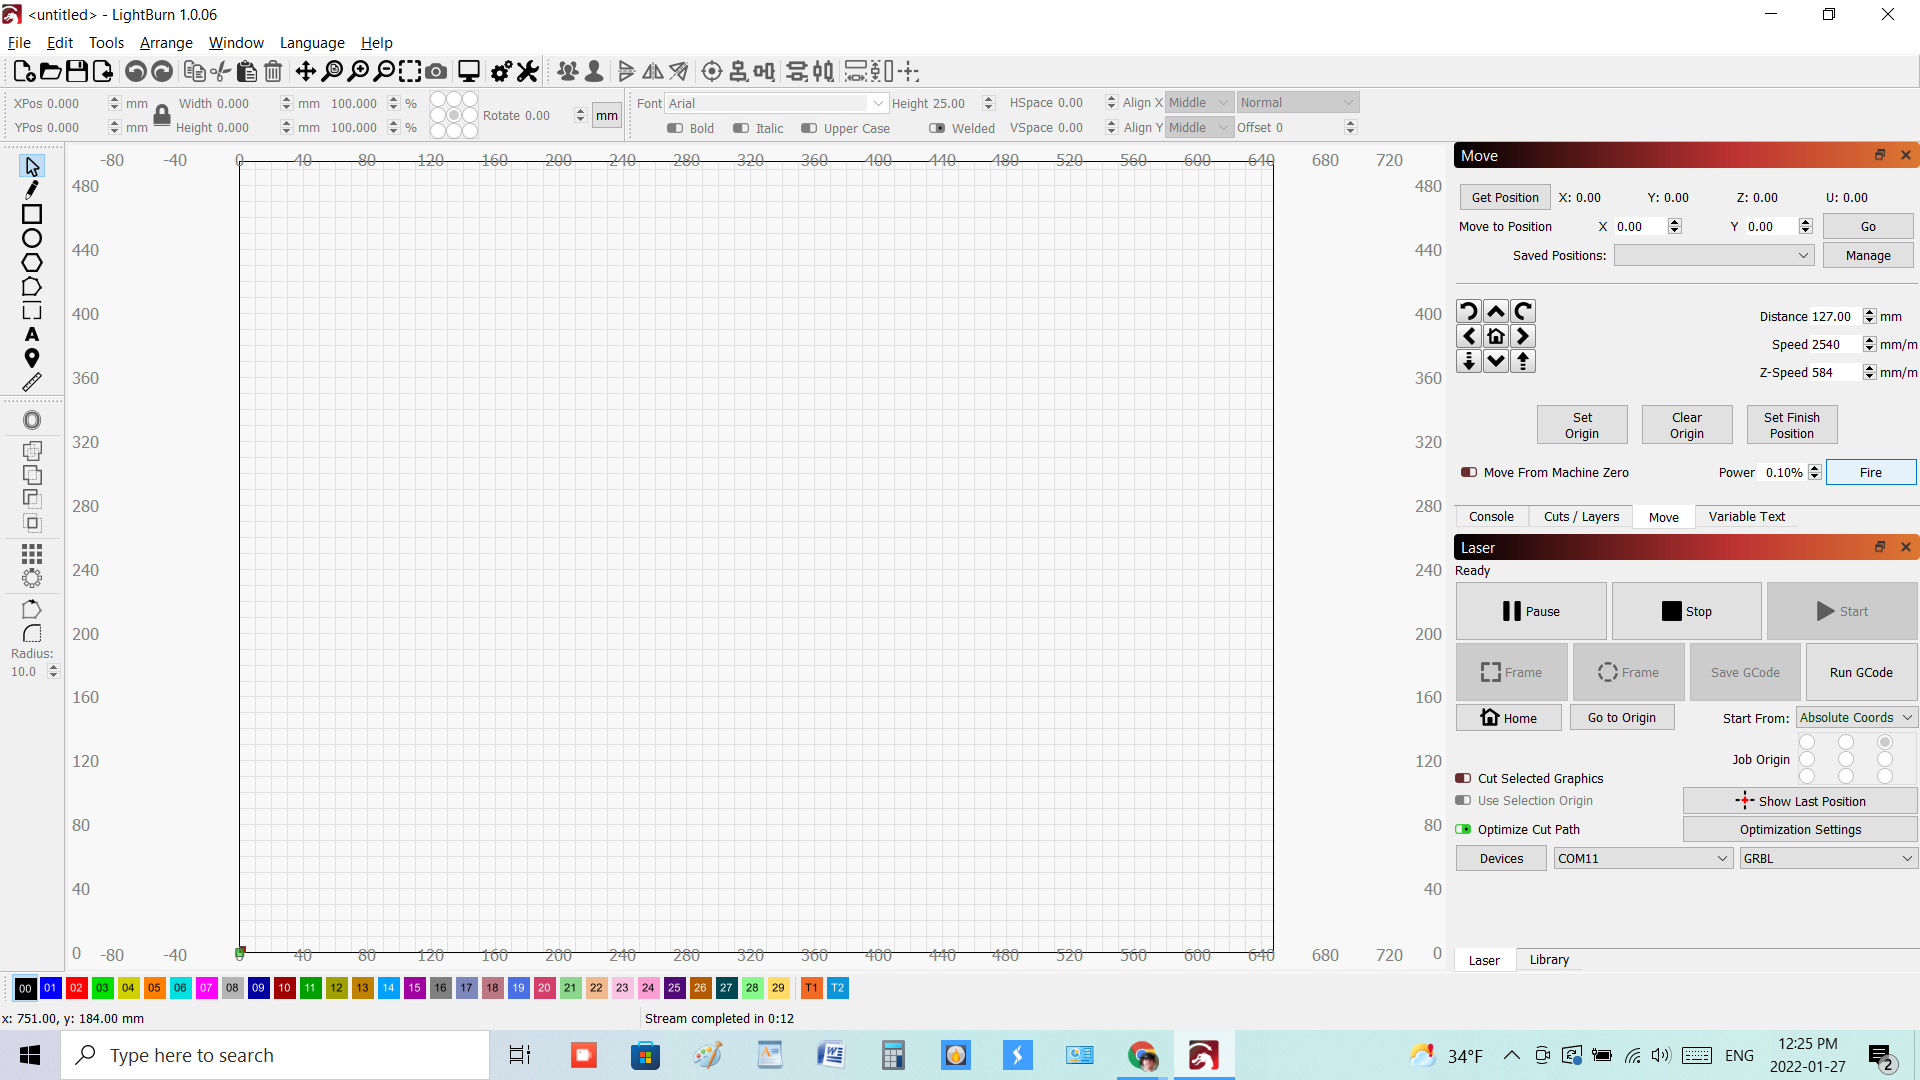
This is likely an issue of your cut settings. Power too low or speed too fast.
Make sure your googles are on. Raise the power until you see light. You probably won’t see any light until .4 or .5%. You may need to go higher depending but you should for sure see something at 2 or 3%.
Once you’ve sorted out Fire button and Work Area dimensions you probably want to run a calibration to make sure that engraved dimensions are the same as design dimensions.
Draw a 200x200 mm square in LightBurn.
Engrave this.
Measure the actual XY dimensions.
Use Edit->Machine Settings->Calibrate Axis to adjust steps/mm for each axis based on designed vs actual dimensions.
May want to repeat if this was a large correction. Larger test shapes reduce impact of measuring error.
I draw square in the work space, I hit start, it runs with laser but won’t burn.
I tried save gcode, run gcode same thing, same thing happened with txt