Every time I cut something that has a circle in the design it leaves a flat spot instead of finishing the round edge. How can I fix this? If I use the same image to cut on vinyl machine it cuts perfectly

Does it do the same thing if you burn the image on something flat? I’m wondering if your rotary isn’t rotating fully, causing the flat line. If you aren’t using a rotary axis, it could be that the laser reaches a point down the bottle where it no longer effectively burns because it’s out of focus.
Also I noticed that the ends of some of the words are missing but only on the ends of the cuts(farthest point of the decal)
I doesn’t seem to do it on flat surfaces. I have it on a rotary piece that was sold with the ortur
I would advise checking the setup instructions again for your rotary and ensure everything is set up properly. I’m not a rotary expert, but it seems to me like your rotary axis isn’t turning completely, which leaves an unfinished outside edge. You tried it flat, so it seems it’s reading the image right. That makes me suspect the rotary axis itself may not have the steps or gear ratio set just right. There are some videos on youtube about rotary axis setup that may help as well.
Ok great thanks I’ll check that!
First thing I’d do is check my belt tension to see if they are tight enough. Second thing is to see if it has to do with the diode not focusing to a dot. The 20W models are worst than the 15W and 7W because the way the diode is made there’s more of a line which emits the light. ie a 20W single lens setup will form more of an oval than a dot. There are multi element lens’s you can get which produce more of a dot. You lose a little more power but make it up in the fact that you can concentrate the laser intensity to a finer point.
Ok thanks I’ll check into that as well!
This is covered in the docs - see here where it says, “if you end up with a flat part at the bottom of the engraving”:
This is happening on the outer edges of the graphics I’m trying to etch into the powder coat. I’m gonna check out the link you posted to see if it helps! Thanks!
This roller setup is only a couple of weeks old and theres no slack in the belt and the cups are not slipping on the rollers… At this point I’m at a loss it was doing just fine right out of the box and then one day it just started acting goofy.
Does it do the same thing no matter where you place the index head?
Is there any way of getting phone support? Still having issues
I see you are getting some feedback here:
The other suggestion would be to reach out to the nice folks at Ortur Support for further hardware support. ![]()
Well now it doesn’t have flat spots on the edges of the logo it’s making it more like an egg shape than a circle… also it’s not consistent when doing it I’ve burned through dozens of good tumblers and a lot of money before realizing using masking tape to test it out first, (rookie mistake on my behalf) it seems like every other time the same logo is sent to the laser it’s either egg shaped or ends up more wide than tall. I did the test of finding out how many mm per step it takes to get 1 full revolution using a line drawn out on the workspace (which was 66mm I believe and also way off of the numbers that everyone else seems to report) but it didn’t yield good results at all so I went back to the settings that yielded at least no flat spots… which is around 79-80mm I believe. Any help is much appreciated! Thanks!
In a chat I just had with Oz, he offered the following:
The Ruida DSP controller actually “understands” the rotary and allows you to set the motor pulses per rotation.
With a GCode controller (ortur uses a grbl controller) you’re just using “an axis” and the steps settings are in the firmware itself. If you were using the Y axis to run the rotary, it’s got a “steps per mm” setting that you don’t want to overwrite, and the commands to move the axis are all in mm from LightBurn. It’s just how the hardware works.
The best approach is to use the A axis on GCode hardware (4th axis) and set that axis to move a full rotation when told to move “360 mm”, so a mm becomes one degree.
So I should set it up as A axis? Is this an equation I’ll have to figure out every time I put a different diameter object in the rotary?
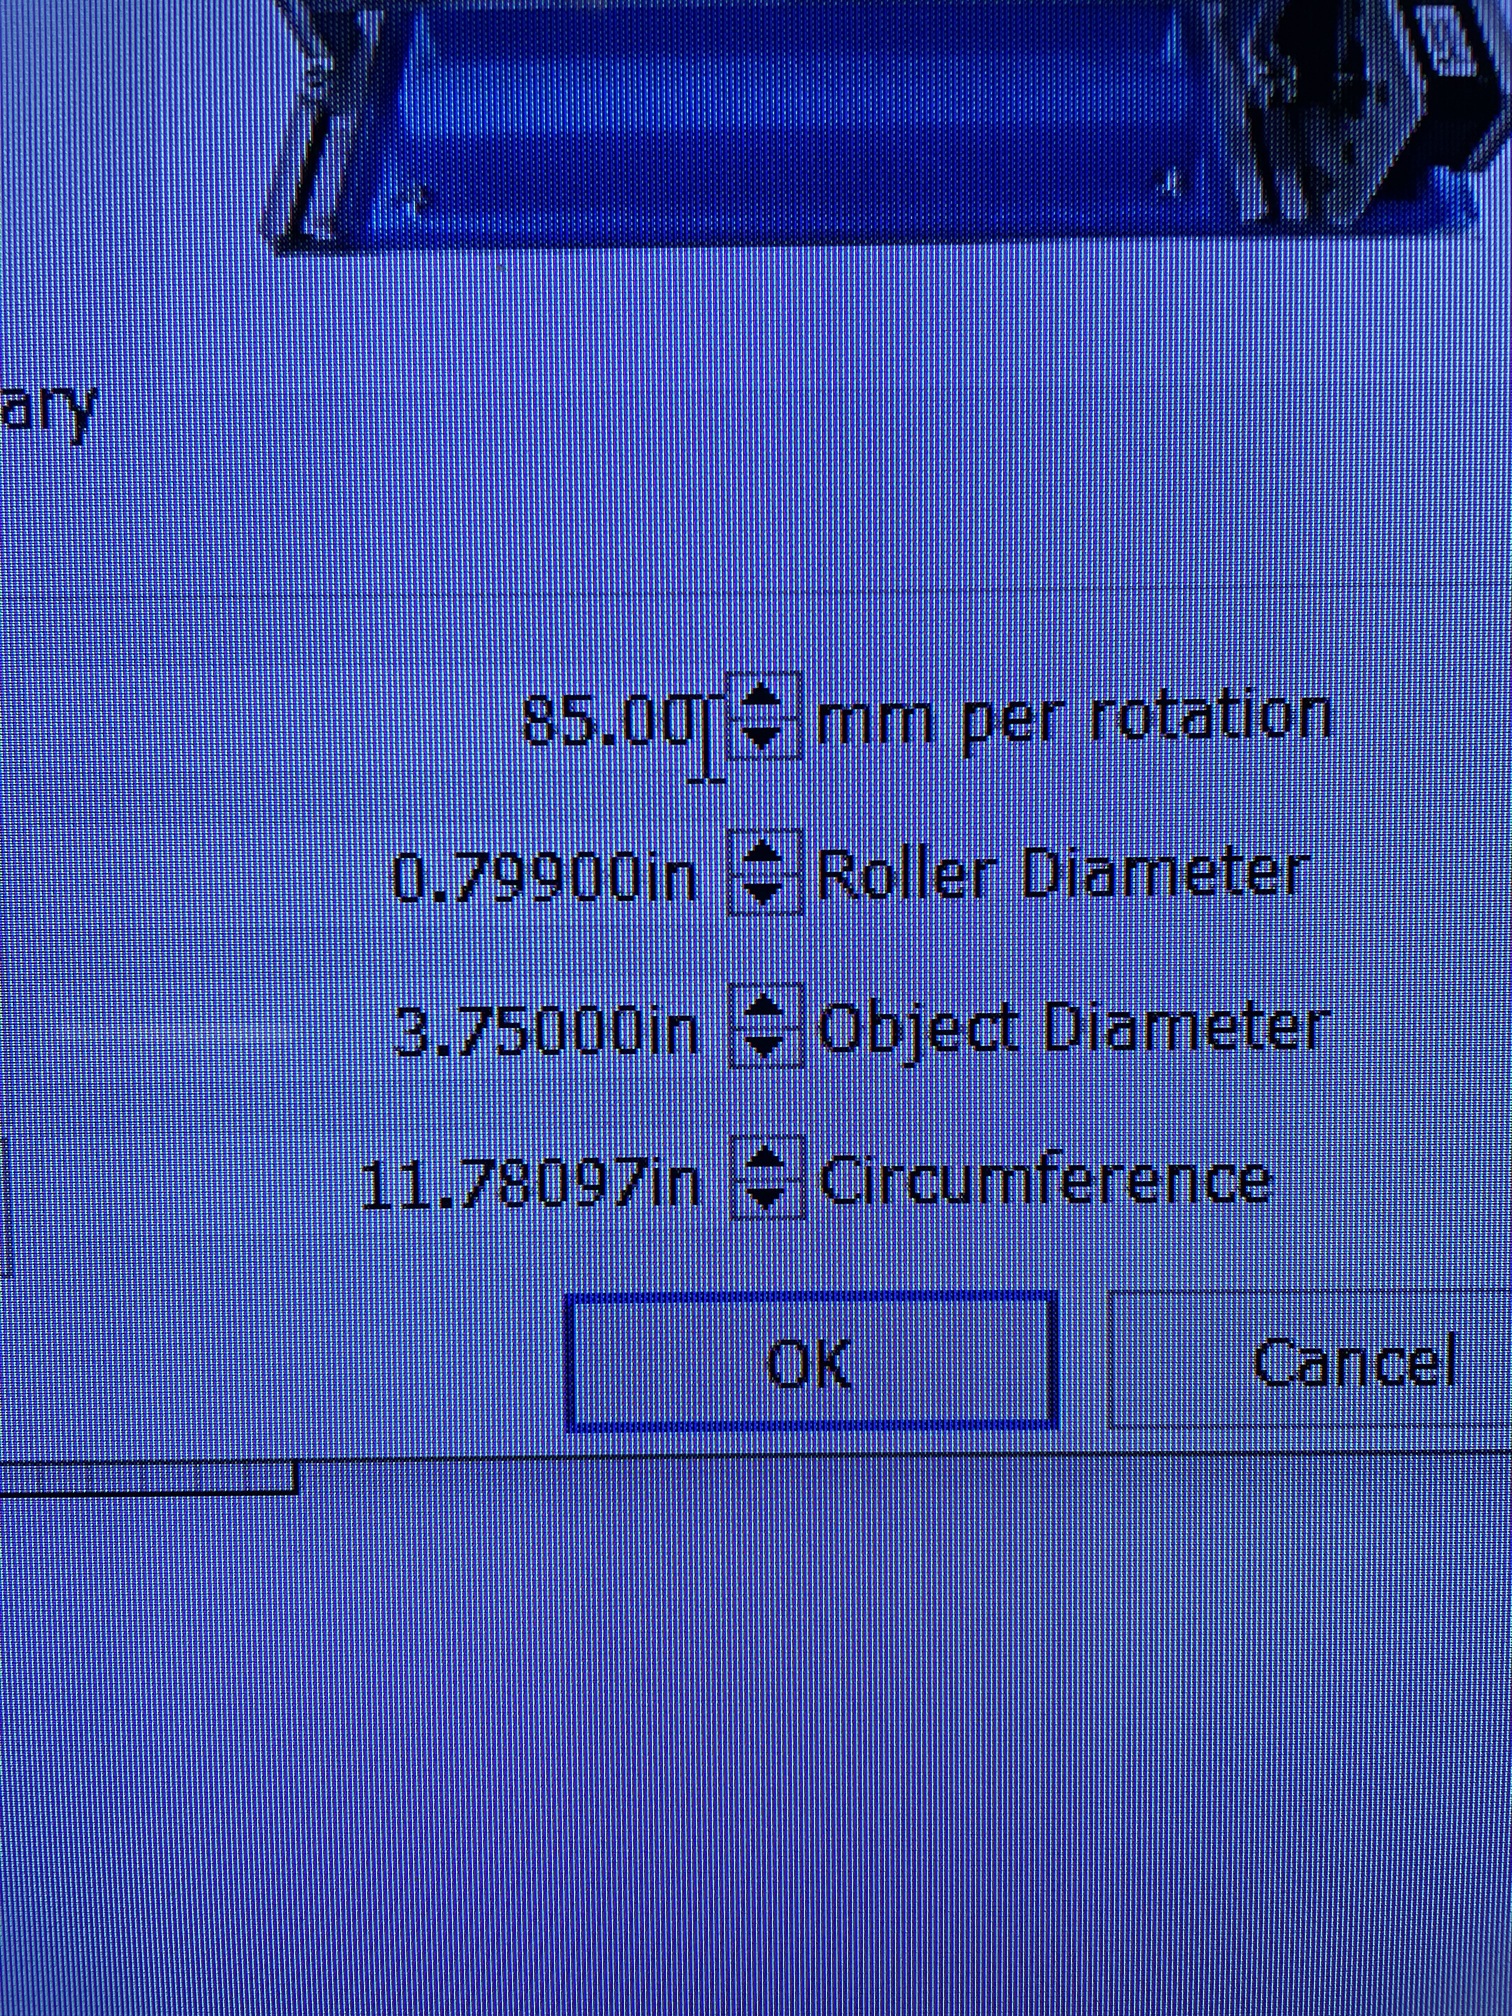
If you change the diameter of the object you want to lase, you need to inform LightBurn, but that does not mean you need to change or update the settings for ‘mm per rotation’ or ‘Roller Diameter’, in LightBurn or your firmware. Once set correctly, those settings remain until you change the rotary device itself.
Awesome thanks for all the help!