Maybe first let us know what you’re trying to achieve. Are you trying to get a sense of what powers and speeds are going to produce on a specific material?
It’d probably help to know what laser you’re using, and what material you’re working with too.
But, what I would do is just make an array of squares, and set them to do one speed, and change the power of each box.
Or you could do the inverse, and set the power, and have each box a different speed.
Or both!
For reference, I have a 100w co2 chinese ruida laser, and for soft basswood I’d usually run a scan at 40% power, 350mm/sec speed, with a line interval of about 0.2mm.
So I still need to create the array of sqaures and assign different speeds and powers to them. I was hoping that bmp file I downloaded from the Facebook group would be a one shot and done.
I’ve personally never used something like that, and I’m not entirely sure what a bmp is going to do for you anyhow. Seems like a vector file would be best, unless you’re looking at how well bmps engrave, like you’d need for photos, perhaps.
That is part of the goal. A good chunk of my business will be photo engraving. I am wanting to use Woods, acrylic, granite/marble and glass/mirrors. I would think creating the matrix with various speeds and power levels would be the best way to determine what are the best settings for the given material
Thanks Doug. I have watched those videos. I will create my own matrix for testing. I was hoping this matrix bmp that it’s said to download in the Facebook group would be and easier way. But once I have the matrix file created i can easily re use it.
Here is a LightBurn file I created that provides a vector based ‘Power Scale’ example for testing cuts on different materials. PowerScale Test_01_Rico.lbrn (23.7 KB)
All variables can be adjusted to best fit your system and testing needs. Speed settings in LightBurn can be set with very fine increments. This file was designed to be used with my Ruida 100w CO2 laser. Feel free to change it for your best use.
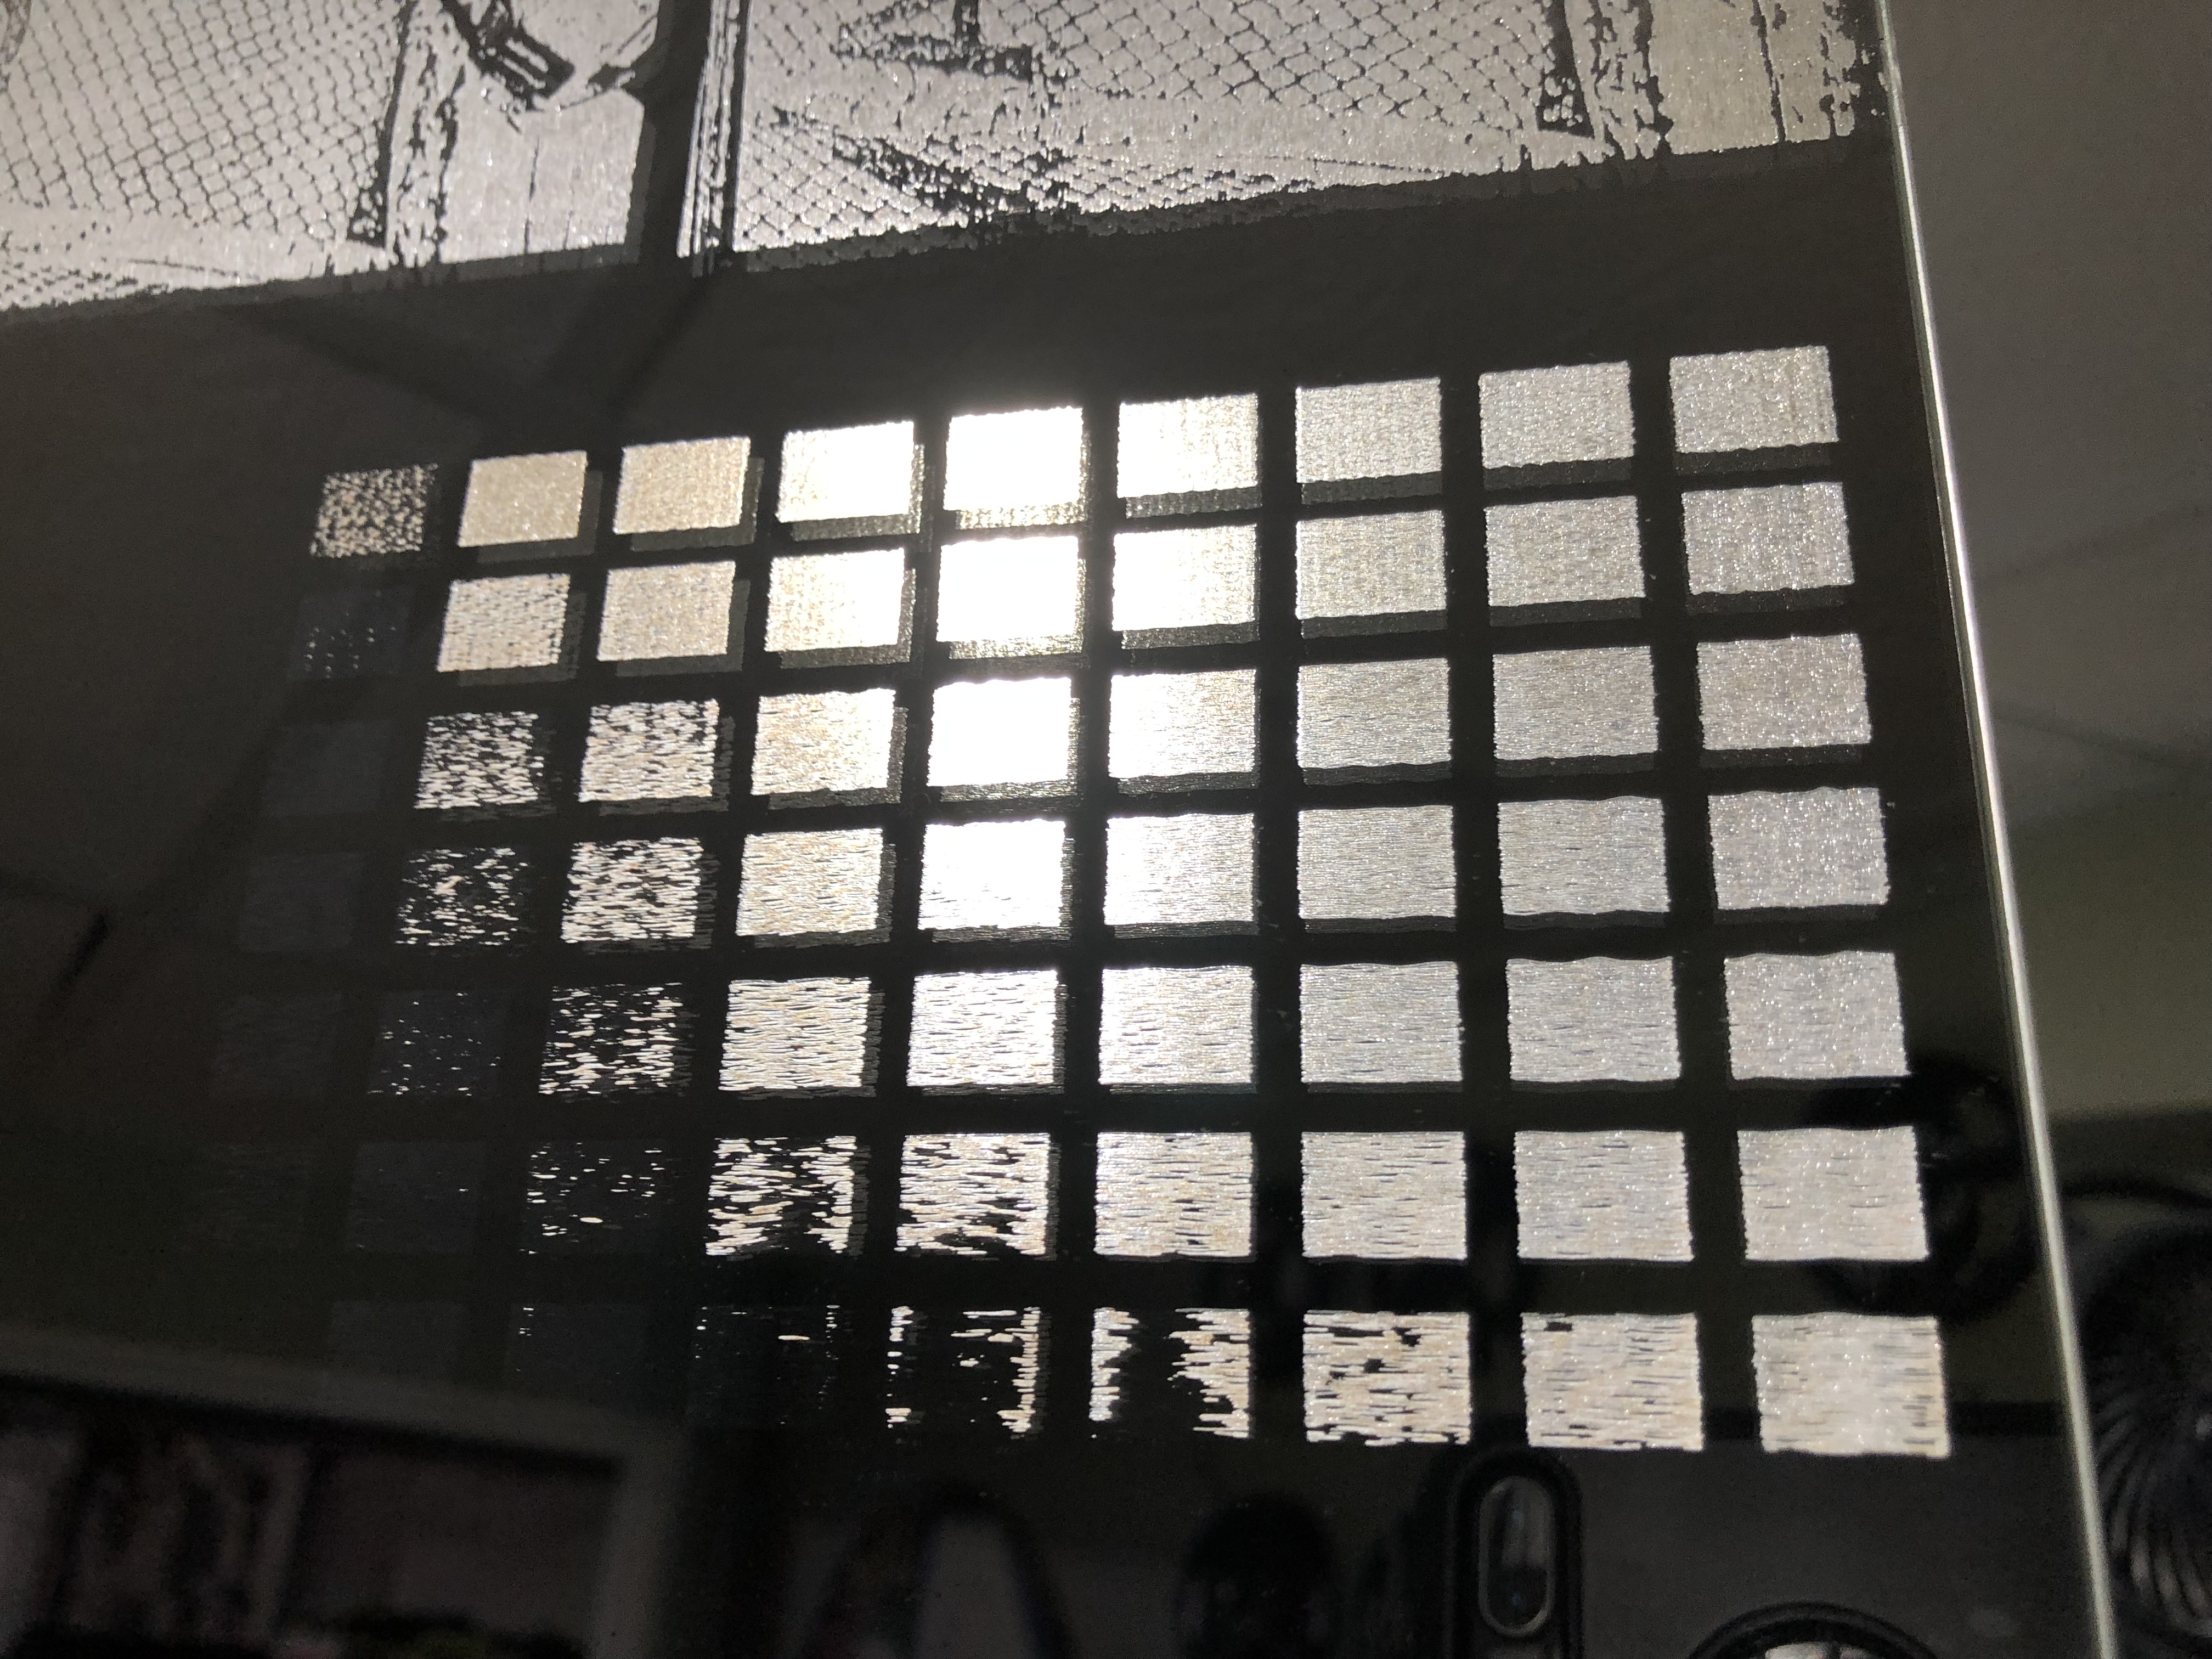
So I ran the file on 2 different materials the wood art boards I have been using and the mirrors. How would you decide which settings to use? The 400 at around 50 or 60 percent look about the most shades to me on both materials… but it doesn’t make sense that I would run both at the same speed and power given how different they are
For images, you’d usually want a setting that gives you the darkest burn with the shallowest cut, otherwise you’re likely to over-burn. When doing photos, it’s also important not to go too fast, because small dots that happen from dithering can get skipped, and you don’t want the DPI too high, or you’ll get overlapping burn as well.
There are a lot of variables, so for images it’s a good idea to do a thumbnail pic or a small gradient with a bunch of different settings to see how they react, and every material is different too. With an 80W tube, you’ll probably be looking at somewhere between 160 and 200 DPI for optimal.
Try burning something like this in a grid instead:
If that comes out “true” - as in, shaded from black to white, with a smooth transition, you’ve got the settings right. Image burning is different than just burning a filled shape.