Hi there
since a few daysI have some trouble with my laser (LaserMaster 2 Ortur 15W)
I already checked the laser hardware and couldn’t find something anormal (I’m going to clean the belts now, but I even changed the printing places, so it’ll surprise me if that works out…)
I think it may be regarding the new update of lightburn.
I added you some pictures of the „problem“ I’m talking about.
Maybe you heard about it from other users.
If you have no idea about it, I’d like to try the old lightburn software. But I don’t know where to get it, or how to go back to the old version.
Here are some of my hardware information. Maybe this could help you solving the struggle…
Laser: Ortur LaserMaster2 15W
PC: MacBook Pro 2012
HI,
I asked a similar question in the Neje Laser group on facebook and the general opinion there was the birch ply I was using is inconsistent in quality. I have started prepping the wood by rubbing a pink rubber eraser over the surface before I engrave and slowing down my speed per second/minute. It seems to be helping, but I still get bad ply that will not burn is specific areas and have to discard the pieces.
Tim
Thanks for your response.
I´m just a little bit confused about, because a few weeks ago it worked out perfect!

Those lines look like ‘Flood Fill’ artifacts. Over the last few weeks your belts have likely stretched slightly, though it’s still possible to see those lines in the older design, they’re just less visible.
In the Fill settings, under the Advanced tab, do you have ‘Flood Fill’ enabled?
Hi,
I tightened the belts today, during the cleaning.
But the effects didn’t disappear.
And I made different test with and without flood fill active. Thus the parts from the last weeks have been made with flood fill activated (because of printing-time).
To me it looks like the laser has problems to hold the power.
Maybe something is wrong with the x axis?
If you need any further information. Let me know.
Thanks for the fast help!
It is also possible that these marks are just in the wood itself. It is not clear from the pictures how deep the engraving goes, or if this is plywood or another material. If it’s a deep engraving in plywood, cutting completely through the first layer, what’s inside may not be clean.
Hey
today I made another tests and moved the focus in steps about 1/8 of full rotation.
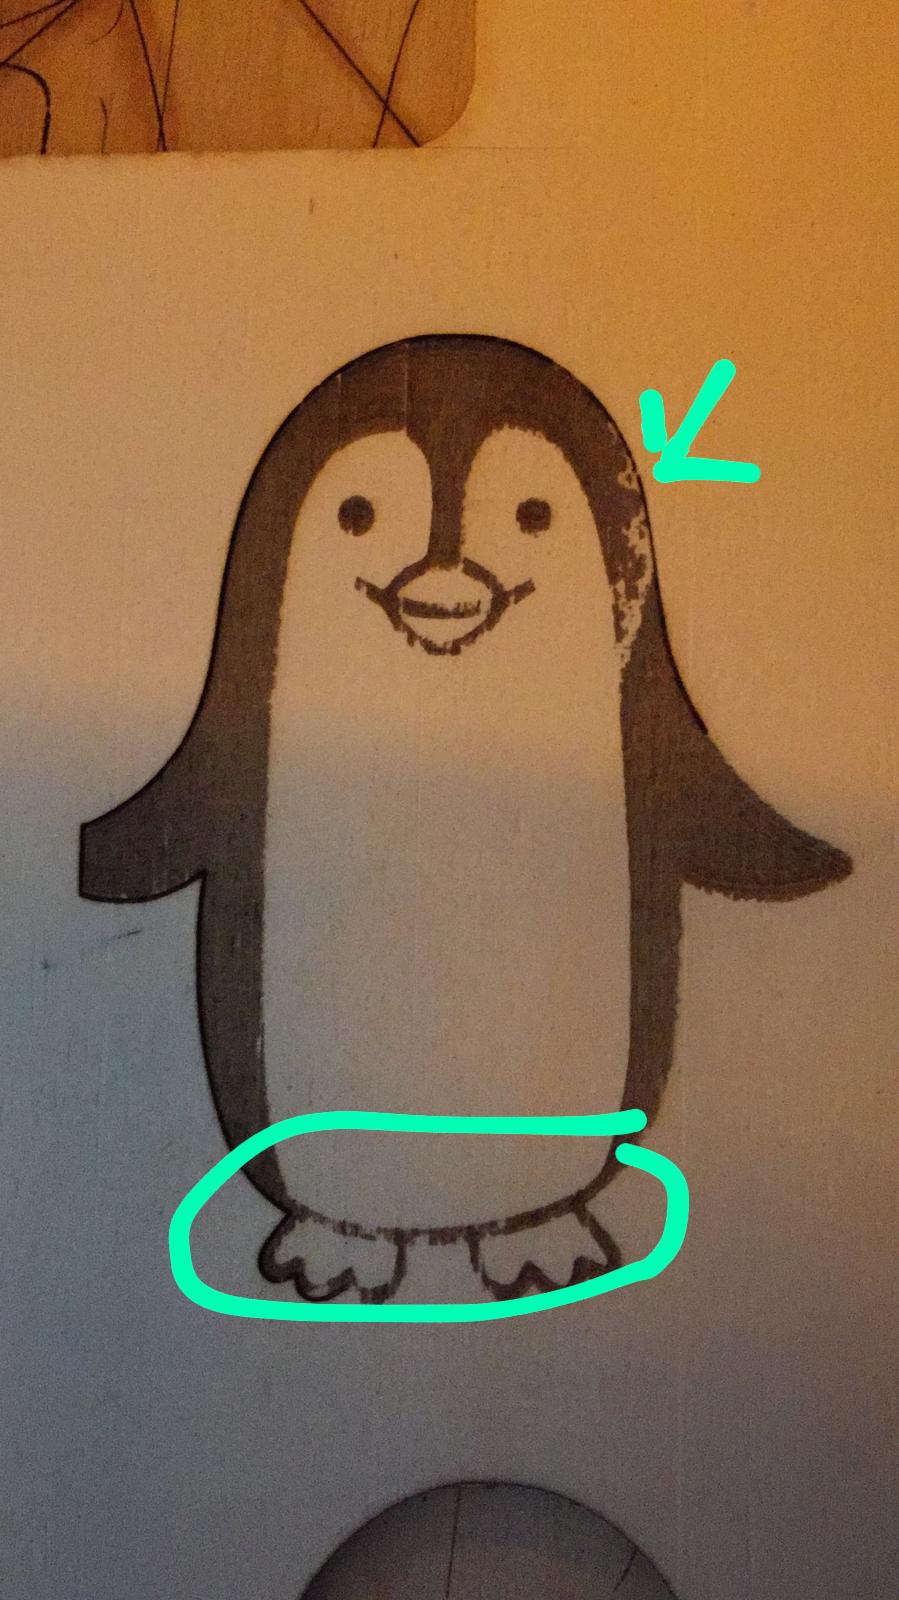
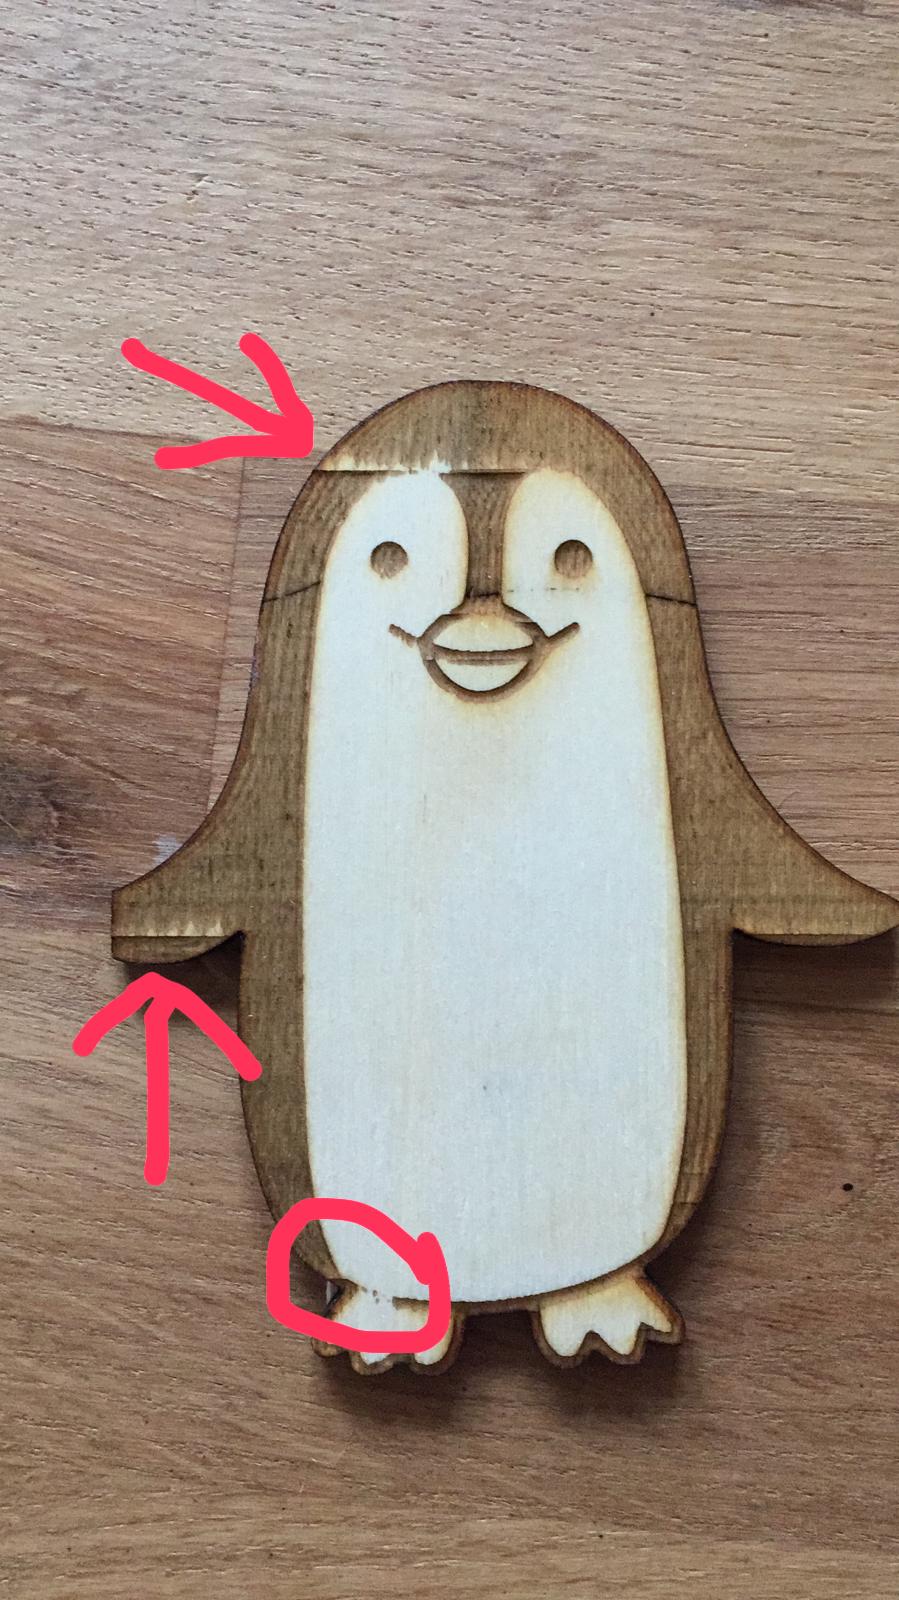
there are is a picture from the test (pic 1: almost no graving) and I send you a picture of an earlier Project (pic 2: cutting a few weeks ago) and the last pic 3 is a cutting a made today with the same settings I used in pic 2. I could not even go threw the same material 
I think it is something wrong with the laser modul or something in the settings.
I ran a bit threw the code and found some differences about the today prefs.ini and those from the earlier weeks:
ClickSelTolerance: (1 vs 0.10000000149011612) might not be the reason… 
and
the new post_commands (like post_maxPower or post_kerf) they not existing in my earlier codes.
Well, is it possible to get en exchange modul for the laser?
Looking forward to hear from you.

Your last picture just looks like the laser is very out of focus. Check to make sure the lens is clean.
That would be something to contact Ortur about - we don’t make your laser, just the software. ![]() @OrturTech might be able to help.
@OrturTech might be able to help.
Hello again,
I got new module and it worked out very well.
Well right now it seems like the same problem.
Must be round about the same amount of running time like it was last time.
I do the same programs, like always, but there is not enough power.
I cleaned the sense very often (after almost ever 2h working time)
Do you have any advise for me?
Can you show an example of the results you are getting, and what you are trying to correct?
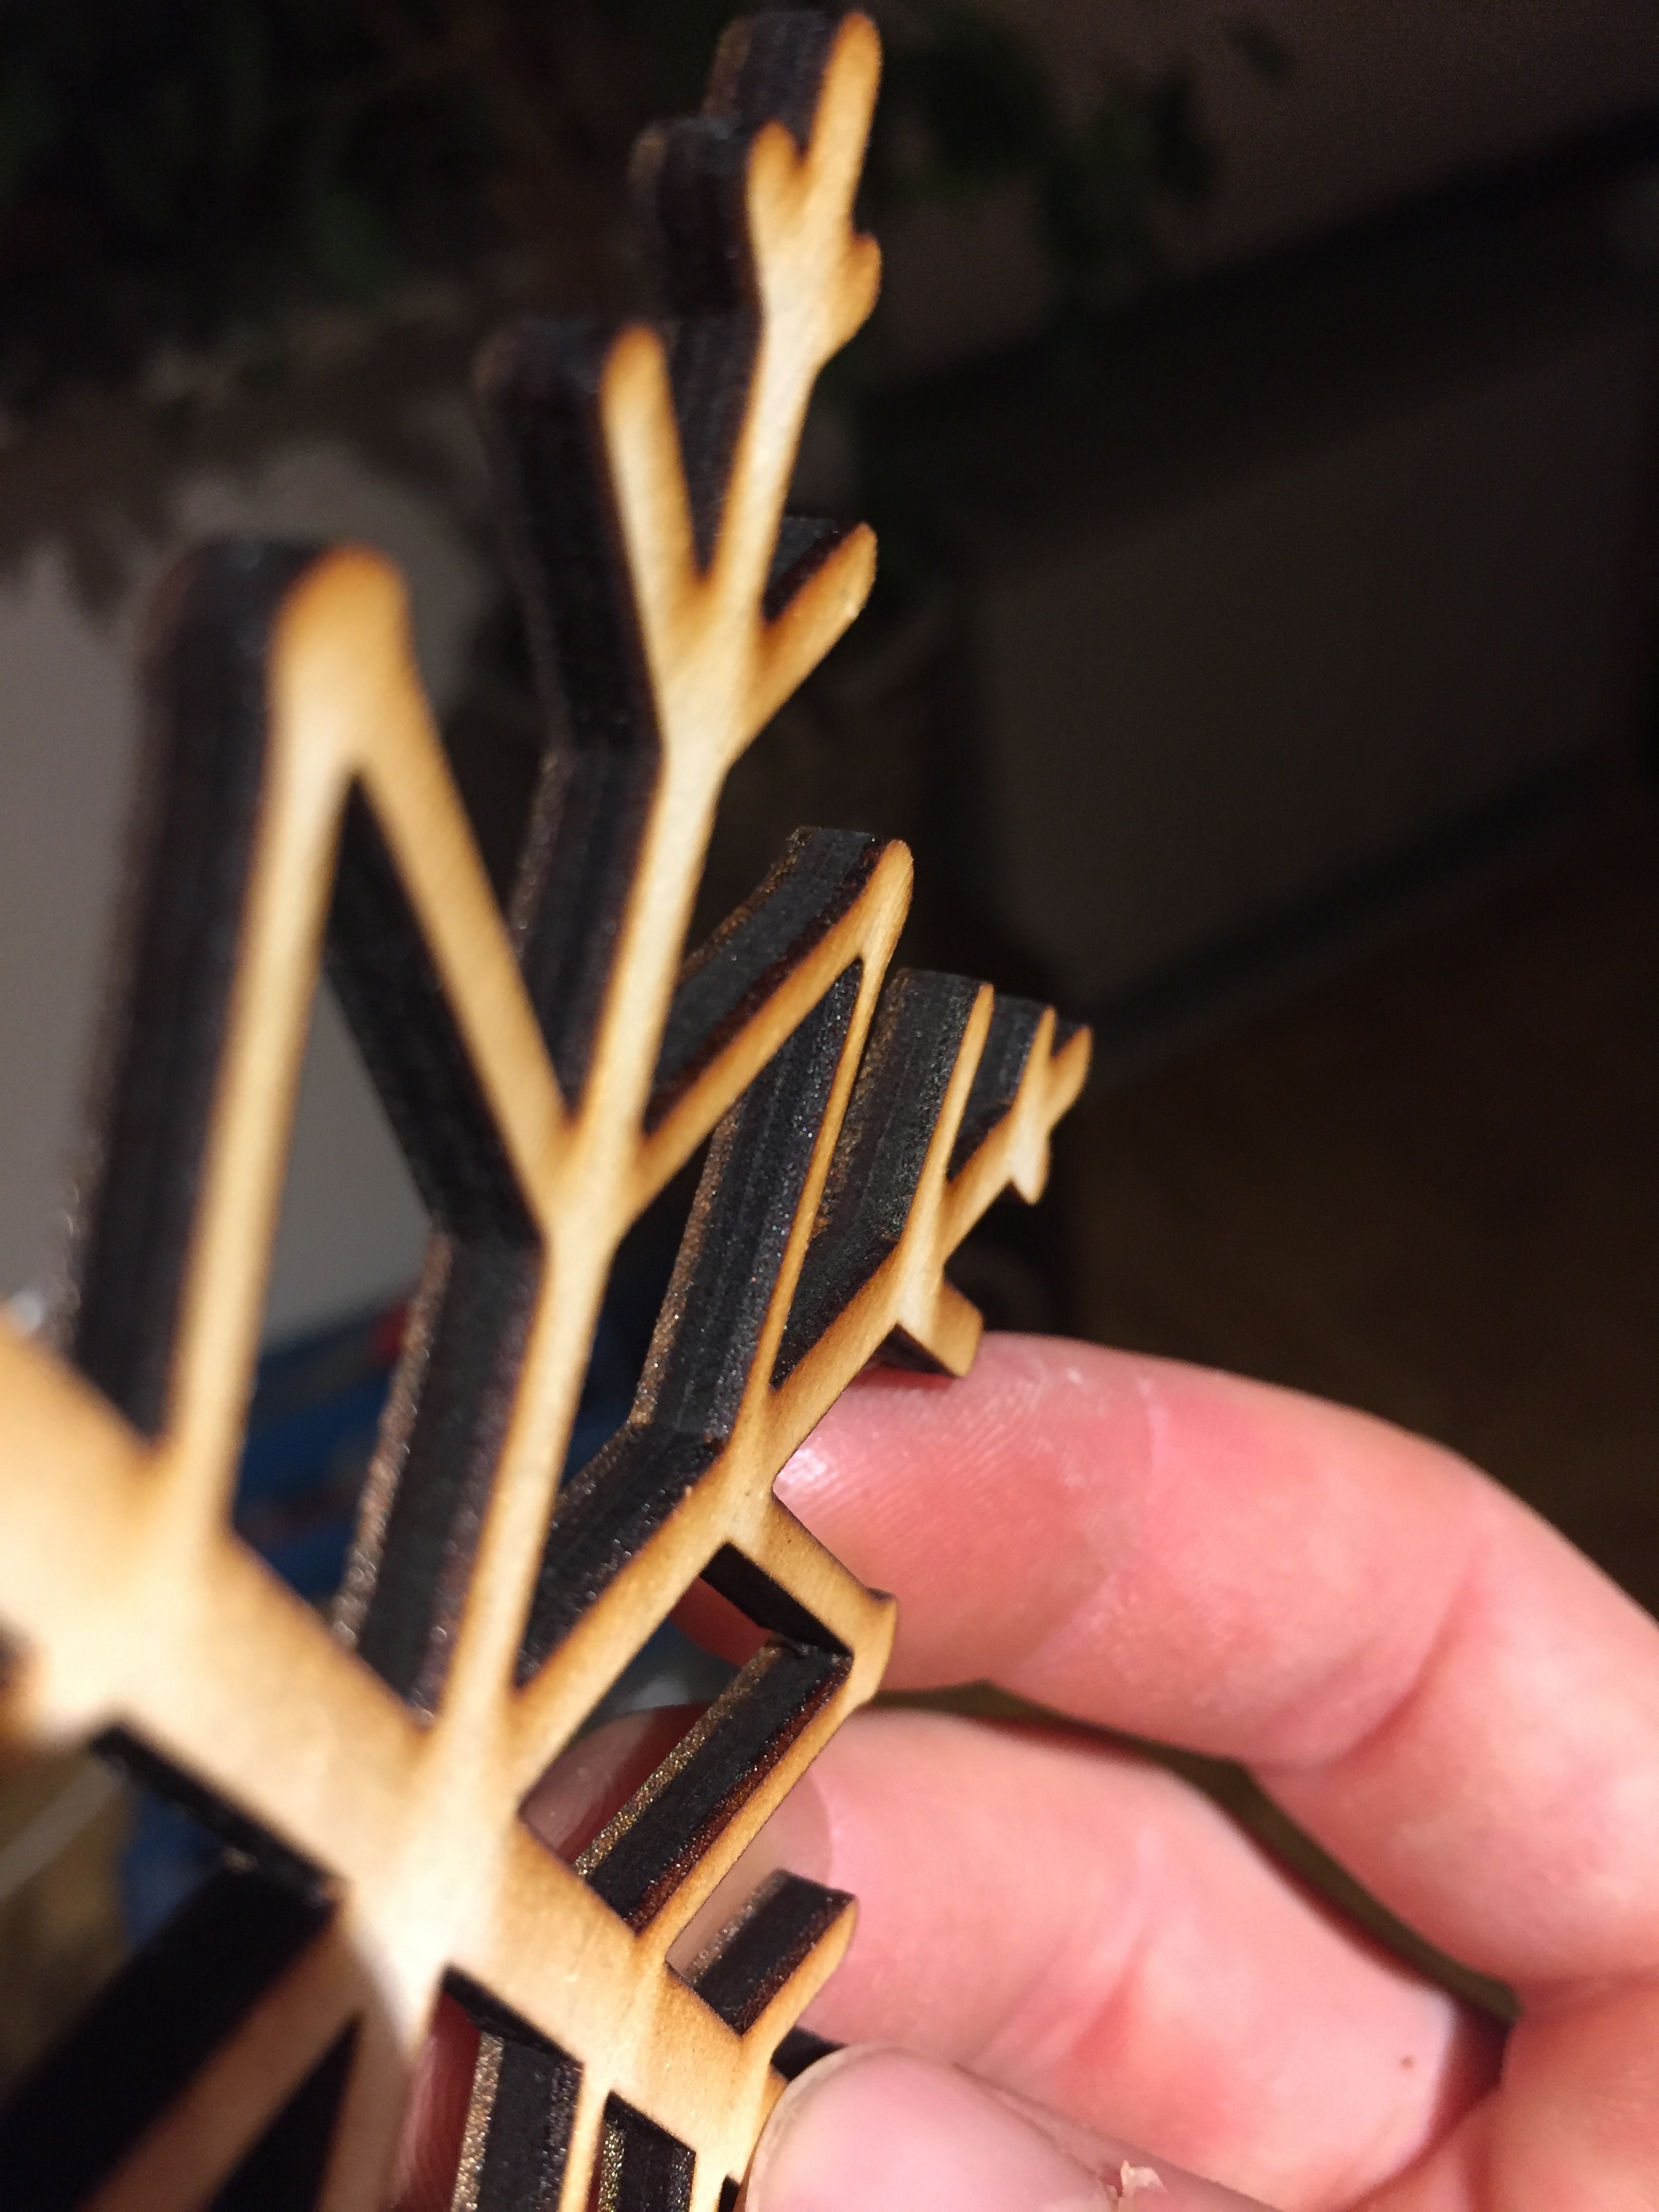
If you look at the upper pictures
there is the snowflake-cristal
It was made with 100% power and 250mm/min speed by 6 passes
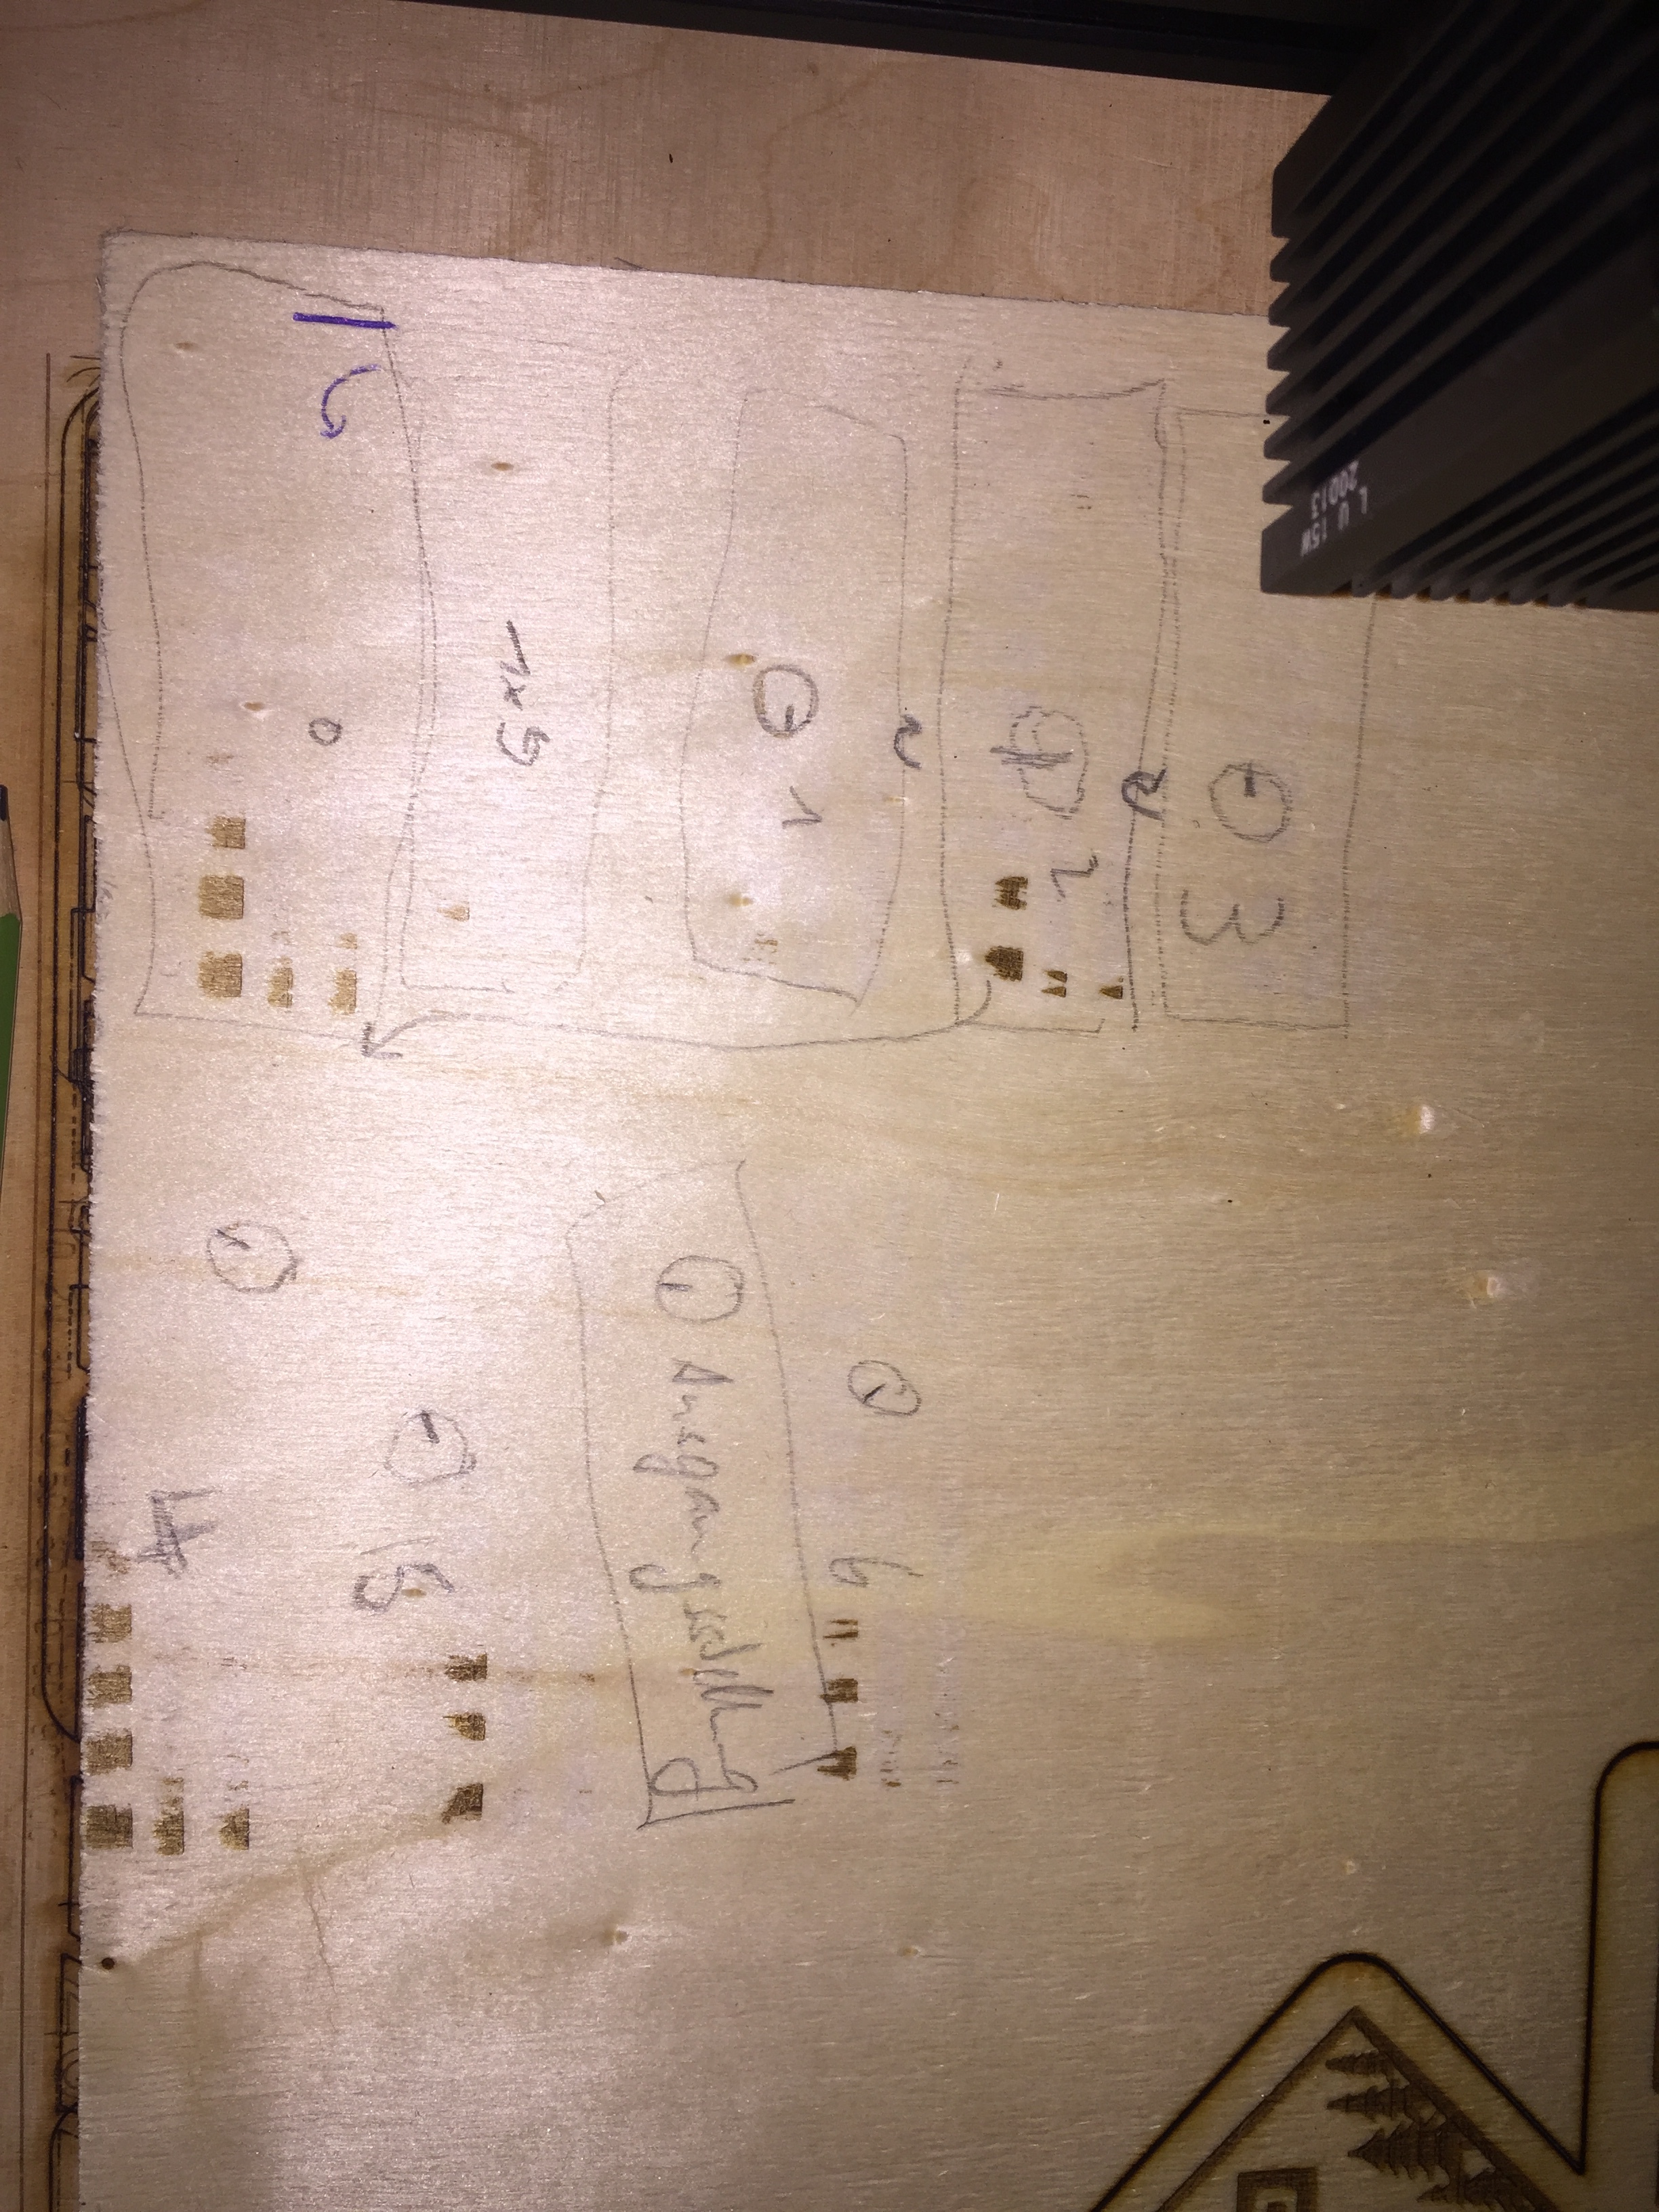
If I run the same program right now i get the lower picture with the six squares.
So I reduced the speed first and in a second try I increased the passes up to 12 passes.
But now all my programs need the double amount of time. Thats crap!
My theory is:
The Laser is going to hot and damages the diode inside…
Can’t be the right solution to buy a new diode every month.
Run slower and at lower power.
I NEVER run my diode laser above 85%. I MAYBE run 3 passes to cut 3mm ply in my 15watt Ortur. 100% power will shorten the laser diodes life considerably. Like running an engine with the pedal to the floor… It will do that for a while, but not for long.
If you feel you need 100%, then you are cutting too thick of material / or you need air assist. How thick was that snowflake?
Ah okay, this is something new.
I had a lot of email contact with ortur and they just told me I have to clean more often…
The material is about 3.5mm thick.
Honestly I don’t get the function of air assist…
Of course I know the button to activate it, but I couldn’t find out any difference.
Do I need to install an extra van to blow away upcoming smoke or what is the effect of air assist?
Thanks for your help!
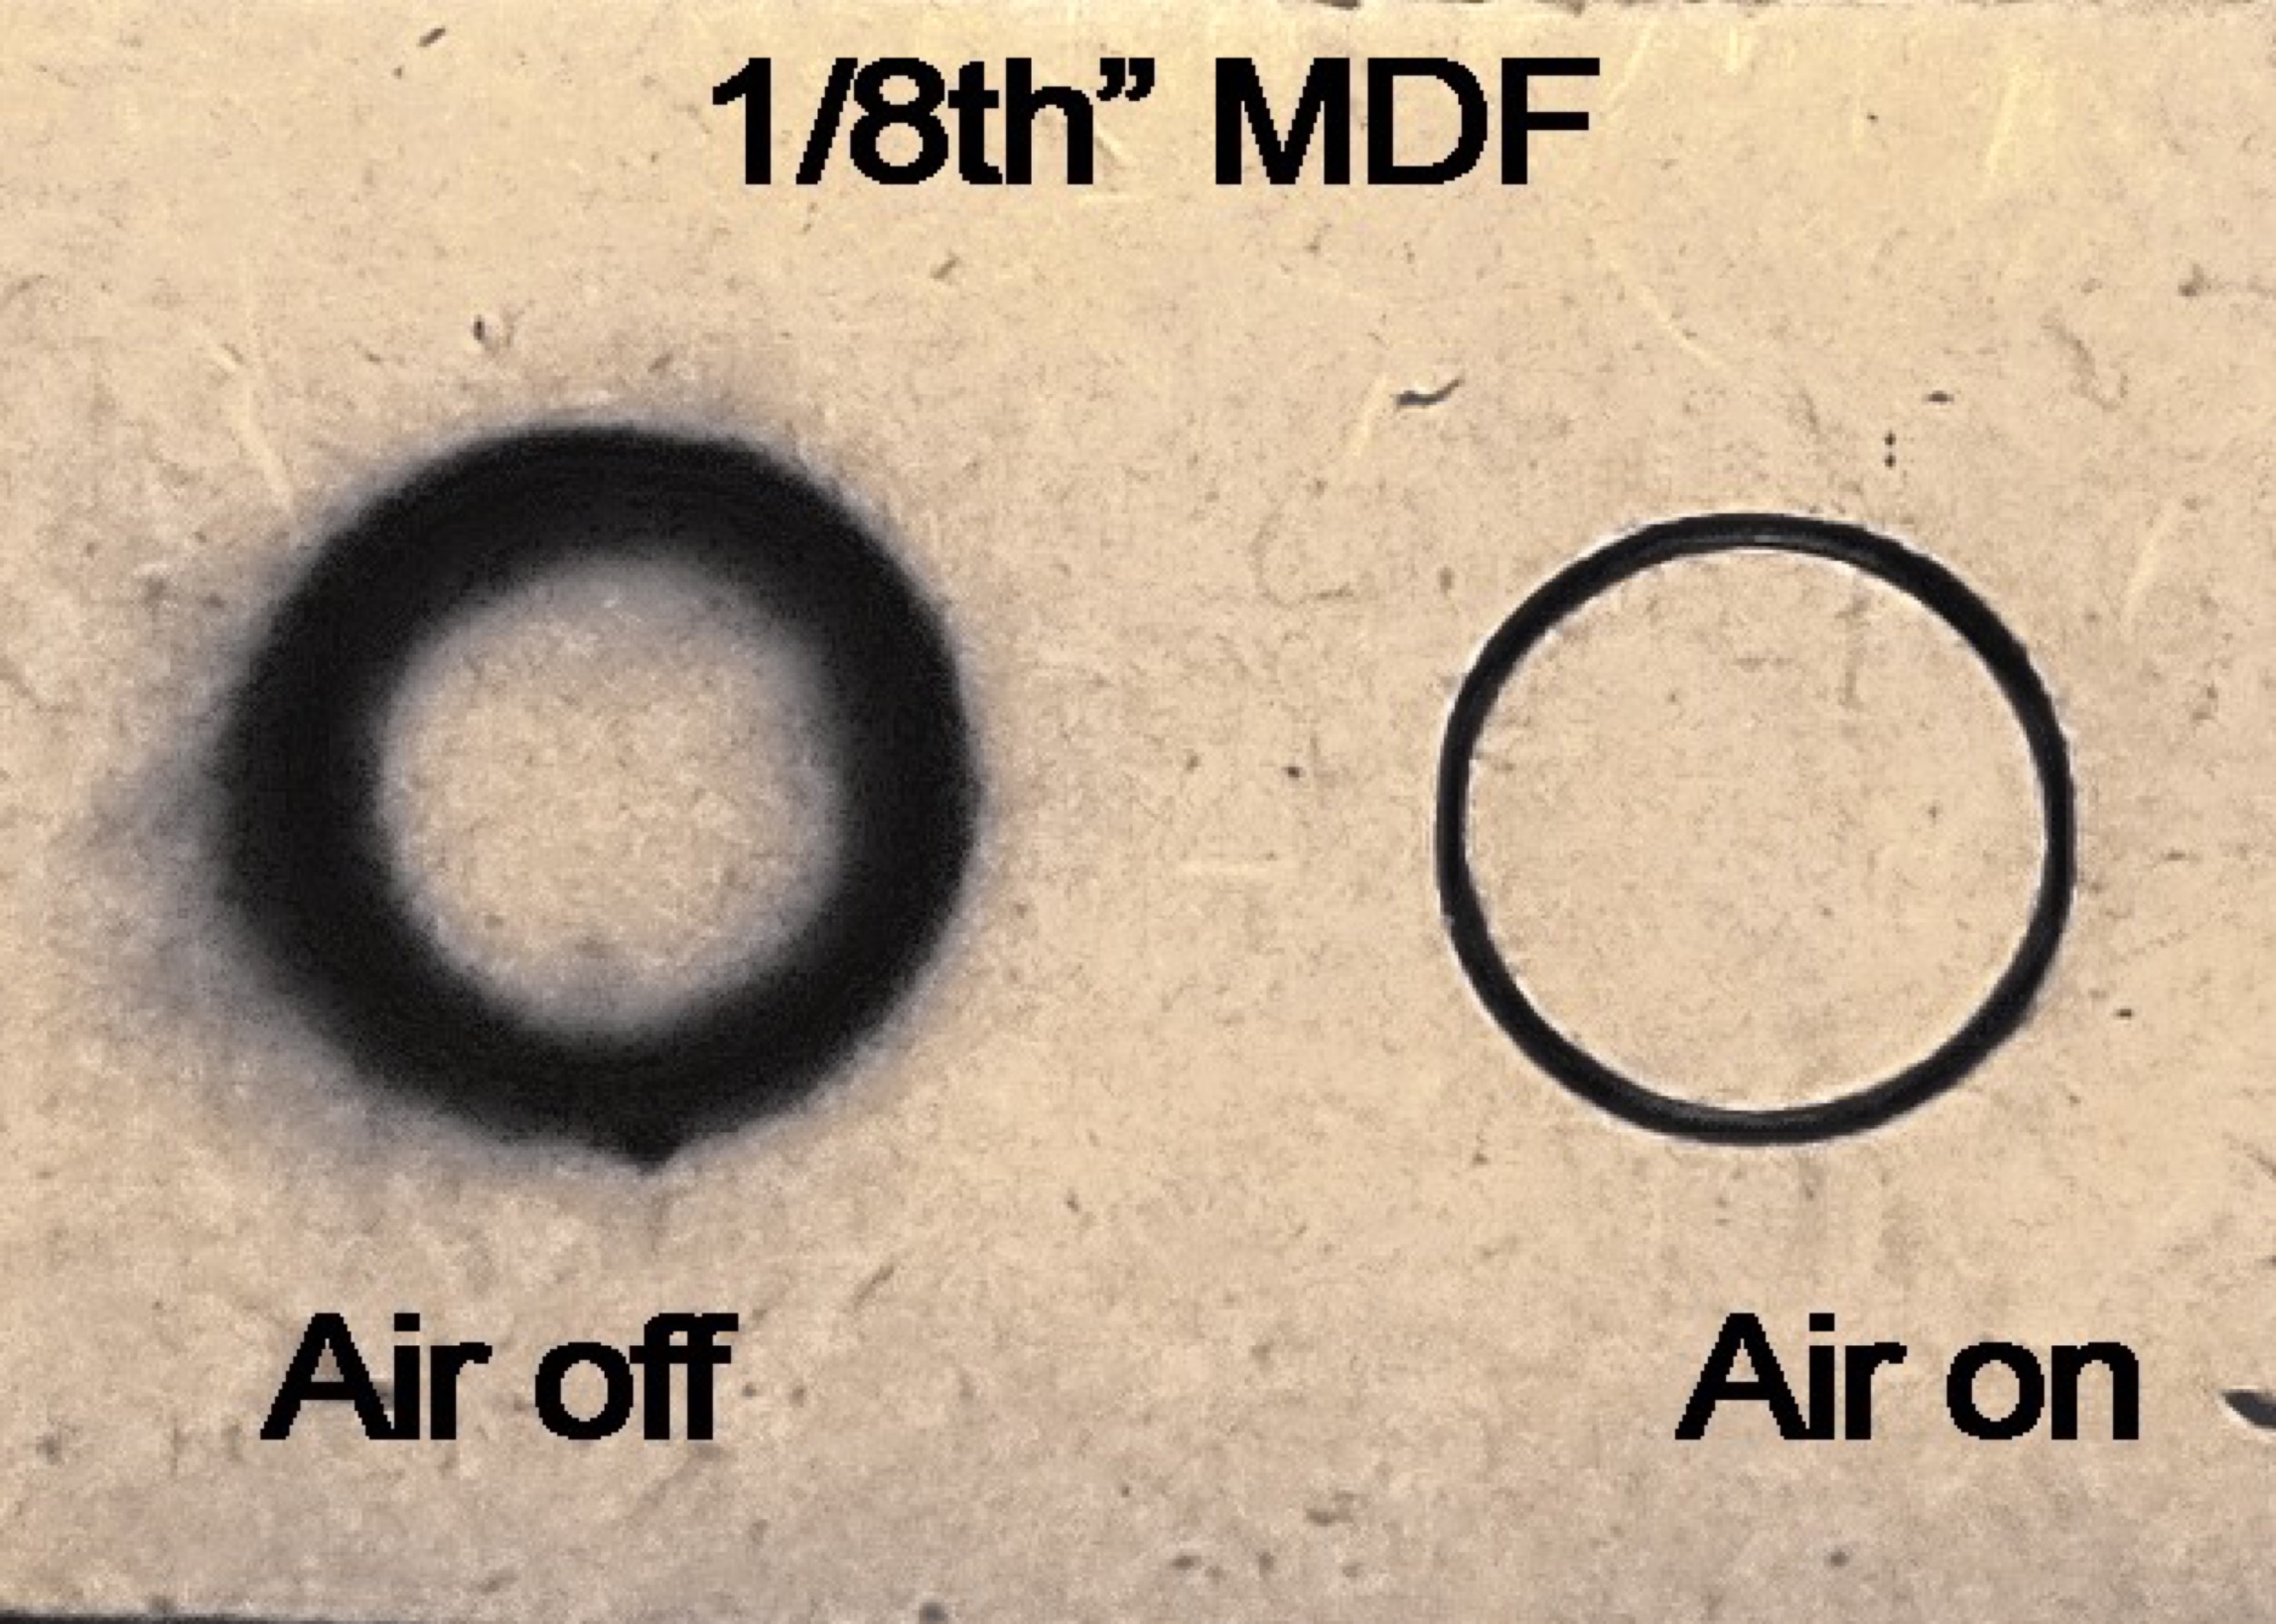
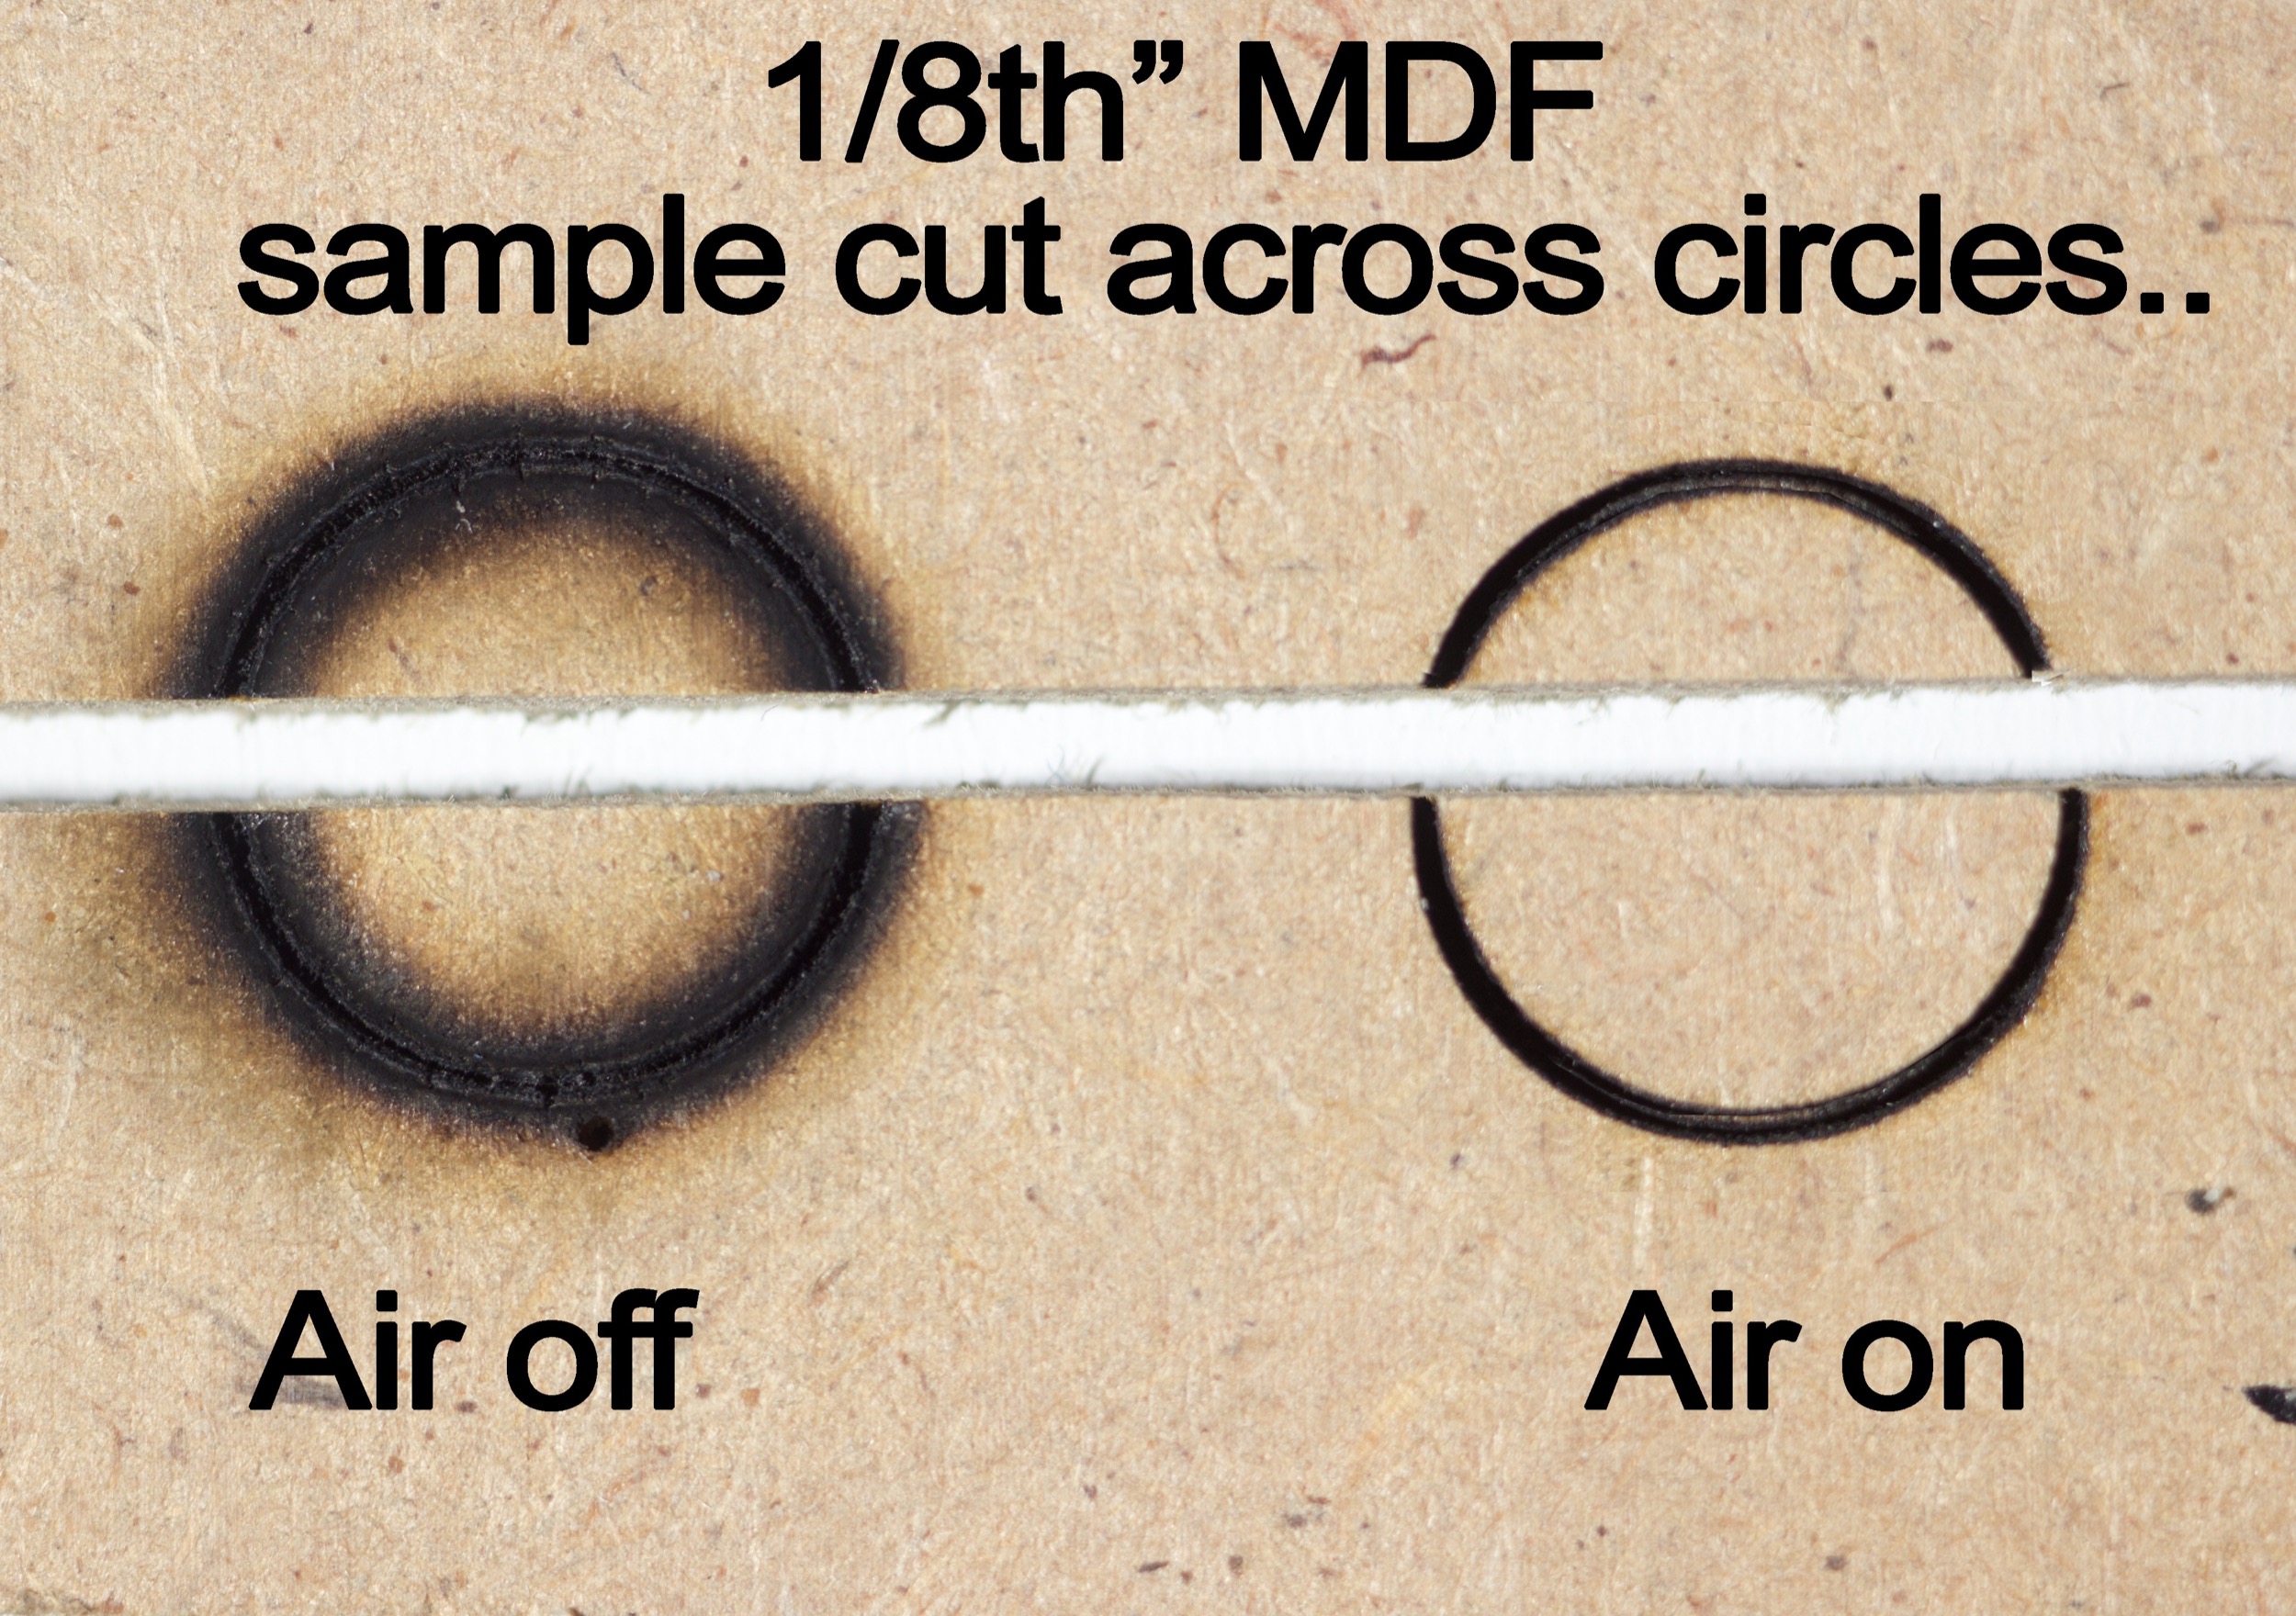
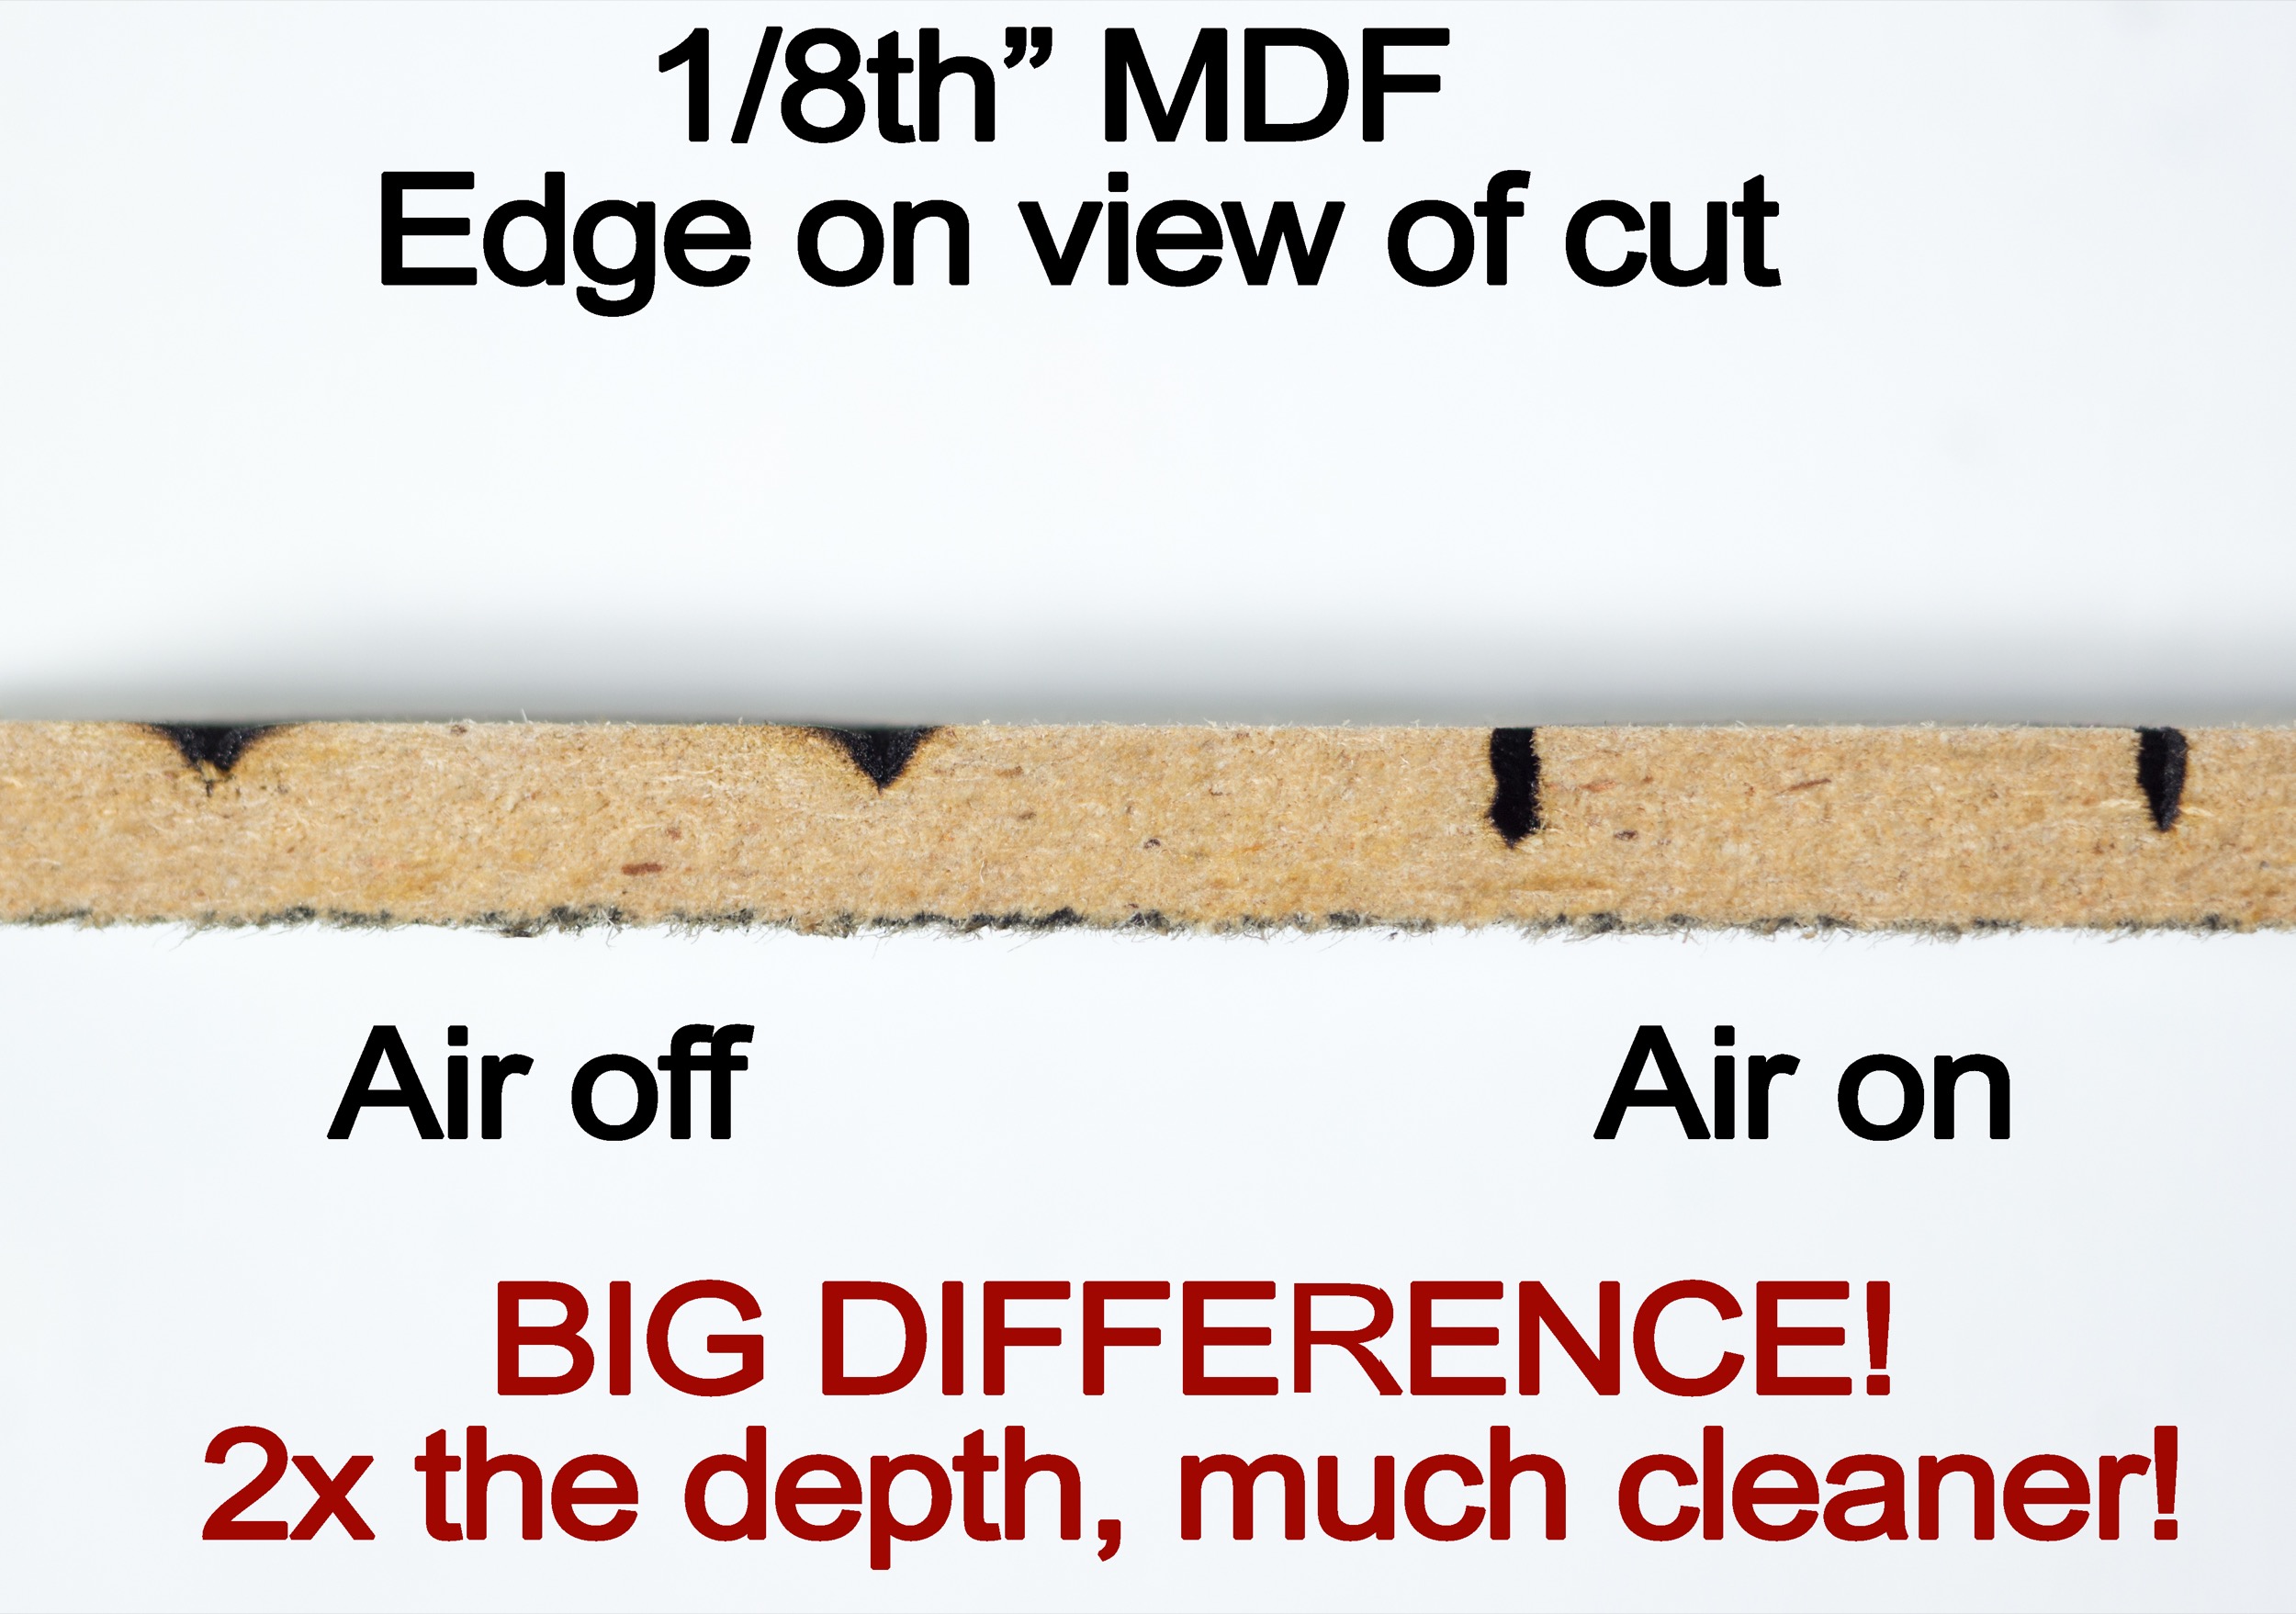
3.5mm is pretty thick. Air assist, is blowing a jet of air, down at the laser focus/burn spot. This air will “blow away” charred wood and keep the surface cleaner. It also, since the charred wood is now blown out of the cut, will allow the laser to burn deeper. ( see attached images )
I use a small, and kinda noisy, compressor to do this. I think all these “aquarium tank” air pumps are too weak. You need a decent “compressor”. I will upload an image soon.
I don’t use “air assist” in the software. I just run an external compressor that I turn on and off manually. Hope this helps.
thanks for your help!
I will try to run my programs with lower power from now. And after my upcoming exams i’ll focus on the air assist.
Can you tell me what power and which speed you use to cut your plywood?
I never run over 90%, to save the life of the diode, so it was around 300/90%.
and how many passes does it take?
and the thickness is about 3mm?
If I remember … 3 or 4. I could not do it without compressed air.
i am having trouble finding the flood fill option can you help me locate it/ Thanks
In the Fill settings, under the Advanced tab, do you have ‘Flood Fill’ enabled?
That’s where it is. If you can’t find it, you might have ‘Beginner Mode’ enabled in the settings.