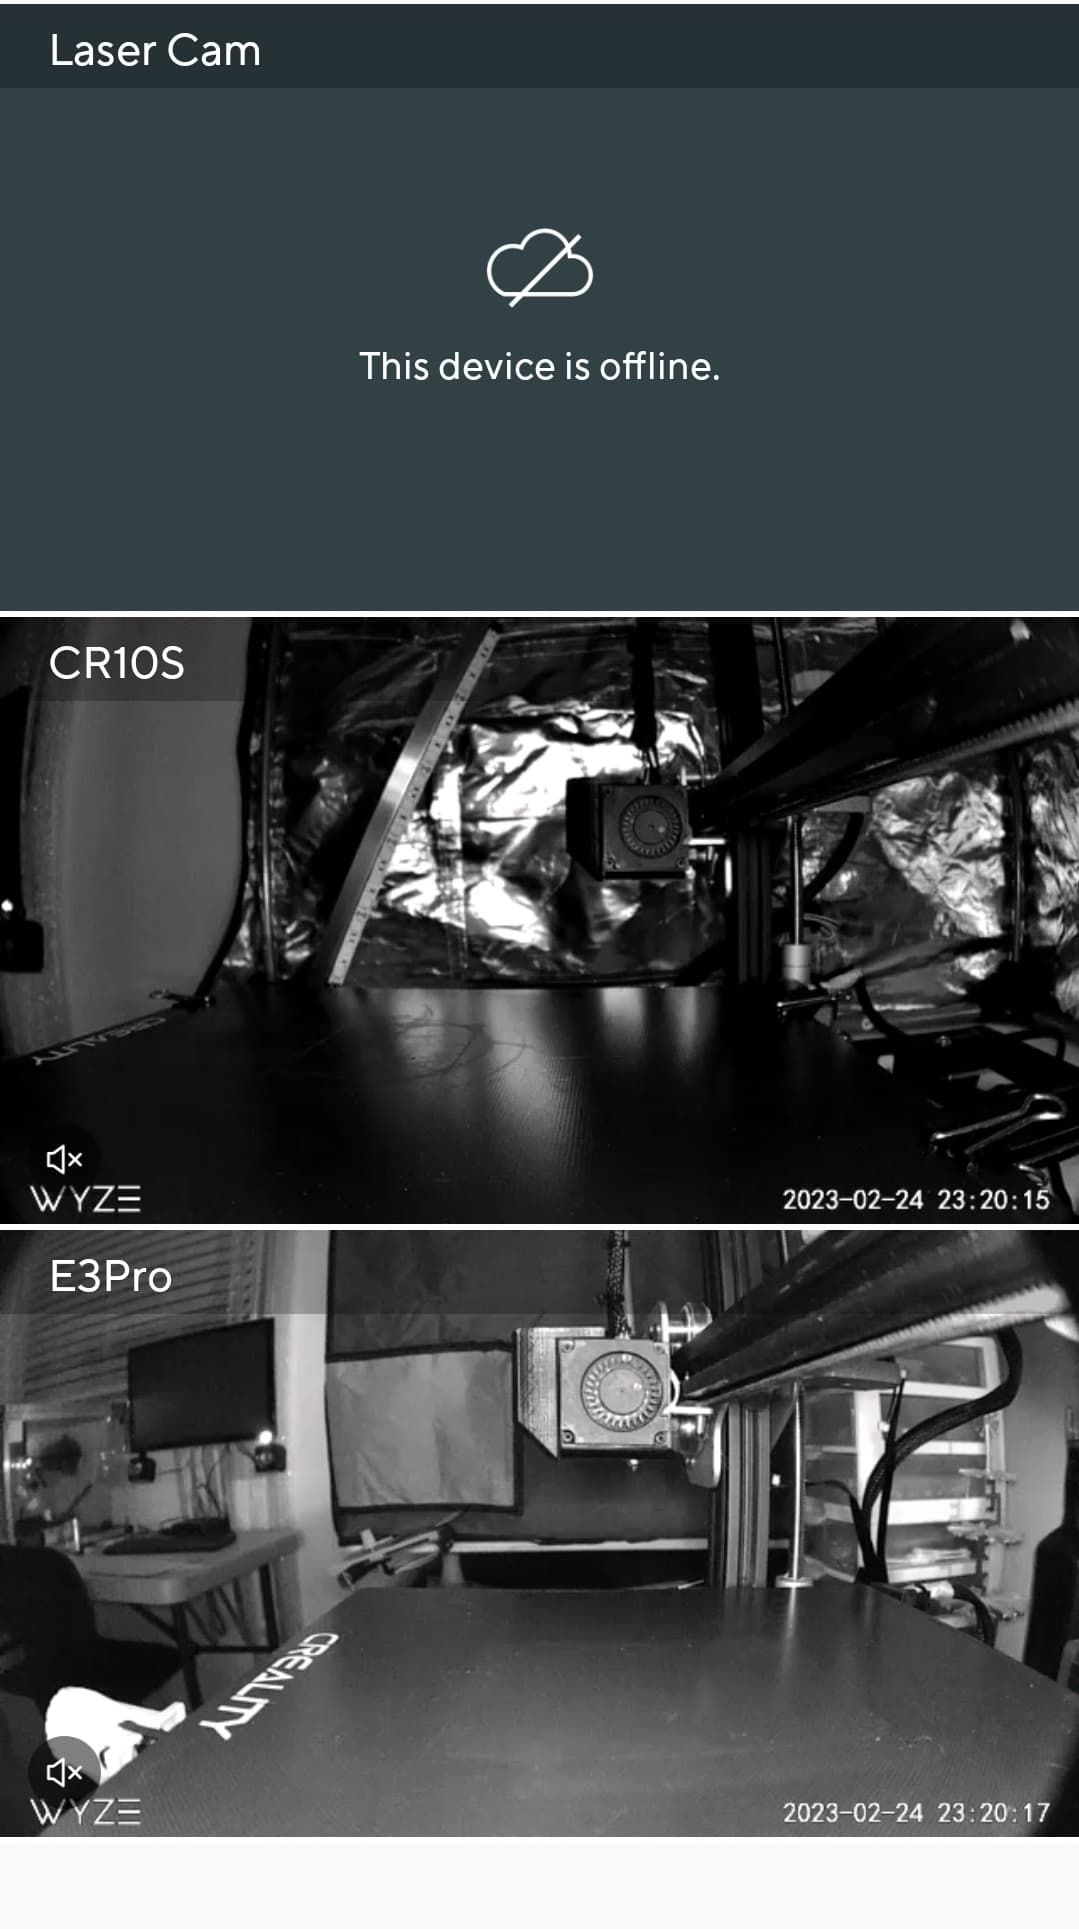
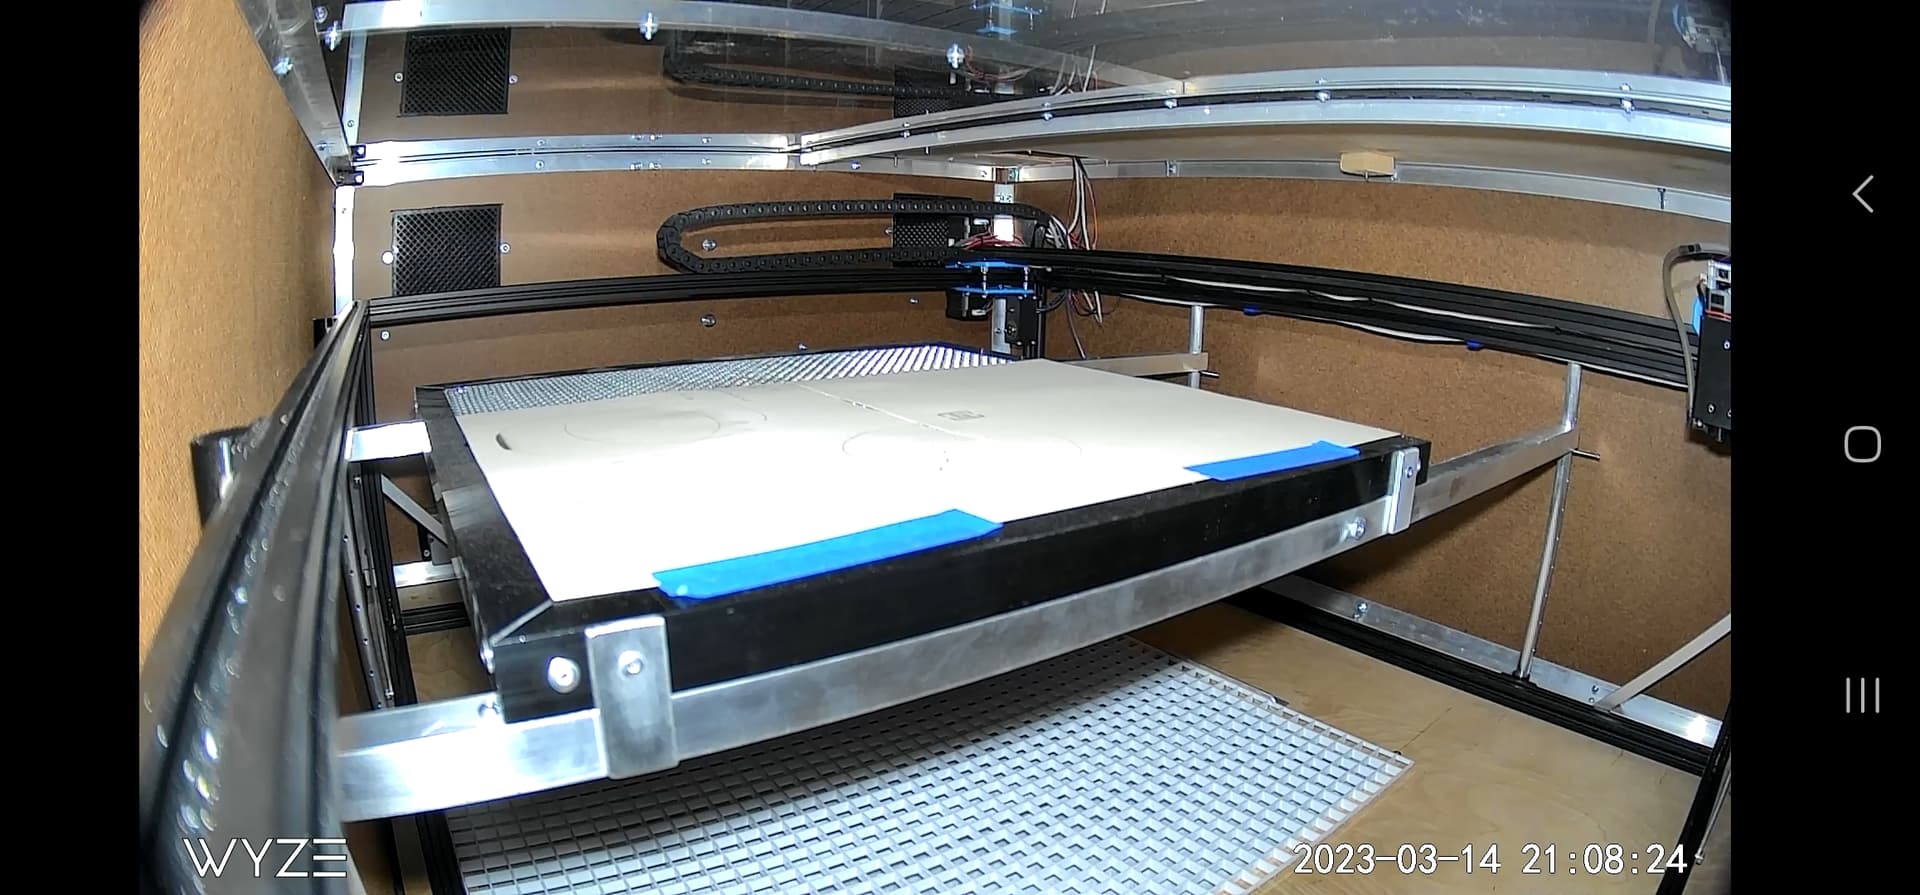
I have several Wyze cams. Three are for the two 3D printers & one for the laser.
The parameters didn’t seem to persist with the Two Trees logic board. I’ll check that tomorrow with the MakerBase board. Thanks!
There are some boards where GRBL configuration changes won’t persist. I doubt MakerBase would sell a board where those couldn’t be changed. Would break their business model since changes would need to be required to retrofit anything.
Just finished hooking up and testing the air assist pump. Everything is working perfectly!!! I can now control air assist per layer. Also, the settings are persisting across shutdowns and startups. With the MakerBase board, the laser now automatically homes itself upon startup. The only thing I have left to do is mount the MakerBase LCD panel. I have the back cover for it printing now. I’ll be able to call this project “complete” tomorrow morning!
We don’t have any pending laser projects at the moment, but we want to spend time experimenting with various materials so that we’re ready to go when something does pop up.
Thanks again for all of your assistance. I’m so happy to be retired now so that I can focus on family and fun projects full time.
I now understand what you meant by camera. Based on the value generated by Lightburn for the workspace size in using, the camera would need to be about 32" above the platform. I’ll likely do that at a later when I have the time to increase the height of the enclosure. I need to focus on getting the basement refinished!
Make sure that you listed the order of the dimensions as width then height, else you might get an unnecessarily tall height.
Priorities indeed.
Thanks for the info!
The thought hit me about how my new setup has a variable height platform and how that would affect a camera. I watched the calibration procedure, and I’m thinking that moving the platform up and down would affect that. If Lightburn could store multiple calibrations that could be named, that would be a way around it.
If you’re able to move the height of the platform without affecting the position of the camera you should be able to bring the material to focus height.
I think this could work if distance to camera did indeed have to change. There’s an additional challenge of the camera being out of focus at different distances, however.
The platform has 9 positions in one inch increments. I could also make the camera adjustable the same way so that the distance to the platform would be the same.
The problem with this is that it will change the relationship of the camera to the motion control components which I’m almost sure will break alignment.
But in your case I don’t think you’d need to worry about that. Correct me if I’m wrong but if you change the platform height, would the laser also be changing height? Or just the material? If it’s just the material then you’re good to go. If the laser is moving with the platform then as long as the camera were in a fixed relationship to the laser frame then you’d also be fine.
Got it. So if your platform moves in 1 inch increments. I suppose you’re making up the difference in focus by adjusting height of the laser module?
I wonder if you could shift to an infinitely adjustable platform (possibly with threaded rods or something similar) or use a system of shims to allow focus under 1 inch variation.
The adjustable platform is to accommodate either thick objects or using the rotary accessory. The distance between the laser head & the object being engraved is always the same.
Hey! We’ve been using the new laser setup quite a bit and the Makerbase MKS DLC32 has been absolutely rock solid. We haven’t experienced a single hiccup. I’m going to hold off upgrading the head to a more powerful until until the fall when we’ll be using it a lot more.
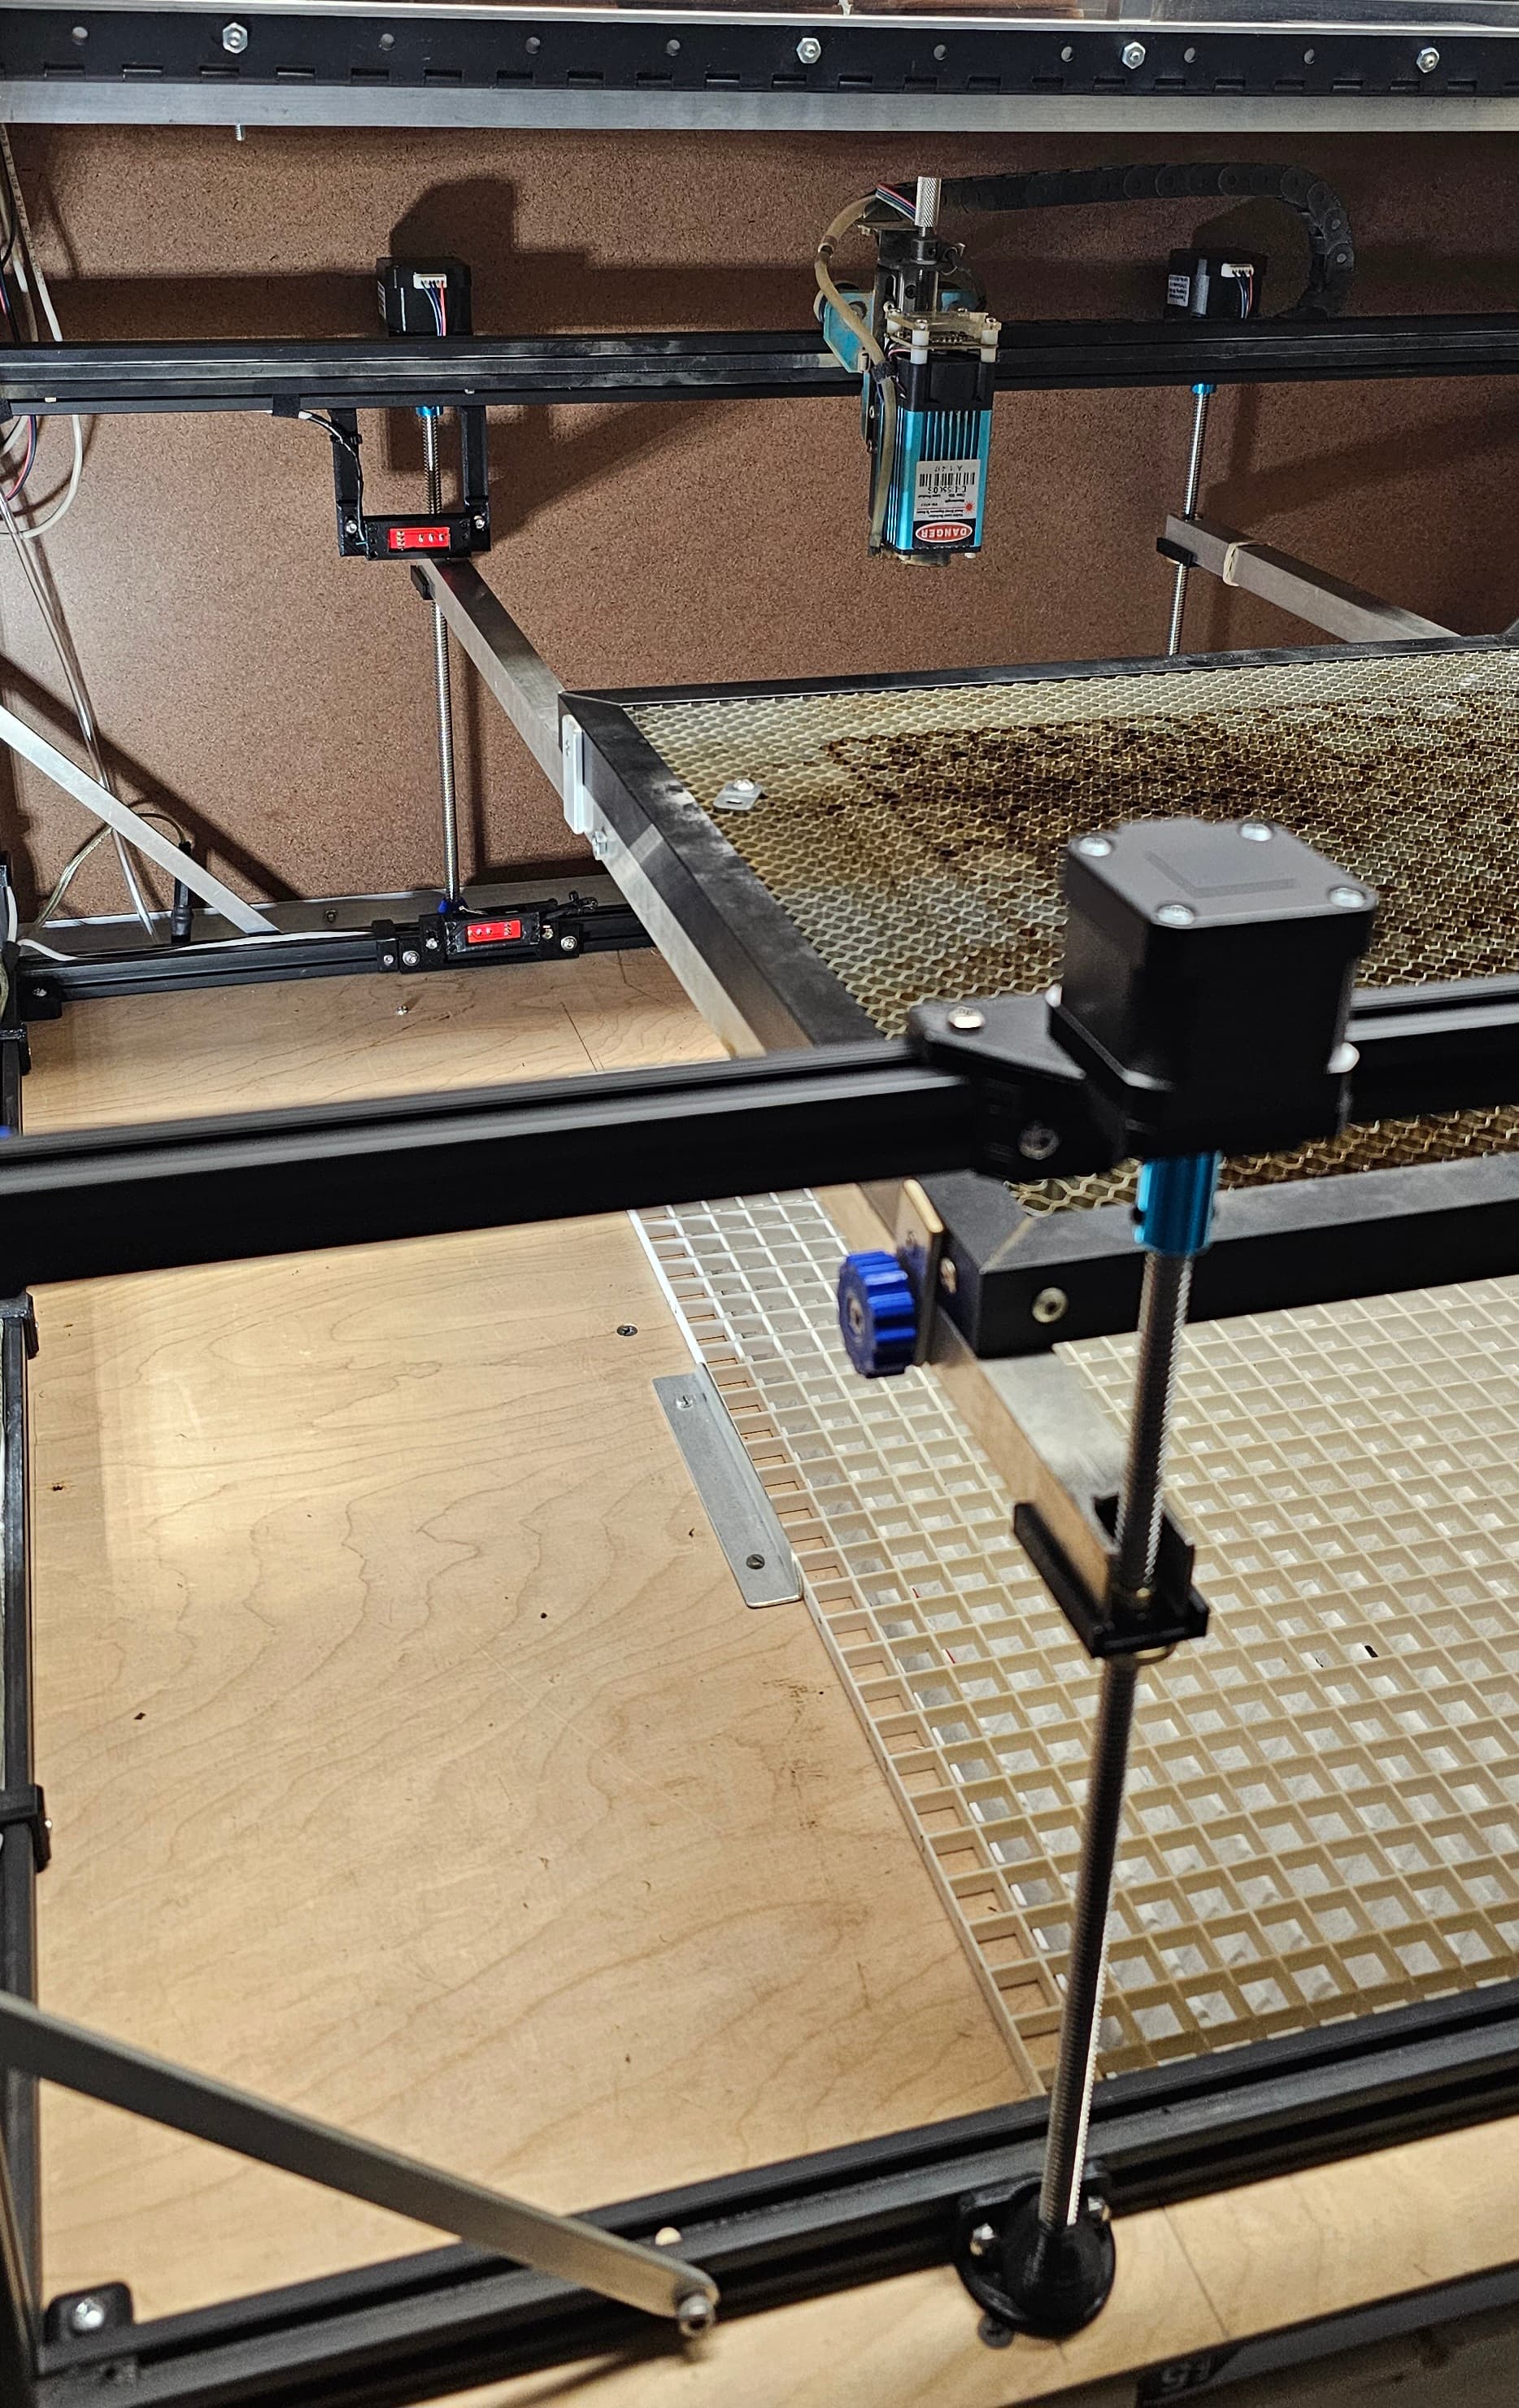
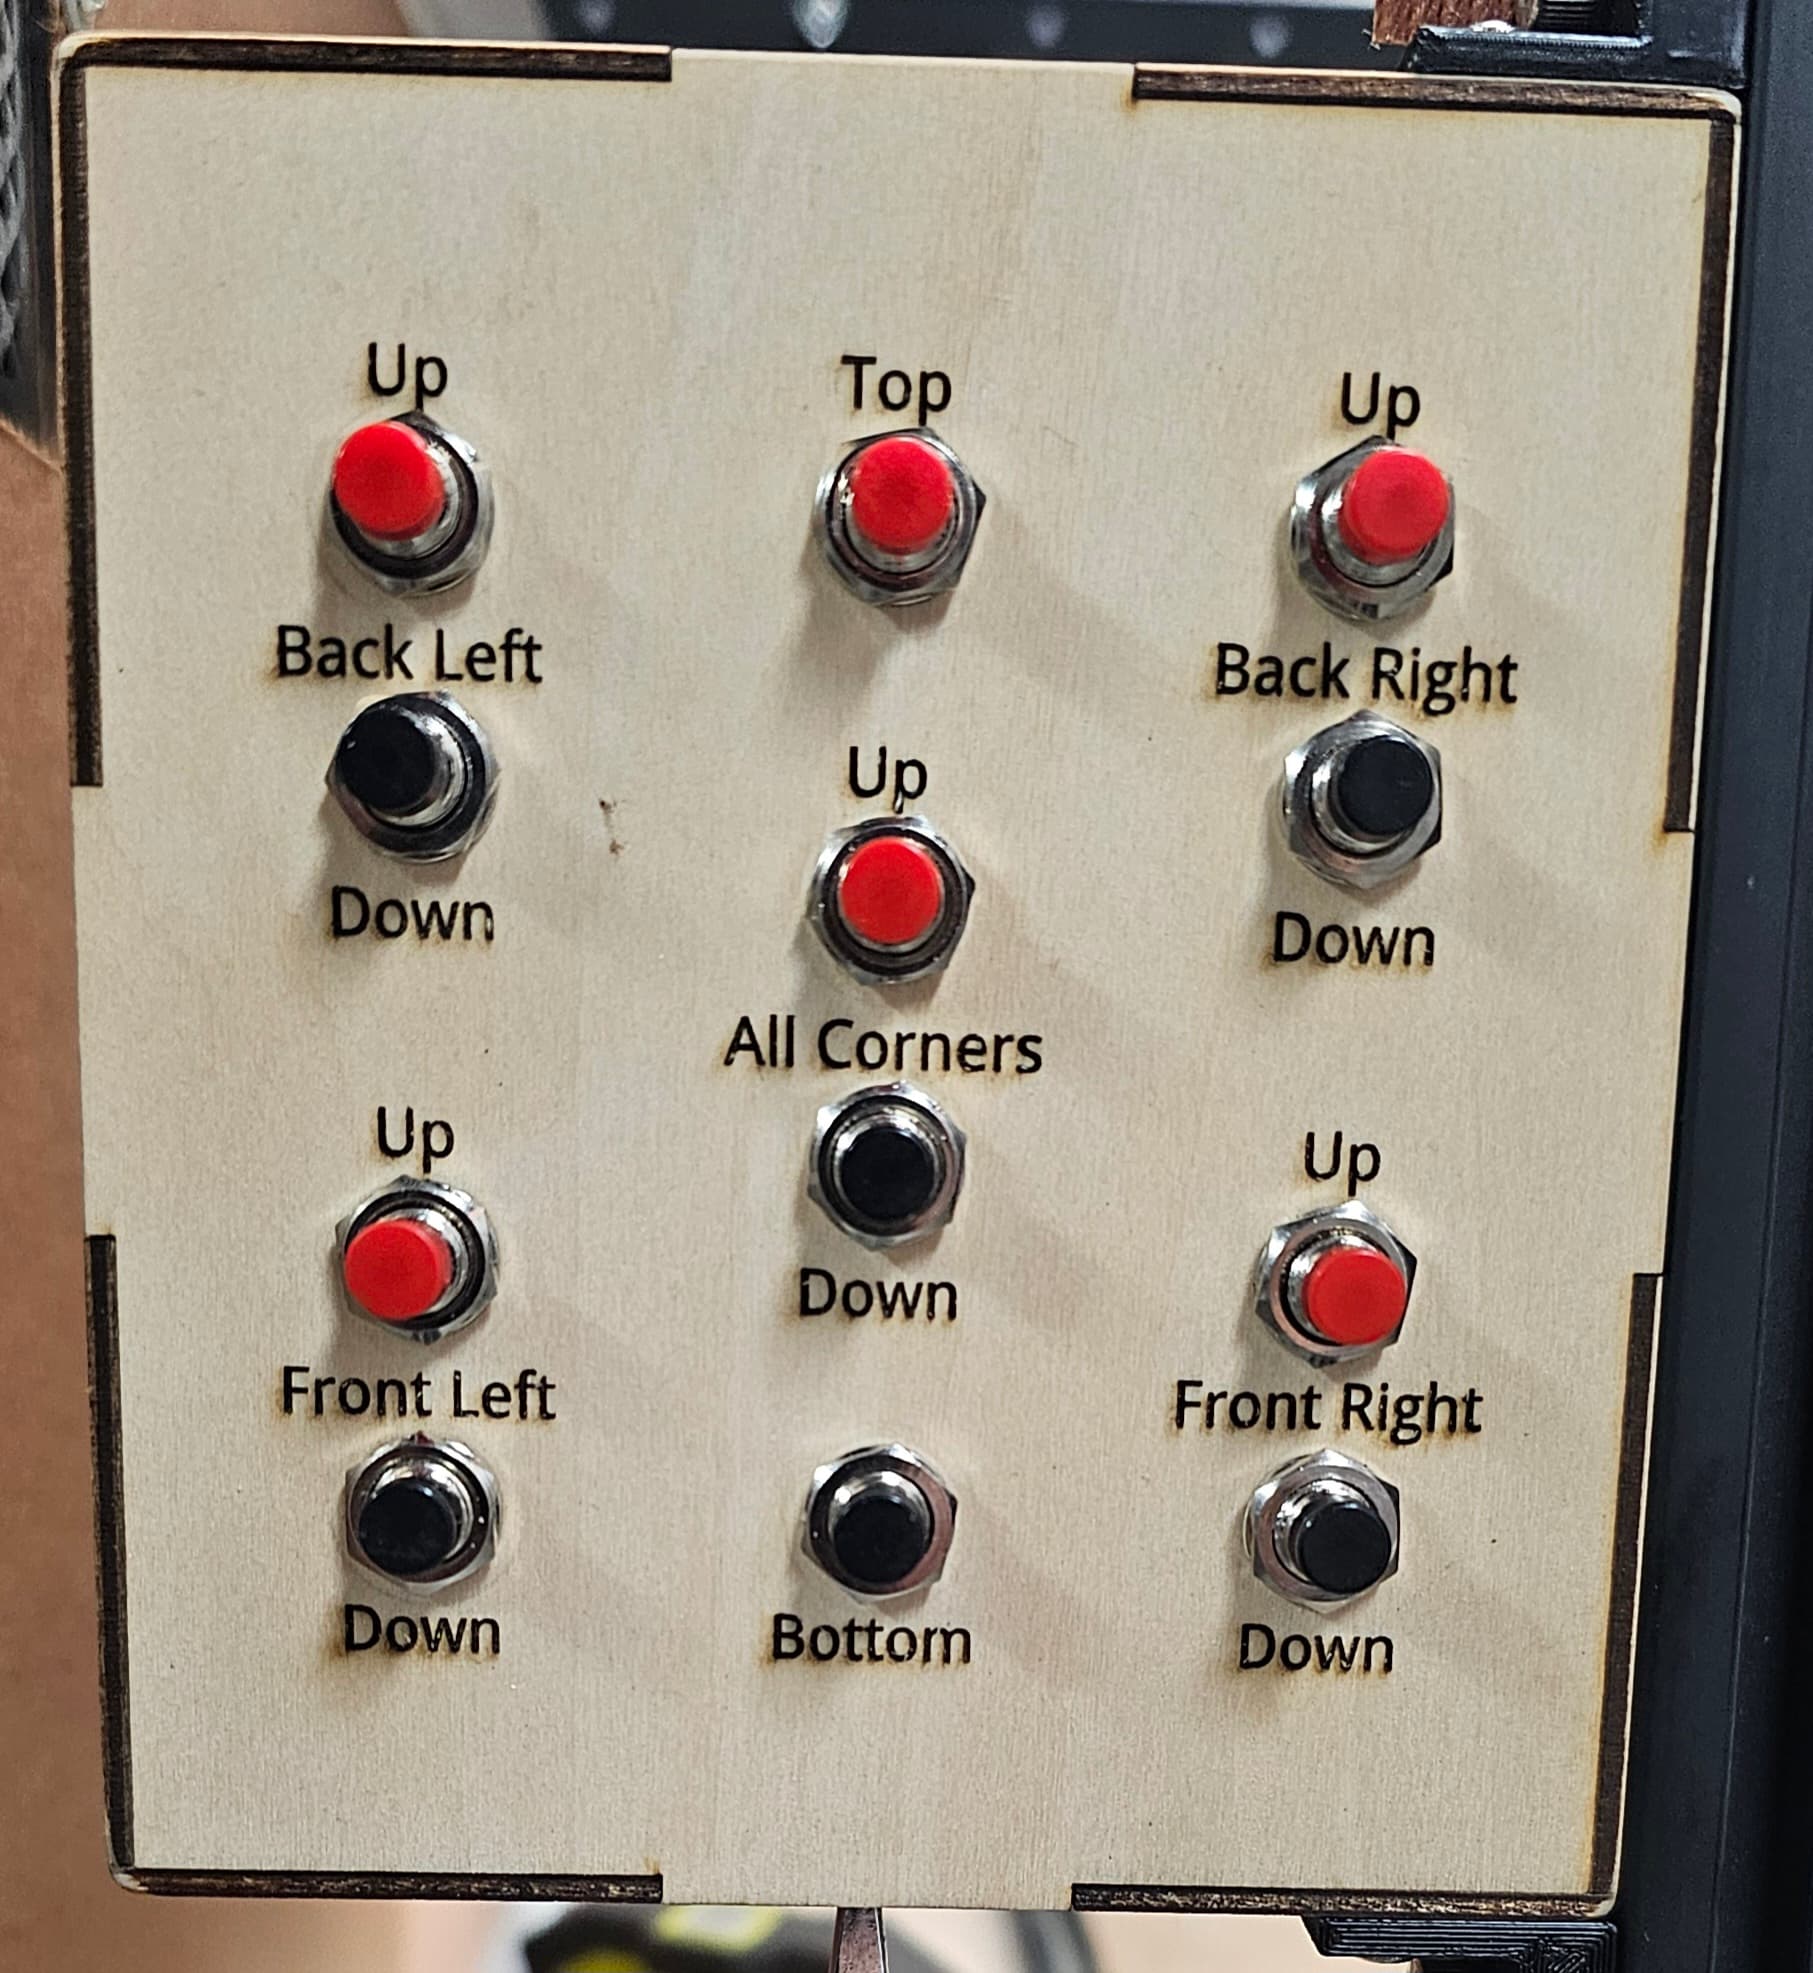
Hey stranger! I incorporated 4 stepper motors into the setup… I used an Arduino Nano microcontroller to control them. I can adjust them individually when needed to calibrate the platform to the plane of the laser head, move them in unison, & send the platform all the way to the top or bottom easily. It’s worked out really well.
I also decided to go with the Lasertree K60 unit. It’s scheduled to arrive on Monday. Looking forward to the expanded capabilities it will provide.
That’s really nice. Did you explore controlling the steppers as part of your Z-axis so that it could be controlled directly in LightBurn?
I saw that as a possibility but haven’t explored it yet. I’ve been retired two years now & I’m busier now than when I was working full time!
I may venture down that path in the next couple of weeks.
The four threaded rods are sitting on thrust bearings. It was a challenge designing everything then putting the 3D printers to work. I’ve been really happy with the setup.
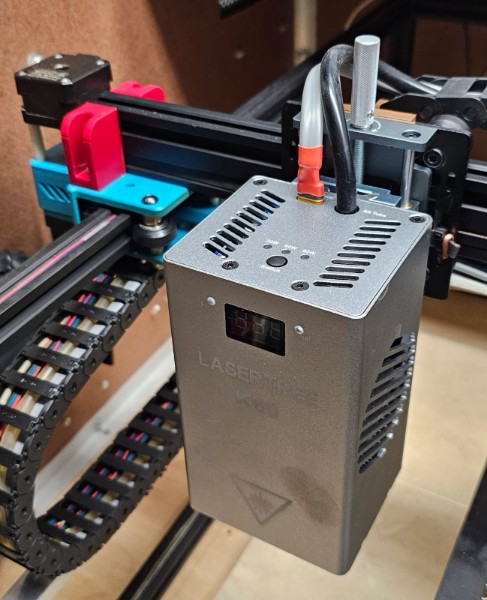
I finally pulled the trigger! I just finished installing a Lasertree K60 unit last night. I had to replace my 2020 v-slot gantry with a 2040 and add custom 3D printed brackets to eliminate a slight “bobble” the K60 exhibited. The blue plastic pieces that contain the steppers are somewhat flexible. The red brackets I made bolt thru the outer stepper wheels and bolt to the upper slot of the 2040 gantry. It’s absolutely rock solid now!
Starting tomorrow, I’ll be learning the characterics of the more powerful laser. The unit itself has three settings for 20/40/60 watt, selectable using a button on top of the unit. This thing is wicked powerful compared to my old one!
Maybe you can install a mini bluetooth linear-actuator so that you can switch power on-the-fly without touching the laser head?