I’m new to laser engraving and just started testing different materials. Everything was fine with the material test results, but when I began engraving pieces, the problem started.
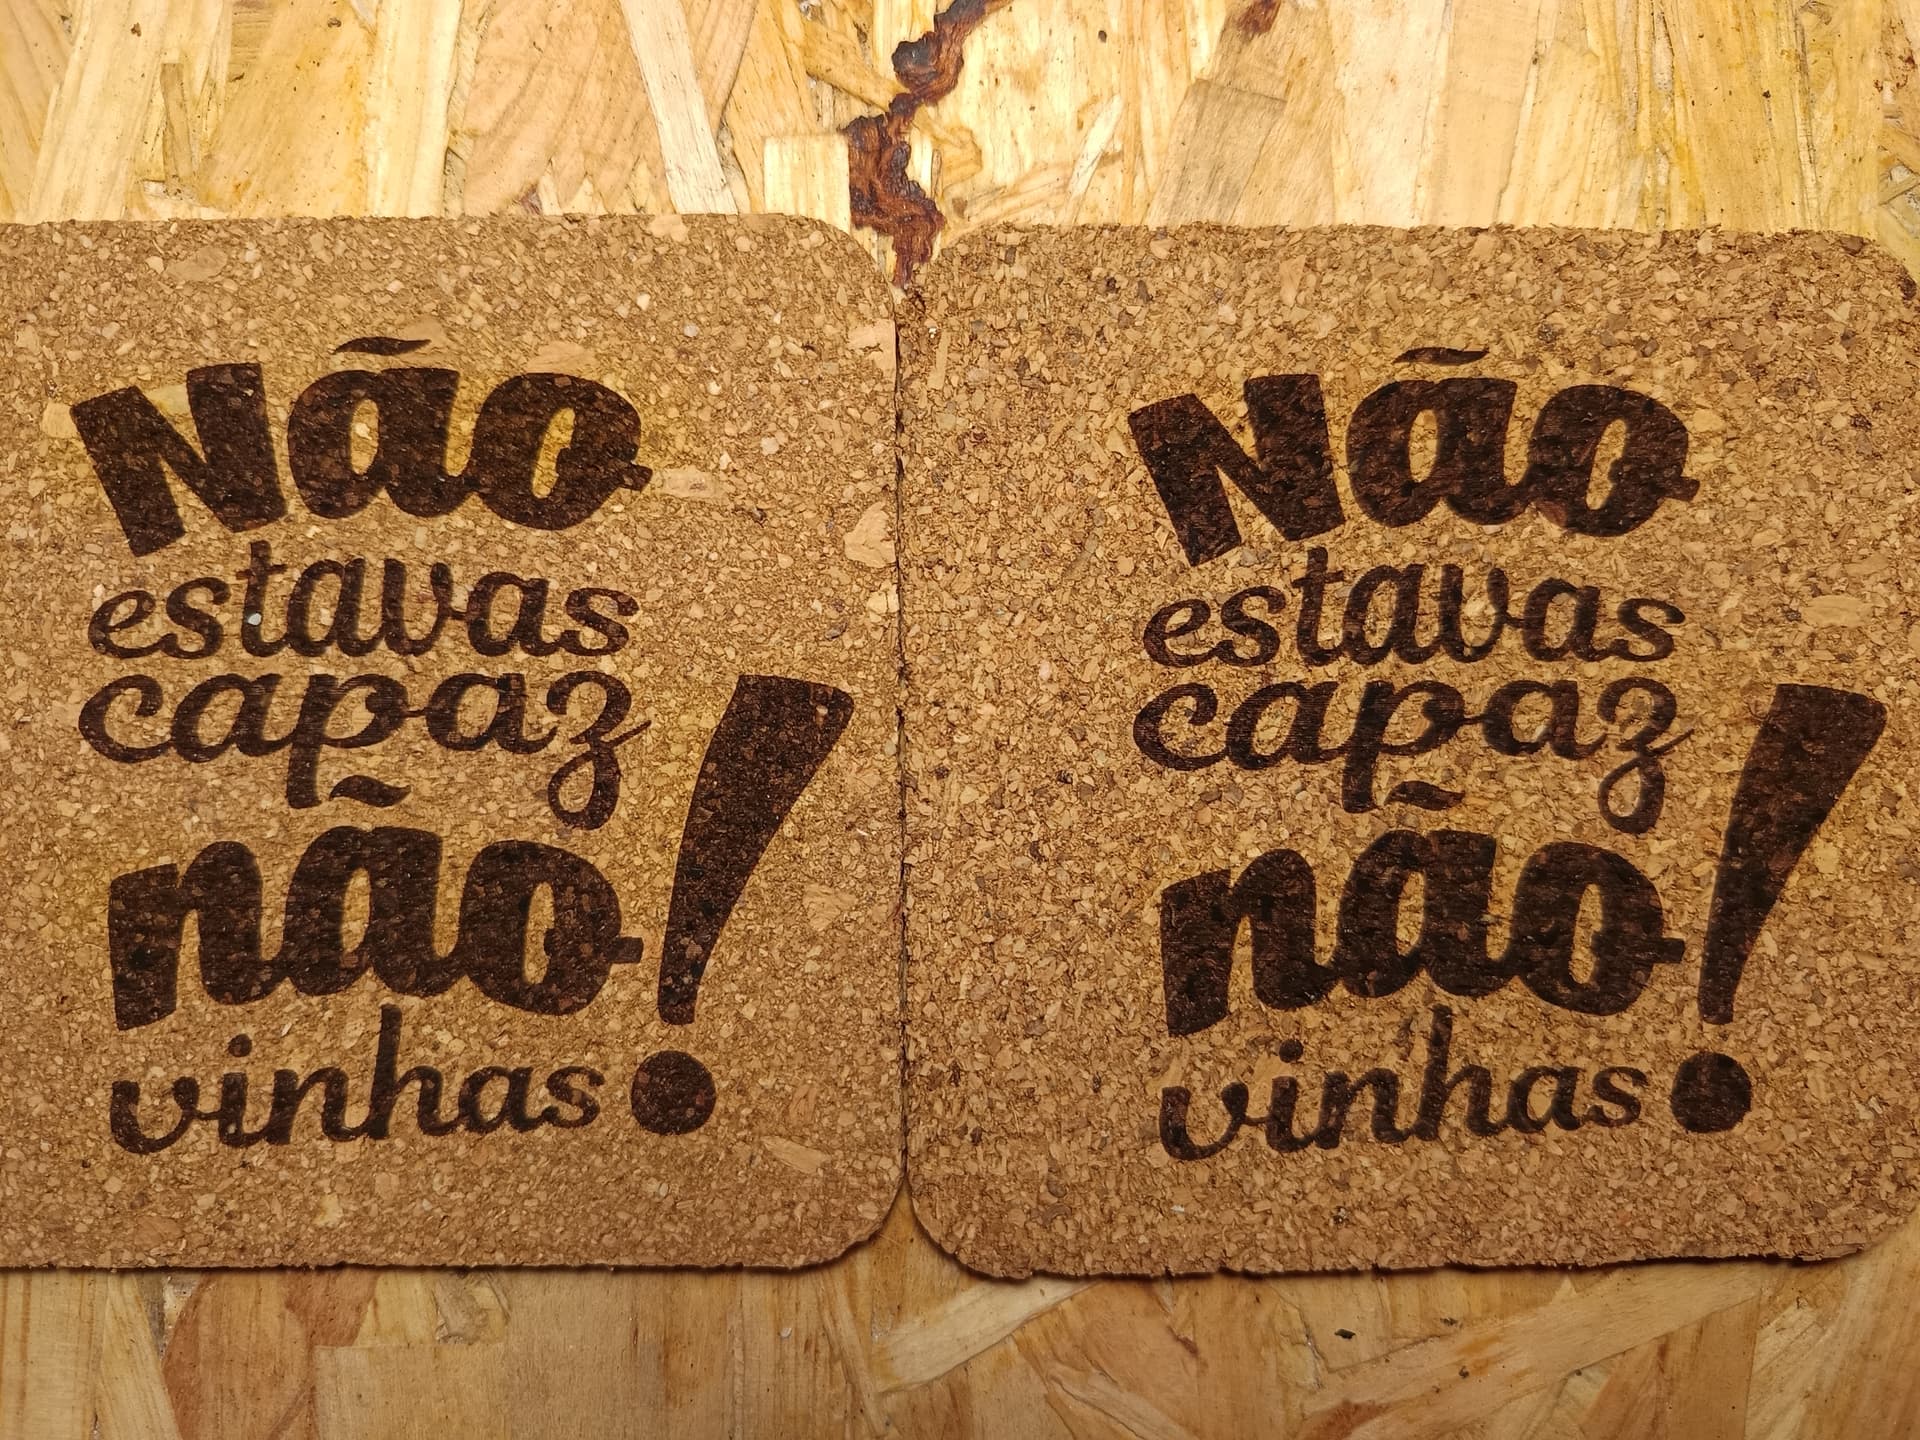
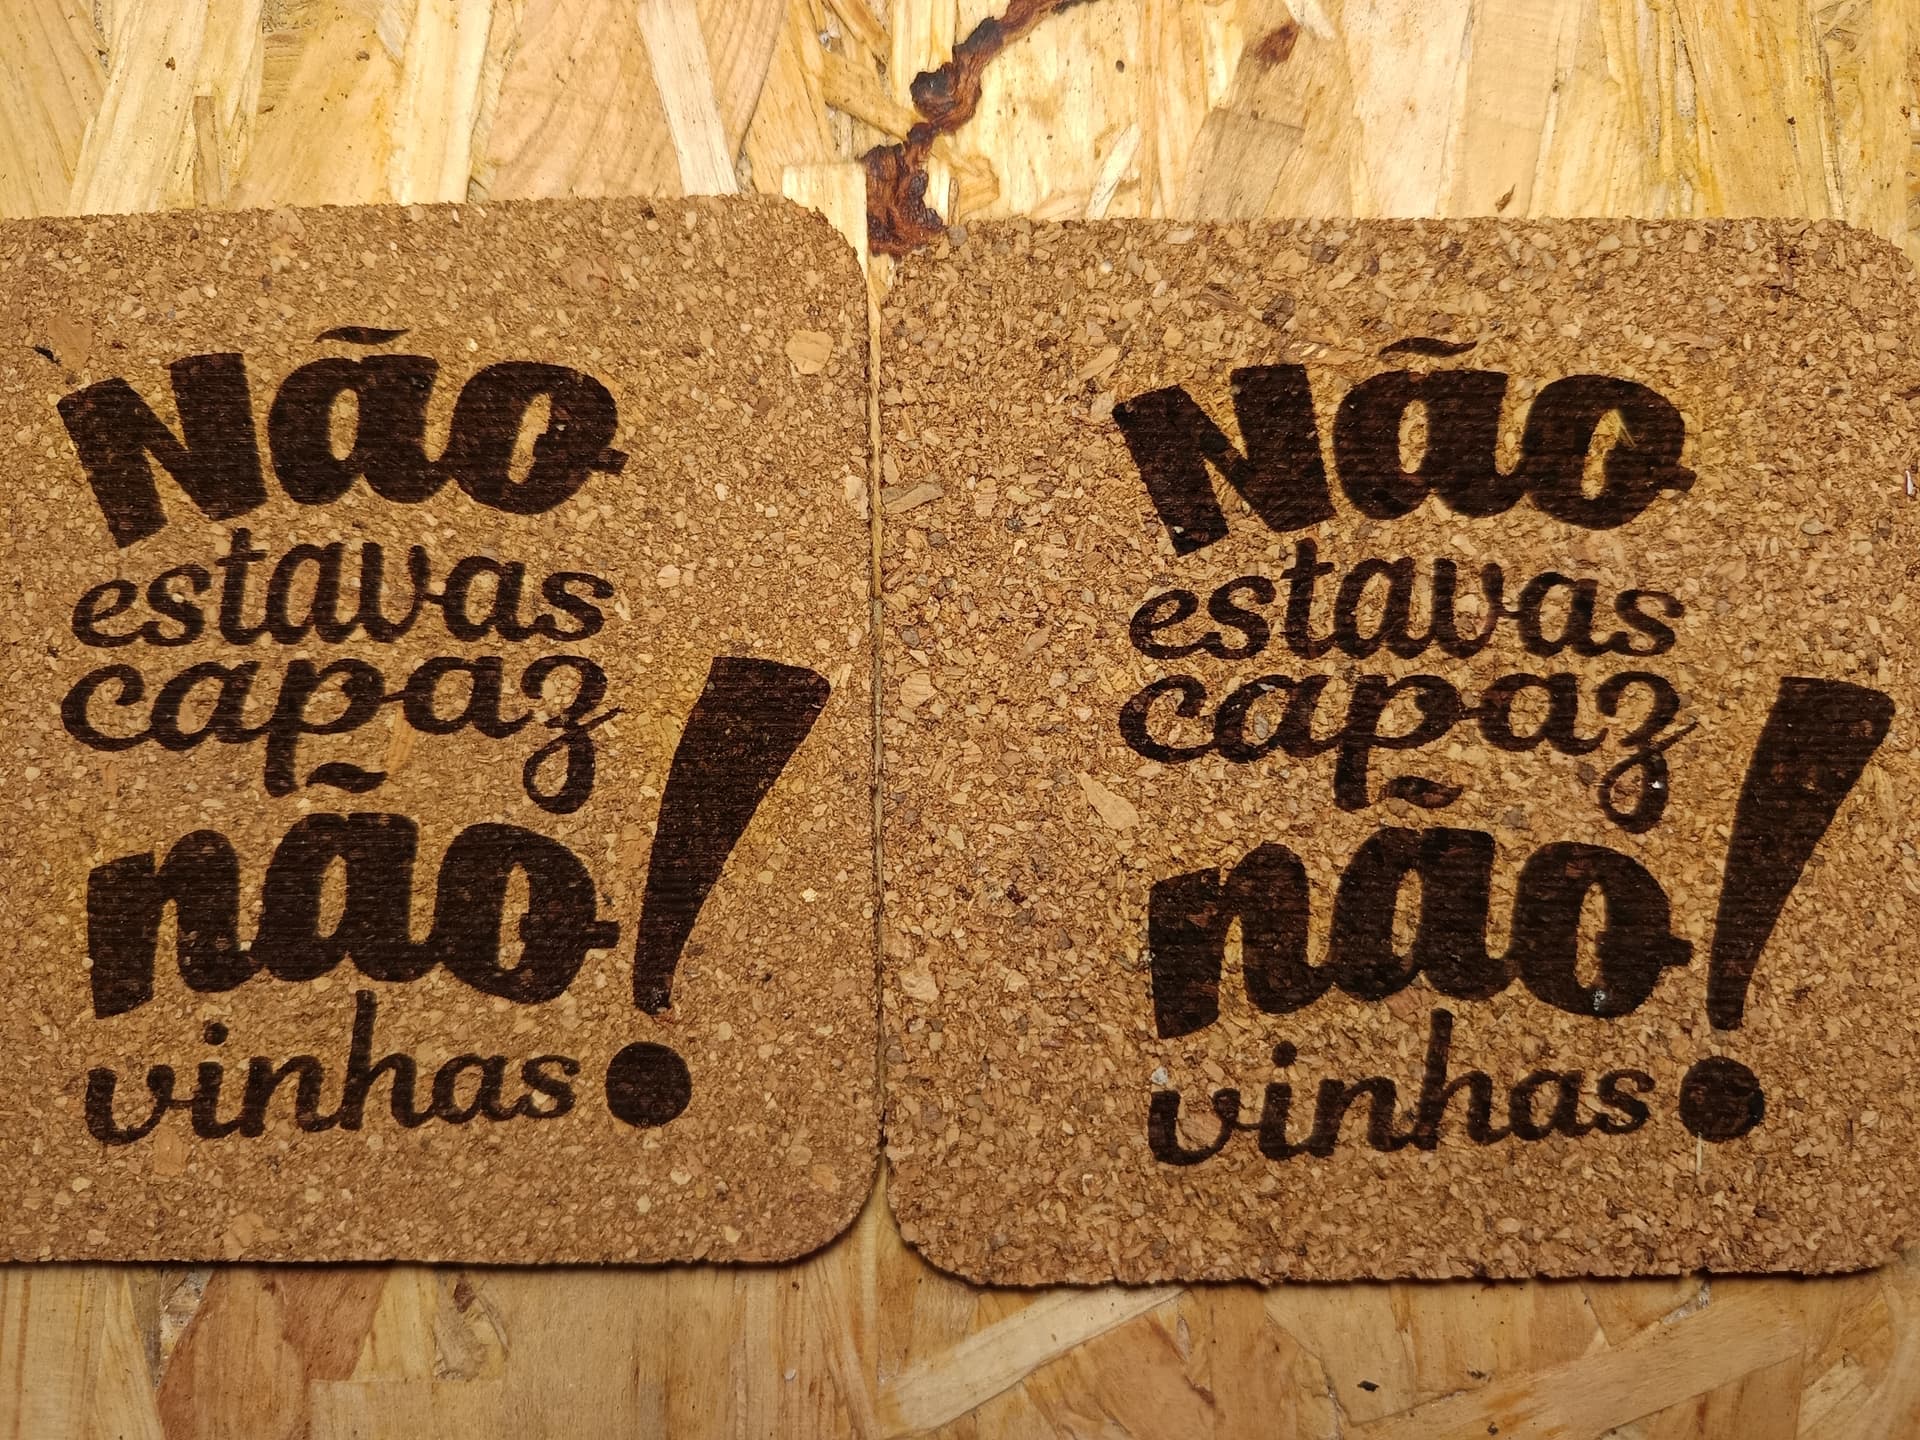
When I engrave two cork pieces with the Fill All at Once setting, I get visible lines on the engraving. However, if I engrave just one piece, or two pieces but using Fill Shapes Individually, the engraving quality is good.
Am I doing something wrong? Could this be a machine issue, or is it just a configuration problem? I even tried reducing the line spacing, but the problem still persists.
Any help would be greatly appreciated.
Thanks in advance.
Machine: Longer Ray5 10W Software: LightBurn Pro 2.0.03
Não estou capaz de ajudar apenas com essa informação, mas não deixo de tentar vir ajudar.
Me and anyone else who wants to help. Please leave the information described by @MikeyH so you can get the best guidance.
The big difference between the two types of “Fill” you mentioned, as already mentioned, is that while you run both jobs at once, the laser, in addition to the laser module speed issue, also has the issue of the opposite end of the laser head having more time to cool. With organic materials, it’s easy to see (I think) that the temperature they reach during engraving can be crucial to the final result.
I looked up one of my cork coaster projects:
iCube 10w laser 4000mm/m 30% power
254 LPI
Constant power
Overscan 2.5%
Air Assist on
Of course, the cork may be a little different, but it looks like both. With Variable power, the laser may have trouble getting up to full power in that short distance, and thus not reaching full power.
I tested reducing the speed, increasing the power, with and without dynamic power, using different materials and different projects, but the result is always the same. I even drew a rectangle about 10x150 mm so the laser would engrave continuously, and the problem still appears. What’s strange is that with this rectangle, the laser doesn’t even have time to cool down.
I don’t know what else I’m supposed to do.
Any more ideas?
So after you suggested a hardware problem, I went to check the whole machine. I adjusted the rollers and belt tension, and I found that the eccentric roller for the X axis was loose. I tightened this roller and checked all the others. After that, I started getting better results, still with lines, but much better. However, now the engraving looks sloppy on the edges.
Never apologize for wanting to learn. This is why Lightburn set up this Forum. Old users, who used to be new users, helping new now users.
Nowadays, people don’t have much patience to teach the basics, they just expect everyone to already know them.
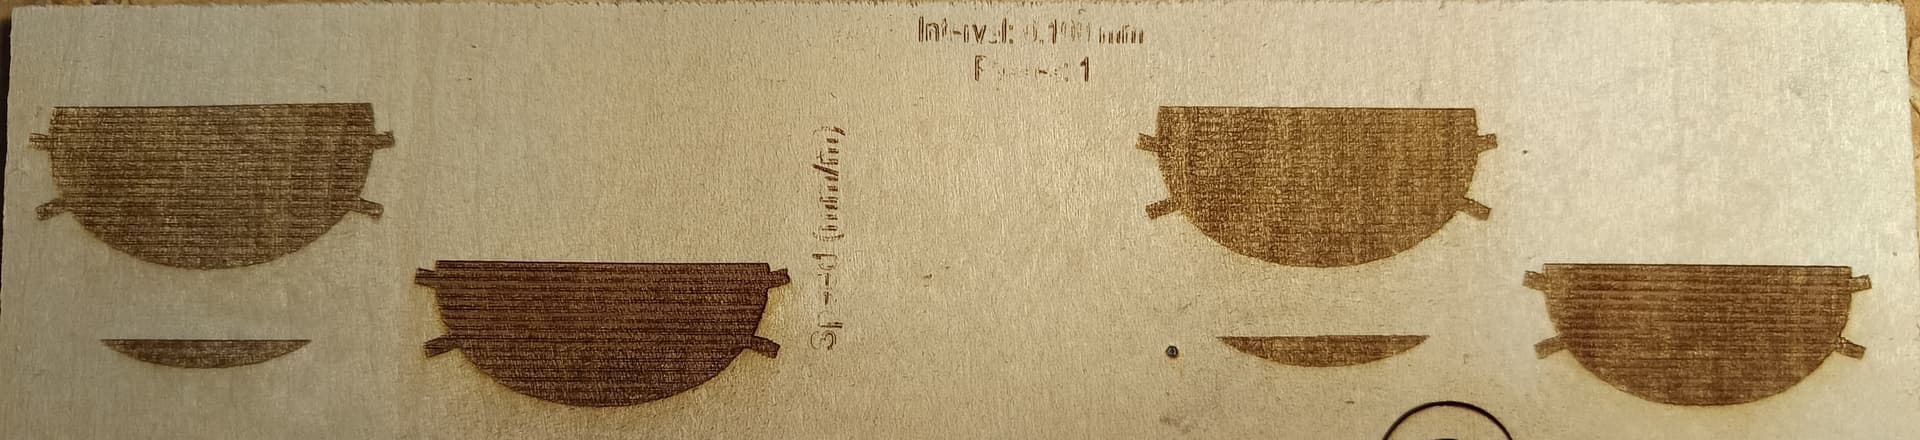
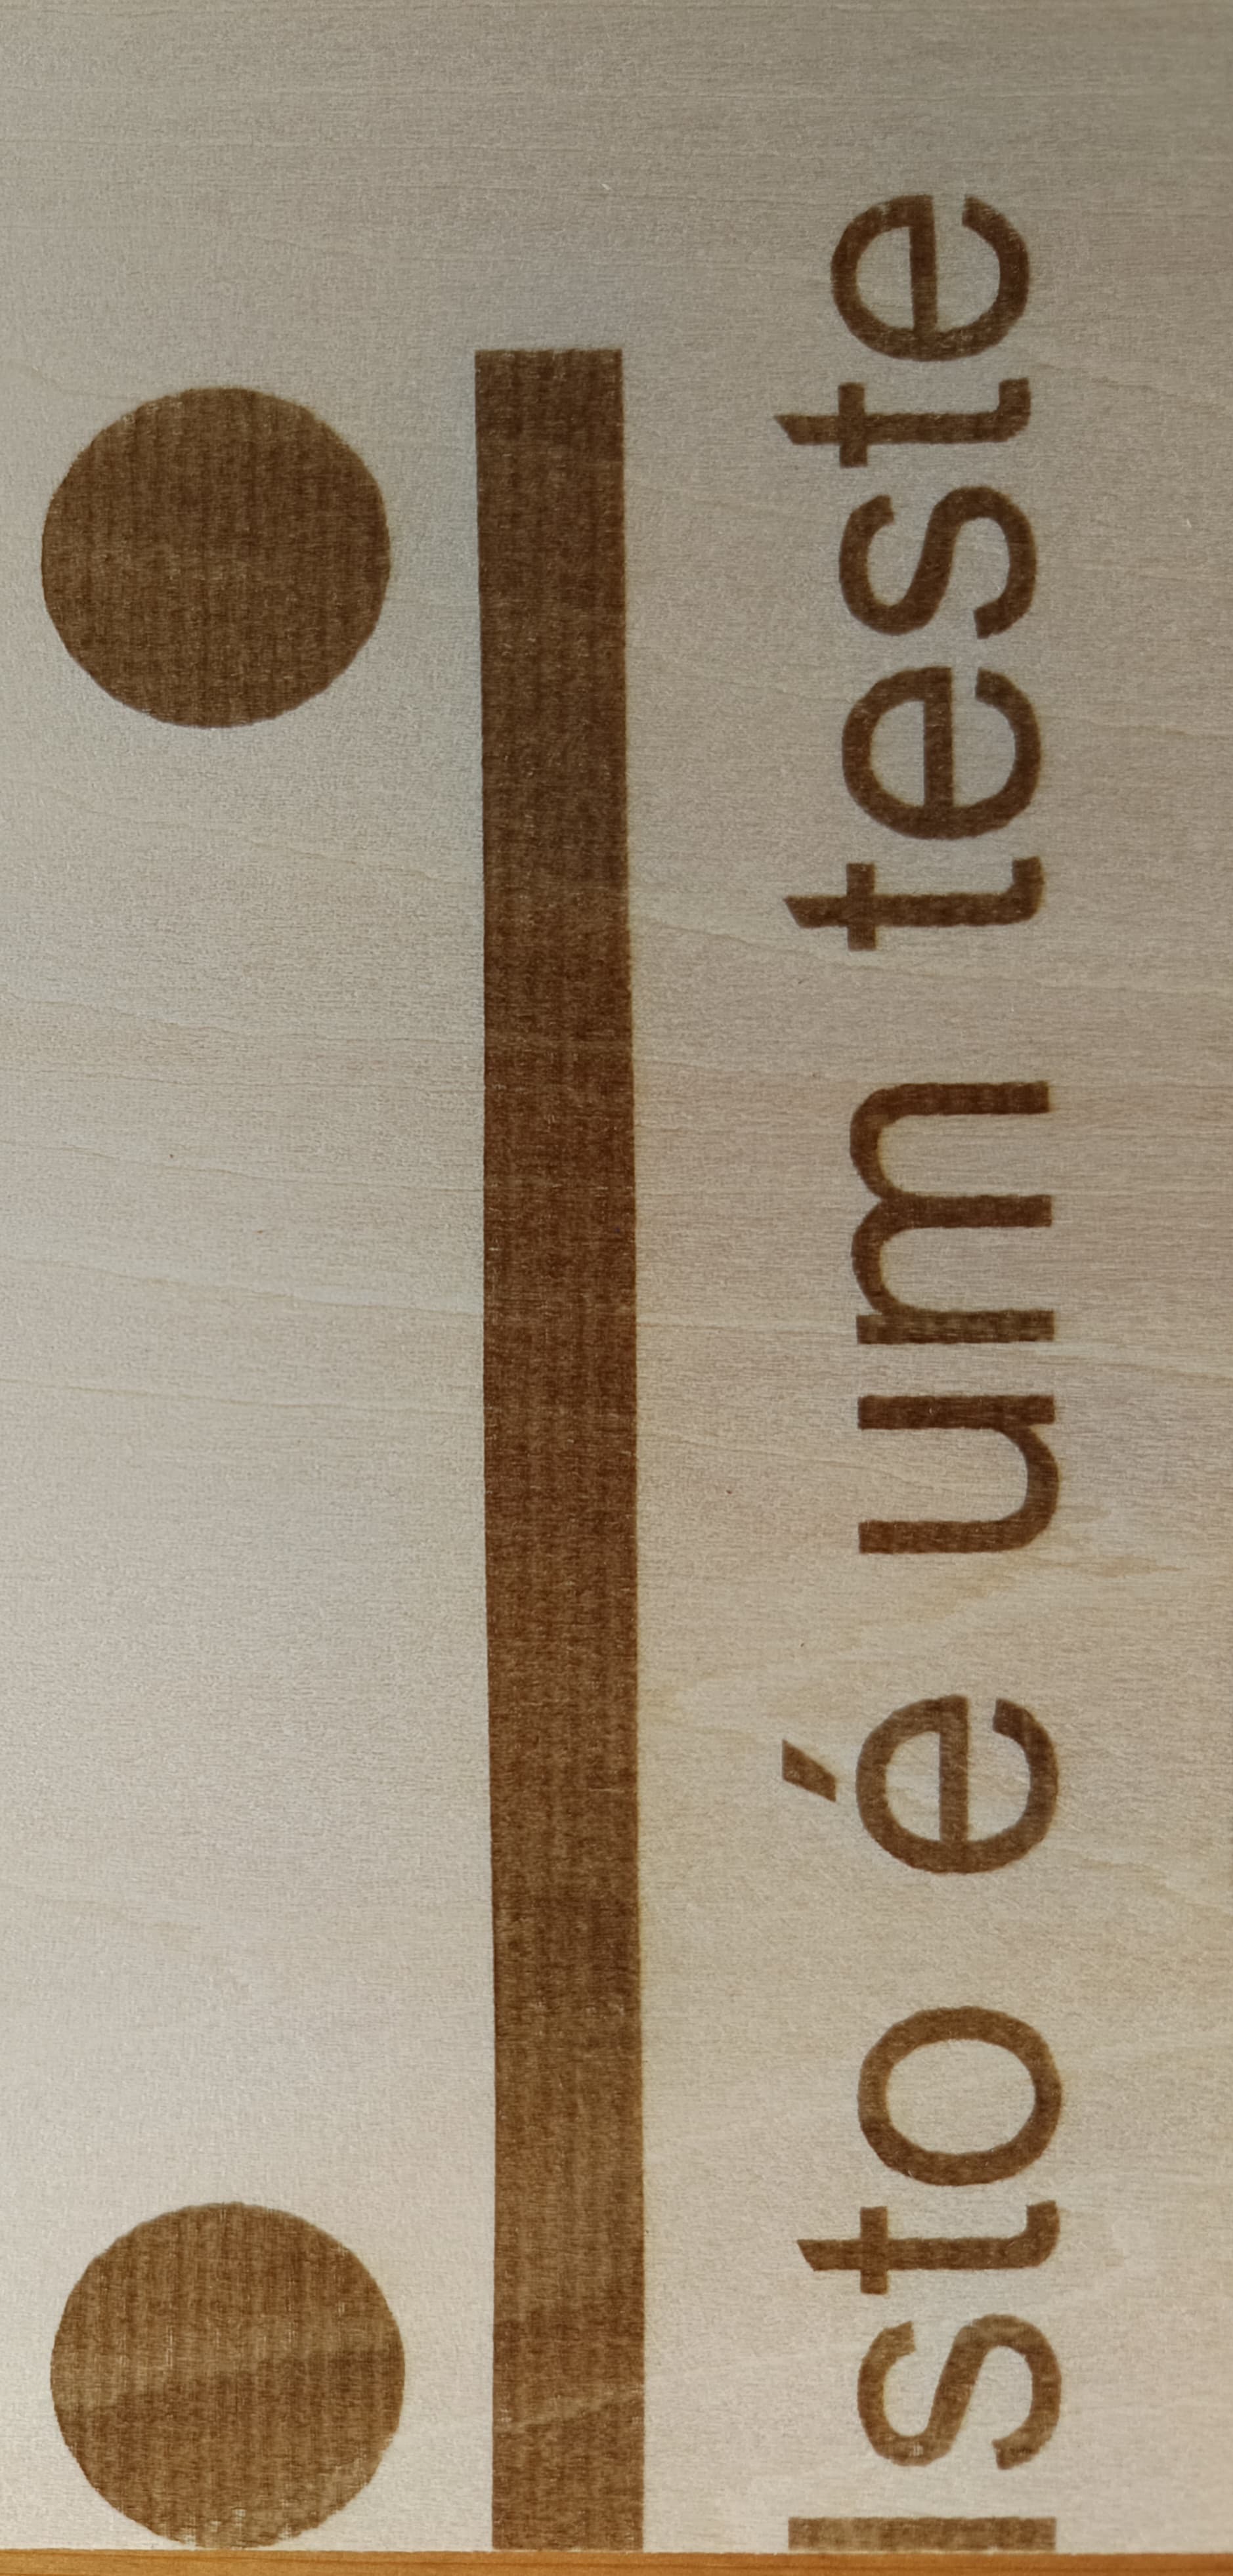
I followed all the steps from @MikeyH’s link, and afterwards I ran an engraving test at 6000 mm/min and 30% power, keeping the rest of the parameters unchanged. Here’s the result.
I do not see a problem at that speed, but the Mfg says max speed is 10,000mm/m. I also see nothing indicating the size of the burned image. However, I do not expect to see something needing a fix.
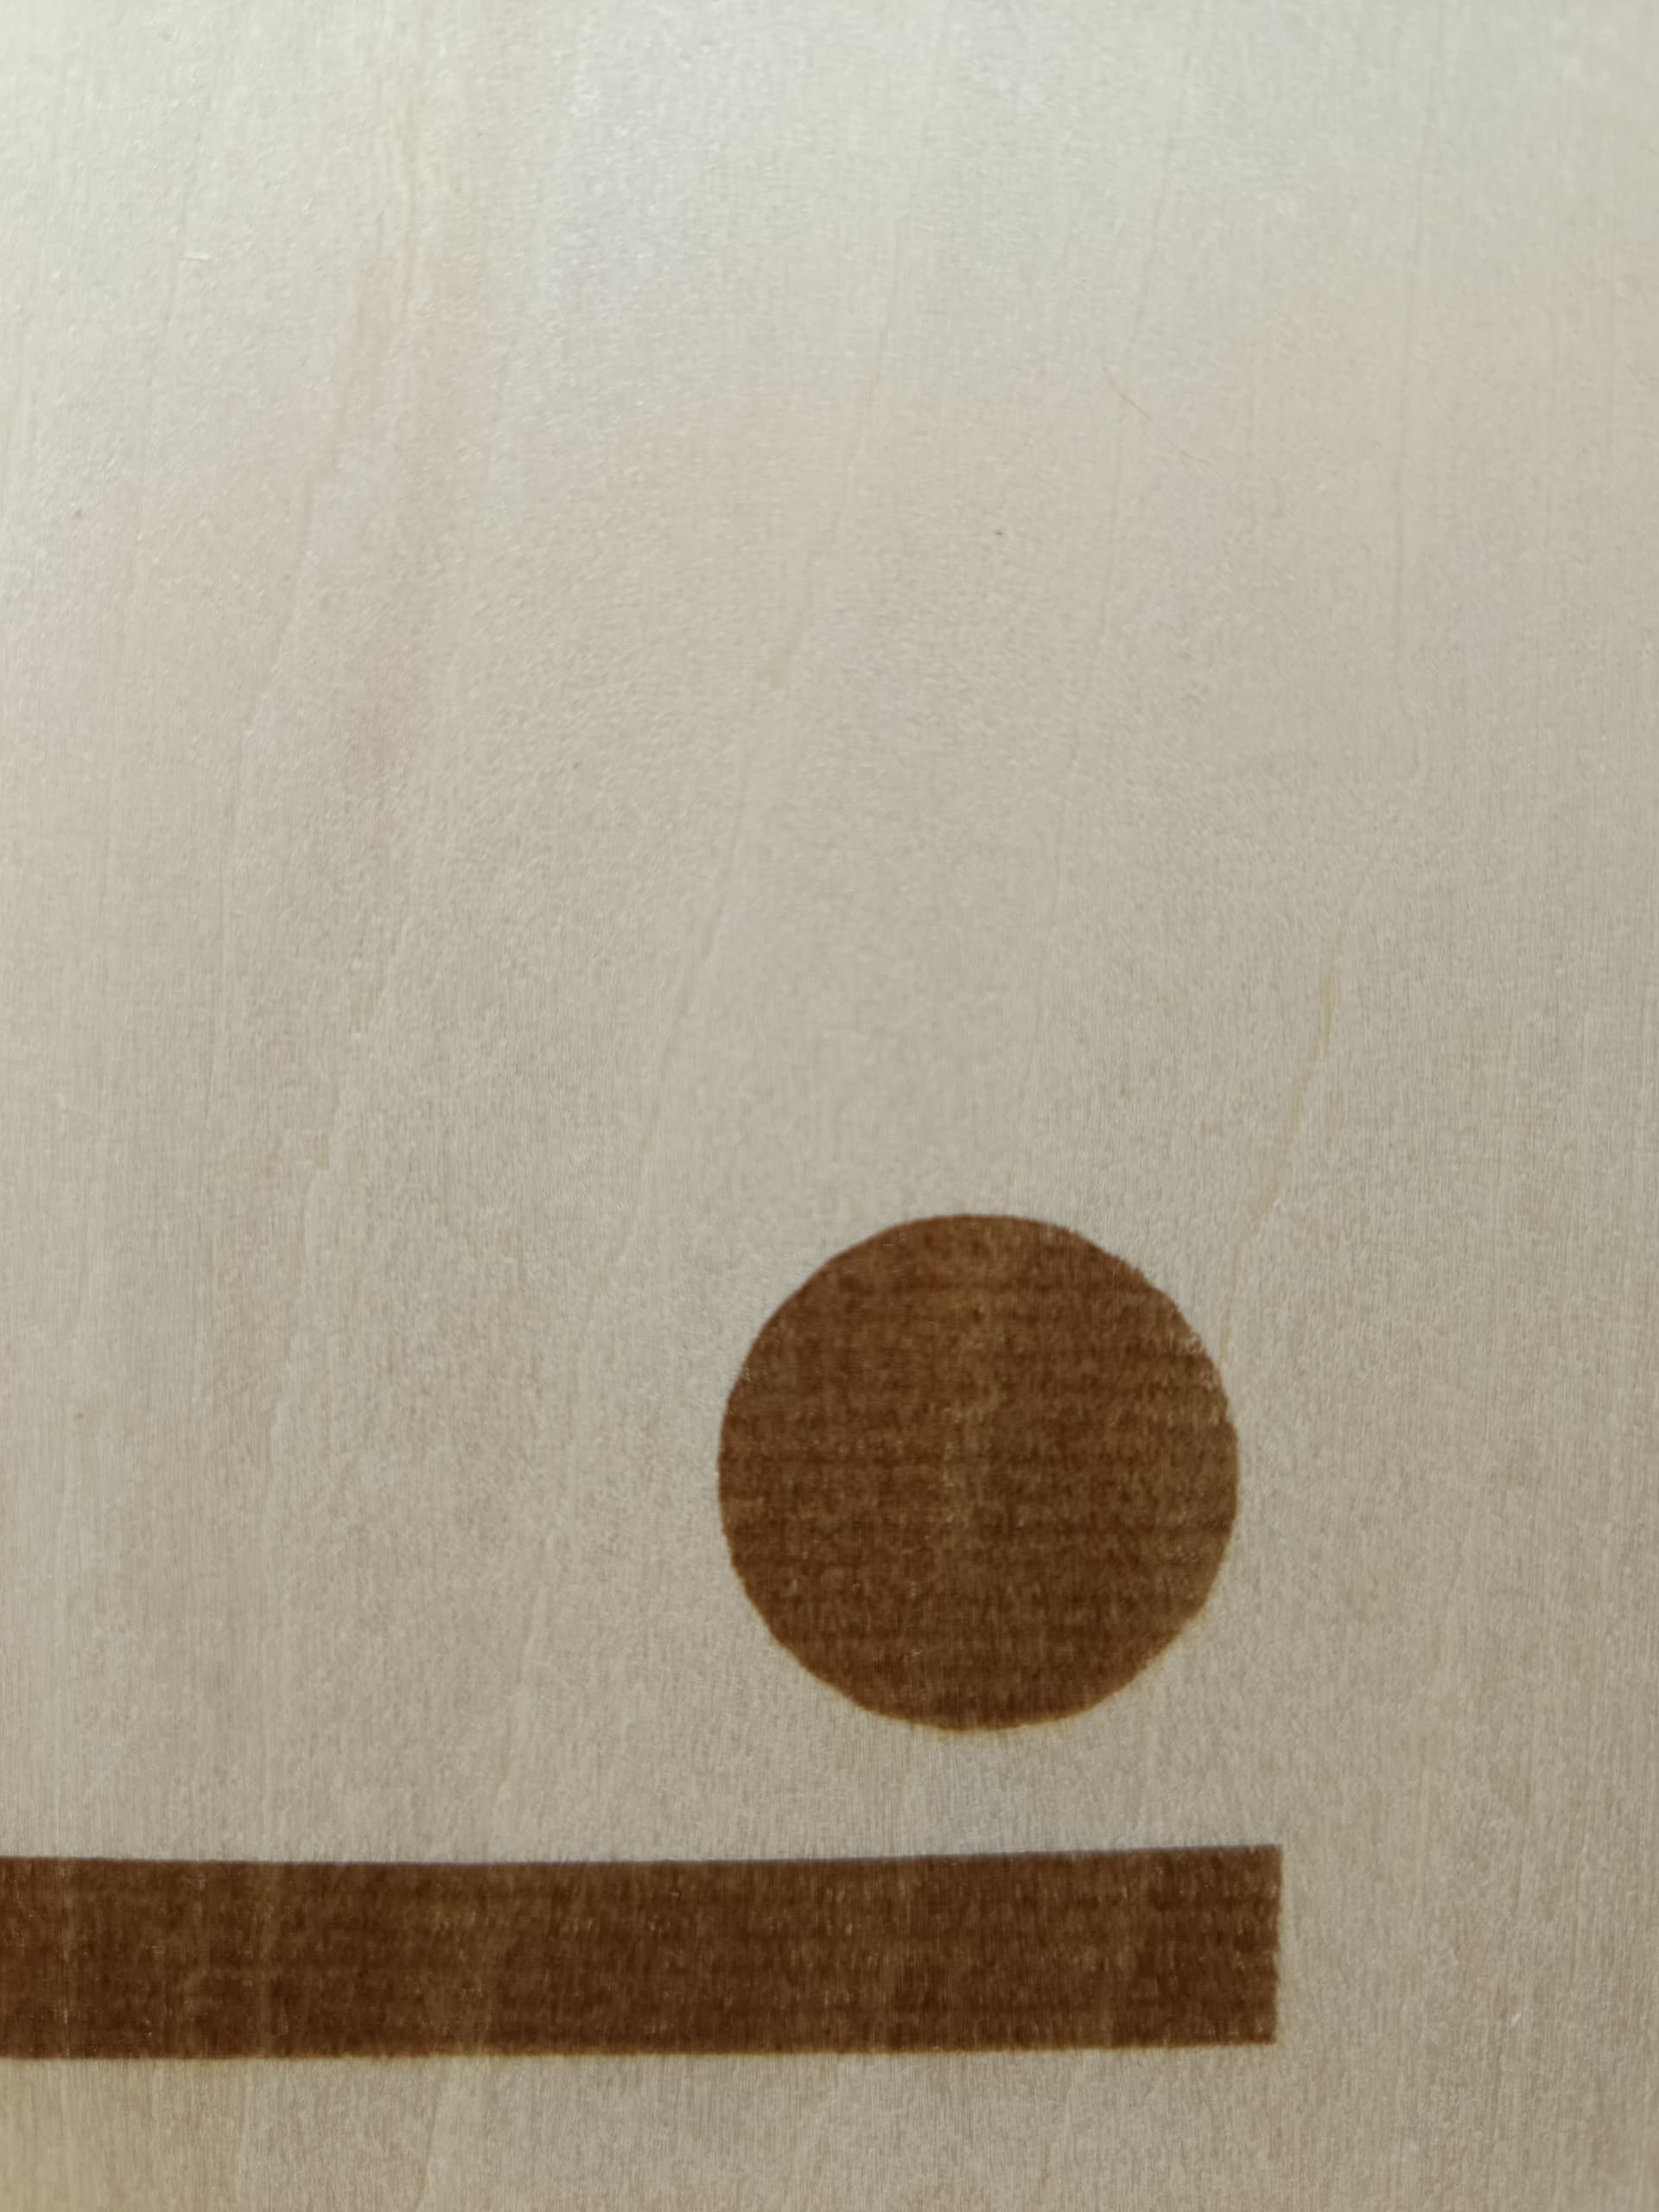
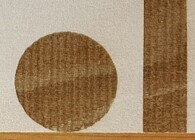
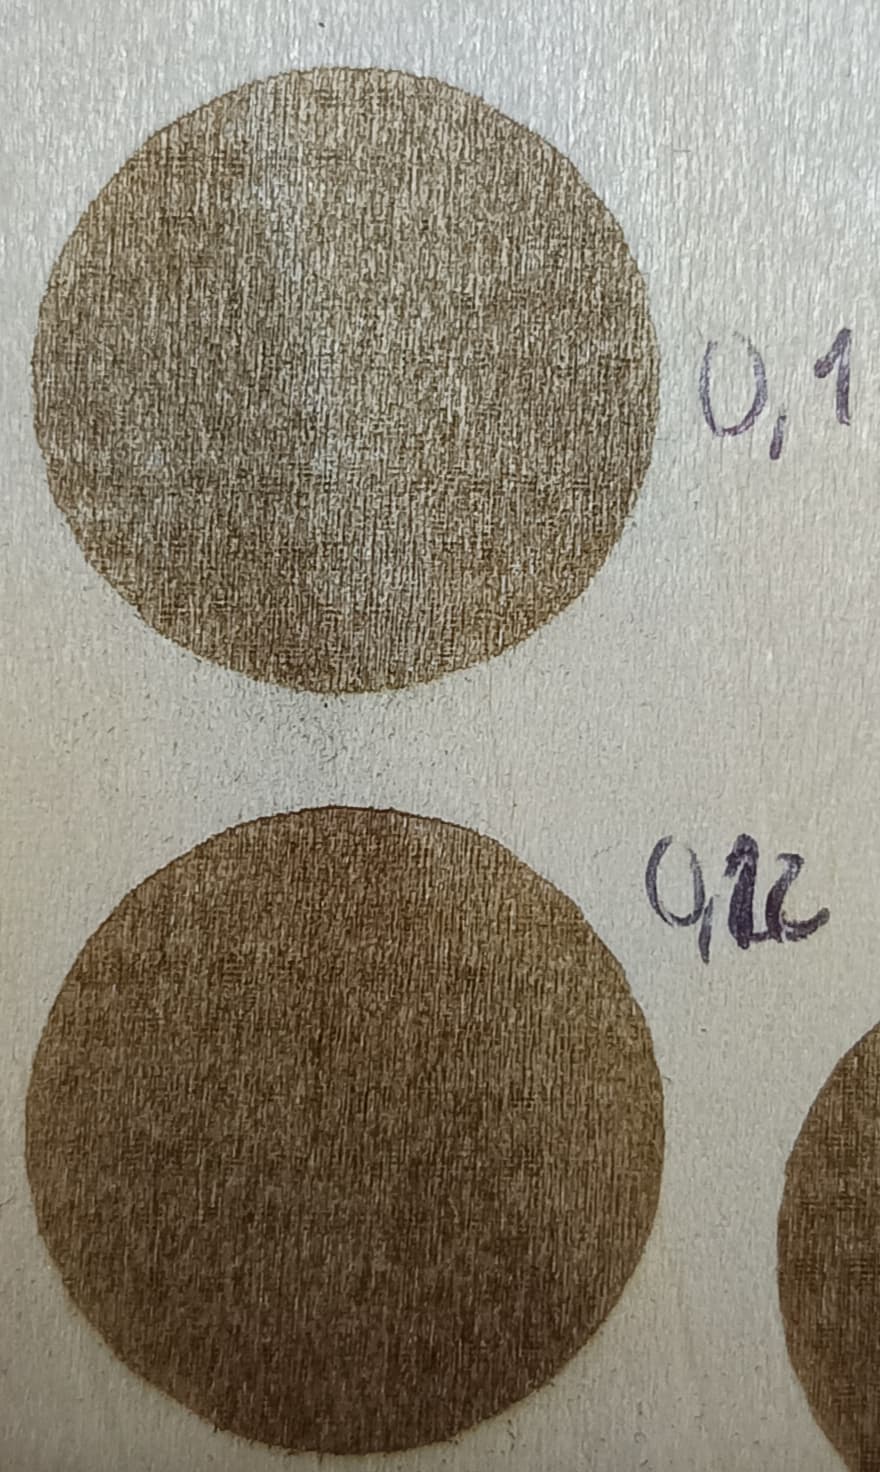
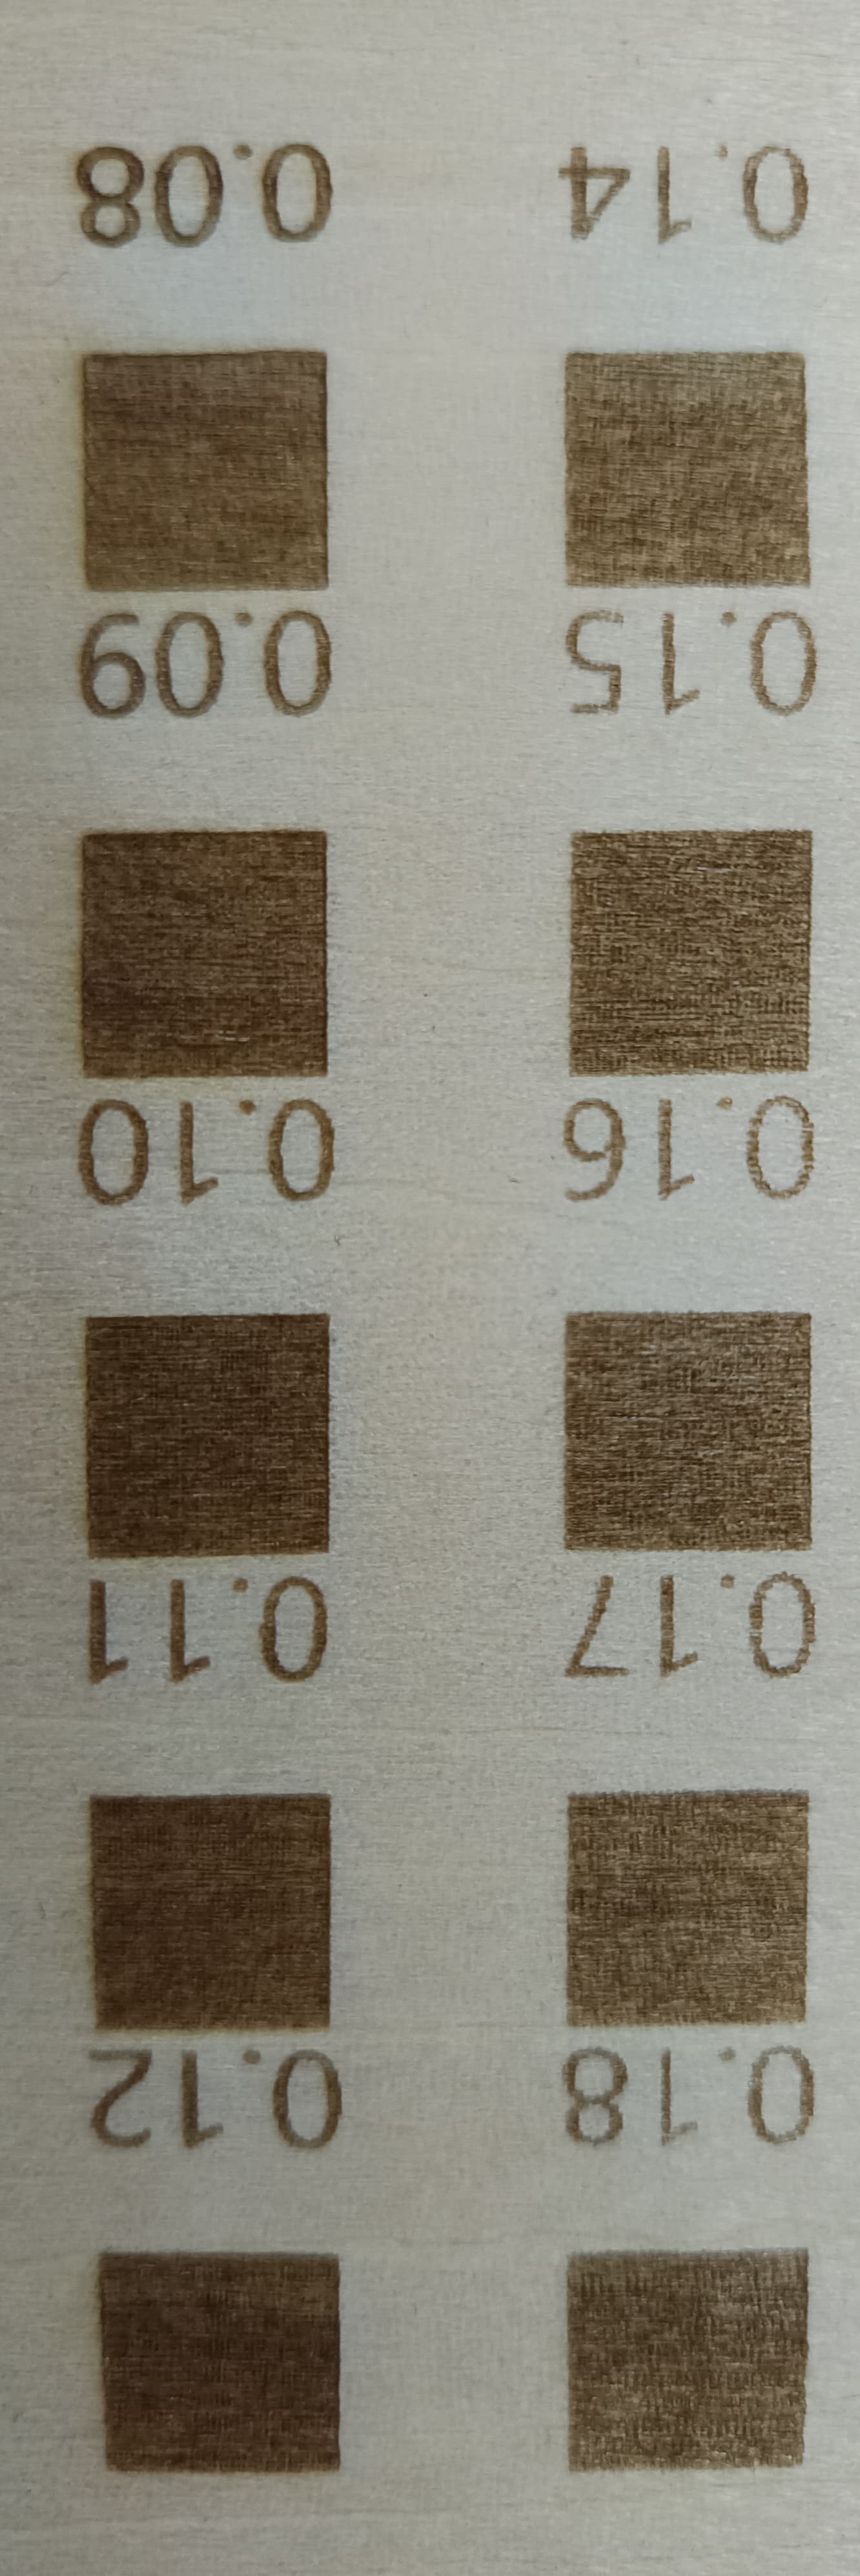
In your earlier image (see below) I see what could be overlapping burn lines. In other words, pretend your dot size is 0.10mm, but your line interval is 0.07mm. In more other words, one pass covers part of a previous pass already made. Try reducing your LPI by 20% or so and see what happens.
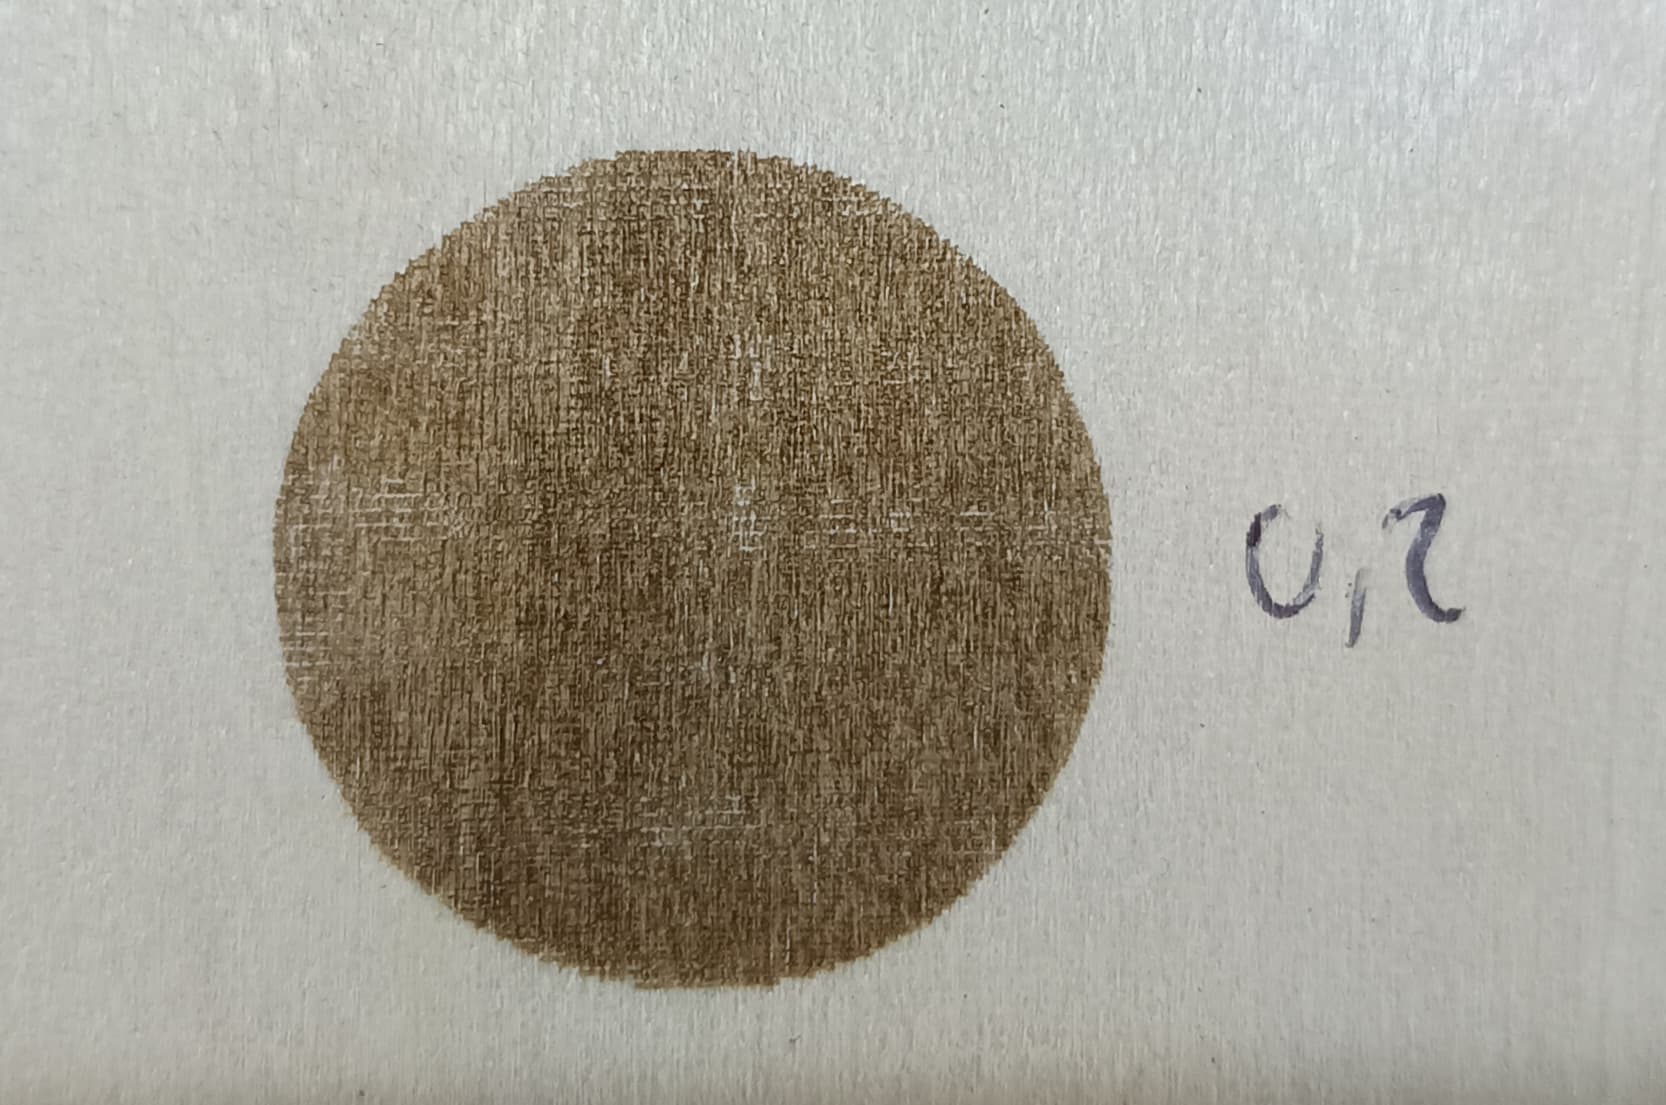
Looks like .12mm LPI does the best from here. I doubt you will see any better with wood. If you want to really dial it in (fine tune the adjustments), buy some black anodized aluminum cards.