I’v made the decision to upgrade lasers and go with a bed round about the size of 19"x36". I’ve seen so many different styles online & I’m curious, which would you purchase?
Features I’d like included are a pass through slot, motorized Z bed, and at least 19"x36", and 50W-100W other than that I’m pretty easy. If it come with air assist, and fume extractor, great, if not its not a deal breaker.
If you have suggestions I’d be more than happy to take a look at them, I really rely on the experience of the community for direction in not buying from a company with a shabby reputation or poor quality product.
toankyou in advance.
900x600mm or 1000x600mm are probably the closest standard bed size you will find in a generic machine from eBay, and you will get some results by searching for “600 900 laser” or “1000 600 laser”.
At this size they will mostly be 100w.
It’s fairly standard luck of the draw on eBay, either you’ll get it in good shape, or there’s going to be a problem. Orion is one of several sellers that has a good reputation.
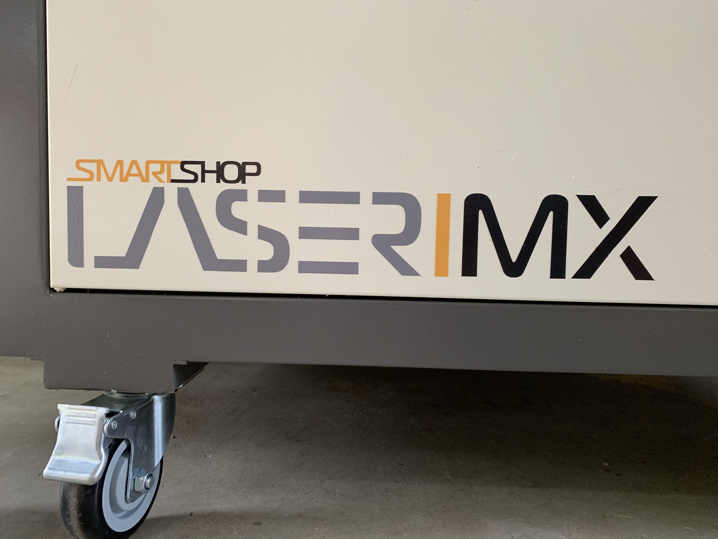
Otherwise, if you want a high end China brand, you might be looking at something like a Thunder Laser Nova 35. I believe that Thunder has a high quality and value with respect to the price they charge.
A high end Chinese import machine at 24 x 36 100 to 130 watts, motorized Z, fume extraction, quality motors and drivers, Ruida DSP, authentic S&A 5200 chiller, rotary is going to run 4 to 5 thousand + the cost and challenges with freight, duty, port fees, domestic delivery etc. So probably around $6,000.
Take note, however, a lot of people will say this is expensive. But the key is HIGH END. So buyer beware if you’re dealing with an unknown manufacturer from China.
I as well as others have imported our own machines and could refer you to these manufacturers if you like.
On the domestic side, just as @raykholo stated, there’s some reliable (I think of them as distributors) of these same machines selling them under their brand name and probably most importantly providing support and warranty much easier to access.
Recently I stumbled on to find that even Laguna tools started to slap their name on machines and sell them.
The Boss 24x36 is about $9,500 (delivered) and the Thunder Nova 35 is about $9,000 (not sure if this includes shipping). Both are excellent machines, but if I was buying one today I would probably lean toward the Thunder just because it uses servo motors and is very fast, plus I really like the build quality of the Thunder.
I began this journey with a K40, new tube new optics, new laser head, new cohesion board, air assist added and a CW-5200. I enjoyed putting it all together slowly and creating the monster it is today haha.
instead od paying 8K on one of th previously mentioned lasers, why wouldn’t I purchase one of these lasers I’ve listed below and add wha ti want to them. I’m just curious what the 8K is getting me over the $2,300 80W.
I’m honestly just curious, really leaning on the community for some insight and possibly avoiding a bad situation(I hope)
I bought the 80W China Red for a little under $3,000 US. I’ve put around $1,500 to $2,000 in upgrades in it. I give a range, because a lot of what I put in came from bits and pieces of things I had around.
Top of the list is the Ruida controller preferably with a network connection, followed by a mA meter and a coolant temp gauge, preferably dual to see the delta across the tube. Next is 20mm or larger lens so you can put nozzles and such from any good on line supplier. 18mm and smaller and you SEVERELY restrict your options.
Then you get into what you like, do you need pass through for long pieces, or are you going to do little stuff. Engraving or cutting set ups, ect. ect. ect. My favorite and easiest thing was to pull the 110V strip light from the back of the cabinet and put a pair of LED strips under the gantry. Since I do 90% cutting, the switch to a cutting set up and adding controlled air assist was next on the list.
Did a DIY chiller than also holds a few beverages instead of buying a high dollar chiller.
That list… with big and small items it’s up to almost three dozen in six months.
I guess it would come down to what do you want to pay for? You want to get something and not do much beyond some calibration and alignment, spend the big bucks. You want to buy something and don’t mind a little tinkering to make it just what you want, by all means go for the China Red or others like it and start tinkering!
One thing I wish I had done different. I bought an 80W like pictured. It’s a 60W cabinet with an extension to protect the tube. Get the 80W with no tube extension and you automatically get a larger working bed.
I actually like the tinkering and getting the machine to work ho wi want it to work. I do 90% cutting in all honesty. I don’t need a pass through slot for what I do I suppose as long as the workable area is around 20-36 inches or so. Already have the CW5200 and it does magic so thats taken care of and it lookalike most of the machines come with an air assist and a blower already.
I’ve already raked in 5K in 4 months of using it to sell product locally and then upgrading the k40 parts to keep me in business & thus far its very dependable. I dont mind having to dial in the new larger machine and continue using the k40 for now. Once the new digs are all set, then make the switch over.
What im hearing you saying is basically if I like to tinker go with the Orion or something Similar, if I want a plug and play, set it up and go, then go with the 8K machine.
also dont buy from morphon haha
You got it. You’ve been working with your machine, so I’m assuming you’ve learned the difference between an engraving machine and a cutting machine. That’s the HUGE lie of omission in most of the machines advertised on the internet. Almost to a T they are engraving machines, and they don’t tell the buyer that with sub 20mm lens, getting switched over to a true cutting setup is not an easy thing to do. Too many times they say ‘just add air assist’ and get away with it.
even with a sub 20mm lens, there are ways to upgrade the head lens mirrors and add air to make it more of a cutting than an engraving machine correct? I Assume thats what you mean by the difference between cutting and engraving.
But if 'm incorrect please feel free to lay it out, im here to soak up the knowledge
also correct me if im wrong here. but in he link below is what im aiming to get.looks damn near perfect, the only change I see I’ll need to purchase is a controller that allows LightBurn thus OS X. correct?
If thats the car I’d rather get them at the same time and replace the controller befpore my first cut.
EDIT: also I’m thinking I may just cut a hole in the side of the machine for a higher wattage tube & replace the power source. 100W is tempting…
Good cutting requires good air flow down into the cut. A cutting set up will have an unrestricted air fitting, a small nozzle hole, and the lens positioned so that small hole is not far above the work surface. around 4mm to 6mm.
The machine you linked to has a Ruida controller. If it’s not network capable, a USB dongle will most likely work. You’d have to ask around on that, my 6445G has a network port. Lightburn is fully compatible with Ruida controllers… right Oz?
Sub 20mm lens are not a deal breaker, but it may drain your wallet a bit. My china Red came with 18mm lens and lens tube, I had to have custom adapters made to be able to use ‘standard’ nozzles and such. I’m chatting with a guy that says he can 3D print M22x1 threads, but I’ve heard they can be problematic.If you have 20mm lens than 99 out of 100 you have the M22 treads and can get nozzle and lens setups from just about anywhere.
There’s a pic of one of the adapter tubes in there as well.
My adapters let me go from HD to 2.5", I’m looking at a couple of different mount options that will let me go to a 5" if I want. The longer the focal length, the thicker material you can cut. I don’t remember what one it is, but Russ had a few videos on various focal length lens’. https://www.youtube.com/user/SarbarMultimedia/videos
Gotcha, awesome information.
I’ll keep all of this in mind for the near future. Absolutely want to get an Orion and put it together. On average to get these bad boys up and with cutting parts applied, I’d need about $1000 over the cost of the machine to get it properly sorted for cutting, correct?
Si Mirrors, a lens, cutting head, spare tube…
Don’t bother with the Si mirrors. They are a coated glass and the percentage above Mo isn’t enough to justify the cost and lifespan difference. Especially the lifespan difference. You can only clean the Si mirrors so many times and the coating is gone. Mo mirrors are solid. You get a scratch and you can polish them out with regular polishing compound.
If you start off with the right lens tube, a nozzle is $8 to $12 on Cloudray. lens tube extensions and such run in the $12 to $28 each but you will only need a few. If you get the right set up to start with, the new Cloudray C type tubes will go from HD to 4" just by how you mount the tube and lens. A sliding #3 mount isn’t a lot more if you have to buy it, or make it one of your first cutting projects.
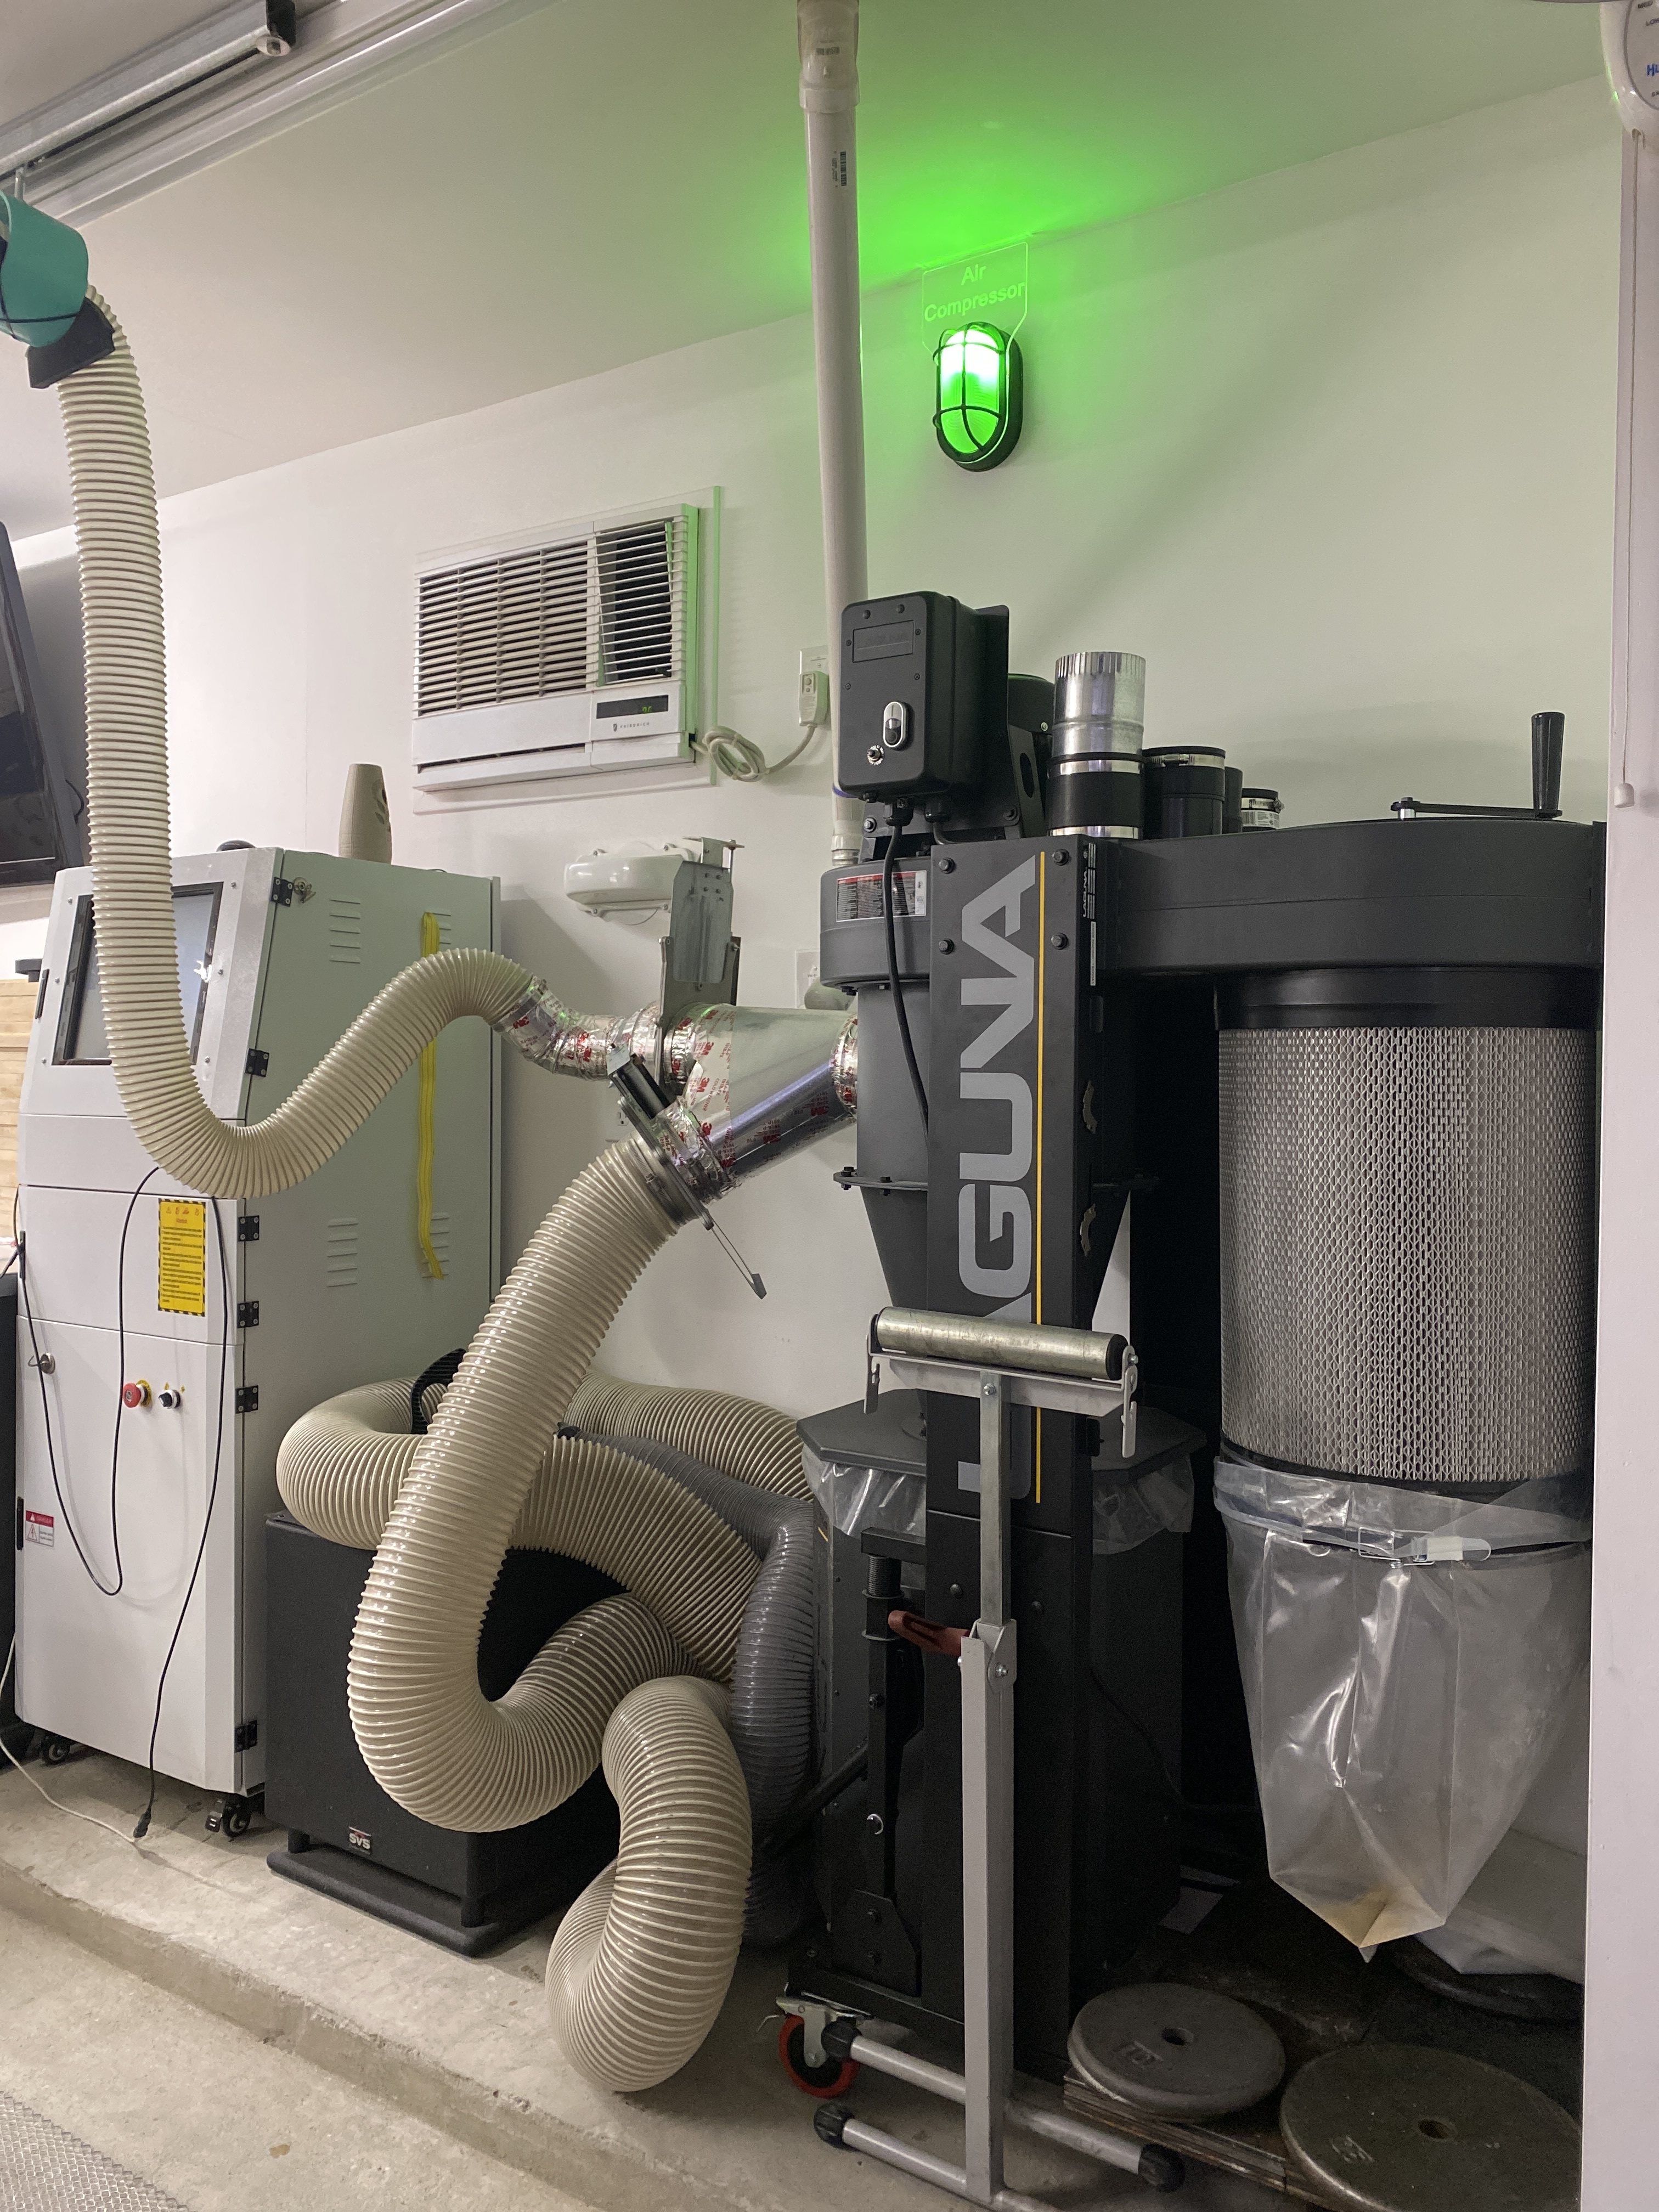
A rear exhaust is an almost necessity. A side exhaust makes your air flow do screwy things in the cabinet.
mA meter, temp gauge(s), and air assist solenoid and you have the basics. Probably around $300 to $500. The rest is what you want to do to it to make it comfortable for you.
A spare tube is not necessary, and they do literally have a shelf life. Get an analog calorimeter or a digital Dohicky ( I have the Dohicky and love it ) and check your tube yearly, and every six months after the first three. When you start to see a power loss, start shopping for a replacement.
Of my almost three dozen mods, only around a quarter were ‘necessary’, another quarter were due to the machine being in an unheated area and some modifications done while taking care of that situation. The rest are in the ‘It should have been done this way’ or the ‘I can do it better’ category.
If you go full DIY, Matt has a good short series on a from scratch build. In trading emails he did say he wished he had went a little heavier on the core frame. He went with 3060 for the core and then had to get it welded later. He wishes he had went with something like a 4080 or a 3090 for the core. https://www.youtube.com/channel/UCYmaUPBZ6oF_OExb3htzTOw/videos
I dove in to Si mirrors this last round and I dont not like them. good to know about the MO over Si for future uses.
All sounds pretty doable as far as getting the new machine all set up and operating relatively quickly and efficiently. Where about would I find the air assist solenoid?
I’d like the necessary mods on the machine before its operational just so I’m starting on the right foot. then if there are additions I see that need to be made, fine those can be added as needed.
I appreciate all of the info, very helpful. I think im going to get this bad boy and fix it up to be a cut beast.
One last thing im curious about, you may or may not be able to help on this one, but I cut 95% Baltic Birch plywood, is there a good place online to procure this stuff in bulk that you know of?
You can be cautiously operational right out of the crate. Hell, I had my mA meter hanging in the air for almost a week until I made the temp mount from some scrap acrylic. For a temp gauge I would recommend the dual digital aquarium gauge. It will take power from 5V to 80V so you can grab DC from just about anywhere in your machine. Probes either in line or in bulk head fittings will give you the delta across the tube, and when I bought mine it was literally $1 more than the single. Do be careful in what you click on. Most are C gauges and cannot be switched to F. I had to send my first one back because I clicked on the C instead of the F. If you look at my console mod, you’ll see the red and black posts. They are in series with the mA meter, and let me put a digital meter in line for power tests.
I found one odd quirk in my machine, the only thing on the 5V feed was the red dot. I added a resistor and put it on the 24V with everything else so I didn’t have to worry about mixed voltage.
There is a pic of the air solenoid box on my google page, and you are just about locked into that one. Every other one I found that was close required a much higher minimum air pressure to operate. I added a pic of the back side of my air assist assembly. The output push - push - MIP tee came from Grainger, everything else is pipe and ice maker fittings from Home Depot. The extra ice maker valve ahead of the solenoid is for a place to tap air for burn tests. Not required, but I had the valve and with it I don’t have to disconnect the nozzle air assist or make sure the lid doesn’t close on the tubing. I used another IM valve for the bypass instead of spending for the little screw adjustment one. I’ve seen enough posts to know that not all the little screw types will turn down enough with out stopping completely. The video shows just how low your bypass air flow should be.
I have my mod list on the computer somewhere, If I get a chance I’ll sort it into the three categories and add it to the page.
Good Baltic Birch - Well for laser, I’m sure you know you want B/BB grade. It’s not something you will find in your local Home Depot or Lowe’s, but call around to some local independent lumber yards or specialty places. It’s a European product, so it comes in 5’ x 5’ sheets instead of 4’ x 8’. My quote for it here in Kansas City is around $12 for a 5x5.