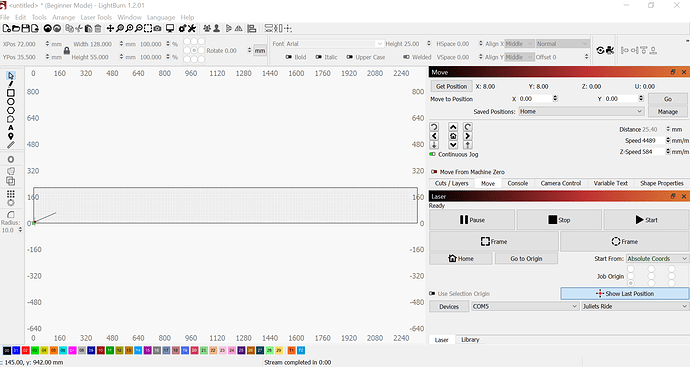
I closed the program and reopened and the controls are working again
You’ll need to run $$ in Console or check Machine Settings.
$$
$0=8
$1=255
$2=0
$3=5
$4=1
$5=0
$6=0
$10=0
$11=0.020
$12=0.002
$13=0
$20=0
$21=1
$22=1
$23=3
$24=100.000
$25=300.000
$26=250
$27=5.000
$30=300
$31=0
$32=0
$100=39.814
$101=39.820
$102=15.677
$110=2500.000
$111=2500.000
$112=2500.000
$120=150.000
$121=150.000
$122=150.000
$130=1000.000
$131=143.000
$132=100.000
ok
I think we are calibrated now… it moves 1" when asked… testing corners now
I cant express how appreicative I am for all the time and patience you are giving to help me! Thank You!!
Sounds good. I figured you’d be around 40 based on things you had said before.
Glad you’re able to make progress.
I have now gone to all four corners and not hit the limits!!
I framed the job and didn’t hit anything and seemed to be in the right area. Still didn’t do anything when i said to start. But that is for tomorrow. Thanks Again!
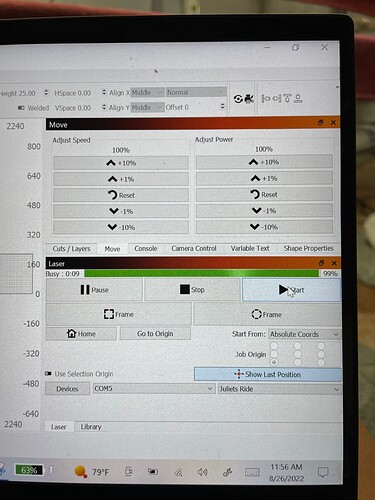
I have rechecked my machine and all looks good! I created a basic line. Previewed and ran simulation of it. Framed it and then said start. All it does is say busy but nothing moves.
Can you take a full screenshot of LightBurn?
I noticed you’re in Beginner mode. This shouldn’t affect your behavior but you may want to get out of it. Edit->Settings->Disable “Beginner Mode”.
Then can you send the following:
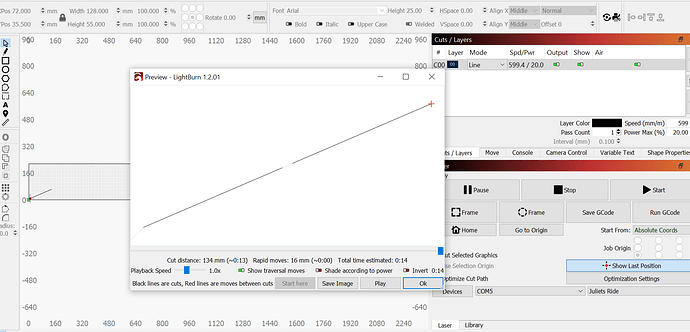
- Screenshot of Preview window
- Push “Save Gcode” button that should now be visible in Laser window. Save file with a .txt extension and then upload here
I figured it out I think. It is the M00 that I added.
I suspect that’s correct. Is it now working?
YES it is working!! very jerky. Need to figure out how to smooth out the movements
Oh wow! That’s amazing. Nice.
So are there settings that adjust how smoothly it runs or is that a hardware isssue… I thought maybe I need to adjust the belt tension differently?
Not likely belt tension but definitely worth doing a mechanical review to make sure there’s nothing binding.
There’s no “smoothness” control per se but there are various factors that could affect smoothness.
First thing to review is the design itself. Make sure that the design isn’t made up of a bunch of individual short line segments and that it’s a proper smooth continuous line.
Then check out these GRBL settings. They could affect how your machine performs. I’m not familiar with the nuances of the quilting machine so can’t advise you directly.
$11 - Junction deviation, mm
Junction deviation is used by the acceleration manager to determine how fast it can move through line segment junctions of a G-code program path. For example, if the G-code path has a sharp 10 degree turn coming up and the machine is moving at full speed, this setting helps determine how much the machine needs to slow down to safely go through the corner without losing steps.
How we calculate it is a bit complicated, but, in general, higher values gives faster motion through corners, while increasing the risk of losing steps and positioning. Lower values makes the acceleration manager more careful and will lead to careful and slower cornering. So if you run into problems where your machine tries to take a corner too fast, decrease this value to make it slow down when entering corners. If you want your machine to move faster through junctions, increase this value to speed it up. For curious people, hit this link to read about Grbl’s cornering algorithm, which accounts for both velocity and junction angle with a very simple, efficient, and robust method.
$120, $121, $122 – [X,Y,Z] Acceleration, mm/sec^2
This sets the axes acceleration parameters in mm/second/second. Simplistically, a lower value makes Grbl ease slower into motion, while a higher value yields tighter moves and reaches the desired feed rates much quicker. Much like the max rate setting, each axis has its own acceleration value and are independent of each other. This means that a multi-axis motion will only accelerate as quickly as the lowest contributing axis can.
Again, like the max rate setting, the simplest way to determine the values for this setting is to individually test each axis with slowly increasing values until the motor stalls. Then finalize your acceleration setting with a value 10-20% below this absolute max value. This should account for wear, friction, and mass inertia. We highly recommend that you dry test some G-code programs with your new settings before committing to them. Sometimes the loading on your machine is different when moving in all axes together.


