And what is the power output of “China Blue”?
It’s the 50 watt (advertised) 12 x 20 inch model. The tube is 880mm in length, so it’s about 45 watts and I have confirmed that with a Mahoney wattmeter.
If you enlarge it, you can see where the bottom part of the side leafs are ‘overdone’ from lack of a better word. It’s totally different dealing with controllable ‘dots’ than this unpredictable ‘crater’ option when I zap it. All the ‘craters’ are different sizes…
I’m going to drop the power levels and give it a try again. Also a different
Went to Floor and Decor and found some lower cost stock to play with.
These are about 75mm (3") across the flat sides of the octagon, the square is about 80mm (little over 3")
I think they were $9 for the square piece ($1 each) and the octagon was about 12 and it has 16 pieces.
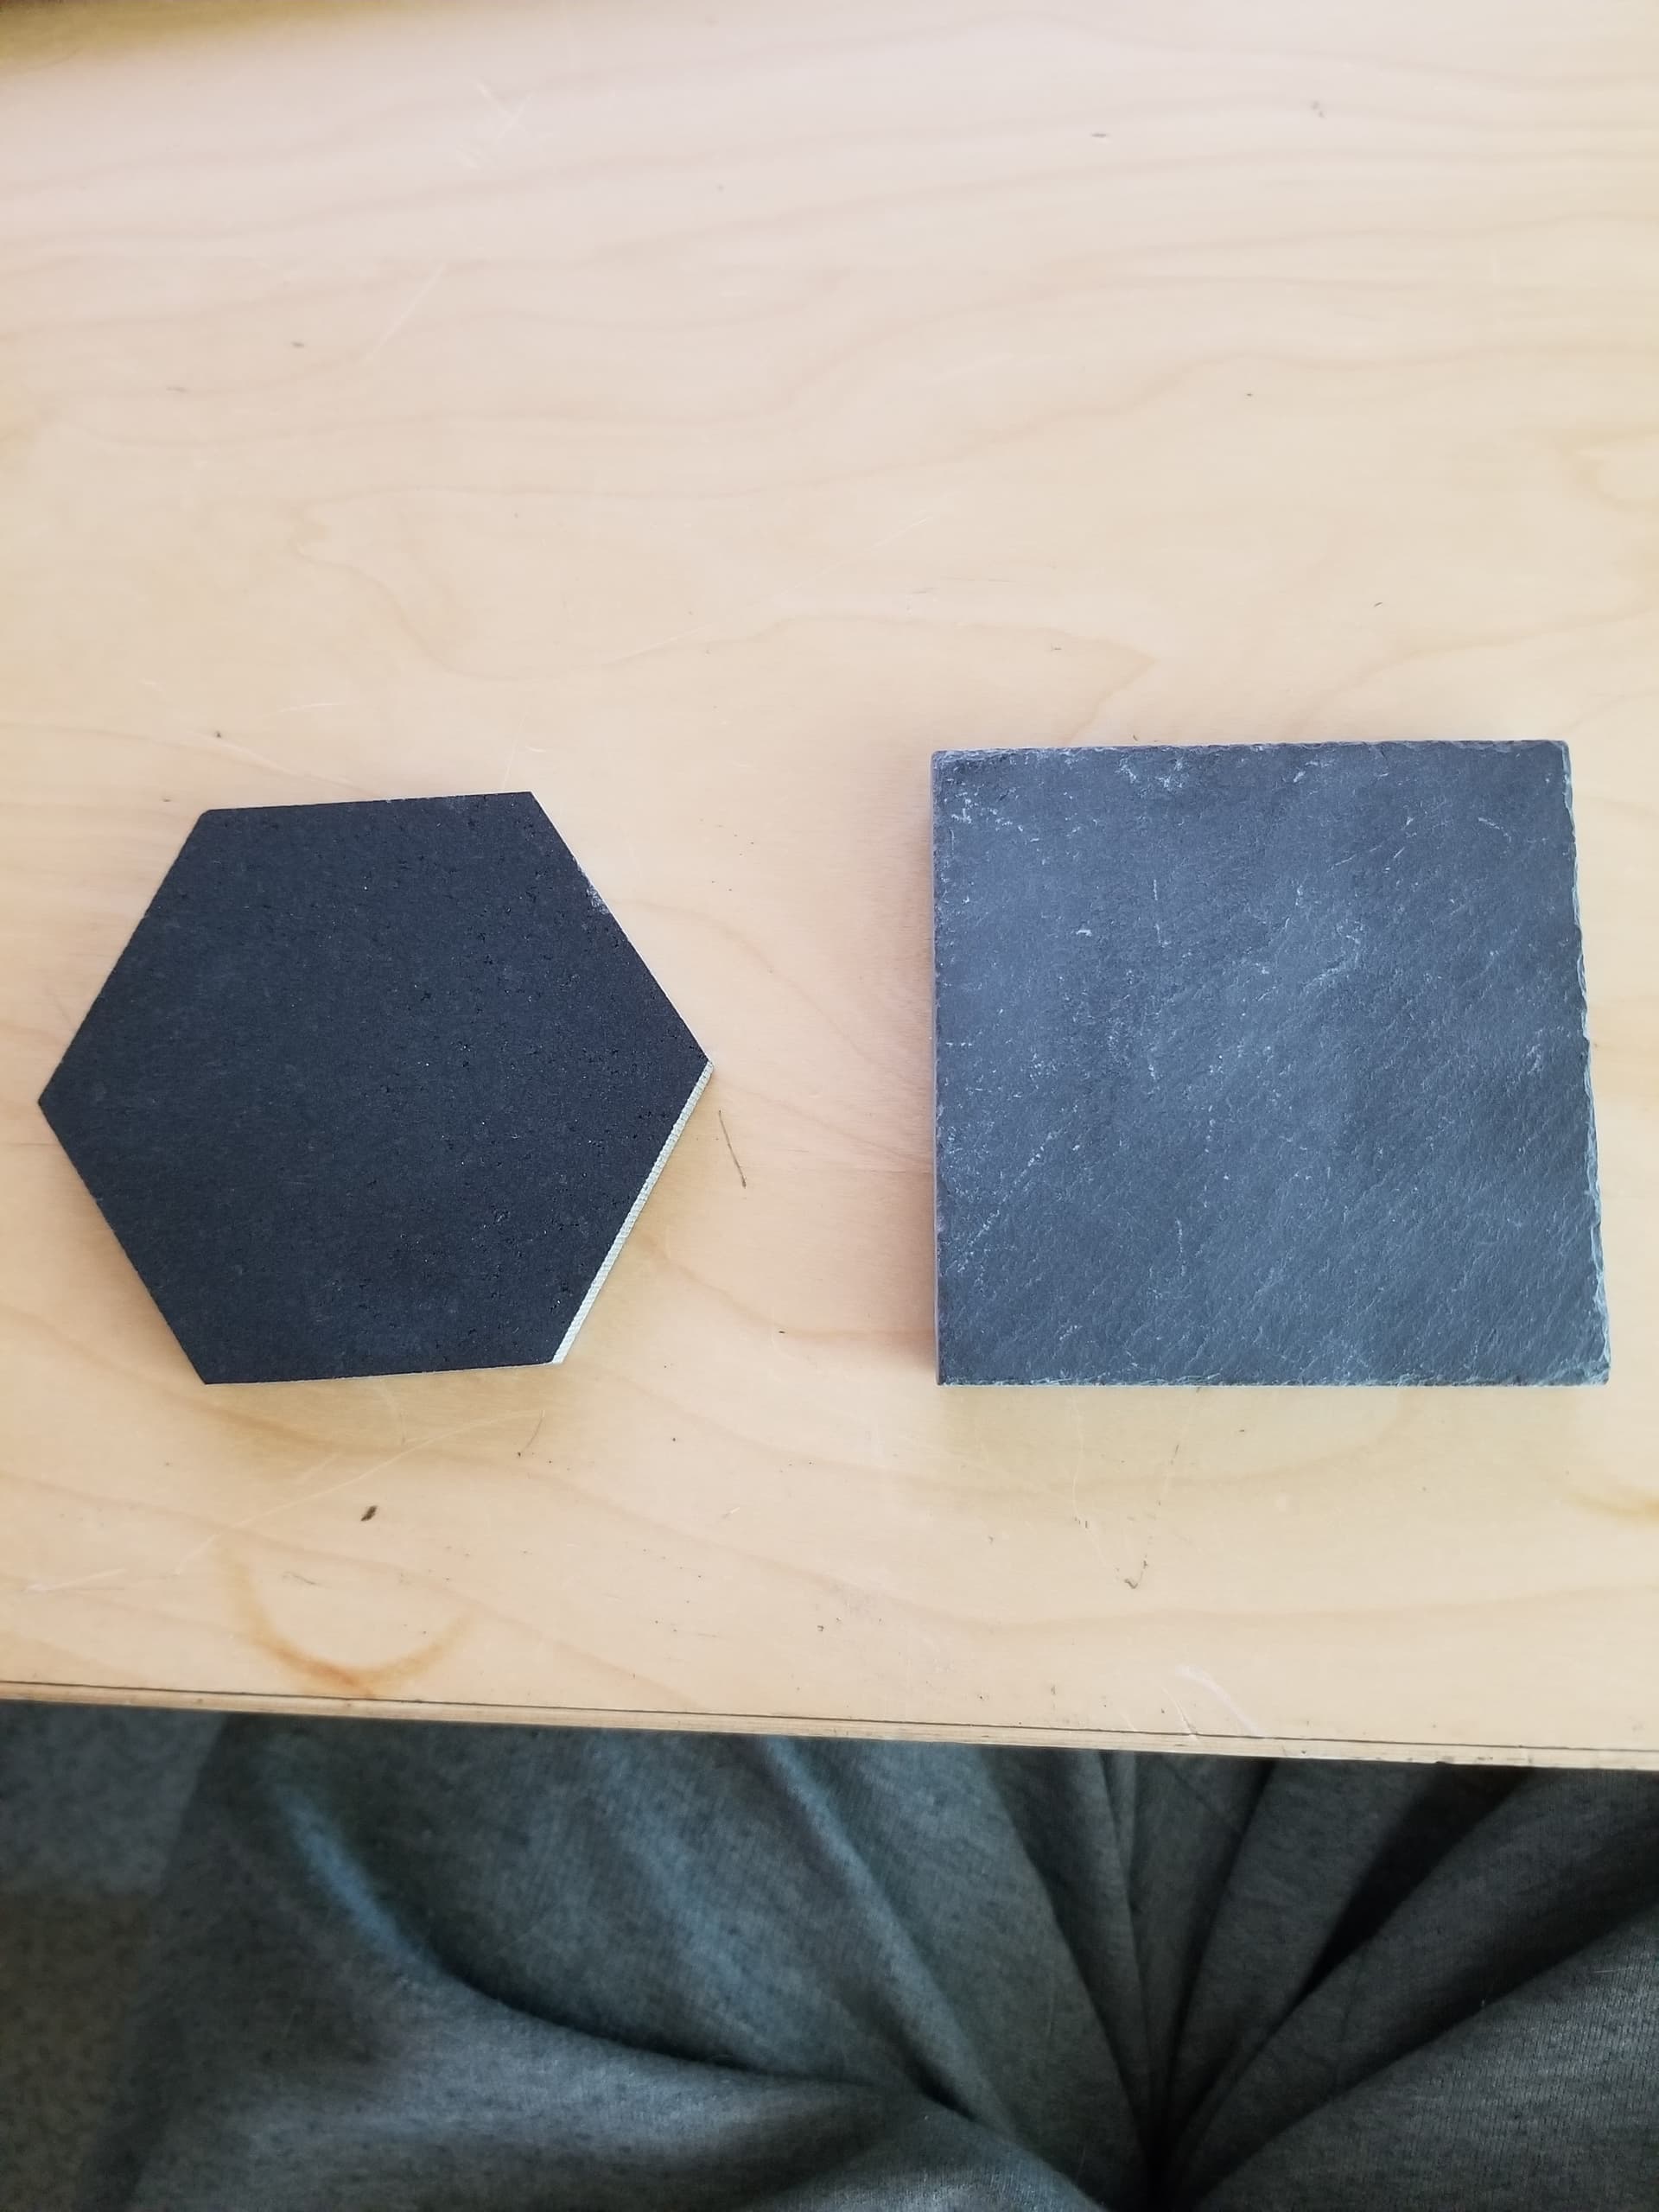
This is a foot square tiles that I peeled the slate off.
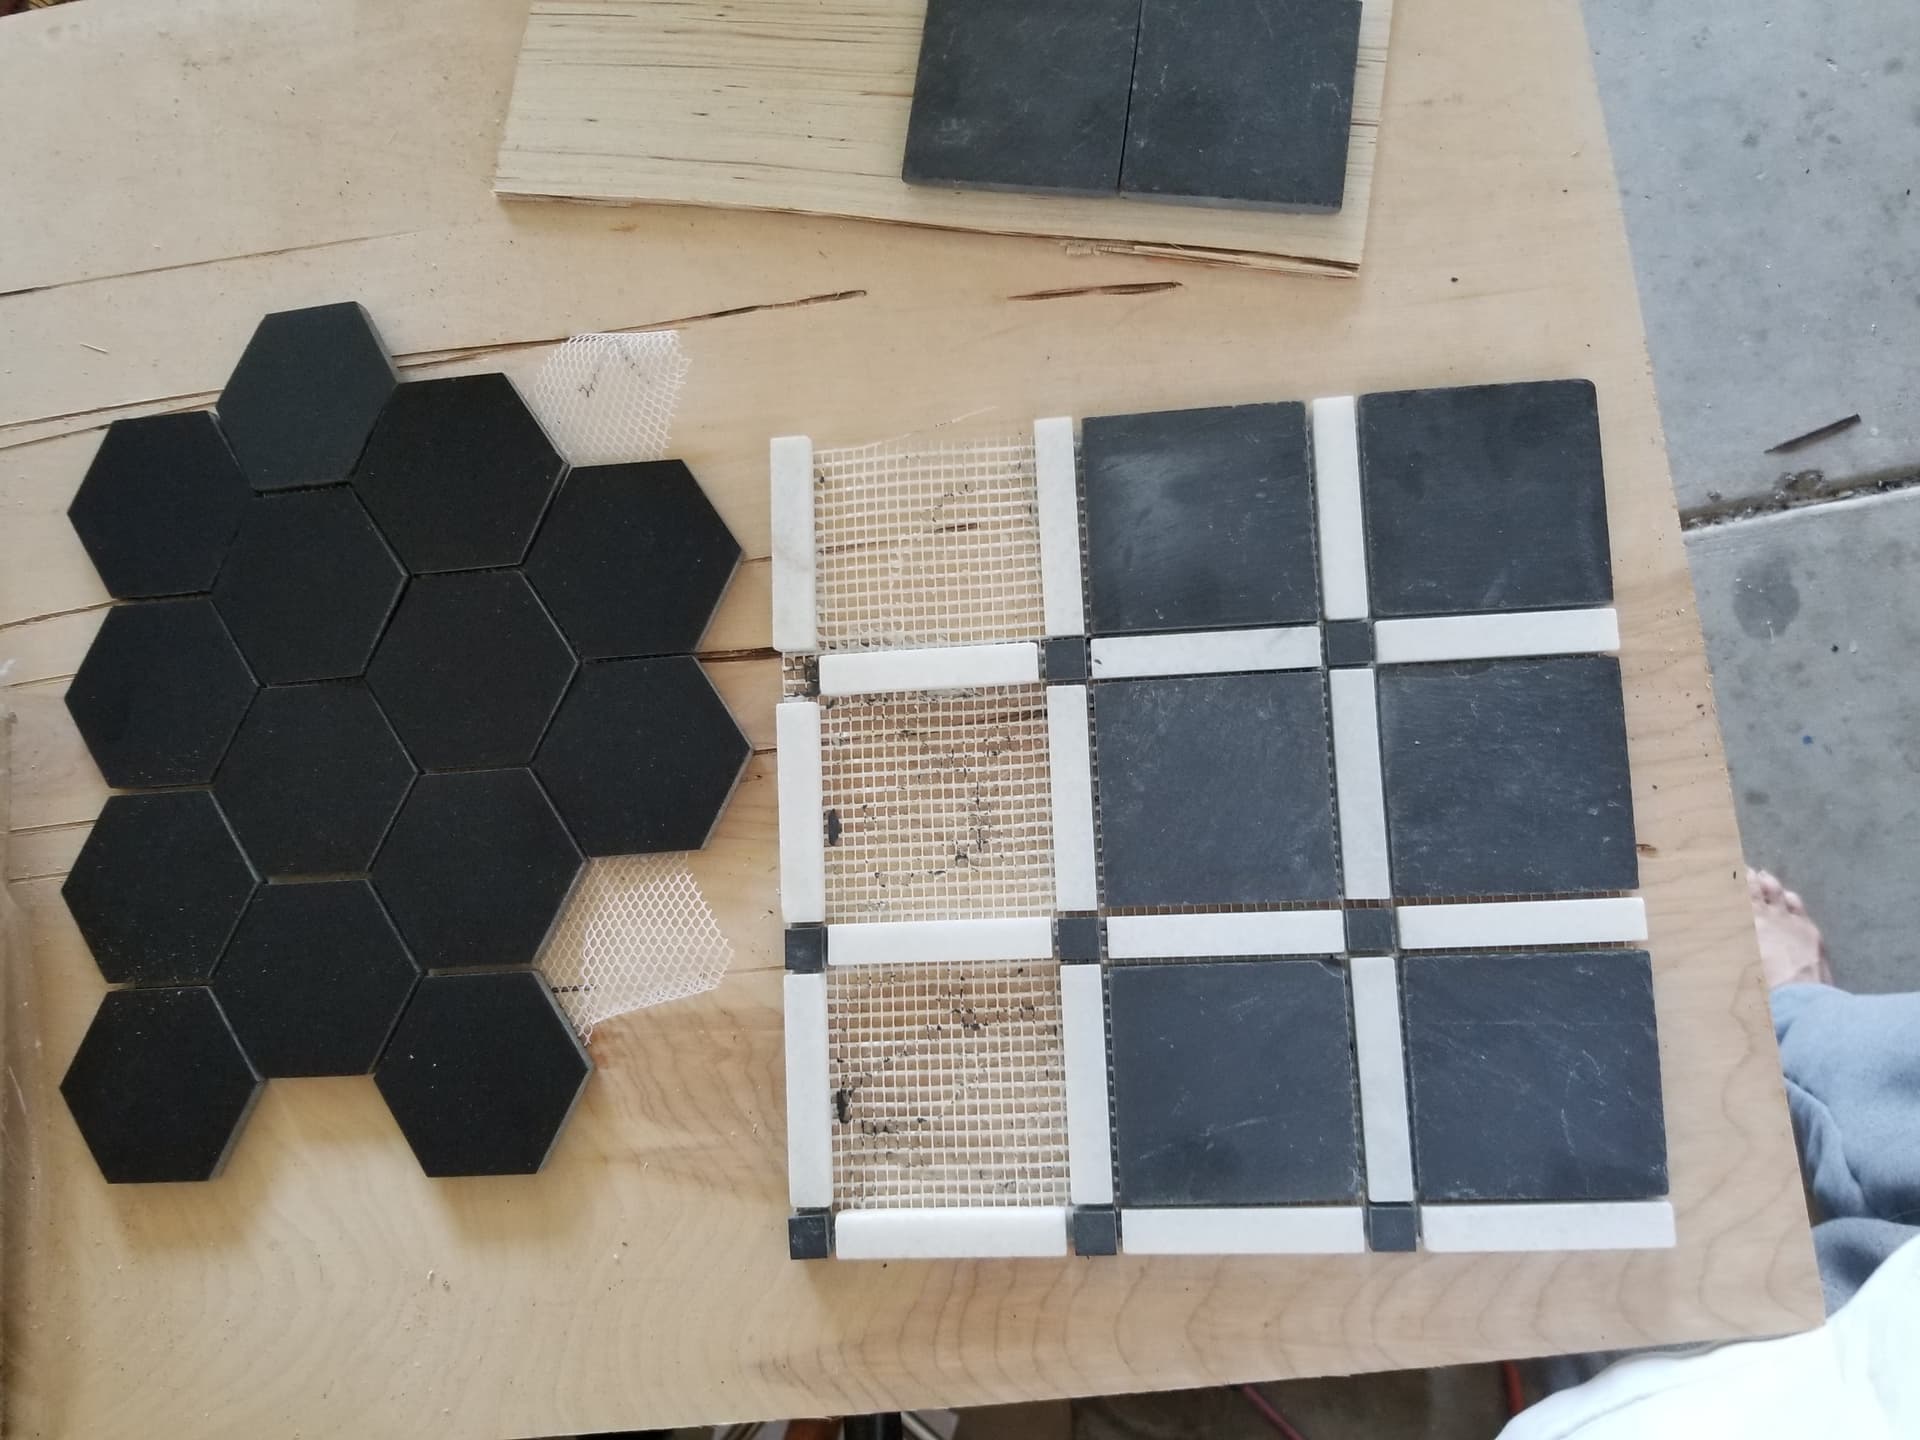
I also picked up a couple 1 foot square slate tiles for $1.19 each. BTW all of these have been ‘honed’ or ground flat with the exception of the 1 foot square that are left natural.

Thank you very much, it’s people like you that makes running a laser fun, I have no interest in trying to make money off of it but you sharing your process and material list will help me make ones for fun!
2 Likes
Thanks for this! Just ordered some slate coasters, seal and look forward to trying it this weekend!
1 Like
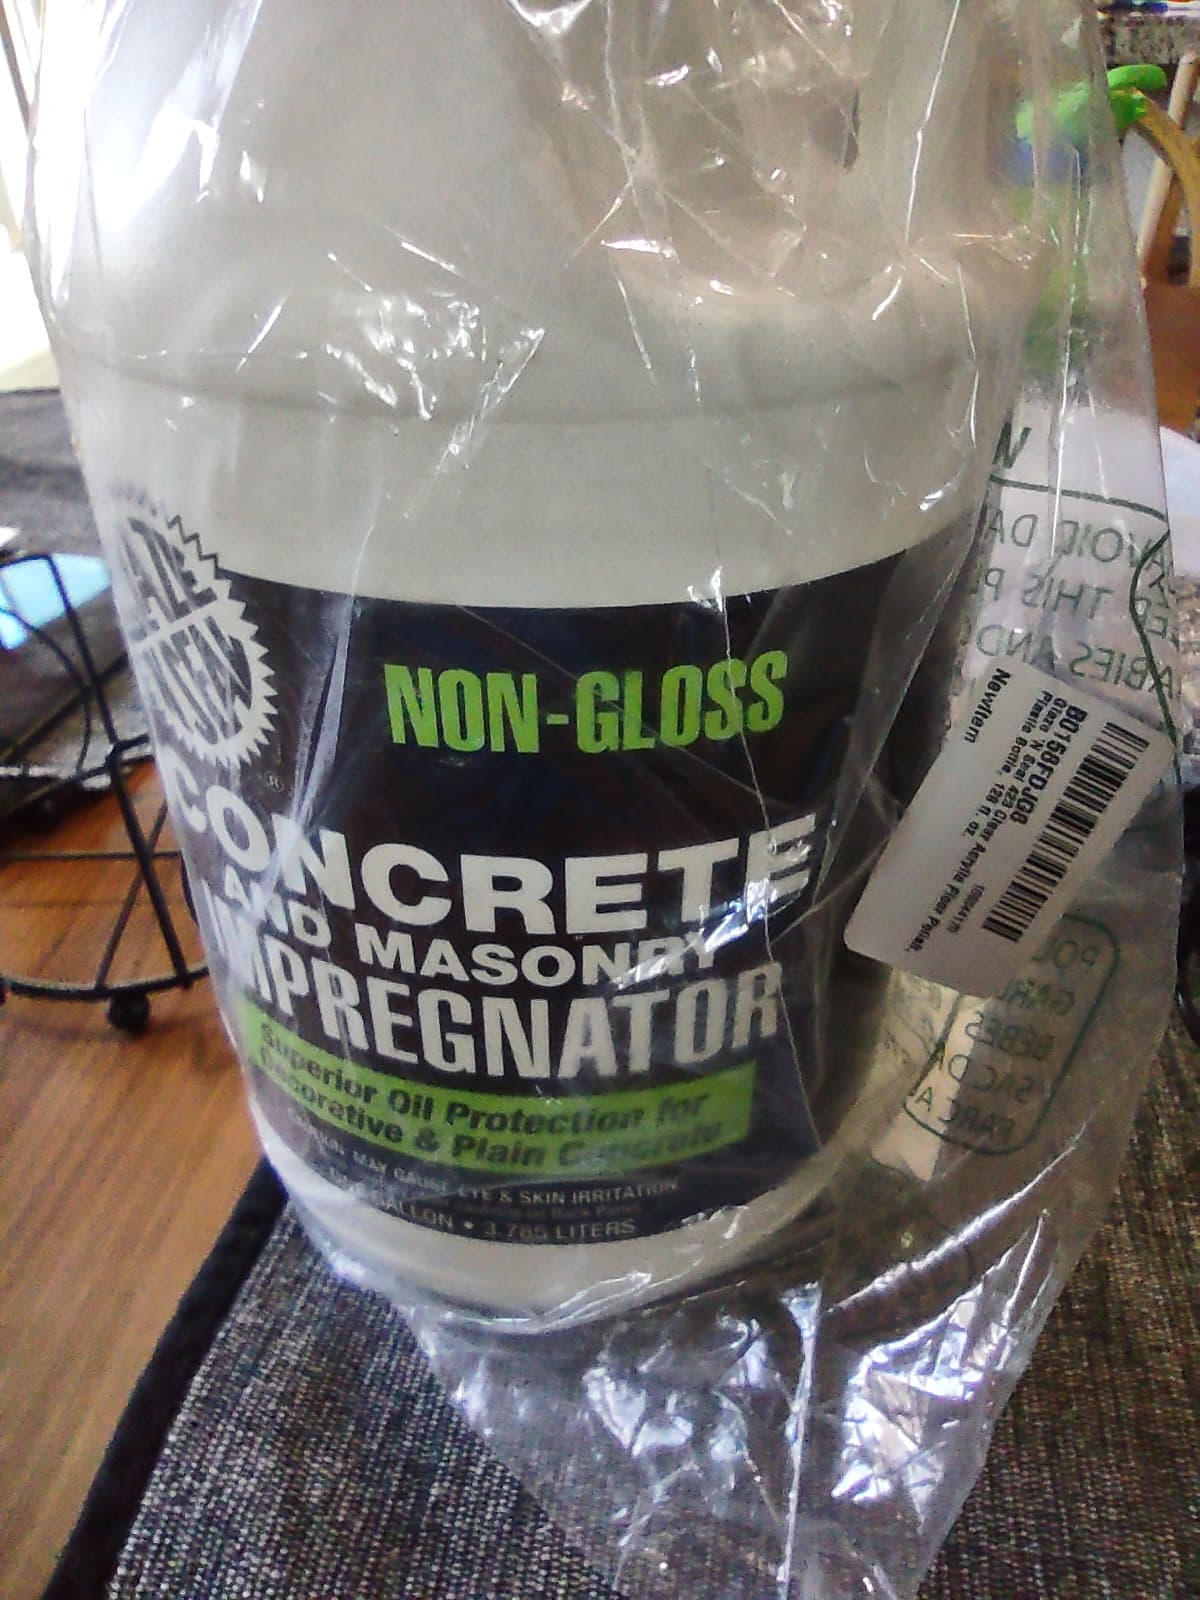
Oh boy… I think Amazon is mixing things up at the shipping facility. I ordered the item from the link and this is what they shipped. I even went back to double check my order and it matches what you posted. I don’t think this will work :).
To add insult to injury I ended up with poor quality coaster holders that have paint chipping out of the box  I guess I will just have to make a box holder out of wood!
Now the sealer… Based off my quick search the same company offers a few different things. I see what they sent me, what you have pictured being the 423 clear acrylic but they also have one made for slate. Any reason you decided to go with the one you did over the slate?
Okay here is our first attempt and I am quite happy with it. Other than needing to work on design :). We ran at 10% and a few different speeds around 300mm/s. I don’t think the speed made much difference based on a quick look with tired eyes :). Tomorrow I am going to try running wide open just to see.
IMHO, more power or less speed will not give you the best results. As I am not an expert with slate, I have a little time with slate.
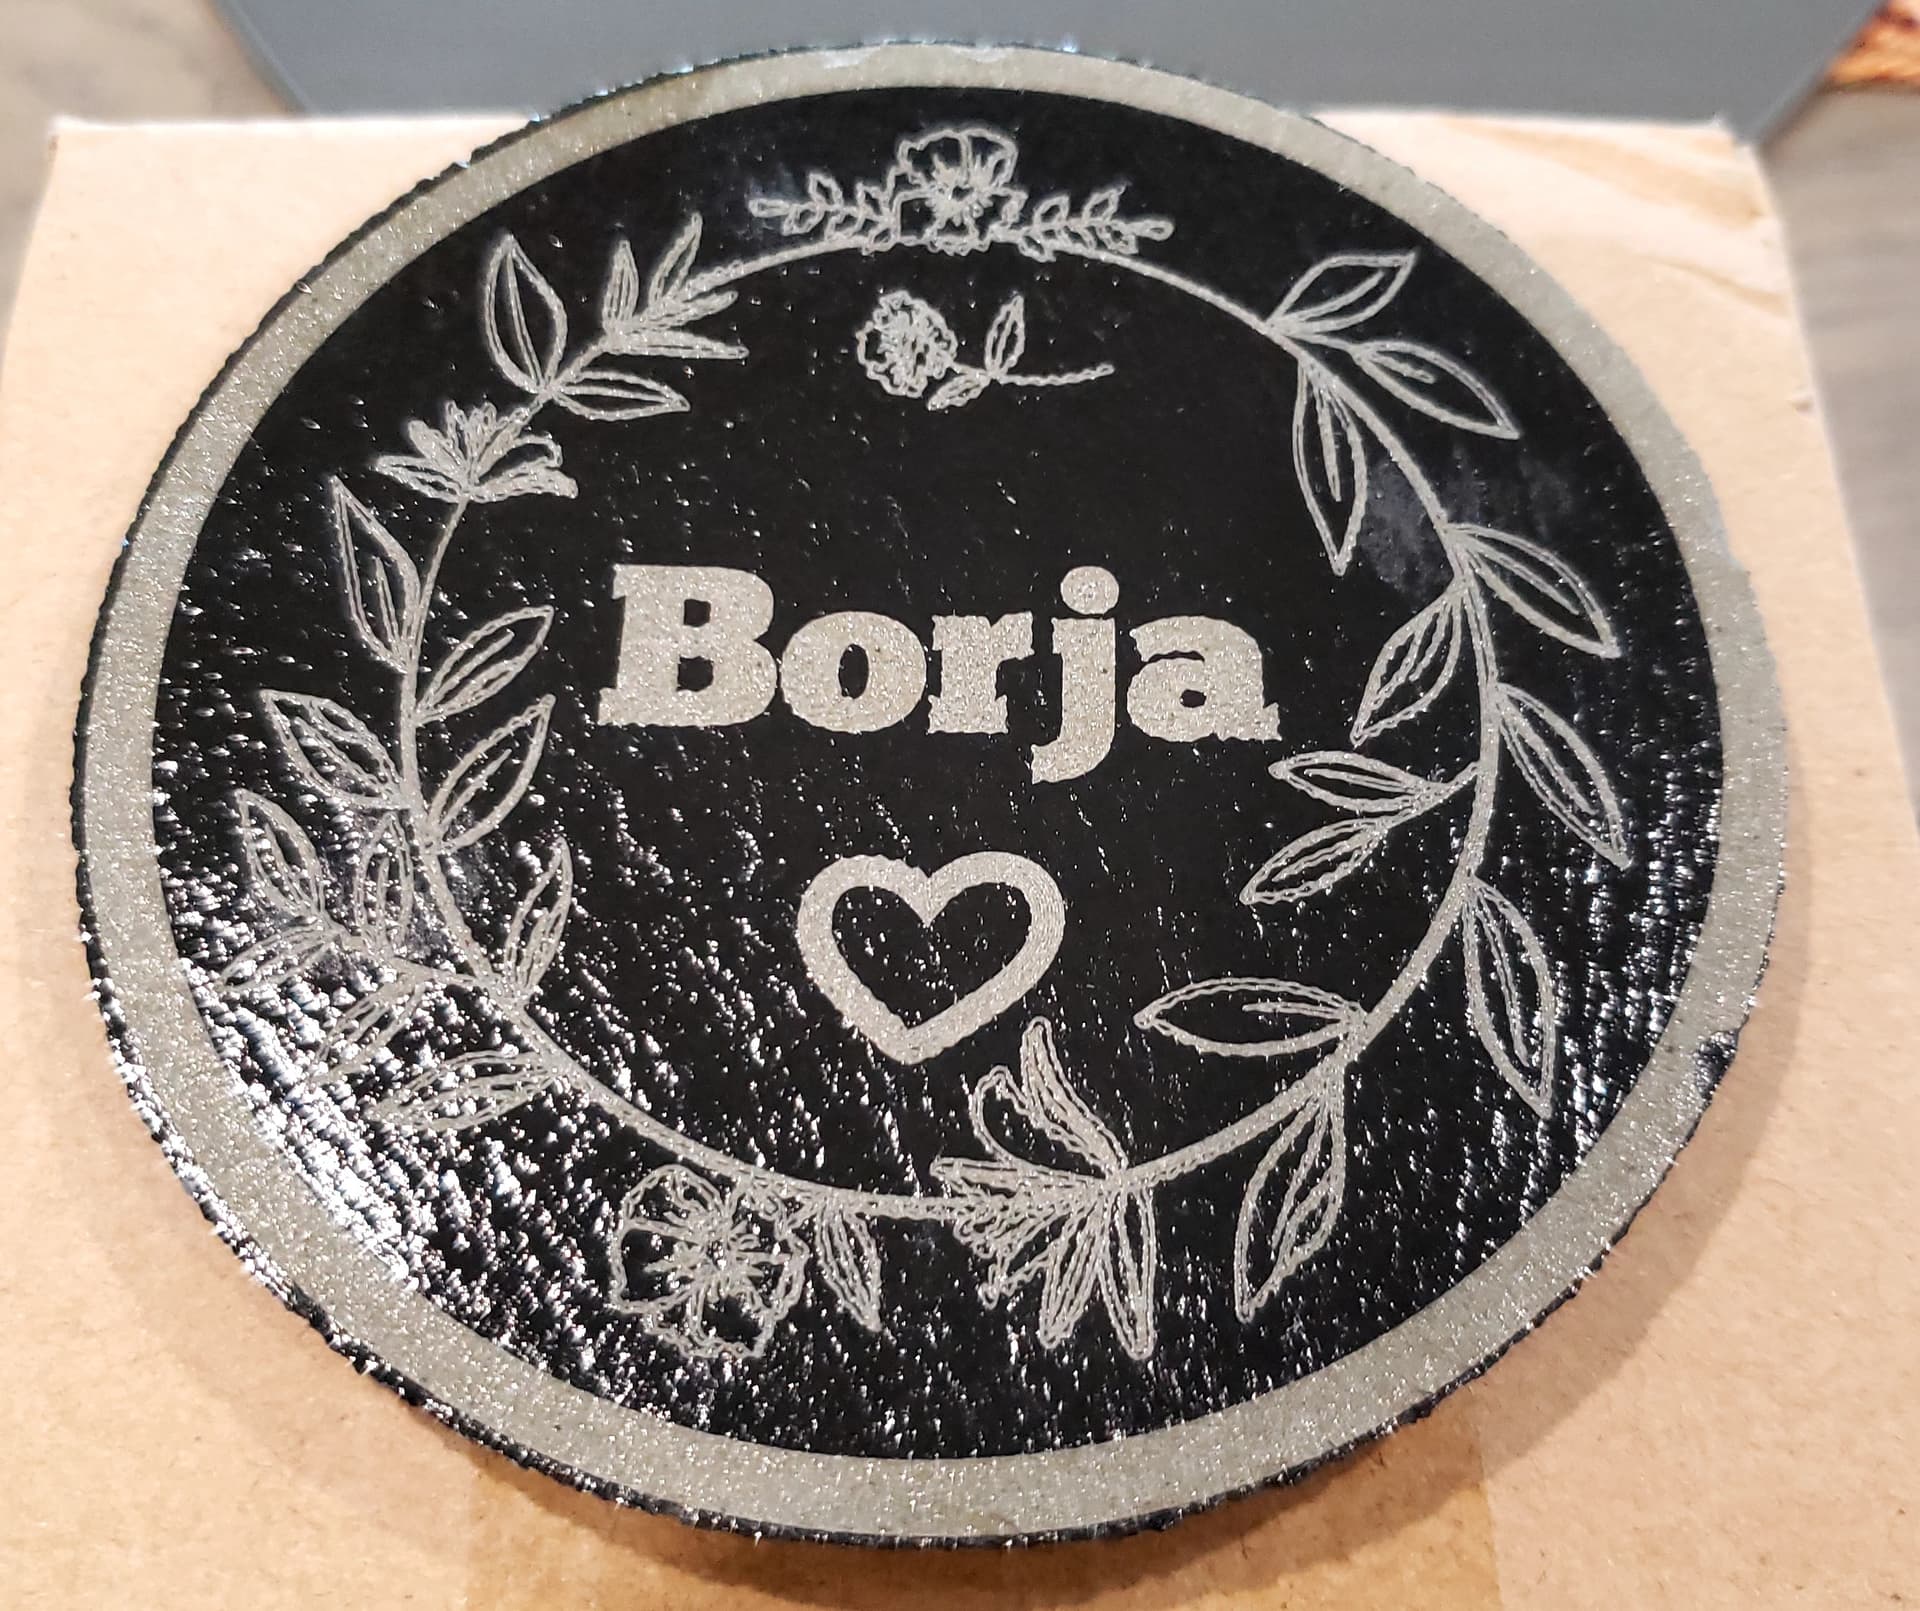
At 127 dpi, 150mm/s @ 13% power for the image on the left, 150mm/s @ 20% power for right image. Right image is definitely ‘blown out’…
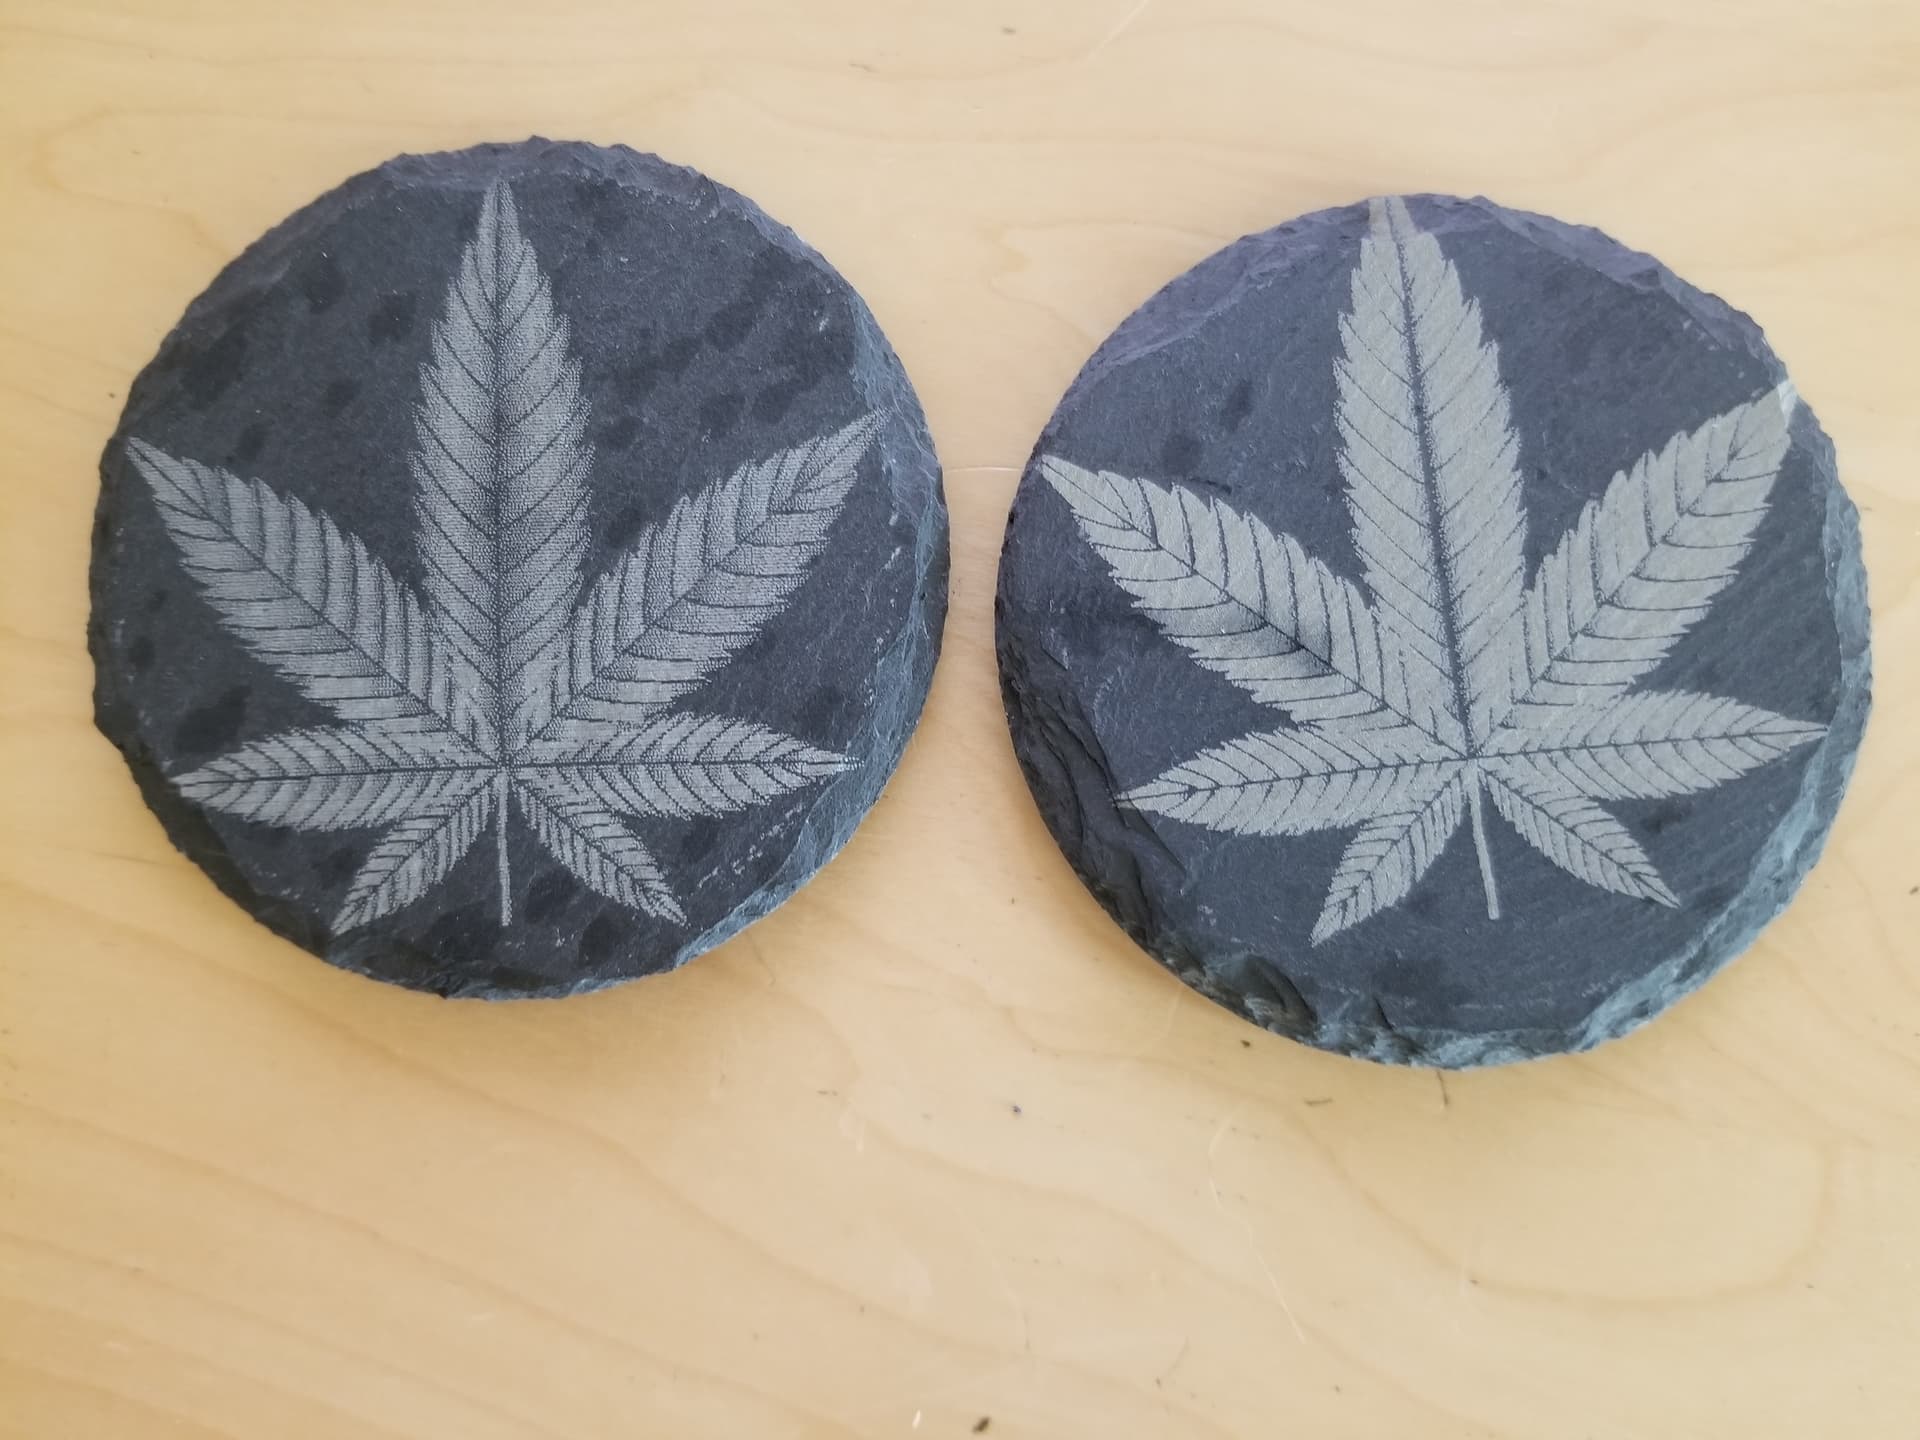
Even the ‘good’ one has areas that are blown out. Click on it and you can see it better. I have bumped the speed, as I can only go down to about 9.4% and lase.
When it comes down to it, speed is the only control you do have 
Good luck…
1 Like
Finally got around to posting my experiments with Slate. This first batch includes the test pattern I used. I found the best results were midrange power with 2667mm/min and my 30W Diode laser. The highest power settings weren’t any better and seemed to have a brown tinge to the exposed area. I used 0.1mm interval on the fill.

Here are the same tiles with sealer applied.

Overall I’d rate this process as very easy and reliable. Another +1 for Rich!
7 Likes
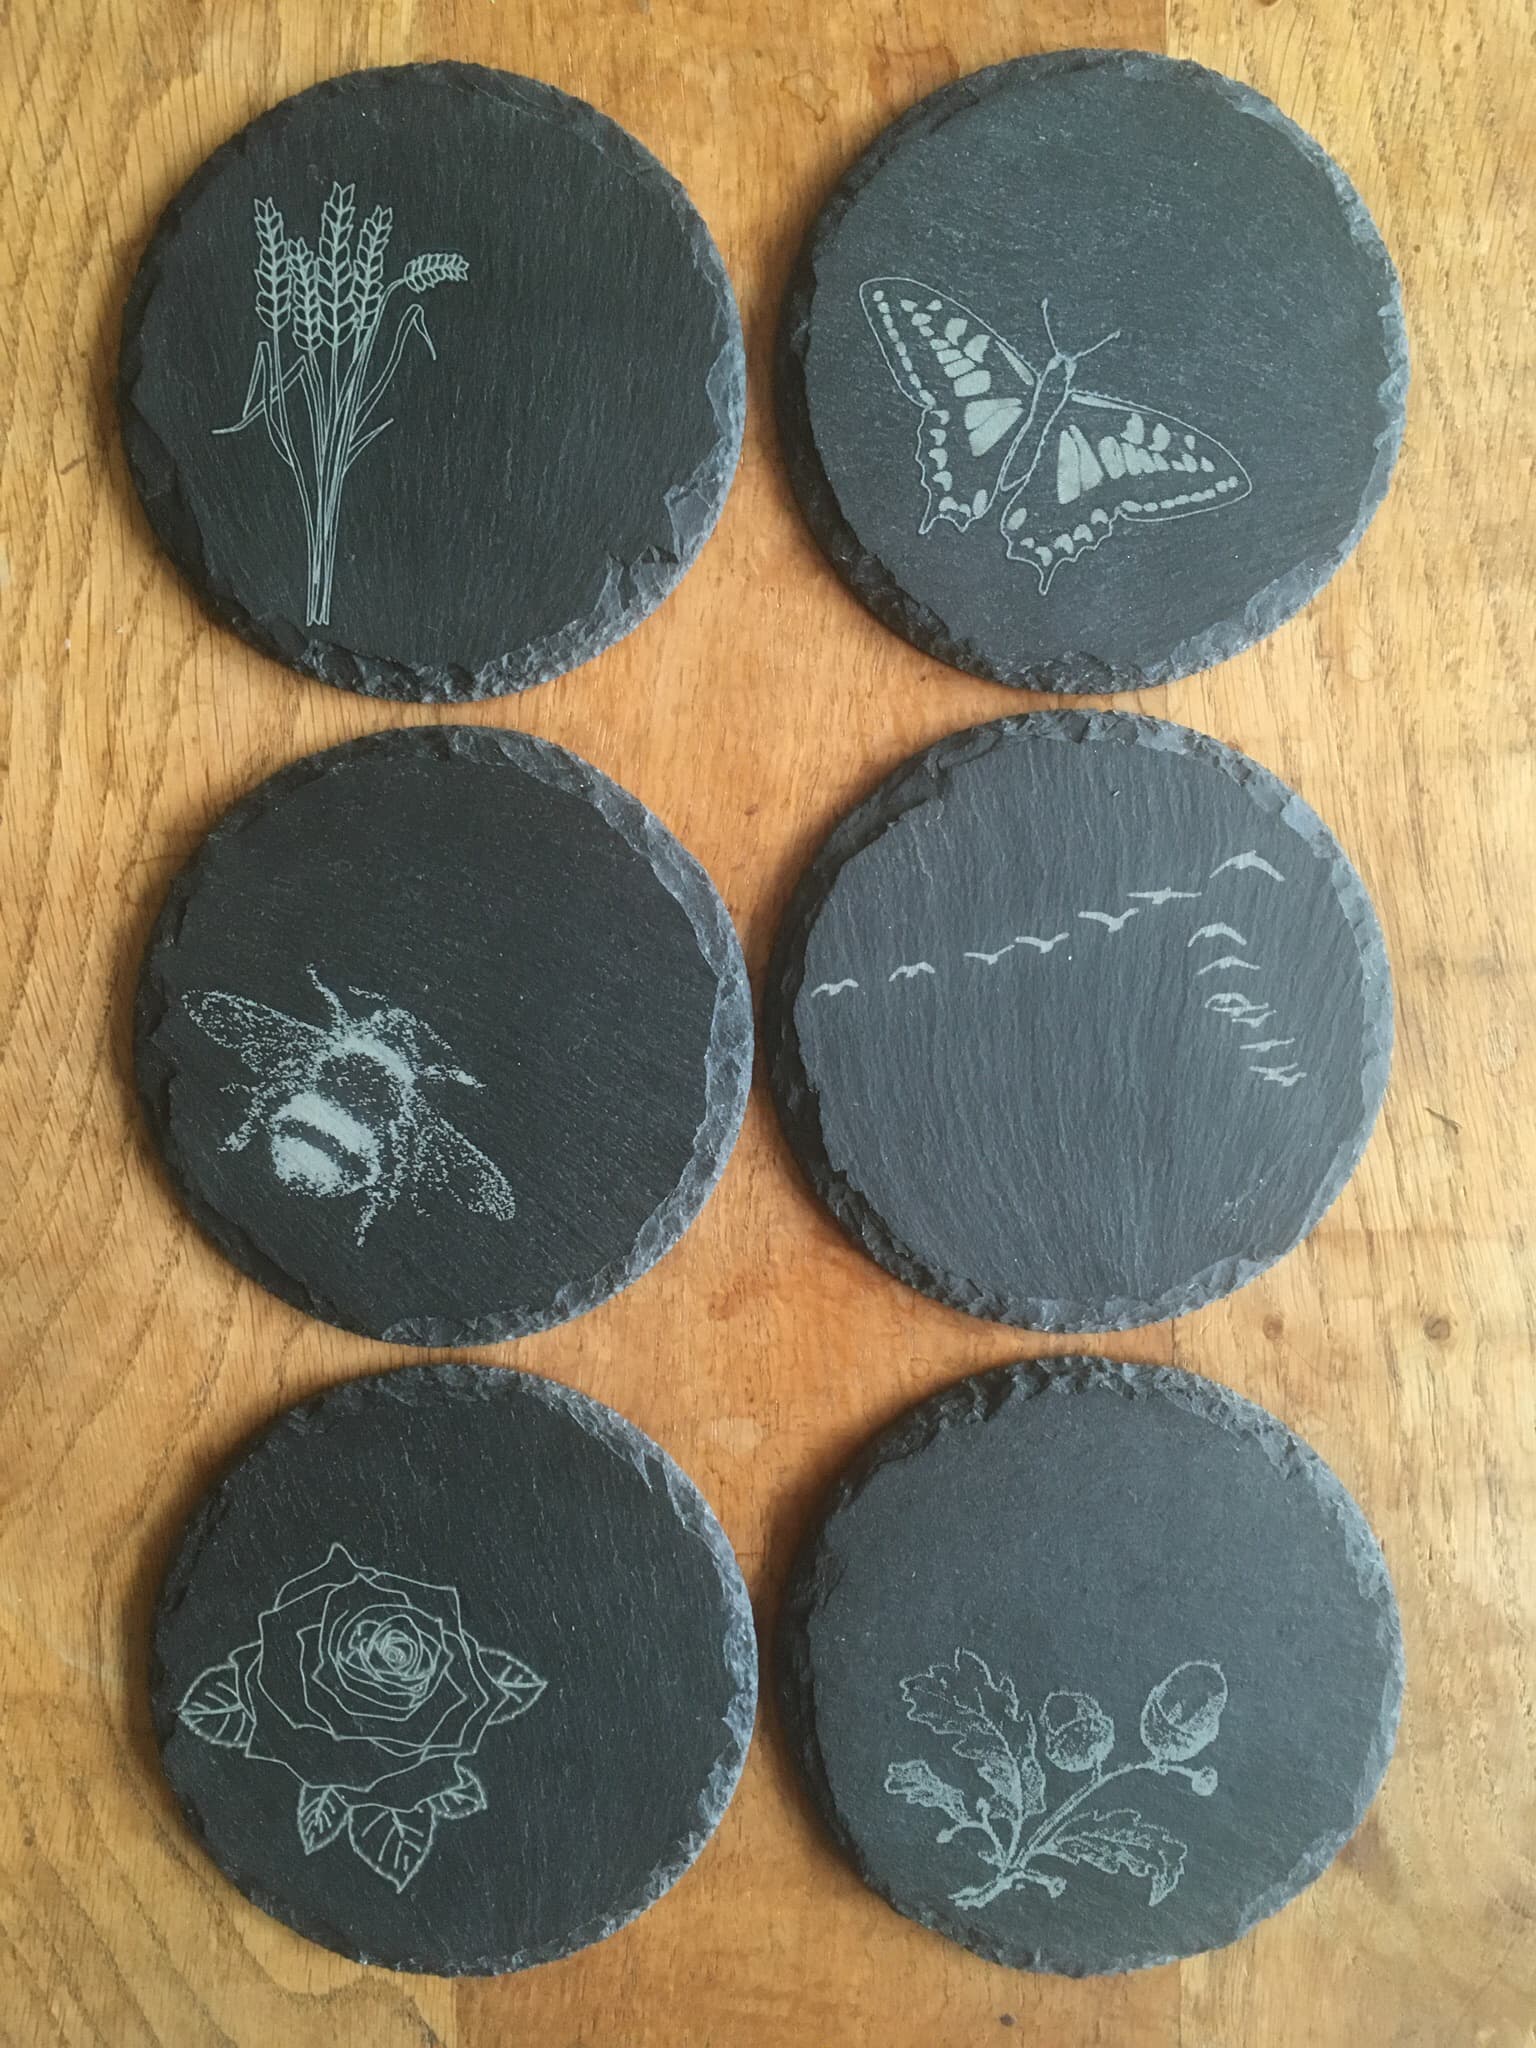
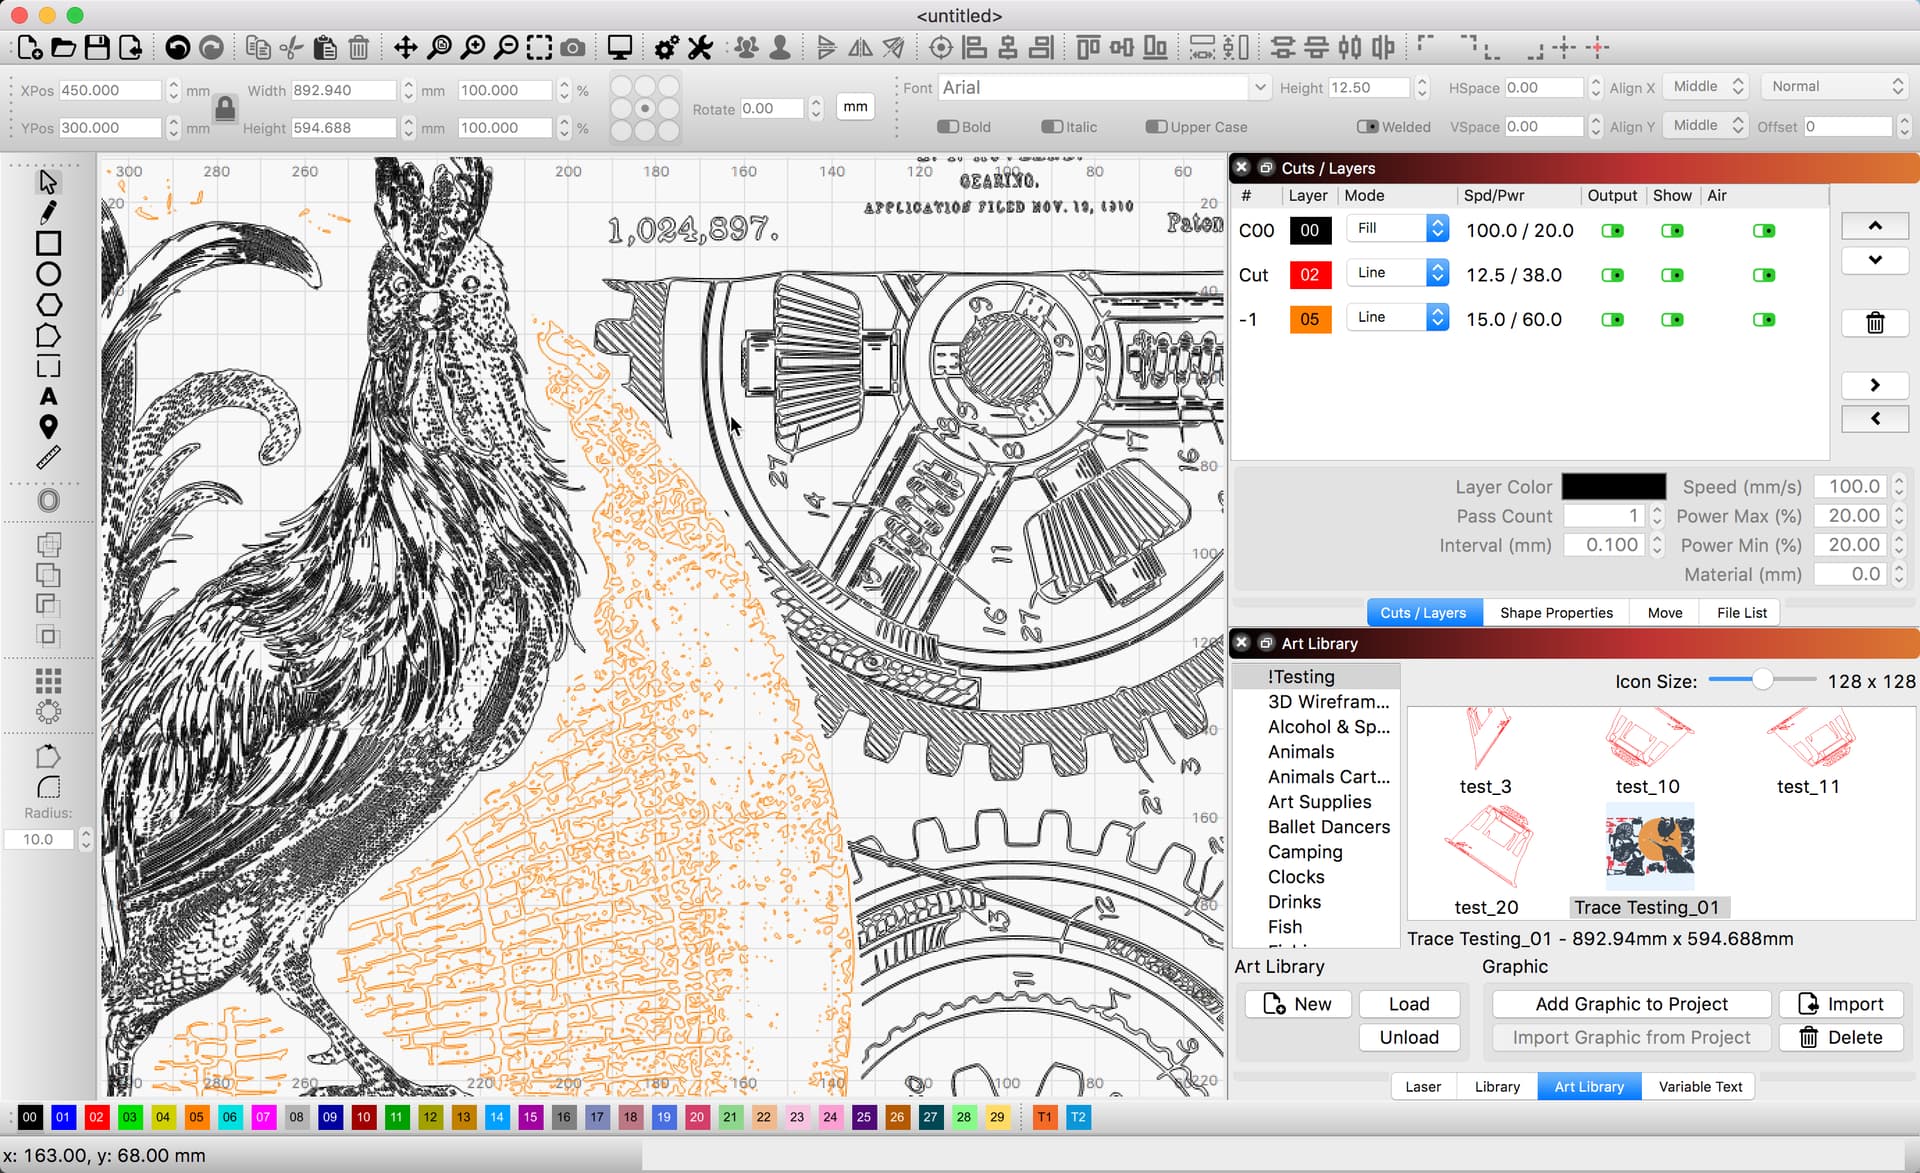
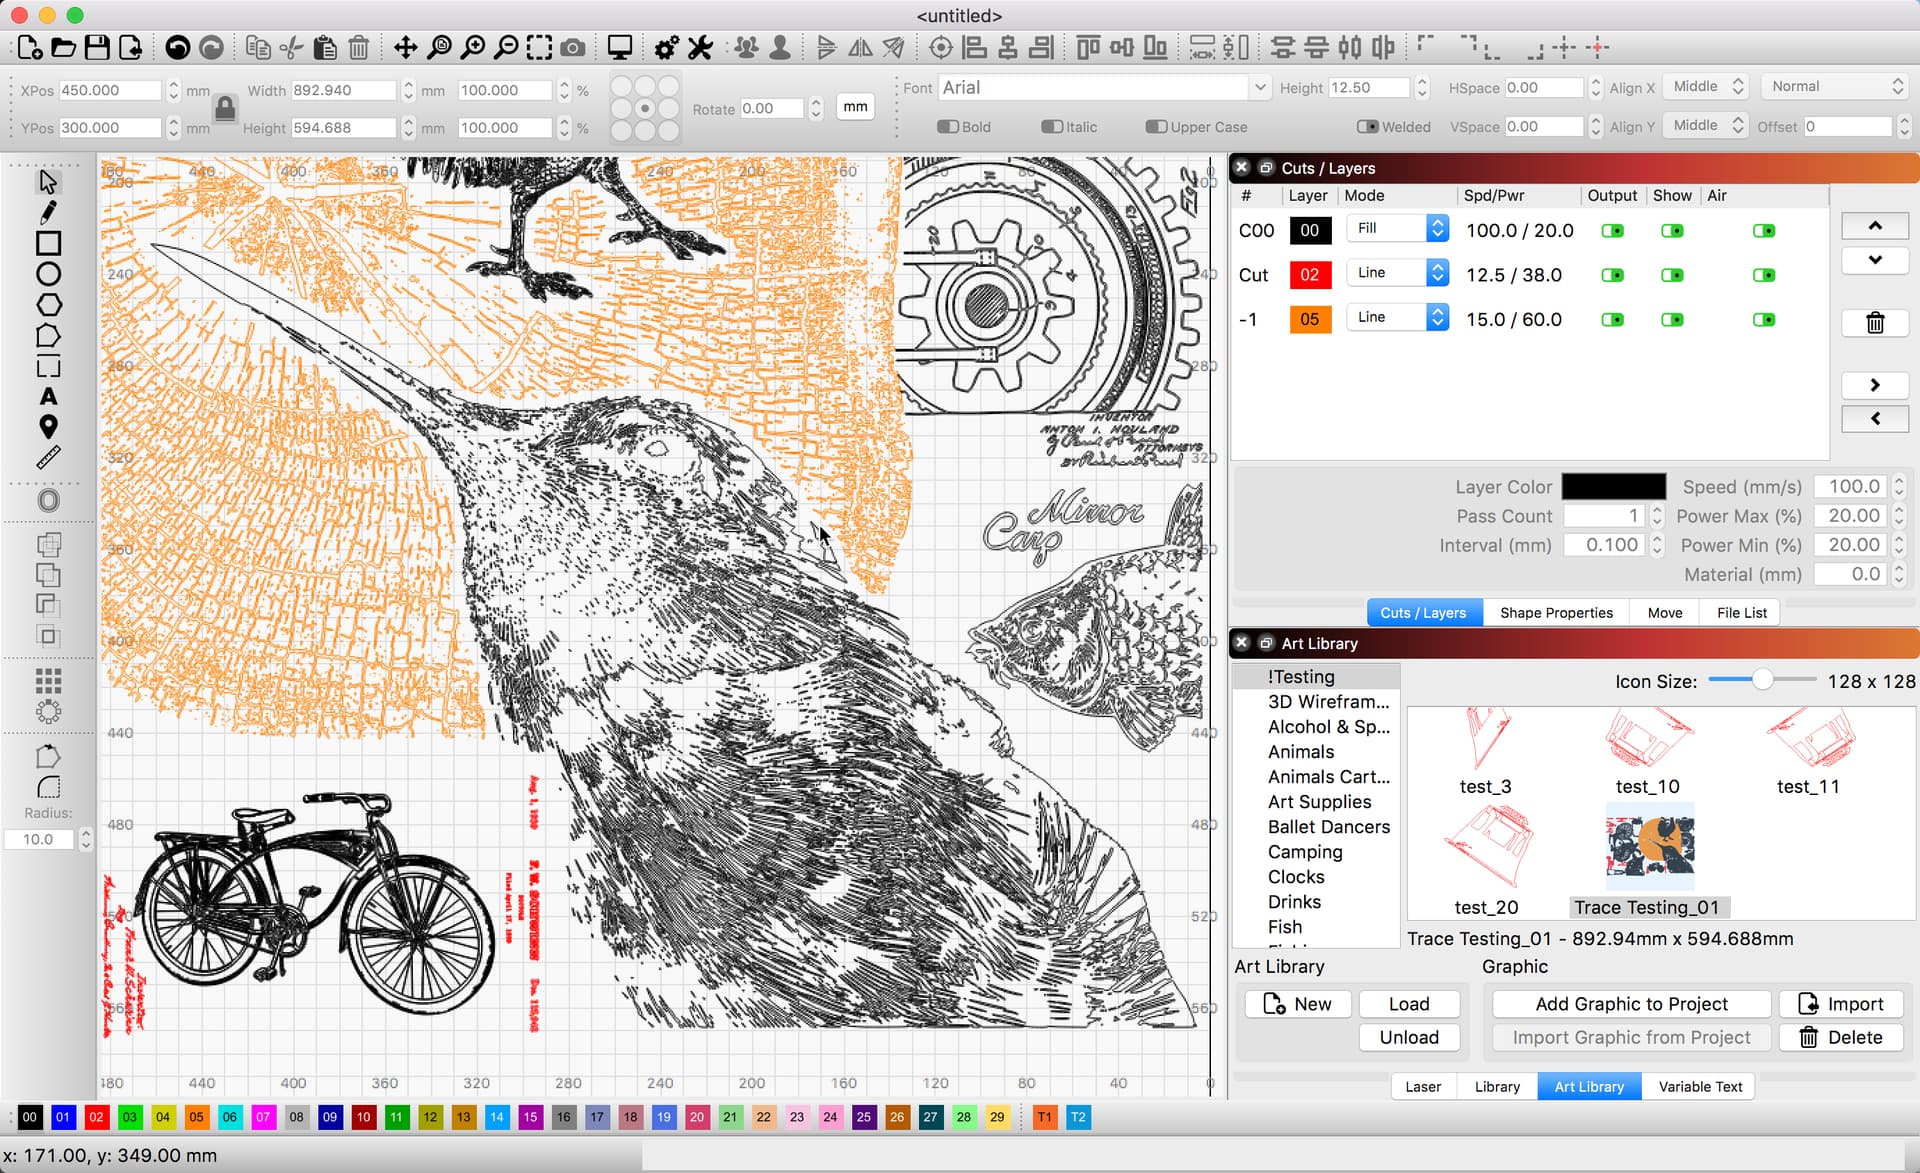
A vector file traced in Affinity Designer, saved as a .ai and imported into Lightburn. Although it took a long time to do the tracing I have not had much luck doing bitmap images - this way seems to give better control over fills and lines.
3 Likes
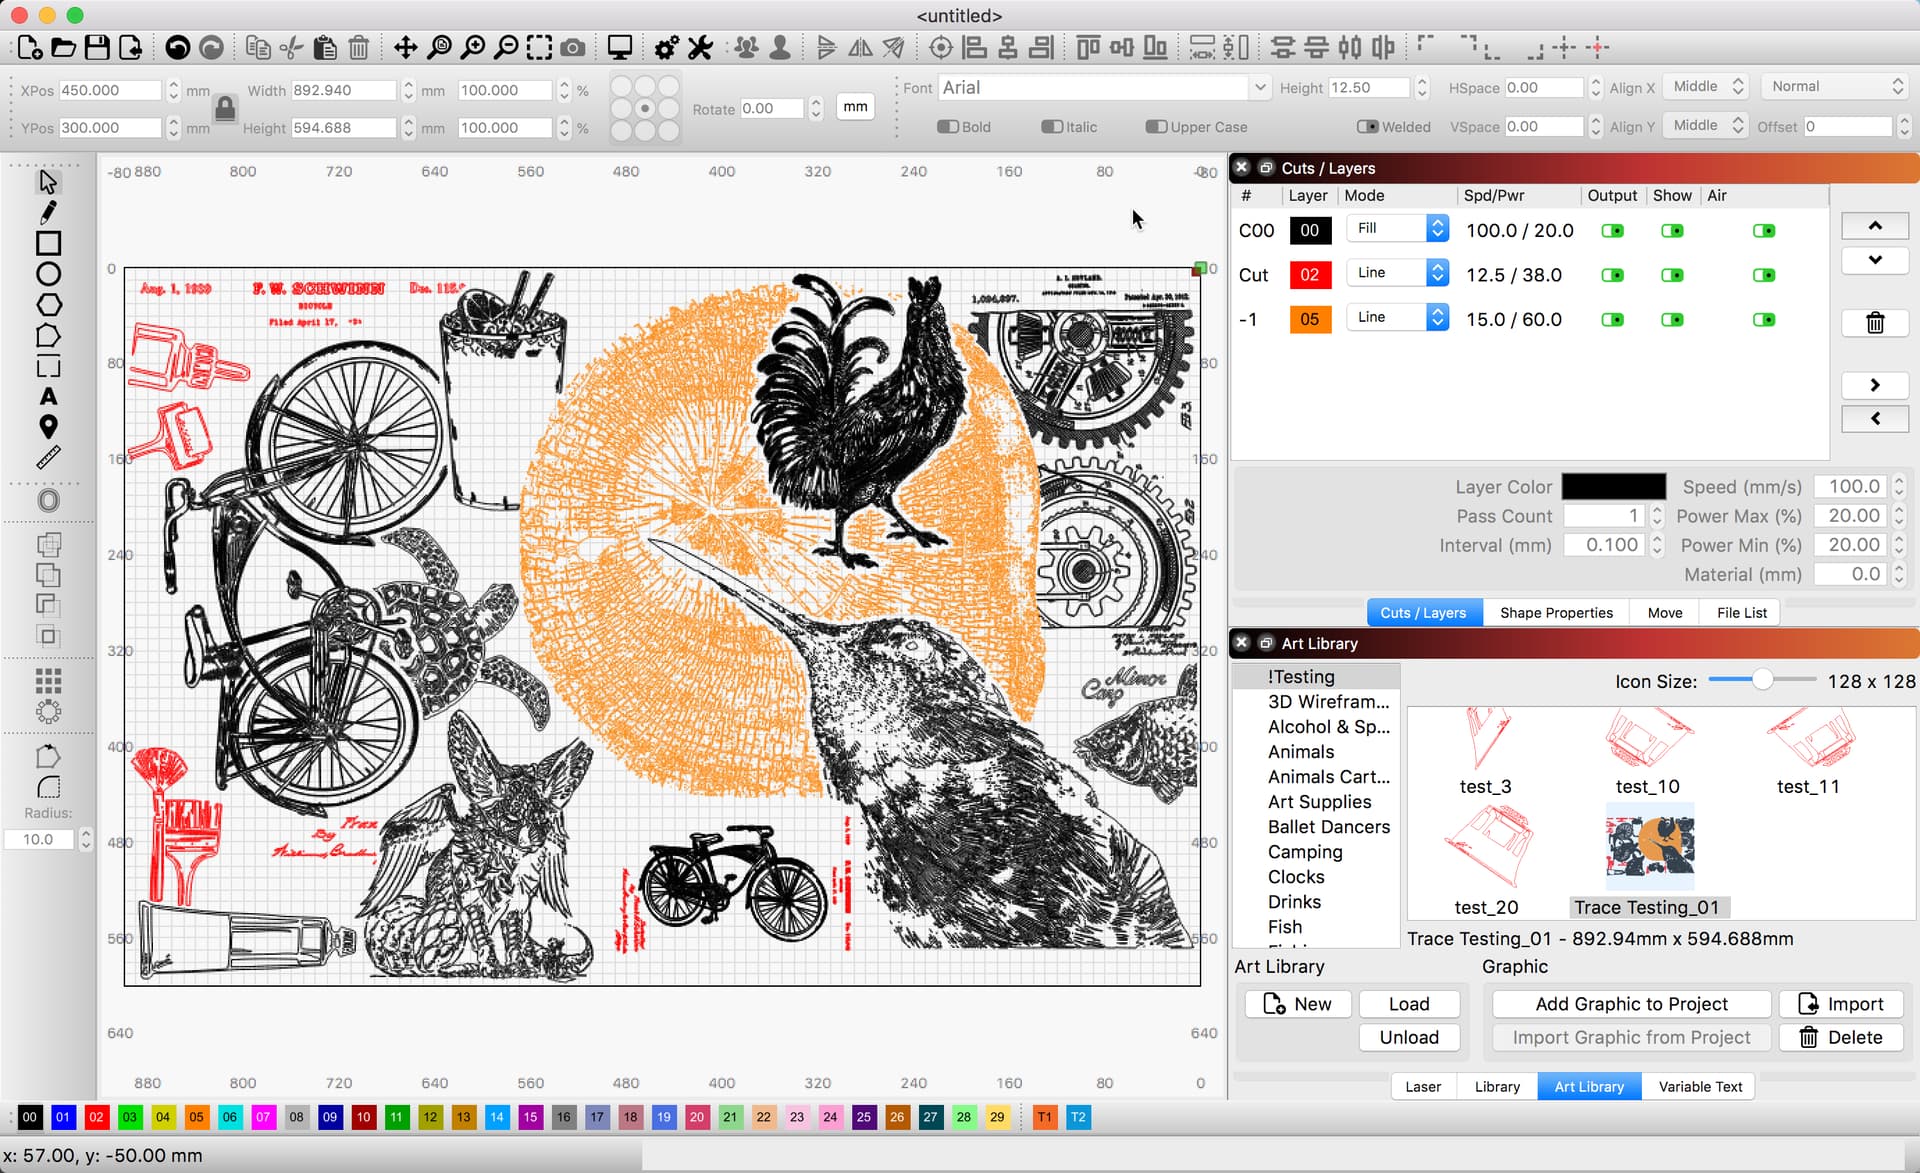
Have you tried using the Image Trace in LightBurn to do the same? What results are you getting from LightBurn? The trace should go down almost instantly. ![]()
1 Like
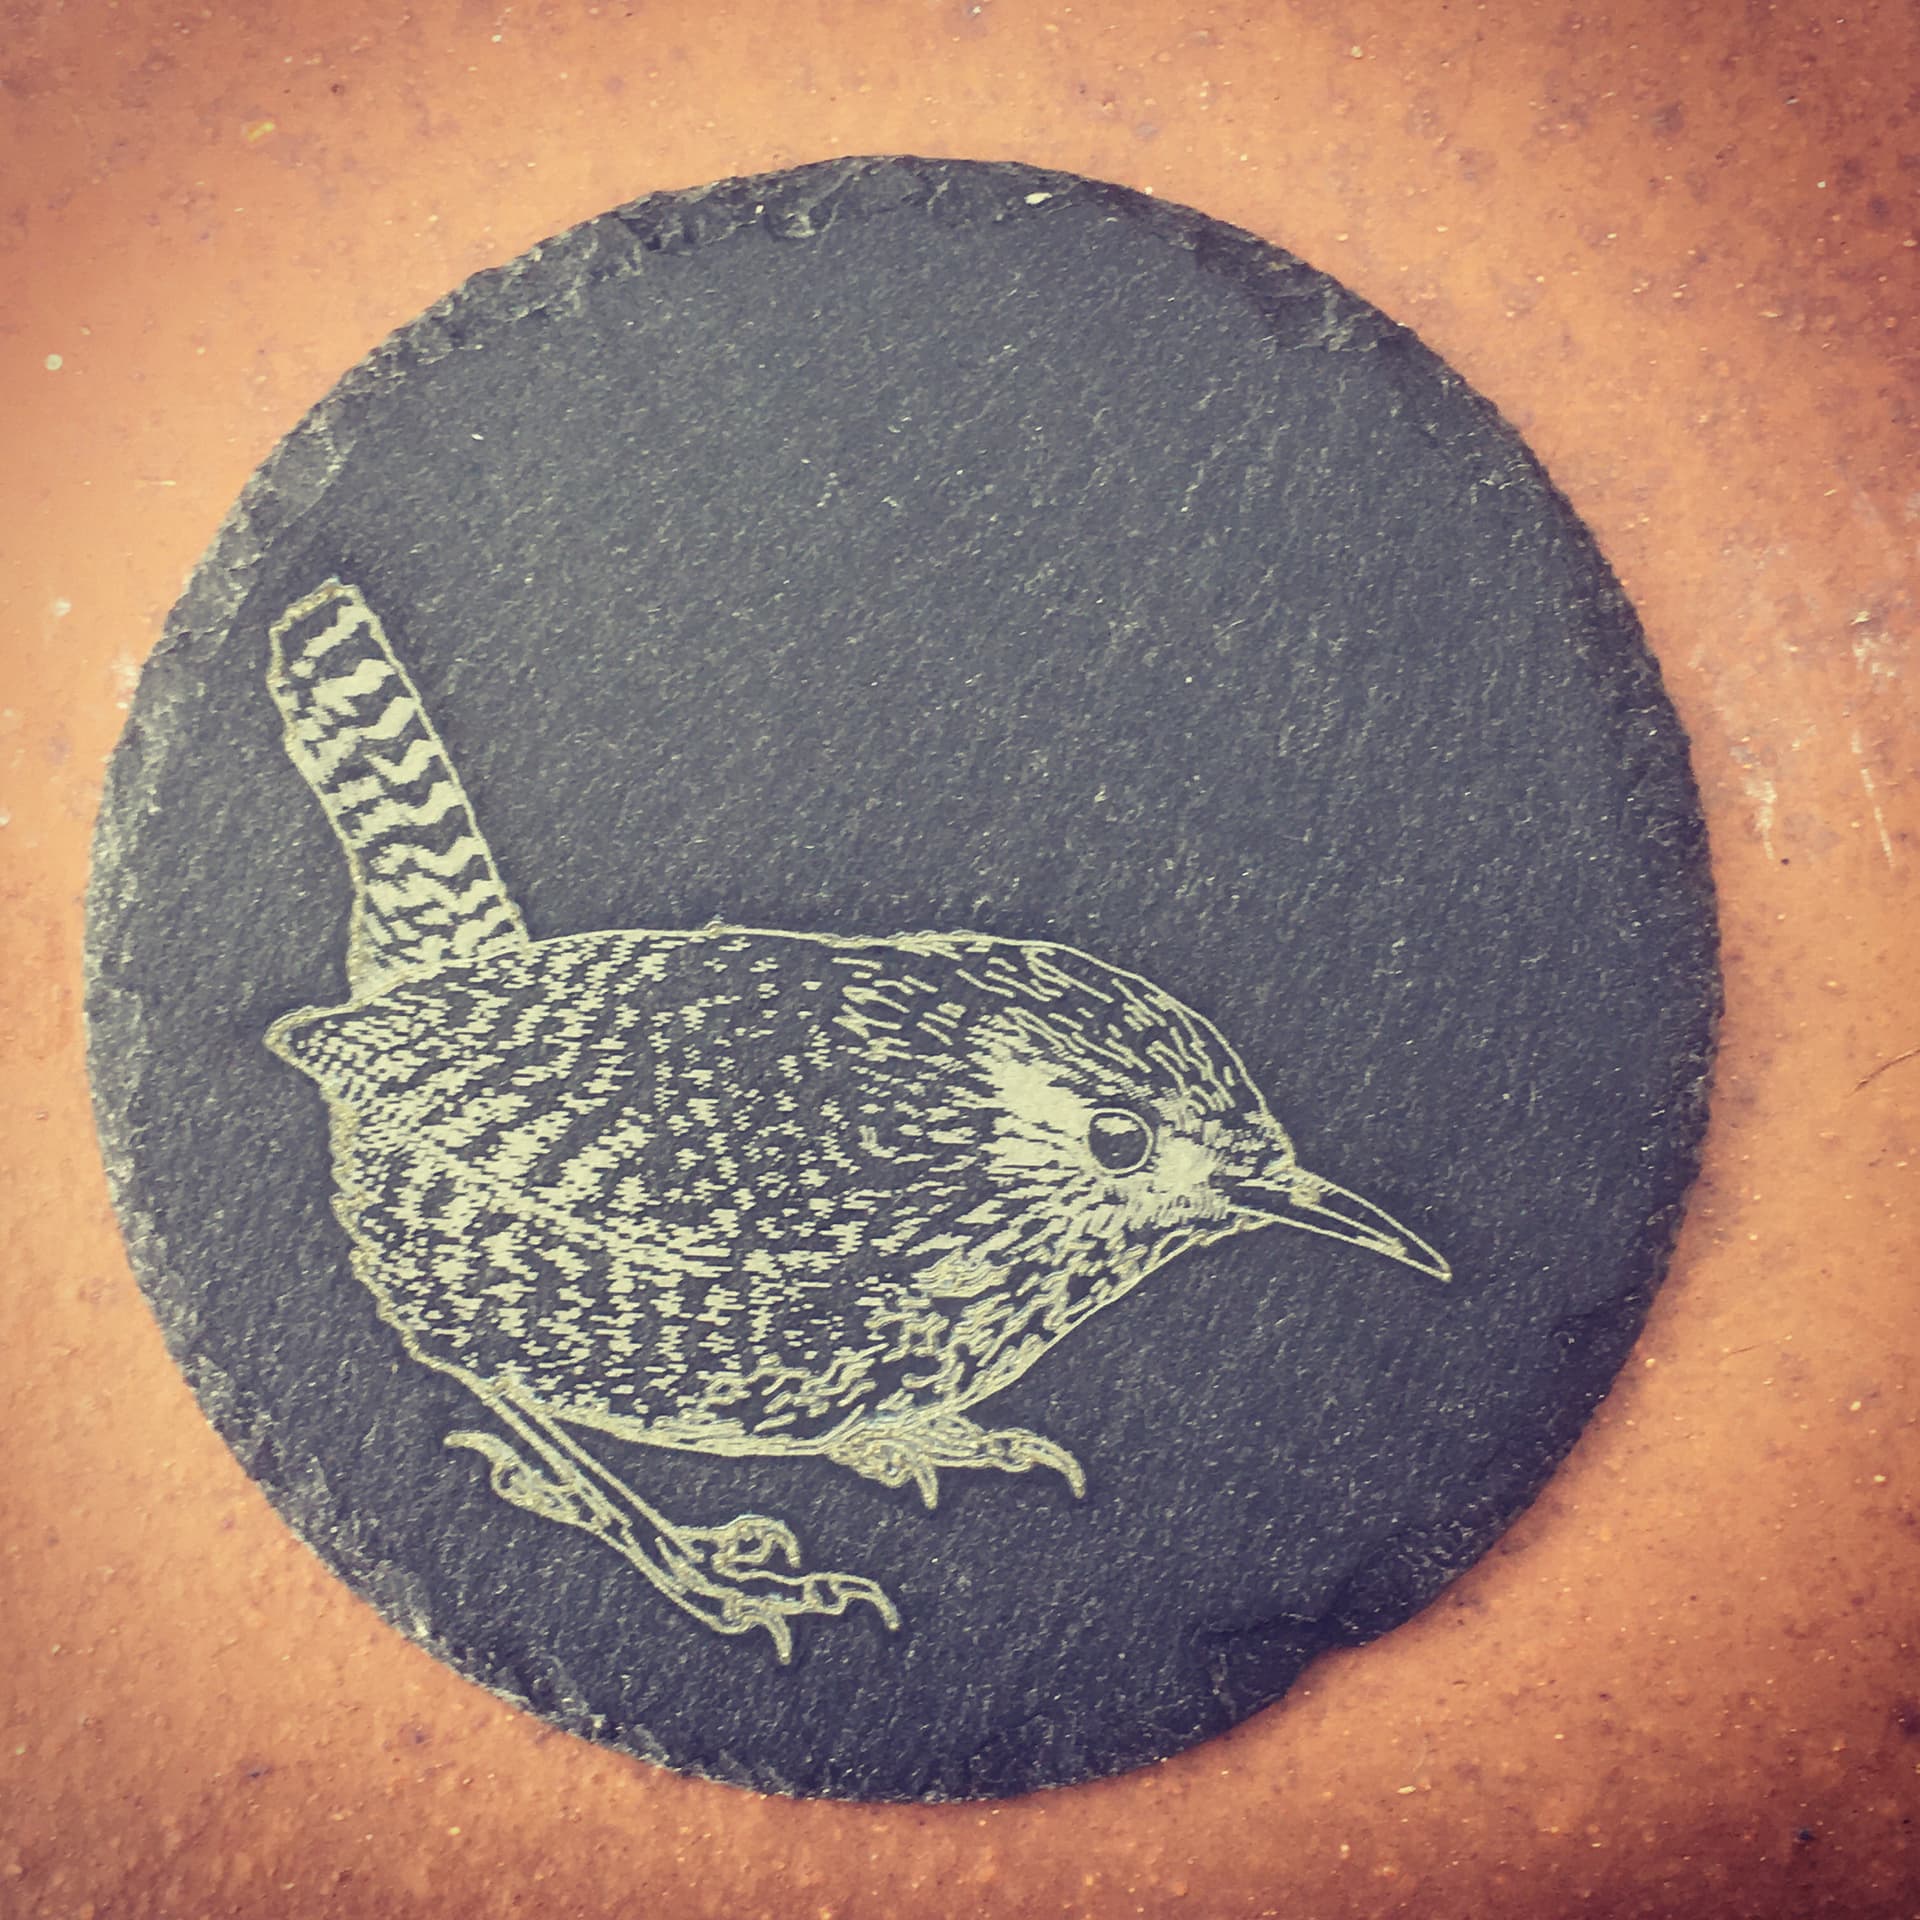
While I like the trace function, it doesn’t always pick out the details I want in the image, particularly the wren image above (and I tried many different settings in the trace dialog, and watched several YT videos on how to use it). On other images it has worked reasonably well, (such as the flock of geese coaster in the image below). And yes, it is more time-consuming to manually trace but if it results in a file that can be used for multiple copies then it is worth the effort.
1 Like
Yeah, they’ve done that to me a couple of times already. Good thing there’s free returns!
I have had great luck with the trace feature in LB. Sometimes I’ve had to use the scrub feature but most of the time it works perfectly.
Just to offer, here is one directly from Oz, covering all the options available for the Image Trace tool in LightBurn. Worth review: https://youtu.be/ClGFqyfG4hU
With a little tweaking, I can get great results.
- -

4 Likes
Where did you find the Air Force logos?
I’m retired USAF.
Thanks
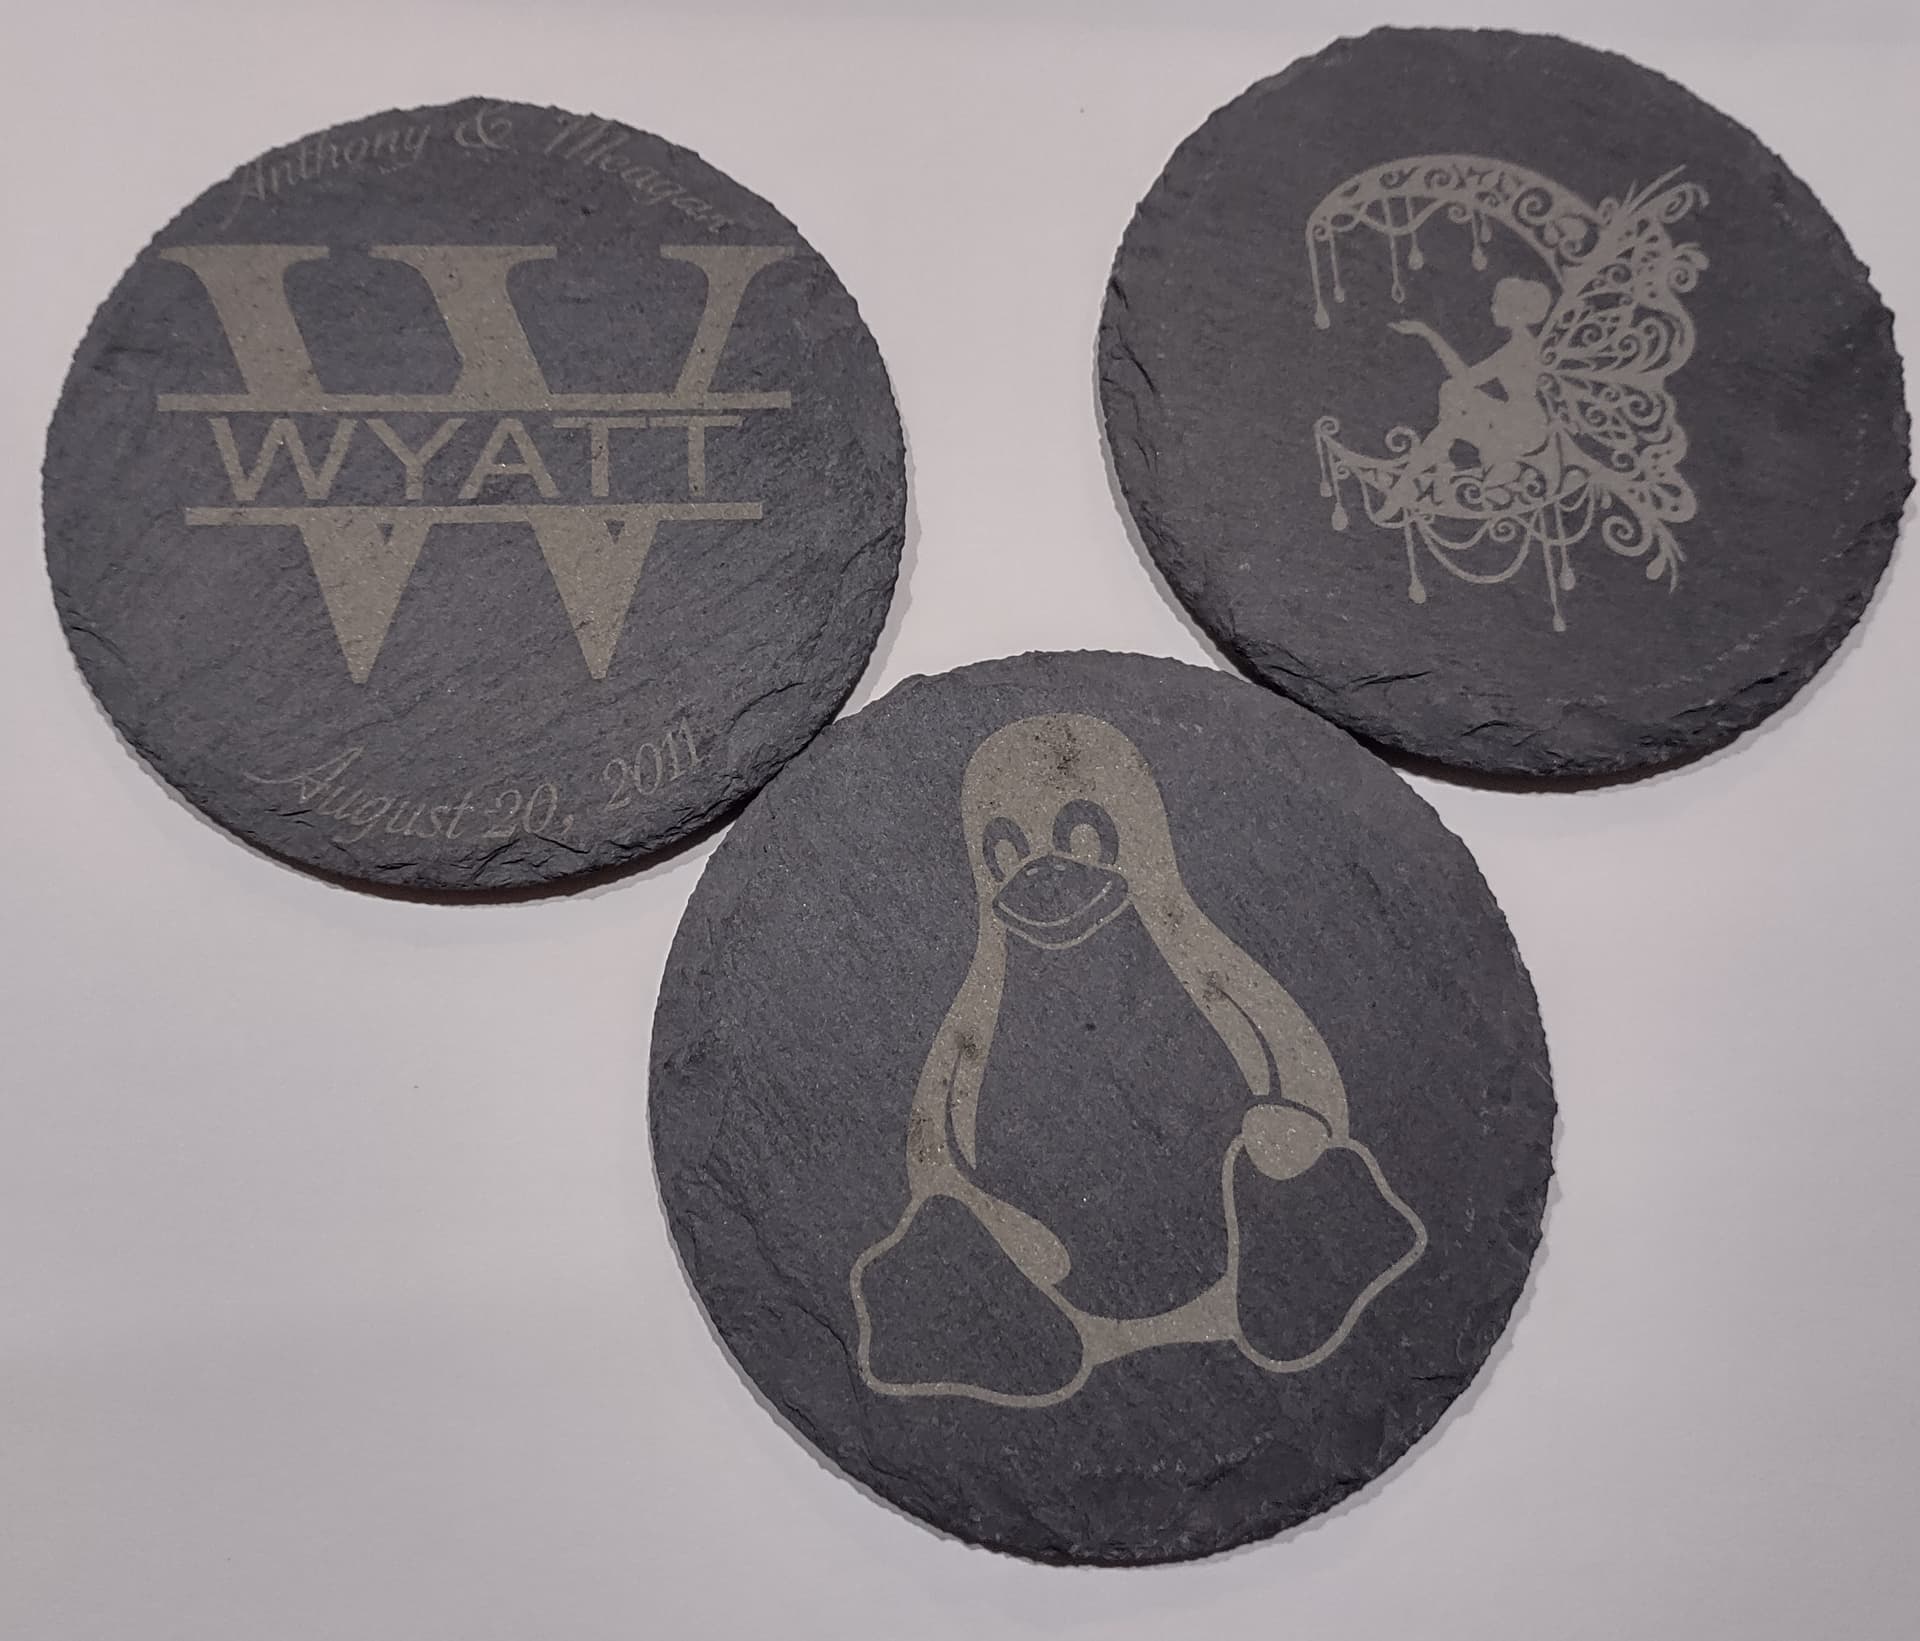
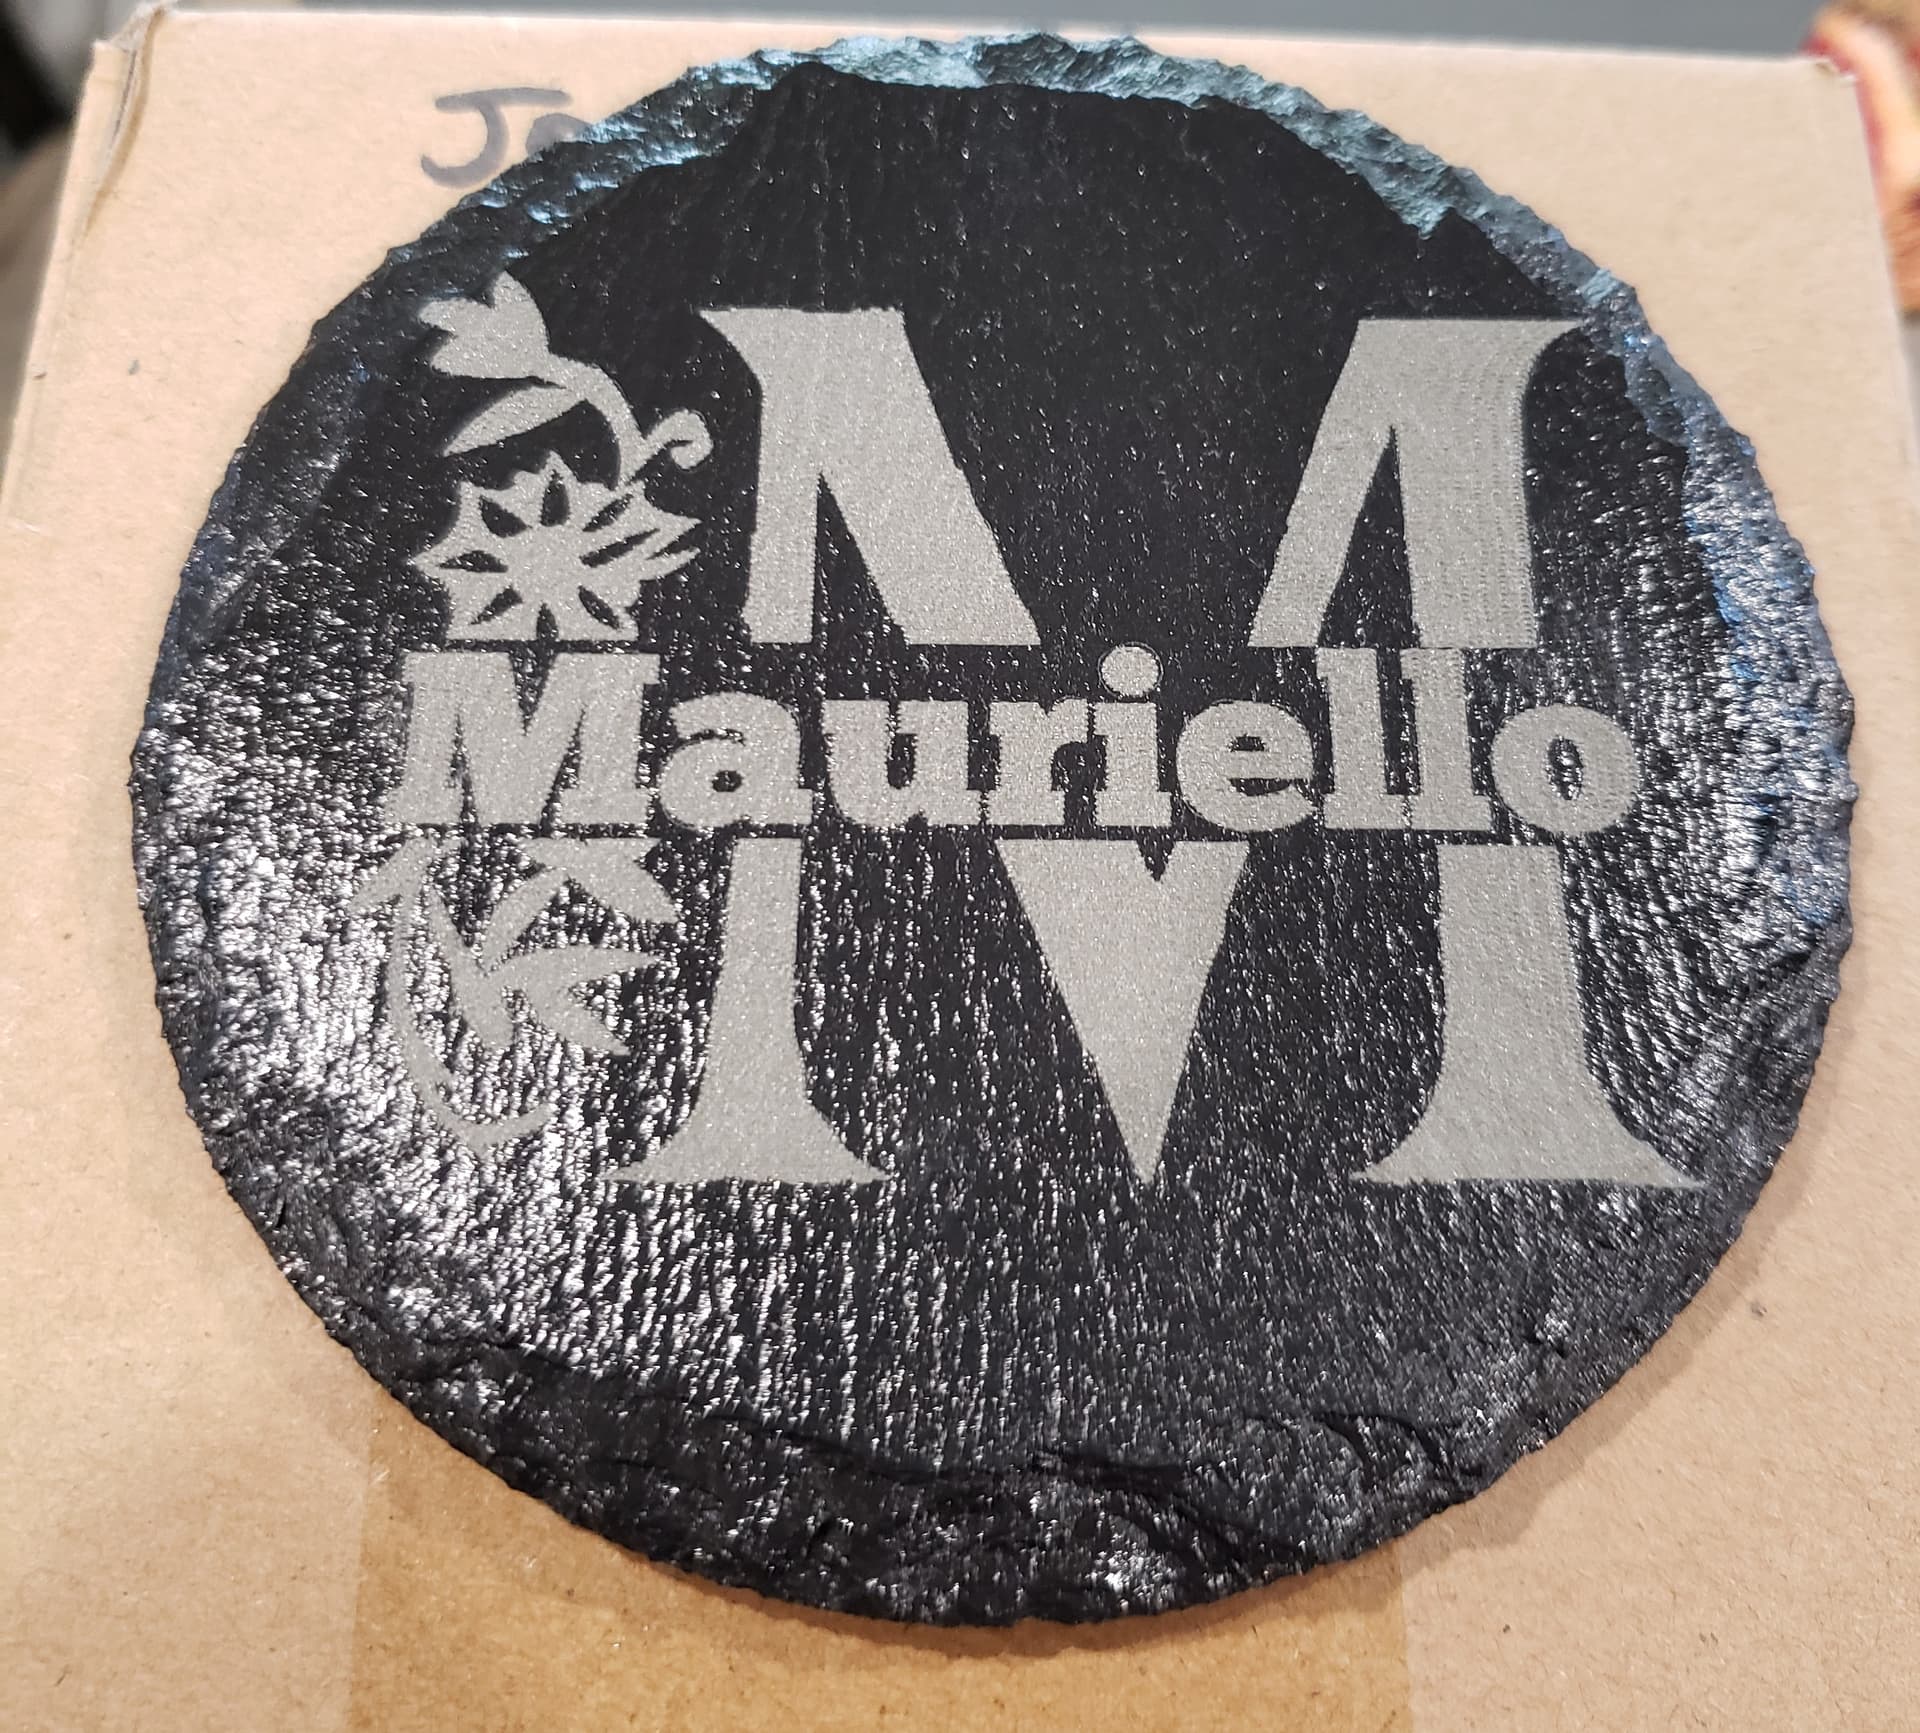
I got the logos from ETSY but modified the Air Force one to make the Eagle and cloud stand out more. I sent you a PM…
These are three of my orders from this past Saturday. I had 12 sets in stock and sold all of them in 1 hour on Marketplace! I had one lady tell me she was sitting at the computer waiting for the ad to show up this week!

Rich
2 Likes
which marketplace? Amazon one?
BTW good work, are very awesome ![]()
1 Like
No, Facebook Marketplace, I only sell locally here in New Orleans. I advertise on Saturday, make on Sunday and deliver whenever I can make a good route. Usually Tuesday or Wednesday evenings.
1 Like
Do your coasters have the rubber feet on them?
If so, how does that work with the sealant?
Do you purchase the ones that come with a wooden holder for them?