I’m new to the forum here. I recently upgraded my laser from a 10w diode to an omtech 80w. With the diode I could make very distinct engravings on white pine wood, it burnt it slightly brown. but when i tried the new 80w on it, it simply engraves it with almost no contrast. it looks like it just evaporated the wood instead of burning it. I have tried all kinds of speed and power settings and it’s no different. first of all, why would the CO2 engrave differently than the diode, and is there another setting somewhere that would make it better? I would appreciate any input!
Hello and welcome to the forum.
There are a number of differences…
- did you adjust for power and speed equivalency ?
- change interval to that required for the larger co2 spot size?
- understand the difference in laser frequencies between the two
- fundamental differences in operation
When I use an led at 50% power … You can’t lase a diode at 50% power, it needs full power to operate.
What the pwm does in the case of an led or rf laser (metal tube co2) is turn the laser on when high and off when low. It’s on for the percentage of the pwm period that’s high…
With a co2, it’s pwm is converted to an analog value in the lps and is used as a current limit. When you run a job on a Ruida, the pwm is present the whole time the layer is executing, but the Ruida also uses the L-On1 output to enable it to lase.
If we draw a line, at 50% power, the Ruida set the current limit to 1/2 of your maximum to your tube and turns it on for the whole line. An led is turned on/off with the pwm…
Grayscale on an led is more functional than with a co2. If you read, in the software, co2 grayscale is for depth, not grayscale as you would think.
Might want to look at some kind of dither.
I’ll wait for a response… hope this helps.
![]()
I think this is one of those cases where changing the wavelength of the laser light dramatically changes the interaction with the material.
A visible light diode laser has trouble vaporizing light colored material, so it was moving slowly enough to heat the wood and char the remainder.
Wood strongly absorbs deep IR from a CO₂ laser and, as you observe, pretty much vaporizes without having time to char.
Basically, if running a Material Test over a reasonable range of speeds and powers doesn’t produce the result you want on the wood you have, then you must change the wood or work with the results.
Other than speed and power, a laser doesn’t have any settings changing the beam’s interaction with the material.
1 Like
thank you for your response. I like how you explained the science behind it. I did realize pretty quickly that the co2 was a totally different animal from the diode. on the diode I set the power at 100% and adjust the speed, on the co2 I need to adjust the power. Can you simply explain how you would start out trying the dither?
Not trying to be mean here in ANY way, so please do not take this the wrong way. Also, I do not own nor have I ever used a CO2 laser, so this is all from internet research. I only bring this up because I’ve not seen anyone else address this aspect very clearly.
I think this is the case of not understanding the tool that you’re using, and having the right tool for the job you’re wanting to do.
From my limited understanding, CO2 lasers are great for cutting, while diodes excel in engraving. One does not completely replace the other. While there IS some overlap in their capabilities, that overlap is limited.
If you want to cut lots of shapes out fast or engrave glass or acrylic, CO2 is your best bet. If you’re engraving photos, use your diode, especially for wooden projects.
If I’m wrong, someone please correct me and we’ll all learn.
Yes, that’s kind of the conclusion that I’m coming to, at least for white pine. I did engrave a picture in another kind of wood, and I was fairly pleased with how it turned out. But yes, I will probably need to go back to the diode for the contrast in white pine. I also tried a different kind of pine, and it was slightly better.
This hobby is about experimentation. Play with adjusting your focus as well. Sometimes running out of focus gives darker burns on some material.
1 Like
I don’t see it quite as sharp divided as you describe it.
In principle, it is true that some diodes, especially the low -energy diodes, are very suitable for engraving graphics. But a (min) 5.5watt diode laser, on the other hand, can’t be used for quite a lot of other tasks - because it doesn’t have enough power ![]() I don’t know with the new, multi -diodes laser, here I’m a little skeptical if laser spot is small and Round enough …
I don’t know with the new, multi -diodes laser, here I’m a little skeptical if laser spot is small and Round enough …
If your laser spot is not too big and reasonably round, it doesn’t matter from which the laser beamy comes. I have made many good graphics engravings with a K40 and a 60 watt CO2 laser.
1 Like
Perhaps because it’s not an aspect in need of much addressing.
A CO₂ laser engraves well enough on MDF:

And acrylic:

And wood:

And multilayer acrylic:

And laser test paper:

And polycarbonate:

And 3D printed PETG-CF:

And a CO₂ laser cuts just fine, although I avoid polycarb and PETG because they release The Big Stink™.
Bottom line: Engraves fine for my simple needs.
2 Likes
Unfortunately, there are no standard settings for graphics or settings in general. It depends a lot on your machine, lens material and of course the settings.
Not all materials, not even within the same type, are equally good for e.g. dark graphics. Some types of wood are worse than others at providing proper contrast. But, my point is, if you can make fine graphics with a diode, you can also do it with a CO2 laser - on the same material.
You have probably spent a lot of time finding the ideal settings with your diode laser, you will have to start over again with your CO2 laser, that’s how it has been here with me. Tons of experiments with testing materials and finding good settings.
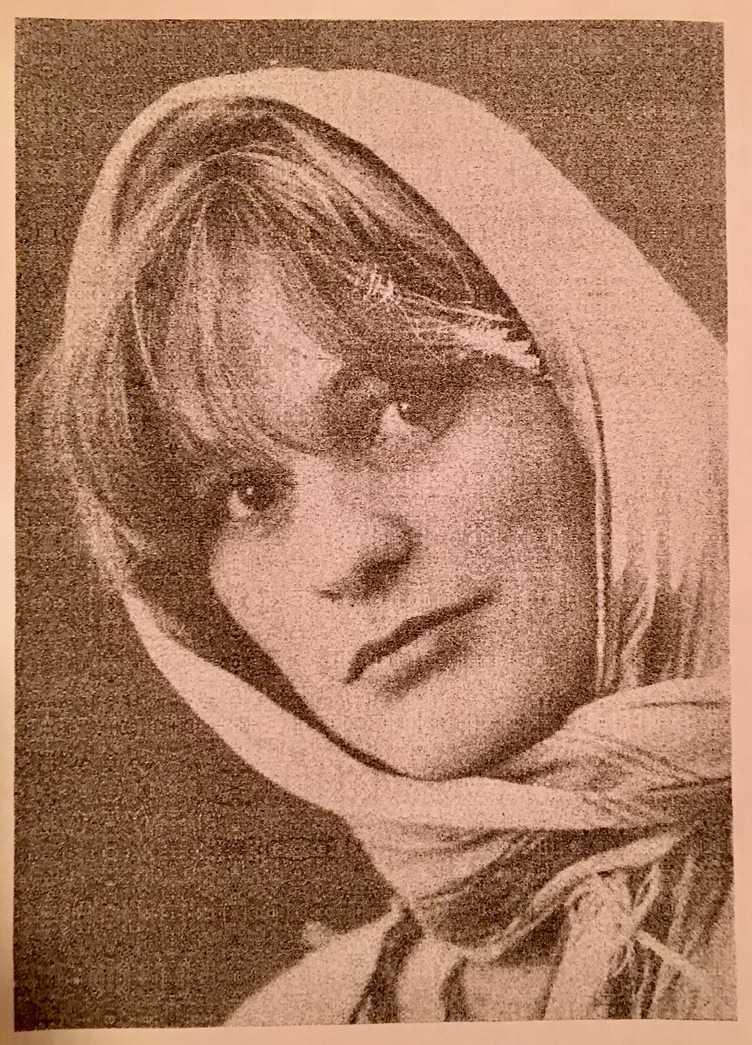
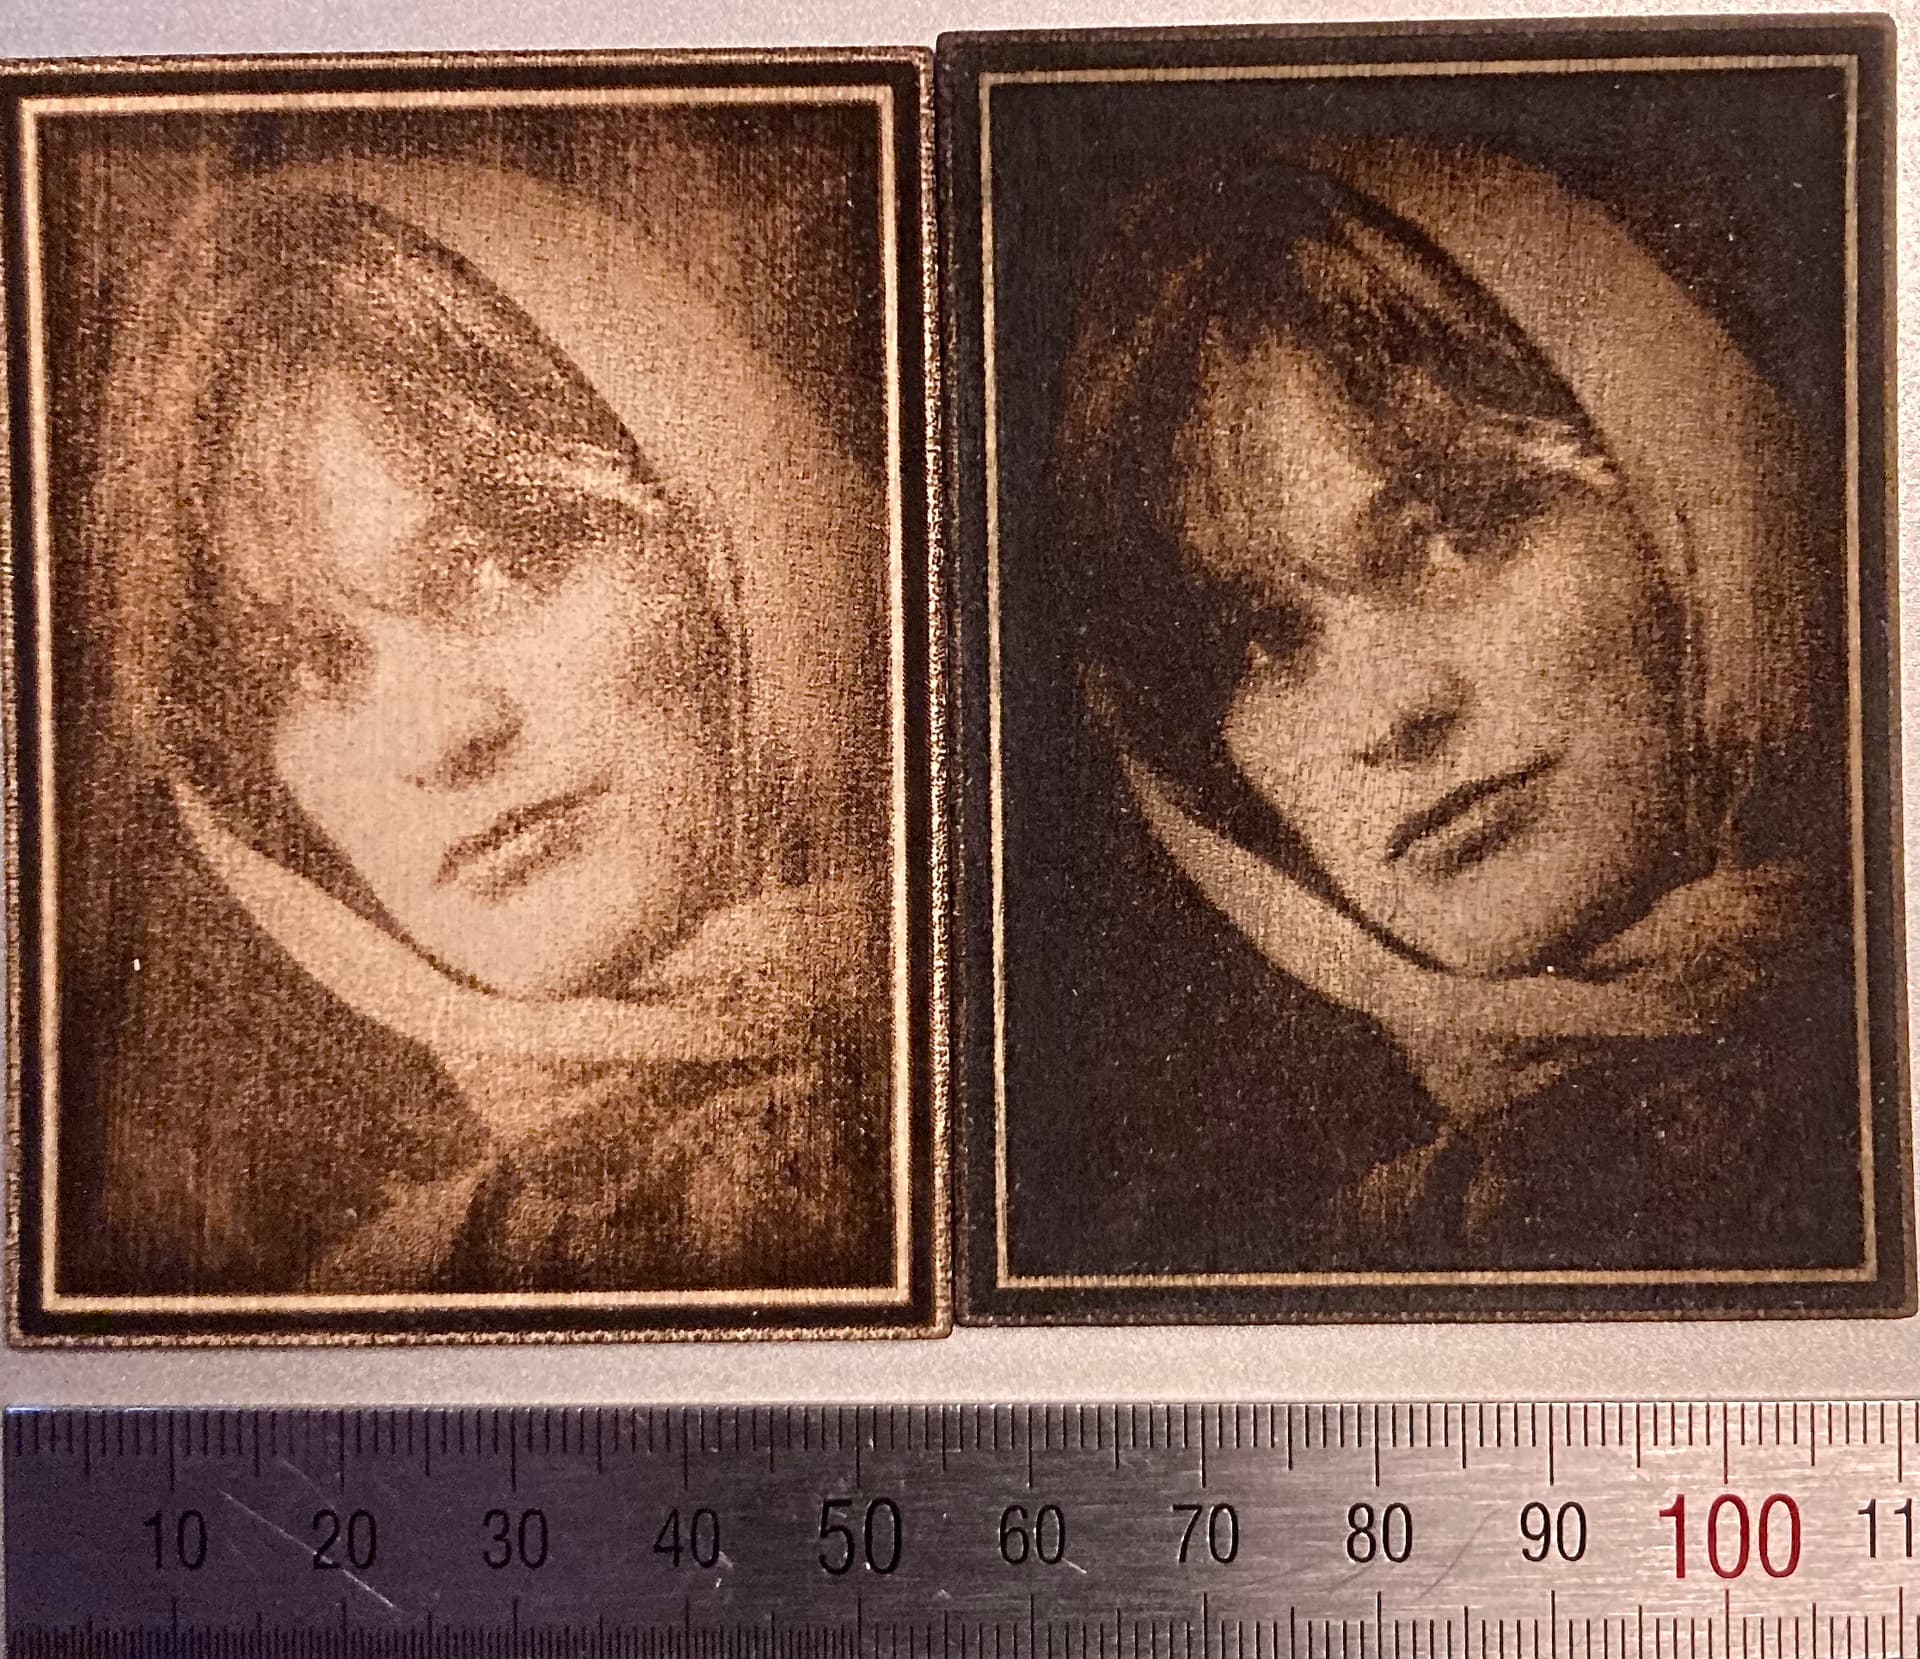
The picture shows 2 tests in a series of experiments, they give a sense of what is possible with a CO2 laser. The material is 1mm 3-layer aeroplane plywood baltic birch. The original is a raster image that is relatively rough in the original, it is scaled down and post-processed before engraving. Note that this material is (extra ordinary) well suited for gray tones.
Go ahead and experiment, you’ll probably succeed in the end.
I have been educated while not being shot down or made to feel like a fool. Thanks for the input everyone!
1 Like
These are done on leather with a very expensive led laser module that produces a ~30 micron spot size.
Done by @bulldog… if you attain close to what he does, you’re doing well.
![]()
1 Like
Wow, that is an impressive post!
Thank you all for your input! I am concluding that the wavelength of my CO2 must not be as ideal for white pine. Thankfully I am not planning to use this machine only for that material, overall, I am very impressed with the machine’s quality on other types of wood.
Ok, I finally got some settings that will contrast on white pine!! I put the interval all the way down to .01mm, and that’s what did the trick! the bad news is that it takes a long time to complete a project, but I don’t think it’s any worse than the diode. The test pictured here was run at 600mm per second, and 12% power

2 Likes
Try setting your focus depth a little off maximum. The slightly out of focus spot will cause a different color contrast vs. perfect focus.
1 Like