anytime you ready ask all you want
That big one in in the above pic was way to big. I didn’t do my homework. That thing weighs 6.2 lbs…
I sent it back and even made money on it!! I gave $88 and some change with free shipping. Amazonky refunded me $95 and change.
I found this one and ordered it. ----- Zeberoxyz 1PCS Mini Linear Rail Guide Slide Actuator T6x1 Lead Screw with NEMA11 Stepper Motor,200mm Effective Stroke Length for DIY CNC Router Parts X Y Z Linear (Size:200mm)
$70 for this one.
Randy
Hello to all - A little update here: In the first photo you see the back side of my X drive with new drag chain & support bar for the chain — in the second photo you can see y travel drag chain and its support bar. The end of this drag chain will be attached about 30" from the rear of the laser frame work. At this point I will make a transition from the drag chain into another drag chain that will go into my control box for everything.
And this third photo, I’m sure you all have seen in boxes.py. What I’m going to do is cut out two holes in the bottom front base plate and mount my mini pc on the left and on the right will be my mini air pump. The top where the game controls/buttons are will be location for my mini keyboard. My mini screen will be used instead. If you look at top front, you will two speaker holes, those will become lights shinning down on my keyboard. On the very top of this arcade center I will have several power switches for: pc power supply, mini screen power, air pump power, laser power and power for cooling fans inside arcade center housing, switches for lights and fans. On the far right side of switches will be an e-stop button for the laser itself and on the far left side will be 100% main power cutoff to everything. It now turns out that instead of 4’x4’ base board, I’m now using a 4’x6’ base board, I need the extra 2 feet for the control box to mount to. Plan is that when completed you will not see any wires or air hose anywhere except for on the “laser itself” and there will only be one main power cord coming out of the control box to the wall plug.


I’m trying my best to make this rig look better than any store bought rig that I have seen yet. OOOOH! I almost forgot, that red pin striping pops right into the slots on your extr. alum. I have used a total of 30,meters of pin striping. I have every slot that dirt/dust can get in, covered. Only two slots get none. Those are the X and Y drive belts. I almost forgot to cover the Z drive. I’m going to mount the linear drive “backwards”, if that makes any sense. Normally you would mount your laser to the little mounting bar that runs up and down the linear rail. I have to have 7" clearance from the deck up to the laser for etching glasses and I need to drop it all the way down to burn thin stuff, (1/4" thick tile). So in order to achieve this I’m mounting the little bar that runs up/down the rail to X carriage. This way I can raise and lower my laser a full 7". When the laser is raised all the way for etching glasses, the top of the Z linear rail, (meaning the stepper motor) will be around 18" high. I know what your thinking, that is to much weight to have that high in the air jerking around back and forth. Well your right, except when I’m etching glasses the Y drive will not be moving at all because Y drive will be plugged into the tumbler and the X drive will only be moving at less than 1 mil at a time, ( or per pass ), so I’m not worried about it. I hope I explained all this in simple terms, (laymen terms). Please tell what your thoughts are on this rig. "AND DON"T HOLD BACK!
Thank you for your thoughts in this matter.
Randy
1 Like
Very nice ![]() id love to have two machiene so at least one bigger so i could do larger projects
id love to have two machiene so at least one bigger so i could do larger projects
I like it
Up Date: At 4 AM this morning I ordered the new laser module for the “Beast”. After having spent many hours searching for the best laser for the best price. I ended up getting the “LaserTree- LT-4LDS-V2”. 20W. output. 24V. I went to LsaerTree .com and they wanted $349.00. I did some searching around and found one on Ebay for $299 + tax – free shipping and it’s coming out of Kentucky. Be here in a week and is sold/shiped by LaserTree. Kind of funny to me.
Well more updates later.
r. cline
A little update on the beast: I got the new LaserTree in a week ago. Then came my JST connectors. (Still waiting for my micro JST Crimpers) I made up 6 long runs of control cables and then I noticed that I still forgot to make my cables for my mini spotlights and the camera. I ordered several on/off lighted push buttons, (still waiting on these) for power control along with a master power kill switch that will kill all AC power going to the rig. (Meaning 5 power supplies running this rig, PC, 10" Monitor, Air pump, Laser and low v. spot lights) Right now I’m building my own arcade console because boxes.py won’t work, (makes my laser go crazy). SO I’m building my own proto type for now just to get the rig up and running . Will build nice console later. The console has to be sized to fit all electrics and controls inside. Which means that I’ll have to cut all the AC power cables off, (down to about 6/8" long and they will be hard wired into a relay bank station, (relays are 24v coils with contact switch rated at 240vac 20A max) Plan is, when completed, the only cable you will see is One 120v power cable, (12’ long, don’t want to use an extension cord)

I forgot to say that I’m using the Makersbase controller. I’ll post pic of proto type console when It’s done.
That’s all for now Thanks Randy
I got the laser mounted, it took some doing, redesigning and some scratched up fingers, but it works !! laser lowered all the way down, it sits on the deck. When raised all the way up, I have 9" total clearance. Woohoo !!!

Slowly coming along. Will start mounting new limit switches and controls tomorrow night.
Randy
Another update---- AM this morning I ran out the shop and cut out a quick mock-up of the gaming console to check for size and whatever!! That key board you see there is 10" wide board and a 10" monitor above key board. Above the monitor are 5 switches, (low-v/ 5,12,24) and then one big red er-stop switch, which will kill 100% power to everything. The switches are mounted in an overhang and under the overhang will be 2 mini spot lights pointed at the keyboard. After that I spent several hours pulling cable through the drag chain. All done! Nope - I forgot to two more cables for lights and camera and I also forgot to pull the air line through the whole rig. Tonights plan - Pull more cable and air! Still waiting on more parts to come in.


One last note here, all these 4 wire ribbon cables, (right now) are 10 /11 ft long, will be cut to correct length at time of wiring.
Thank you - Randy
I wish I had that much adjustment!!!
Hello Mike: If you look close at this pic you will see that I mounted the Z linear actuator backwards. Instead of mounting the laser to the block that runs up and down the actuator, I mounted the block to the carriage so that the entire actuator travels up and down. Look real close and you can see where I cut 3 pieces of 3mm wood to add another 9 mm of stand off space so the stepper motor does not hit the front carriage plate. This, plus the 5" legs gives me my height.

Nothing to it !!
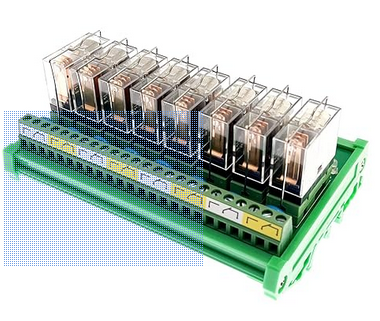
Asleep and dreaming: I realized that I had to mount a total of 6 power supplies in my console and then mount 6 120v. outlets in the console! No way that was going to happen. So doing some more research, I found these that will work for me.
Pic #3-- one for l.v. lights, pic #4-- 2 of these for PC and Monitor, pic #6 - 5 of these for non filtered items like air, fans and led strip lights in the consoles electronics area. You guys get the idea !!
Randy C.


So, you have 4" travel on the motorized Zaxis then?
I would like a manual version without the motor. Where did you get the slide assembly?
Outside the box thinking! Love it!
Hello Mike: NO, 200 mm is a little less than 8" travel. I found this thing in amazon, sorry meant to say amazonky- lol.

I saw some that were shorter with no motor. Just have to search and see. Check e-bay also.
Randy C.
Found it no problem. I see a typical 2" overhang on most of what is available that concerns me.
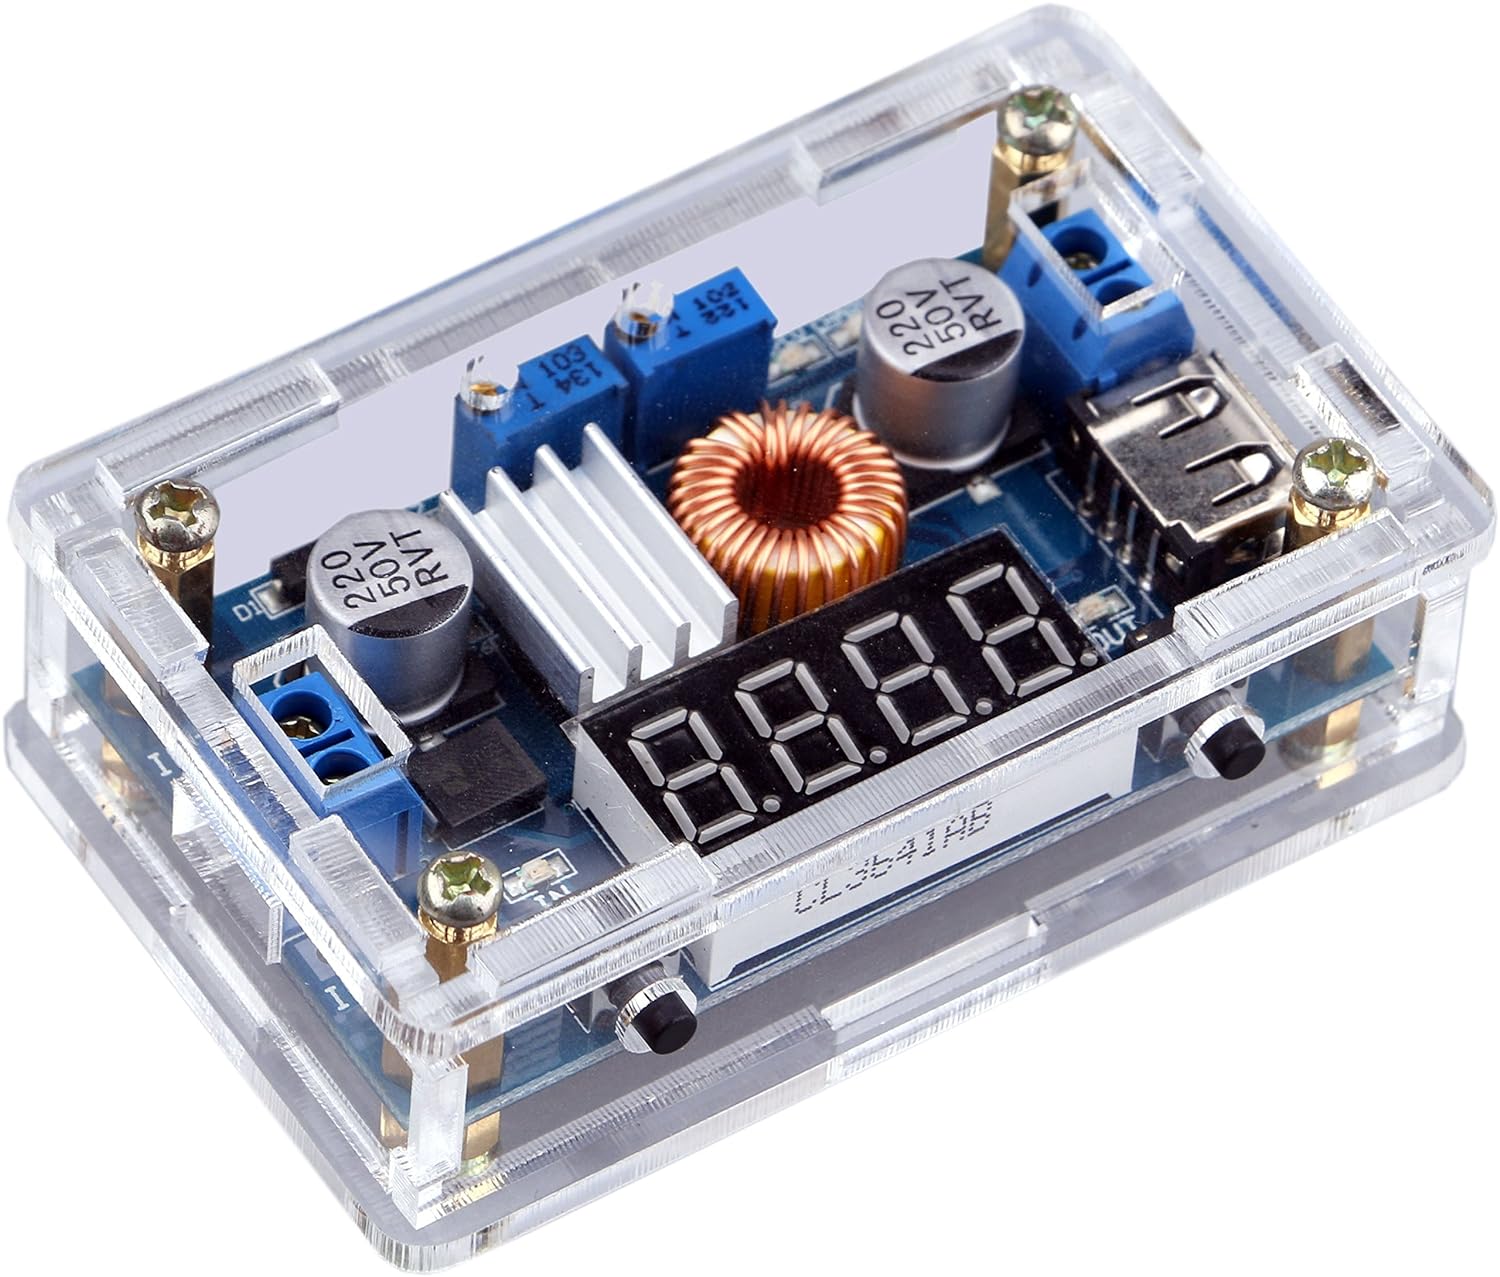
One of my buck converters, I had to order off e-bay. That was not one that I found in Amazonky. That pic of my power supply, (above), I canceled that. I went to DROKs web site who makes the power supply and bought it from them. Even with Droks hi shipping charges, I still got it 10 bucks less than Amazonky.
Randy C.
Mike: ?what over hang?
The extra distance added to the head sticking out from the Xaxis trolley.
yep! Your right, I didn’t think of that. The funny part is I had to add a 9mm spacer to mine so the motor and frame work would clear the carriage. ( because I mounted mine backwards)
The C.B. update: Most of my electronics have all come in. I’m still waiting on 3 more converters to come in, I only need two more. ( bad habit of buy one to use and one to save). Here is pic of the gear going into the console. Not shown is the mini PC, air pump and the 10" monitor and two 120mm fans for cooling. All factory power supplies go into the closet. Everything is powered by one AC120V. to DC 24V-20A. power supply. #1.- 24v for laser, #2- 20v for PC, #3-12v for monitor, air pump, relays, cooling fans, #4- 5V. for lights
I’m not going to build the console myself because I don’t have some of the proper wood tools / machines needed. A coffee shop friend of mine does cabinet work and gave me a really good price on building my console. He does not have to cut any holes or do fancy work, just make it look nice.
We did talk about how I needed it made so that some panels lift out for inside console access and one panel on the back swings open. All the electrics won’t fit in the console so I’m adding about 12" length to the back side. Like a box stuck to the back. 10" W x 12" L x 5" H. My friends only words were, "wow, talk about easy.
My wife said make the box out of wood frame and use plexiglass for sides and top. I like that idea !! Anyway, here is the electrics and a pic of my conglomeration slowly coming together.


Thank You all —Randy
Red or Smoked plexi I hope. If I do mine over, I will frame it and use 1/8" MDF for the sides. Using 1/2" MDF for the box made it too heavy.