You certainly shouldn’t. Making inlay work is a bit of a craft and you demonstrate here perfection in this field, Congratulations on the very beautiful work!
Still, seeing the masterpieces that the traditional makers can create with talent and time, I feel more like a photoshop guy compared to Ansel Adams…
That said, I do like the ability to come up with new stuff
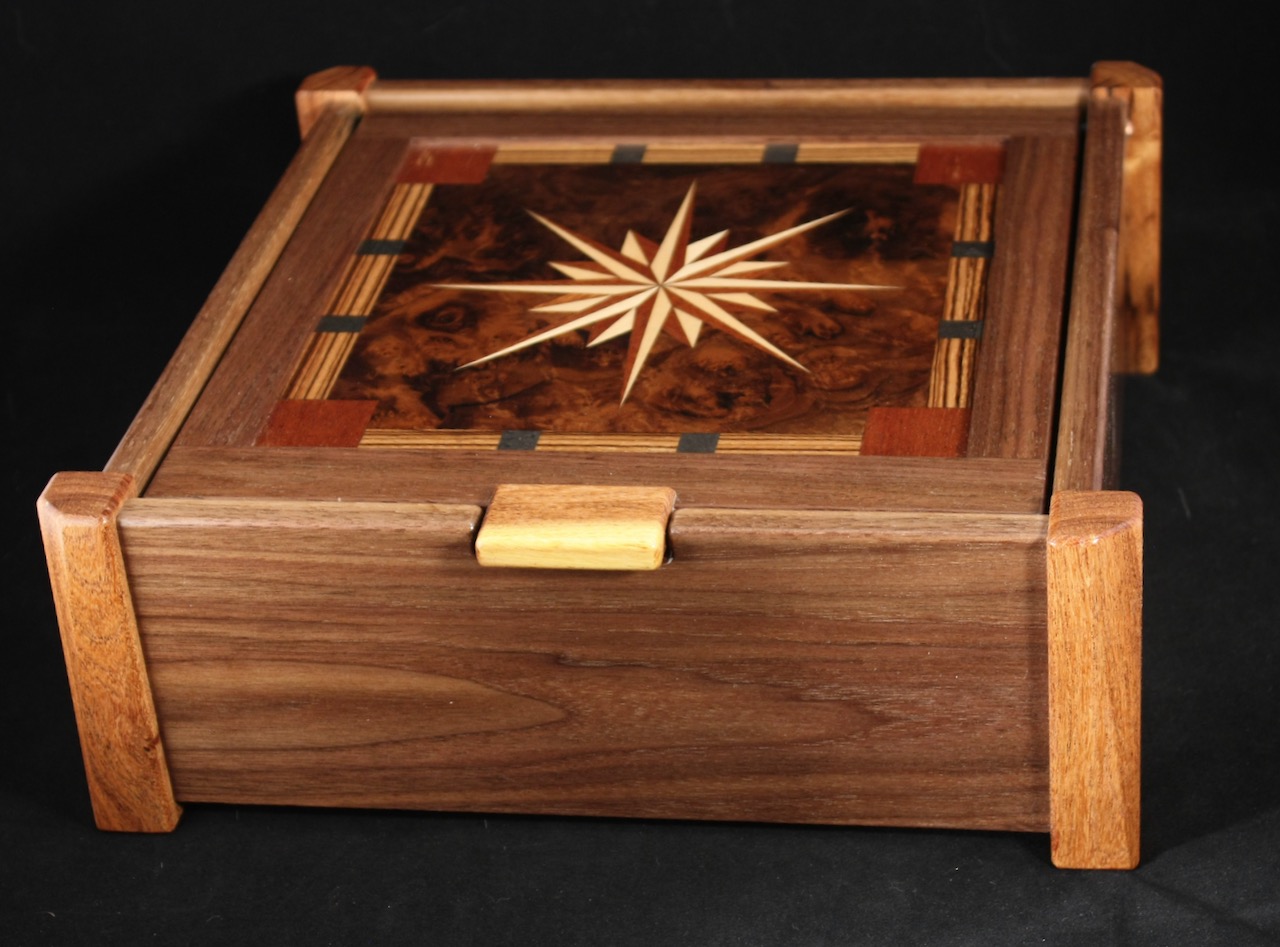
This jewelry box will be part of my crafts sale collection. If I don’t clear out the projects, I won’t have room to make more!
What a Great job!!! Don’t feel dirty, you still have to have a lot of talent to accomplish this work. It looks amazing and I doubt that it will take long to sell. Good luck and keep up the great work!
Ansel Adams had bis own version of photoshop. I understand he did a bunch of dodging and burning in the darkroom. Yikes. I really uses those words? I must be old. Time to sell my darkroom equupment.
Certainly, but those skills are very “hands on”, no computers involved.
Either way, I’m glad I can experiment with the technique and get results without needing a lot of training and artistic skills.
The laser is an application of CNC for material manipulation, lets many more people get involved with creating crafts and not waste time if they don’t enjoy what they are trying.
Thanks Scott! I’m really looking forward to more stuff the laser can do for me. I like woodworking, but when it comes to embellishments, I’m all toes with the skills to pull it off
Very nice, these things are what I want to start doing in this new world of lasers. The laser head recently broke down “I think, still looking for the breakdown :(”
Thanks for your contribution.
Text translated with the translator. I do not understand much English. Excuse me.
Charles,
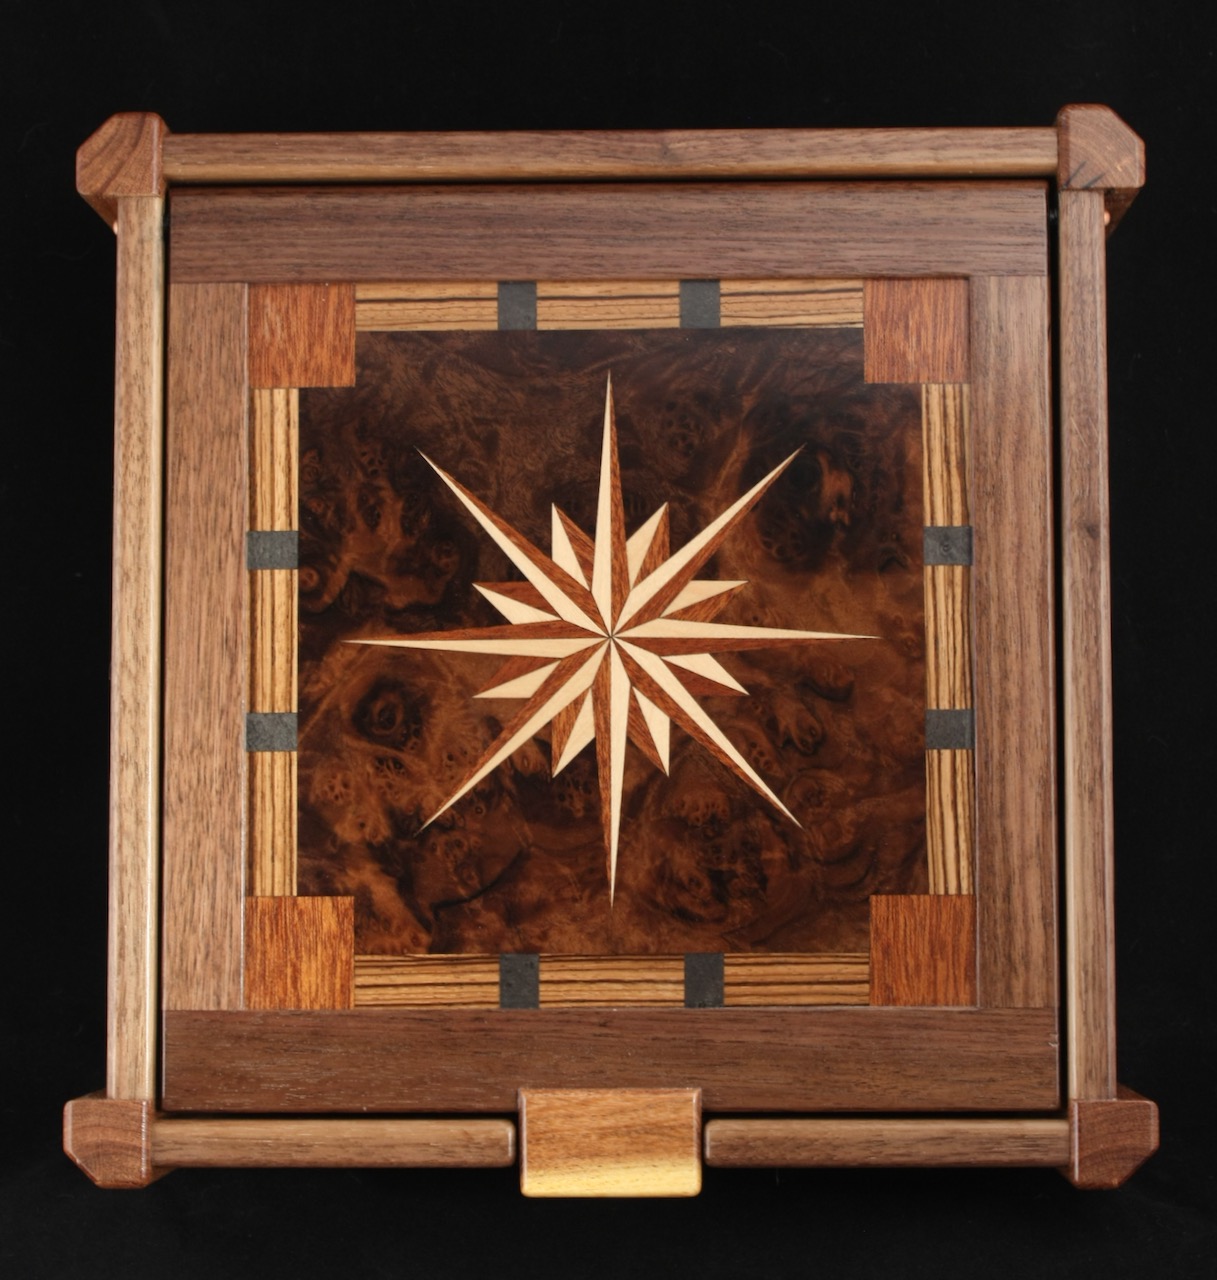
This was with an Ortur LM3 (~10W optical)
Power was 40%, speed was 20mm/sec. 2 passes with air assist.
Some thicker or harder veneers take a bit more power or lower speed. I use 2 passes to keep any edge burning down, but that is very minor.
I did use the offsets (still playing with this setting) and tried to have the parts placed in the frame so most of the edges are cut at about 45 degrees X/Y since there is no offset for Y. The beam spot is rectangular so most of the need for offset is in the X (why I’m still tweaking). For starters I’d just lay the parts out linearly and not worry about there orientation (except for wood grain direction) If your offset (kerf compensation) is slightly too large, you can drag the edges of the parts across some 220 grit sand paper to reduce the dimension slightly and remove any charing (A step I like to avoid with small/many parts but gives you the tightest fits).
I edge tape my veneer onto a glass plate so the underside doesn’t get burned from the bottom and the veneer sits flat. The glass is raised over my backer by about 1/4" as well
Have fun! It’s a perfect application for the laser