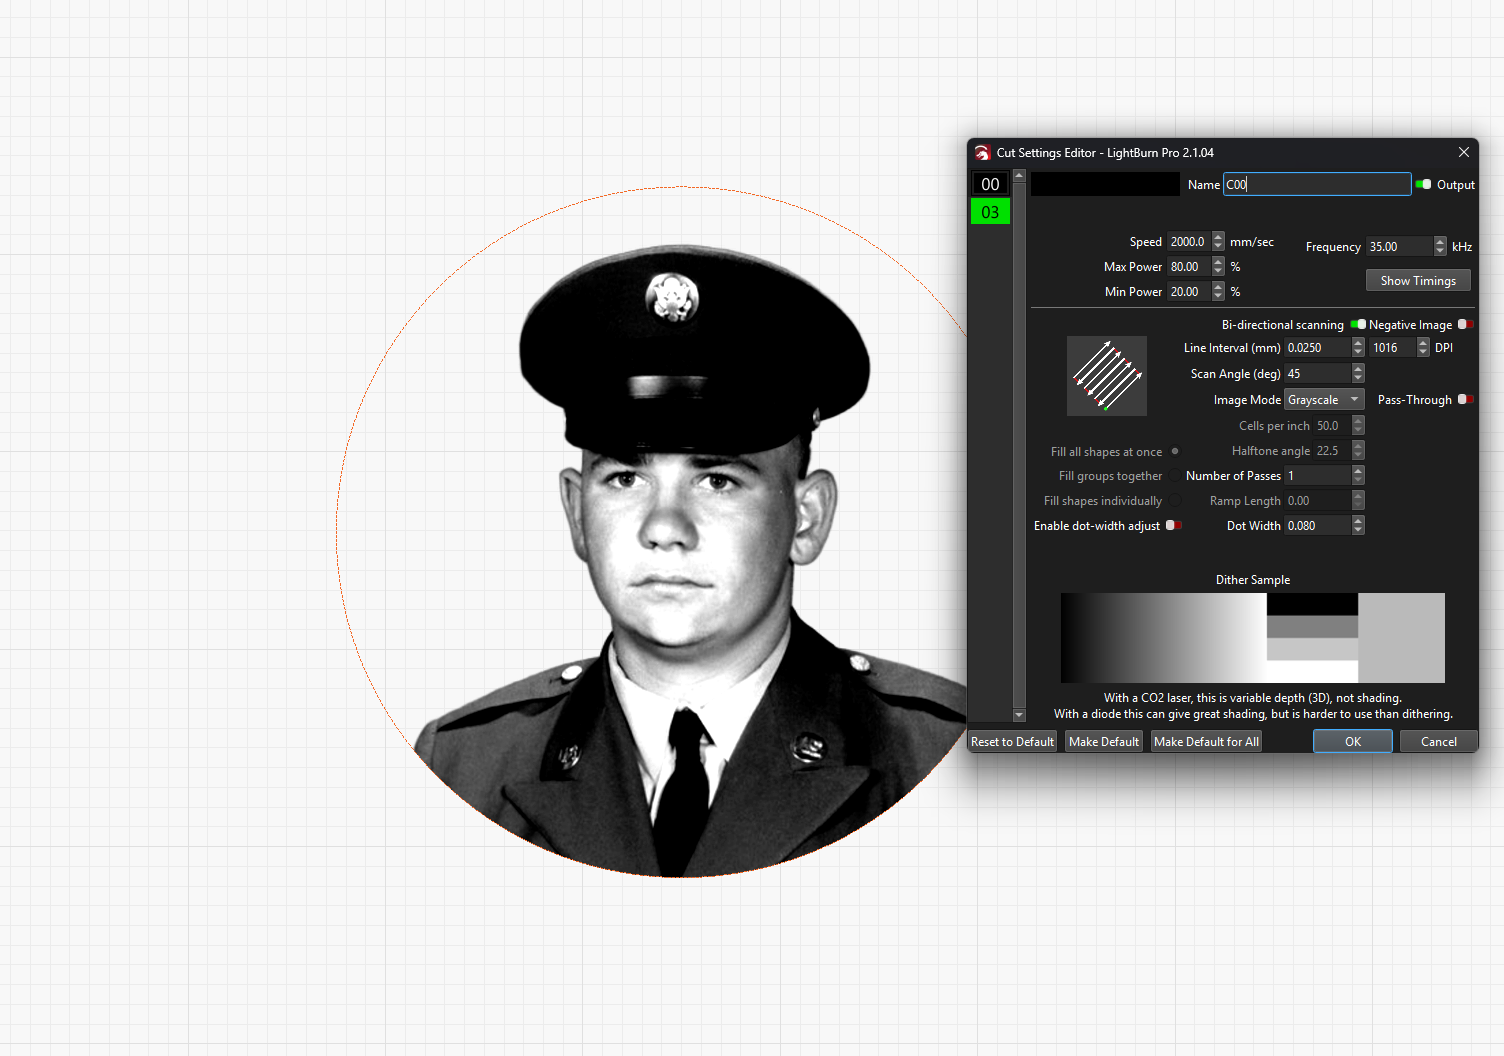
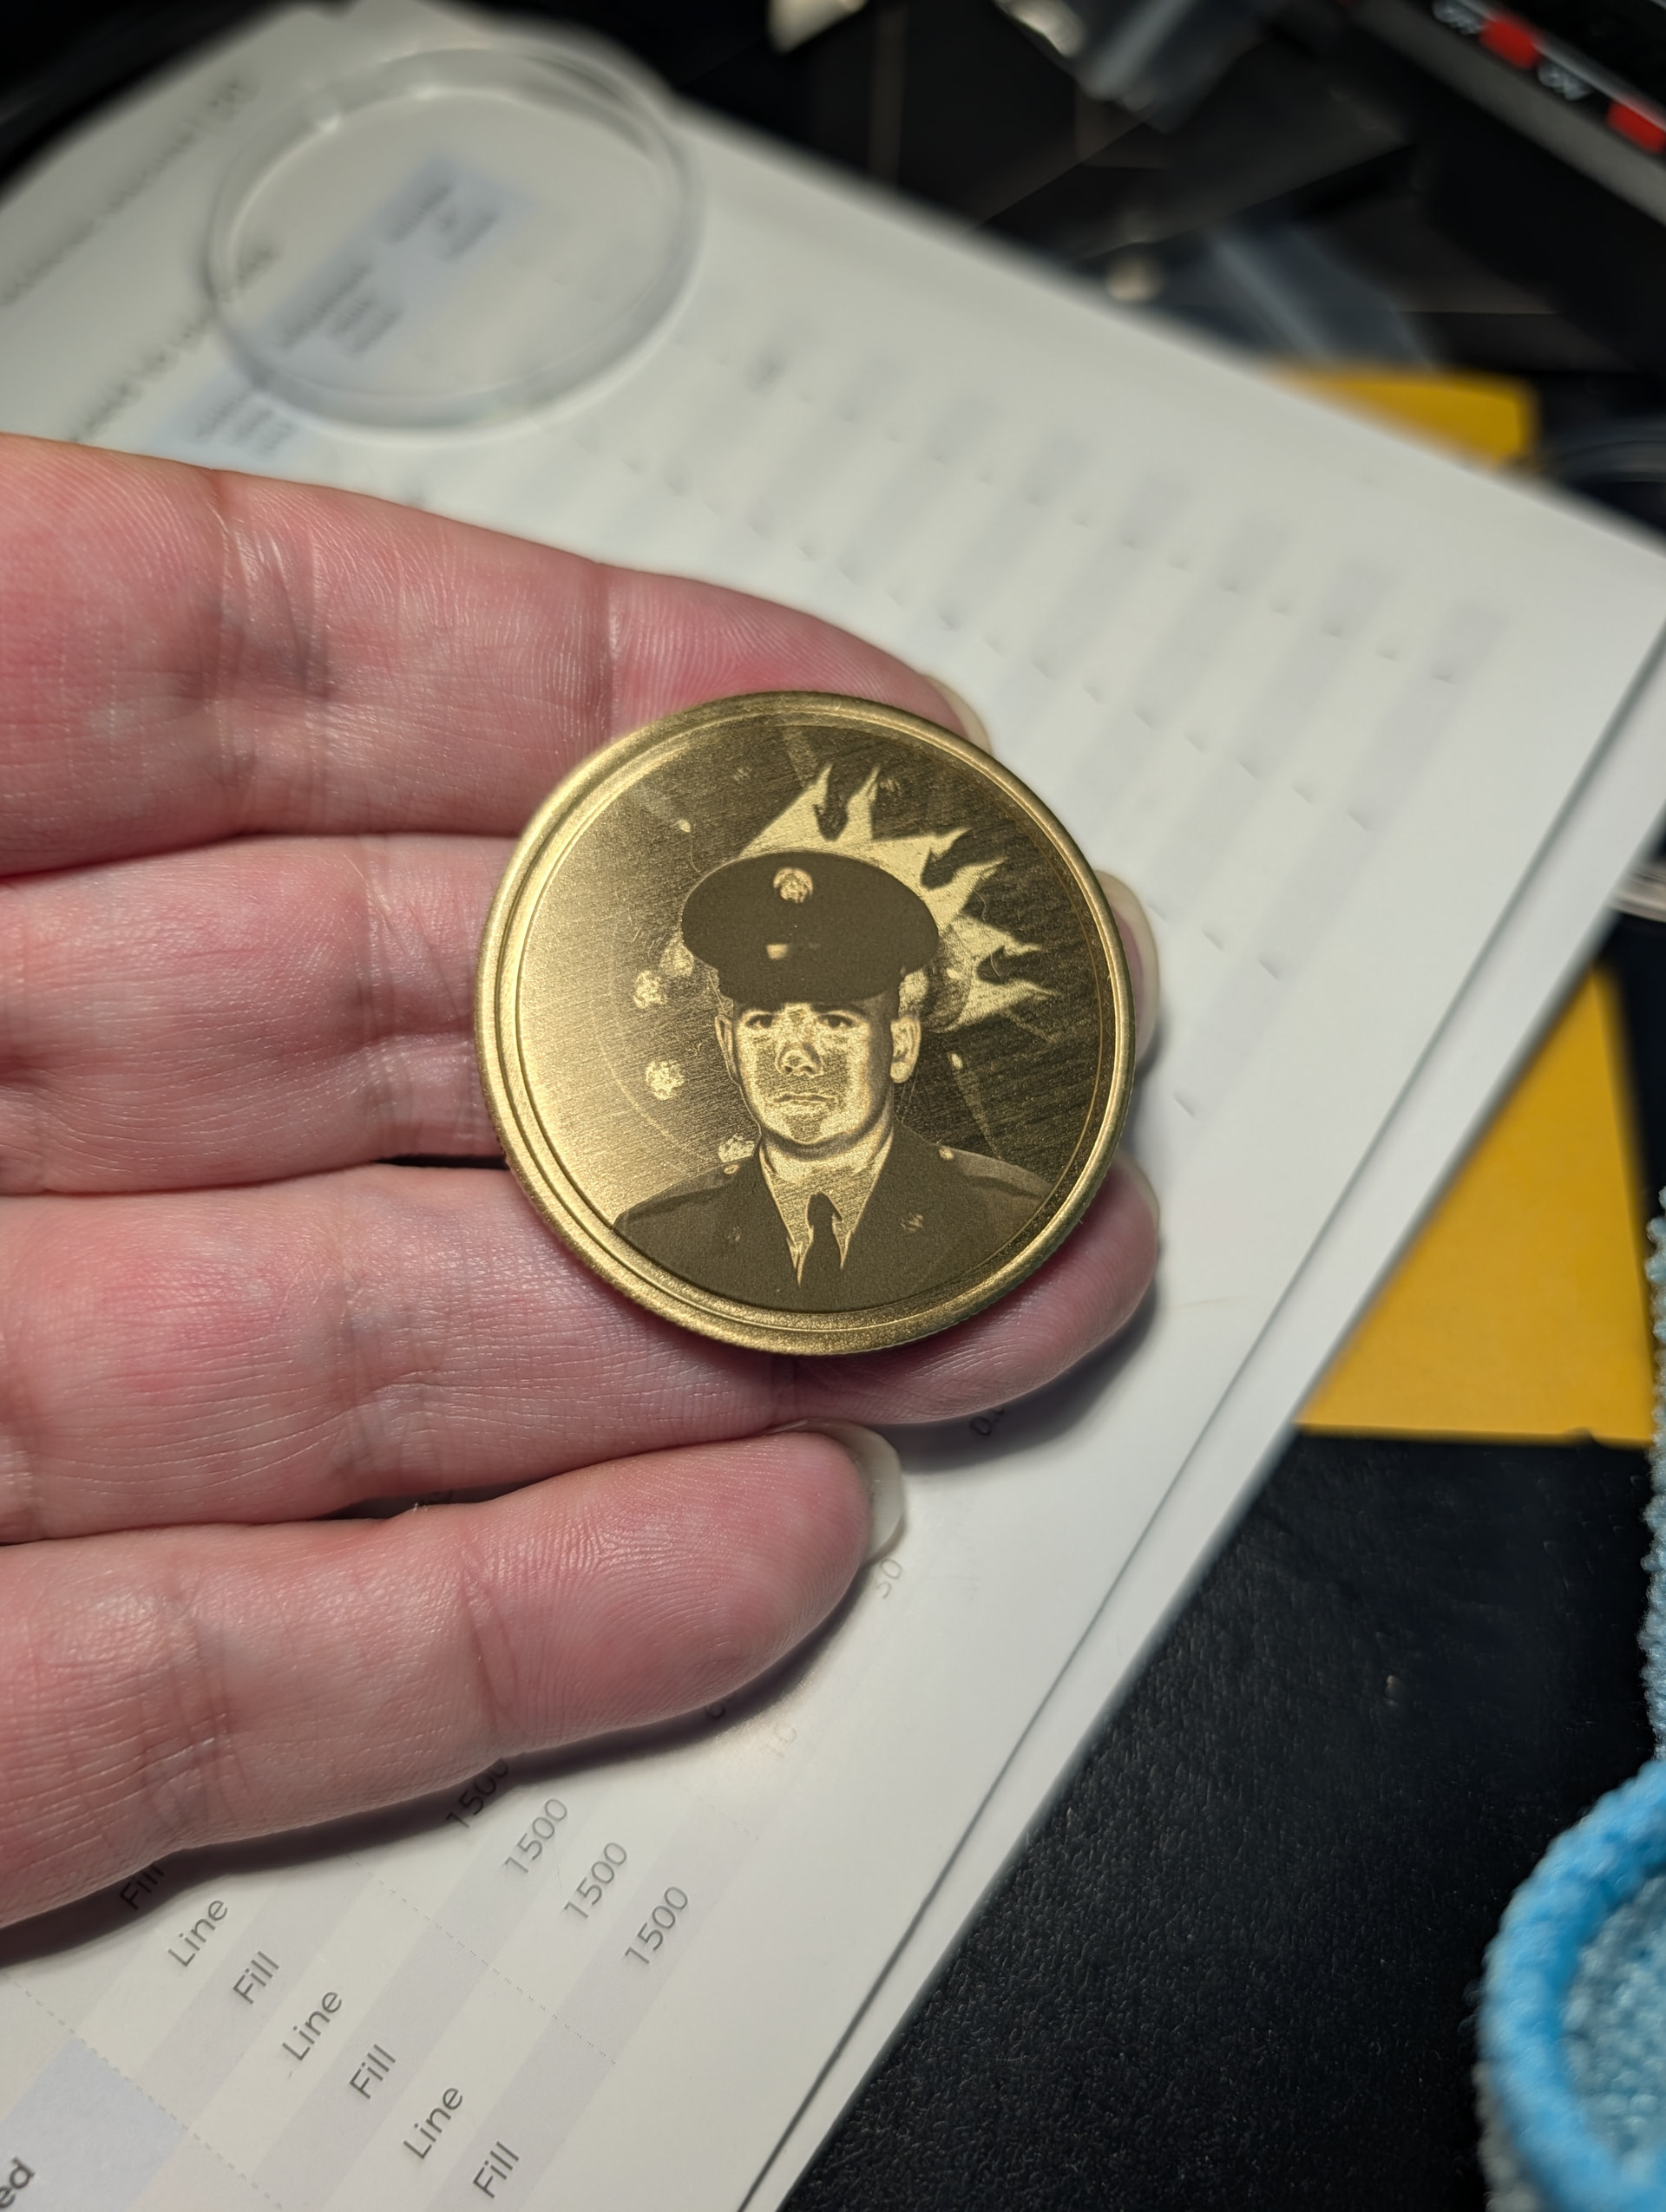
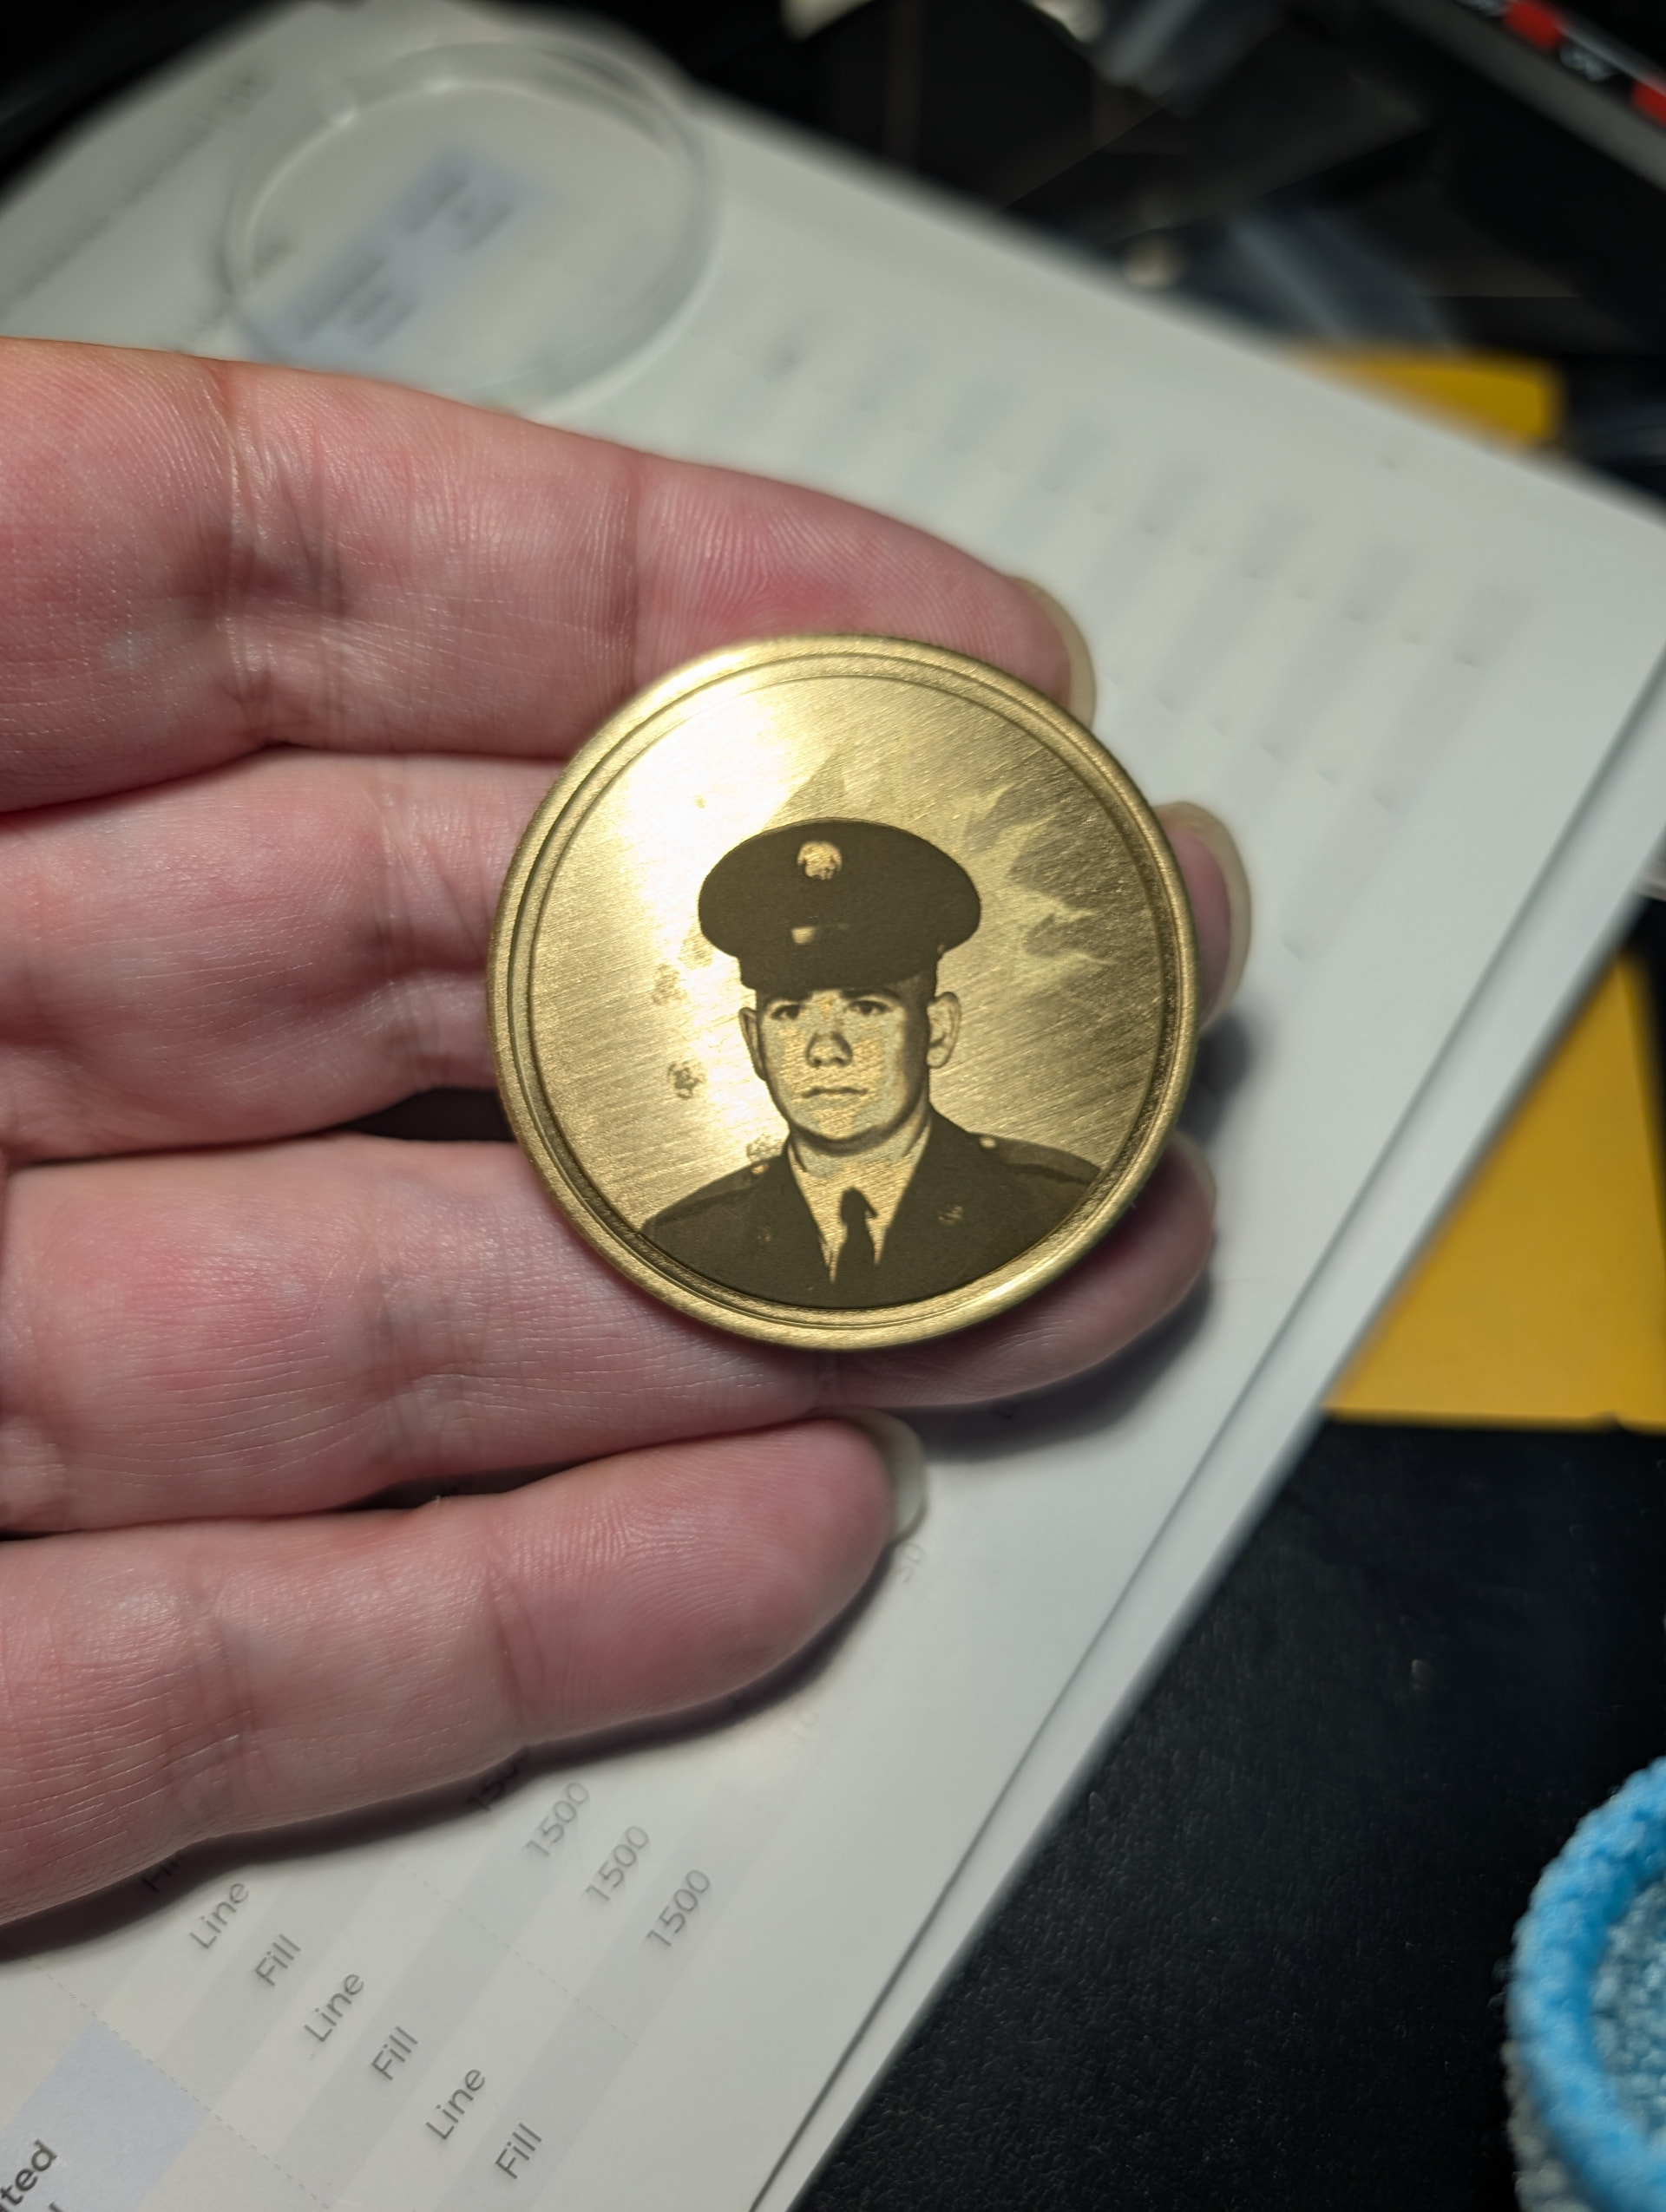
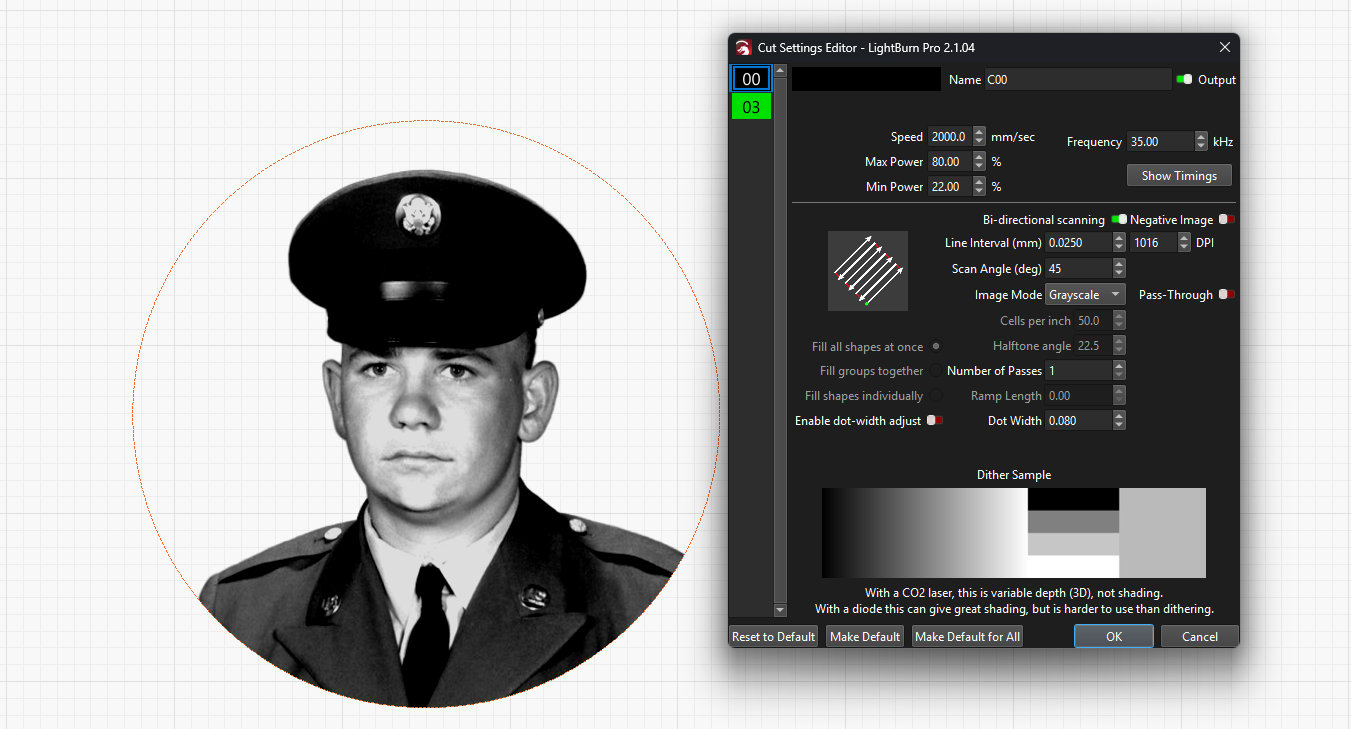
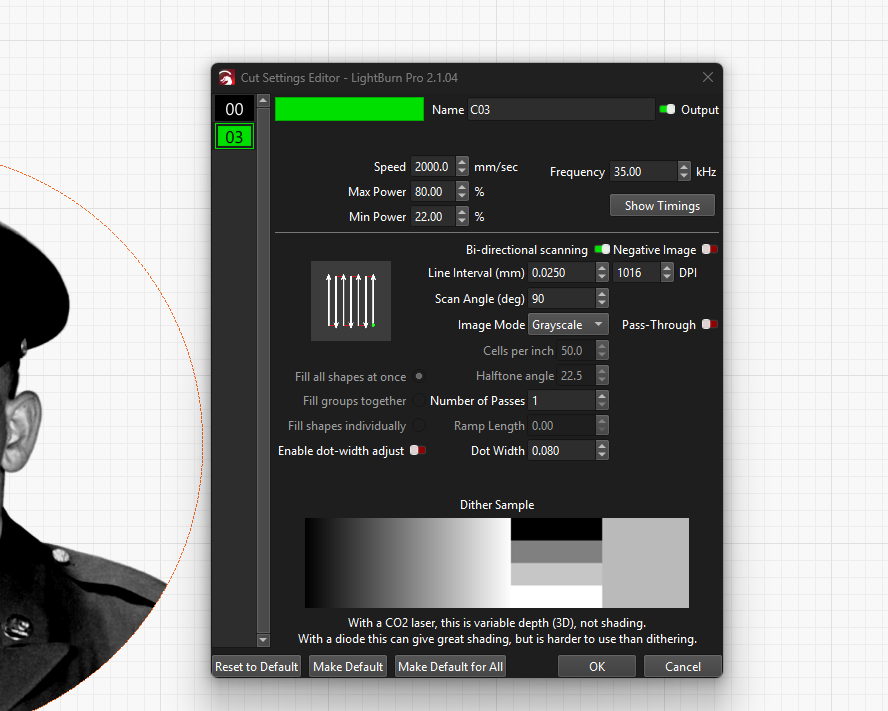
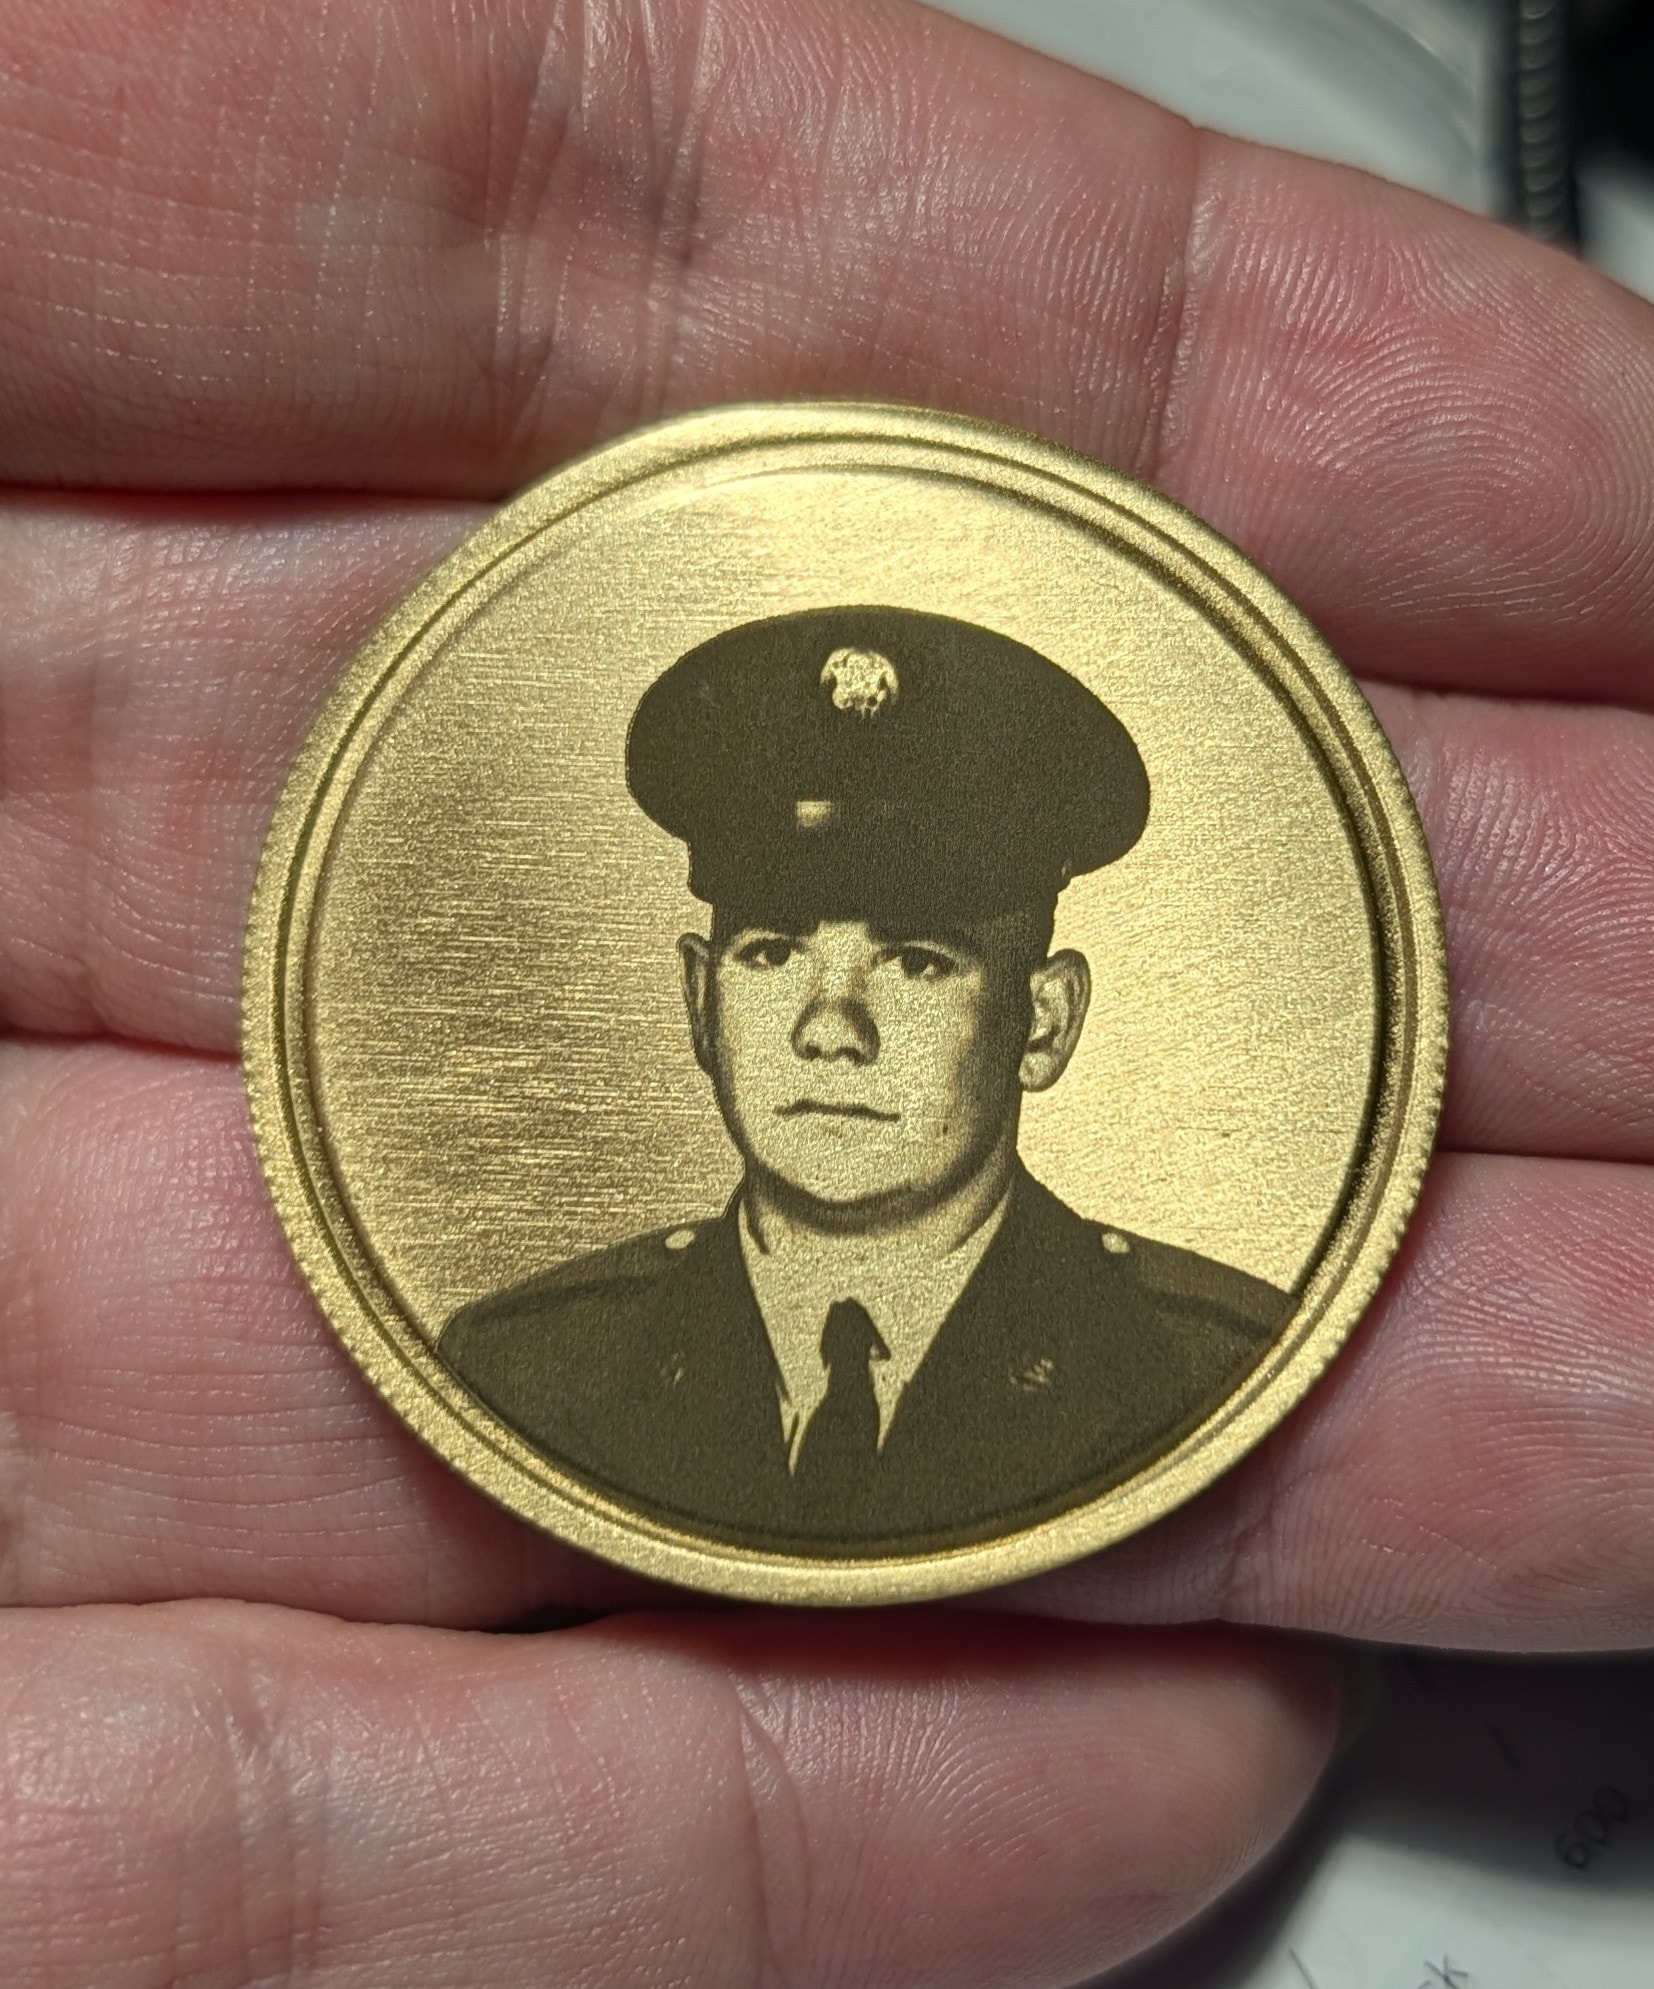
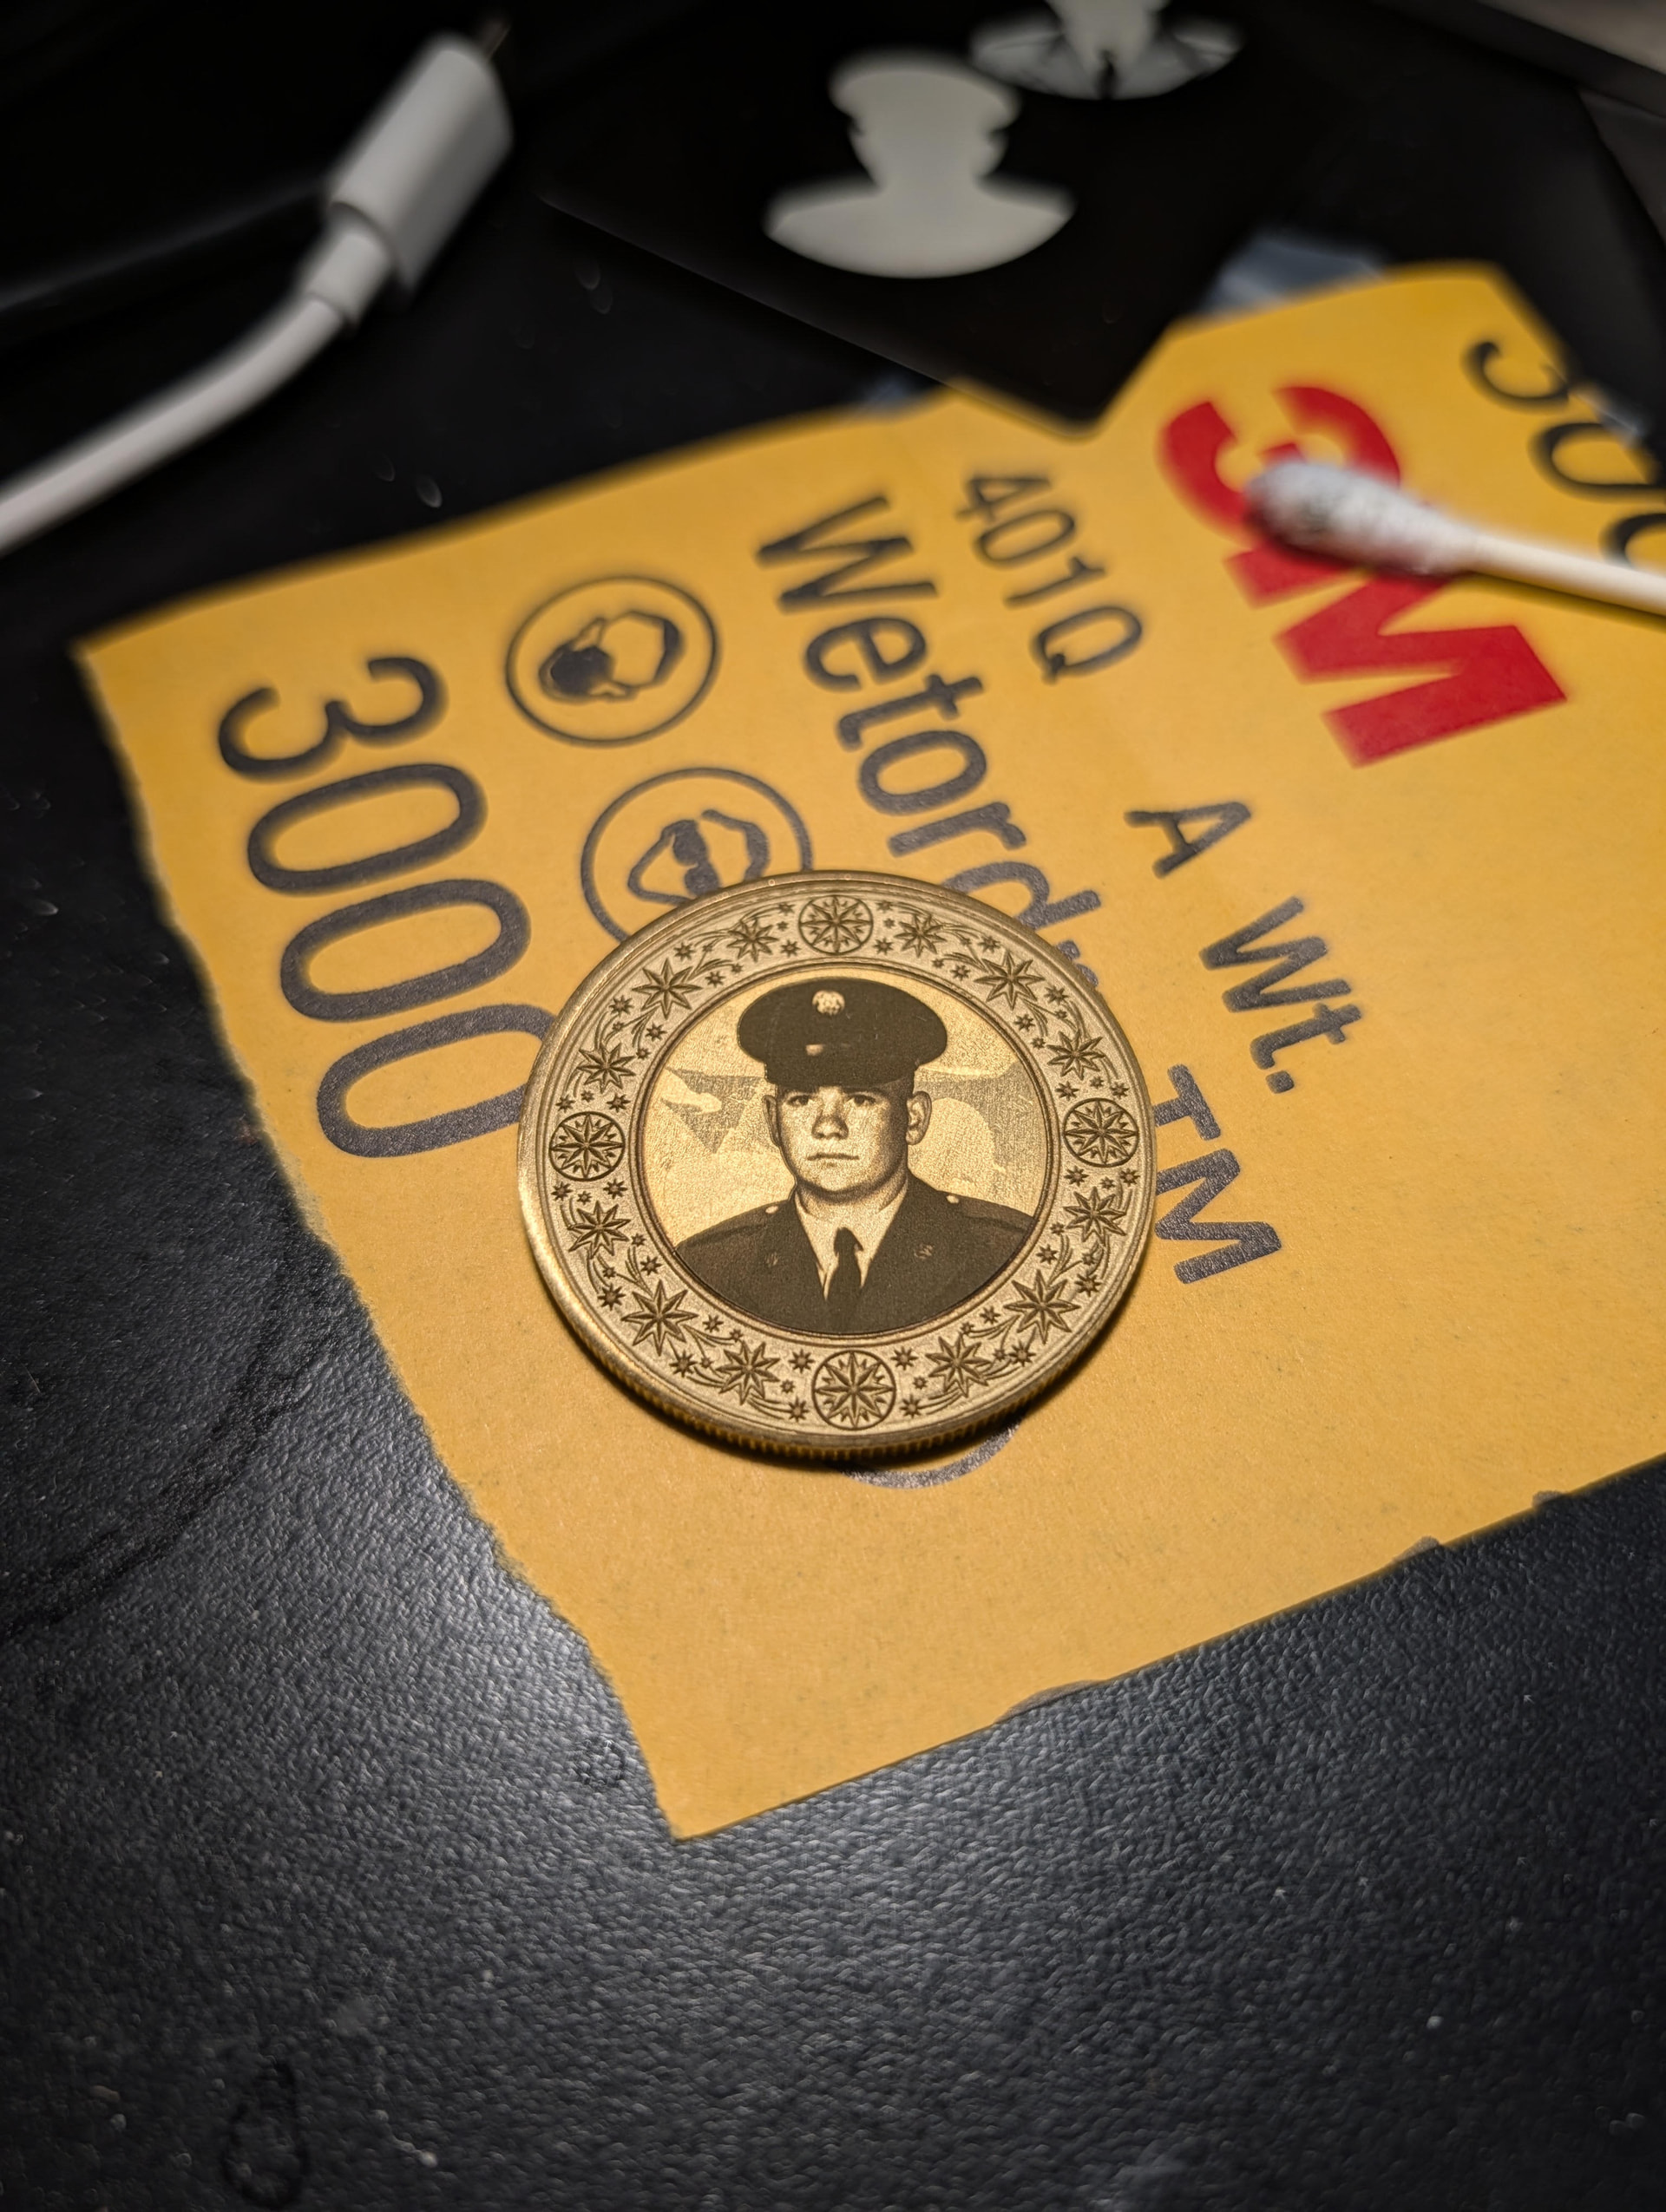
Let’s see if I’ve learned anything today lol - I re-ran it with some different settings, you can see a sort of white in the face. That’s caused by the minimum power change correct?
Definitely looking how I thought it should. I can’'t believe they told me no grayscale, I could have saved so much time (and money) coming here first lol.
What would you recommend tuning next?
Thank you again, I was ready to hawk this thing on e-bay or something lol
The results are in! I ran 2 pass with the same settings but changeing the scan angle between the 2. First is 45 degrees, second is 90.
I lowered the contrast slightly on the image inside LightBurn so it didn’t look washed out in the face. You can actually see the definition in the cheek now!
Next steps are going to be to add a background texture or something (maybe). Then I’ll work on the other side of the coin. I’ll be sure to post the end results here as well but for now just know you’ve made me a very happy camper lol
I cannot express my gratitude enough, I know it was basically saying "it’s ok to use grayscale (I was told to not use it) lol but I’ve been working on this for weeks now and have spent close to $200 on blanks. I’ll be repurposing the ones I can for the 3d engraving stuff.
Big thanks to Colin for bumping me up to Member so I could post these results.
I’m sure I’ll be back around on future projects! Have a great day everyone!
The issue still goes back to the photo goes from pure white to pure black. You’ll never be able to produce that big of a range. That’s one of the things that make this stuff very tough. I have a friend who lost his daughter. The only photo I have is poorly lit and detail in the facial area is pretty lacking.
I ran this image through one of those upscalers and then did the rest of the work in gimp. I still had to turn the contrast down slightly in lightburn, but it eventually made it there!
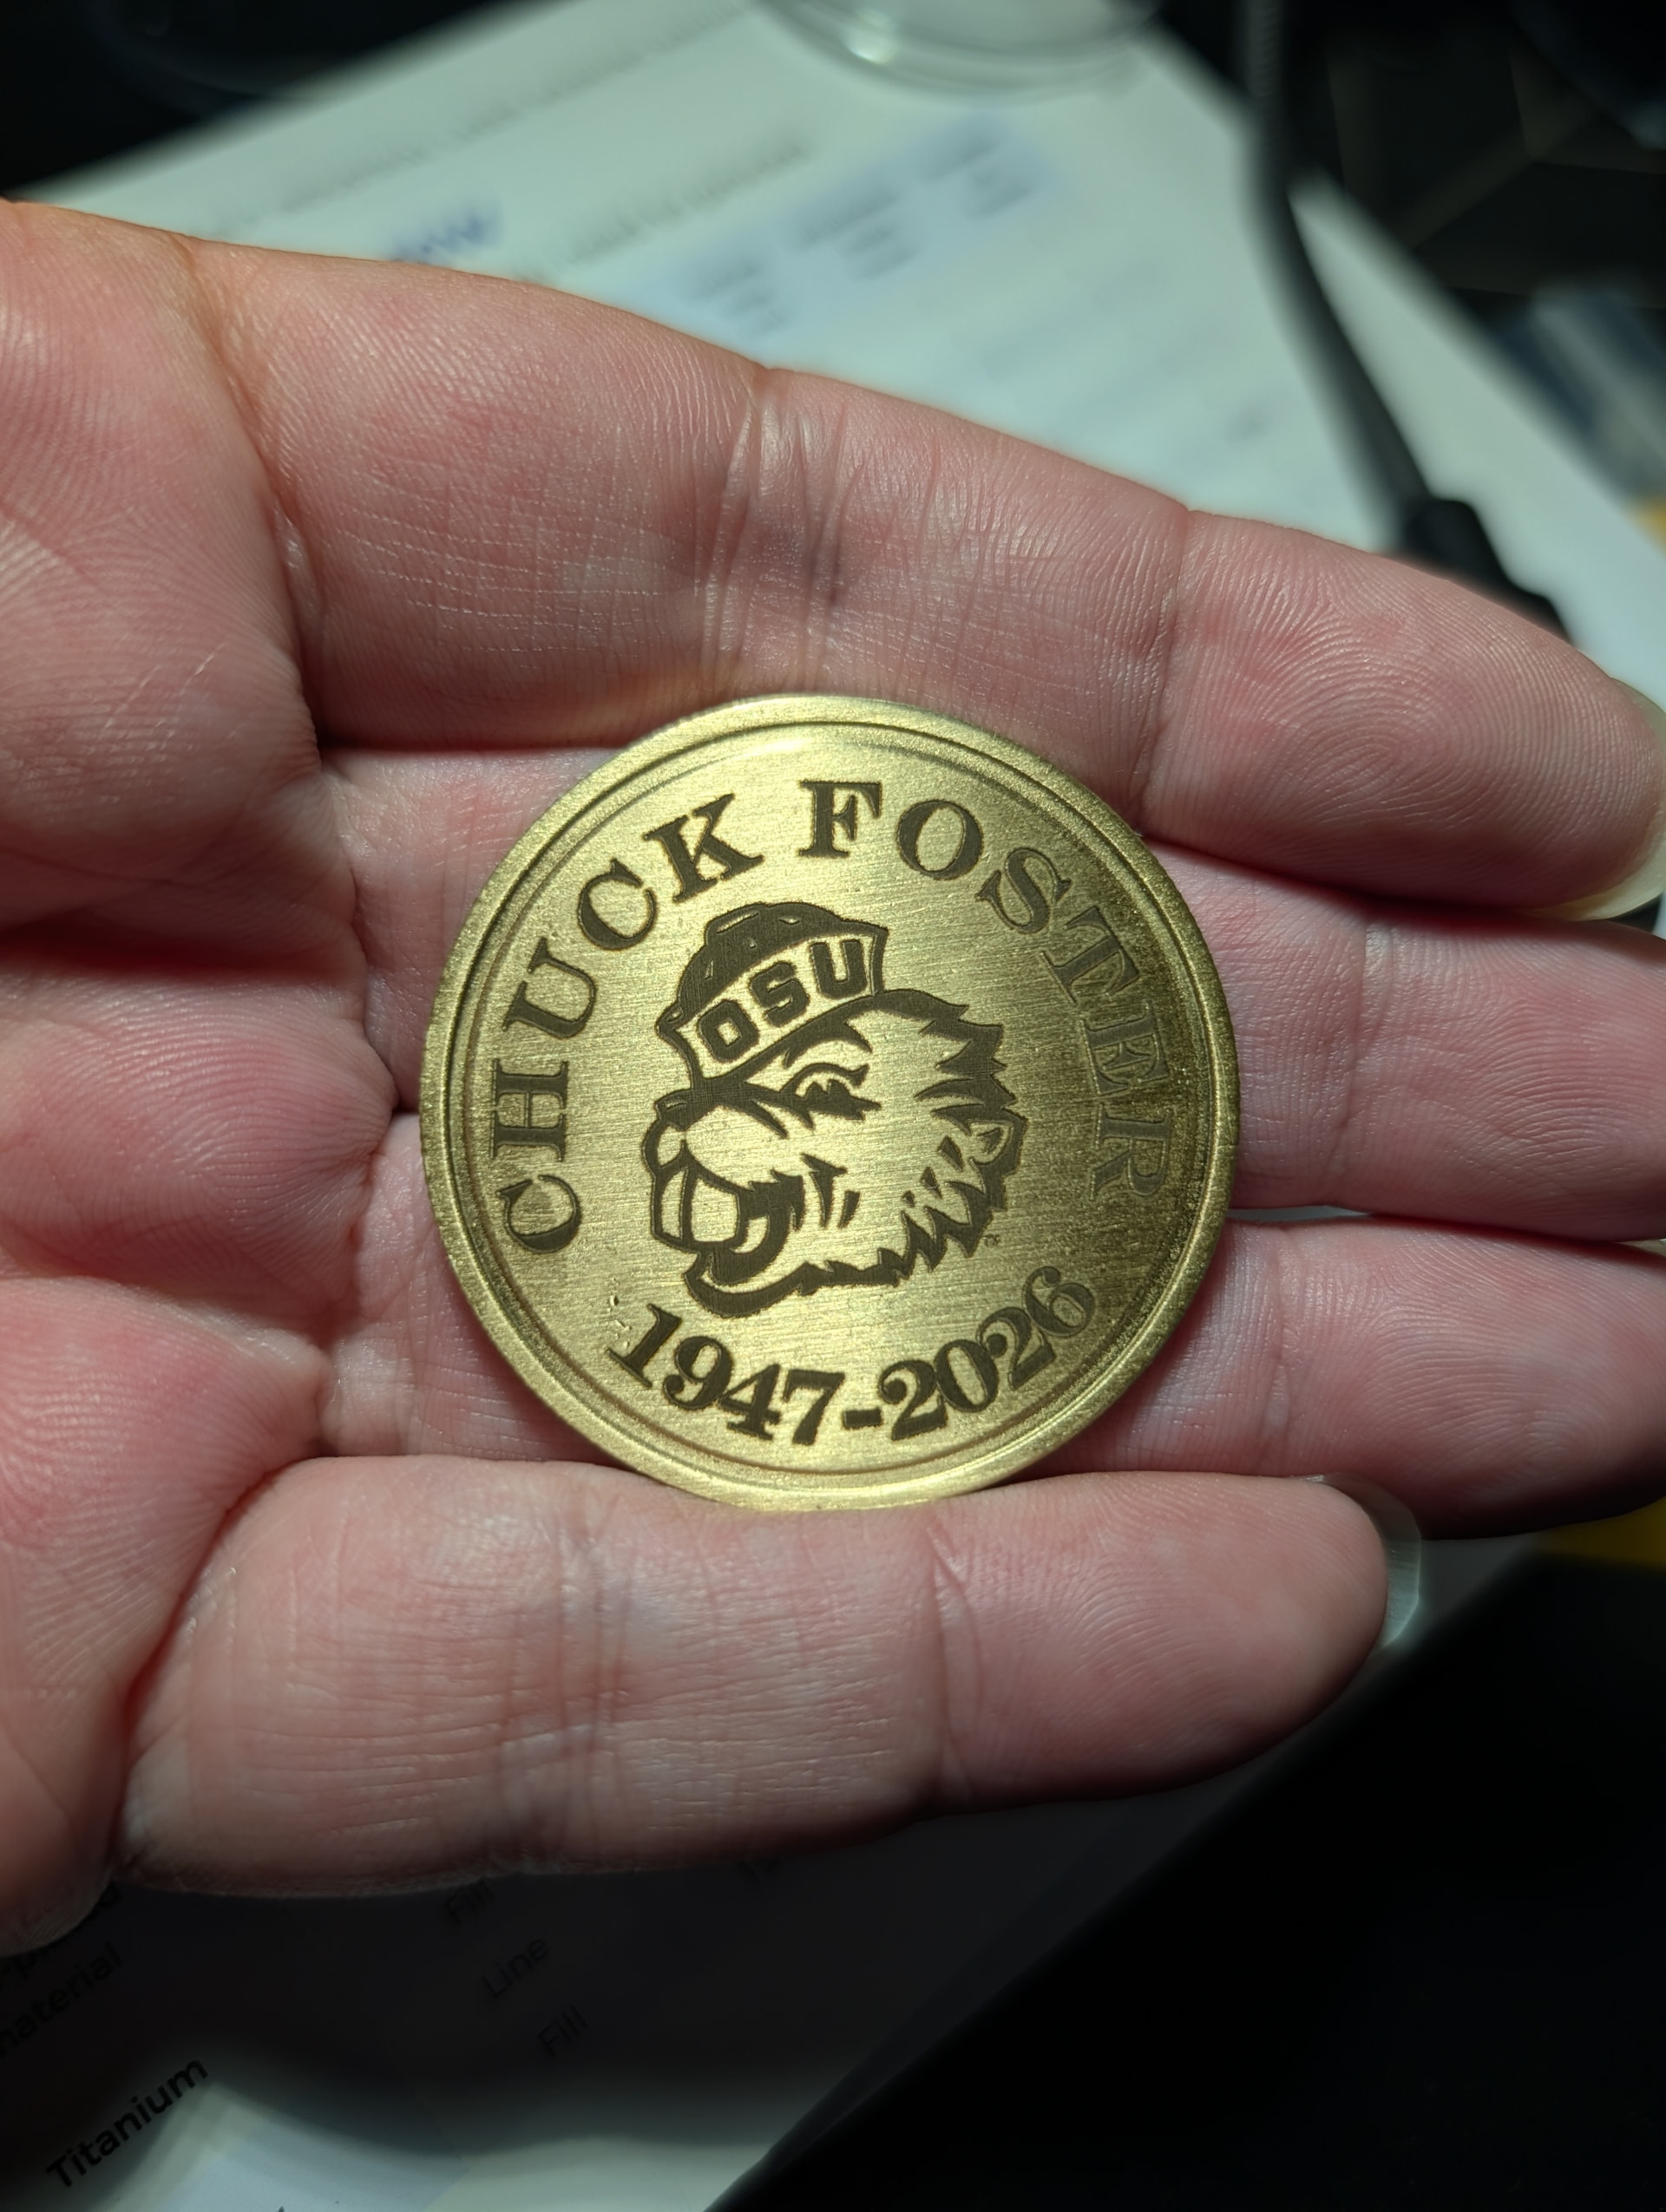
I’m working on the backside now, that’s pretty simple task as it’s a sports team logo and his name/dates.
I’m just relieved to make progress. Thanks again for everything.
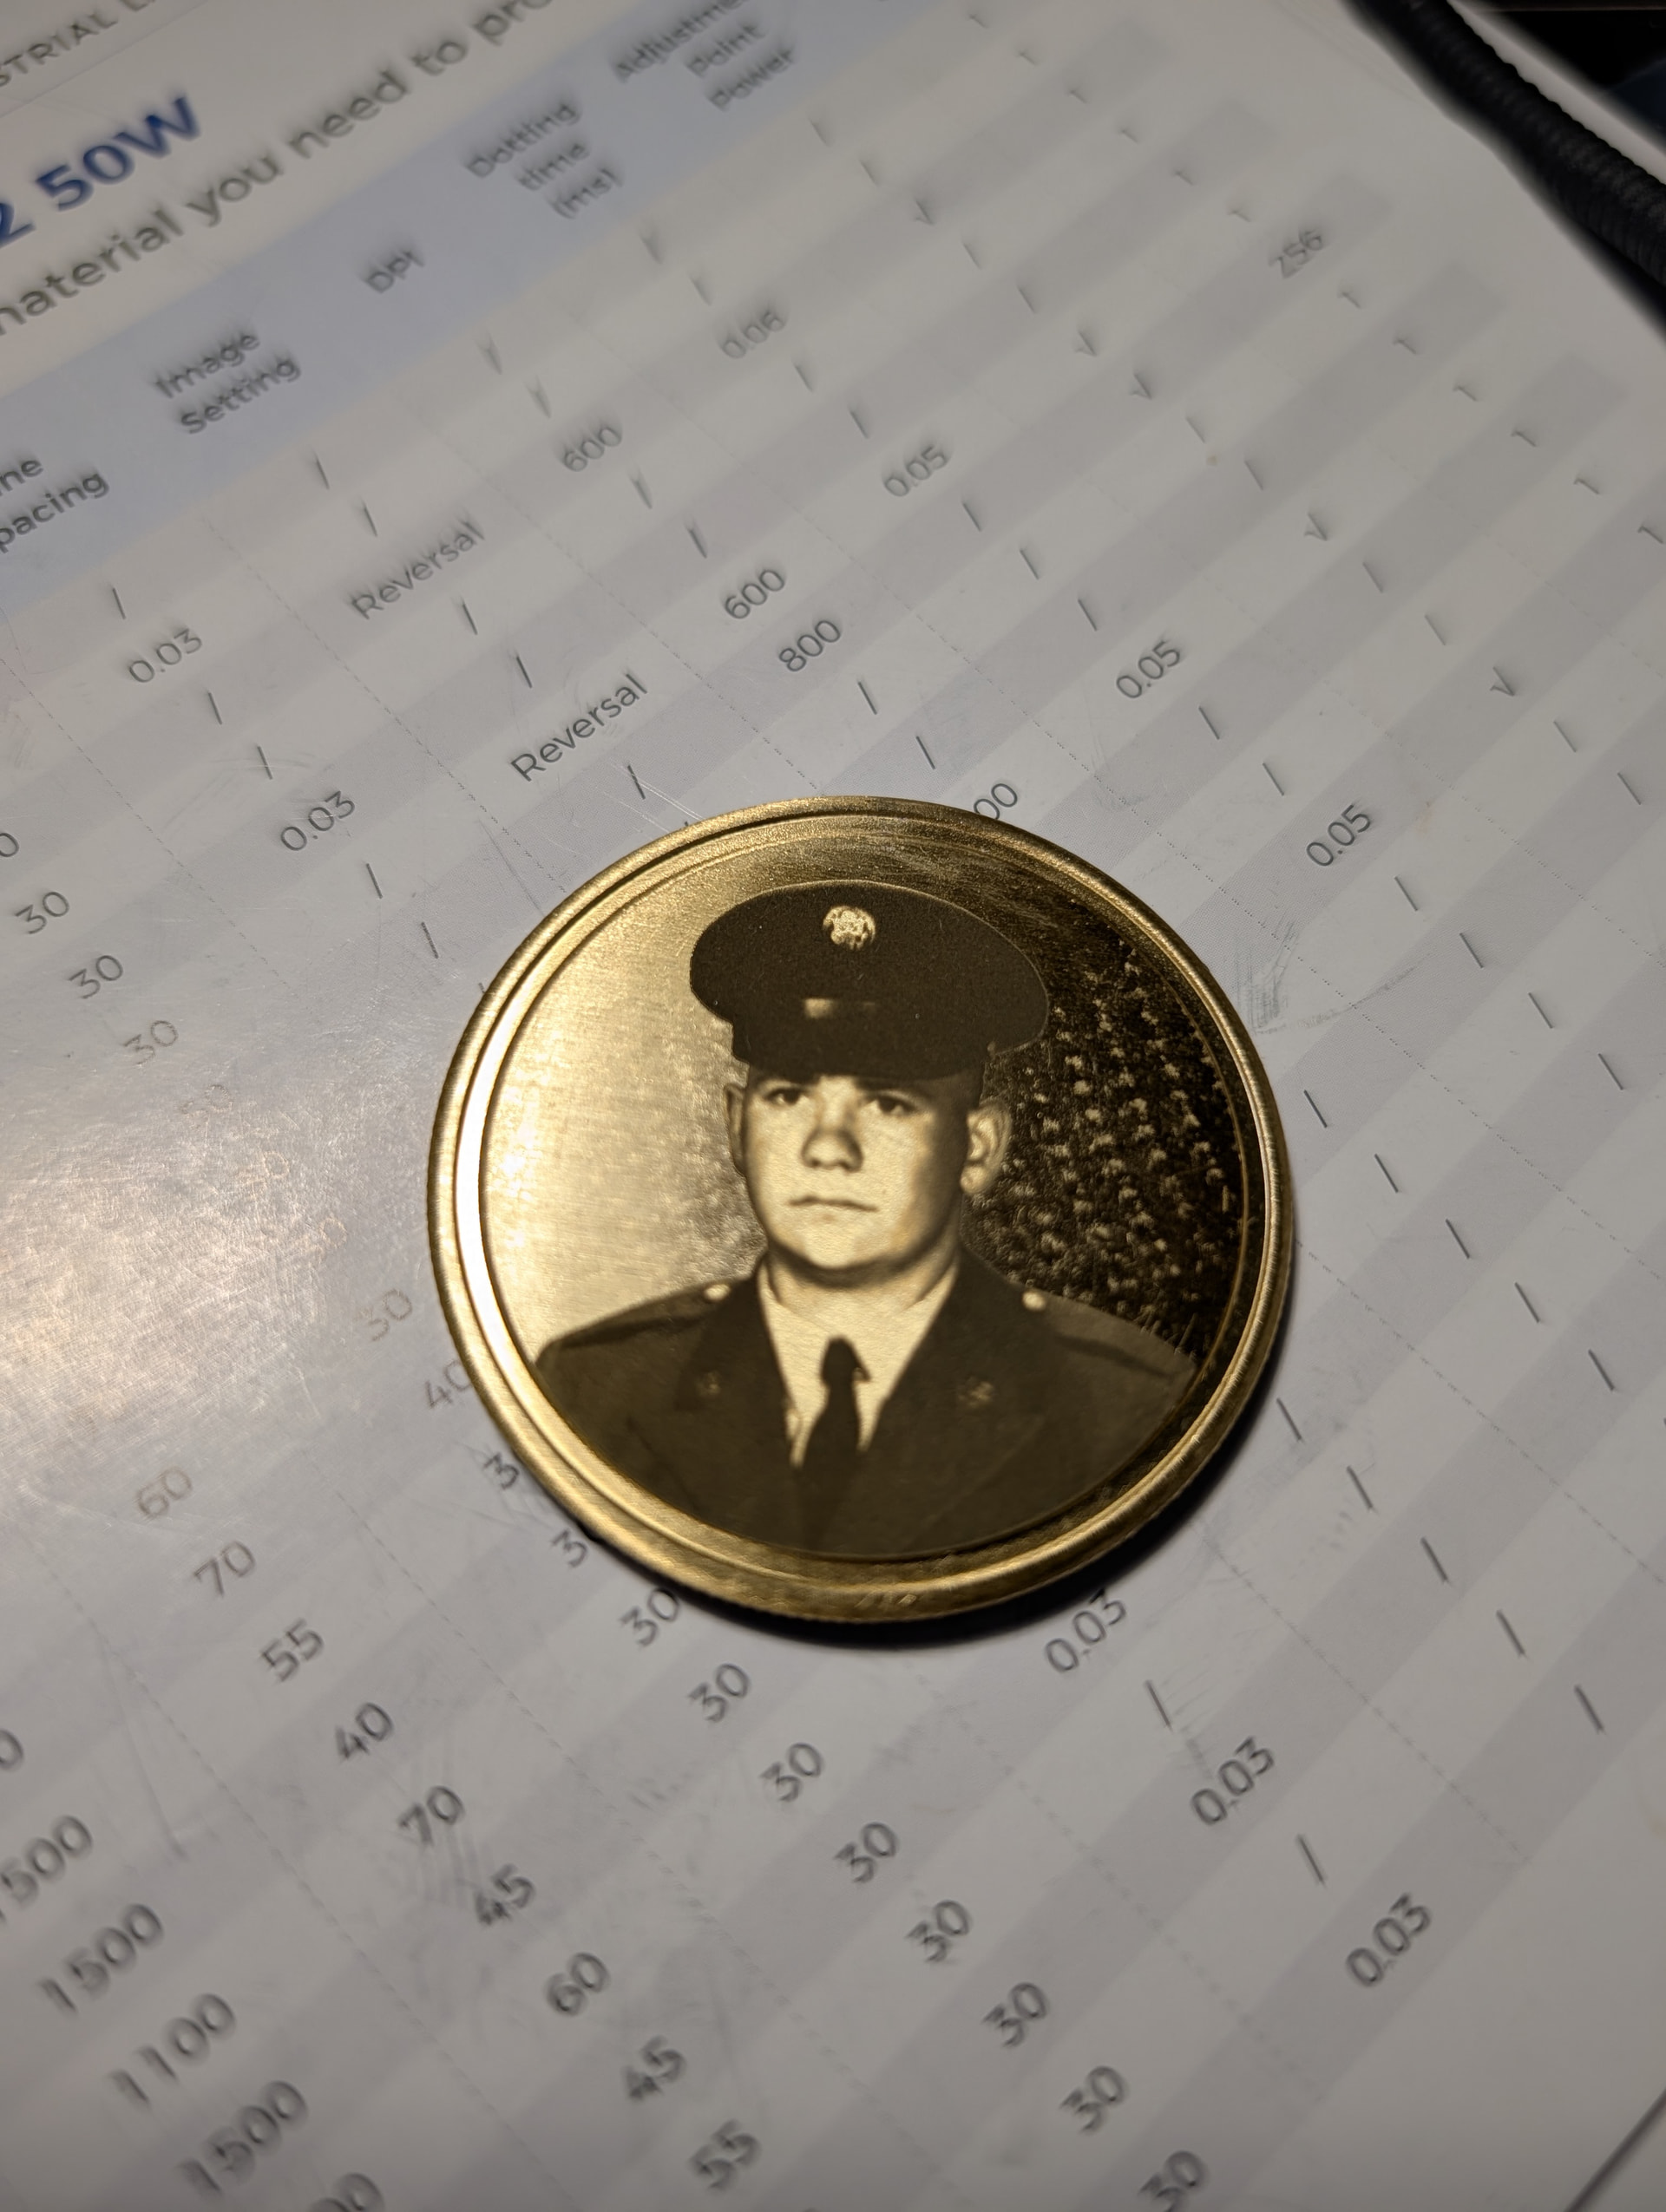
Figured I share the full results of todays work.
I’m not sure what that odd texture is around the main portrait, I’m still figuring out how to engrave a background around it but right now I’m happy with the results.
I’m going to polish it and try some brass black to see how that turns out but this part is at least done and satisfactory!
I forgot to come back to this.
Turns out it was user error. I kept minimizing the preview window instead of closing it. This caused an input lockout which made me think the software locked up so I hard closed it lol. MY BAD!
One of the issues with photos and trying to reproduce a grayscale is, as in your results, you lose the defining areas that are dark such as the detain in the hat band. You’re doing great and I believe you could be better results, but we love seeing them under any conditions.
Usually the strange patter you are getting a related to interval, especially when it appears as a Moiré Pattern. This usually occurs from crosshatching.
It being on one side could be the table and galvo head isn’t square with each other. Focus is critical and not being square could be an issue.
Focus is so critical people don’t realize it’s actually working.
You can look at your spot size, related to your interval and the pixel size of the image. The rabbit hole does go deeper, but that’s most of the issues.
As far as I could tell from the pictures, it was just bare brass, and the Min Power setting had to be increased so that a very slight ablation would take place there, roughening the surface.
I did! And yes, reuping the min power did the trick perfectly.
I’ve been playing with “clean up” layers at the start to see if I can smooth the coin out a tad before the big jobs start and that seems to do nicely. Of course, leaving it bare brass also adds its own special something too.
I’m working on the backside right now, decided to add a cute photo of the couple but it’s very low rez so it may not work but I’m running it through filters to see if I can clean it up a bit lol.
I’m sure @Aaron.F has, but I use jigs on all of my machines, including the little cnc3018 I have.
I used to do this with my fiber. Bought a strip of some type of stainless from ACE hardware and bolted it to the machine. Then set your focus and lock the head. Make a circle about 0.20mm larger than the coin. That’s only 0.10mm a side… This is an early one, so you get the idea.
One of the issues is that I have a bit of wobble when I move the head up/down. I believe this is just mechanical backlash, so I don’t move it’s focus.
After dealing with this and spending lots of time cutting out the jig, I finally had an epiphany one night. I have some black masking tape. I put a few layers of tape down and cut the coins position, through the tape. I could peel off the center section and the coin would center in the hole. The tighter the fit better, but it’s easy to get it too tight. Cheap and disposable.
This is what I use, but it’s a throwaway resolution as I can’t get enough accuracy trying other ways to locate another objects. You can see the previous cut out I used before under the tape to the left. I have a small sheet of stainless beneath the tape and metal.
If you think of something, we’re all ears.
Generally speaking, the higher the frequency (more pulses/s) is like finer sandpaper. Q-pulse is how much heat you need.
A lot of energy is reflected at fiber frequencies on most metals.
Ok so I wasn’t too far off. I tried that with one of those aluminum cards you can get pretty cheap but it’s not thick enough to really hold it in lol. I’ll try taping a few together and see if that gets me the depth I need to hold the coin in place accurately lol.
It kind of dependent on the coins shape. If it has relatively straight edges it snaps in very easily. Other coins with more rounded edges need something thicker to hold the correctly.
I get all of mine from Amazon and a few have different edge configuratons.
I did, and it stopped looking like him lol
The grayscale is working well and I added a border that gives it a nice depth and pretty decent look.
I’m waiting on new blanks to put it all together and finalize it. The friend that asked me for it really liked how it’s turned out