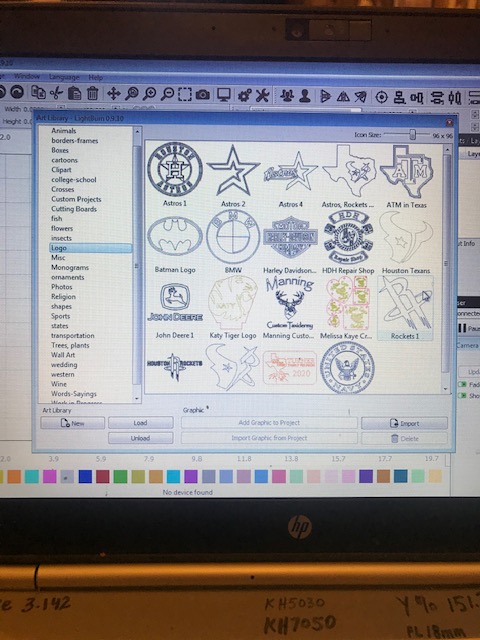
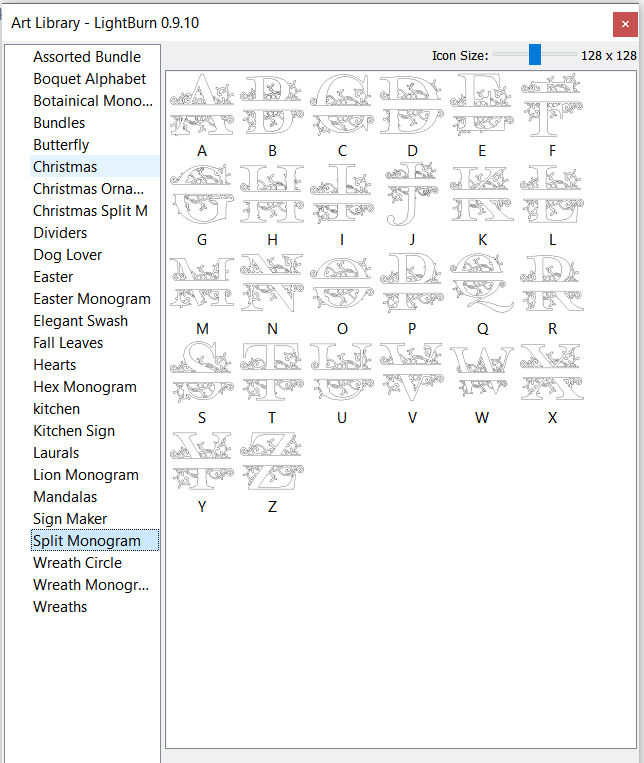
The left side is the list of libraries, and you can create as many as you like, organizing content by type, occasion, etc. Each library is a file on disk and they can be copied, shared, loaded and unloaded.
How do I get there???..
The left side is the list of libraries, and you can create as many as you like, organizing content by type, occasion, etc. Each library is a file on disk and they can be copied, shared, loaded and unloaded.
How do I get there???..
Top menu / Window / Art Library /, - Check!
Thanks,
Thank you Lightburn! Fantastic work! The Library is an excellent addition, thanks! Thank you also for the multi-node select - it would have been great to move the selected nodes with the arrow keys, but Rome was not built in a day, I understand  I have not tested the other enhancements, but again, THANKS!
Arrow key move is actually done, we just hadn’t had enough time to test it, so it was left out for this one.
Hi, I’m a fairly new user of LightBurn - Love it!
But, I do have a question about the Library. I have the newest version of Lightburn and when I open the Library tab, it is empty and there seems to be no obvious way to open a library. I became aware of the libraries while watching a YouTube video on using LightBurn, but so far I’ve not been able to see what’s in it even though there are certain settings applied for different things, such as images or filled text.
One issue that may be contributing is I’m using a Mac PC, which after 35 years of Windows based machines, has been a challenge. I’m also using the 7W Laser from J Tech Photonics.
Thank you,
Don
The issue, “not seeing any entries in the ‘Materials Library’…” is due to the fact that LightBurn dons not supply any prefilled libraries for any version of LightBurn. You get to build your own using the correct settings for your laser.
What you may have seen on youtube, is one of our partner videos (Darkly Labs – Home of the Emblaser) showing a library they produce and include with the laser systems they sell. This library has developed by Darkly Labs and has been tuned for their system and should not be used for a different system.
Thanks LB. I have already created 29 libraries and 117 images in them last night. Only about 500 left.
Again, Thank You so very much as now there will be no other reason for me to open RDW after I get everything imported over.
That is a lot of stuff!  How do you like it? I know you were a heavy user of the Library in RDWorks, so I’m curious.
I have purchased lots of SGV bundles from various web site and I was never able to remember what shapes I had, the library is amazing! For the first time I am able to quickly browse hundreds of borders, filigrees, dividers, embellishments and monograms. My creativity has really jumped to the next level now that I have a visual library of images to choose from inside the program.
Oz, so far so good. All is working great. I have been trying to get my photo engraving dialed in and it has been a big pain having to open or import all the saved images with all their different settings. Tonight I did four different files of the same photo and put them in a photo folder in the art library with setting notes under the thumbnails. Such a huge time saver. Love it. Thanks
Next Question
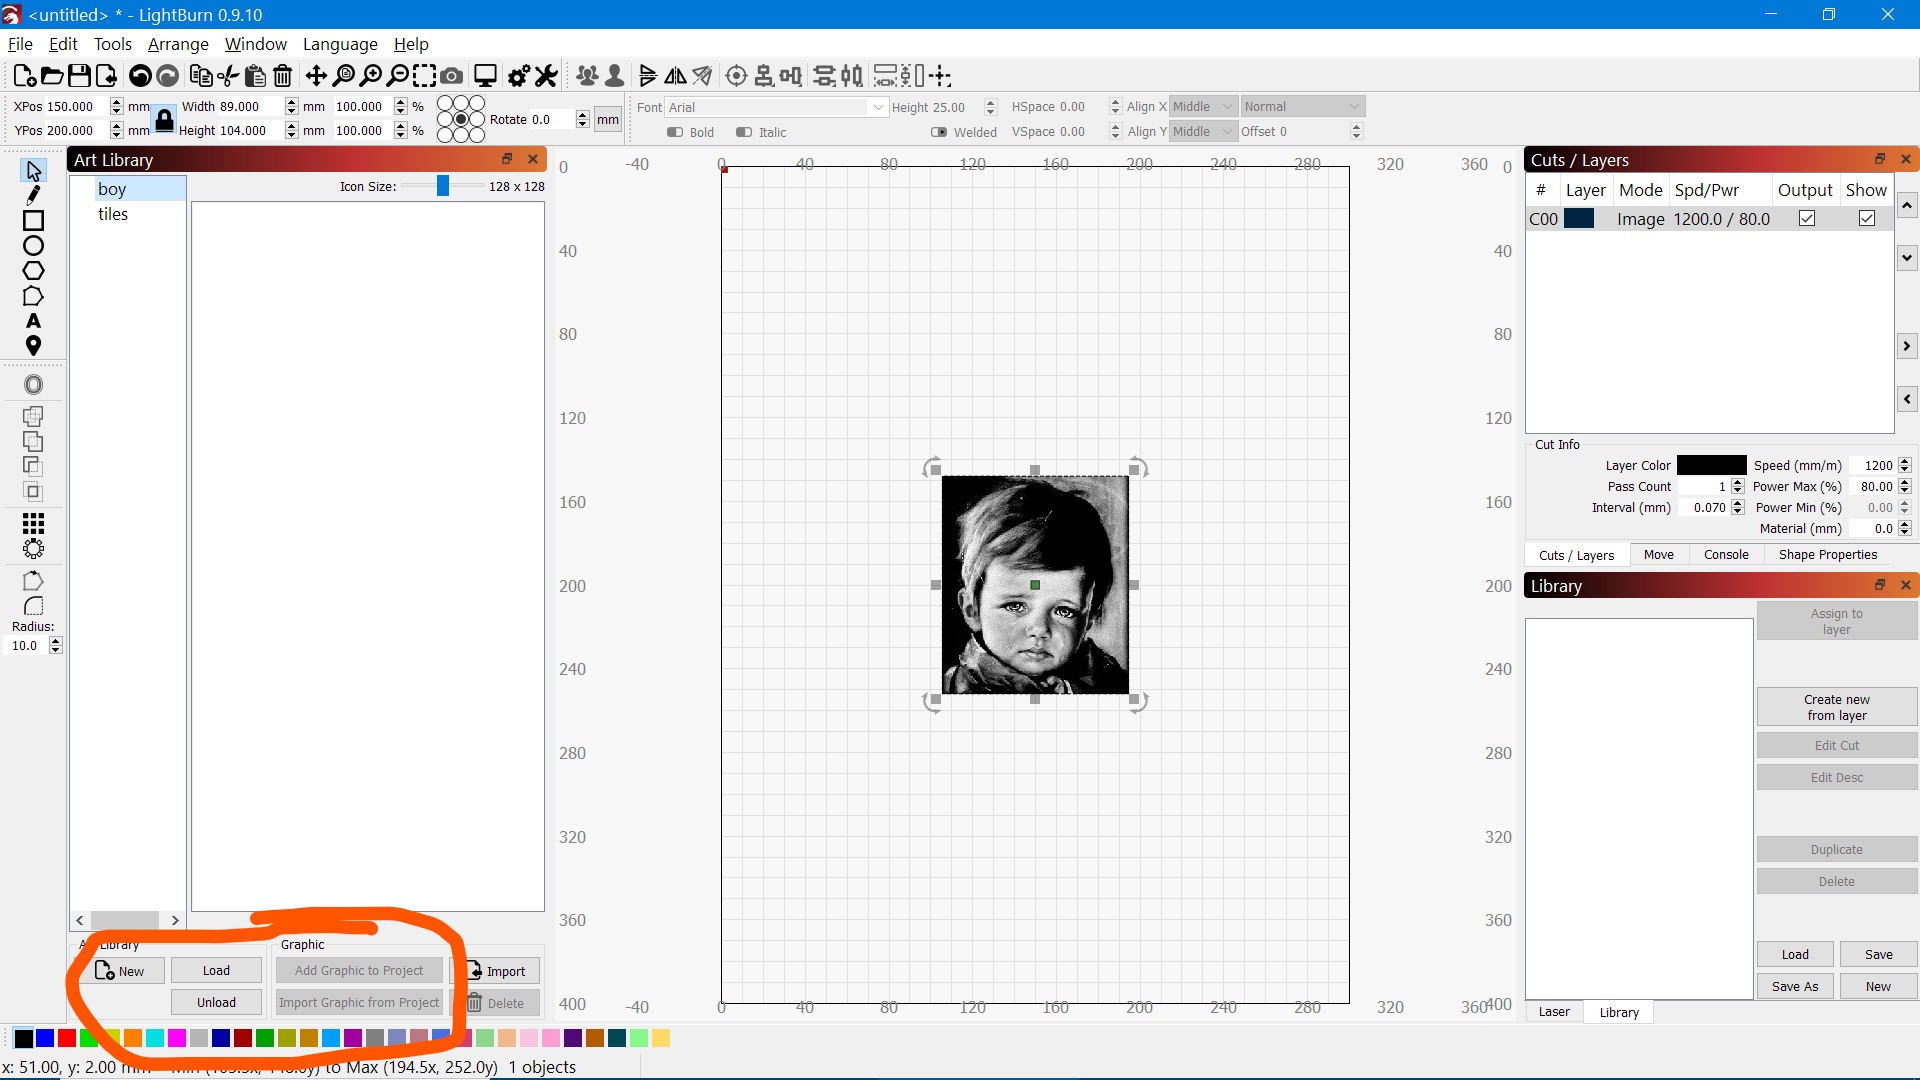
How do I import a photo I,m engraving on tile with settings into Art Library
Import into LB program, set it up ready to engrave.
Open art library.
Click new, name new folder photo’s or whatever.
Click image so that it has handles around it.
Click import graphic from project.
Name it and hit save.
WaaLaa.
Next time you open it from the art library it is already set up and ready to go.
If you want to try something new with power, speed or whatever, just save the new image under a different name and they will appear alphabetically.
Once you get the final that you are happy with be sure and save it to wherever you normally save.
BTW, don’t hit the unload button while you are in a library folder because it will remove that folder and anything you had in it. Already learned this the hard way to see what that button meant.
Have not figured how to save it to share or copy to the other computer yet.
Thanks Willyivy
But when I follow your instructions
The Import from project is greyed out and nothing happens
Finally got it work…have no idea what I did…lol
Thanks
I don’t know. Your screenshot looks exactly like what I have been doing except mine is not grayed out. I opened LB and cannot recreate what you are seeing.
I also see that your “Add Graphic to Project and Delete” are also grayed out. The only grayed out on mine is “Import Graphic from Project” if you do not have something selected on the screen. Once I select something then it is no longer grayed out.
Very good. By the time I made it back from and interruption to hit reply, you got it.
Remember - it only stores the shapes, not cut settings applied (though it should store the image properties).
Thanks Oz…
Aaah, I see that now. It does save the color layer, speed and power for each individual entry but I now see that it does not save the dpi and such. Good thing I wrote those down on the four photos I engraved last night.
When you say…
Please check your findings. The colors assigned to the art are stored along with image properties set in the ‘Shape Properties’ window, but none of the cut settings which would include the DPI setting identified in the ‘Cuts’/‘Cut Settings Editor’ windows are stored in the current ‘Art Library’ file. Cut settings can be stored in the ‘Materials Library’.