Have you ‘homed’ the machine? Can you home it - does it have limit switches?
Homing sets the machine to the 0,0 datum point and zeroes the counters. It does this by hitting the limit switches then backing off and setting the zero point.
If your head is crashing into the extrusions either there are no limit switches, you haven’t homed it and set the zero point, or your model is trying to cut into negative space, or all of the above,
If you had limit switches, it wouldn’t crash. They are cheap - less than a dollar each, plus a way of attaching to the extrusion, some wire and solder.
If you have limit switches and it’s still crashing, there’s something more wrong.
If you have set home without limit switches (which you can do) and the head is crashing, your model is not set in positive space and you might need to zero closer to the centre of the machines travel.
It doesn’t look like it has limit switches installed, so before powering it up, move the laser head all the way to the front left. That will essentially zero it. If you have the correct machine size set in LightBurn and in the controller, software limits should prevent it from hitting the rails after that.
Most people without limit switches installed run their machines in “current position” mode for the “Start From” setting, which means you jog the laser head to the right spot and run the job from there. It’s less repeatable than Absolute Coords or User Origin, but without the point of reference you get from limit switches, you don’t have true repeatability anyway.
Hello gentlemen!
thanks for your reply and feed back! Yes, that would be the most ideal to use “end-stops” or limit switches - but I don’t think that my Aduino Nano board is not configured this way. Hence, I am not sure if I could install limit switches on my board or find a way to upgrade this as a possibility.
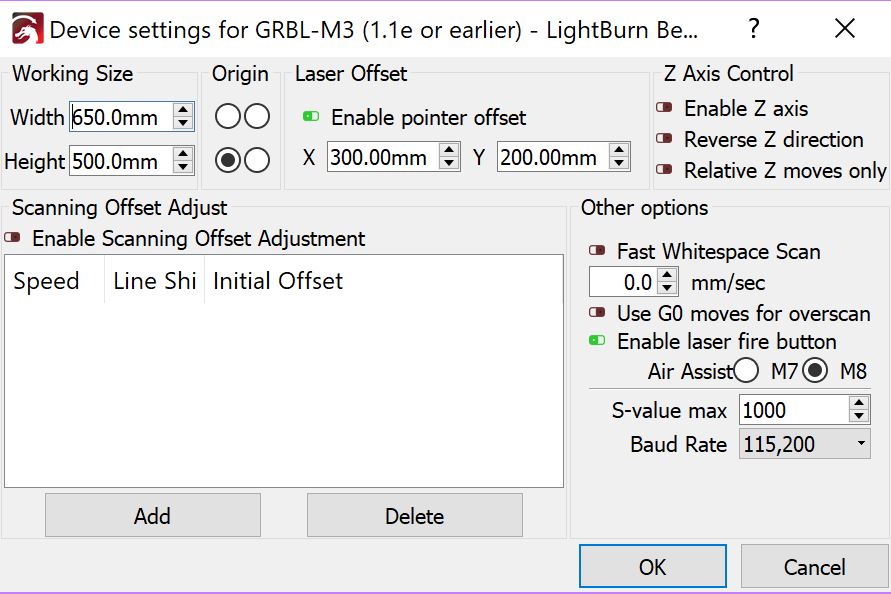
According to the specs on my machine from the link above; the maximum engraving area is 65cm x 50cm so I entered X = 650mm and on Y = 500mm.
I also set a value to for X (320) & Y (250) to define a origin location. I also enabled the “home” location to park the head at front "left at start up - but nothing happens at start up of the machine.
Hence, I will try to park the laser head on the front left sounds like a great idea, I will try this! Thanks for the tip.
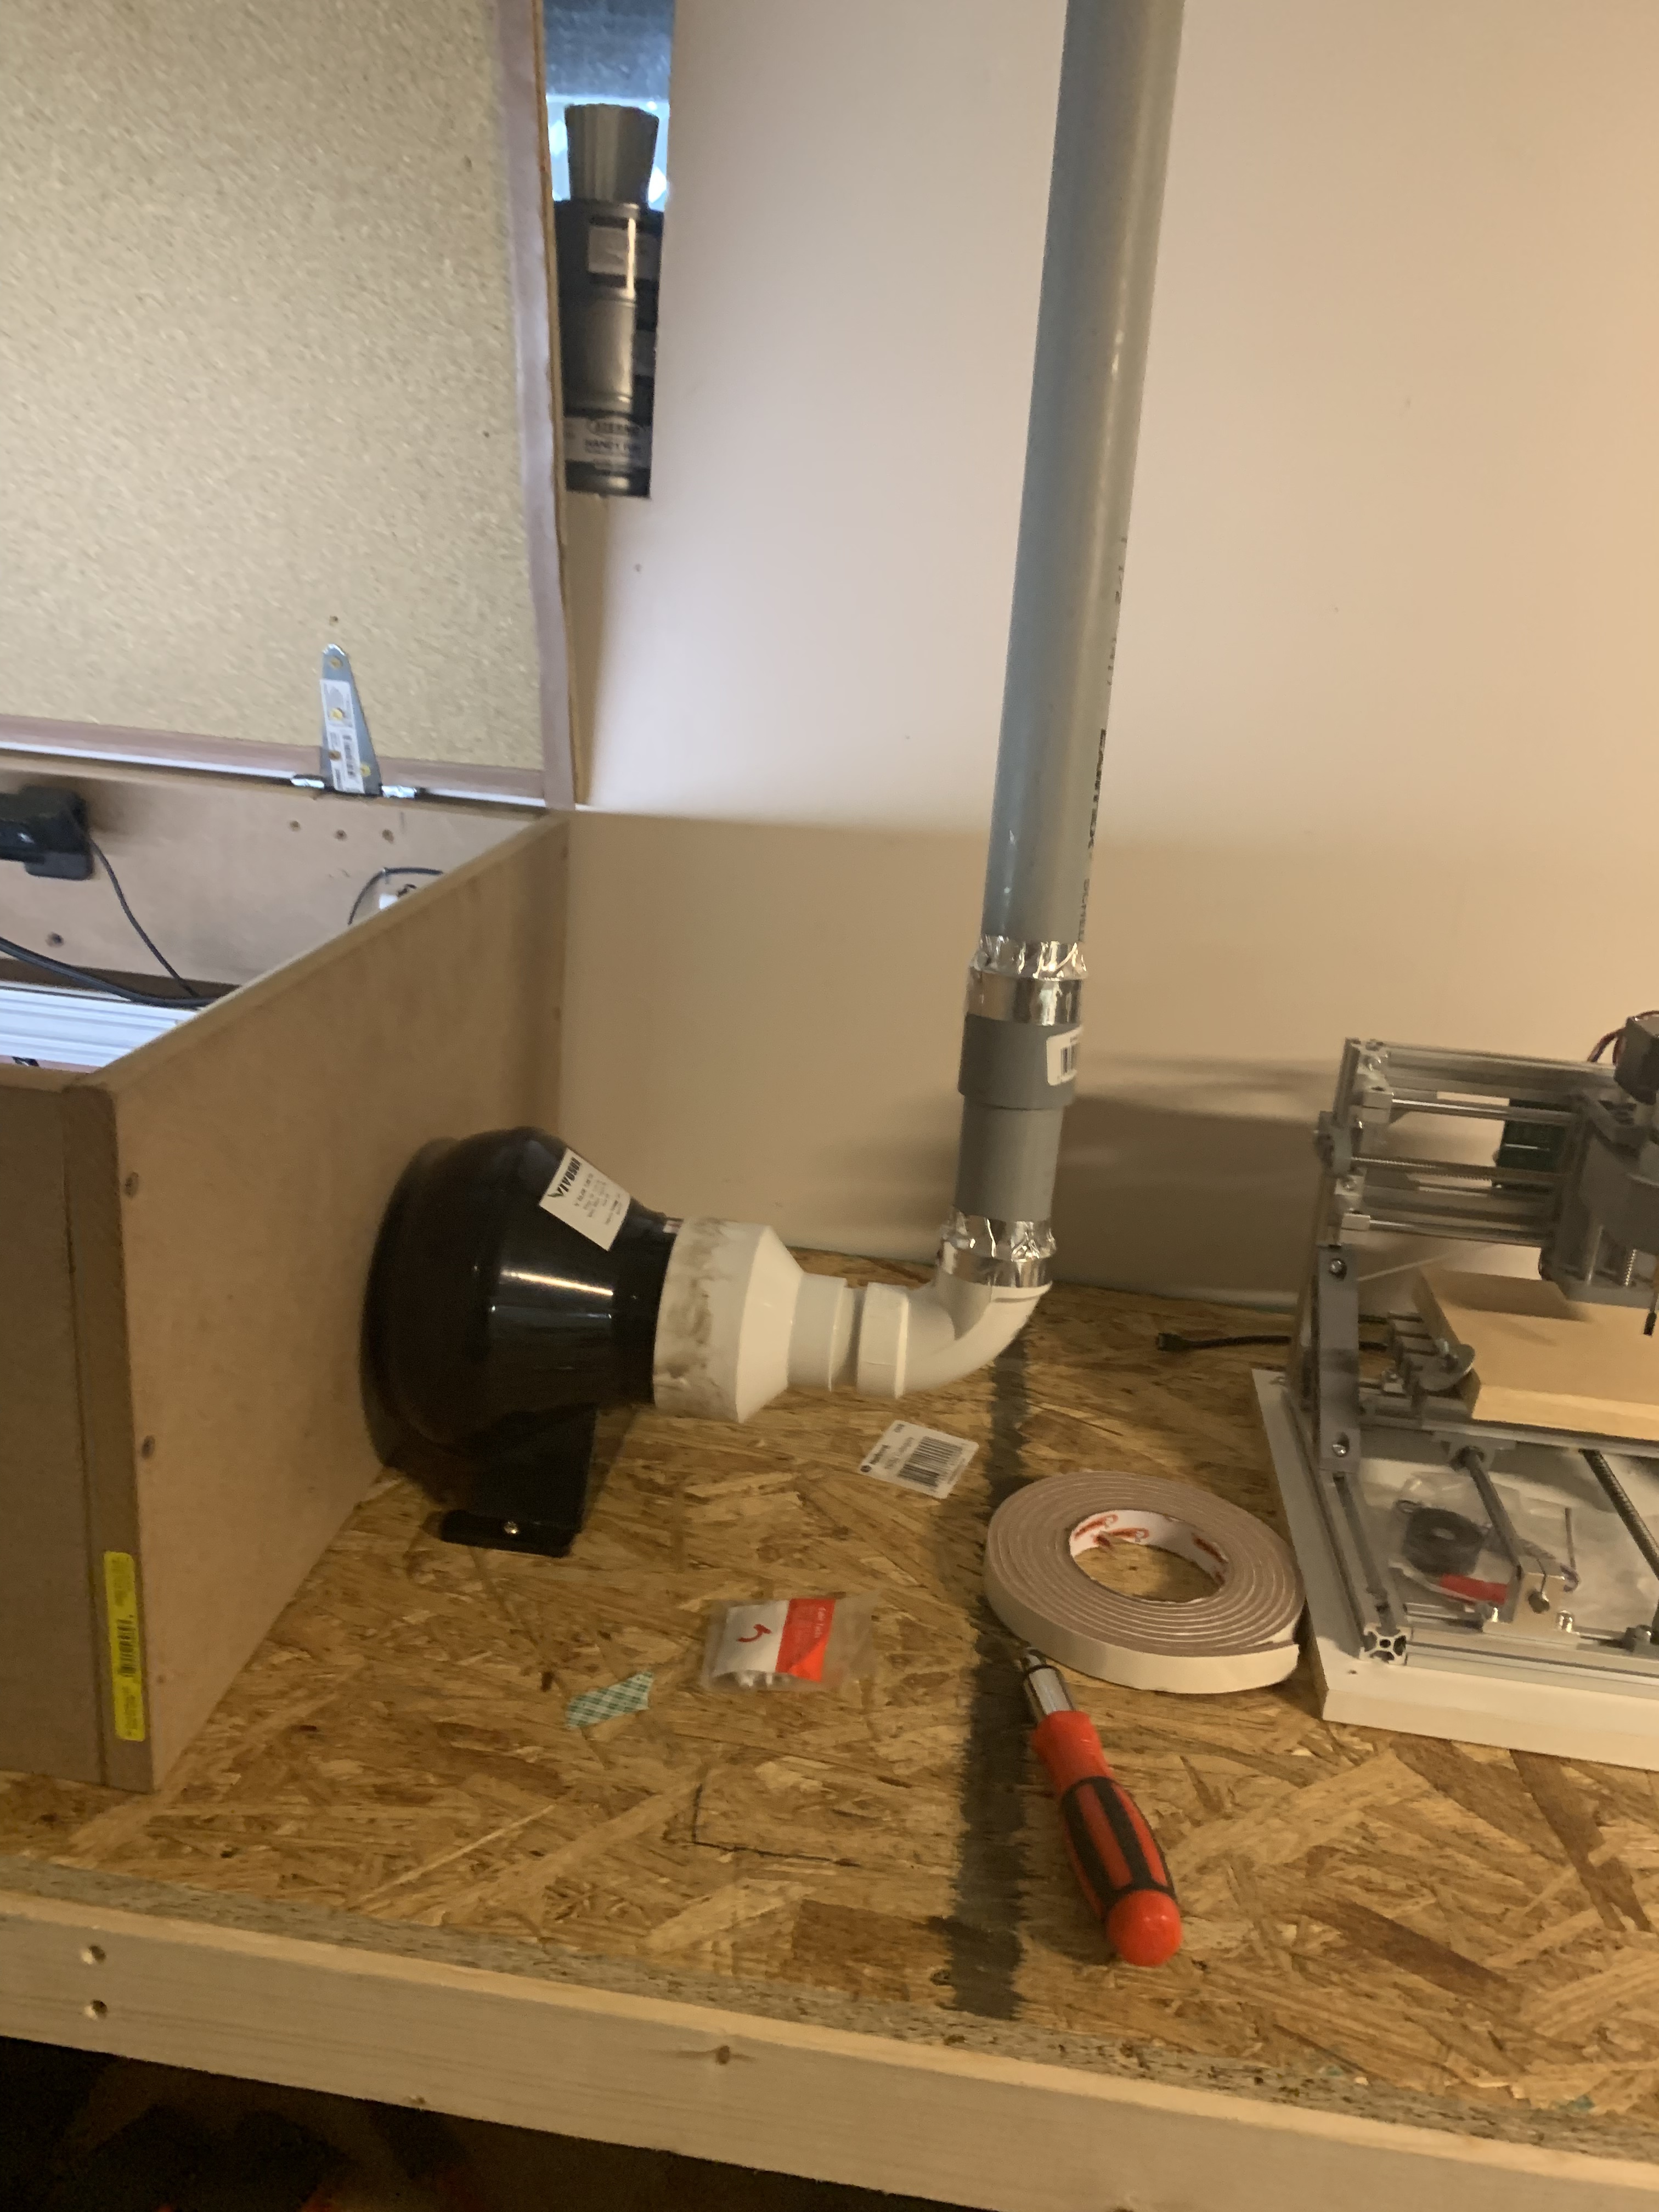
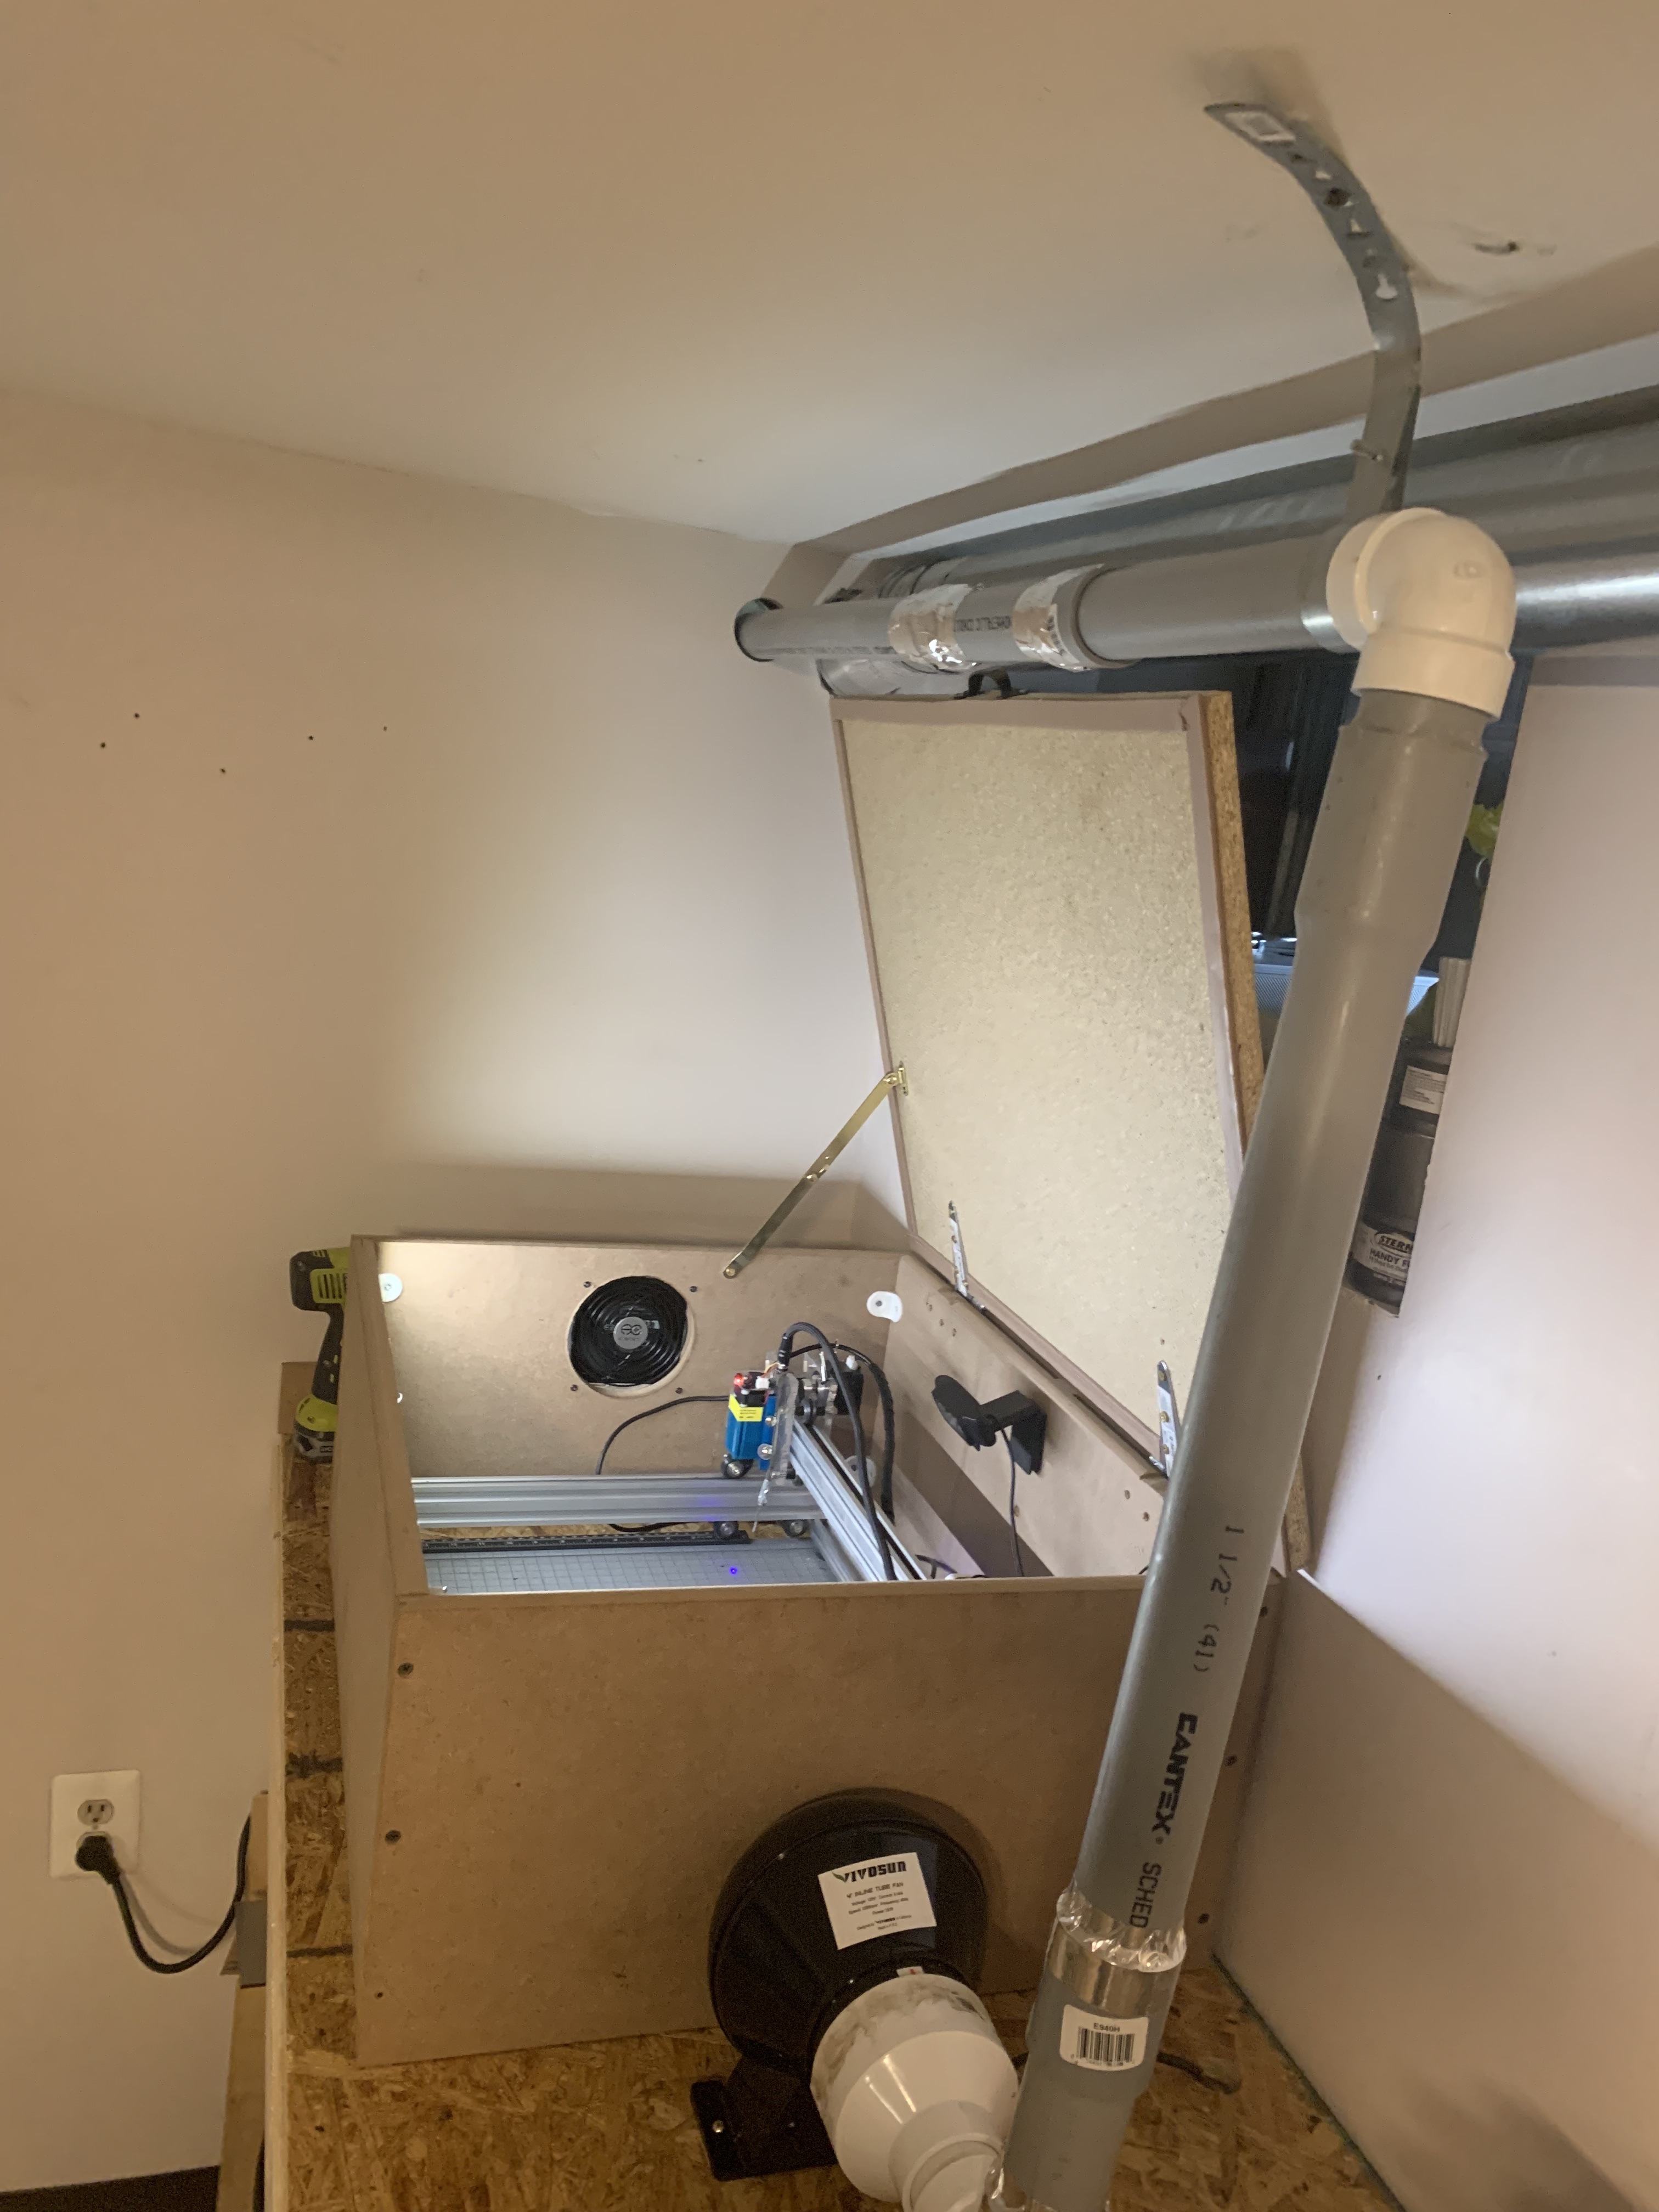
I am quite excited that this LightBurn software exist and the accessibility of these laser engravers. Ten to fifteen years ago this technology was super expensive and still is depending on the more industrial machines. Ultimately, what I would like to do is create an enclosure for my engraver so that I can rig up an internal fan to vacuum out the fumes. I have some 3D printers in my lab, in which I am thinking of printing some parts to make this work.
You can also enable the door interlocks to turn off the laser if the doors are opened using the same switches. Take a pic of the connectors on your laser PSU as well and I will tell you how to wire it.
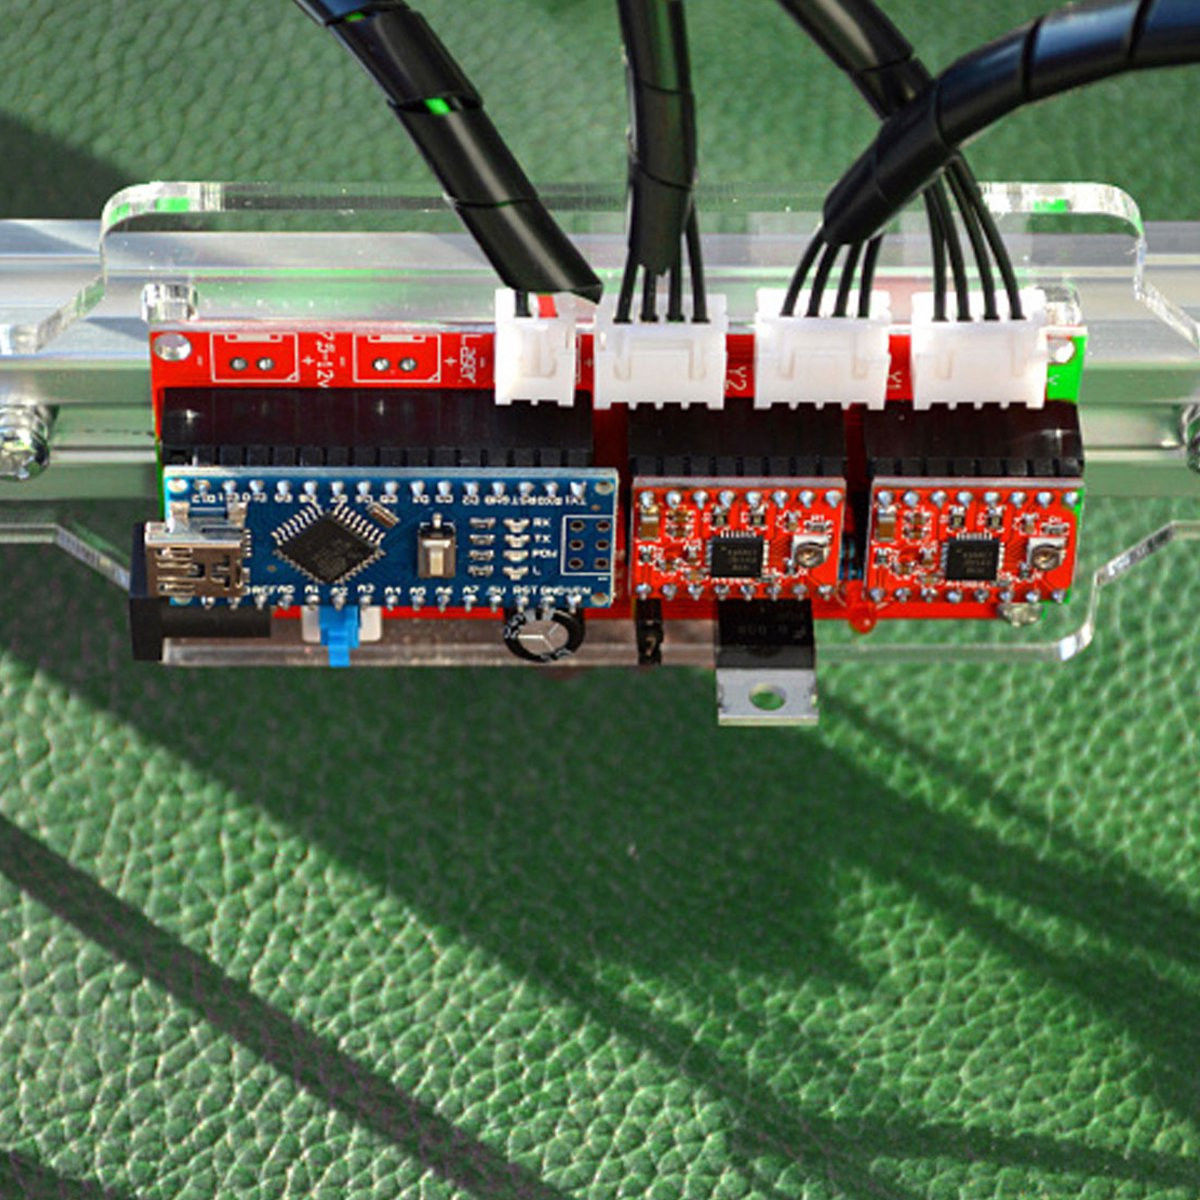
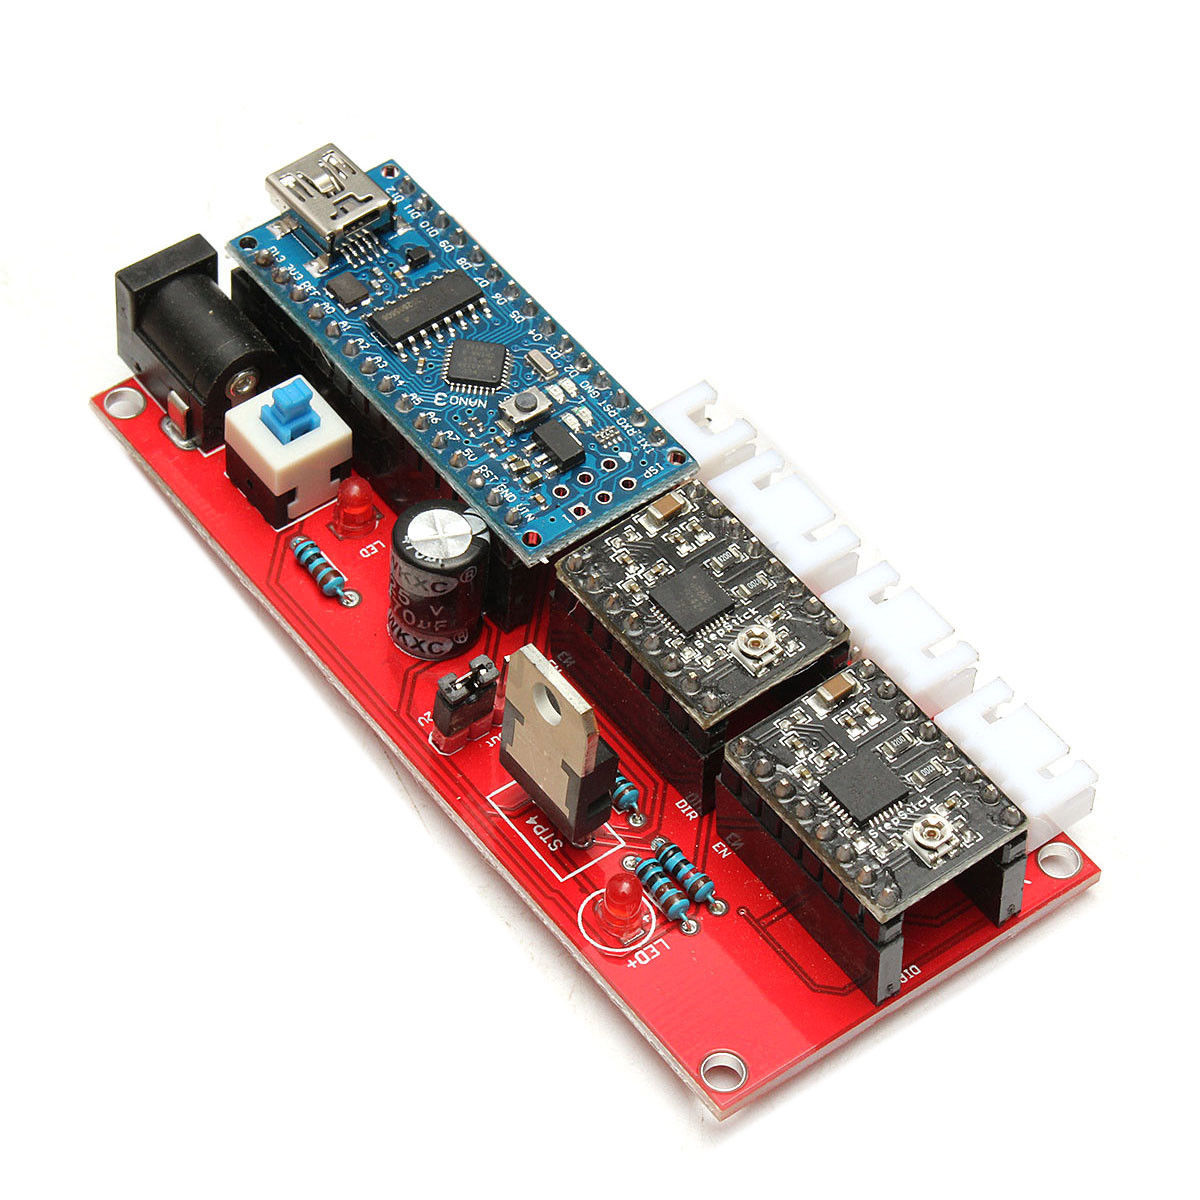
OK here are two pictures of my board that I got from that like above. I am currently not in my lab until tomorrow so I hope these pictures should suffice.
Ugh… the EleksMana SE controller is absolutely minimalist - it doesn’t break out the pins to allow you to connect a switch.
It would have cost them about 25c to do so, so it was scrapped at the R&D meeting as being unfeasibly expensive. >.<
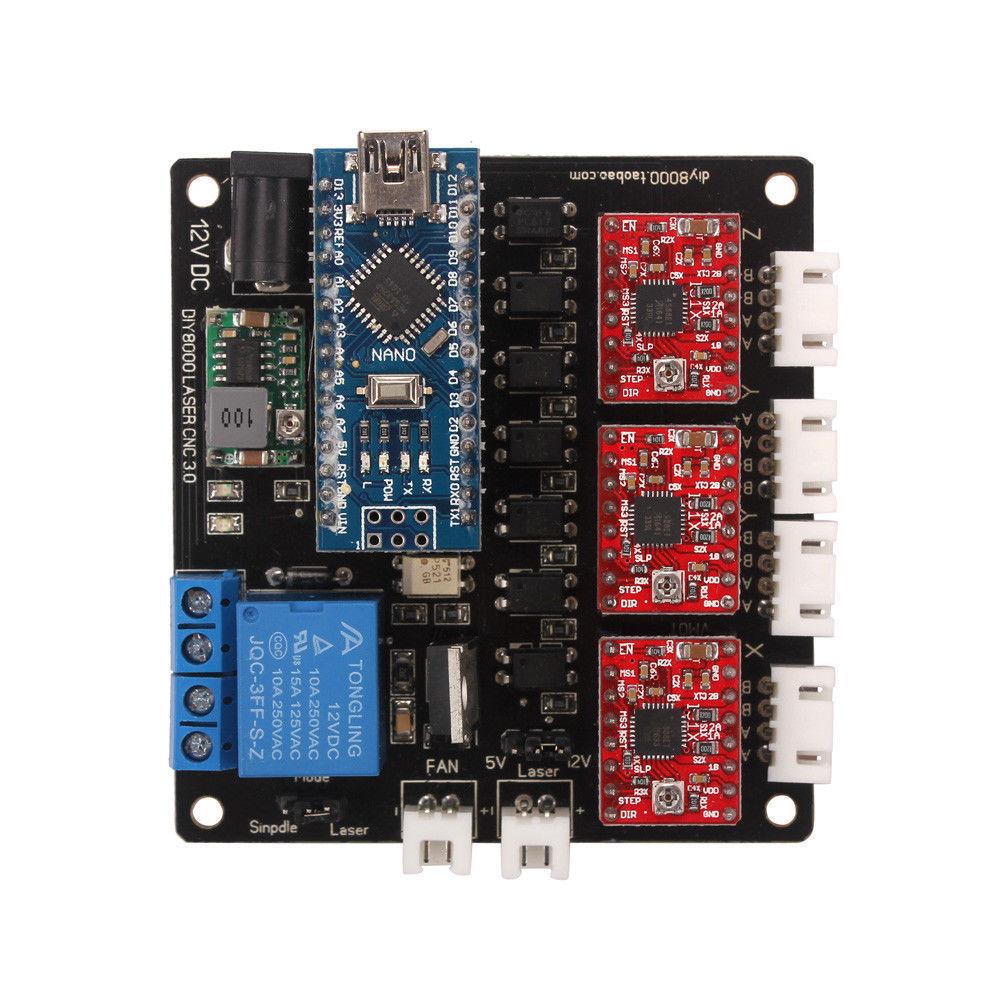
You could buy a decent controller for about $20 which would do everything you need. Probably get one even cheaper as you already have step sticks and a nano.
Hi Gentlemen, thank you for your feedback on helping me in the direction of understanding the functions of lightburn and also my laser machine. I have placed in order on a controller upgrade thanks to Bonjour, to ultimately configure some limit switches to the machine.
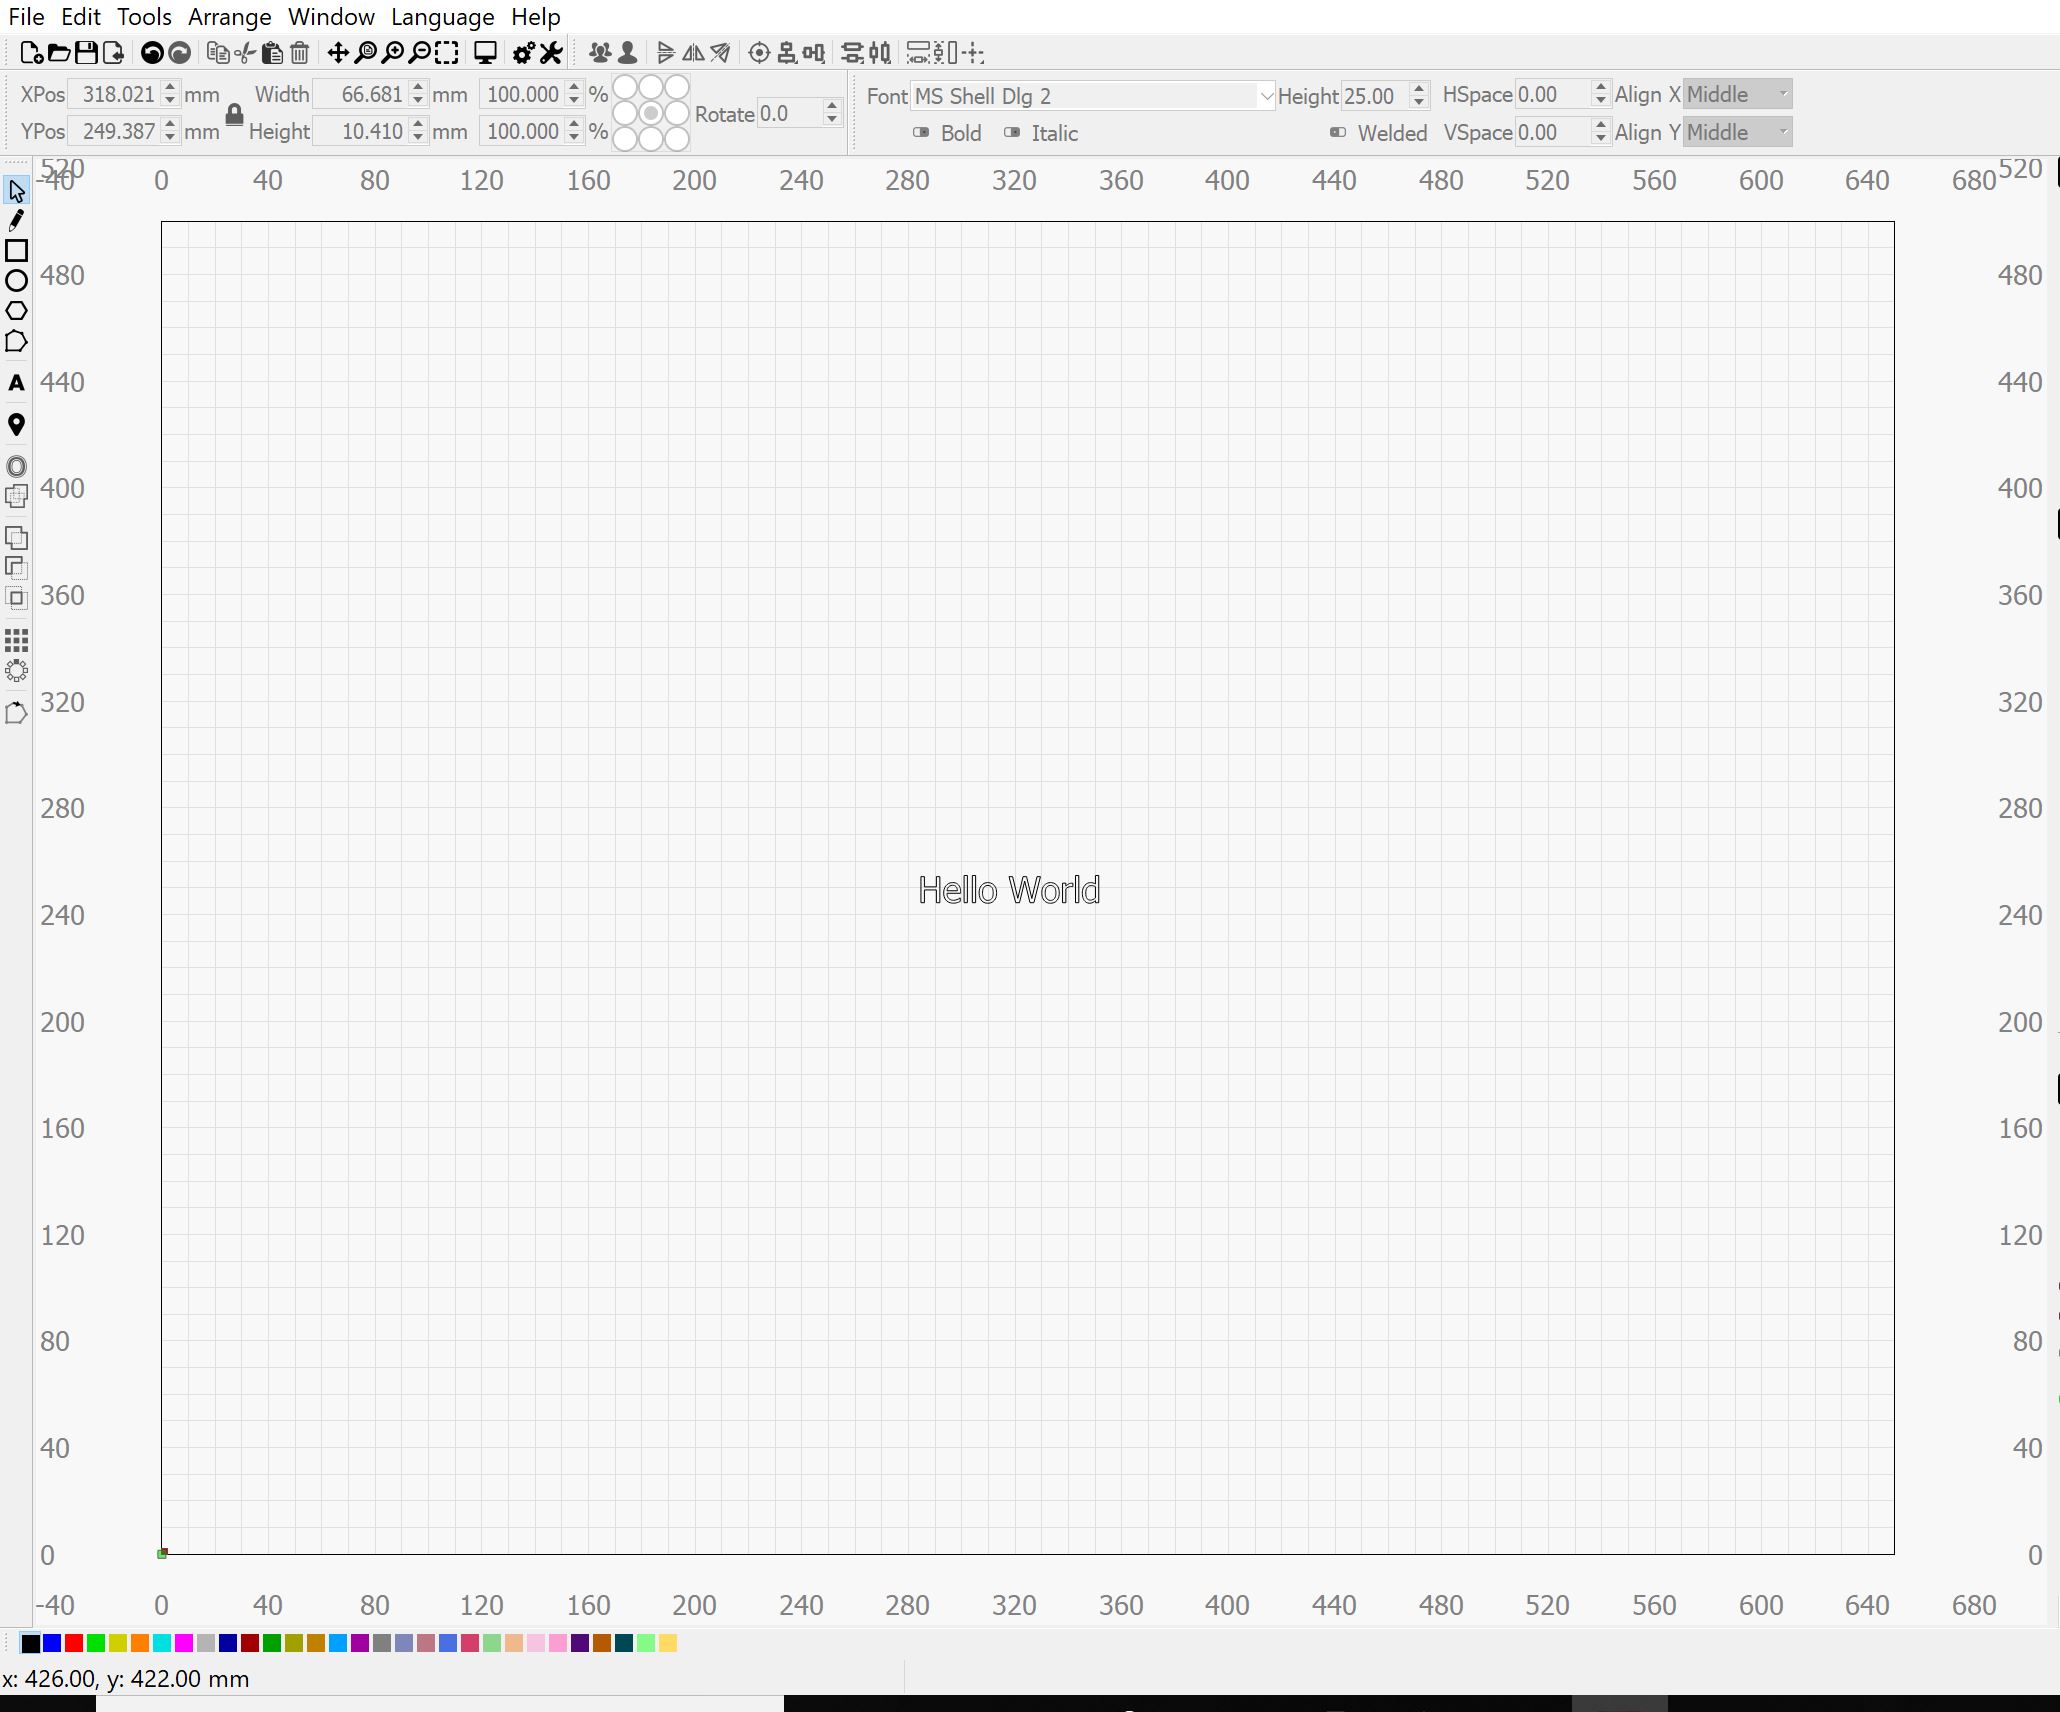
How ever, I had a question regarding some functions of lightburn. The question I have since I set up the engraving area of X = 650mm and Y = 500mm and with a origin of X = 300mm & Y = 200mm
When I go to enter an image or text as the example below of “hello world” in the engraving area. When I enter “start” the laser head go’s to a different region or location of that engraving area. This is very annoying to say the least. How can I set the laser head to start in the location of my material? Any help is highly appreciated.