For your machine, you will need to align the camera image by burning the alignment pattern onto a material thickness of 20mm or as close as possible to the thickness of your wooden rounds. Otherwise you will always have issues.
Ideally you will specify what your material height is during the alignment, this is a brand new process not yet well documented.
If you don’t see any place to specify material thickness during the alignment just proceed (I’m not sure what all the reasons are for this to be hidden, I had difficulty with this also and am trying to find out more).
Immediately after alignment at 20mm you should confirm that the alignment is correct by setting these values all to zero:

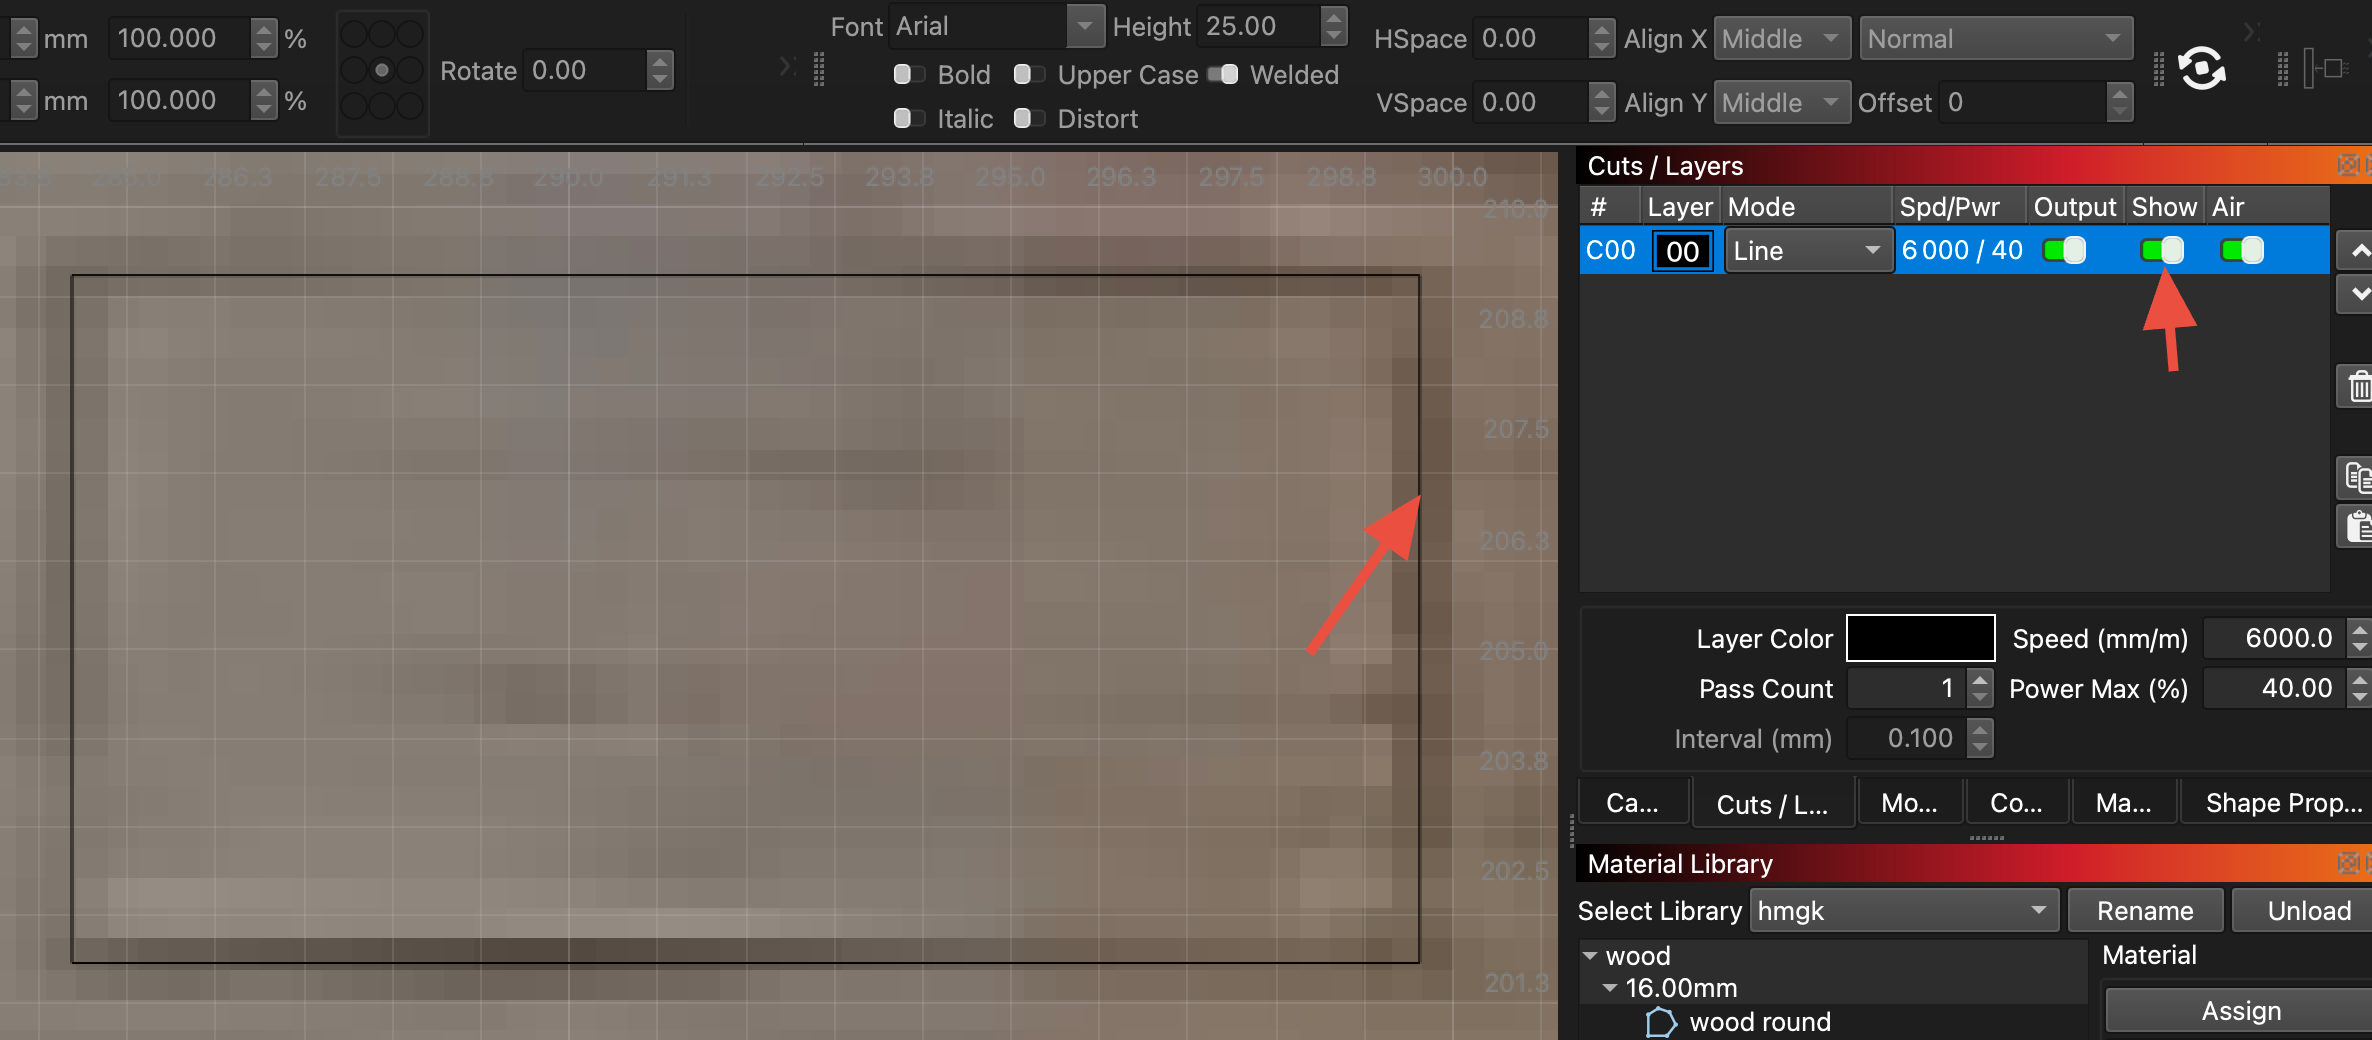
To check everything, mark a shape and ‘Update Overlay’ and check that the shape in your workspace aligns with the burn marks now showing in the overlay image. Since you have just completed alignment, as long as you are using the same material height, it should be spot on without any adjustment needed. Toggle “Show” off/on on the layer to confirm the shape is perfectly above the mark you made:
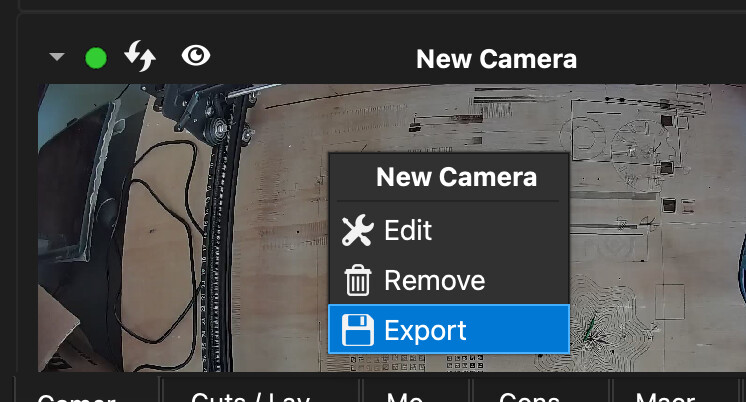
After doing this you should be good to go, but it’s a good idea to right-click on the camera image and “Export” your camera settings, especially if you could not enter material thickness during alignment - then name the file something like “camera_aligned_20mm” and I’ll give you some more instructions if you need to use the camera at other heights also.