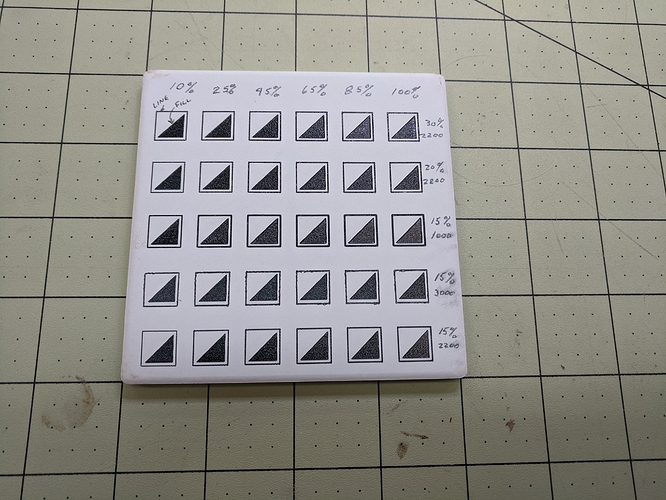
Ok, I got my tile and tried it out. I have to say this has to be the most forgiving process in all of my lasering experience! Here is my test tile that I thought would be a first pass to guide me to tune the process:
It has graduated power level values from 10% to 100% at different speeds and power settings. There are two objects being exposed, a simple vector square and then a filled triangle without line around it. I was hard pressed to decide which one I liked, but settled on 20% power gradient at 20% laser power (I have a K40).
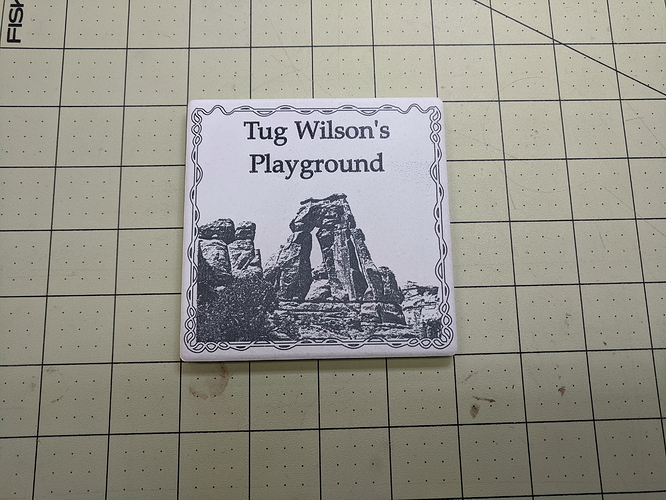
So… this was SOOOO good that I decided it was time to go for broke! I messed around a bit with image settings, but on the 3rd try I ended up with this:
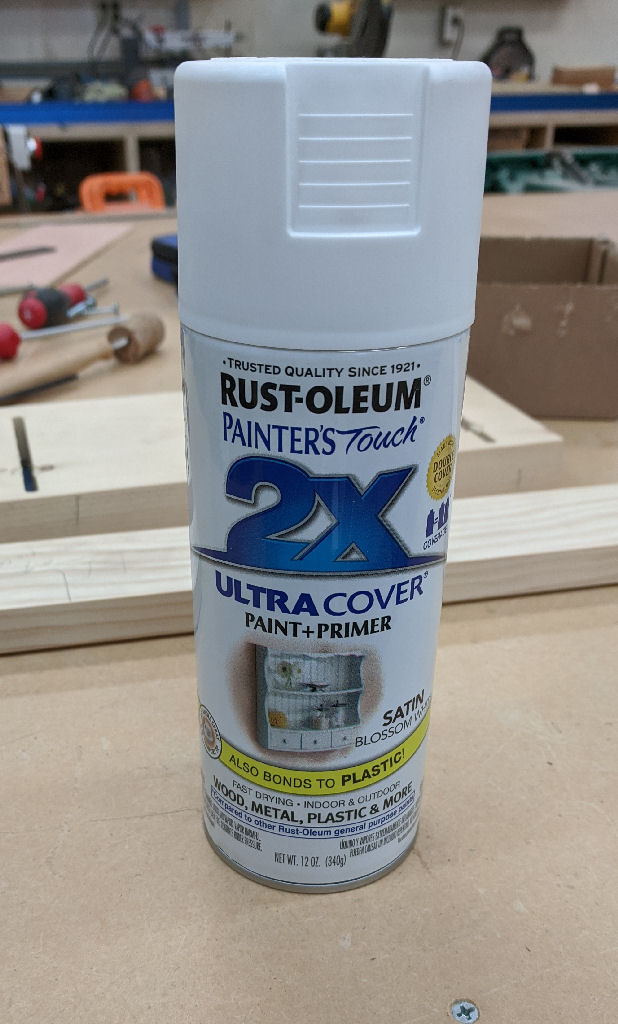
This was the paint I used.
I used unglazed tile which are actually pretty good quality:
https://www.amazon.com/gp/product/B07SHWSNPT
Cleaned with Acetone before spraying, sprayed at room temp of 74 degrees F, and let it cure for at least 2 hours.
After exposure I cleaned the paint off with Lacquer Thinner and, voila!
Really this was sooooo easy!
Thanks to @wayne1 for his exposure info. My settings were derived from his numbers with only a minor tweak to increase power a bit.
UPDATE: I should mention that I now bake the tiles at 125C for an hour to get the Lacquer thinner VOCs out of the tile. I found a spot on my office desk where the finish was totally ‘melted’ due to the residual lacquer thinner in one of my earlier pieces.


