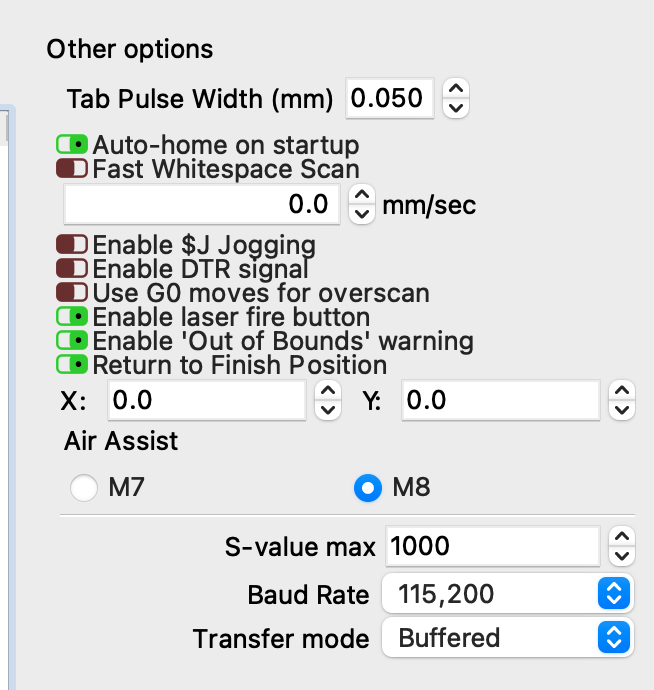
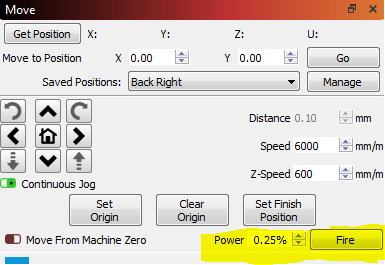
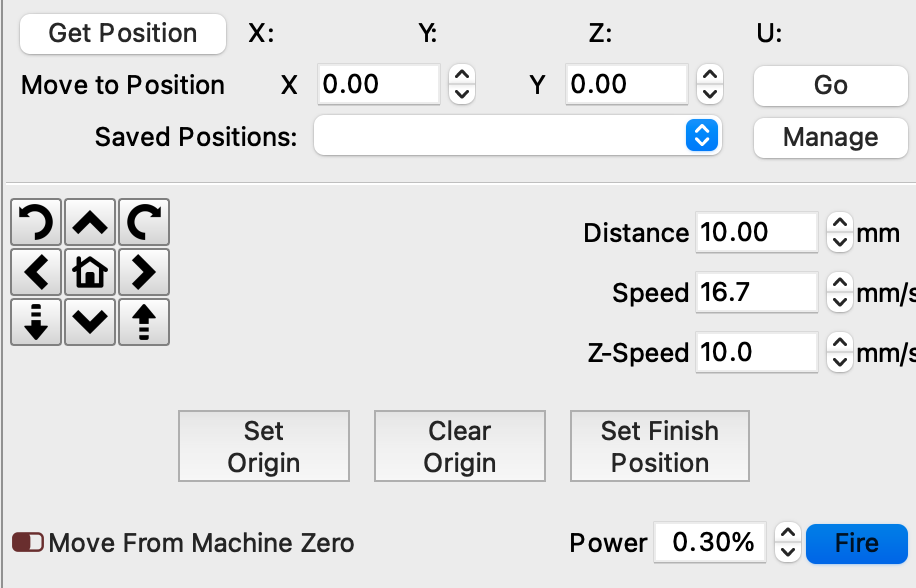
Do you know what the Fire Button is and how to use it? There’s a setting in Edit-Settings to enable Diode laser Fire button… Then on the Move tab there will be a Fire Button shown with a box to enter your power level. This is so you can have the laser on very low power and go around the frame of your design so you can position your work piece better. The laser comes on during Framing by holding down the Shift key while clicking the Fire button.
You will use the Fire Button to turn the laser on/off so you can focus and you want it a very low power so you can see the dot and it’s not too bright to see well.
The use of the Fire button is not to “burn” anything and it should not be burning at .3% and if it is then it is too high and needs to be lowered to the lowest value for which the laser will turn on. Its intended use is to only show you the outline of your design on your workpiece with a weak laser setting so you can position your design. And if the fire button is burning something then it is also impossible to focus your beam at that power level.
you should set the power level for the Fire button so low the next step the laser turns off. It should NOT be burning anything at that power level, not even paper. Mine is set to 0.3% power.
At that low power level, with the safety glasses on, with a piece of flat black paper or cardboard paper, with the height above your work piece to the bottom of the heatsink of the laser head at ~35mm you should be able to focus your beam to a visible oval smaller than 1mm wide.
If you’ve done all that and you still can’t etch 3mm plywood at a slow speed and ~80% power then it’s time to contact the manufacturer.
There seems to be some confusion on the Fire button,
Just to be certain this is the fire button @LEESEUGEORGE is talking about. It lives in the move window. The laser should not be powerful enough at 0.3% to even burn anything at this power level.
Perhaps @LEESEUGEORGE can share your project file with us so we can have a look at your settings.
it will burn a simple circe at these settings. When I copy an image into the grid, at same settings, it does not burn. But hey, I can burn simple circles,
Changing these numbers in this window will not change your job output. You are showing the ‘Move’ window, not the settings for a given layer. Changing the Speed and Power settings in the Move window only change the jogging behavior and of moves made in this window.
To change the settings for the job you want to run, look to the Layer assigned. Double-click the layer color in the ‘Cuts / Layers’ window to expose the details for that layer. You can make the speed, power, cut mode, and other layer-specific settings in that window.
As a suggestion, have you been through the steps outlined in our Documentation? We provide a good Walkthrough, showing you the basics by completing a simple project we designed to help. Redirecting...
yes i did follow the documentation.
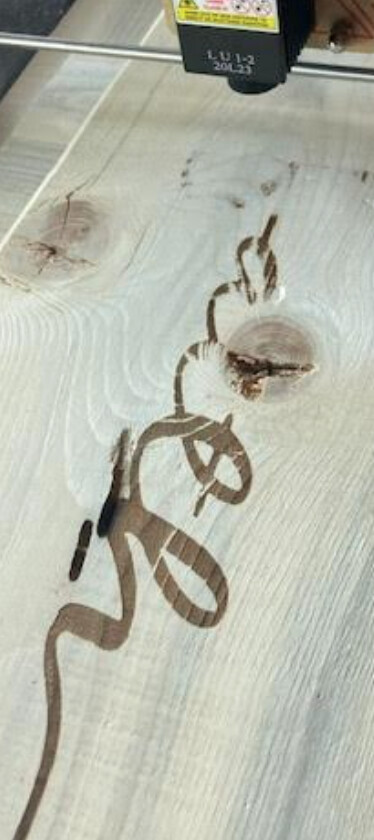
I think I have about got it. Except for this picture.
It does good halfway through. I have a fan on the laser because i read one post that suggested it was getting too hot.
Hard to tell from this image, but this looks like the laser did not deposit enough energy to burn some of the harder grain. Is this the issue you are pointing out?
Hi, light wood is a little harder to get good images.
Trial and error, use waste material for practice, i use mine over and over until no space left then it’s jus kindling
Could you try starting it from the other side where it dimmed and see if it starts off ‘dim’ and then gets a better burn as it goes.
The ‘laser’ tab then ‘optimization settings’ and select 'top, bottom, left or right, which ever is the opposite side to where it was last started.
your wood has to be level with the laser machine. ie if you focus at one end of the wood, measure the distance from the wood to the laser heat sink, then more the laser head to the other end of the board you MUST measure the same distance from the board to the laser heat sink.