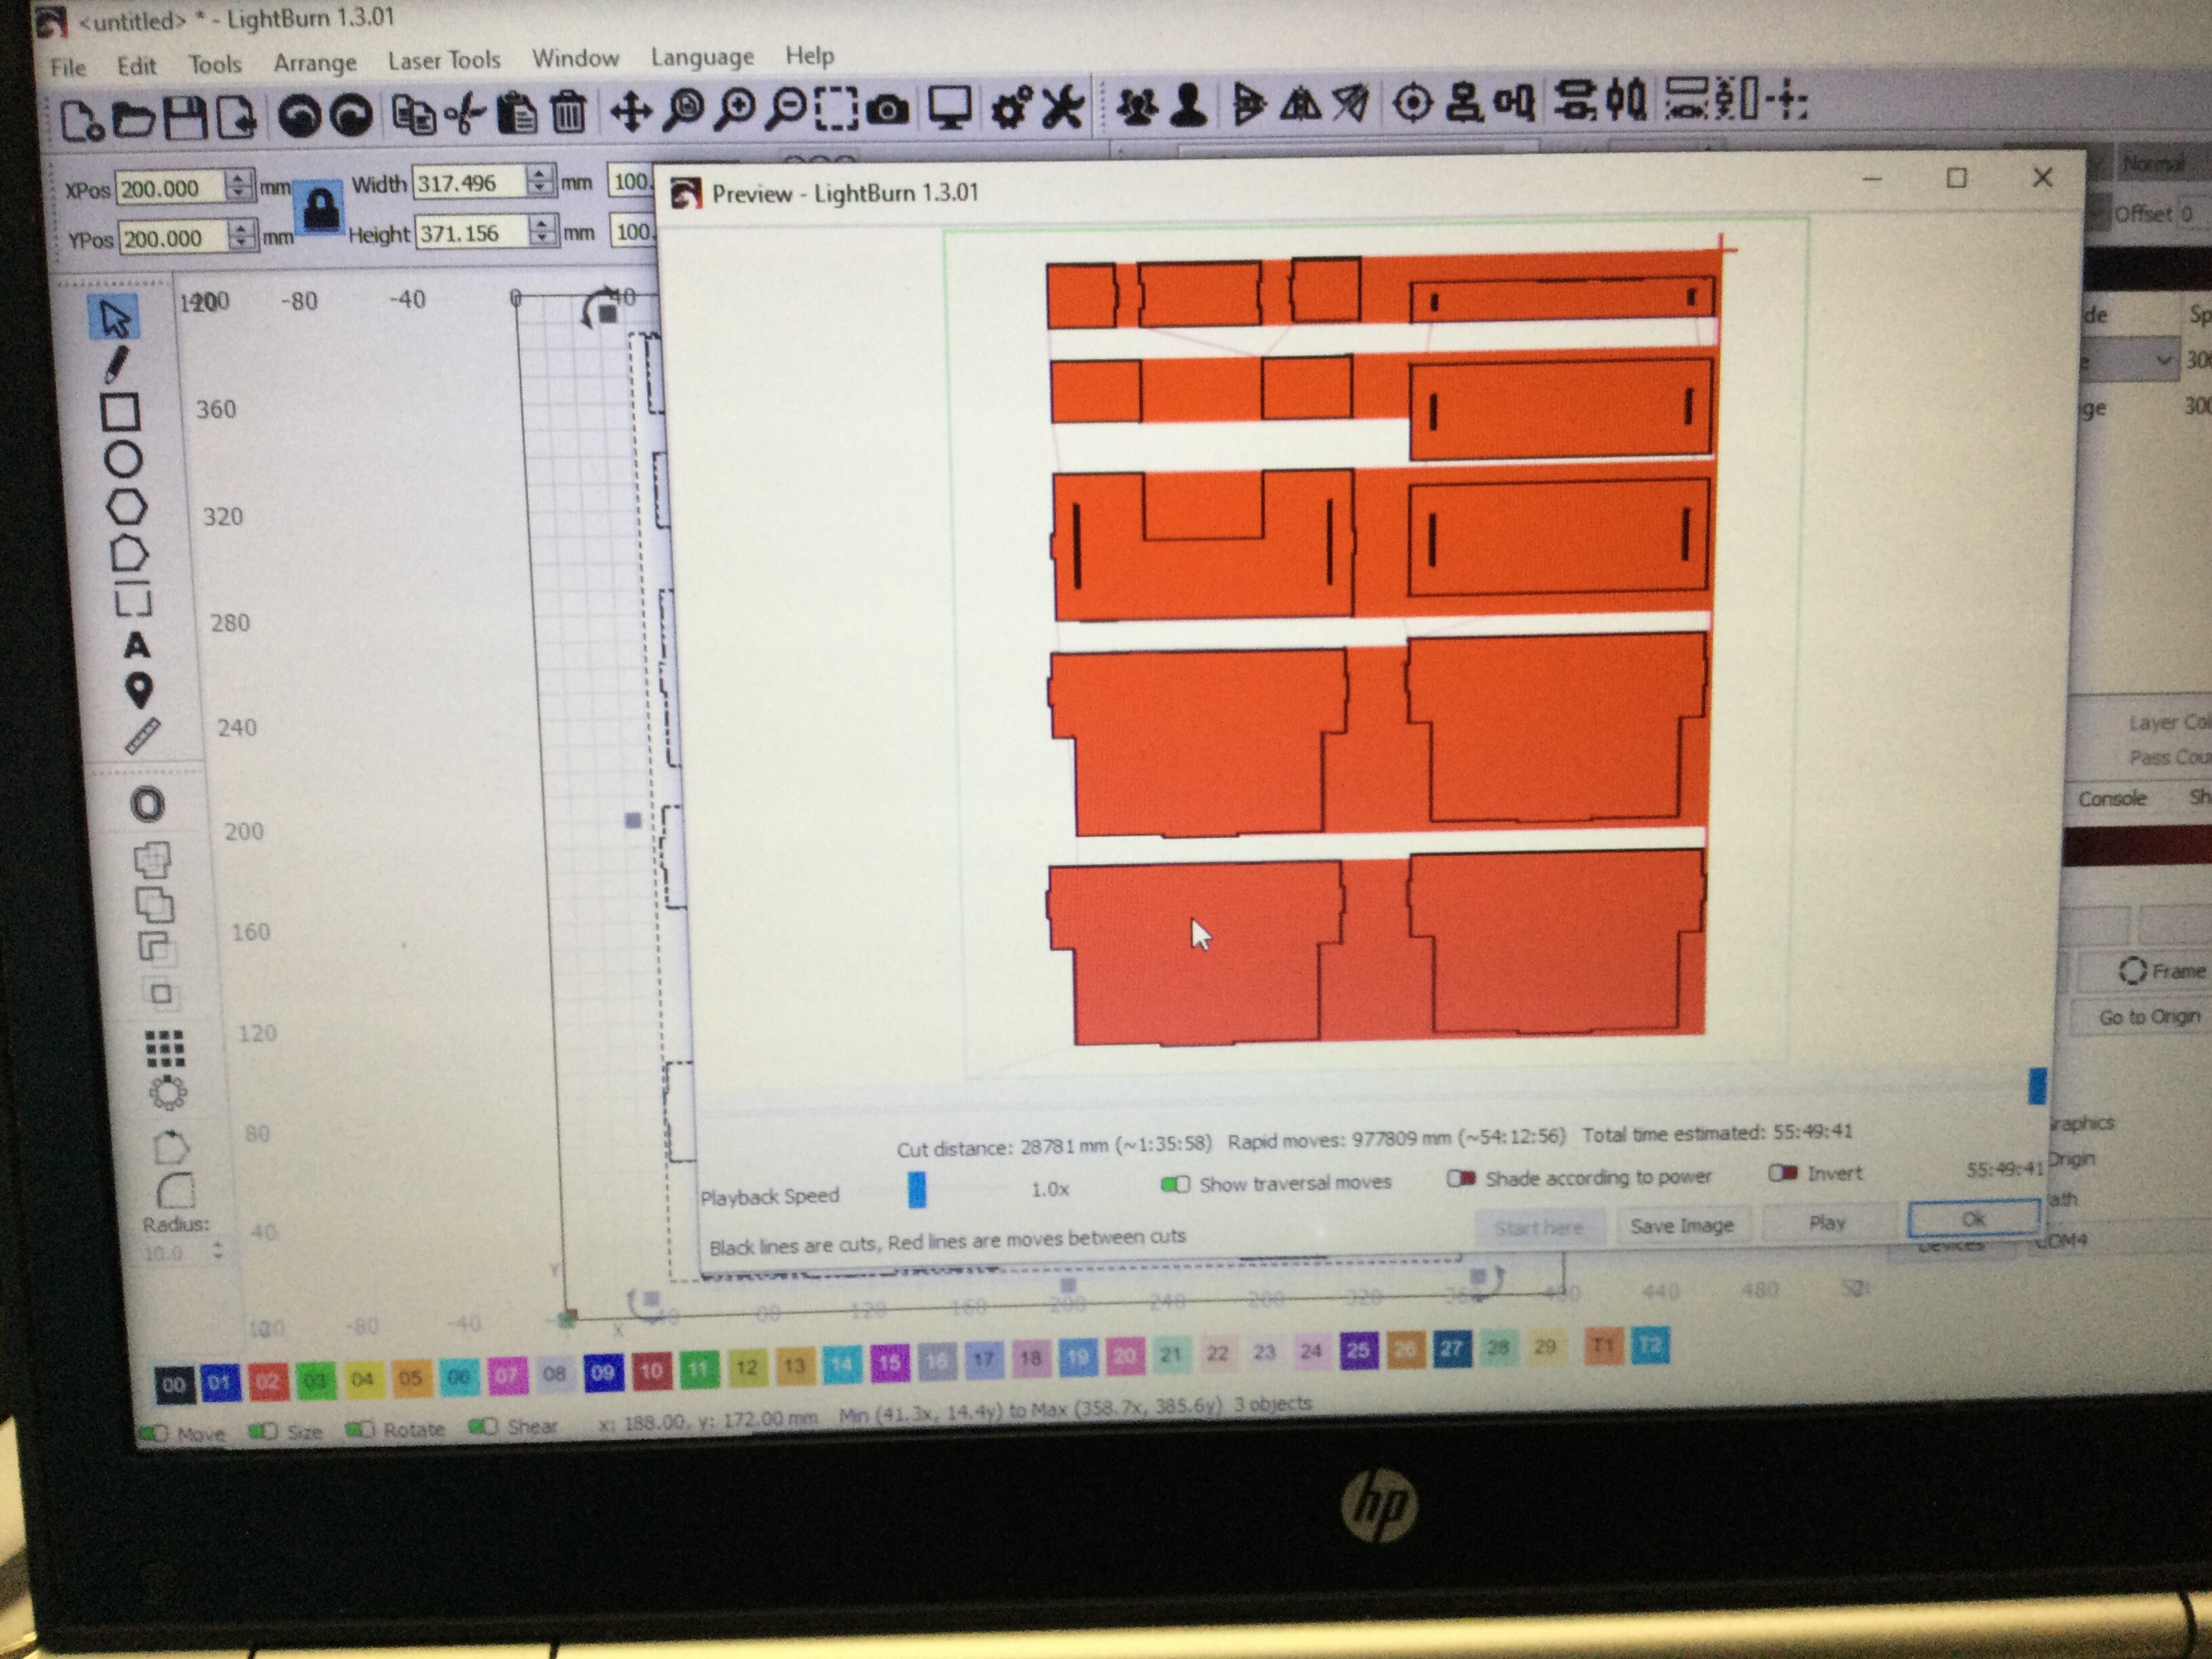
Been using my Ortur laser master 3 with no problems but decided to leave for a while as too cold in workshop. I have now been getting back into intended projects which i have designed and are ready to cut. So i imported my design and matched and scaled for cutting but found it just cuts one section backward and forwards about 3 or 4 times and as doing so the laser switches on and off during its travel. I tried again but played the previewed to see if it done this again. The preview showed the job pieces in red for some reason and just went back and forth again so i deleated the file and started with a fresh file to select and traced again, went to preview and the selected area was just black and white lines not red shaded area and when played moved around the design as it should. So i had to pop out and when i got back i restarted the computer lightburn switched on the laser and imported the design, when cutting rather than cut a section as before it cut around a shape about 4 times and shut off. I imported another section of another design and taced and previewed, it showed black and white line drawing and the play back traced the path as you would normally expect. Had to go out again and this drawing when looking at the path again shoed the design in red. I did also note i had two settings in my cut box line and image under mode. Not sure what the problem is, most pribally user see pictures and console info.
Rule of thumb: when it’s too cold for you, it’s too cold for the electronics.
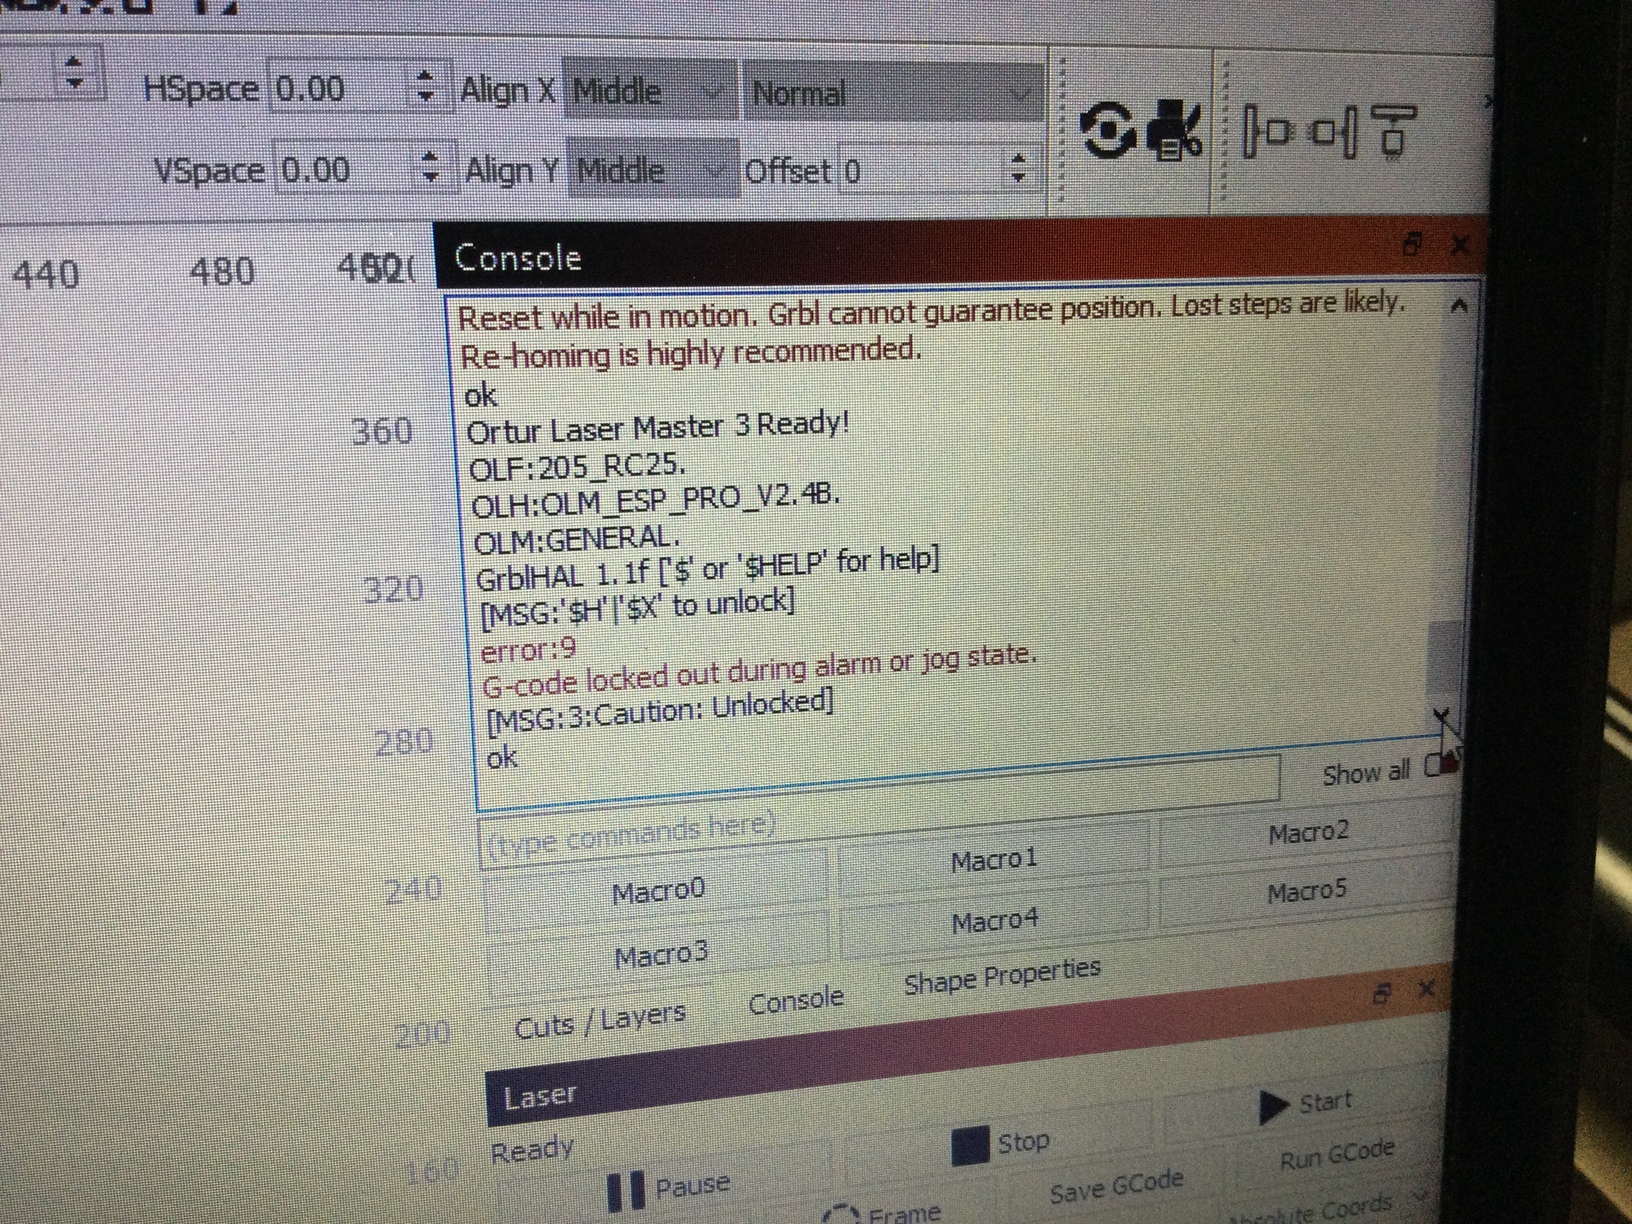
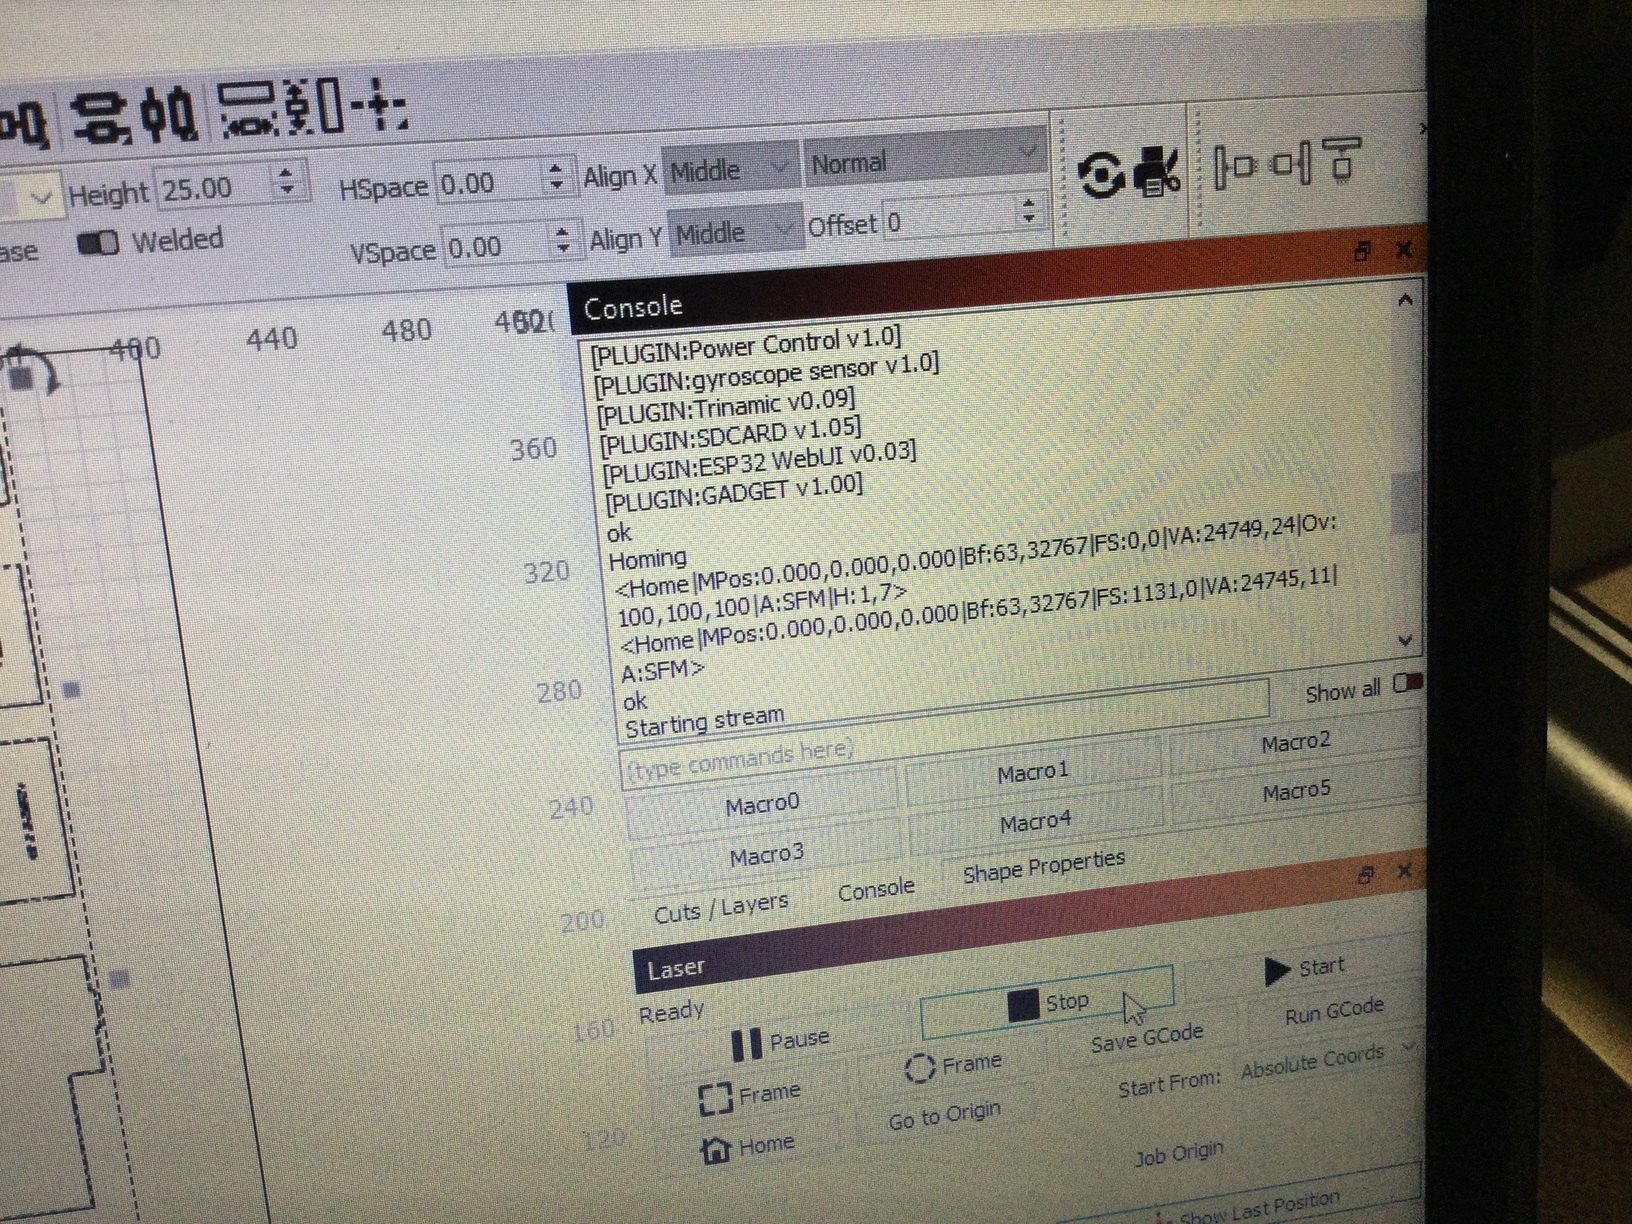
It looks like an electrical failure in the laser’s microcontroller causes GRBL to notice a “reset while in motion” and register the error. That can also happen with static buildup / discharge on the moving parts, which will be worse with very low humidity.
If the gantry rides on plastic / rubber wheels, then they will develop flat spots causing periodic defects in engraved areas.
My shop is down to 50 °F this morning and hot tea isn’t helping!
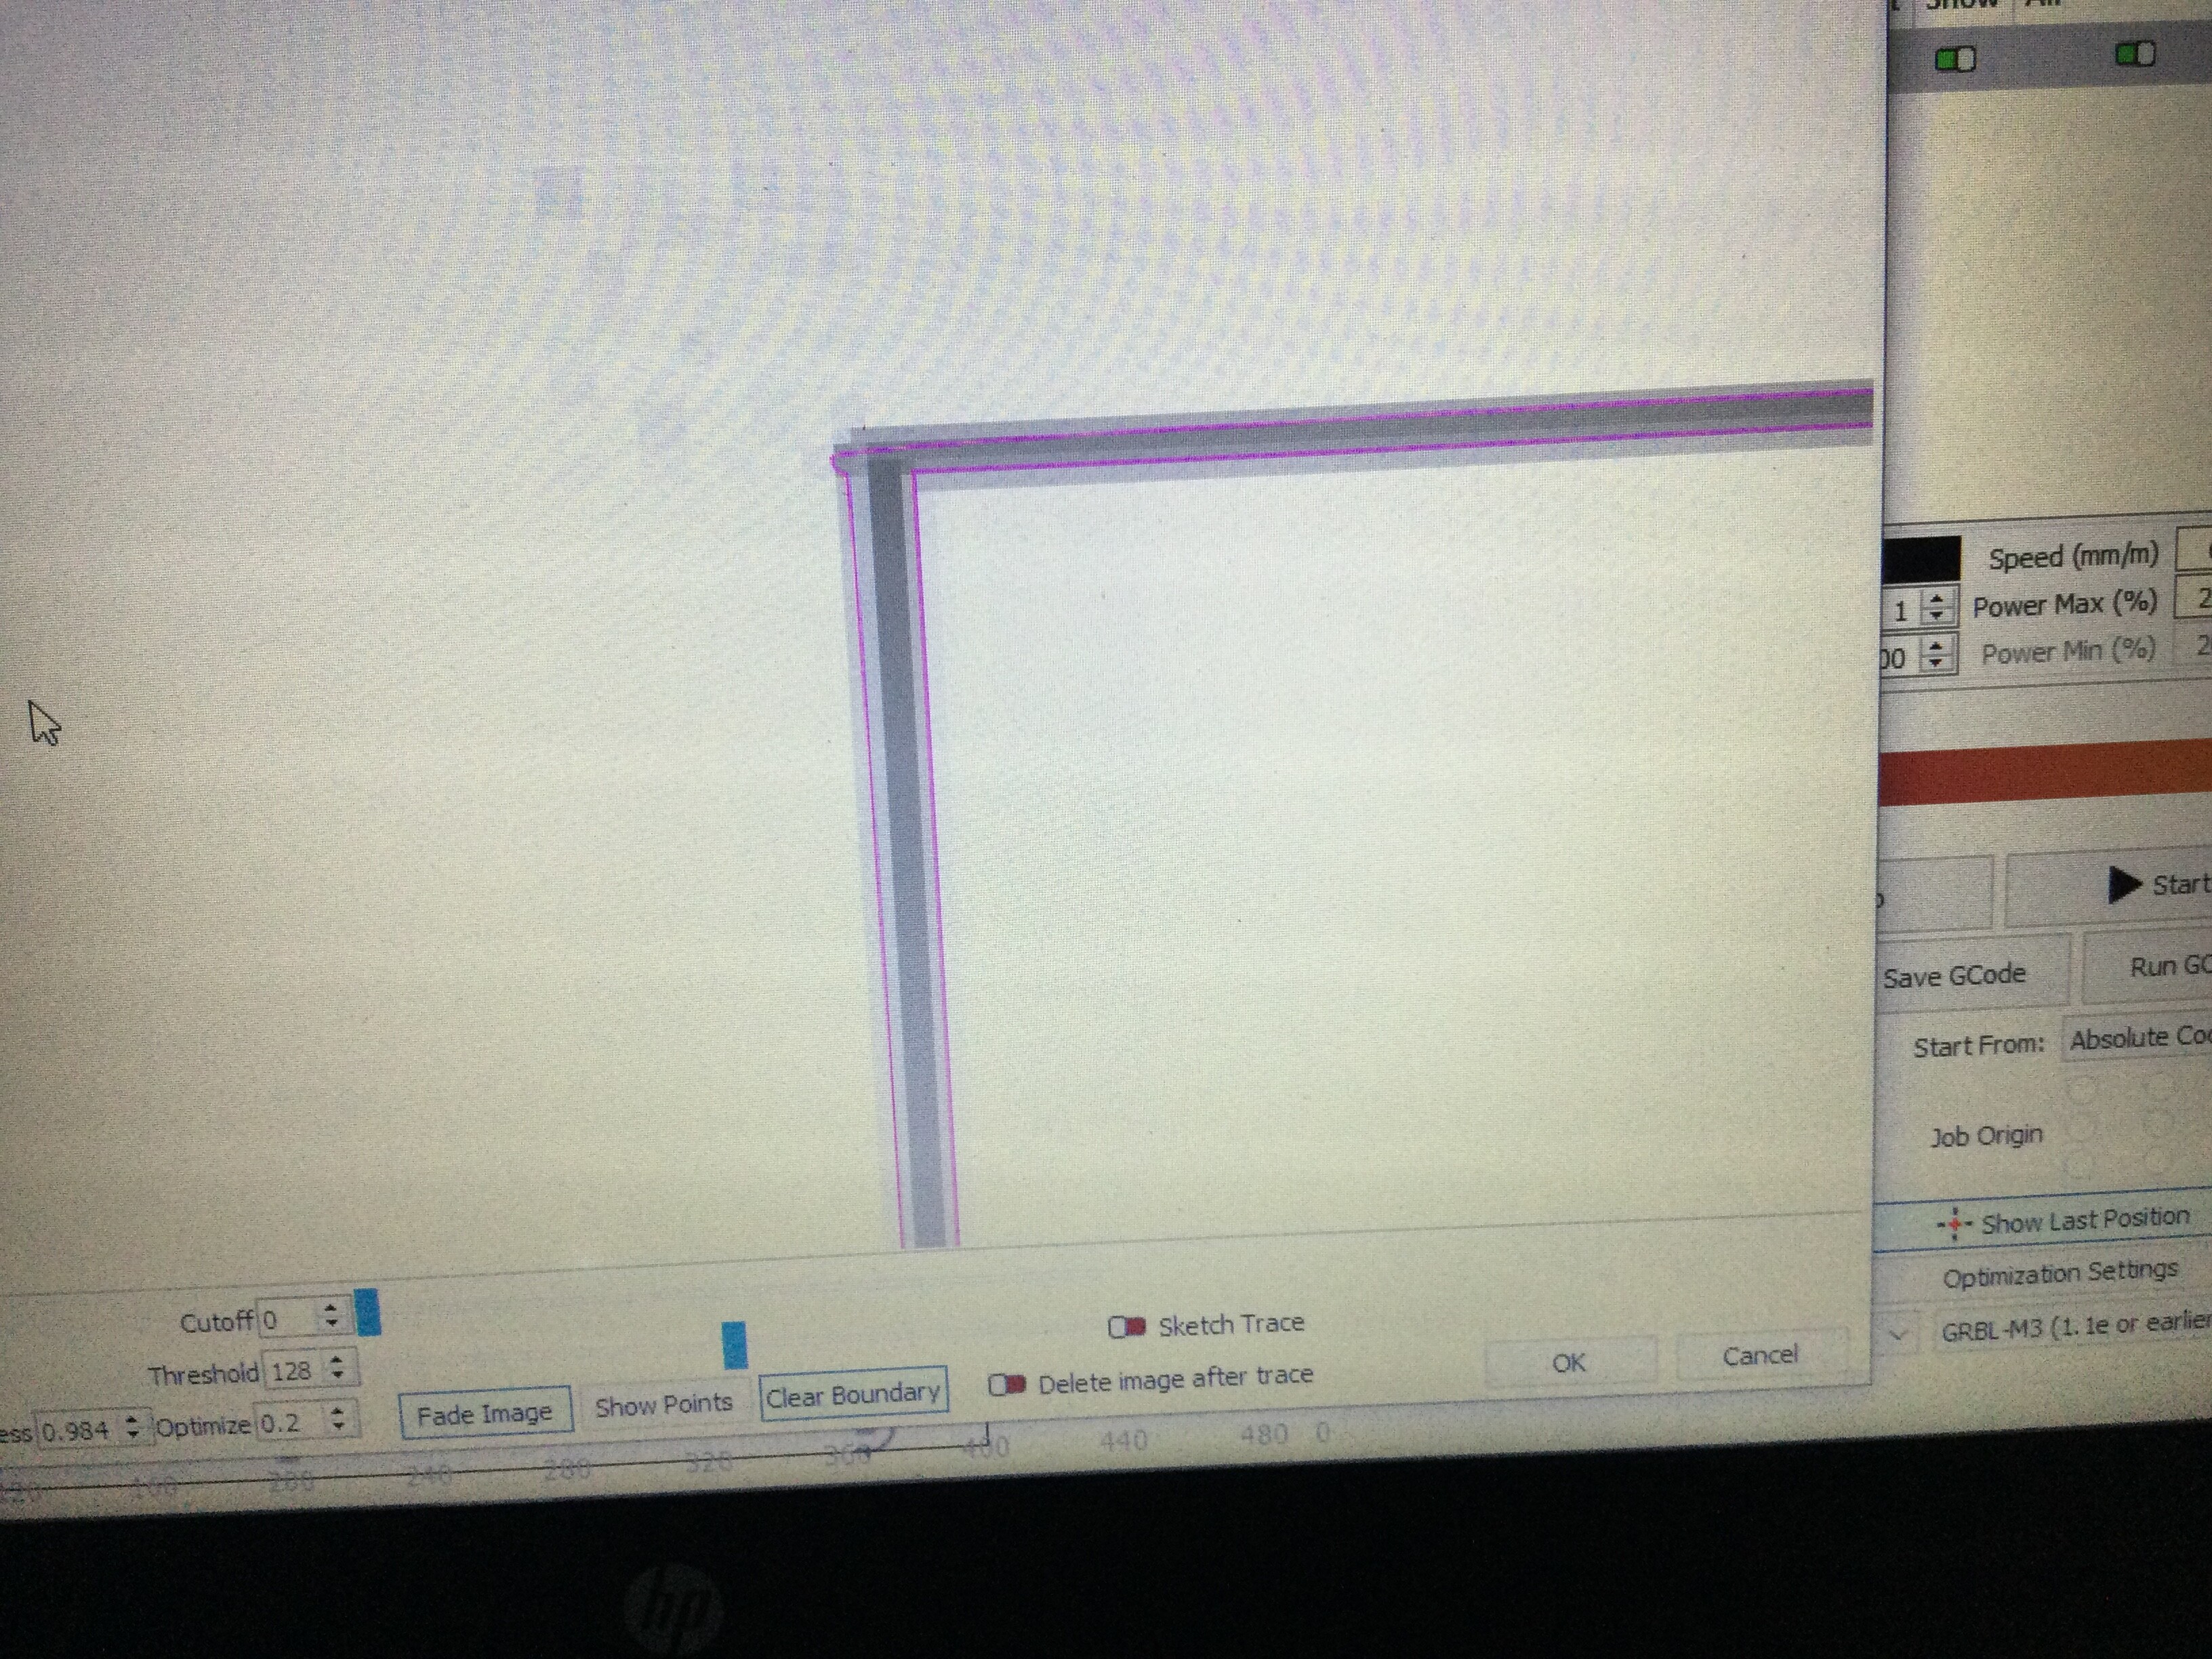
That’s the Show traversal moves switch in the Preview window showing the engraving motions along the X axis. If that switch is on and you don’t see the red areas, then the layer does not call for filled engraving.
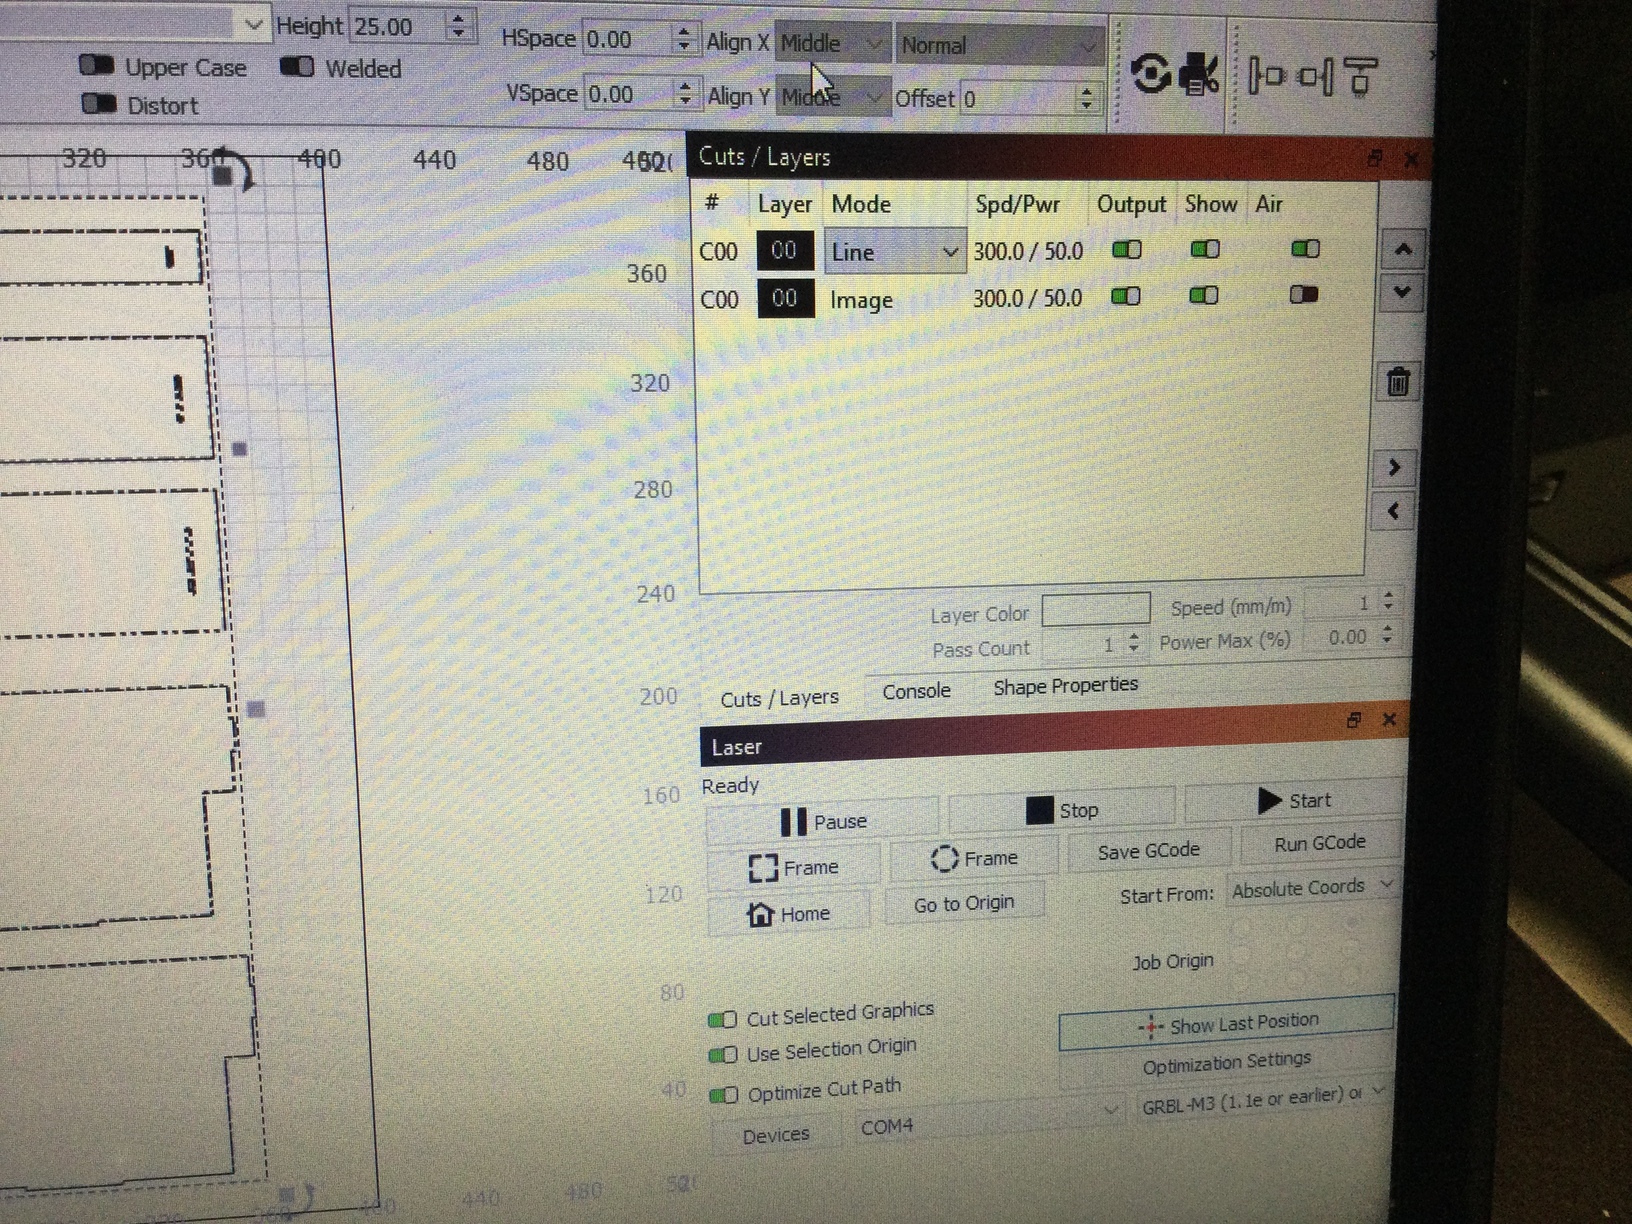
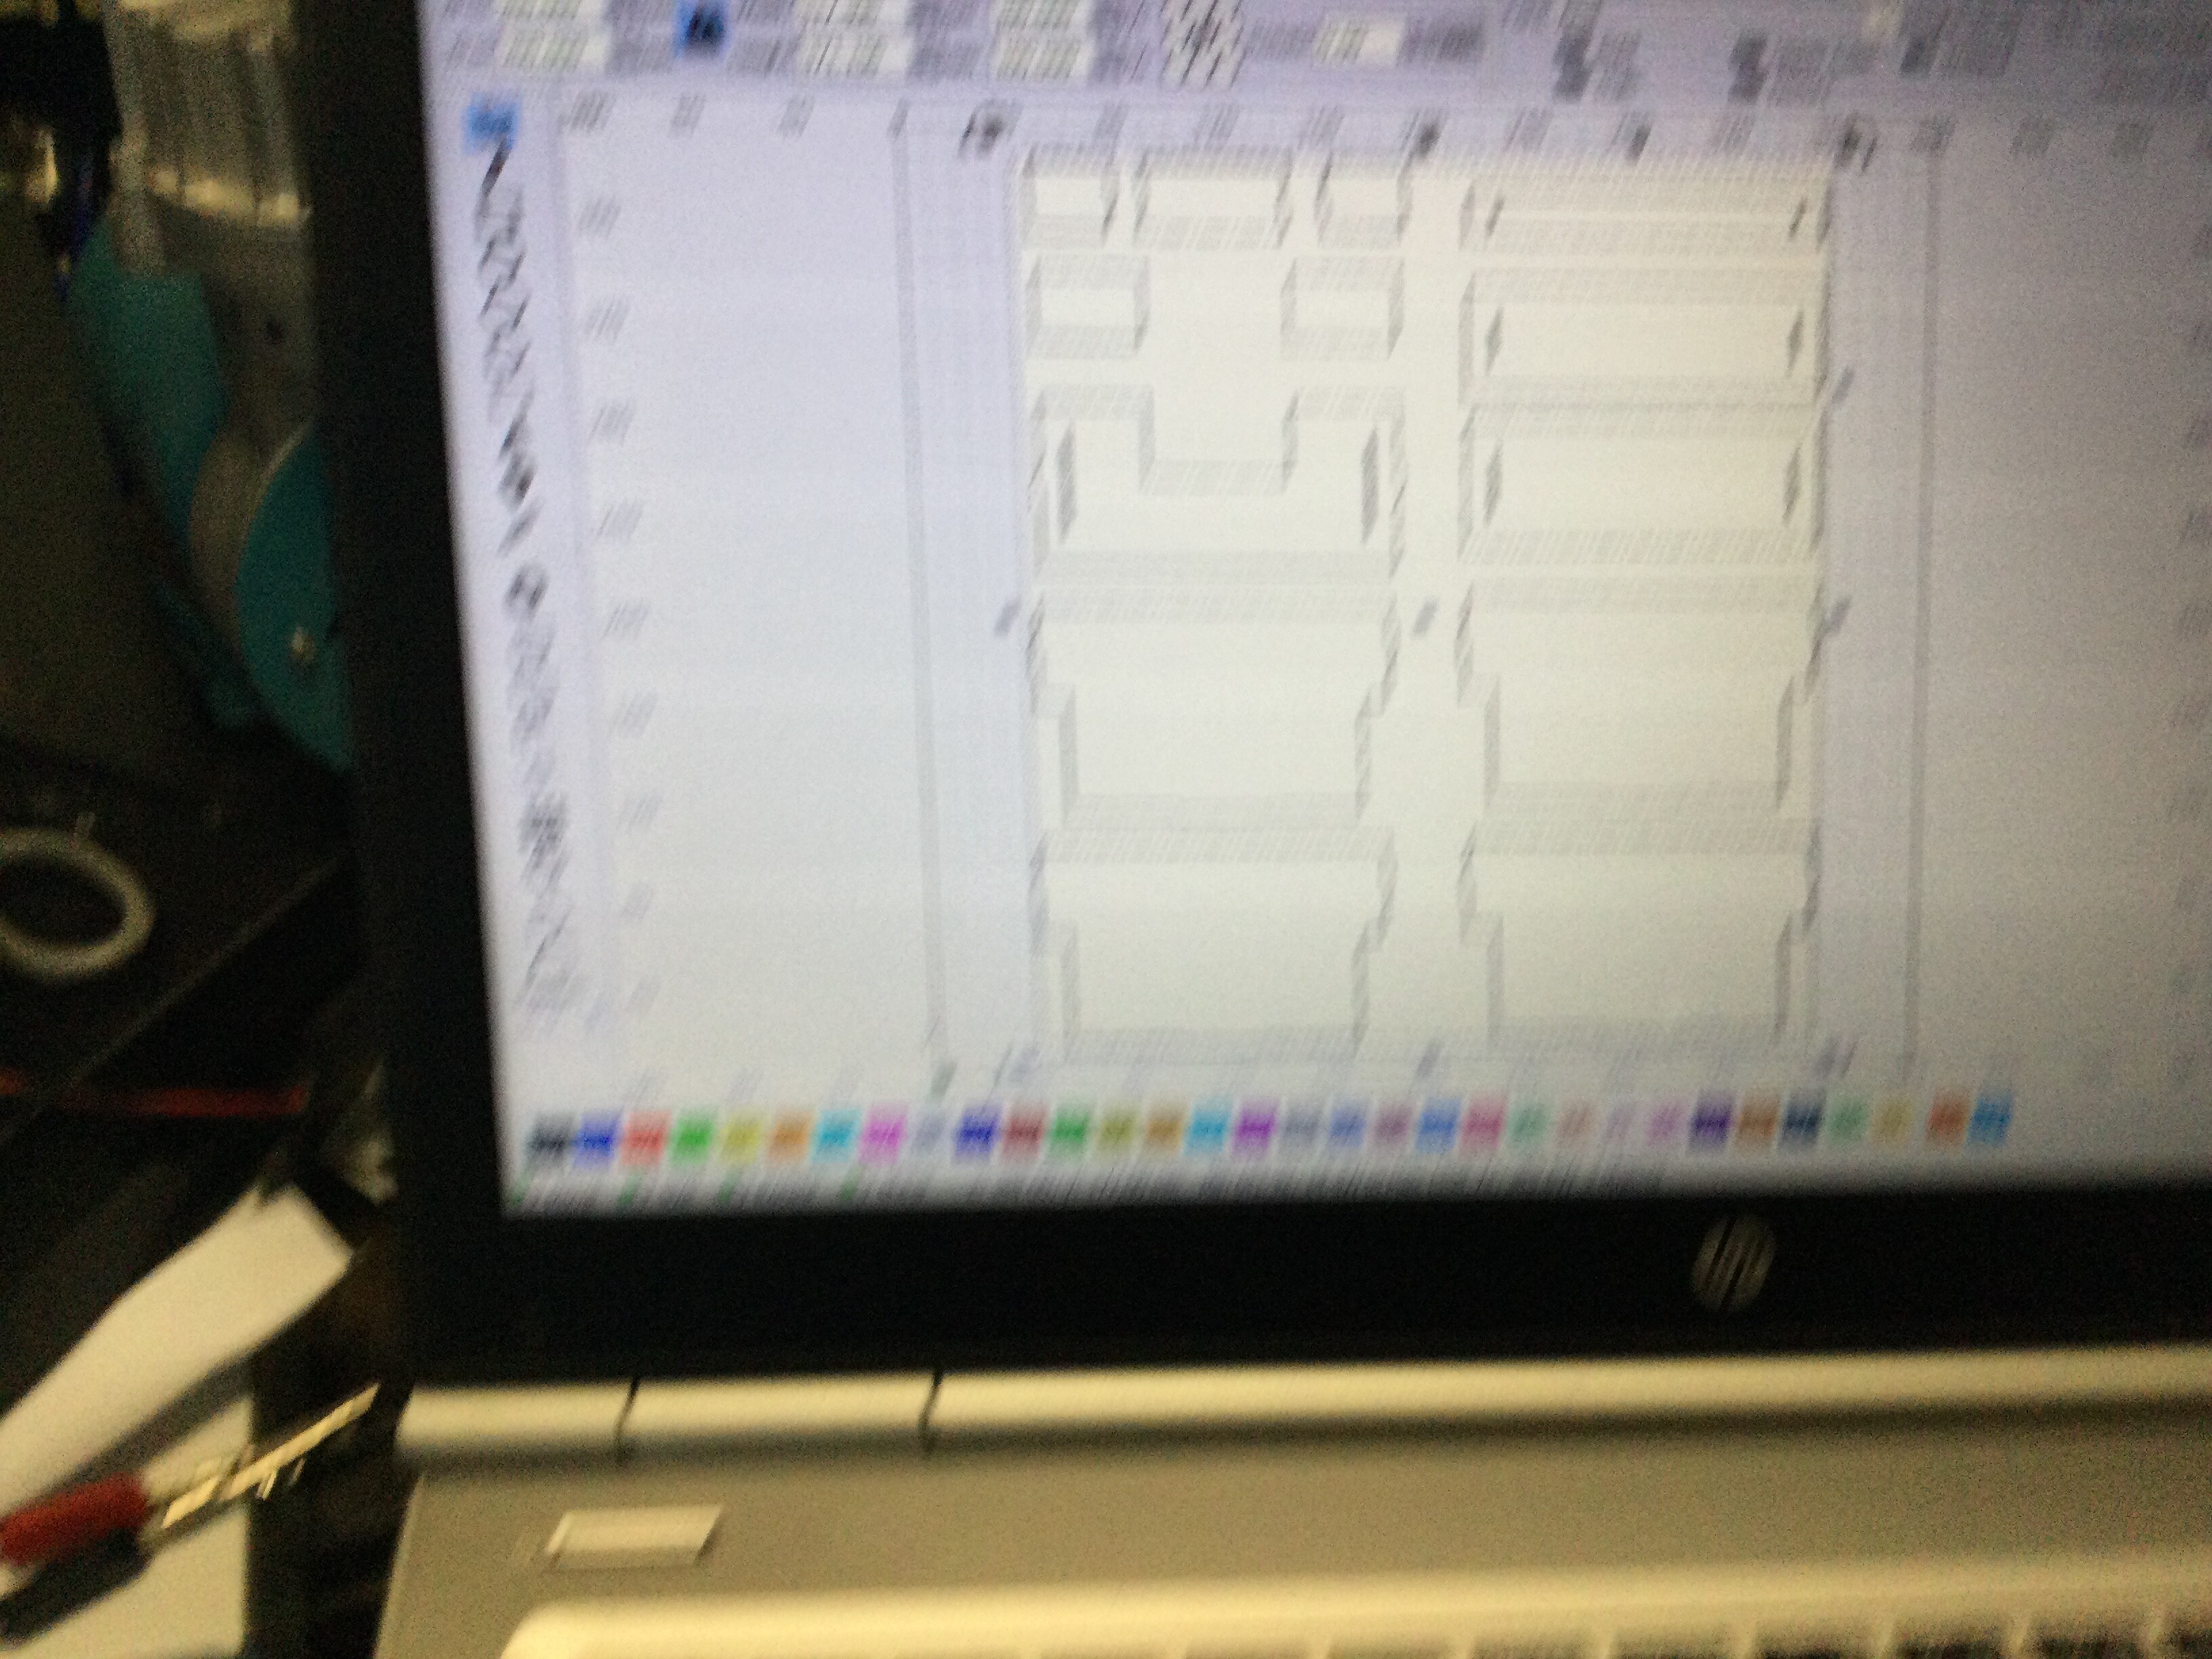
Under the cut/layers box it seem to have line and image and two layer setting showing both the same speed and power, like i have two cutting modes, usually i have one cut, but why do i have two for this. I thought i could delete one but cant seem to. When watching the preview play, it cuts around the pattern about 2 or 3 times then onto the next the same of all sections, not sure if the trace has picked up thick lines of the project. Wondered how i can get just one cut, funny how the pass count is set at just 1.
This seems to be a separate problem from the controller reset you described earlier.
Can you reproduce the controller reset using a very simple pattern, perhaps just a few squares burned into cardboard?
Confirming, then fixing, the electrical issues using a simple test pattern, before tackling anything else, will go a long way toward keeping you warm …
I have been testing other drawings using the preview which replicates the actual cut plus it saves wastage on material. Funny that i have two for cut and when its on one it engraves. When I have gone on other drawings and they seem to go on showing one layer and the cut path is what i expect. I think there seems to be something about the other drawings shown giving me problems, when i re trace them i think the lines of the drawing are made a little bit thicker on the trace hence the laser passing 2 or three times, if i go into bit map when i select preview i get a message "you have ‘cut select graphics’ enabled but have not selected anything. The i click ok and trace image, select, preview the image goes red and is in engrave fill in mode.
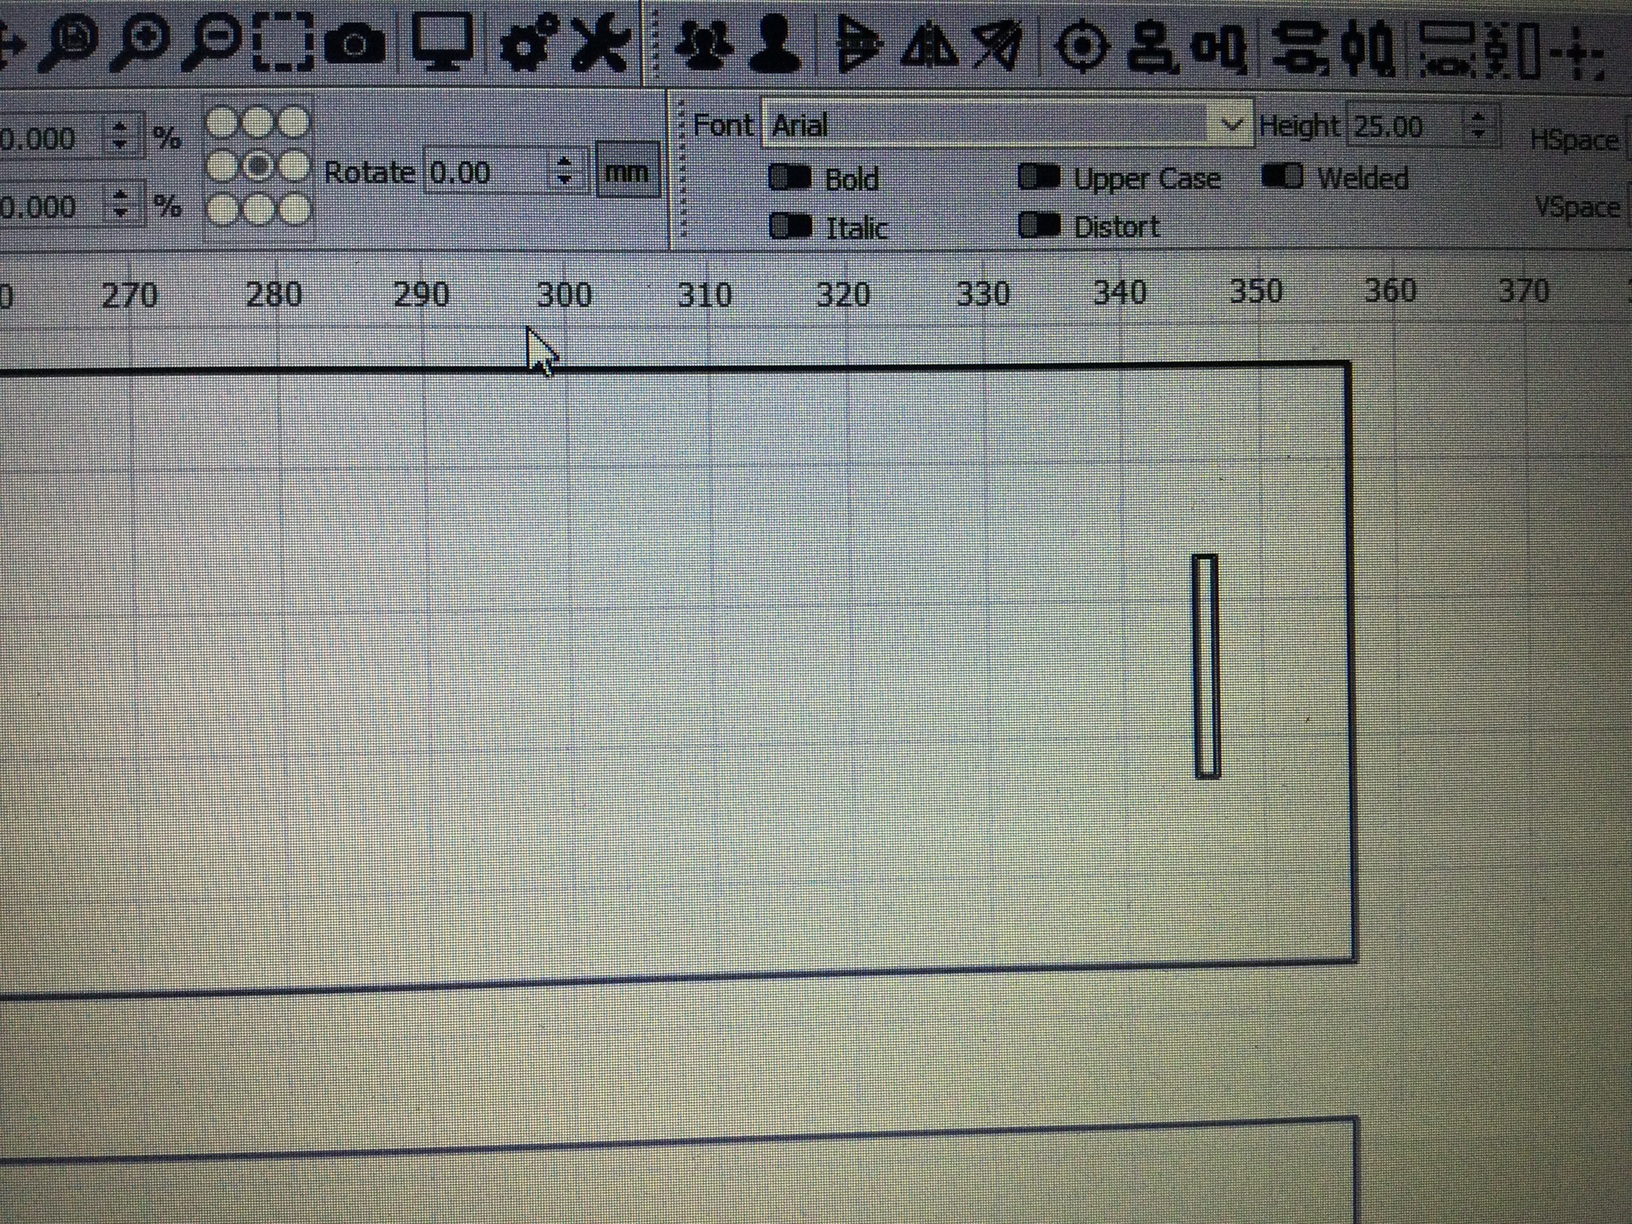
I dont think i have a cold problem more like a setting drawing problem. The laser seems to be going over twice to cut the thicker lines but in the original drawings giving me problems the lines are very fine. It seems the trace is making them bigger. I thought trace would follow the drawing lines and keep to a size for a laser cut. The other thing the cuts and layers mode had automatically decided i need image and line under mode, but play out a simple drawing hat gives me no issues only has one mode, Line.
I don’t know how G-Code sent to GRBL could trigger a hardware reset while in motion, but … it’s in your cold shop, not mine. ![]()
With that in mind, perusing the LightBurn doc on images and various line / fill modes may reveal what’s going on:
Plenty of knobs & switches to control what happens, as well as conceal what just happened!
Thanks for the documents. I also studied the Lightburn videos trying to work out my problem Lightburn 3 image trace and weld. So the drawing above i re traced the image again, as you can see the lines look normal for a simple laser cut, but on close examination when i zoomed into the lines i found double lines. it seems the trace is highlighting a thicker line both sides. No wonder the laser is going back and forth going over the same line. Not sure if this is an image problem i imported in or something you have to do which i over looked and is common in the process of scanning and trace. When i examined the original drawings the lines seem to be a perfect candidate for fine line cutting. So now i have two lines to deal with. I assume my next move is to delete one line and add a offset kerf. Any advice will be welcomed.

Just to add, i am most probably confusing the lightburn program with the drawing with fill and cut as when i click to play preview its either in cutting mode or engrave/fill, so it does one thing or another. Because of the two lines the laser wants to fill the gap rather than follow one line.
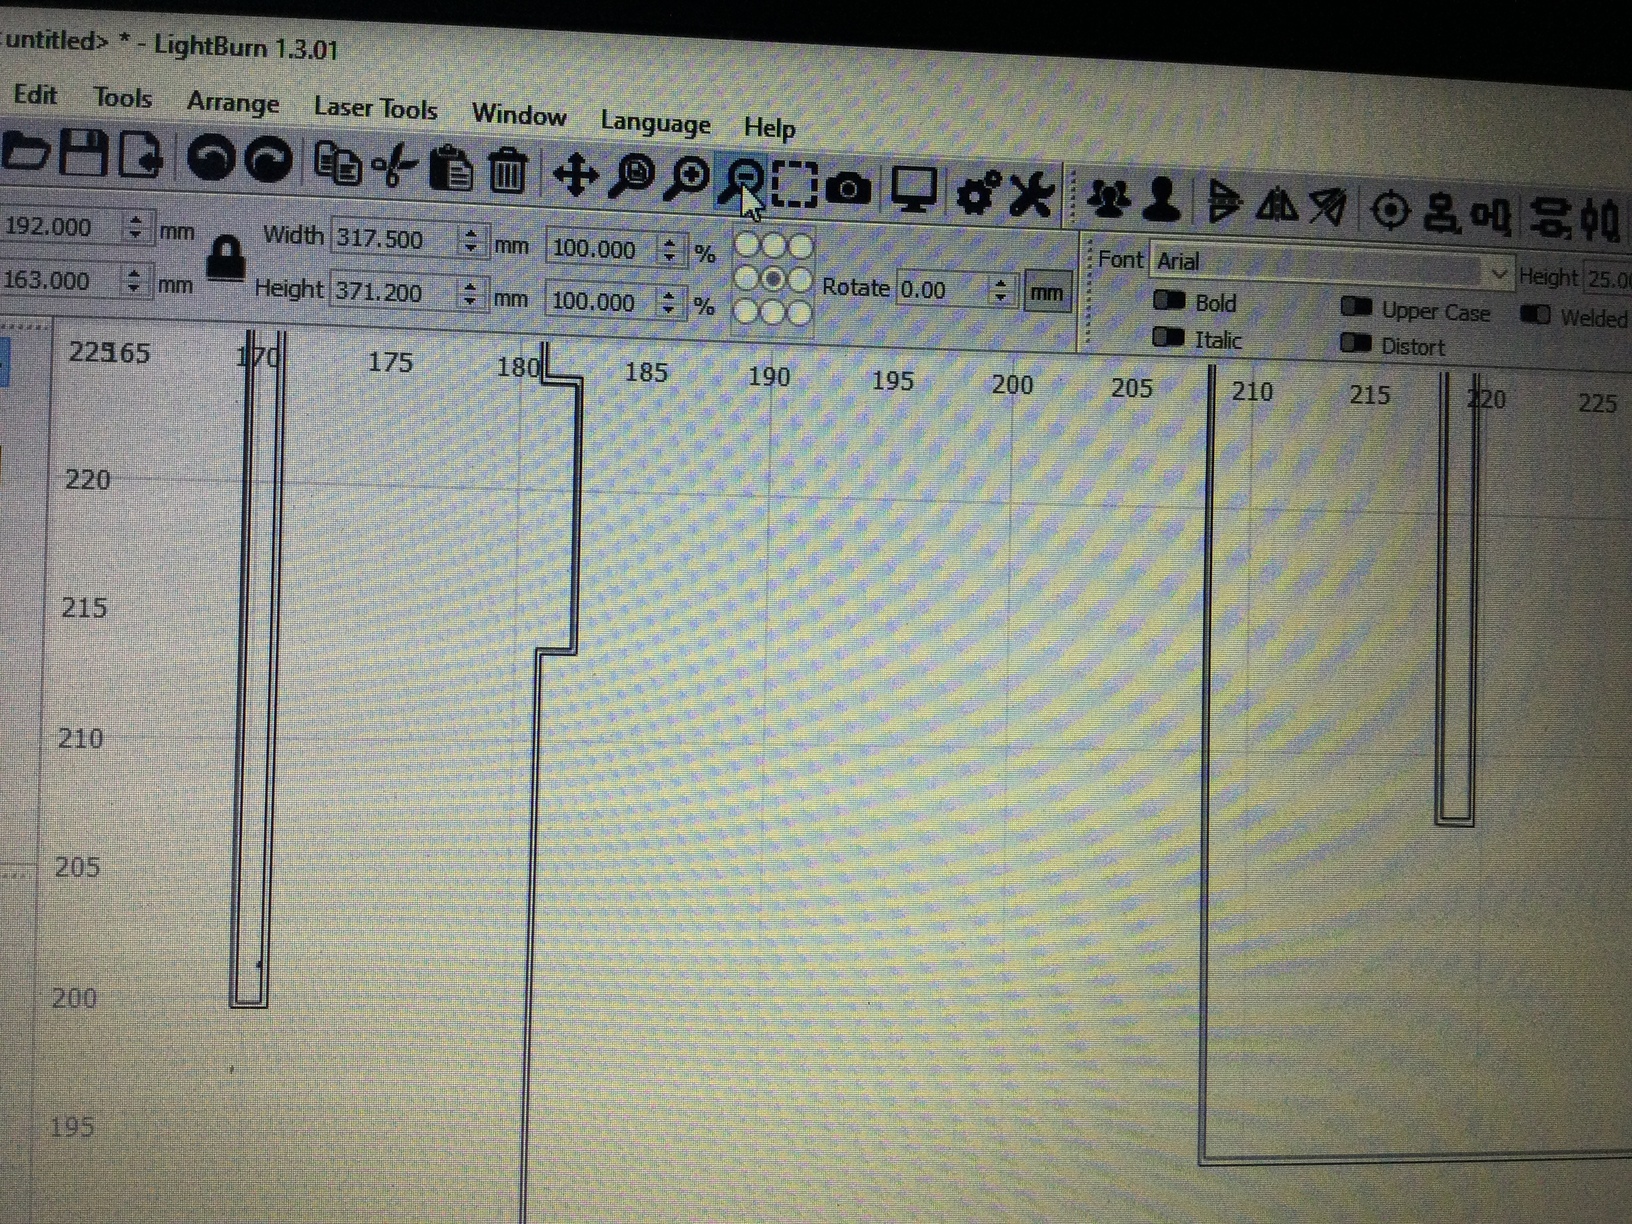
Tracing with LB produces a vector at each light-to-dark transition. Large areas get a single vector around the perimeter, which is what you expect, but single lines get two vectors, which comes as a surprise.
If you can get the original design as a vector image, rather than a raster picture, then you can just use the vectors and don’t need to trace it.
Given an image, the least-awful solution seems to be using Inkscape (or a similar program) to convert the image with what’s called “center trace”, which will resolve lines into single vectors. Save the resulting vectors (without the image) into an SVG file, import it into LB, and do the laser setup.
Thanks Ednisley much appreciated, been able to sort out the issues i had, it was my imported drawing, just need to sort out some editing issues, when i delete one of the two lines so i have a single line, if the lines join over and criss cross in the traced drawing or i have a line break when looking much closer on the zoom. You cant select one line path to delete, you end up with both highlighted I tried to select the bad section to be amended by drawing two lines from draw in lightburn so that area could be deleted and add extra lines to fill the distorted gap so i can separated inner or outer lines. Tried this but didnt work. My next learning quest is to brush up on my editing.
This topic was automatically closed 30 days after the last reply. New replies are no longer allowed.