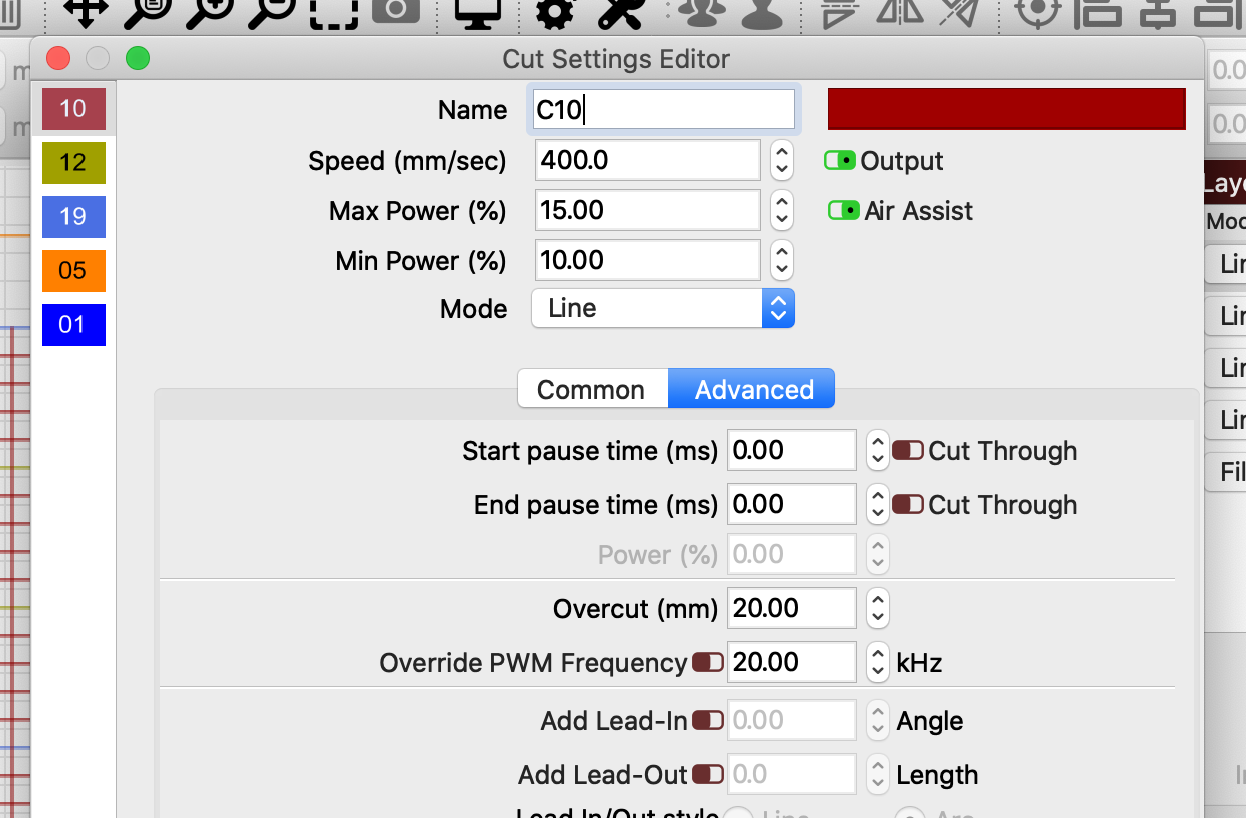
Hey All, I have am trying to do a vector engrave of a grid pattern and experiencing some over burn/darkness at the line starts and stops. I would guess this is due to acceleration and minimum power settings, and it feels like this should be solvable by using the overscan function… The problem is setting overscan to 5-10-whatever mm doesn’t impact the result. So now the questions:
What circumstances does overscan apply in?
Is adjusting the “min power” the only option I have, or is there some other feature I am missing?
Laser settings:
min power = 10%
max power = 15%
speed = 400mm/s
Machine:
G. Weike 1390N
160W CO2 tube
Rudia controller
I may not be following you here but for DSP controllers like Ruida, overscanning calculations are functions built into the controller and not controllable from software.
Where are you seeing the ability to adjust overscanning using the Ruida Device profile?
the term is pedantic however: I simply want to know if the “min power” is the only setting I can change to lower the power at the beginning and end of an engrave
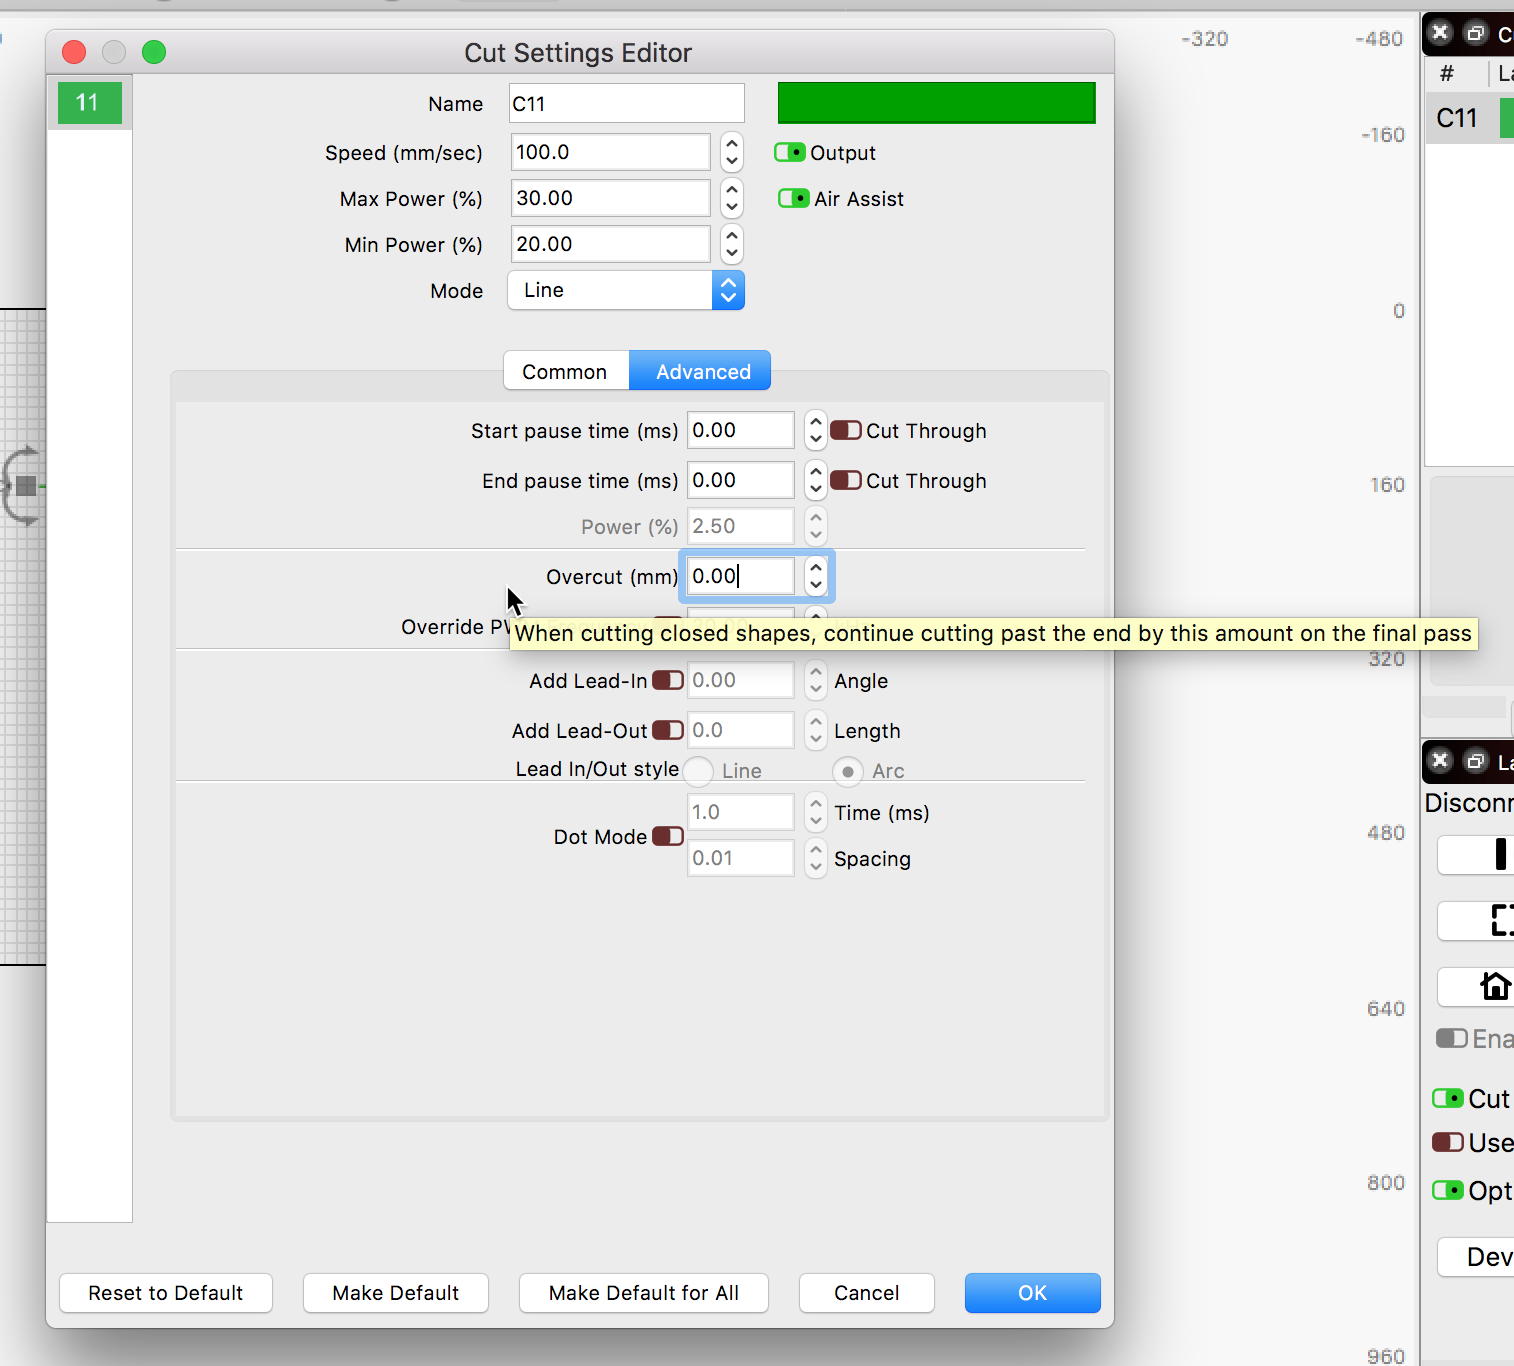
No worries, it can happen. We know there are many things, we try to offer some clues. Hovering over or around most everything in LightBurn will pop a ‘Tool Tip’ to help explain a bit about that thing. Hit F1 for even more.
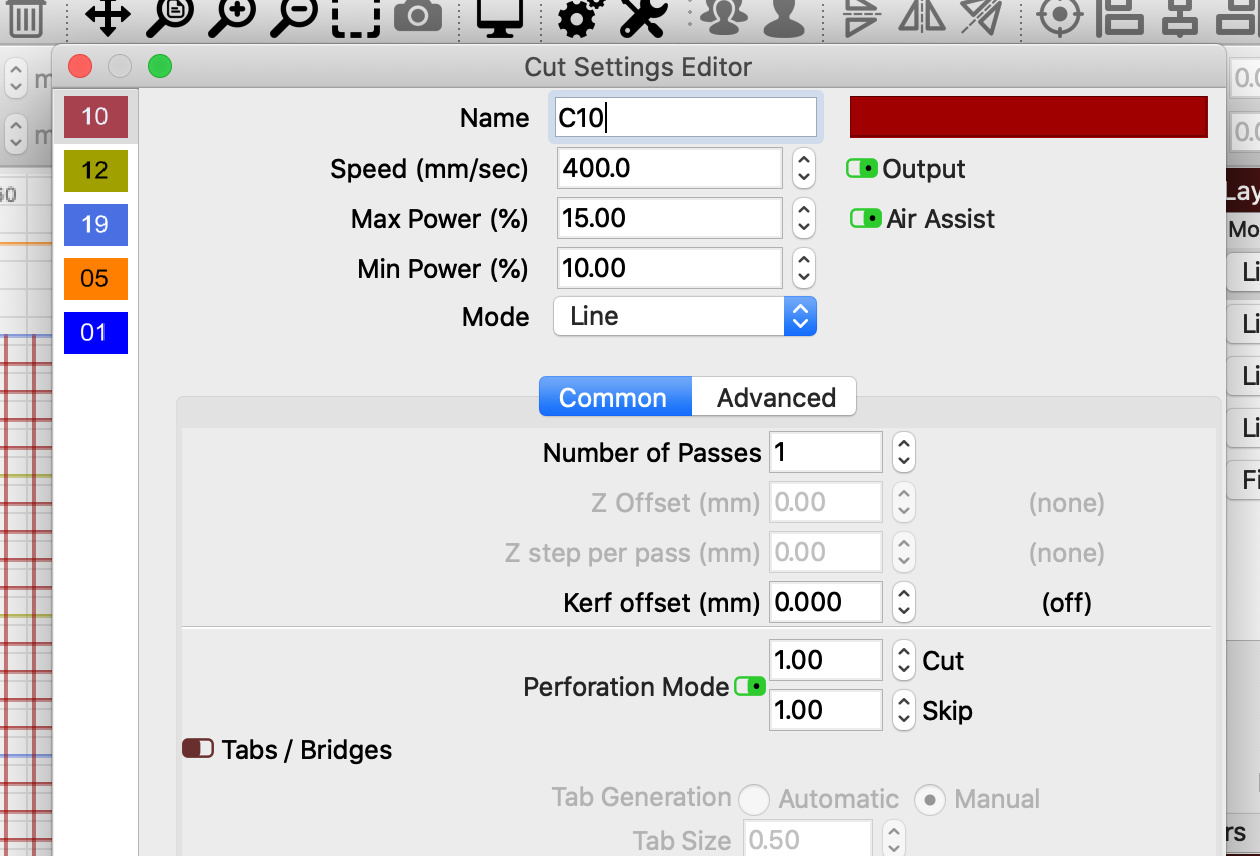
Min Power is the only setting you really have here, though perforation could work if your lines aren’t already using it. You can use a very small cut/skip pair to basically dither your lines.
Using a 160w tube, you are going to have a difficult time controlling the low end. 0.1 cut / 0.1 skip is a good start - basically 50% power.
From the result image you posted, I am seeing “over burn” all over the job, not just at beginning and end of a path. Post the LBRN file for this job, and we can take a look to see if we find anything that could be causing this.
Using a 160w tube, you are going to have a difficult time controlling the low end. 0.1 cut / 0.1 skip is a good start - basically 50% power.
This is definitely true, but the fact that the laser can draw a pulsed line up to the end without over burning means that this is a software issue, not a hardware one. That being said, I totally understand that it is probably the fault of the Rudi controller, not LightBurn. In asking this question I am just making sure I am not missing something.
Trying to understand a bit more. Looking at this file and comparing it to the results image you post above, shows dashed lines, but the file does not reflect this. Are these the same file? Did something change? How did you produce the original results you asked me to review?
Ok, yes, this is why we pointed to this as an option.
Did this smaller perforation setting help at all? I have not played with a beastly 160w’er before to try dialing in settings, so I am at about my limit of helpfulness at this point.
Maybe some of our members that has a similar machine could offer some feedback.
I guess I’m missing something here.
It’s burning darker at the ends because the laser head is slowing down at the end of the line so it can stop and change direction. So turn the “min” power down to compensate.
There is no “overscan” because you’re not scanning. Does turning the min power down not work?
No, it doesn’t mean that. It means that your laser cannot lower the power level enough when the head slows down to keep the burn even, which is normal for a glass tube of this wattage. You need to be “up to speed” before you start firing.
We could, feasibly, add a non-cutting move to the beginning or end of the cut that sent it an extra 5 or 10 mm past the start / end point, but that would only work if you had the room for it, and if Ruida controllers allowed multiple non-cutting moves in a row. I’ve tried that in the past and had the controller reject the file, so I’m not certain they allow it.
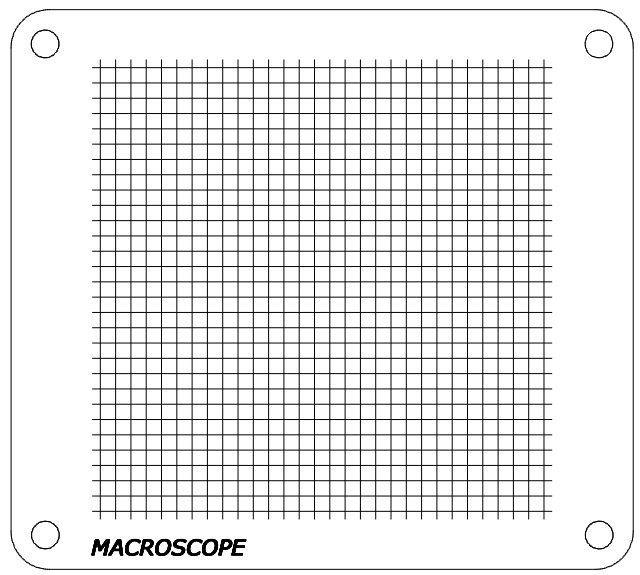
A possible easier solution would be to do a filled square with a line interval of 10mm or whatever your gap is, and cross-hatch it. The hardware overscan would do what you’re looking for. You’d have to position and size the square properly to get the lines to land where you want them, but that should be easy to tell in the preview. The only downside there is that fills always start at 50% of the interval you ask for, so your file would look like this:
The feature you describe here is what I was after to begin with:
We could, feasibly, add a non-cutting move to the beginning or end of the cut that sent it an extra 5 or 10 mm past the start / end point, but that would only work if you had the room for it, and if Ruida controllers allowed multiple non-cutting moves in a row. I’ve tried that in the past and had the controller reject the file, so I’m not certain they allow it.
In the end it’s just a bit of a cosmetic thing, so I can live with it if there is no simple fix. Mostly just wanted to know if there was something I was missing.
I tried to inject “manual” overscan moves once before - On Ruida controllers we allow filling at angles that aren’t 90 degree multiples, and that’s not supported by the hardware, so we emit it as a normal cut, using cutting moves. I tried to add extra moves to simulate overscan, and the controller just froze and wouldn’t run.
I suspect that Ruida’s internals are built with a bunch of sanity checks to validate the data it gets, and if they never put more than one non-cut move in a row, they might check for that as another way to verify file integrity.
There are other possible ways it could be done, like adding a “dot”, but with 0.1% power and 1ms firing time, but that would take some extra infrastructure to make it work, and would only work on start / end lines, not corners, unless we did a bunch of extra work there too. It’s a bit of a can of worms.