Picture engraving with CO2 laser not shading

Hi,

I am having a problem engraving photography. My file has a good resolution, I edit it in Photoshop (brightness and contrast, separation of background and main picture, levels, sharpening, sizing and converting to BW.
Edited picture is uploaded to imag-r.com website to gain a faile edited for CO2 engraving.

Engraving the picture on a birch plywood I am struggling with 2 main problems:

  1. The picture is not shaded. I tried different settings (grayscale, Jarvis, Stucki). The best result so far is from the Jarvis dithering, however the final picture is far from a good result. It seeems to engrave particular dots and adjust the laser power according to the grayscale spectre. I found elsewhere on the Interet that CO2 laser can do good shading with Jarvis setting

    - Could you please help with the laser setting?

  2. I tried to add a line around the bride´s body to higlight it against the background. My laser seems to engrave only parts of the line as seen on the picture. Same problem when engraving text. How can this be fixed?

Thank you for your help!


if you prepare with image R you should enable pass trough and not re dither
but you dont need it you could load the orignal photo in LB and choose jarvis or stucki and try again, try with the lowest power as your wood is very soft

image there is the pass through option if you dither outside lightburn

Thanks for help!

I skipped the imag-r processing and did all editing in Lightburn. I set the same engraving parametrs as I found on one facebook thread by Lightburn and the result is much better, however there is still a way to go.

In the next trial I will edit the photo in photoshop a bit to reduce shadows on the bike and highlight its details. I´m not sure on how to make the bride more visible - probably by increasing the min power?

The detail on heads is bad but that is more due to picture size than by anything else.
This one was done by stucki, 150 mm/s, max power 19 %, min 14,5 %. I have 50 W CO2 laser.


image

You can get better contrast by pre-treating the wood. You are expecting a lot to get contrast from a light image on light wood.

Like using a white pencil or light yellow on white sheet of paper :slight_smile:

You could try changing the relative rgb levels in photoshop to reprofile the histogram

Min Power does nothing unless you are using grayscale - when dithering, only Max Power is used. You may need to increase the power to get a darker burn, or change the wood you use. Birch burns lighter than basswood or poplar.

Grayscale with CO2 just burns the darker colors deeper - it probably isn´t the right choice for CO2 laser when I want to achieve shading, is it? When I tried it the result was similar to the first picture.

Correct - I wasn’t suggesting that you use grayscale, just that the Min Power setting is irrelevant when not using it.

Well I am deep in the article shared by Bo, so first thing I will edit the photo to get the the color balance more in favor of engraving and than just play in Lightburn. I will post the results when I am done.

1 Like

You may want to look at pretreating your wood with a wash of acrylic, or with baking soda (125gm/L)

A wash is simply diluted paint, brushed on, then after 5-10 minutes, wiped off and let dry. It penetrates the wood and sets, ‘normalising’ the wood fibres and delivering more contrast.

My personal go to for nearly everything is shellac. There’s a few grades from blonde to ‘natural’ to purple. Blonde gives the least colour change to the wood, but is the most expensive.

That being said, expensive is relative - I paid about US$25 for 1kg of natural dewaxed flakes a few years ago and still have over half a kilo left.

I’m not French polishing, just sealing, so a half-cup (125ml) of flakes to 1L of spirit lasts for ages. At that c9ncentration it just tends to pull out the grain and the natural colour of the wood, rather than impart a lot of colour itself.

It also allows you to drop your power/increase your speed markedly and get dark burns without residue, as well as making cleaning soot a breeze, as the wood is sealed and waterproof. From application to use depends on the weather, but usually 3-4 minutes in summer, 15 in winter.

2 Likes

Thank you Bonjour Bo!

Excellent information. Detailed and specific.

I currently pretreat Baltic Birch plywood with baking soda and water so it’s very helpful to know about other methods to darken my engravings.

I appreciate you taking the time to share your knowledge.

Although new to co2 lasers, I have many years in photography. The right side of the photo is substantially darker than the left. Everything to the right of the bride is much darker overall than to the left side of the photo.

Do people use software like Photoshop to modify the contrast or give the photo a better density balance?

They do. Folks also use the ‘Shape Properties’ for the image in LightBurn.

In addition, we are working on a new way (currently in beta) to adjust these image settings.

I dived into materials shared here by Bo and also watched some videos on Youtube on how to do the image engraving.
For anyone learning how to engrave a photo I can recommend this video https://youtu.be/YvQ8L7Xth8k.

I eventually succeeded in getting the detail to the photo by combination of better photo editation in Photoshop and playing with the laser setting.
The marriage photo is done at 66,6 mm/s on 21% power and 150 DPI using the newspaper dither. I have 2" len and 50W chinese laser (Monor 5030).

I then struggled with the cutting ability so the mirrors were cleaned and adjusted.

Although I managed to get one photo almostl right, I am still struggling with the balance of detail and depth of the cut. I tried to fine tune my laser on the Chris Walden photo with following approach:

  • Speed and resolution calculated by examination of dot sizes and formula provided in the video shared - 60,6 mm/s, 141 DPI

  • Power was tested randomly. I tried to use the instructions from the video but then the power was around 40 % and that is too much.

I ended in the range between 12 - 18 % power as seen below. However, I just can´t seem to find a way how to get more detail to the picture. Adding more power brings in more detail but also deepens the cut. Having just the right depth of cut means the picture is quite shallow.
My target is detailed picture where black areas are not 1 - 2 mm below the surface.

Tried to play with contrast and brightness or gamma setting but it does not seem to bring fruits. Maybe increasing the DPI might help.

Any ideas?

Thanks for help.

Are you using Imag-R first, and then also using the above settings in LightBurn?

Every type of wood has it’s own character, including sheet goods like MDF and ply - I’ve got three different makes of MDF and they all process differently. One is noticeably heavier in weight and takes a lot more to cut. Asian hardwoods give great contrast, but open grain means little shading. Softwoods are quick, but can catch easily and so lack detail.

The ‘best’ is something with fine, tight grain that still gives good contrast - and it may be that no such animal exists, which is where coatings and washes come into play.

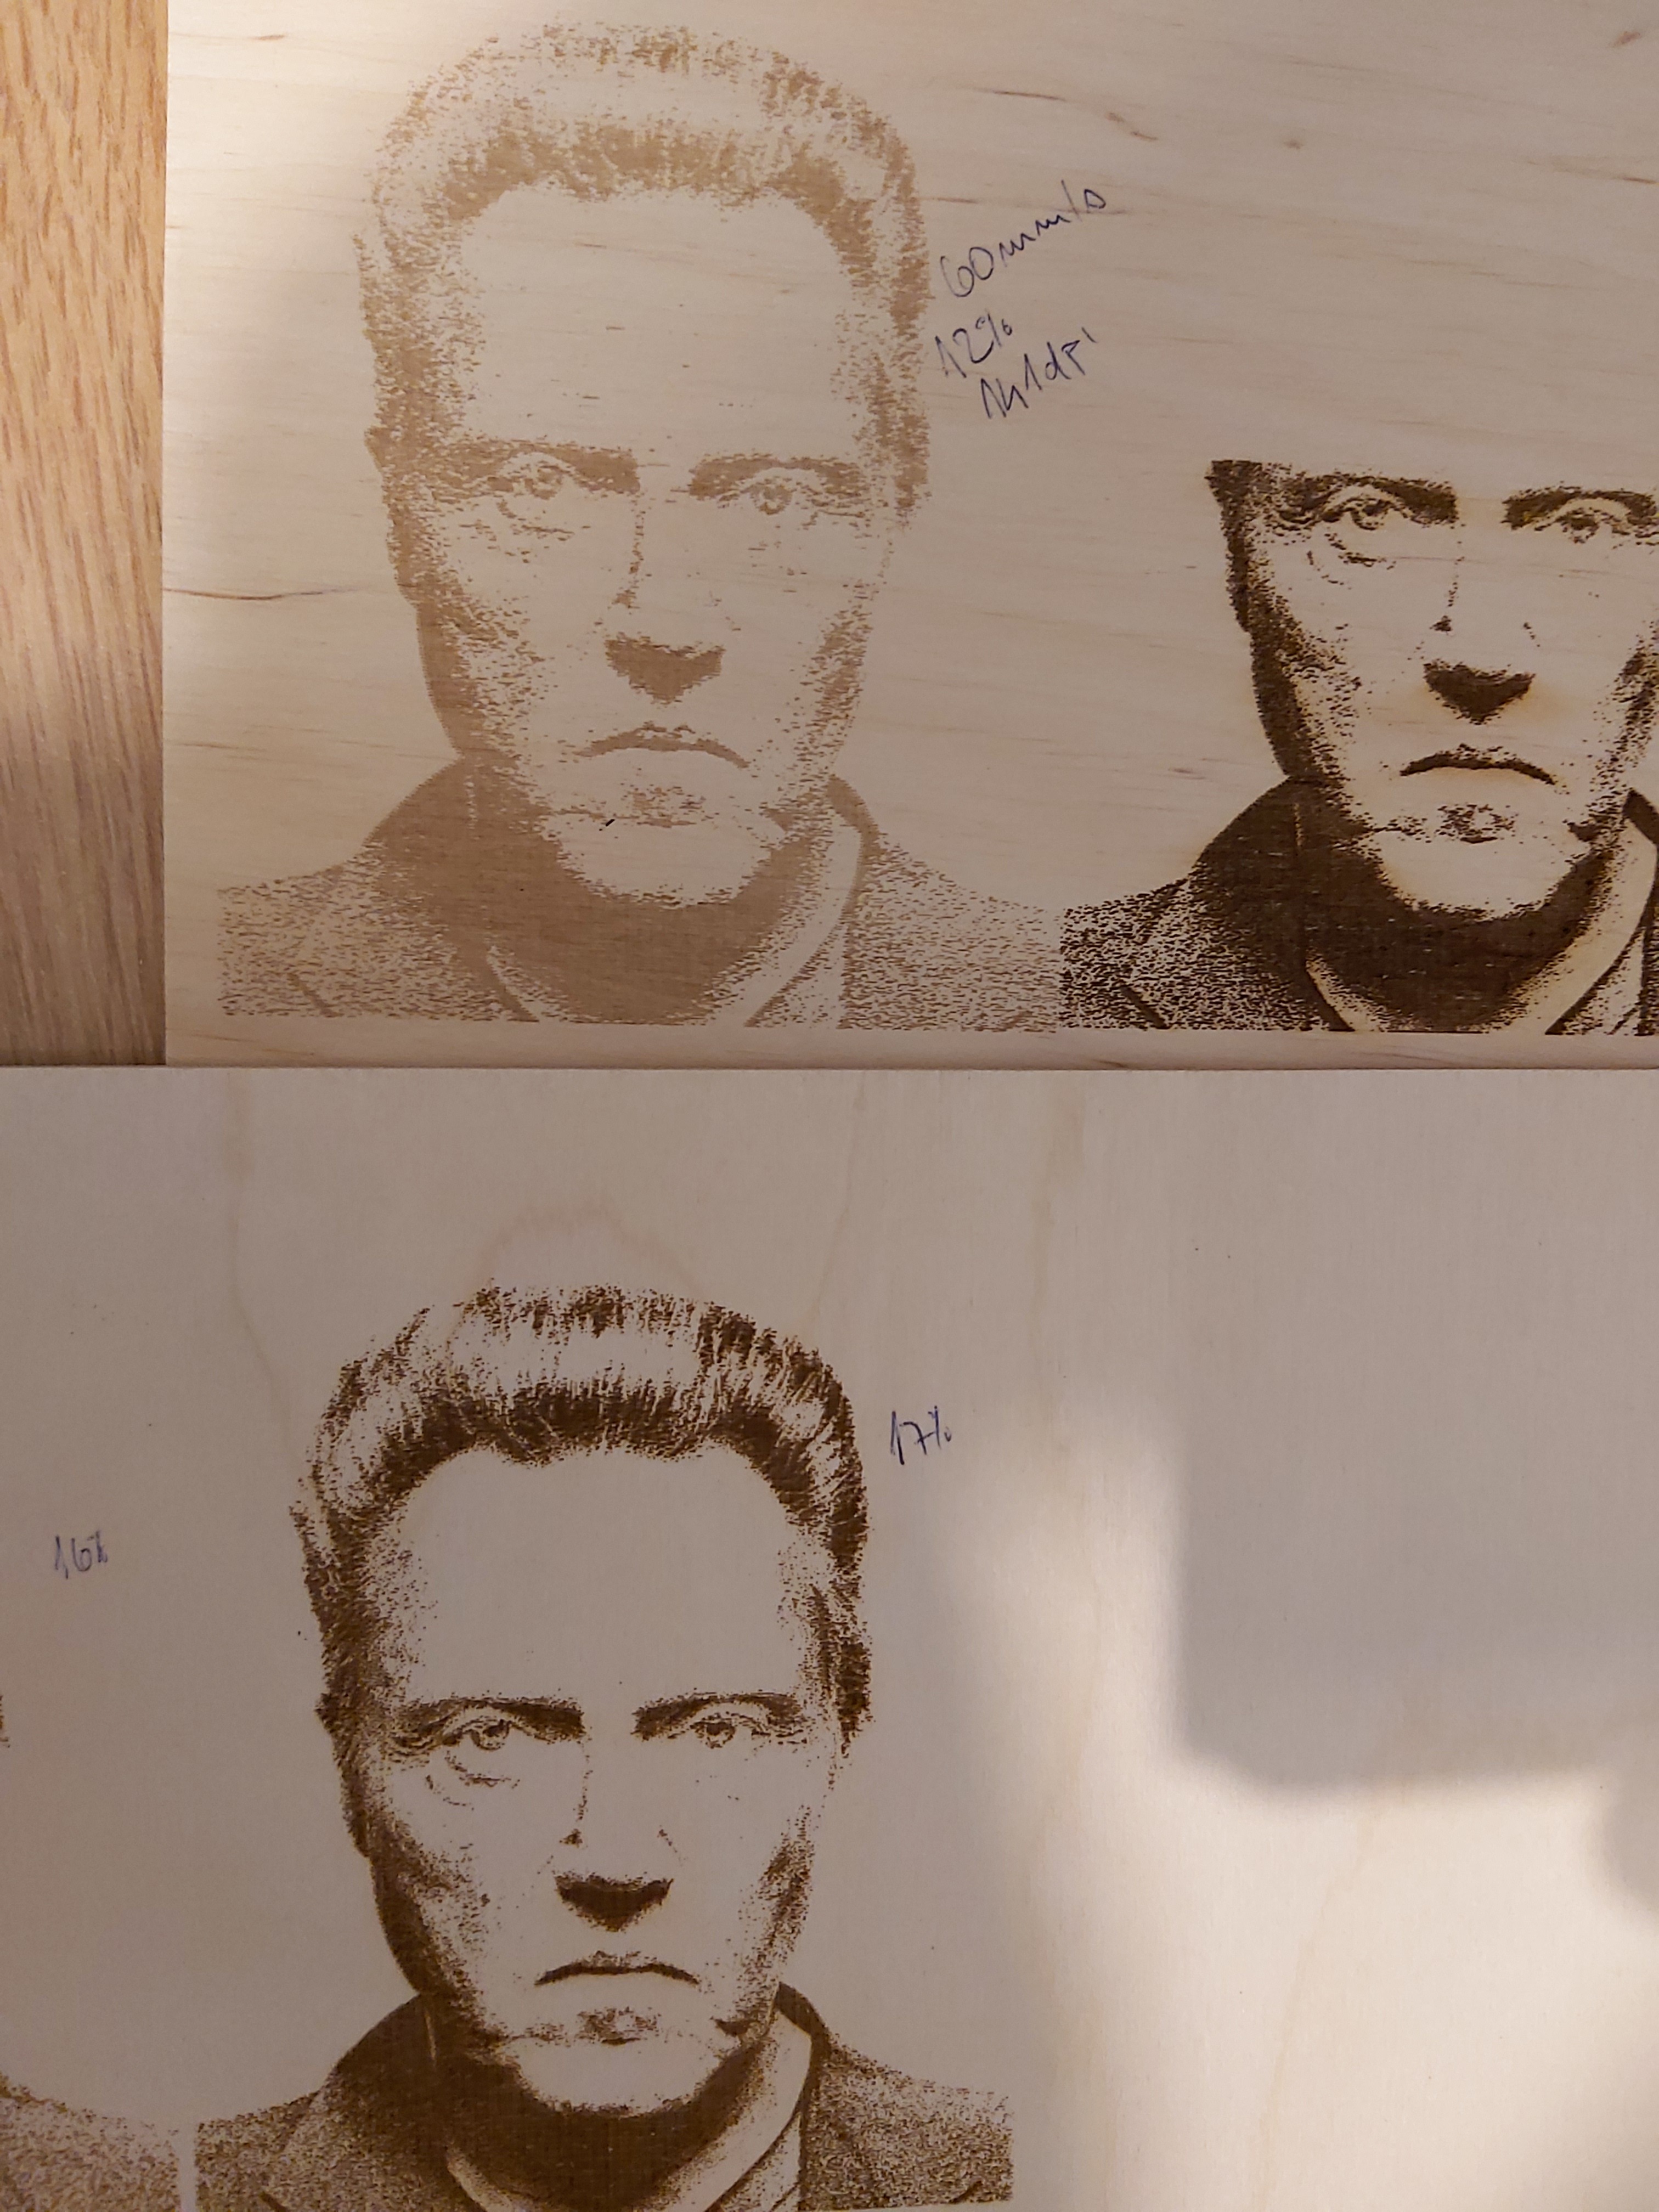
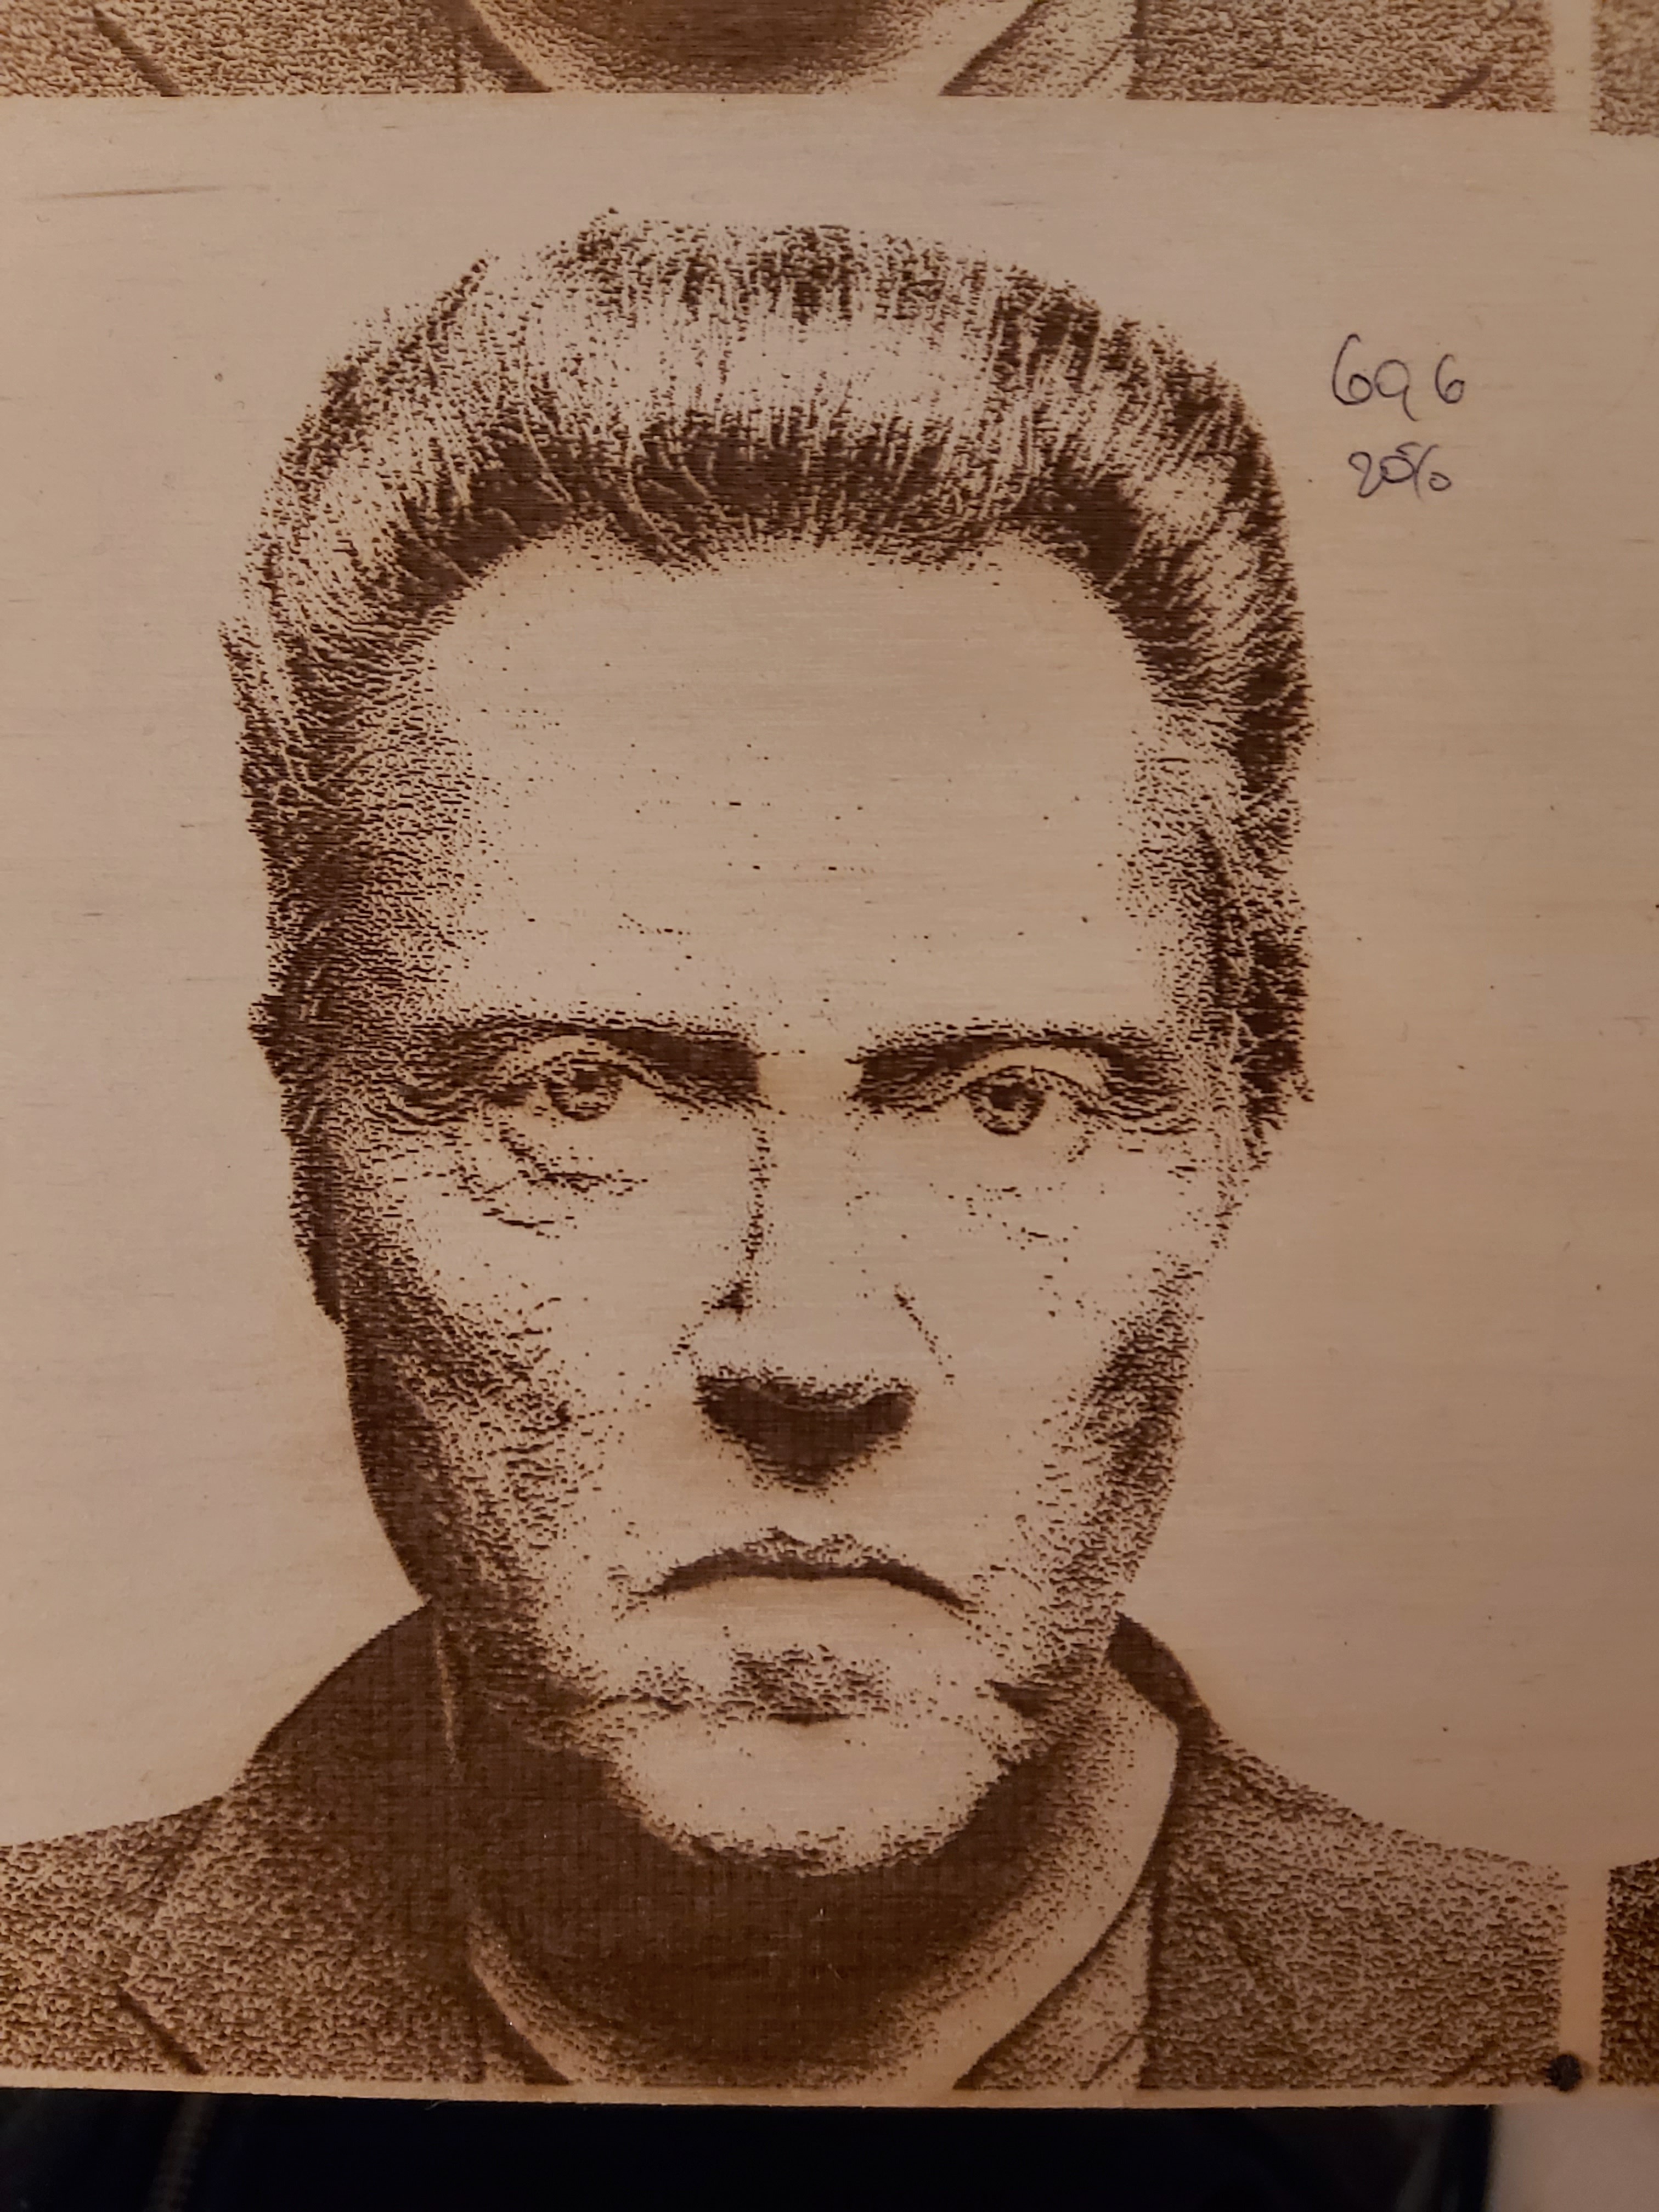
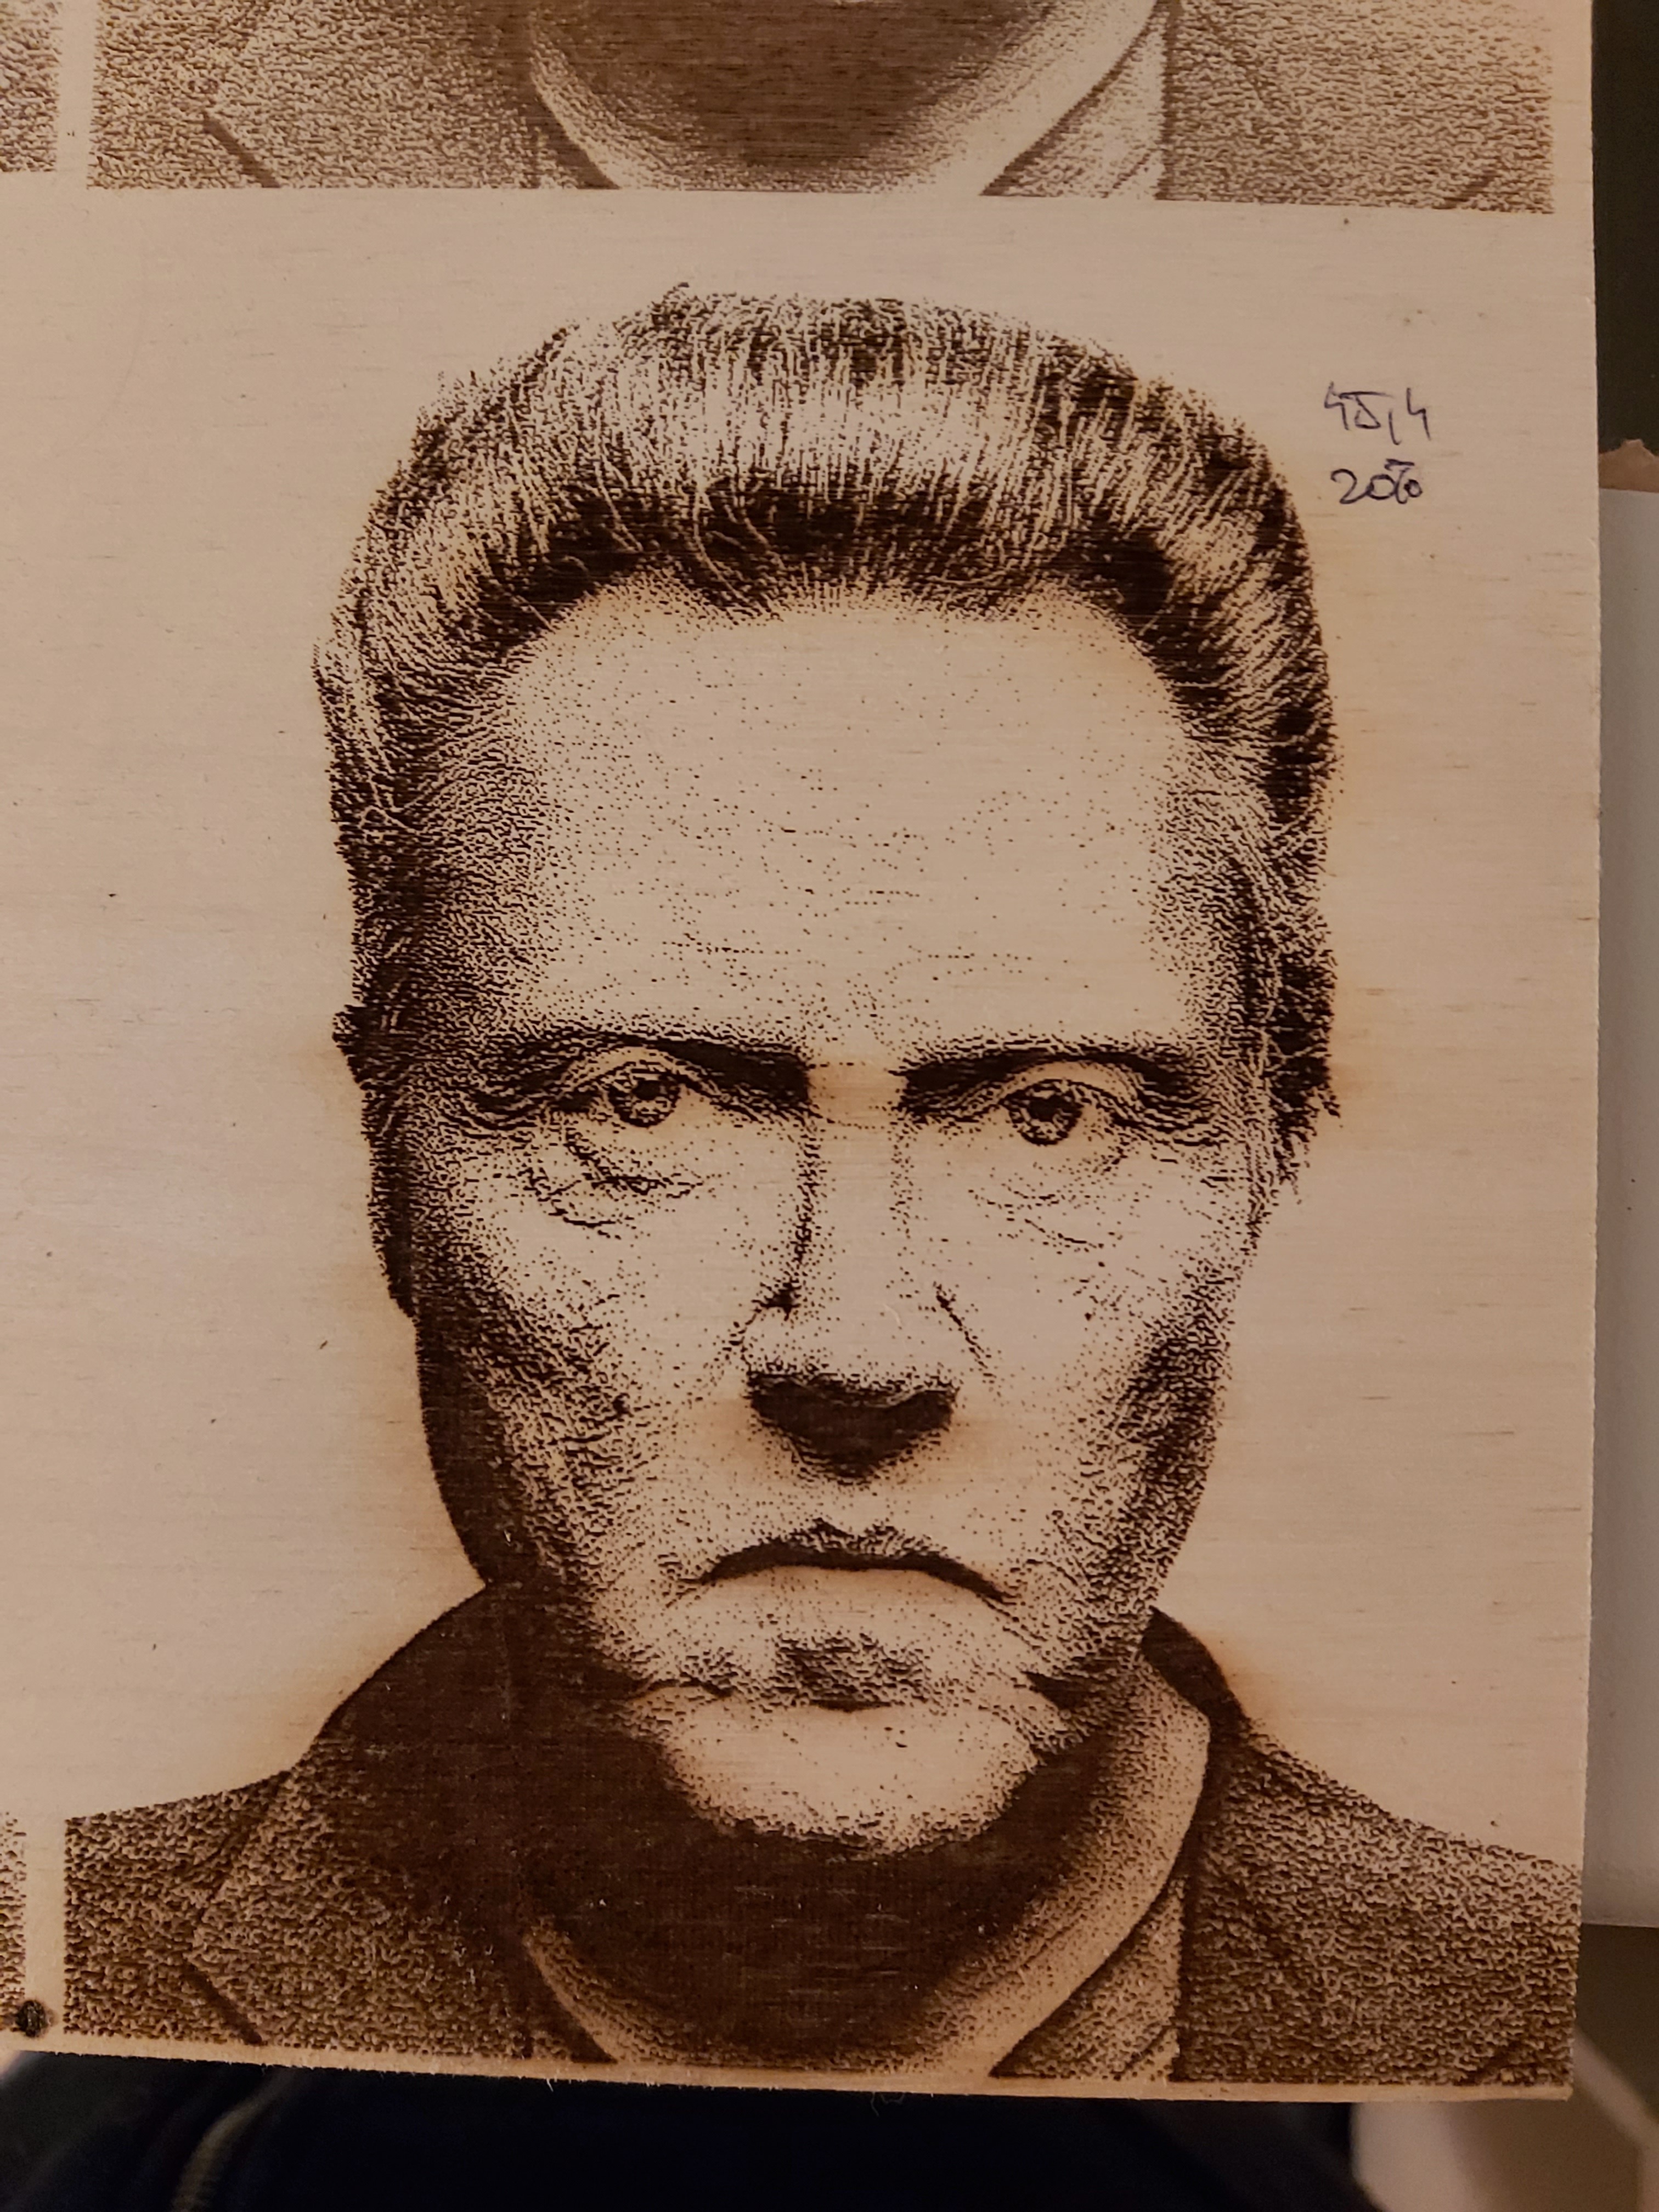
Experimentation is the key.

Have a look at @Bulldog 's work with tiles (Playing with Ceramic Tile Norton Method (Black is etched in)) - it requires a gentle hand to get the settings right, but when you do, you have a datum to work with that can be tweaked easily to cope with different materials. He specifically uses a low-powered diode, but the process is the same and the gentle hand is rewarded with a better result.

And welcome to the craft. This is what separates the men from the boys (ladies from the girls) - perseverance and the scientific method.

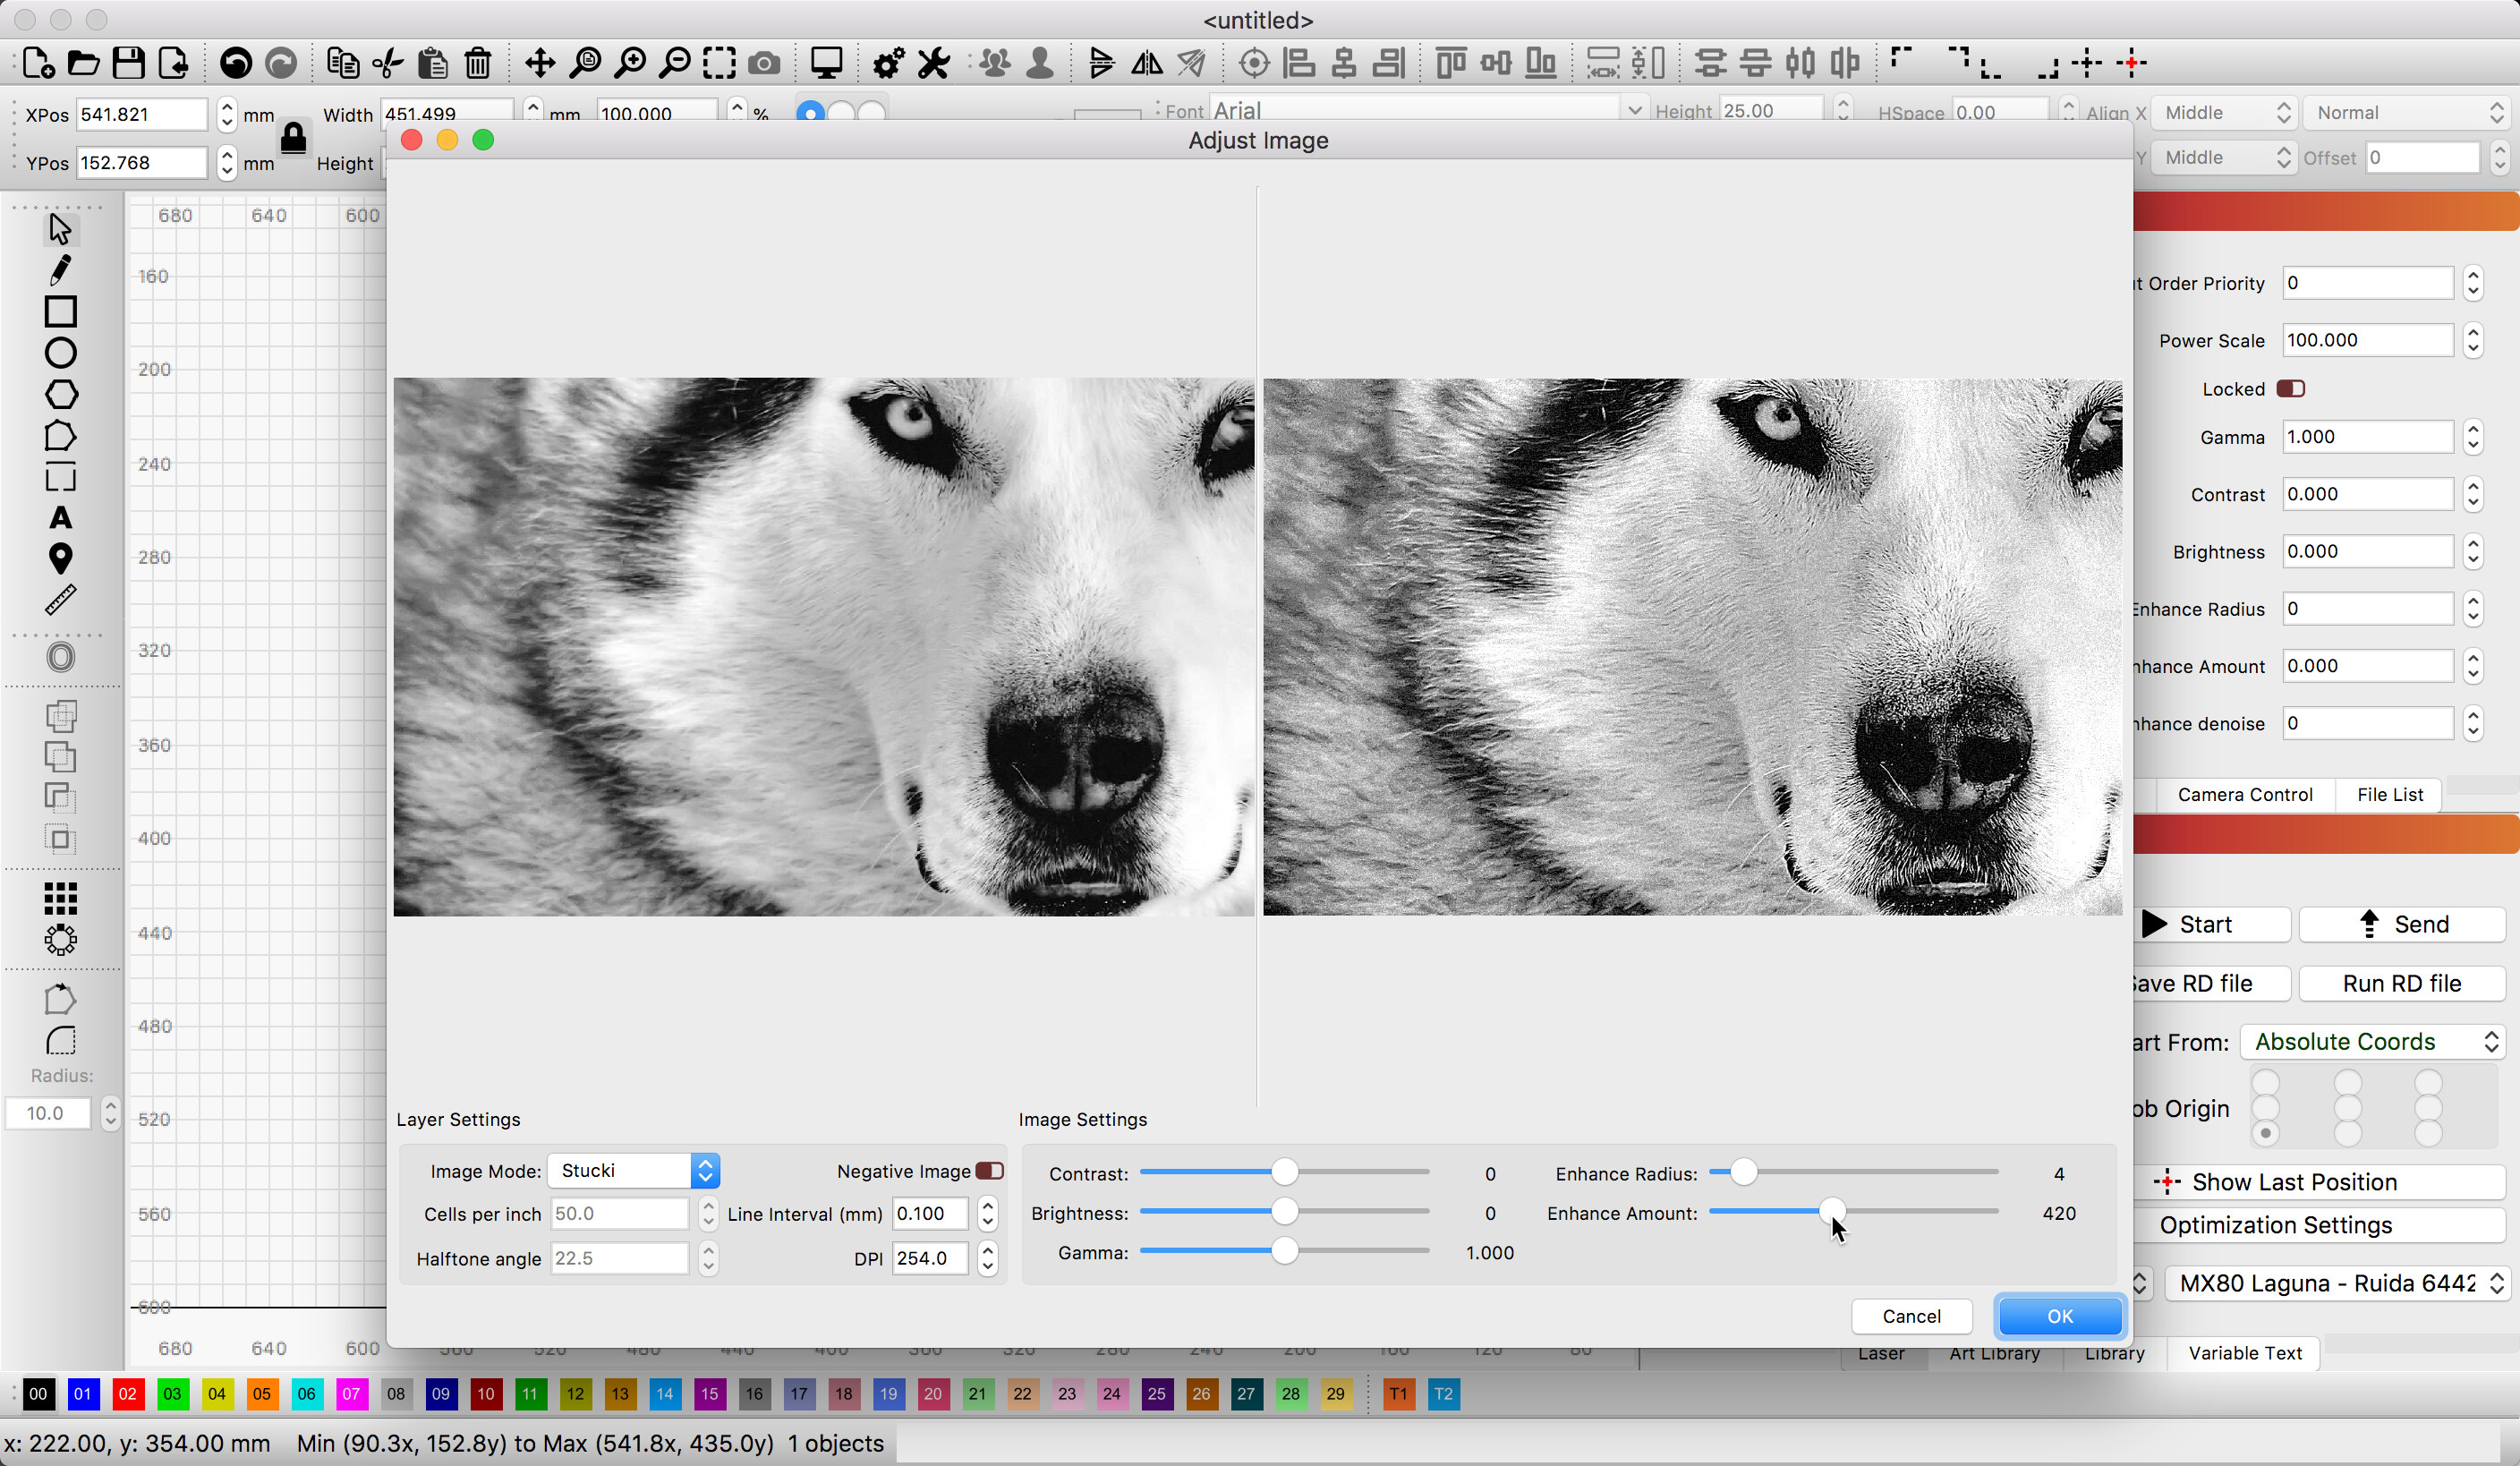
Keep a log of your settings. I think Jim (@Bulldog ) describes his logging method somewhere and it’s a great place to start. Taking a pic of the completed work and storing it in a spreadsheet with your settings, wood, source image, etc. will prove invaluable.

Find one image that you can use as a consistent sample to register against is also key.

As to higher DPI - on wood you can easily waste passes as the material has more of an impact than the DPI. Non-organics like glass and tile and acrylics reward higher DPI, but not wood.

Theres one other technique you might want to look at - using a hard coating like 2-pack clear coat before engraving, then clean, then wipe over with a wood dye and a wipe off.

I like Dulux Duramax Gloss Clear Coat or Matte Clear Coat - it’s true 2-pack, but in one spray can :slight_smile: It reacts when sprayed and the carrier solvent evaporates.

Not sure you can get it in Cz, but have a look: Home Page | Interiérové a exteriérové barvy – náměty na malování | Dulux

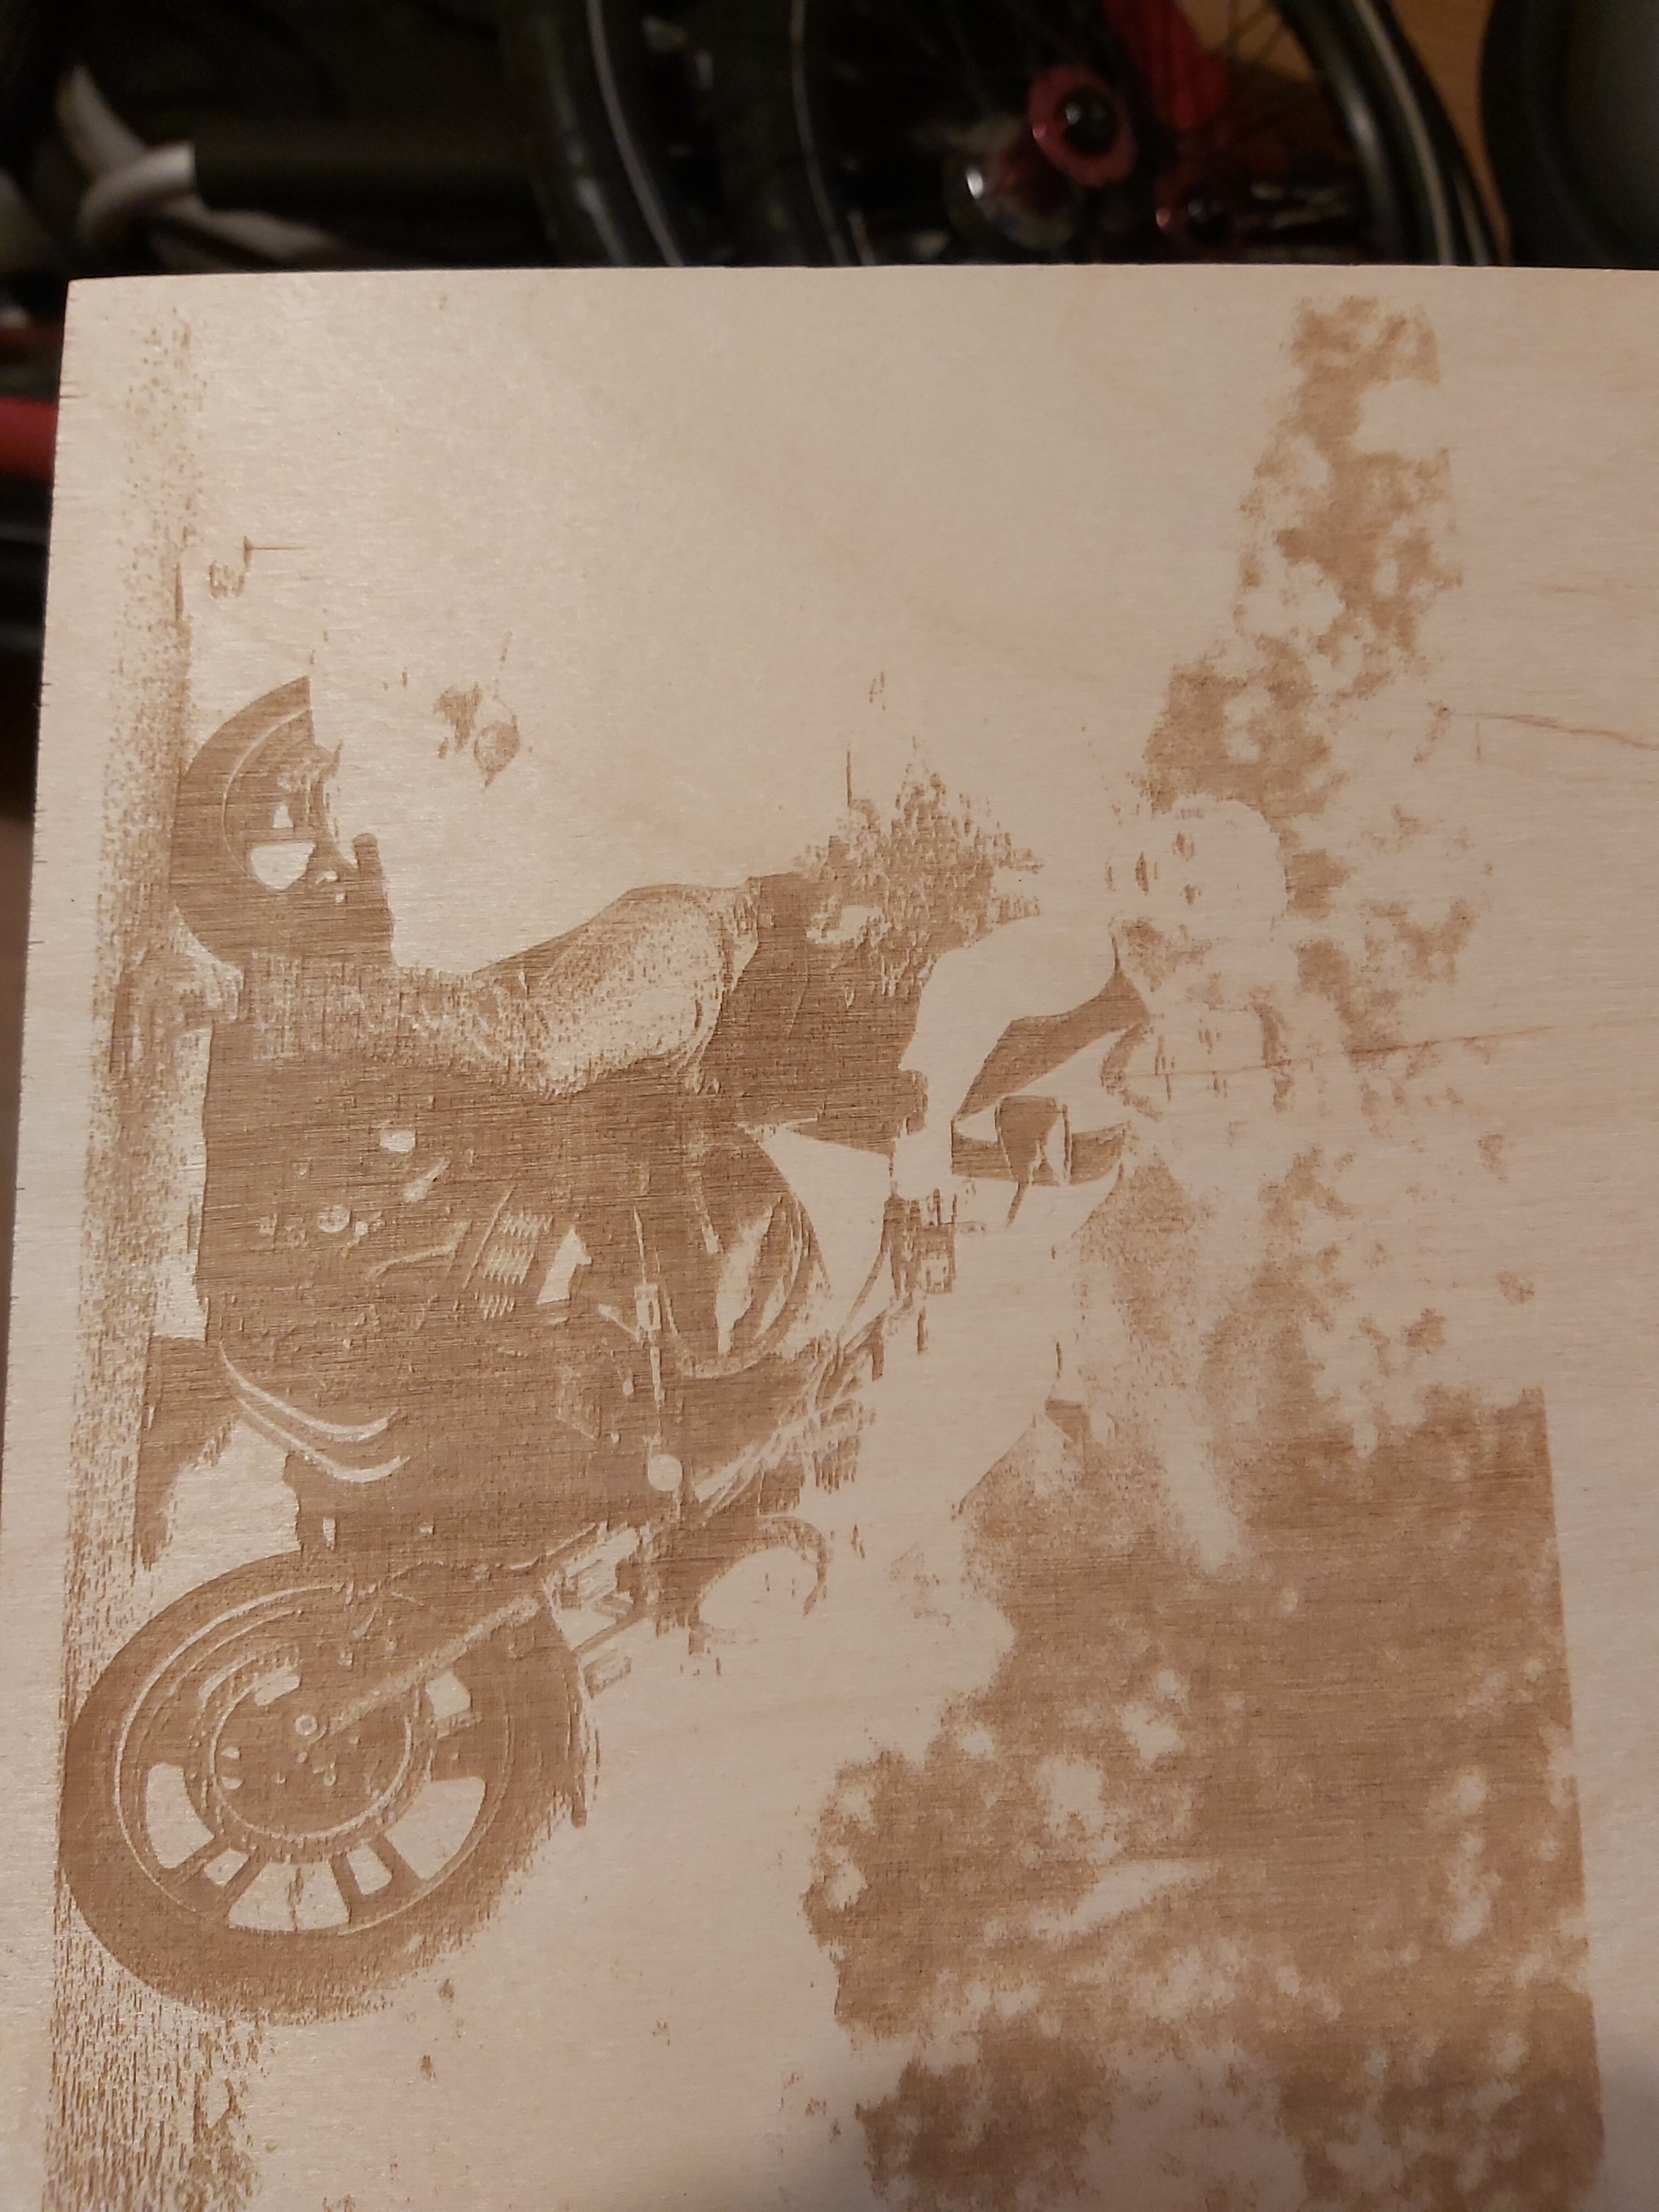
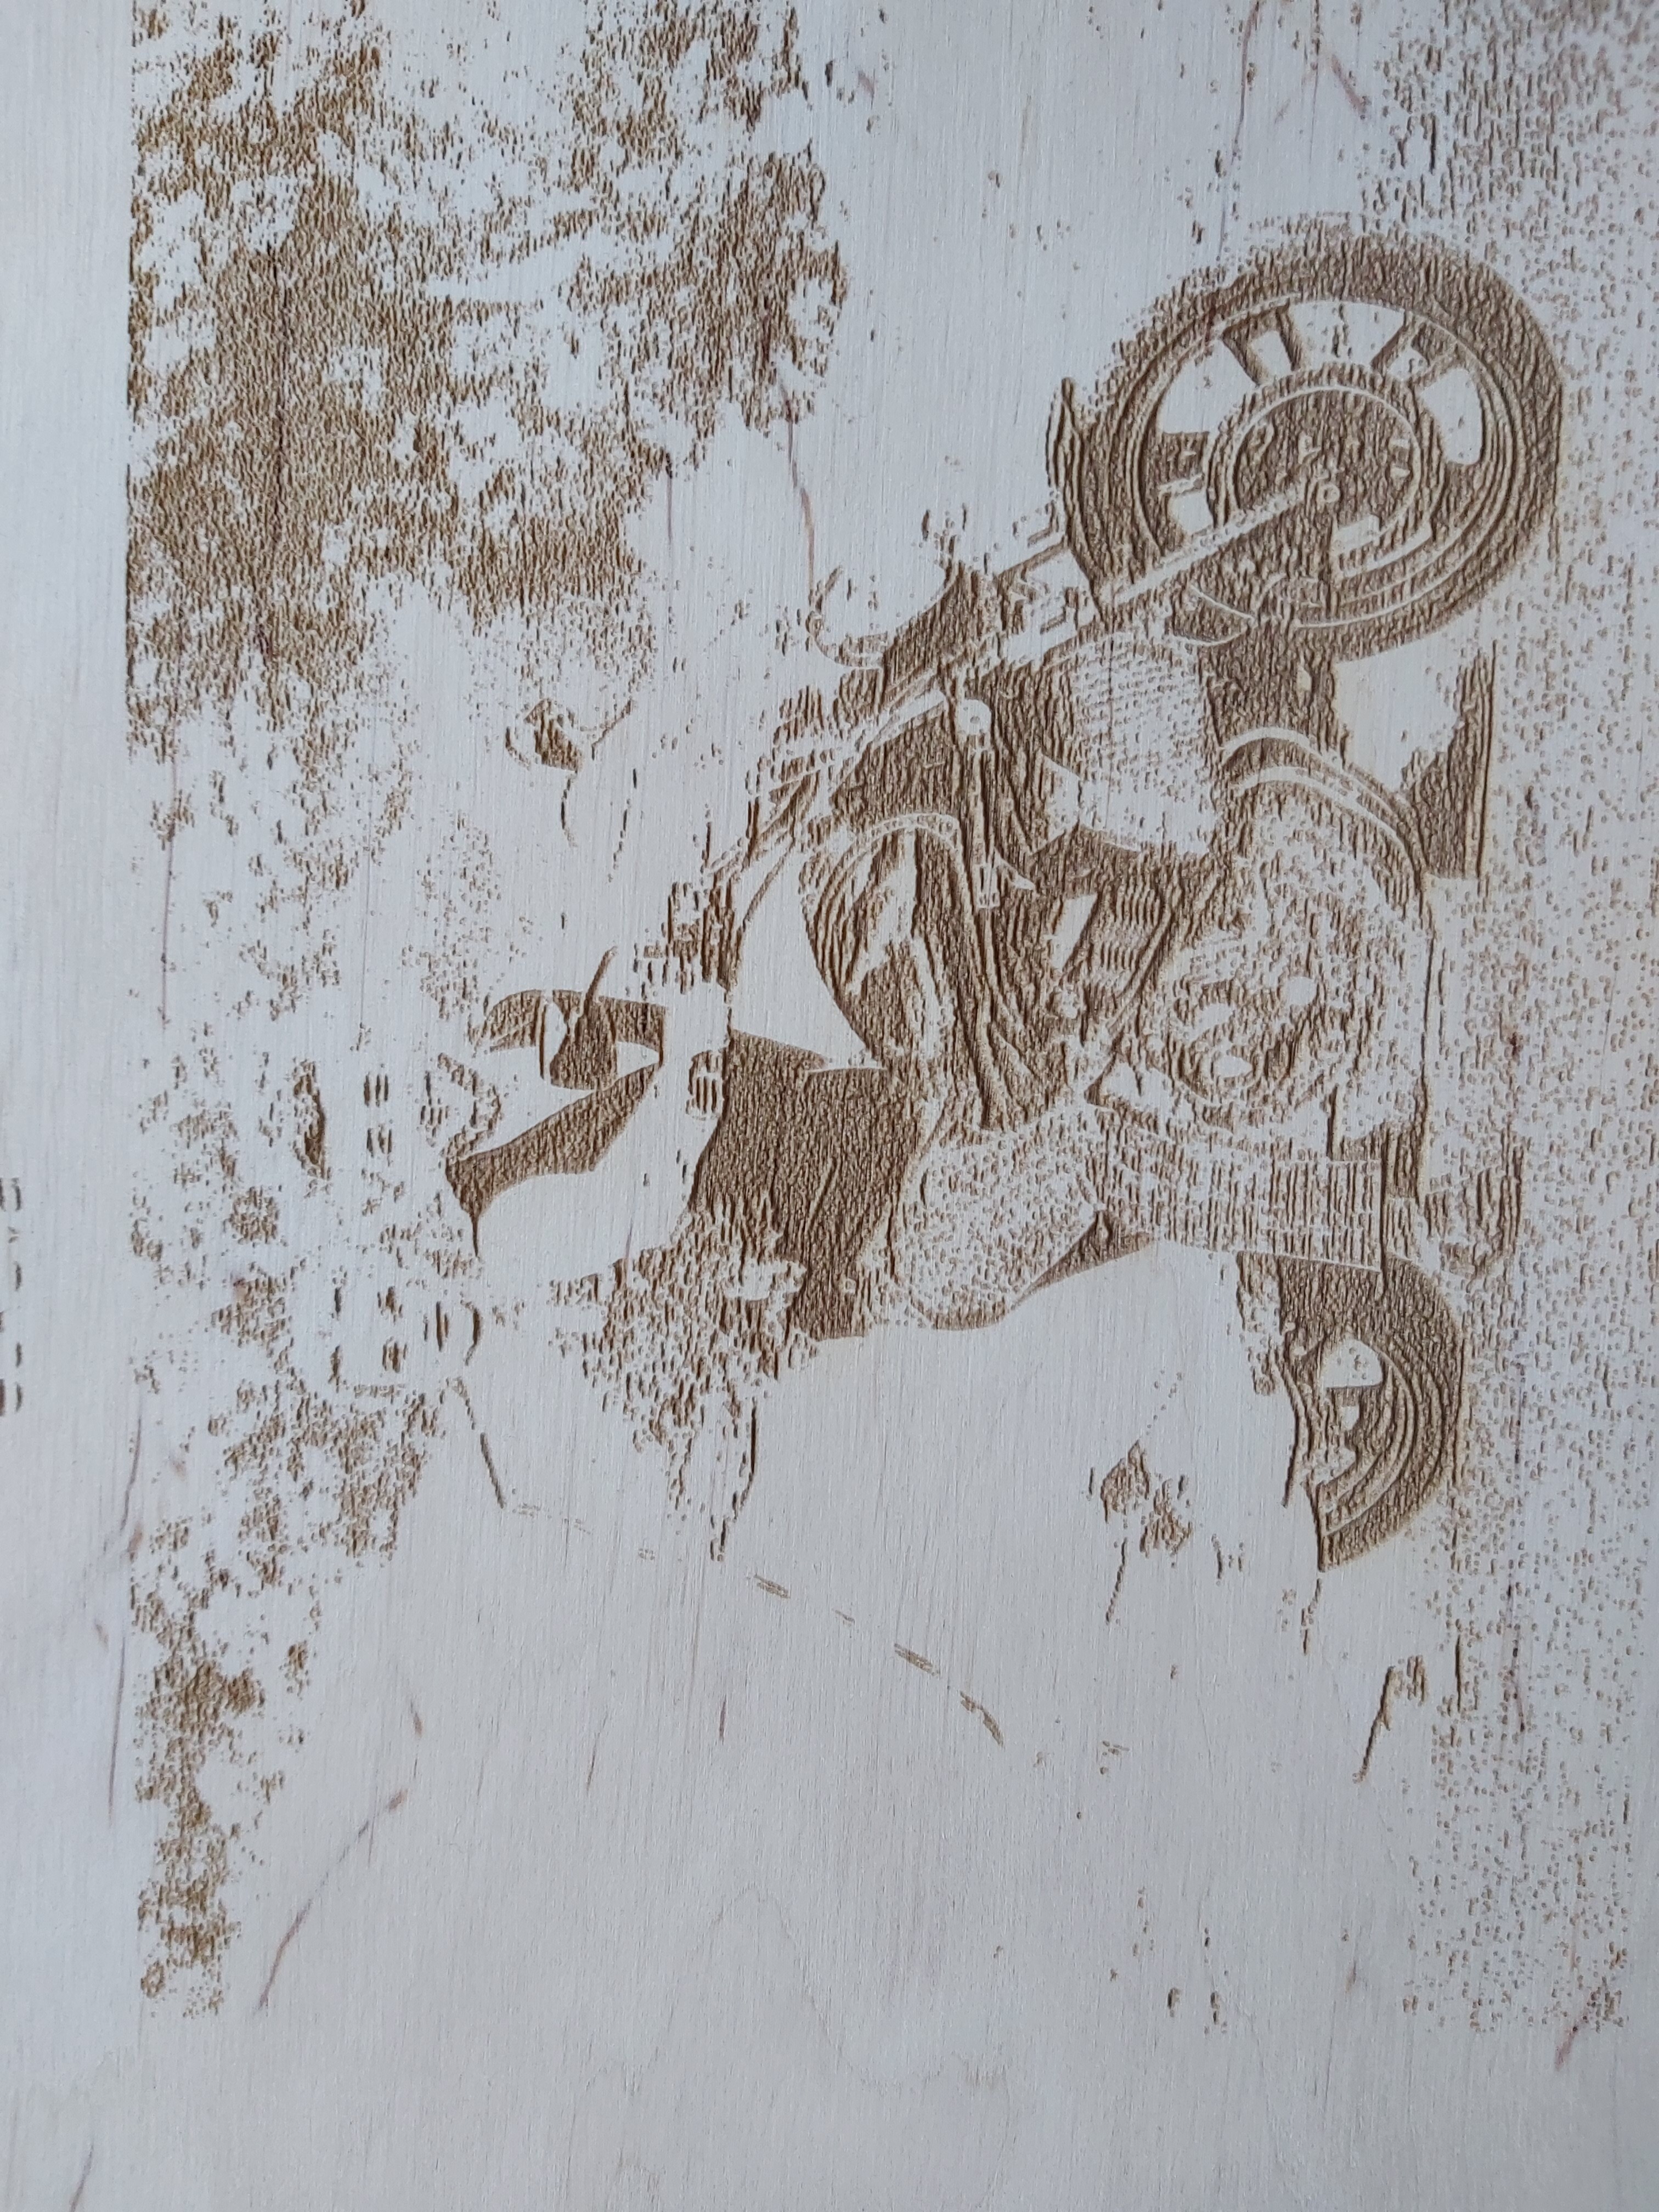
And did I tell you Brno is my spiritual beer and motorcycling home? :slight_smile: I have owned a few MZ and CZ bikes in the past - 2 stroke is in my blood.
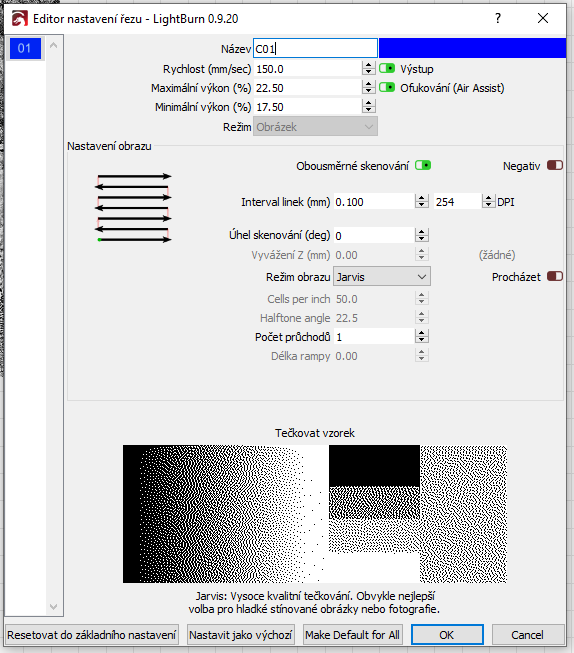
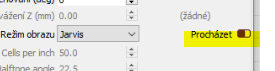
2 Likes

I do not use Imag-r. From what I understood on this forum, when using external dithering, then only Threshold dithering mode should be used in Lightburn. I want to keep control over my result, so only things I use is photoshop and lightburn.

Jarvis, Stucki and other modes adjust uploaded image by their own algorithm, so processing it in Imag-r and then by some dithering mode in Lightburn would be something like filtering it twice which is too much, isn´t it?

Correct - filtering the filter

Some more trial and error - posting only the best result so far.

How I did it:

  • Brushed the ply with sandpaper
  • Photo setting - uploaded in Photoshop, bumbed up the DPI to 1000 DPI (I think it produced slightly better results than 500 DPI so I kept it) and resized to the engraved size. No other external adjustment.
  • Jarvis dithering, speed 60,6 mm/s, power 20 %, 141 DPI, enhance radius 4, enhance amount 270.

I am quite satisfied with the result (much better than previous try and) but it it still not IT. The biggest bug is skipping the dots. I can see dots on the forehead in Lightburn BUT laser does not fire them. I tried to decreased my speed even to 45 mm/s which helped but still was skipping dots.

Now I established my DPI and speed according to Russ Sandler´s instructions on Youtube and they seem to be alright so arguably only thing left is the power. I increased it but it did not seem to yield a better result.

I got more dots into the picture when reducing the contrast and brightness but the overall picture was too dark.

The only thing left I can think of is to adjust the picture externally in Photoshop - reduce the contrast and darken light areas a bit. Can you think about anything else? Maybe switching to another dither might help?

I haven´t tried the pre-treatment methods suggested by Bo - I would like to stick to photo editing in photoshop and going straight to laser (max sanding the wood).

To illustrate the effect of lowering the speed - this is speed (45,4 mm/s) assuming it takes 4 ms to fire a pixel with dot size 0,18.

Shading is bit better but at a cost of much deeper cut. I could go lower with power to maybe 13 - 15 % but then I would start losing the individual dots again, no?